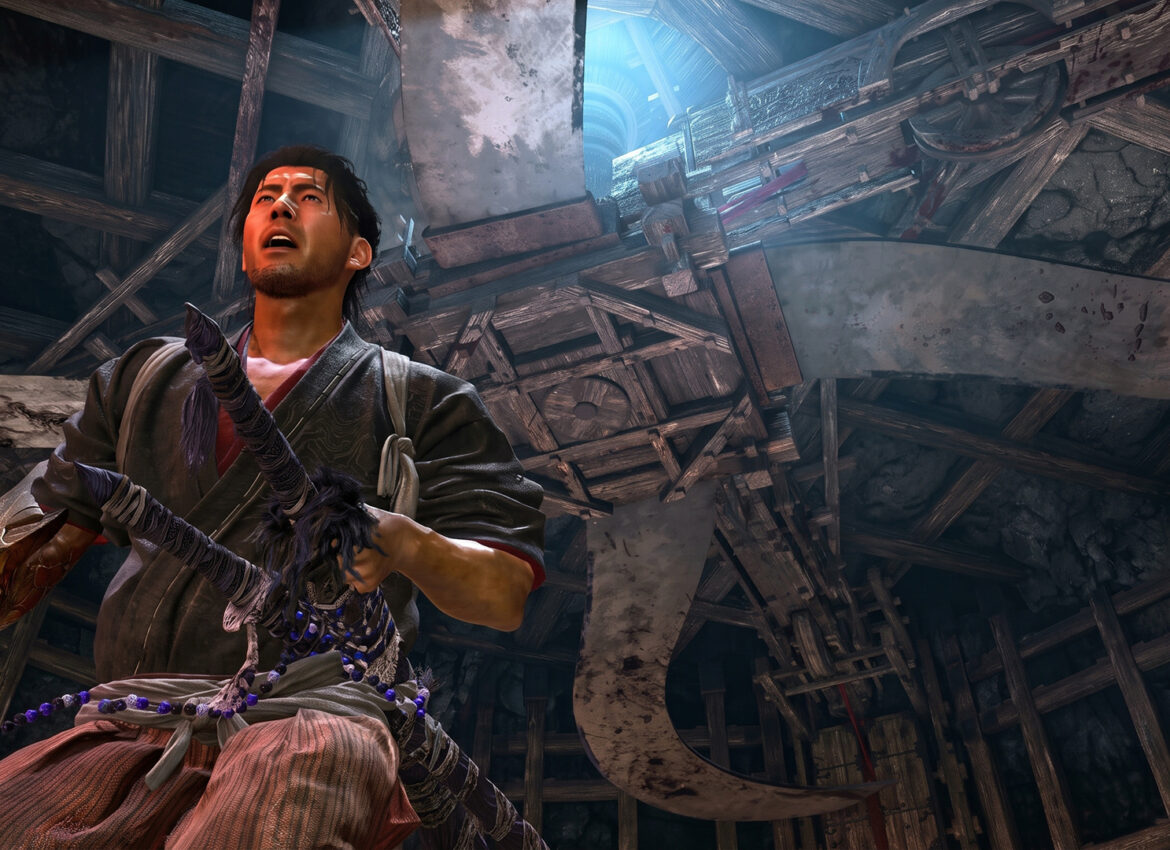
If a massive saw blade just dropped out of the ceiling above you during the What Lurks in the Shadows mission in Onimusha: Way of the Sword, don’t panic and don’t run for the door. The fastest way to stop the blade mechanism is to find the four spools of red rope feeding it and shoot every one of them with your Oni Bow before the blade reaches you. It sounds simple once you know where to look, but the room is built to rush you, so I’ll walk you through exactly where each spool sits and in what order to take them out.
Before you get to that room, by the way, you’ve probably already handled the sliding mask puzzle a few chambers back in the same dojo, and if you skipped it or got stuck, we’ve got a full walkthrough of the correct bow order for the Underground Laboratory mask puzzle that’s worth bookmarking alongside this one.
Where the Blade Mechanism Trap Starts in Onimusha: Way of the Sword
You’ll know you’re in the right spot when you step into a wide circular chamber deeper in the Underground Laboratory and spot the Gore-Spattered Key sitting out in the open in the middle of the floor. Here’s a little tip before you do anything else: don’t just walk up and grab it. Picking up that key is what triggers the whole sequence, so take a few seconds first to look around the room and get your bearings, because once the blade starts moving you won’t have much time to think.
Look up and you’ll notice a vertical slot cut into the wall on one side of the room. That’s the track the drum mechanism rides along, and it’s what’s physically driving the blades that start closing in on you the moment you pick up the key. Once you’ve got a sense of the layout, go ahead and grab the Gore-Spattered Key, and get ready to move fast.
This whole stretch of the Underground Laboratory is one of the more elaborate set pieces in the What Lurks in the Shadows mission, and it comes fairly late in the game’s story, well after you’ve already picked up the Oni Bow and gotten comfortable using it against smaller Genma. That familiarity matters here, because the blade mechanism room isn’t really a combat encounter at all. There’s nothing to fight in that chamber, just the trap itself, so all the muscle memory you’ve built up landing bow shots on moving targets is what gets tested instead.
How to Stop the Blade Mechanism: Shooting the Red Rope Spools
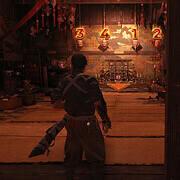
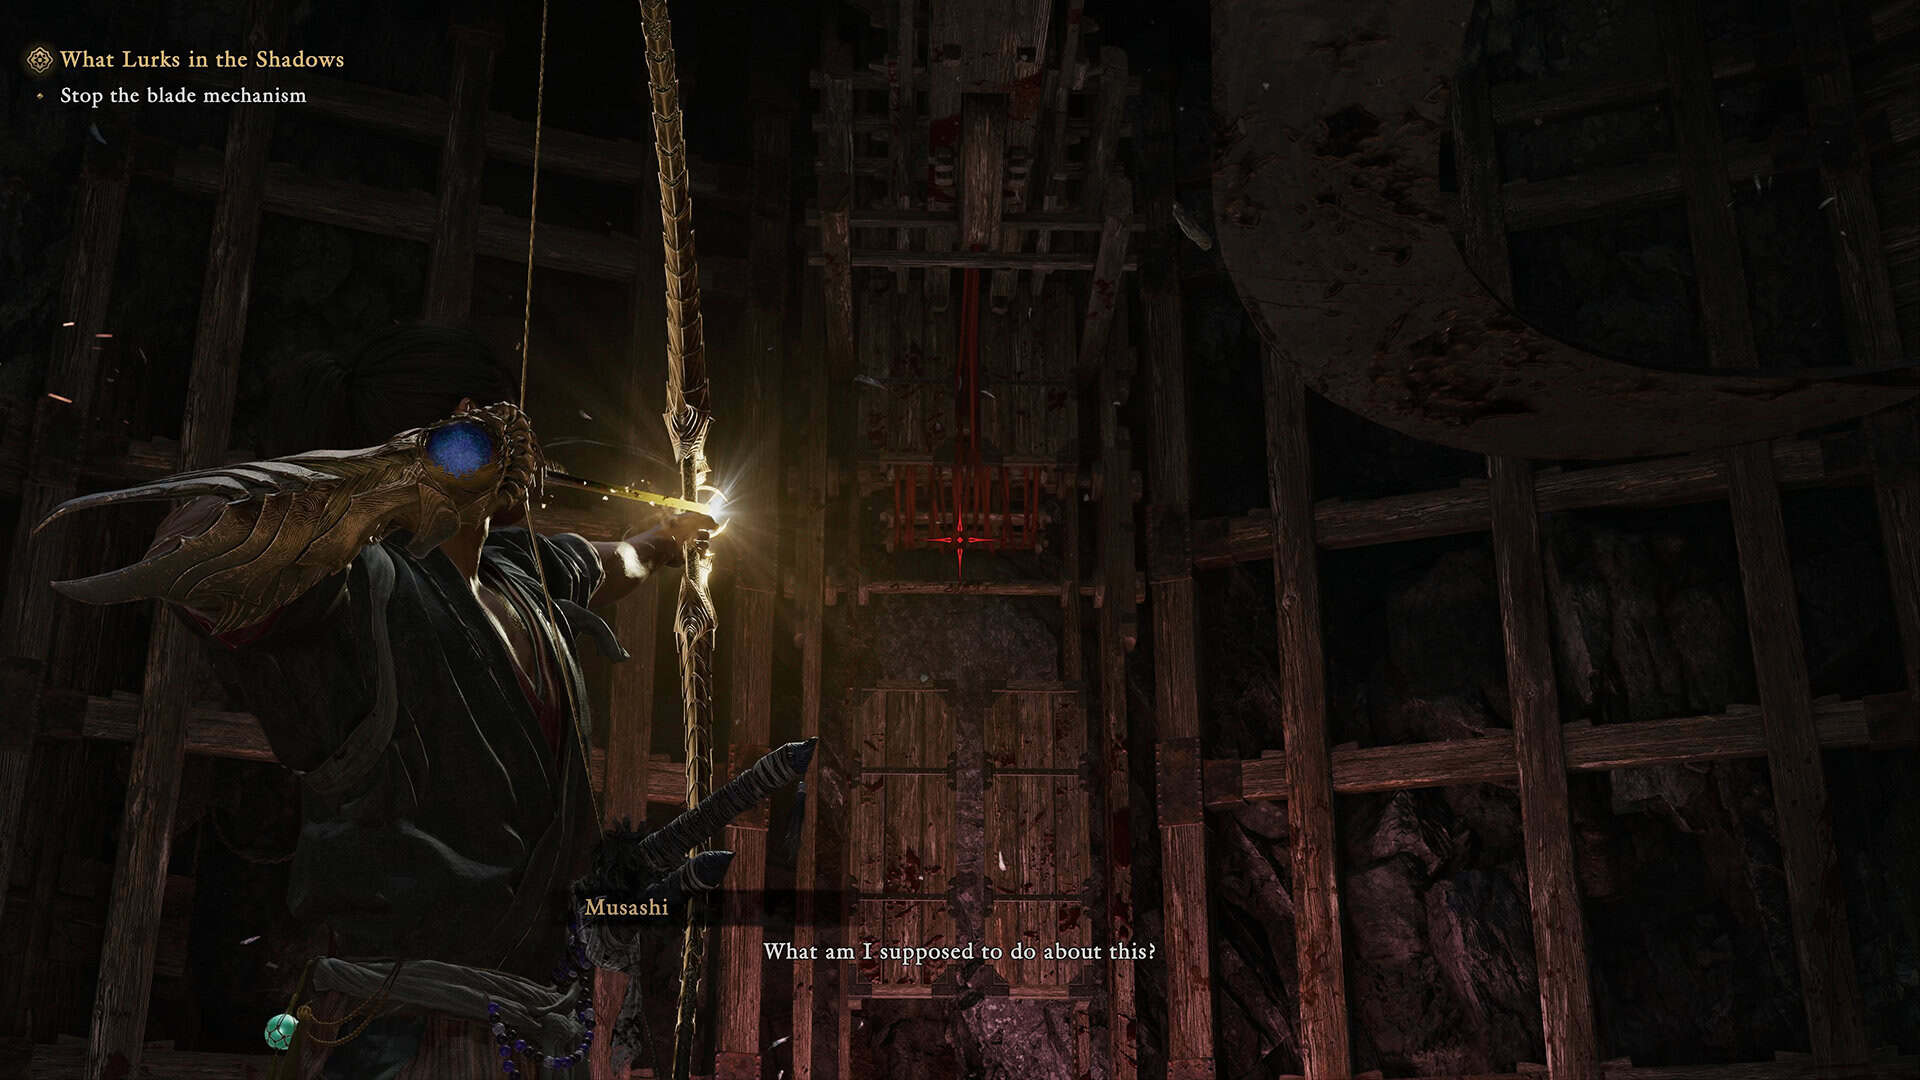
As soon as the key is in your hand, a huge fan-like blade starts descending from the ceiling, and the only way to stop the blade mechanism is to destroy the drums feeding it. Each drum is wrapped in red rope, and a single well-placed shot from your Oni Bow is enough to destroy one outright. There are four of these drums placed around the room, and you need to find and shoot every single one before the blade reaches you.
Here’s the part that trips a lot of players up: each drum starts out hidden behind a wooden barrier, and that barrier only falls away and exposes the red rope underneath at a specific moment as the blade descends. So if you turn to the nearest drum and its barrier is still up, don’t waste time shooting at it. Just swing your bow to the next one that’s already exposed instead, and circle back around once the others open up. Reading the room this way, instead of panicking and firing blind, is really the whole trick to surviving this fight.
Finding the Hidden Fourth Spool on the Blade Mechanism
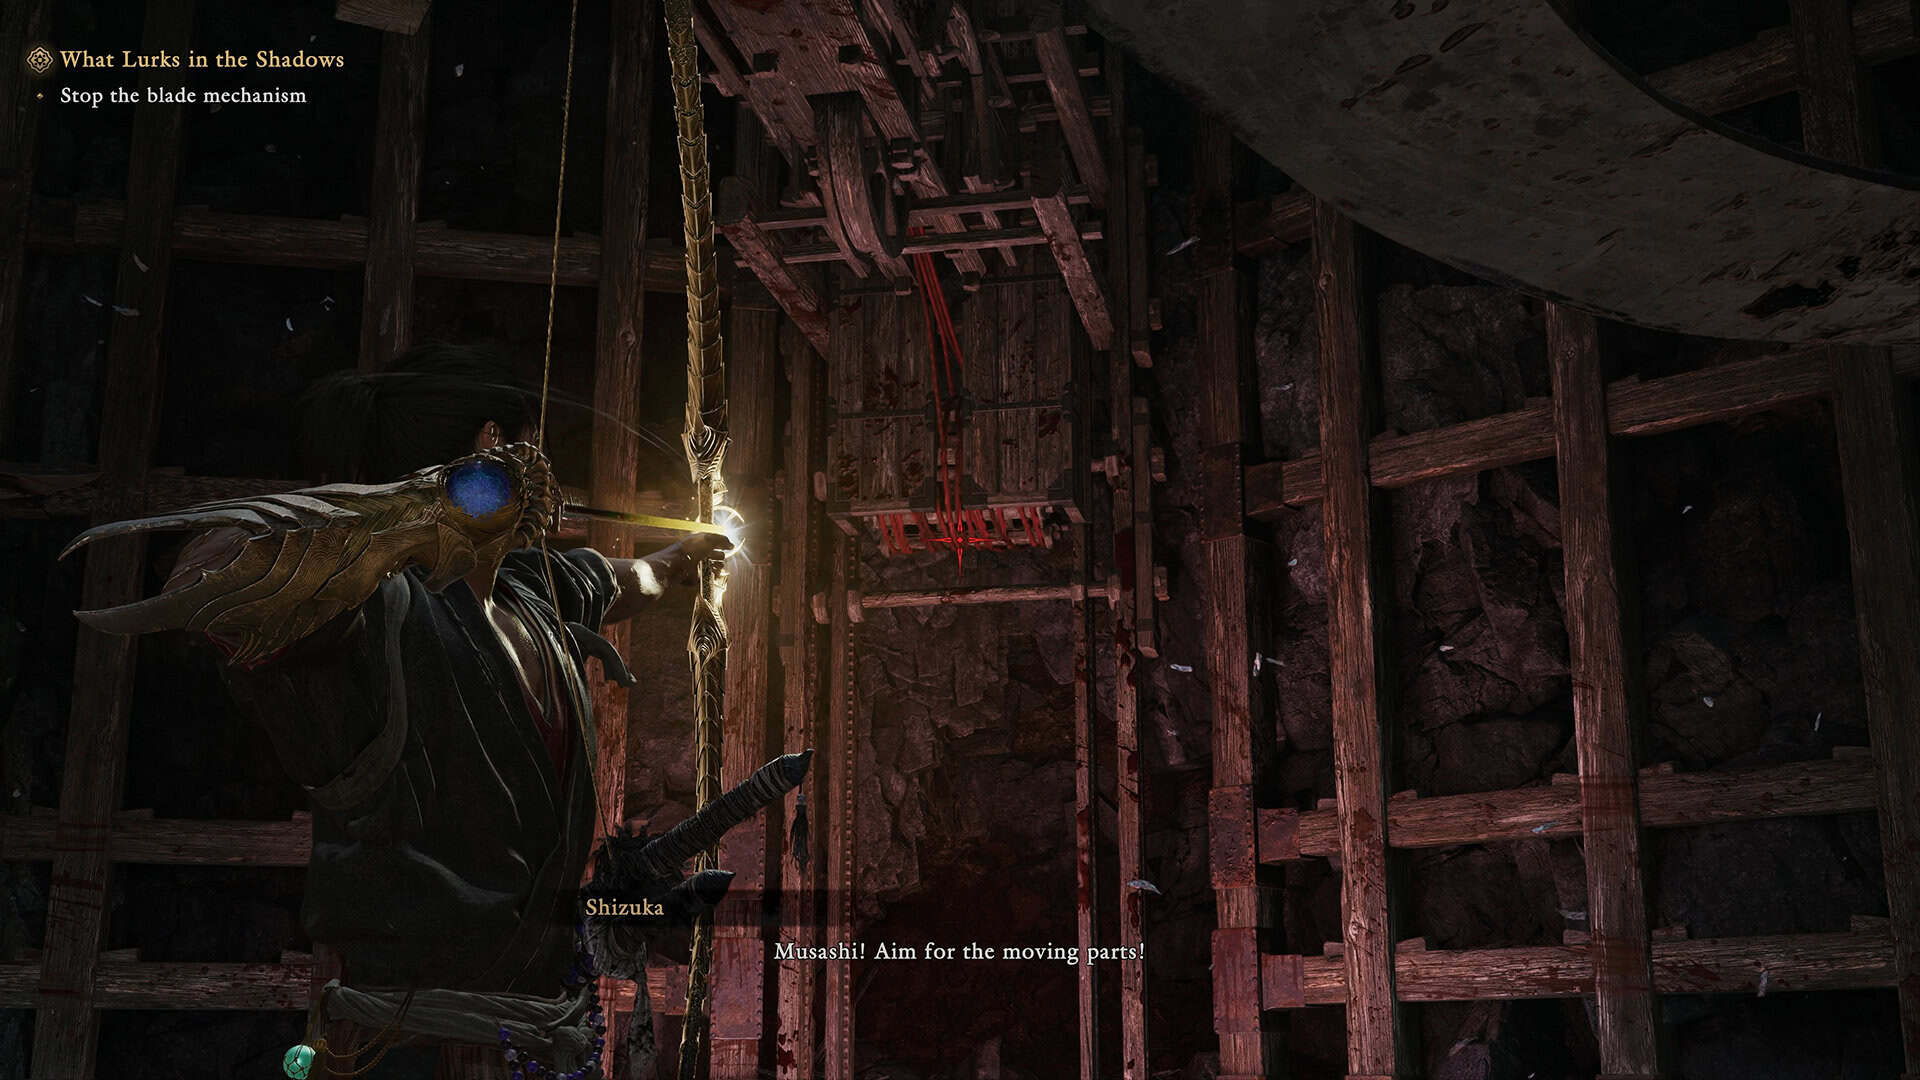
Three of the four spools are usually easy to spot once their barriers drop, since they sit at roughly eye level around the chamber. The fourth one is the one that catches people off guard, because it stays completely hidden until the blade is nearly on top of you. Keep your camera moving and check the wall near the vertical slot you spotted earlier, since that’s usually where the last drum reveals itself, and it tends to expose itself later than the other three.
This is very similar to another Oni Bow trick you’ll use later in the game, where cutting the right rope or tether at the right moment is the difference between a clean win and taking a beating. If that kind of mechanic clicks for you, the tether cord you need to sever mid-fight against Rasho-gan works on almost the exact same principle, just with a boss attached to the other end of the rope instead of a ceiling trap.
-

- How to Stop the Blade Mechanism
-
- Finding the Hidden Fourth Spool
Surviving the Blade Mechanism Trap on Action Difficulty
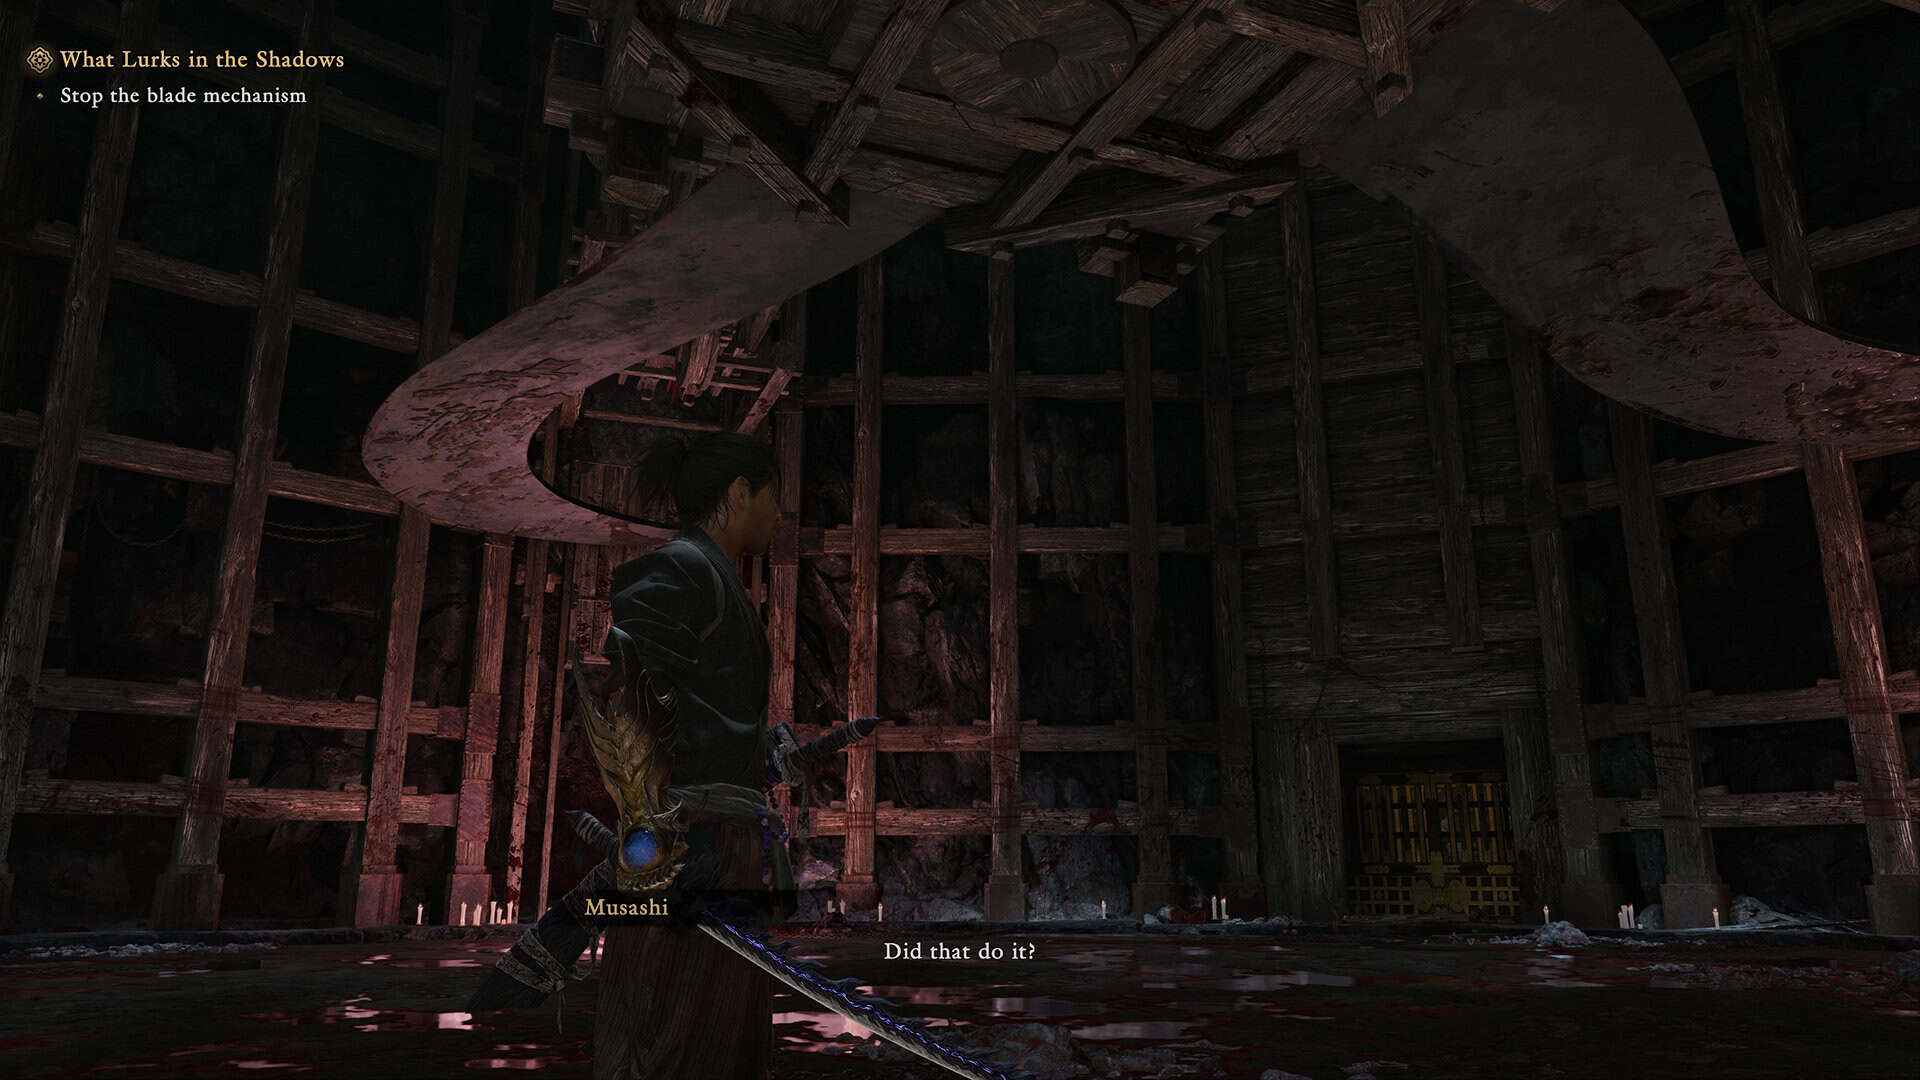
If you’re playing on Action difficulty, which is the harder of the two modes available on a first playthrough since Carnage only unlocks after you’ve beaten the game once on New Game+, the timing window on this trap gets noticeably tighter. The blade closes in faster and the wooden barriers seem to hang on a little longer before dropping, so precision matters more than speed here. Don’t waste shots guessing at a drum that’s still covered, since every miss is a second you don’t get back.
A steady stance helps more than you’d think. Plant yourself somewhere near the middle of the room instead of hugging one wall, since that gives you a clean line of sight on all four drum positions without having to sprint across the chamber between shots. Of course, if you do get boxed in by the blade’s path, a quick dodge is usually enough to reset your position, so don’t be afraid to back off for a second and reassess instead of forcing a shot you’re not lined up for.
What Happens After You Stop the Blade Mechanism
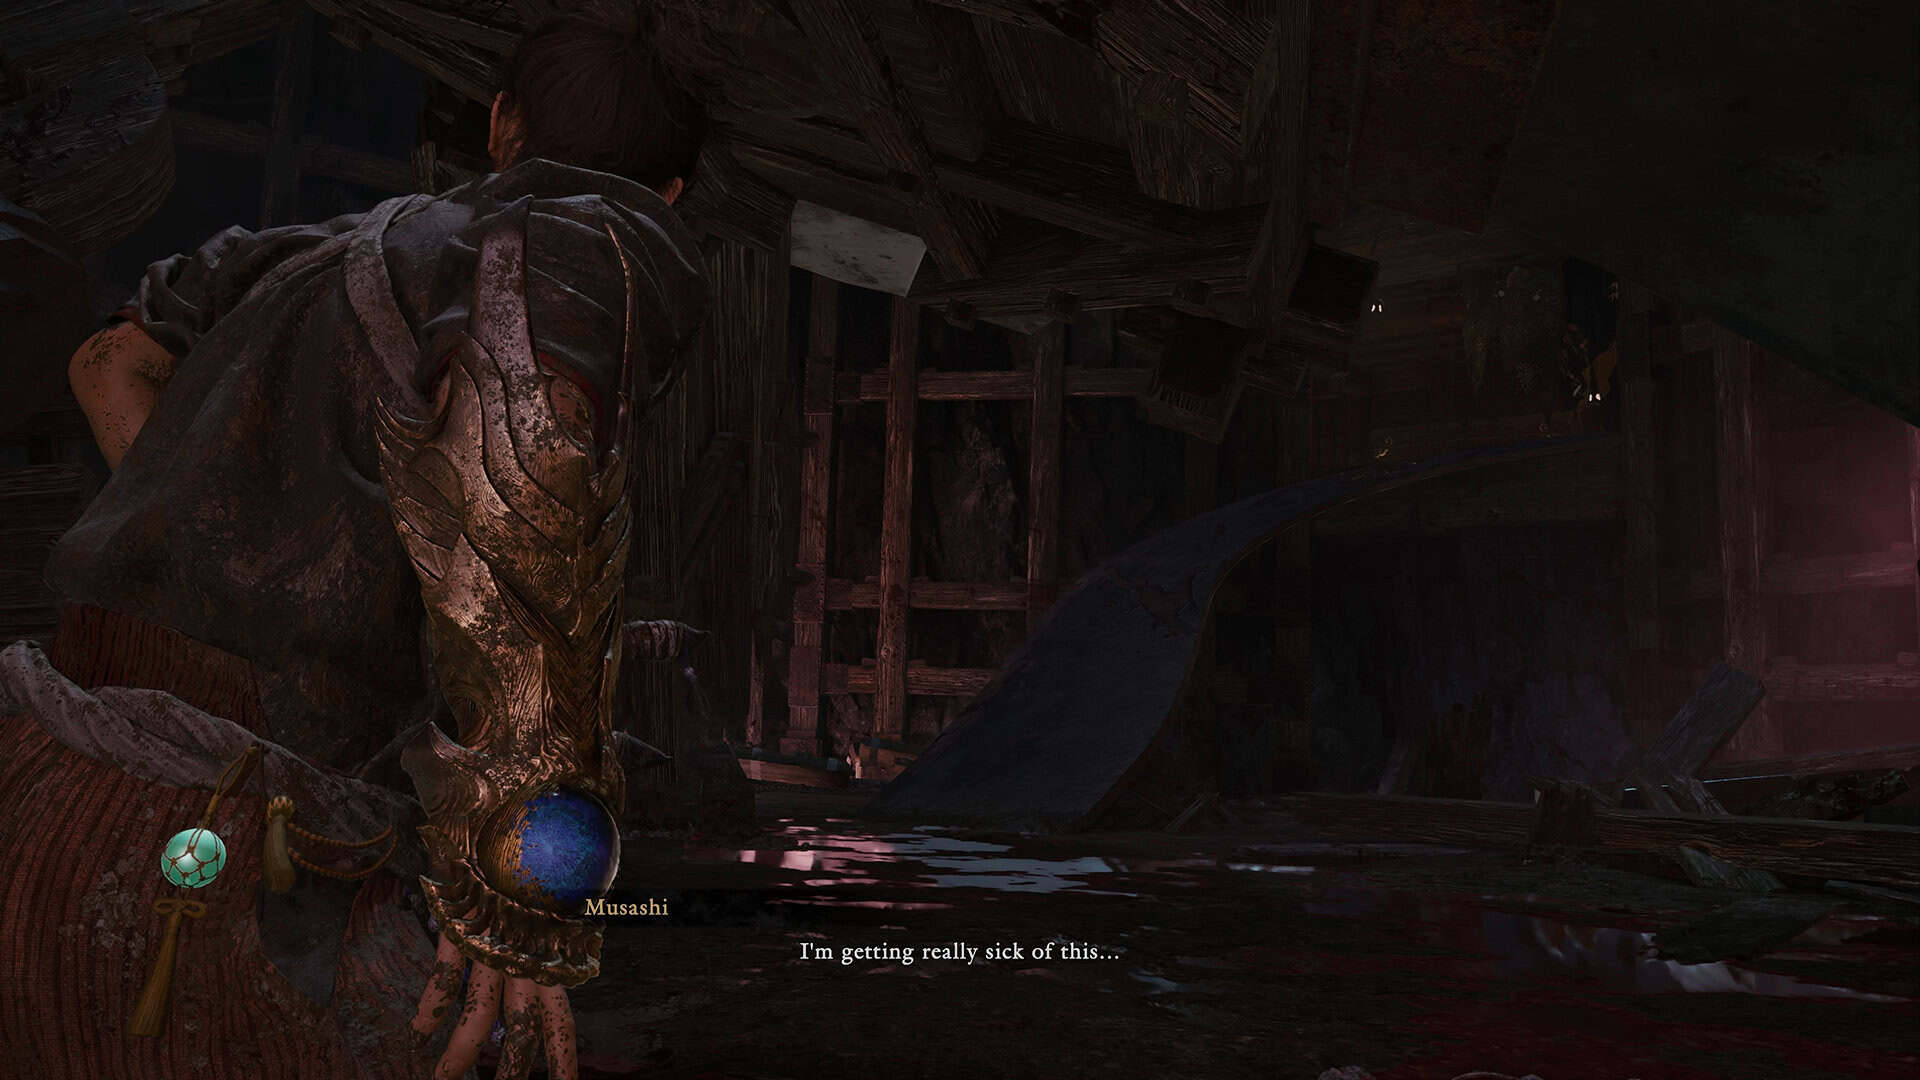
Once all four spools are destroyed, the blades stop dead and a short cutscene plays showing the mechanism grinding back to life. Don’t worry when you see that. It’s just a visual beat, and you genuinely don’t need to do anything else once the four drums are gone, since the trap is permanently disabled from that point on.
After the cutscene wraps, climb up along the western side of the room and you’ll find a treasure chest holding the Earth-Shakers, a solid Oni Armament worth grabbing before you move on. From there, the path leads back to the elevator that takes you up to Dokyo’s workroom and the Grand Theater Spirit Mirror, so it’s a good moment to save and restock before you keep going.
-
- Surviving the Blade Mechanism
-
- What Happens After You Stop the Blade Mechanism
Rewards and What Comes Next in What Lurks in the Shadows
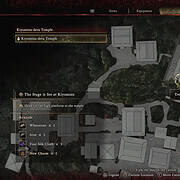
Clearing this room does more than just get you past a trap. It’s also one of the milestones tied to the mission itself, since finishing What Lurks in the Shadows is what makes Lion Dog collectible pawprints start showing up on your Kyoto map for the first time, so it’s worth remembering once you’re chasing full completion later. If you want the bigger picture of where this mission sits in the story, our full list of main missions and side quests lays out exactly what’s still ahead of you.
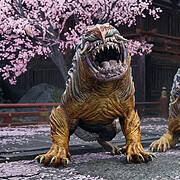
What’s directly ahead, though, is a fight against two Nue at once, smaller than the single Nue you likely faced earlier but dangerous in a pair, so turning off lock-on and keeping the camera loose helps you track both of them at the same time. Beyond that pair fight sits the Greater Nue, the actual boss of this mission. If you’re used to interrupting a boss’s big wind-up with a well-timed bow shot, that same instinct carries over nicely, similar to how you have to shoot down Ifuu’s backpack out of the air during his fight at Windswept Kennin-ji.
FAQ: Stopping the Blade Mechanism in Onimusha Way of the Sword
How many rope spools do I need to shoot to stop the blade mechanism? Four. Each one is wrapped in red rope and goes down with a single Oni Bow shot once its wooden barrier drops away, so you don’t need to worry about landing multiple hits on the same drum.
Why can’t I see all four drums right away? Each drum sits behind a wooden barrier that only falls off at a different point as the blade descends, so you have to rotate between whichever drum is currently exposed instead of picking one target and sticking with it.
Where is the hardest spool to find? The fourth one, near the vertical slot on the wall. It stays covered the longest and usually only shows itself once the blade is almost on you, which is exactly why so many players miss it on their first attempt.
What happens if I get hit by the blade while I’m still shooting spools? You’ll take damage and lose time you don’t have, so keep moving and don’t stand still lining up a shot once the blade gets close, especially on Action difficulty where the window is already tight.
Do I need to do anything after the mechanism stops? No. Once all four spools are destroyed, the trap is done for good, even though the cutscene shows the mechanism restarting. Just climb up and grab the Earth-Shakers before you head for the elevator.
That’s really all there is to it. Take a breath, read the room before you grab that key, and once the blade mechanism goes quiet you can grab the Earth-Shakers and head back to Dokyo’s workroom without looking over your shoulder. Check out our other Onimusha: Way of the Sword guides on ingametor.com if you’re pushing further into the Underground Laboratory or gearing up for the Nue fights ahead.