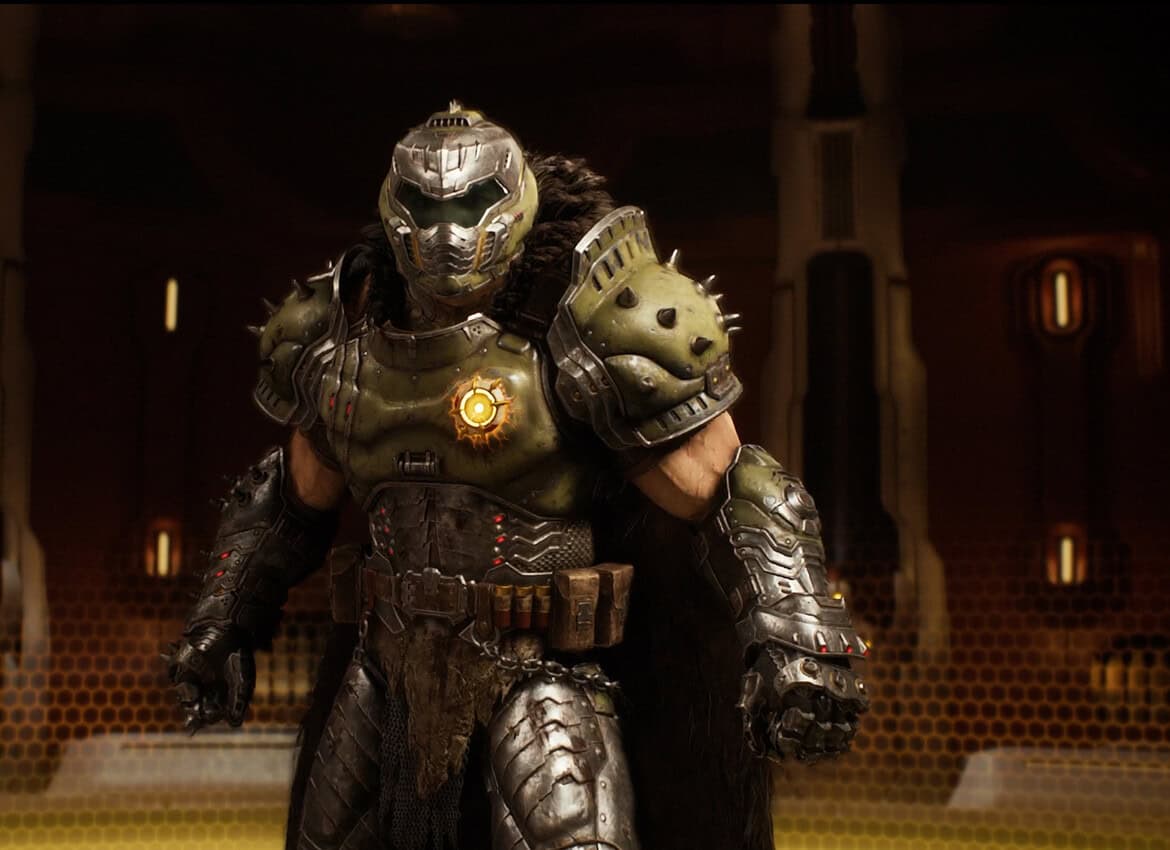
We continue our journey through Doom: The Dark Ages. Today, we will review all the collectibles that you can find in Chapter 6 – Siege Part 1. This is a fairly large location designed in open world mode. For quick navigation to the places you are interested in, use the time markers. I will start with a description of the quests you can complete in Chapter 6 – Siege Part 1. I also recommend reviewing Chapter 5.
I recommend watching the video, which provides a comprehensive overview of this location.
As a result of this guide, you will complete Chapter 6 – Siege Part 1 100% and receive
- Gold: 513
- Ruby: 4
- Demonic Essence – Ammo: 1
- Demonic Essence – Armor: 1
- Secrets: 11
- Codex Entries: 2
- Collectible Toys: 2
- Skins: 1
- Quests: 3
Сhallenge Immovable Object
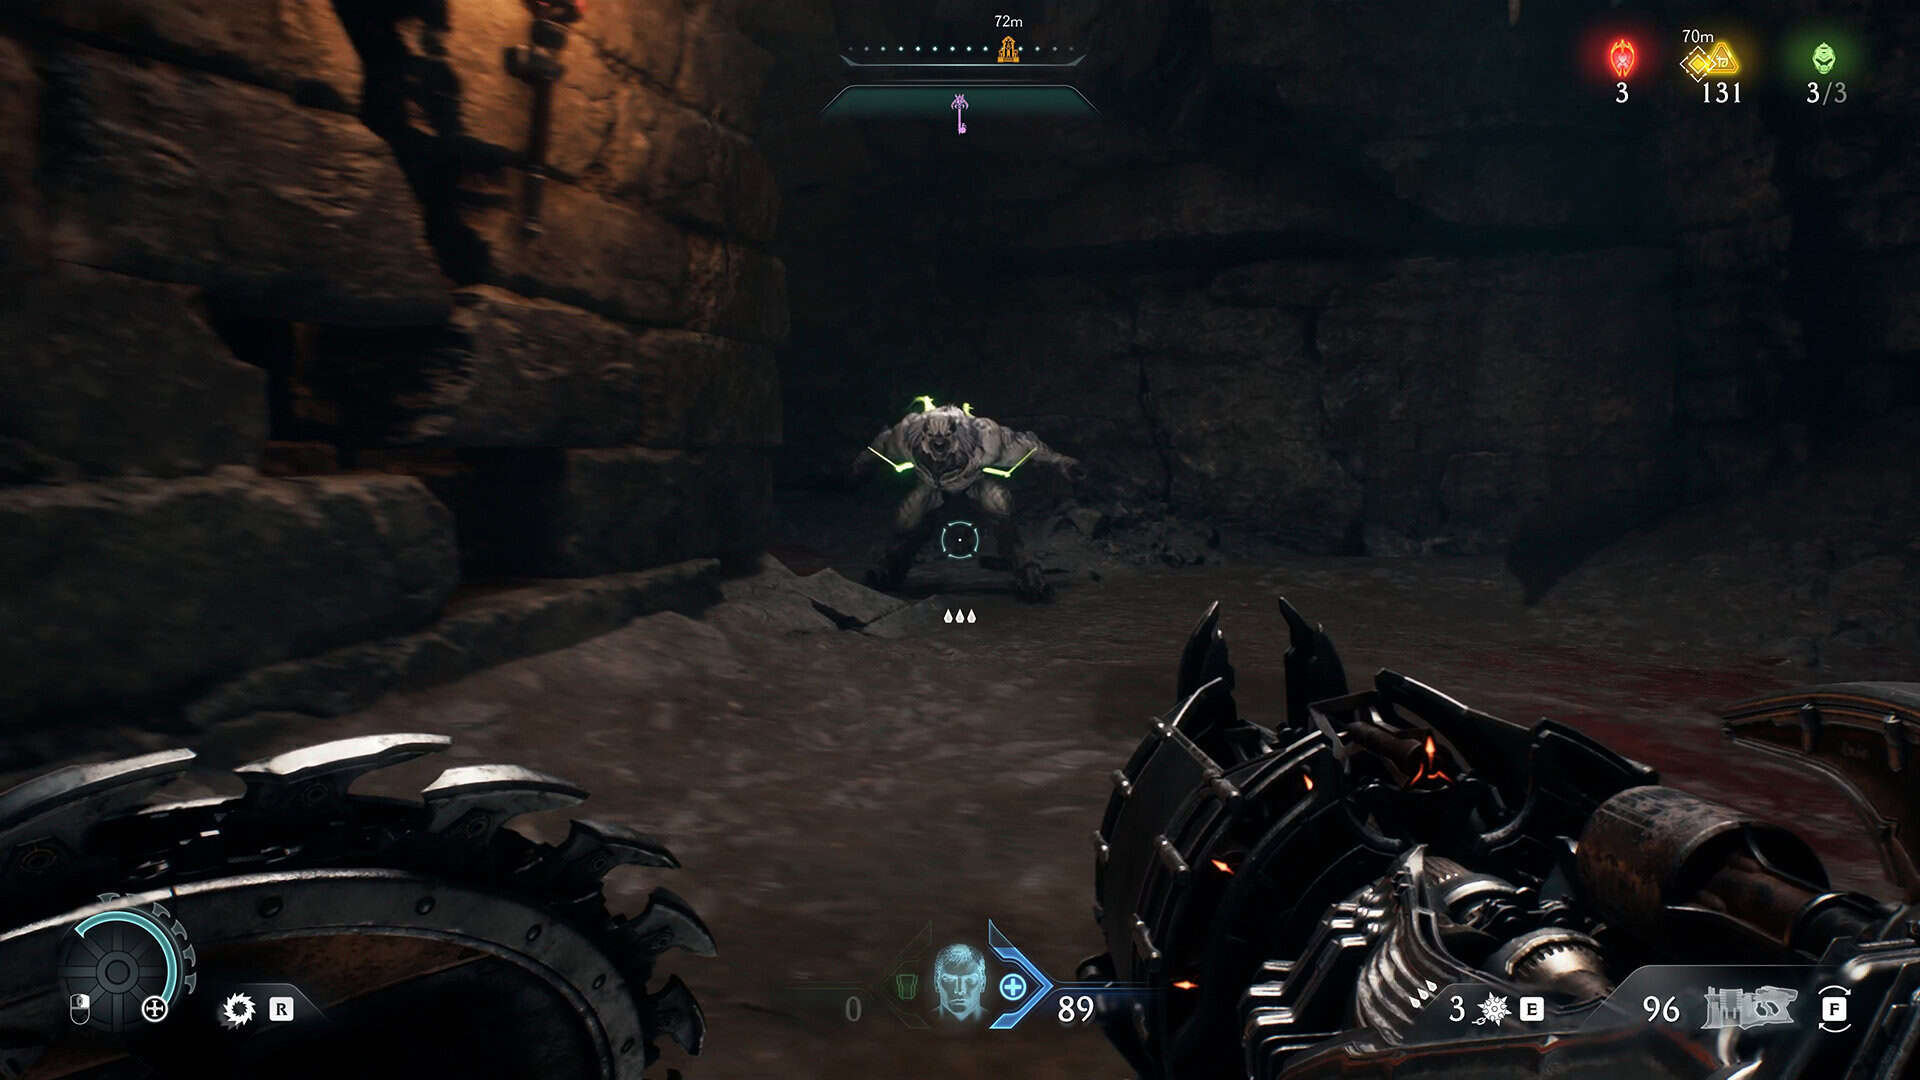
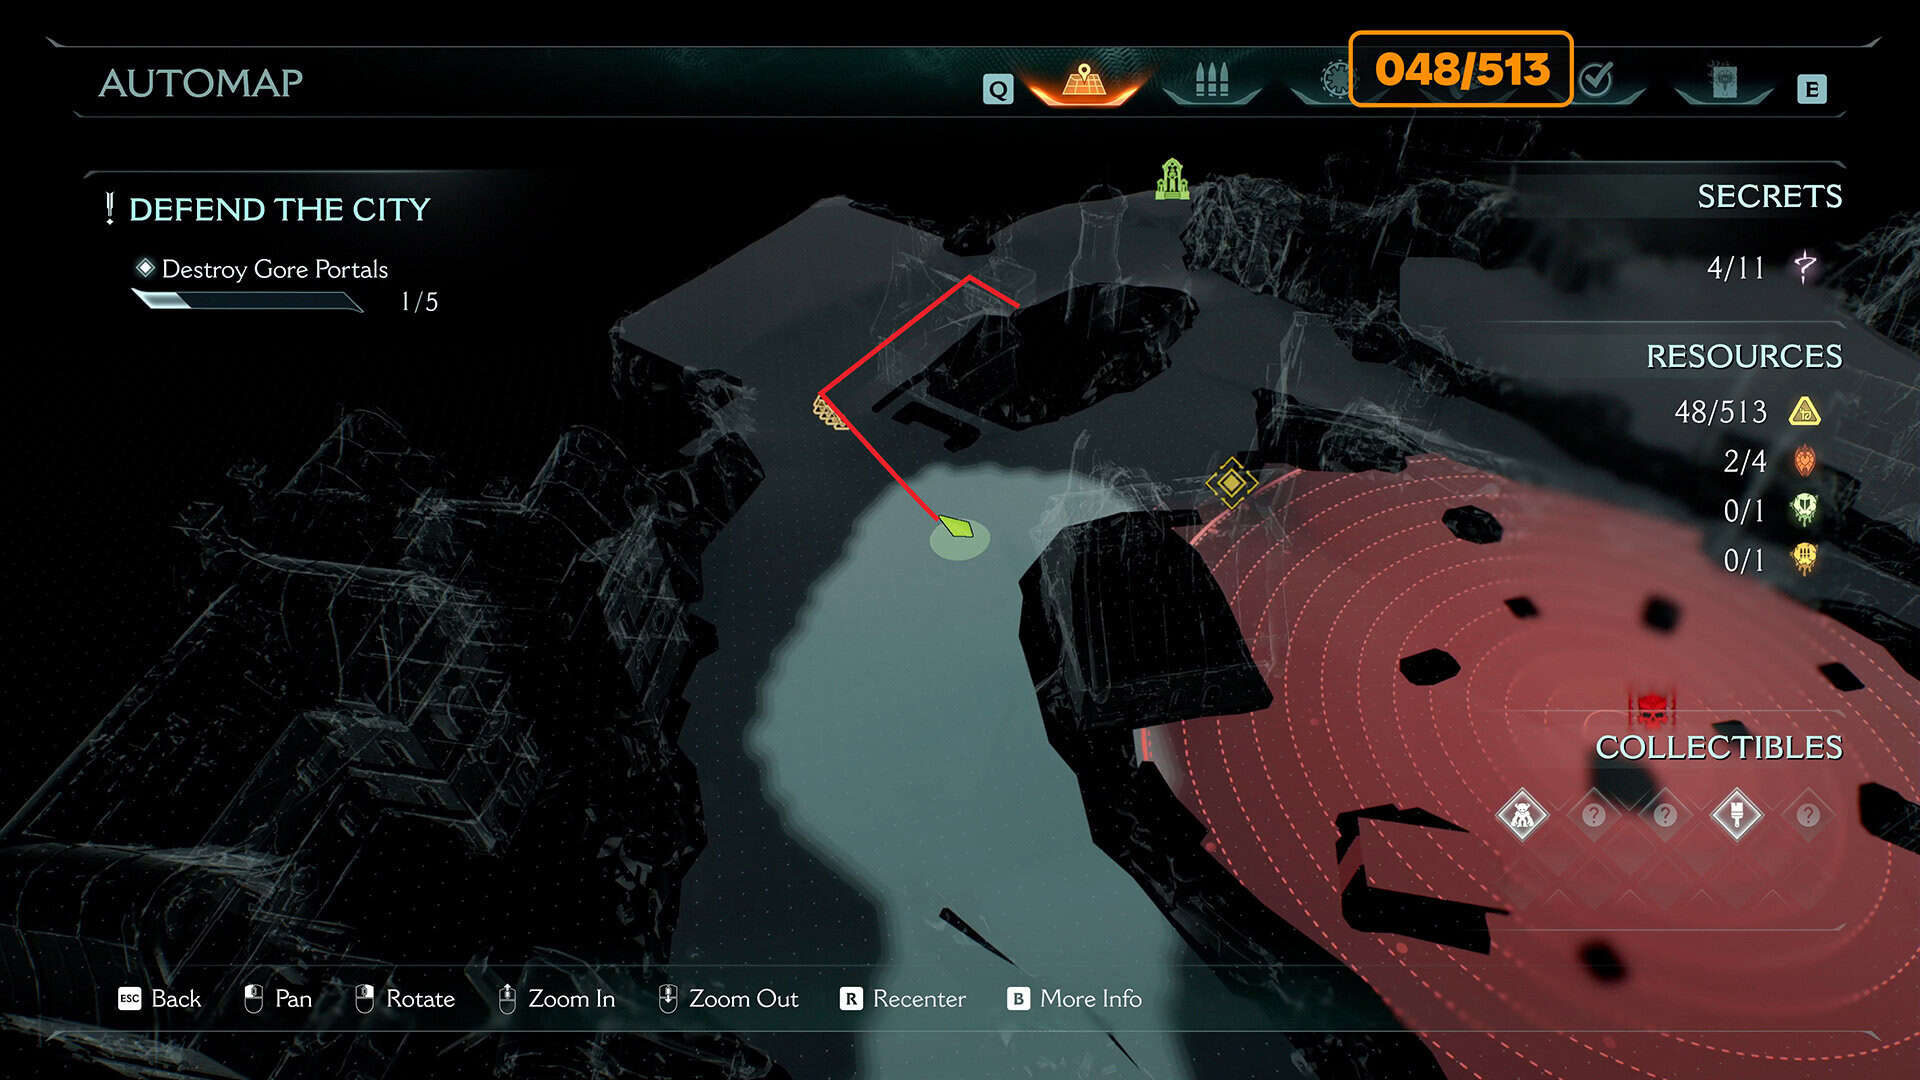
The first quest is Immovable Object. Here, you need to repel the hellknight’s attack 10 times. This is not difficult to do. There are quite a lot of these monsters in the location. The perfect place where you can easily complete this quest located in the portal, the route to which is indicated on the map. You will find yourself in a separate location with puzzles. There is one monster there, and you can repel 10 of its attacks without killing it.
-

- Hellknight
-
- Path to the portal where the lone monster is located
Сhallenge Unstoppable Force
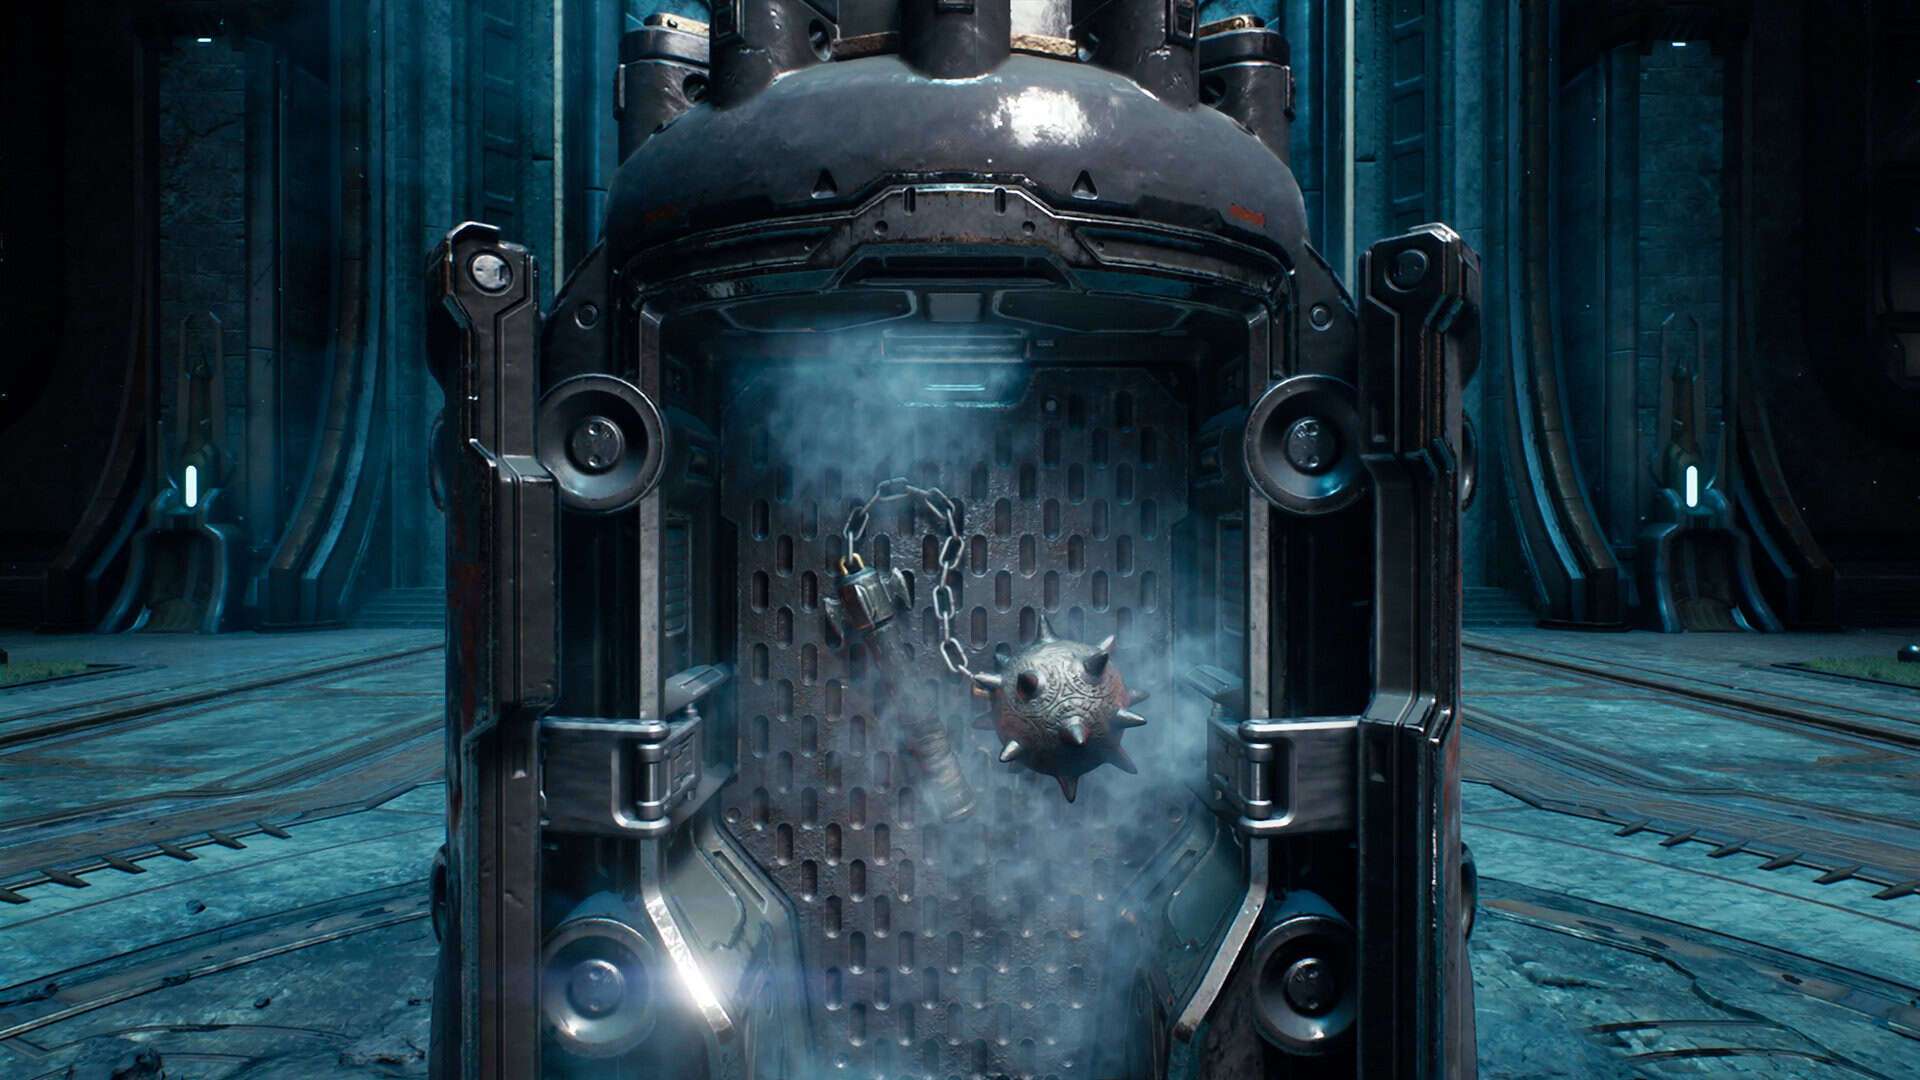
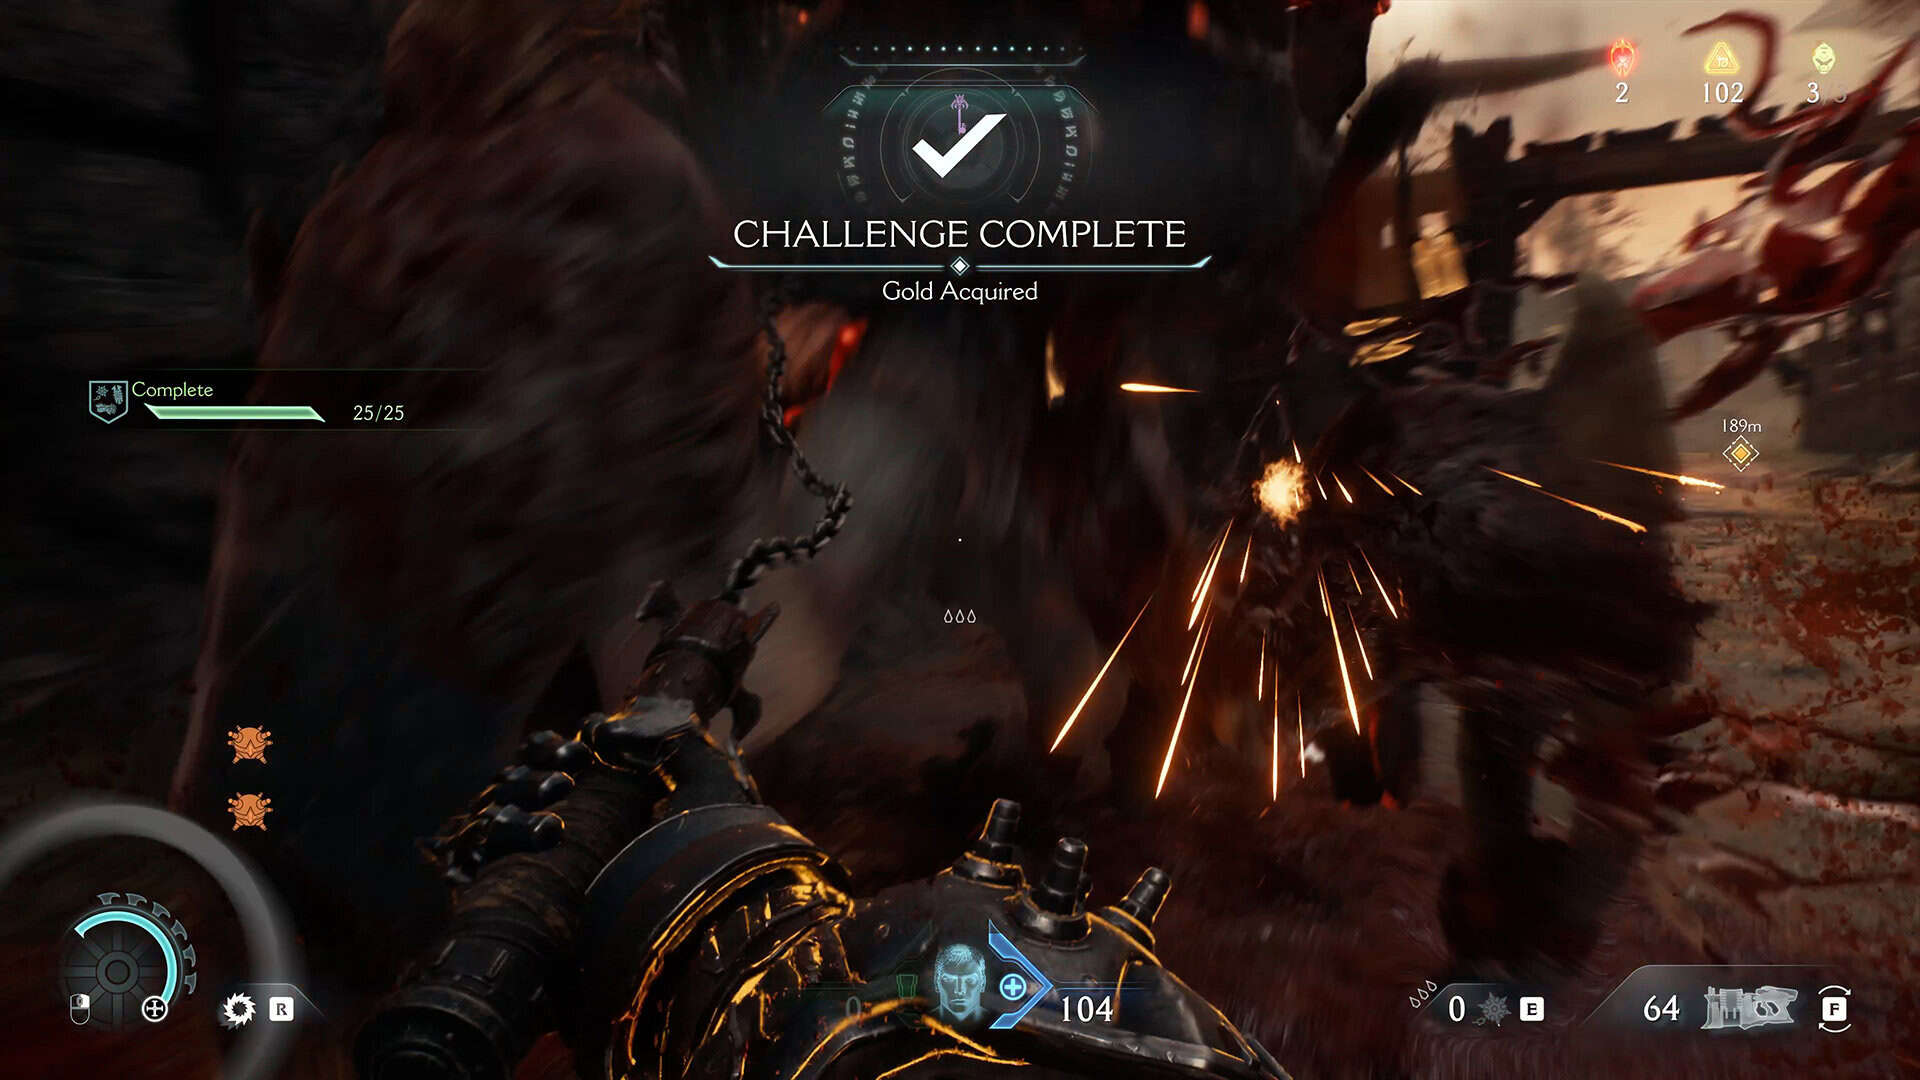
The second quest is Unstoppable Force. At the beginning of the chapter, you will receive a new weapon called Flail. You must strike your enemy 25 times with this weapon.
-
- Flail
-
- Complete challenge Unstoppable Force
Сhallenge Siege Breaker
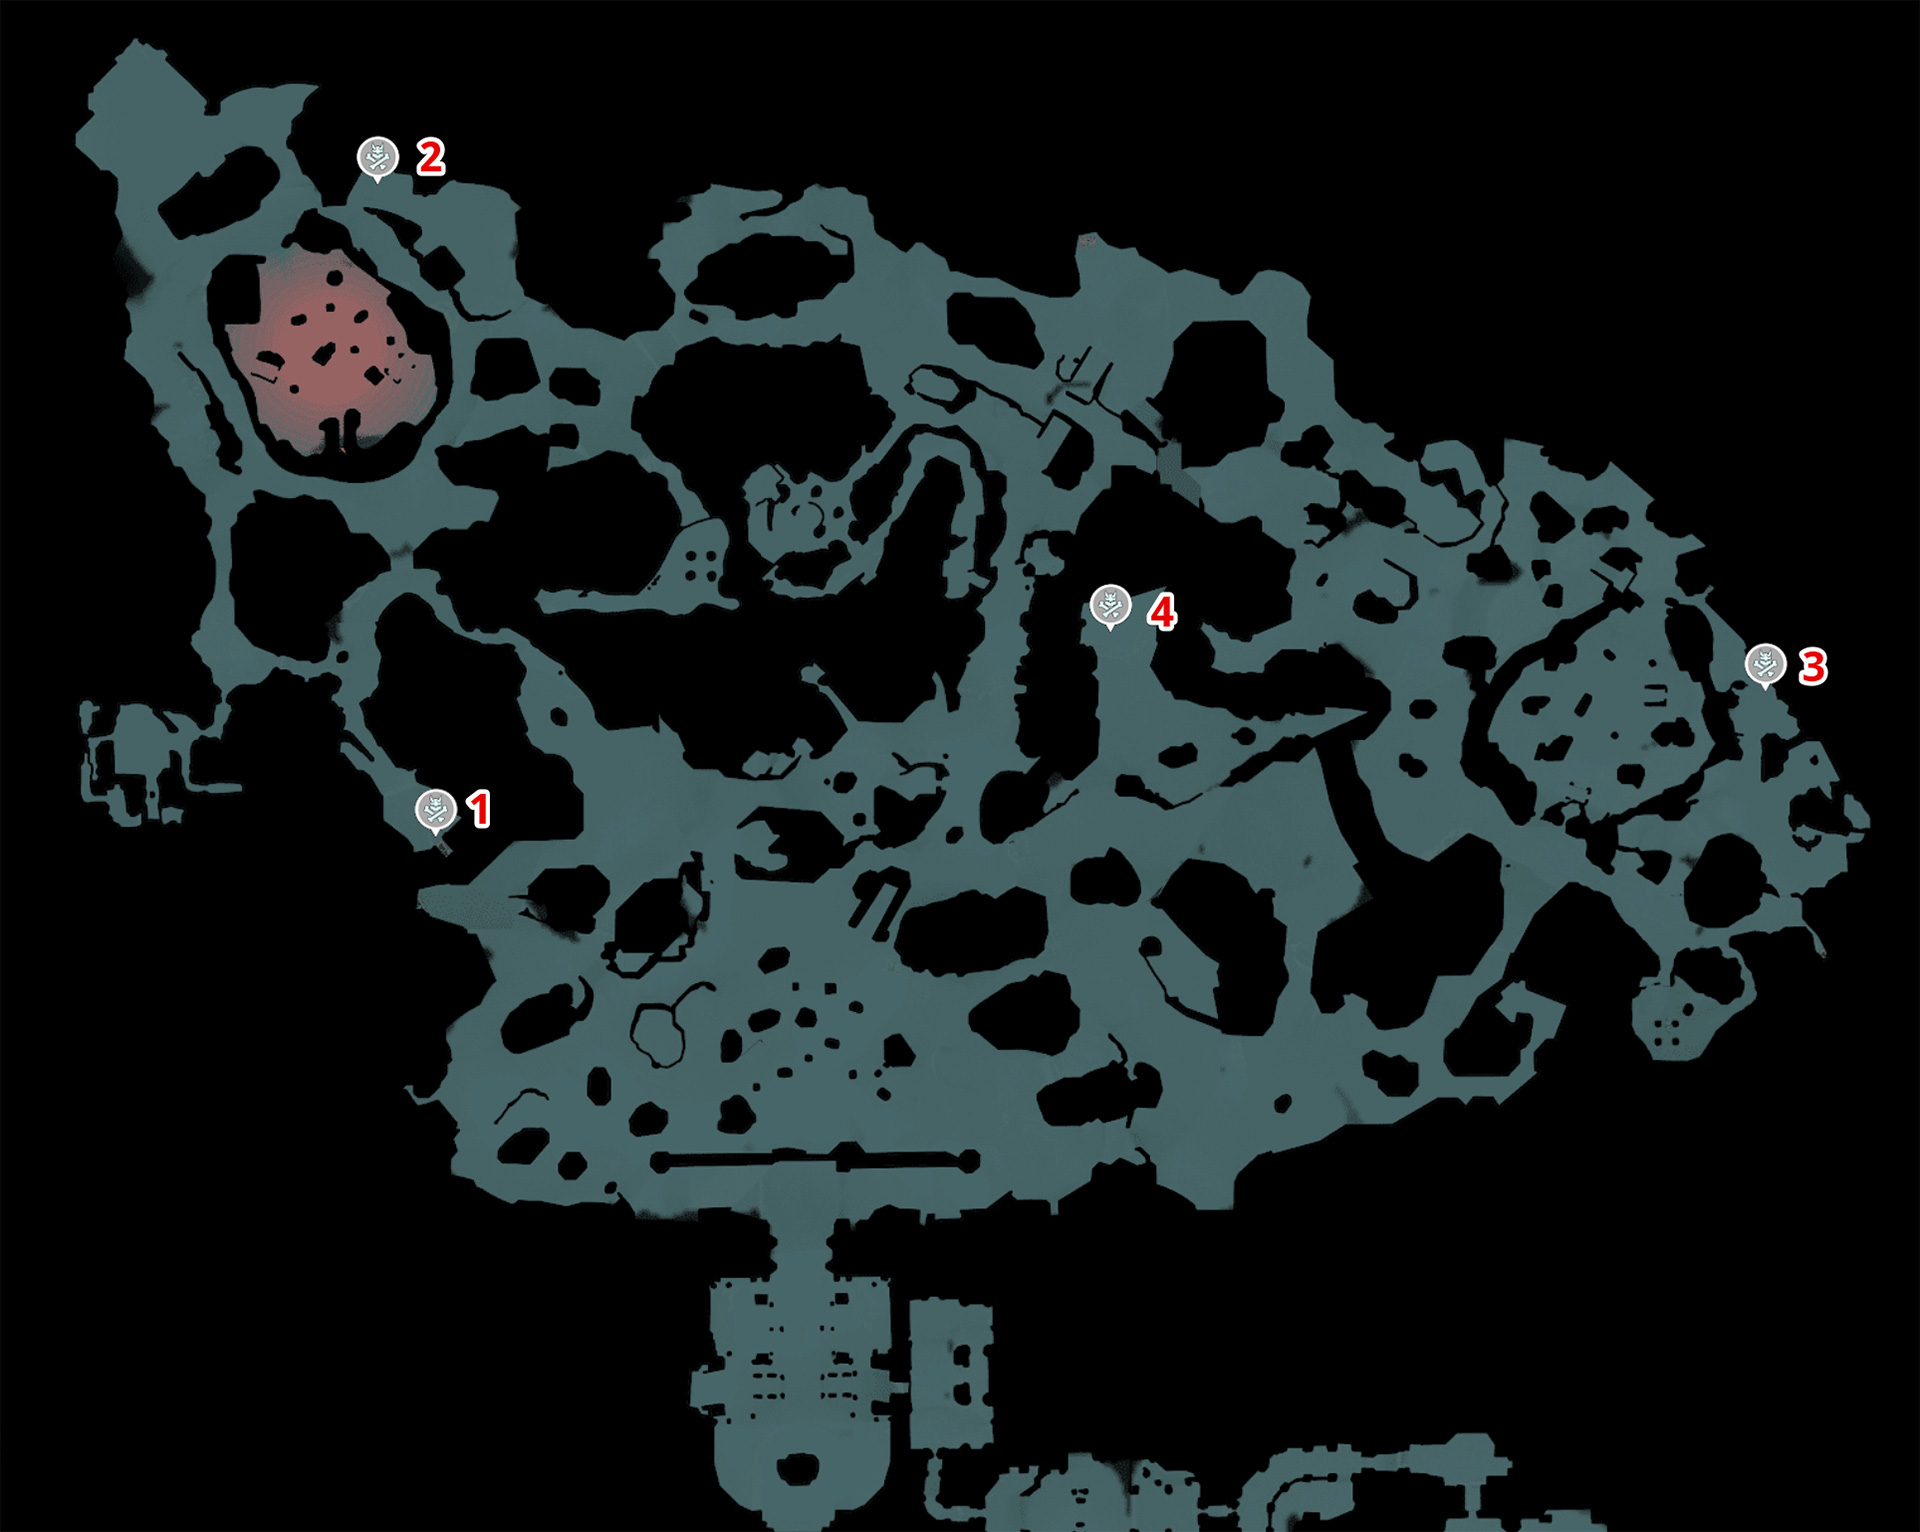
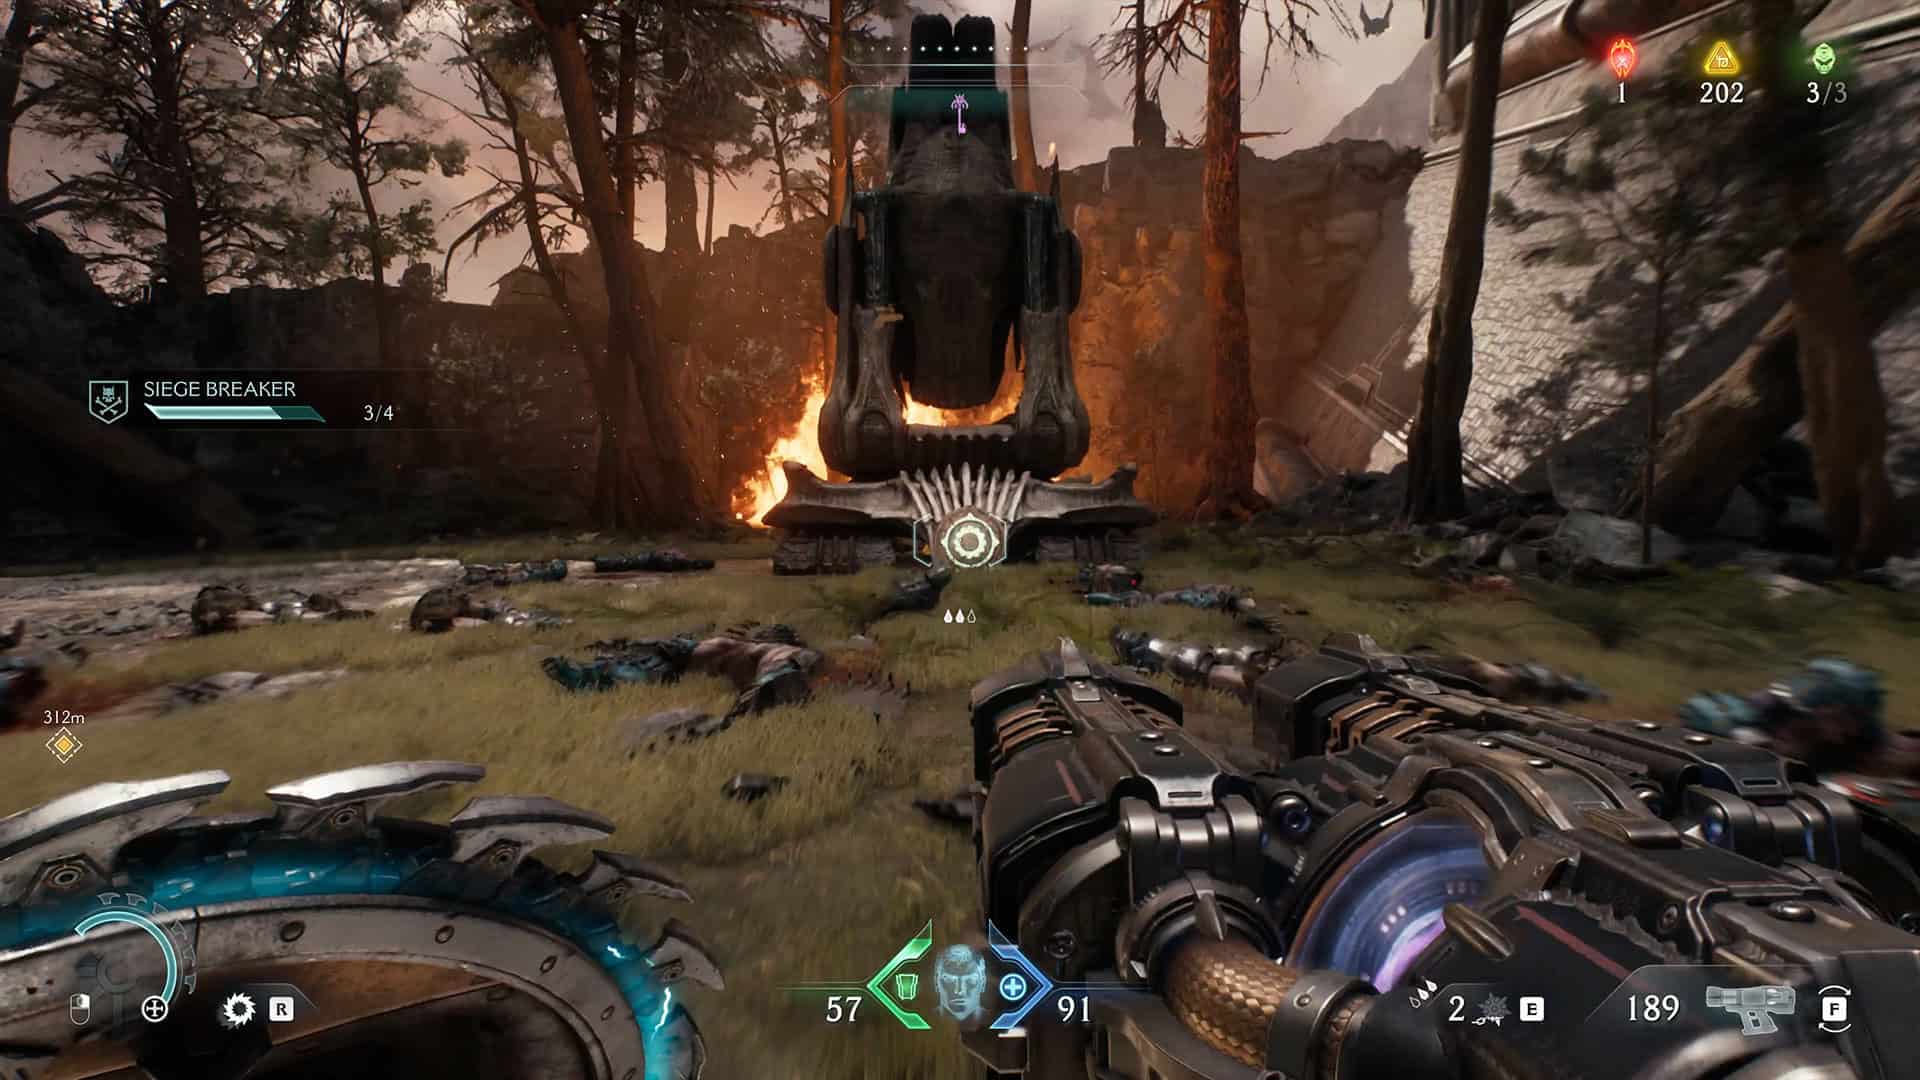
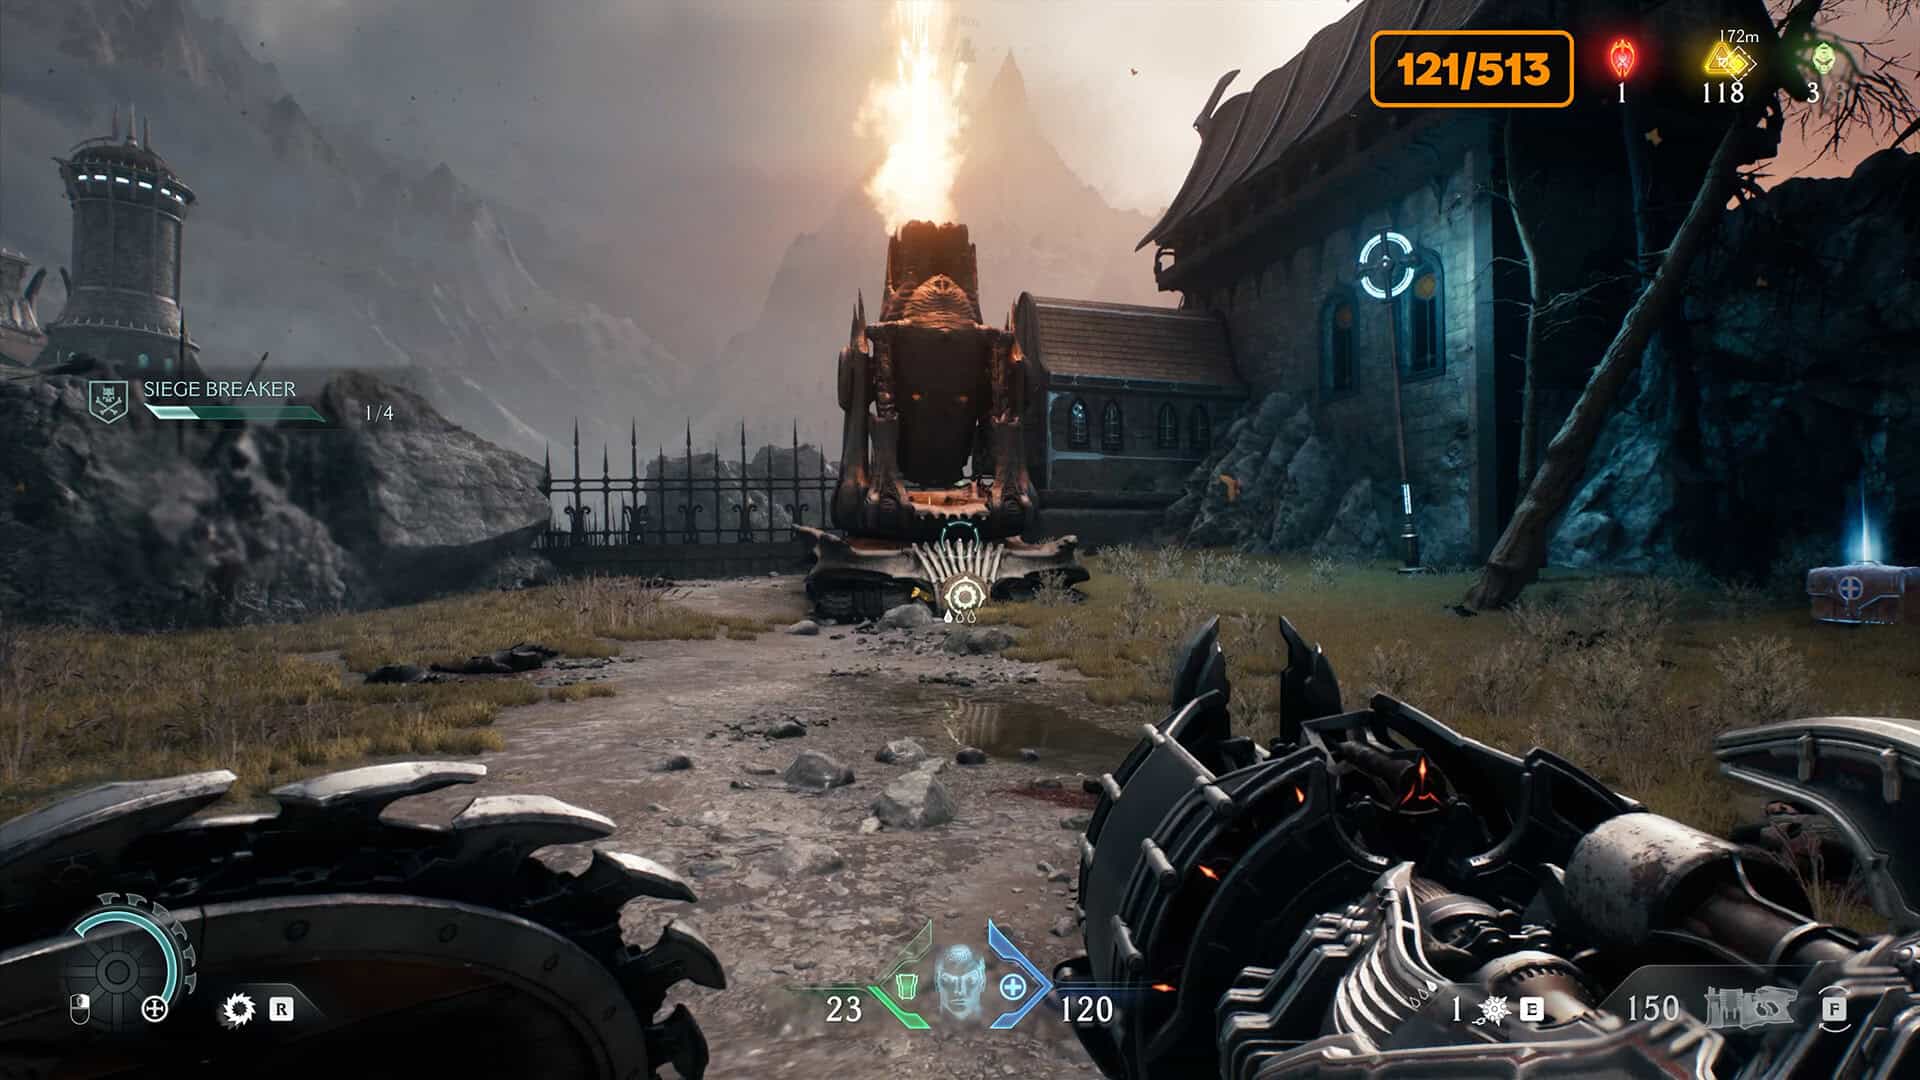
The third quest is called Siege Breaker. In this quest, you must destroy four special cannons located throughout the location. There are four locations where you need to destroy these cannons. I will gradually explain this in this article as we approach them. I will also post a screenshot of the map showing their locations here.
-

- Siege locations for testing Siege Breaker
-
- Siege
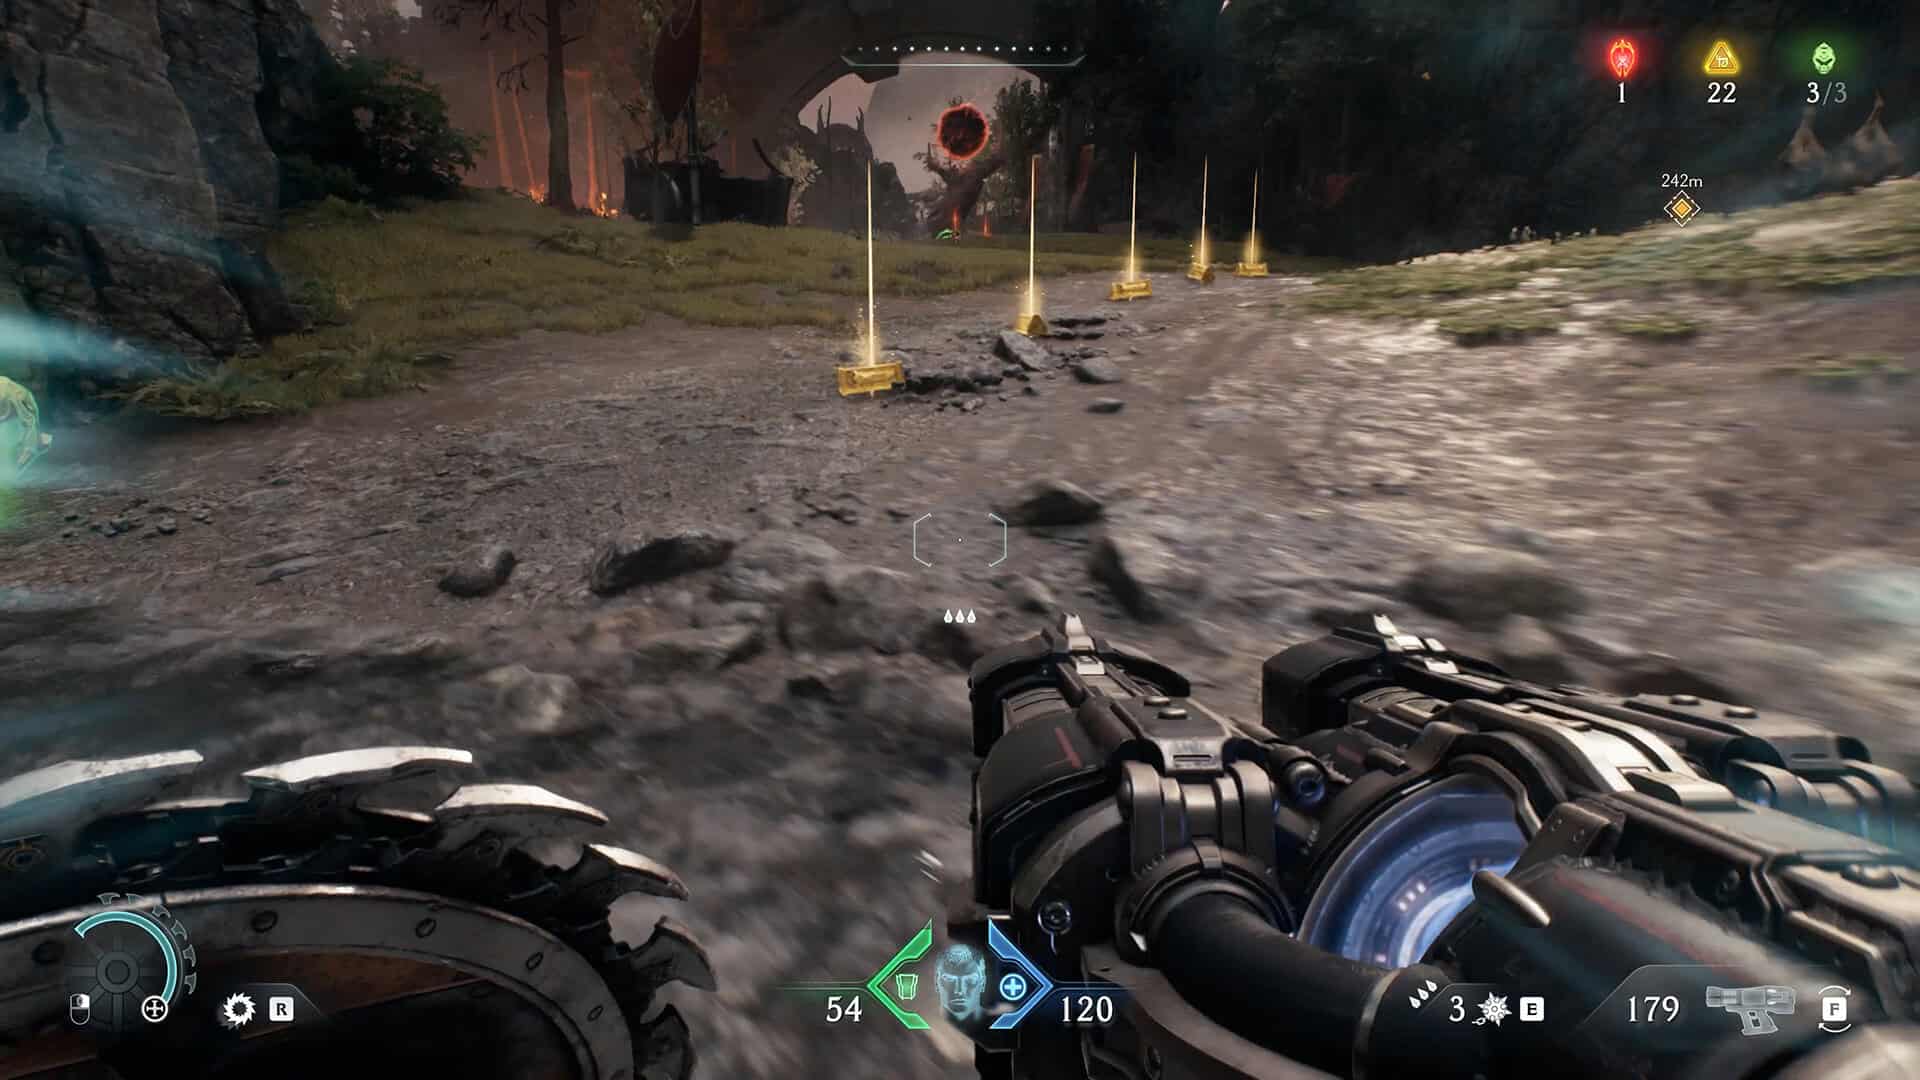
5 gold (05/513)
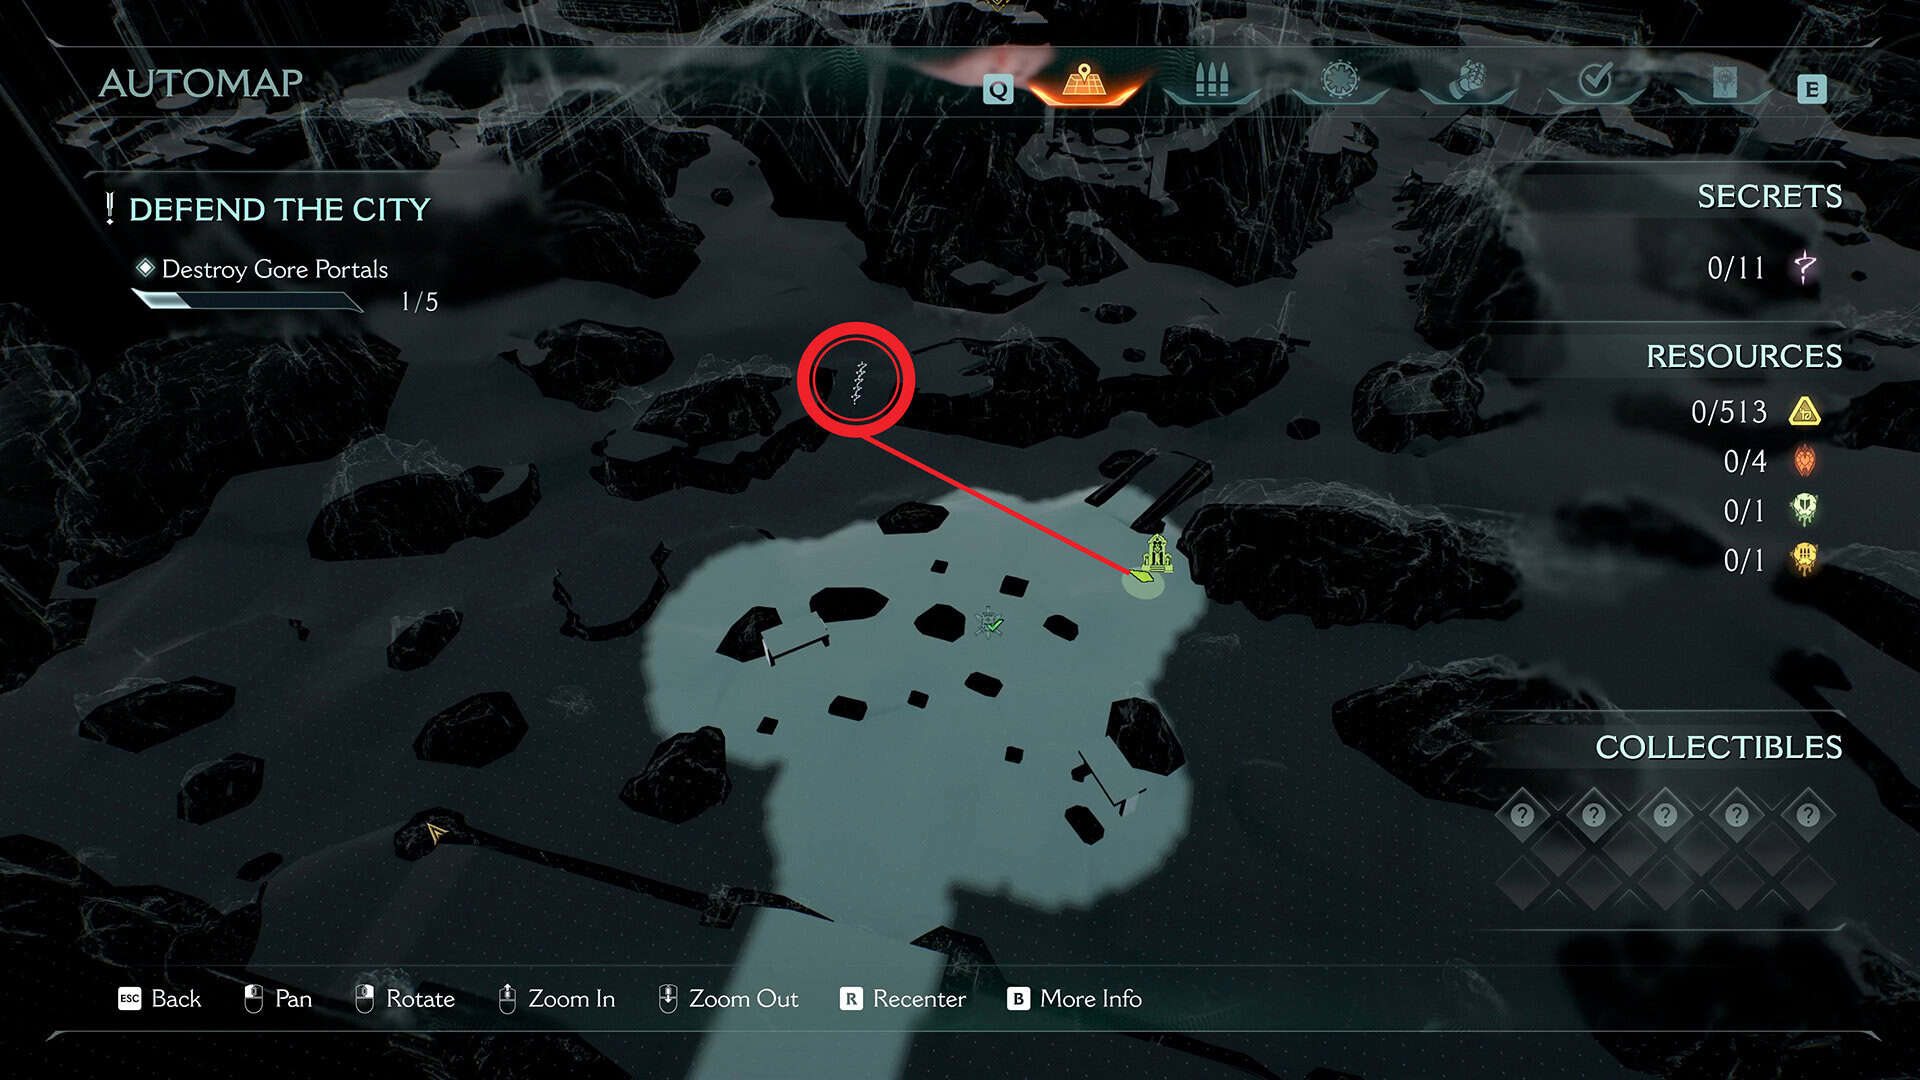
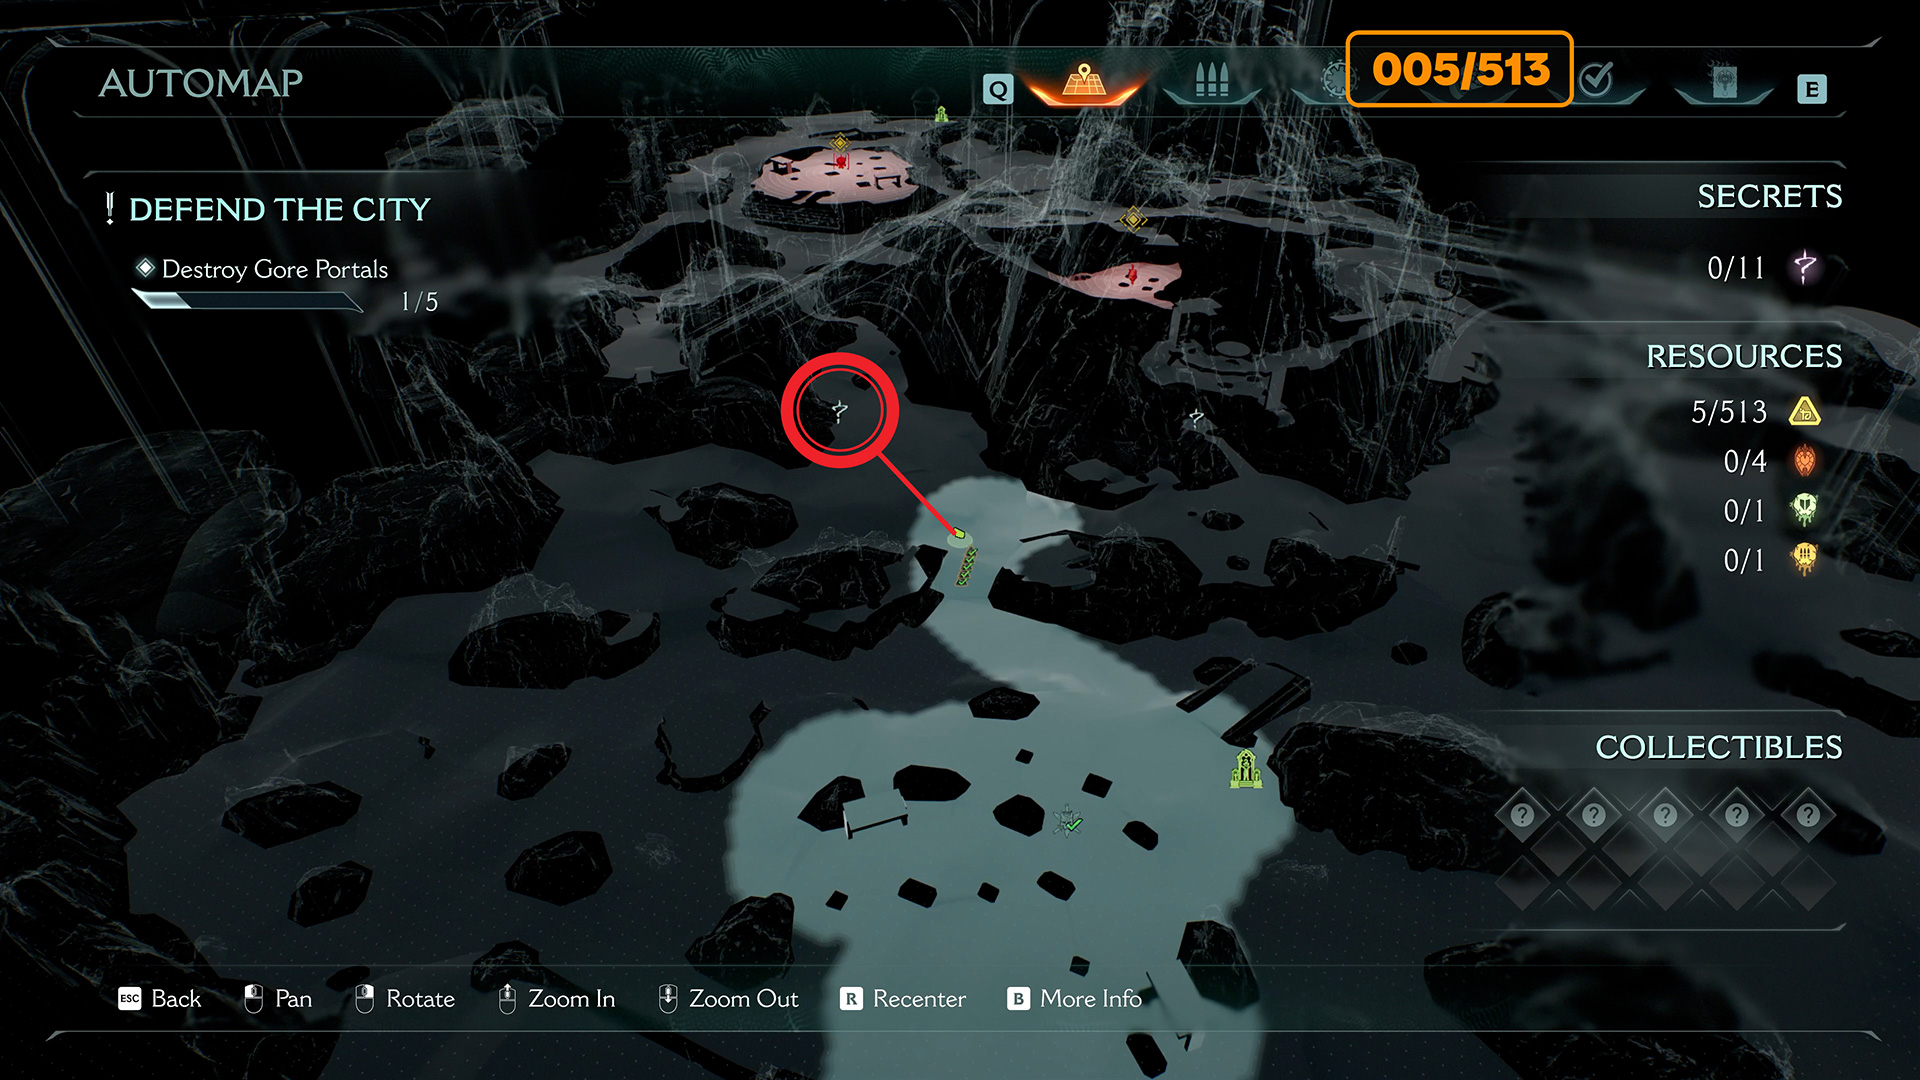
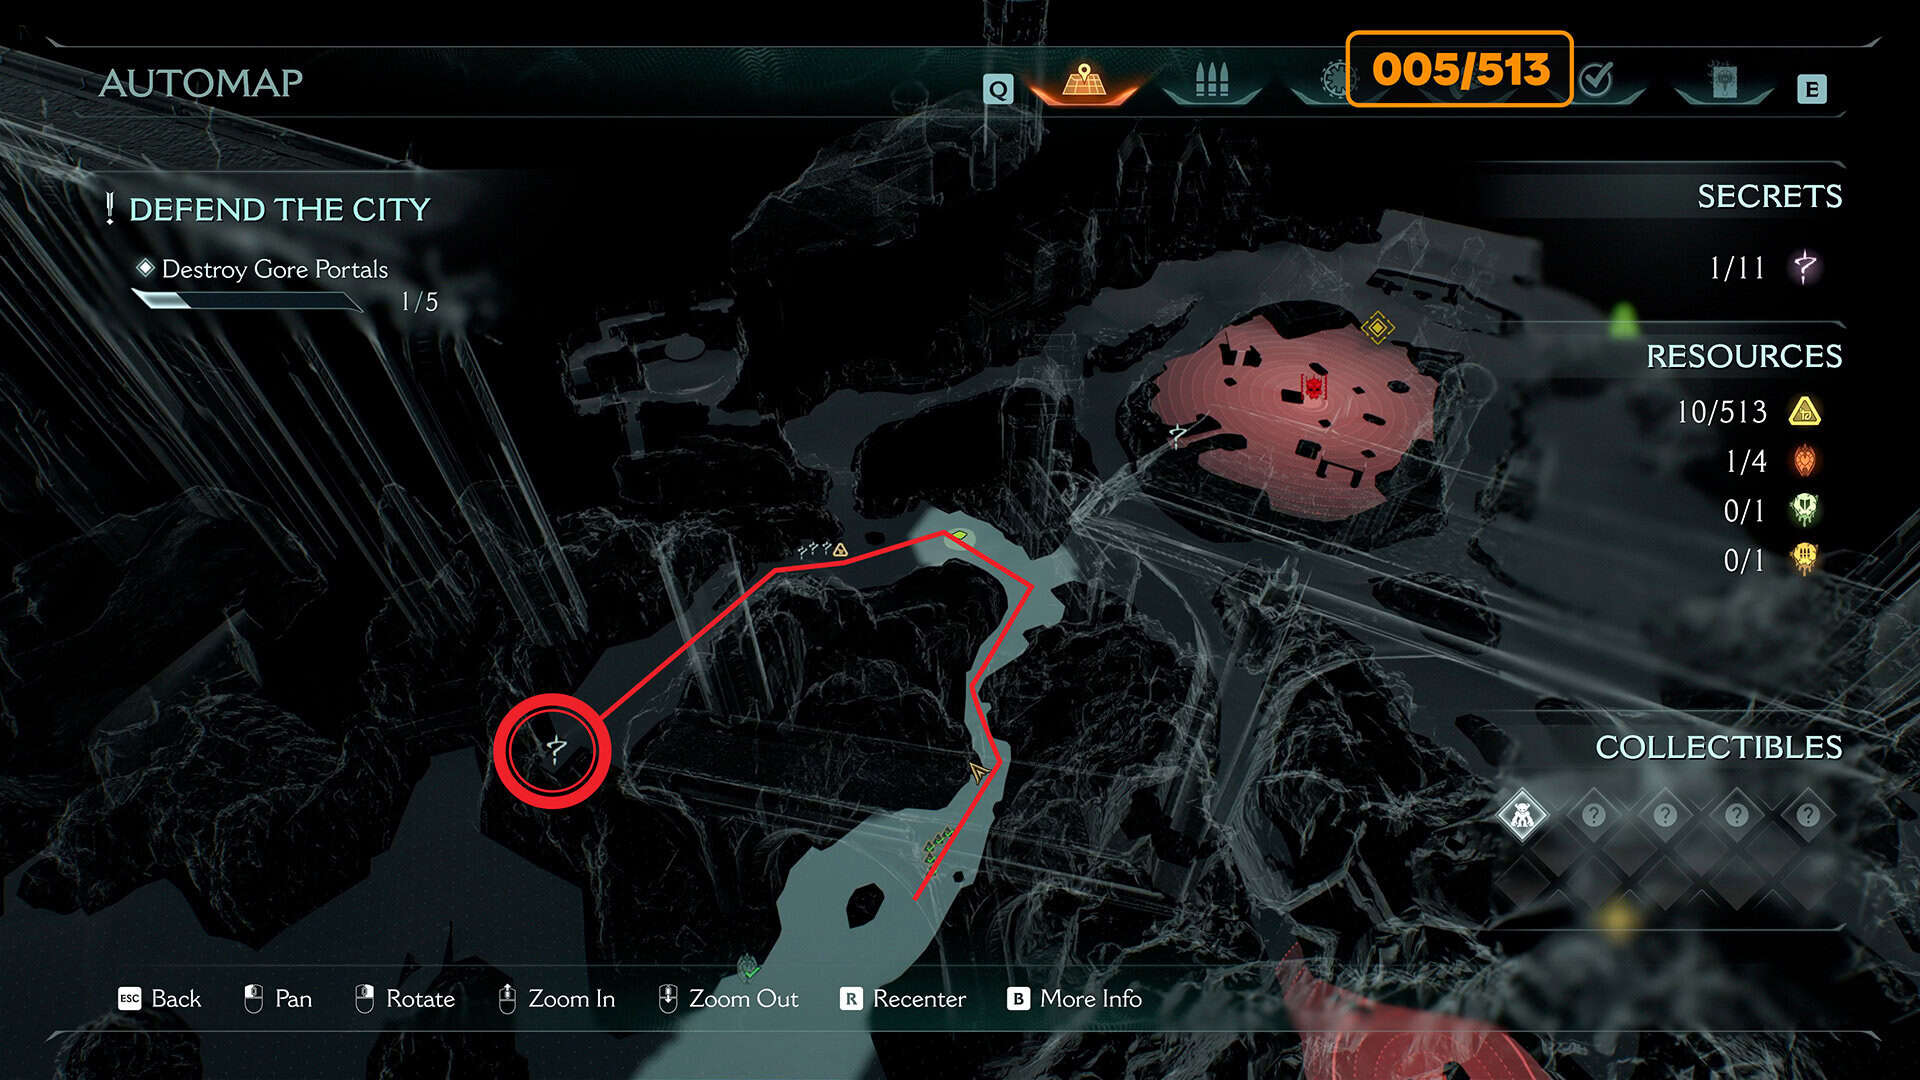
After finding the first guardian shrine at the beginning of the location, move forward to the left. Here you will find 5 gold coins. This is the beginning of the recommended route for this chapter.
-
- Route to the first 5 gold coins
-
- The first 5 gold coins
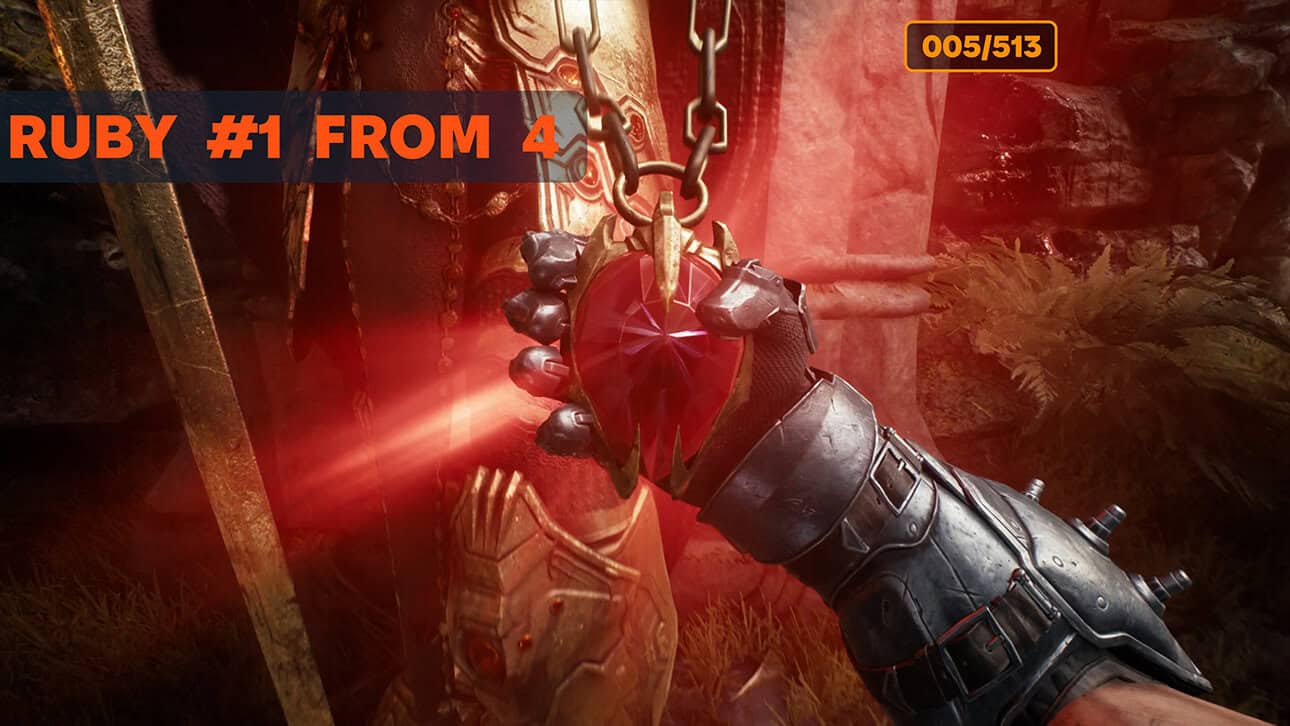
Ruby #1 from 4
Next, you will see a statue with a ruby, which is protected by a barrier. You need to destroy the tree with the mark. After that, monsters will appear. Once you defeat everyone in this location, the barrier will open and you will receive the first ruby without any obstacles. If necessary, you can return to the guardian shrine and upgrade your weapon.
-
- Route to the first ruby
-

- Ruby #1 from 4
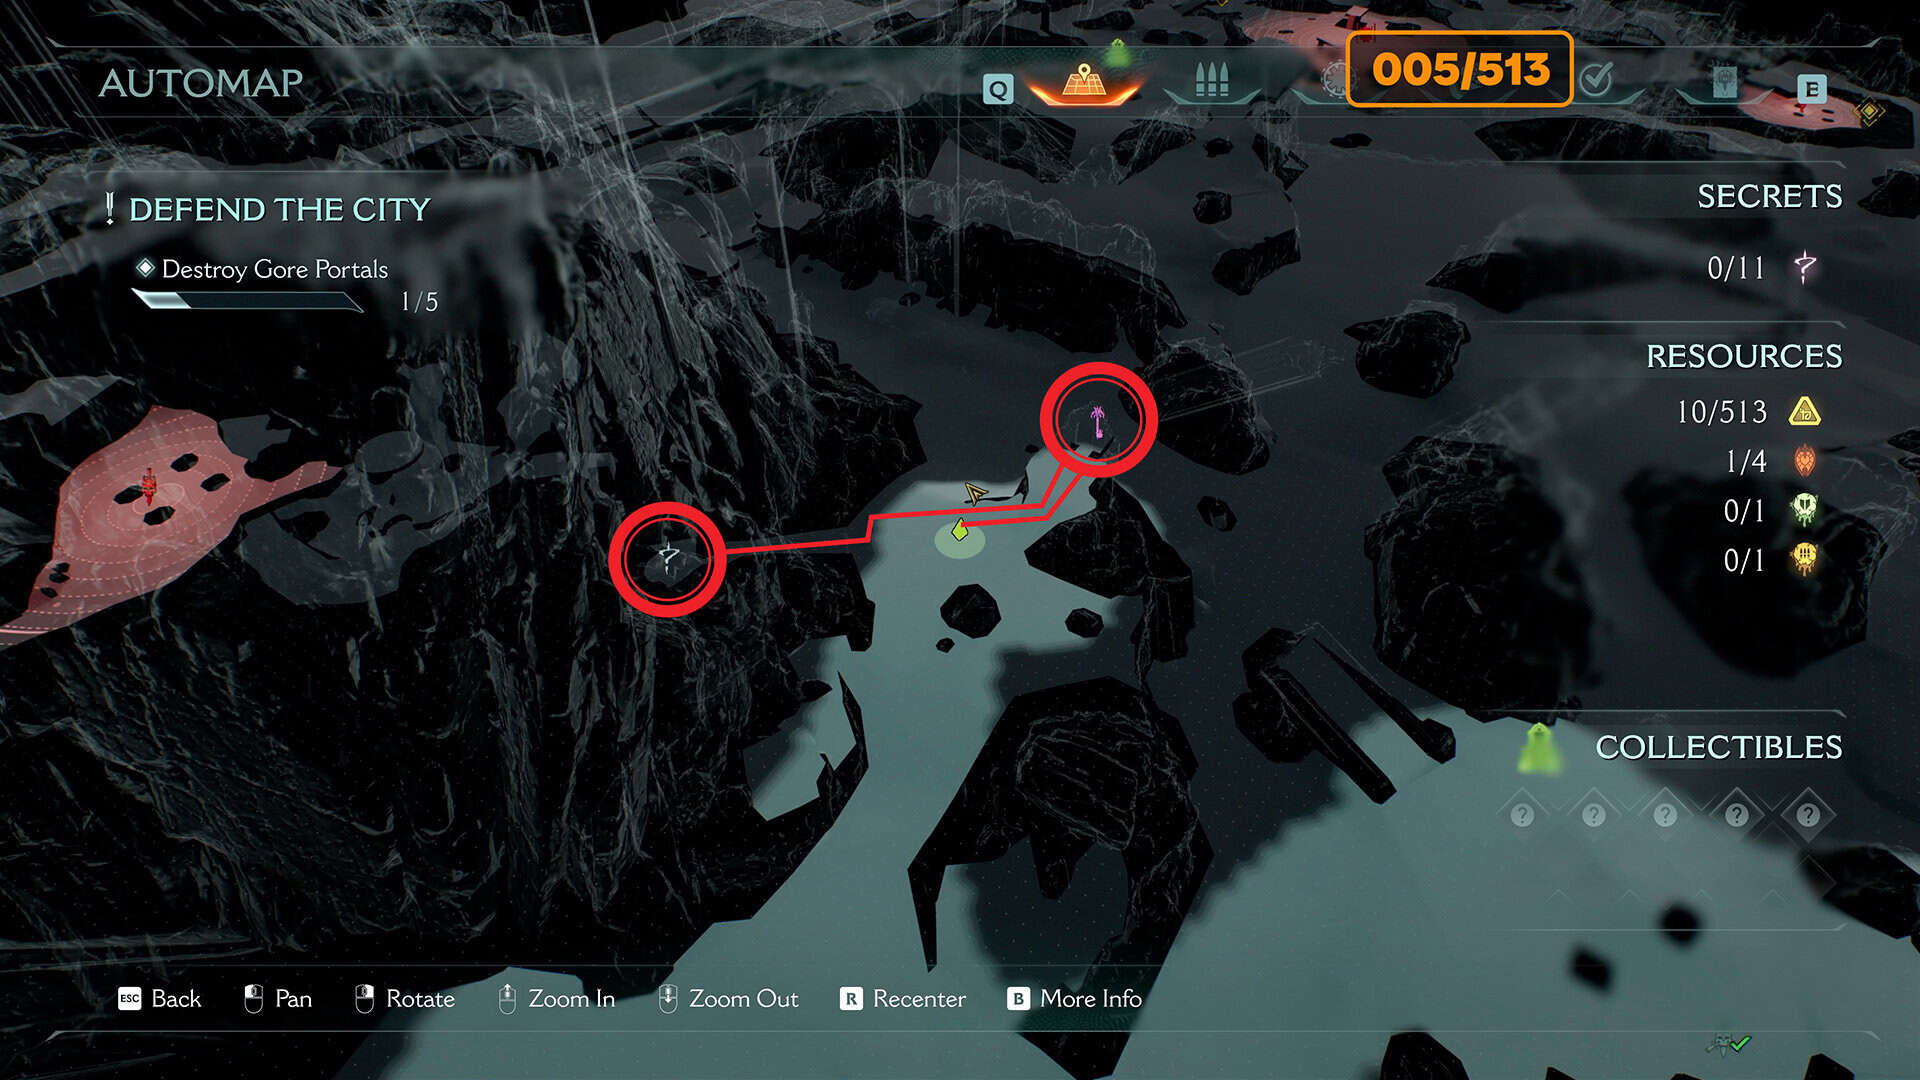
Secret key + toy #1 Slayer from 2 + Secret #1 from 11
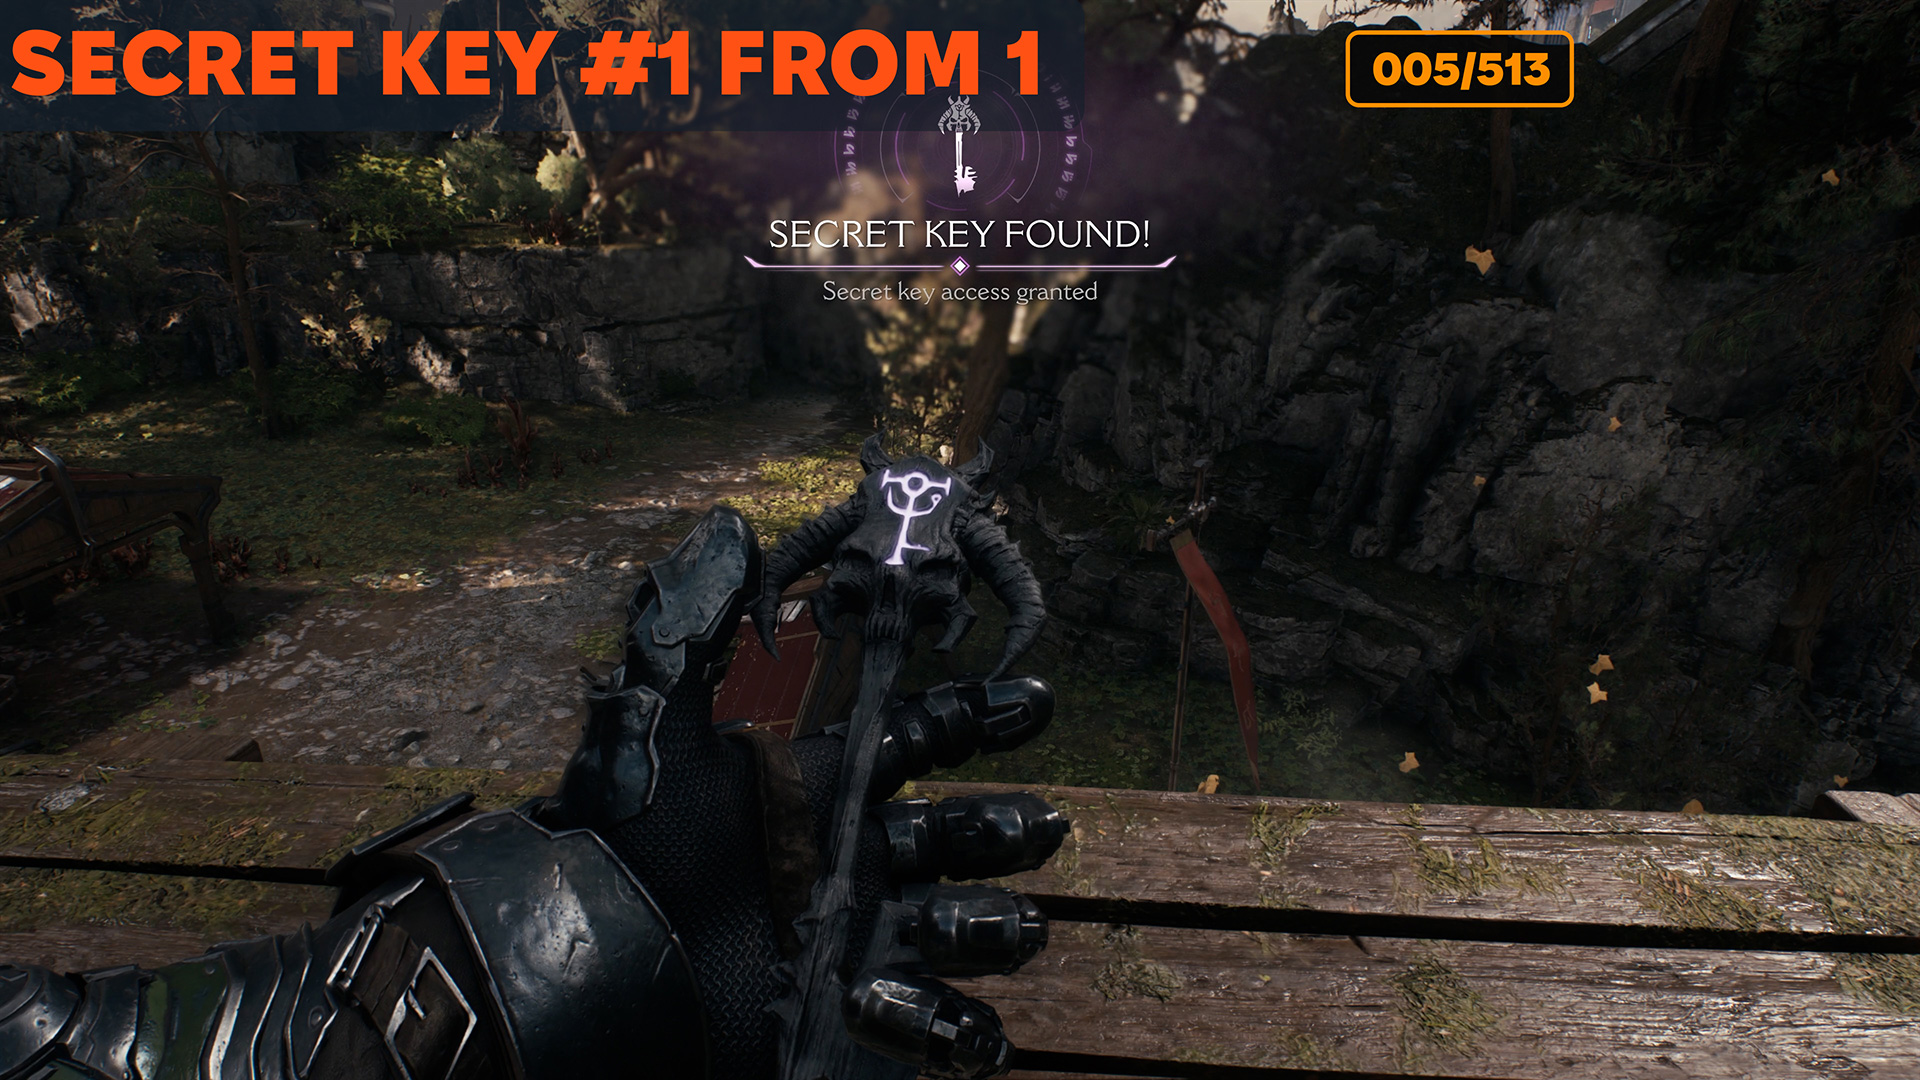
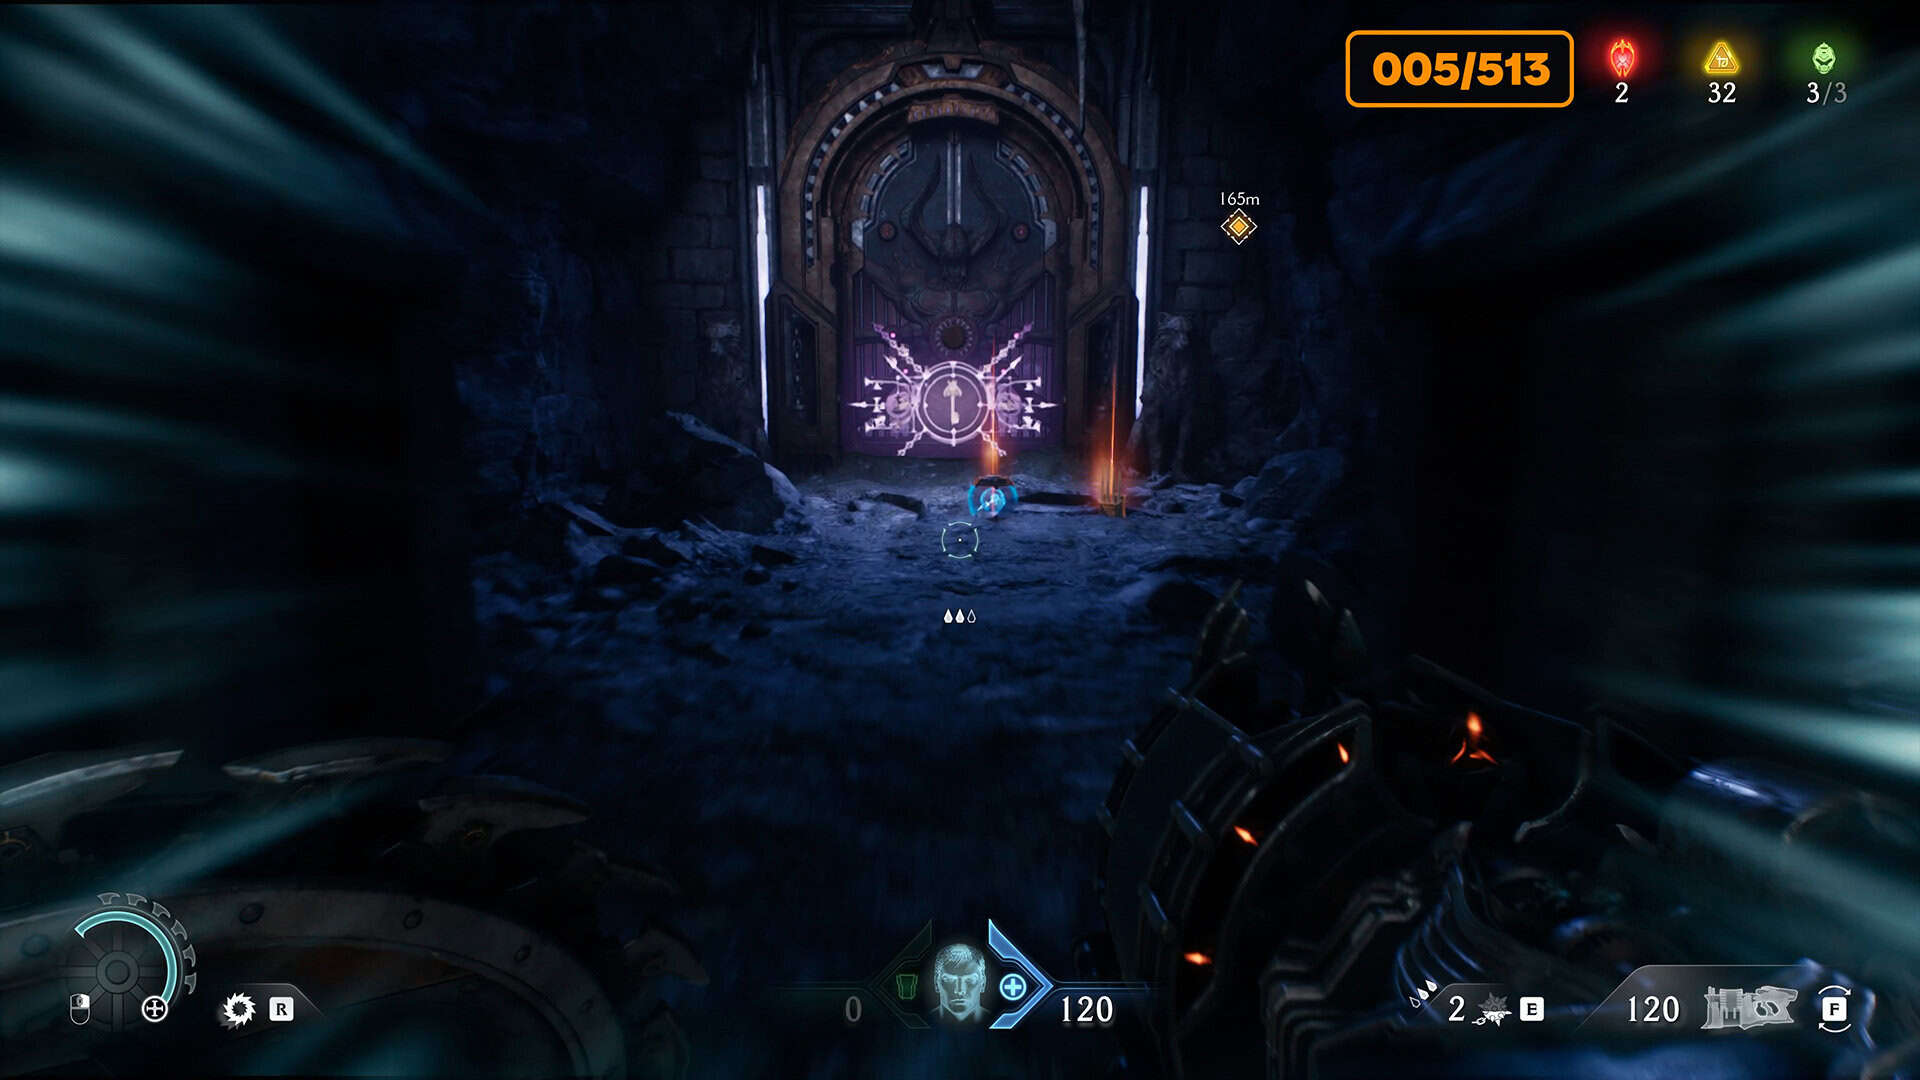
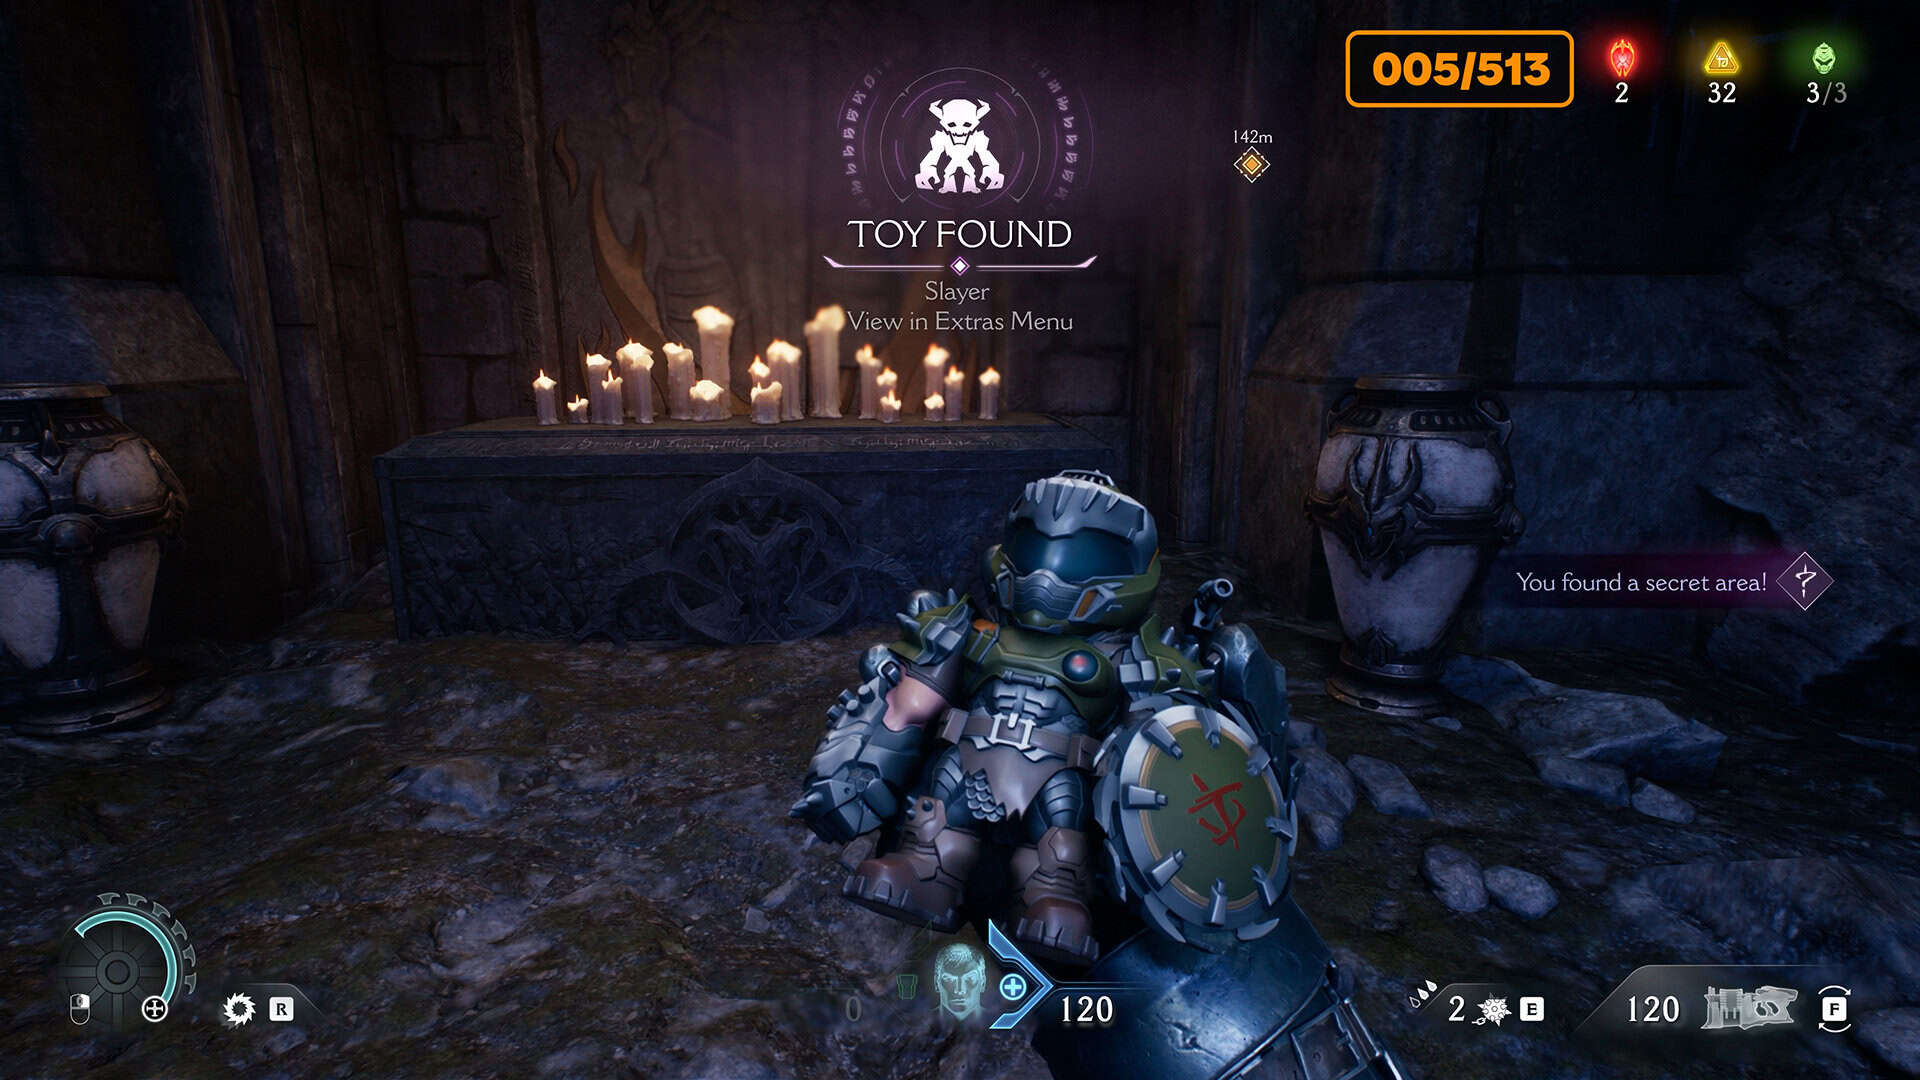
From this point, turn right. Walk a little further and you will see the location of the secret key on your map. If you can’t find it, take a close look at my map; I’ve marked all the places you need. You’ll need this key more than once, so it’s important to pick it up now. After getting the key, turn around and move forward. You’ll find a room with a Slayer toy, which you can open with the key you found.
-
- Find the secret key and collectible toy
-
- Secret key in chapter 6
-
- The door will open with a key
-
- Collectible toy Slayer
17 gold (22/513) + Siege Breaker Challenge #1 from 4
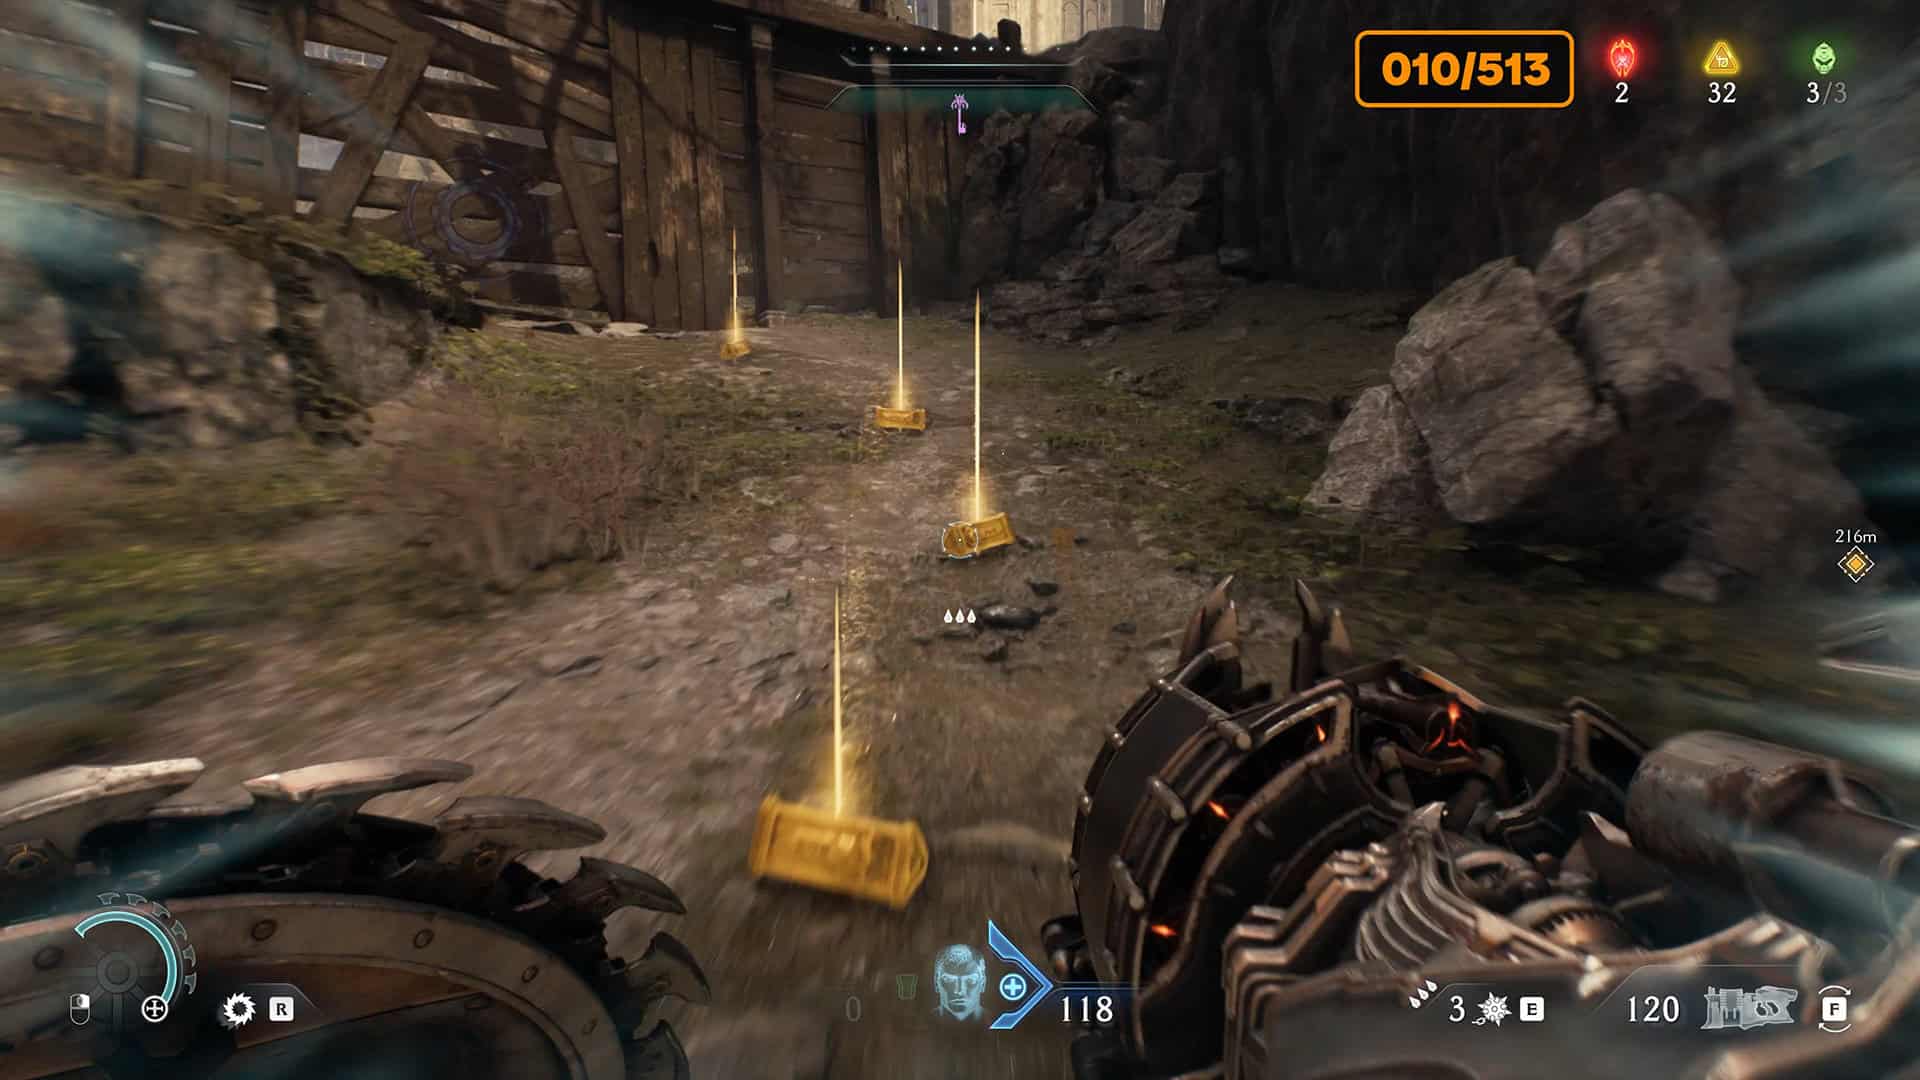
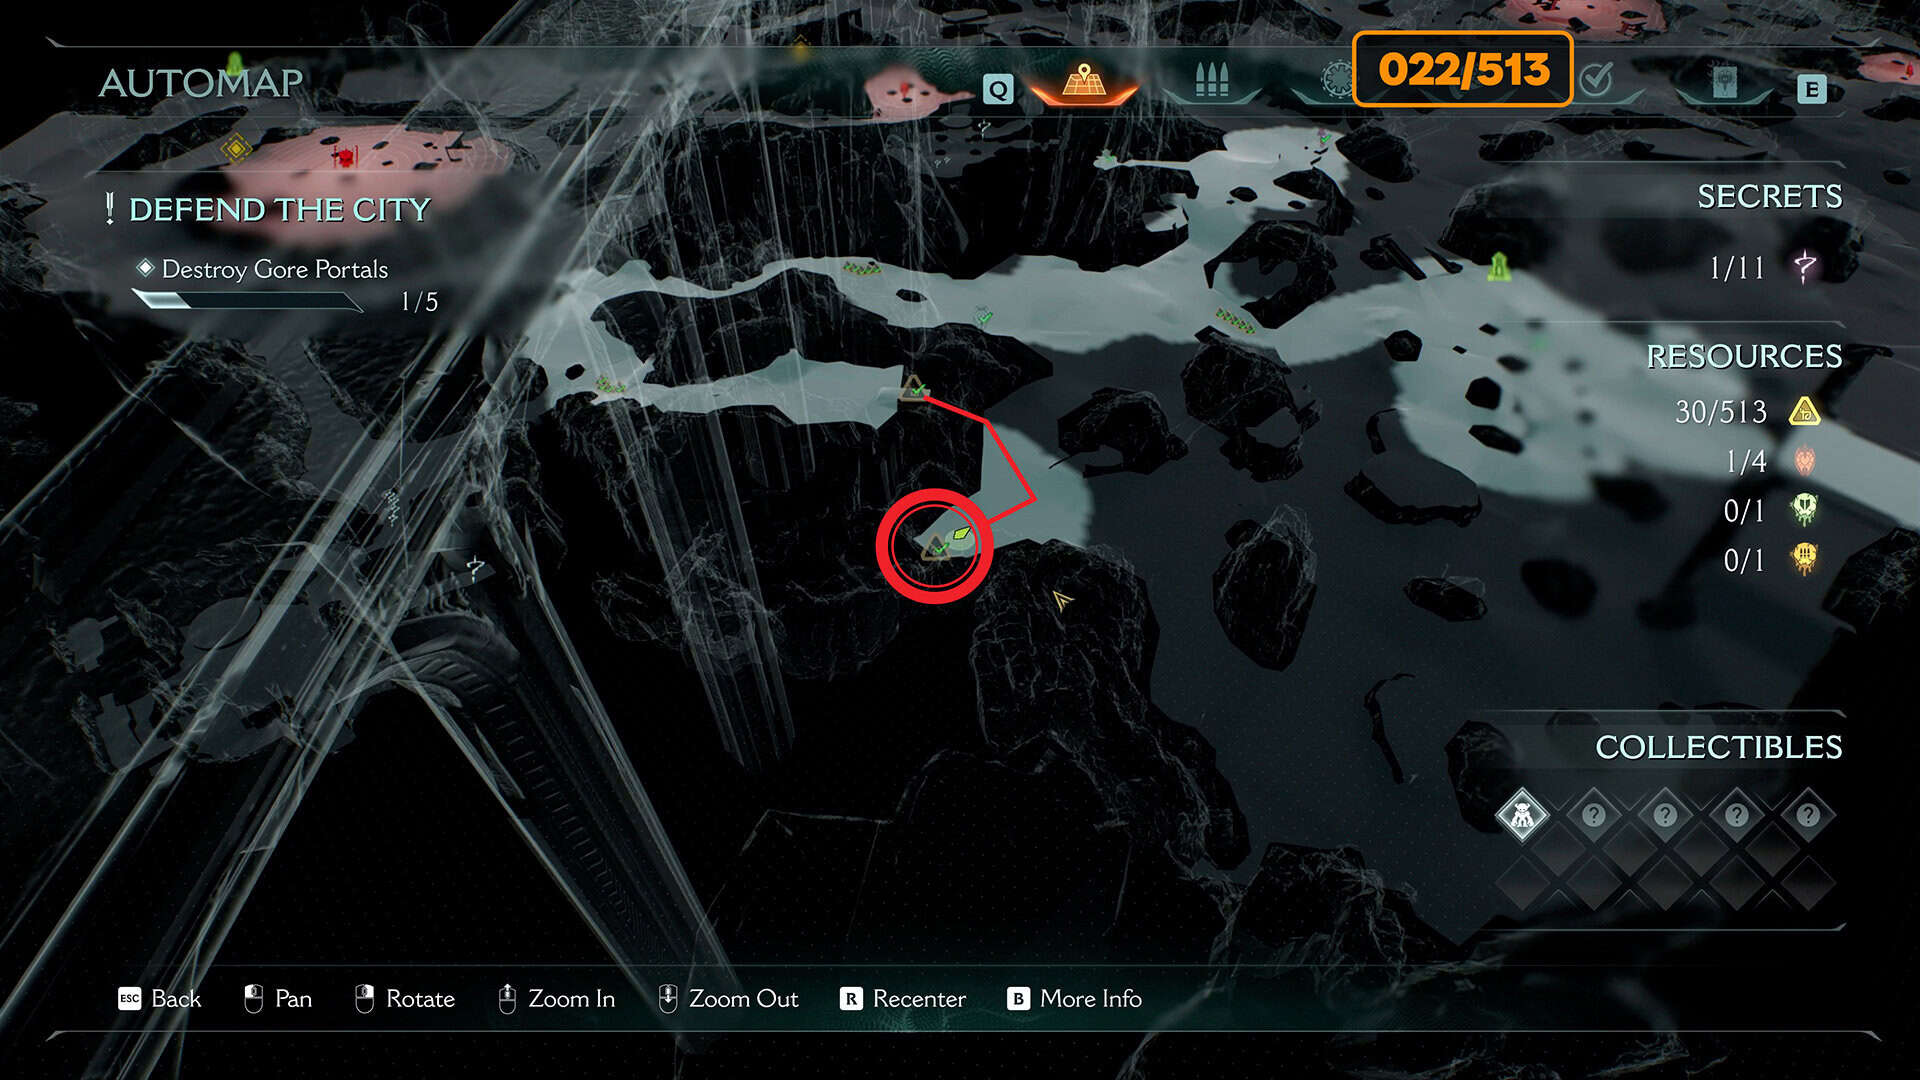
Let’s go back to the place where you found the ruby. From there, you need to move forward as shown on my map. You will see five gold coins ahead of you. Go a little further, and you will see a left turn. After the turn, you will find 4 gold coins. This path will lead you to a wooden partition. Break it down, and behind the partition you will find the first Siege, which you need to destroy for the Unstoppable Force quest. After destroying the artillery cannon, you will find 8 gold coins in its place.
-
- The road to the first Siege
-
- Collecting gold along the way
-
- Siege
8 gold (30/513)
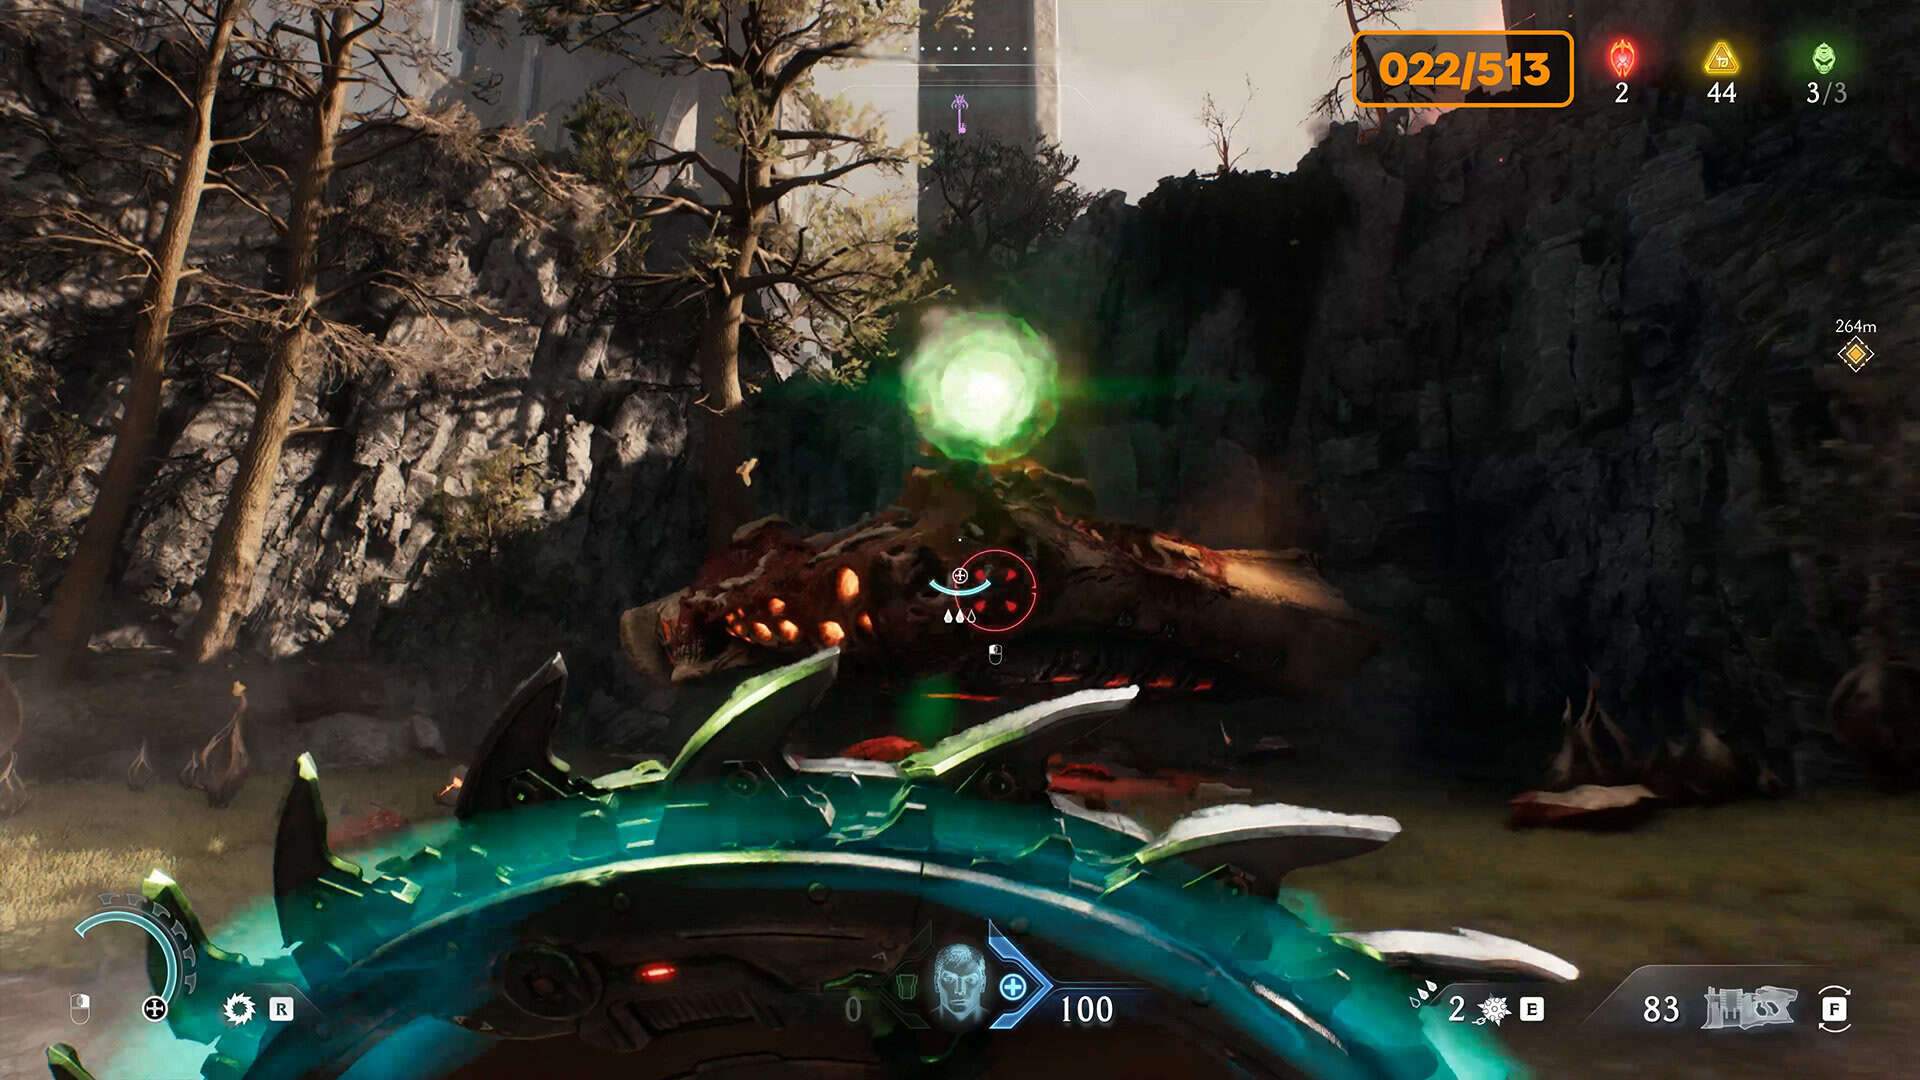
From this spot, you need to jump down. Look to the right. There will be something resembling a tank. To destroy it, deflect its green attacks with your shield. After destroying this tank, you will find 8 gold coins in its place. We continue our journey, there is still a lot of interesting things ahead.
-
- Find 8 gold
-
- Behind this tank is a reward
Secret #2 from 11 + Life Sigil #1 from 4
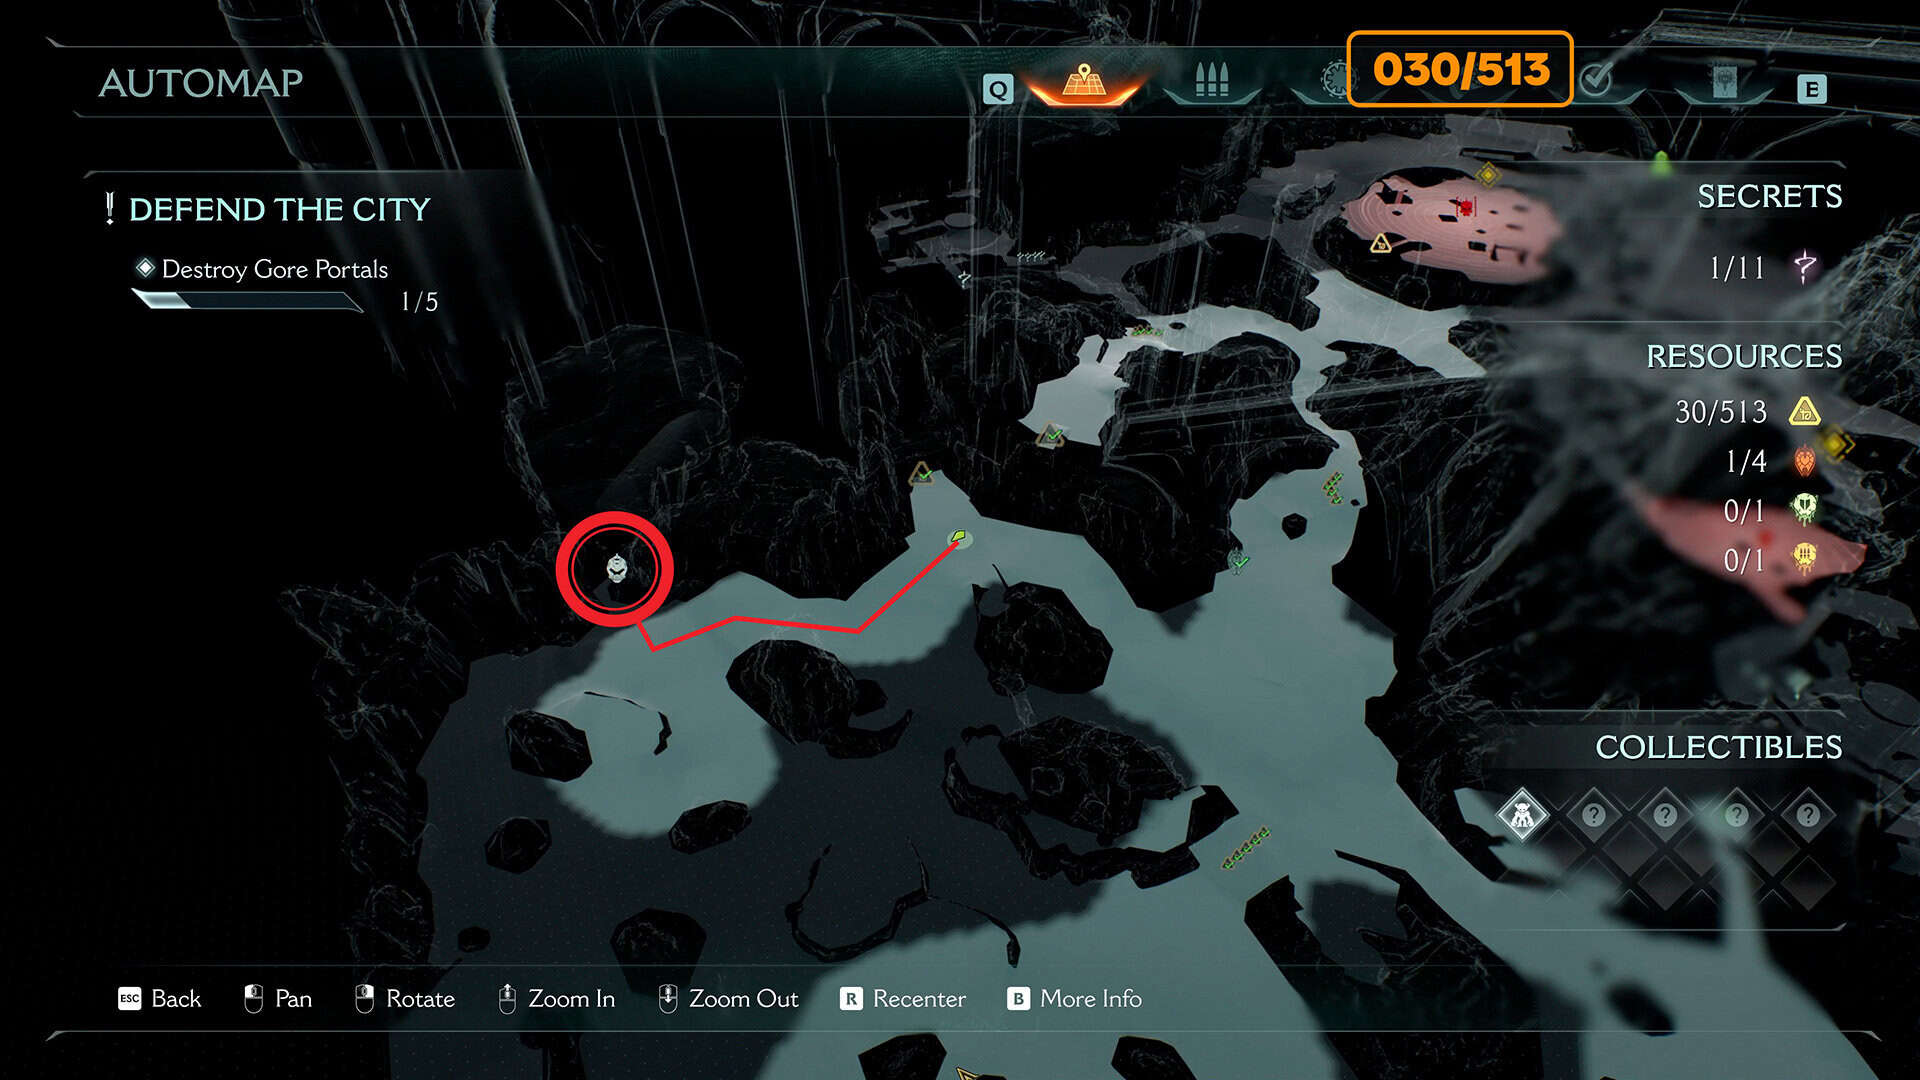
If you are following the map, we have deviated slightly from the route to the main objectives that need to be completed in this chapter. You saw the route on the map, so move forward again and you will find a waterfall on the right. This is where the secret and Life Sigil are located. In my video, I showed you how to move without enemies, but you will encounter many monsters here.
-
- The path to Life Sigil and the secret
-
- A secret place with a waterfall over there
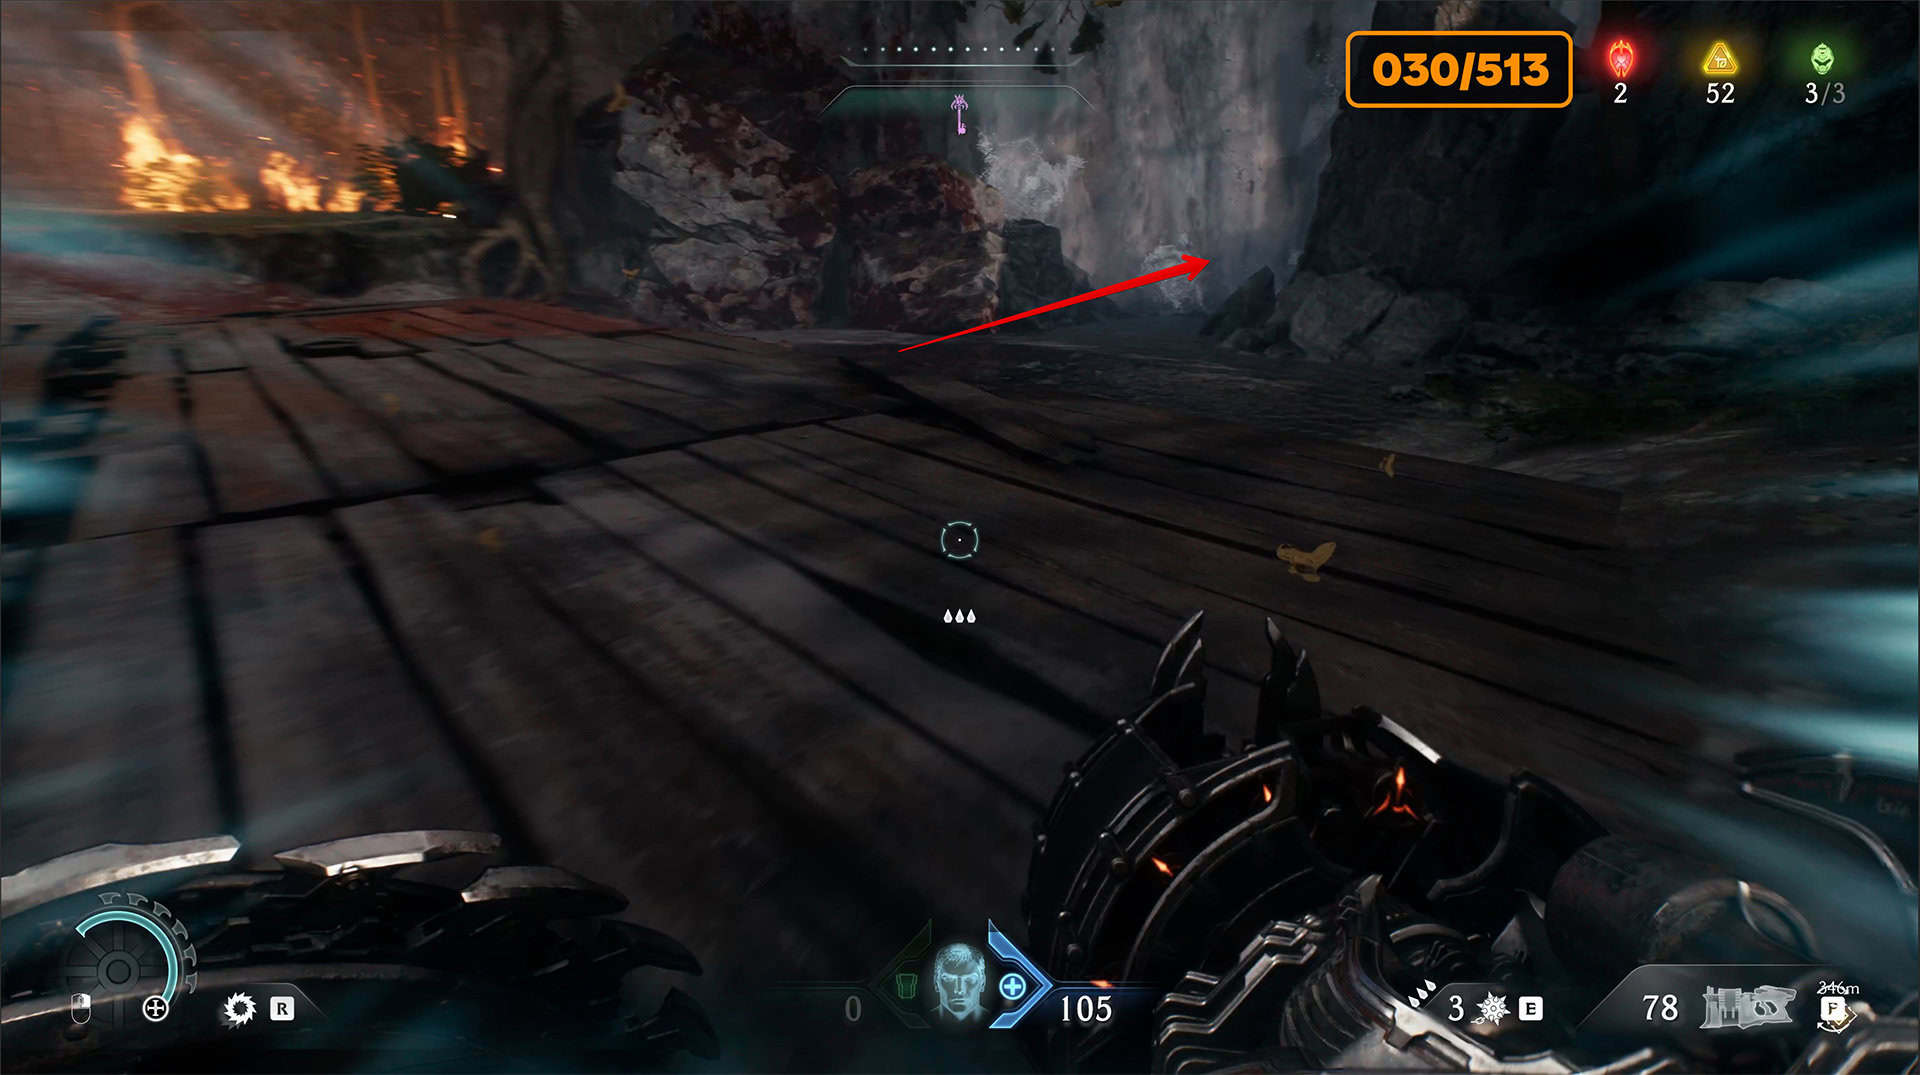
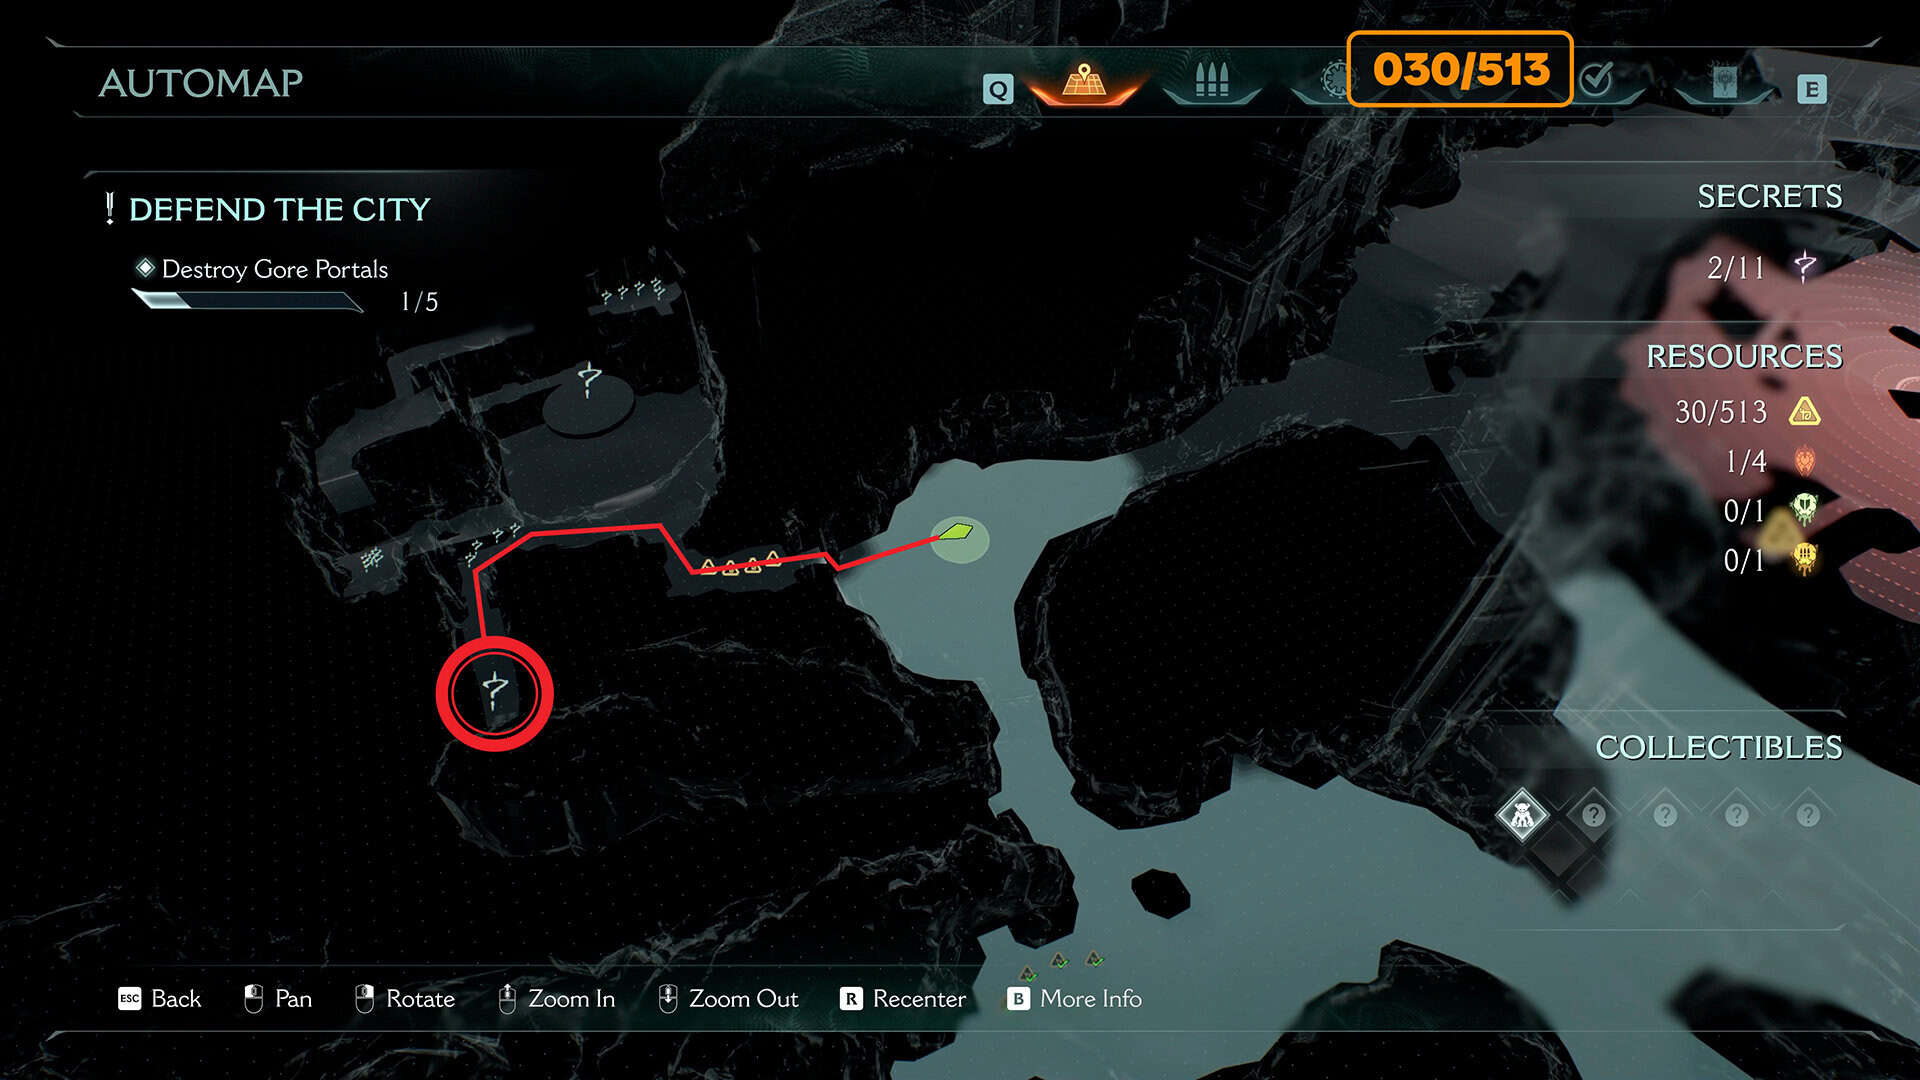
8 gold (38/513) + Secret #3-4 from 11 + Weapon Skin
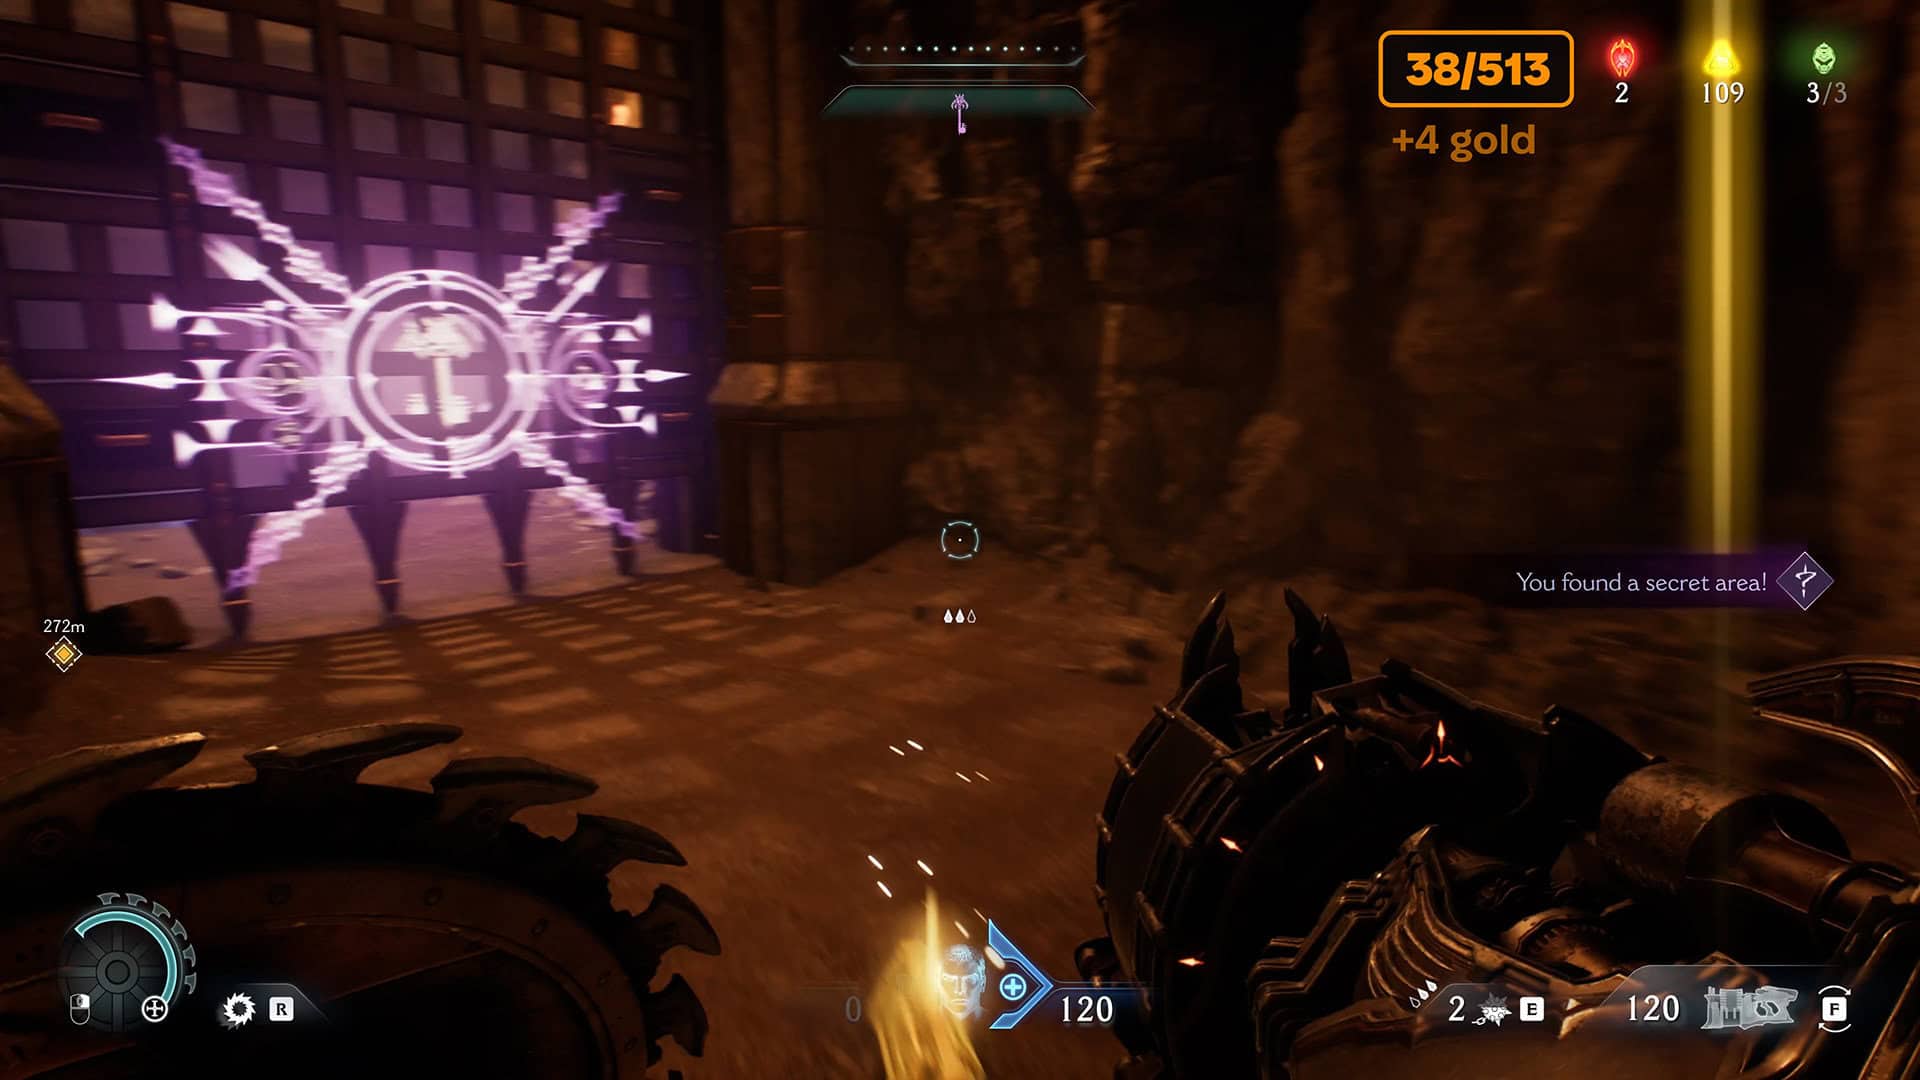
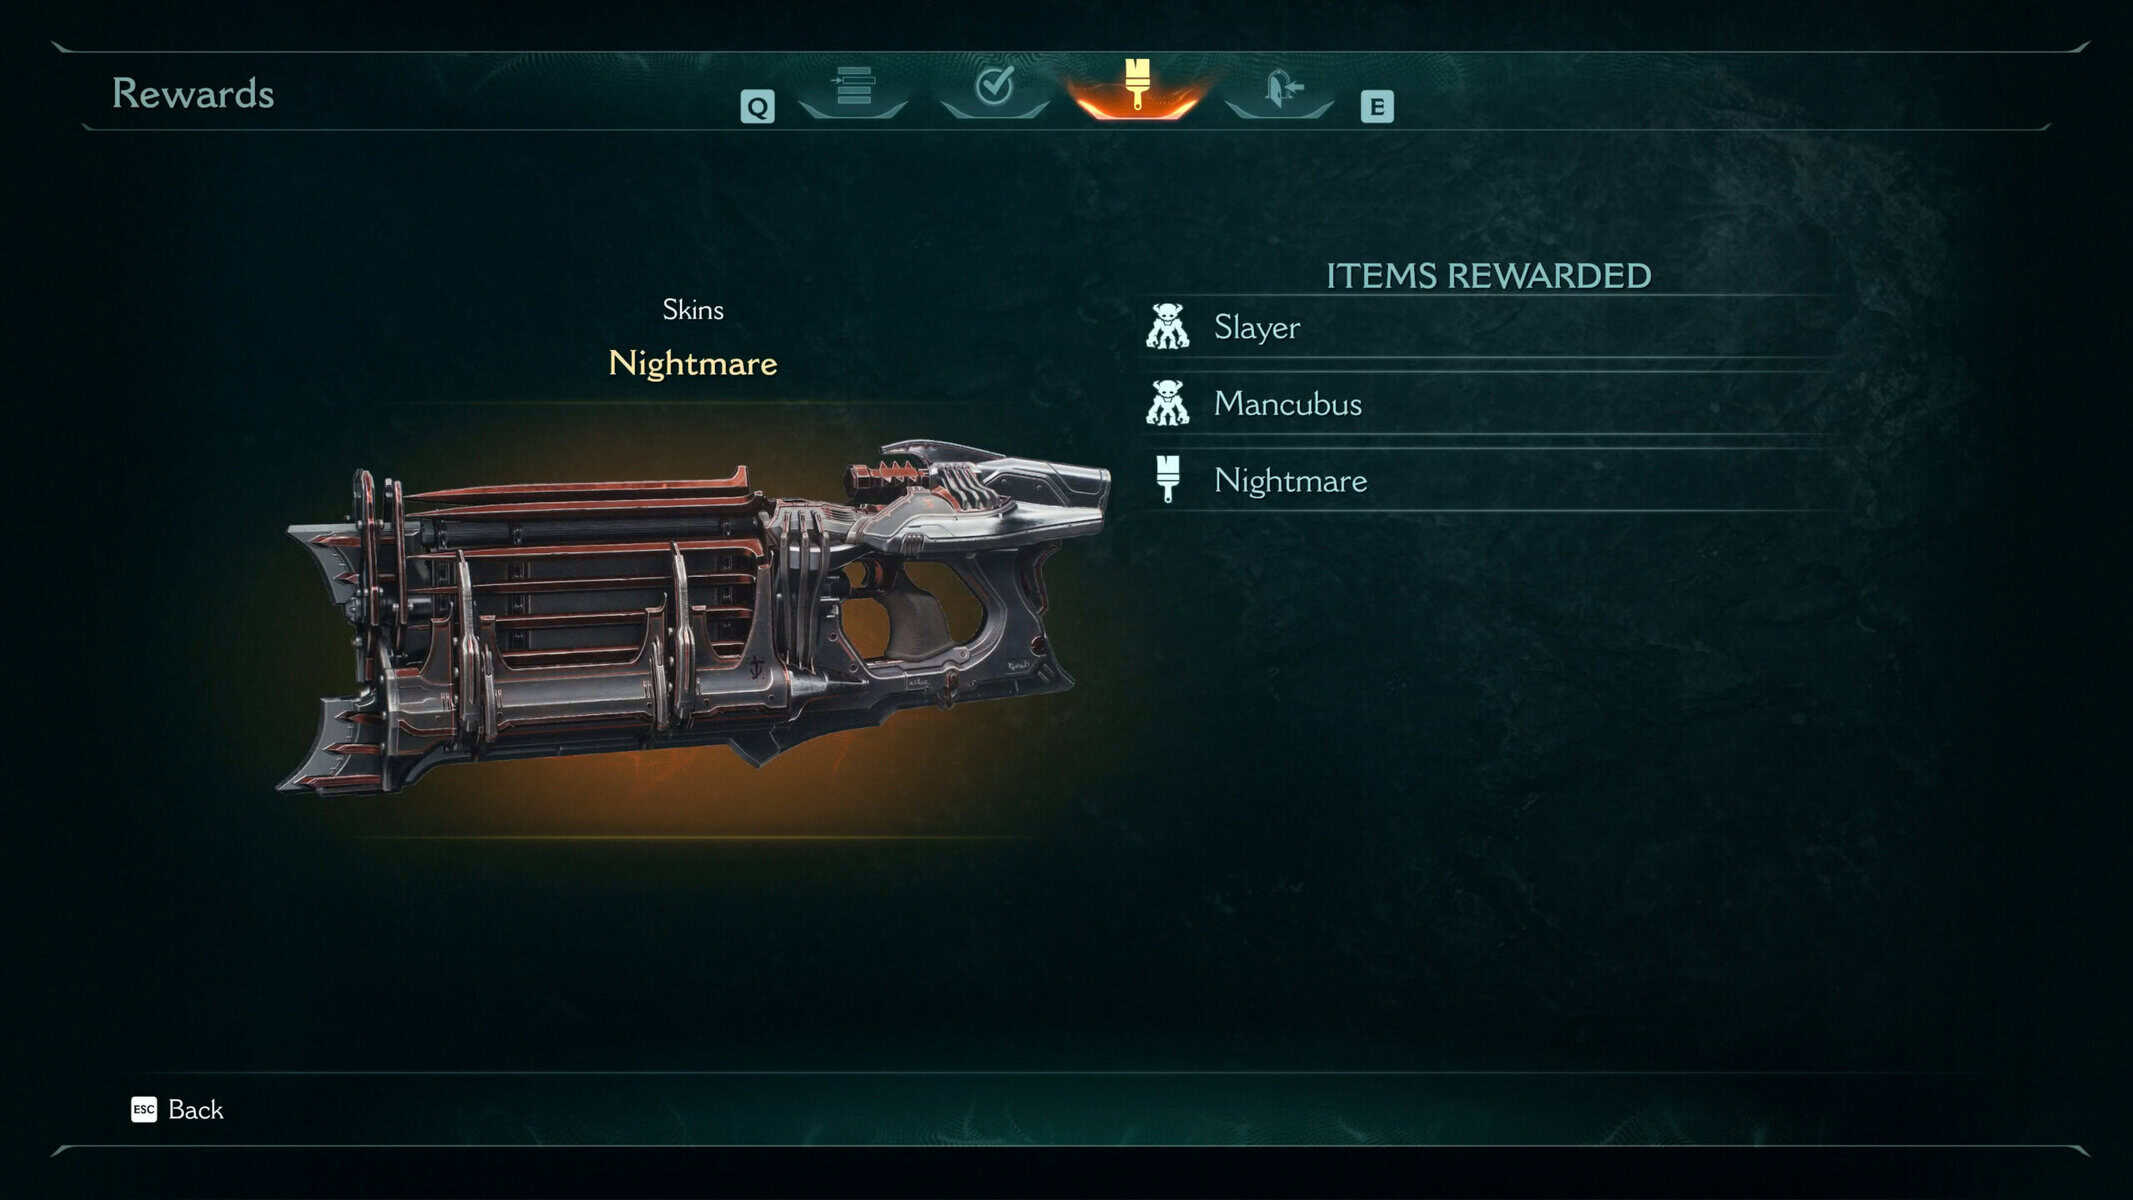
Now you need to return to the place where the path to the first artillery cannon you destroyed began. You will see a location with many question marks. Follow the route I have drawn on the map and ignore the flooded area for now. Climb up the wall and collect 4 gold coins. Here you will discover a secret area. Immediately move to the right, where you will find another 4 gold coins, and at the end, another secret and a Skin Weapon.
-
- Here you will find Weapon Skin
-
- The door is locked again, but you have the key
-
- Weapon skin Nightmare
10 gold (48/513) + Ruby #2 from 4
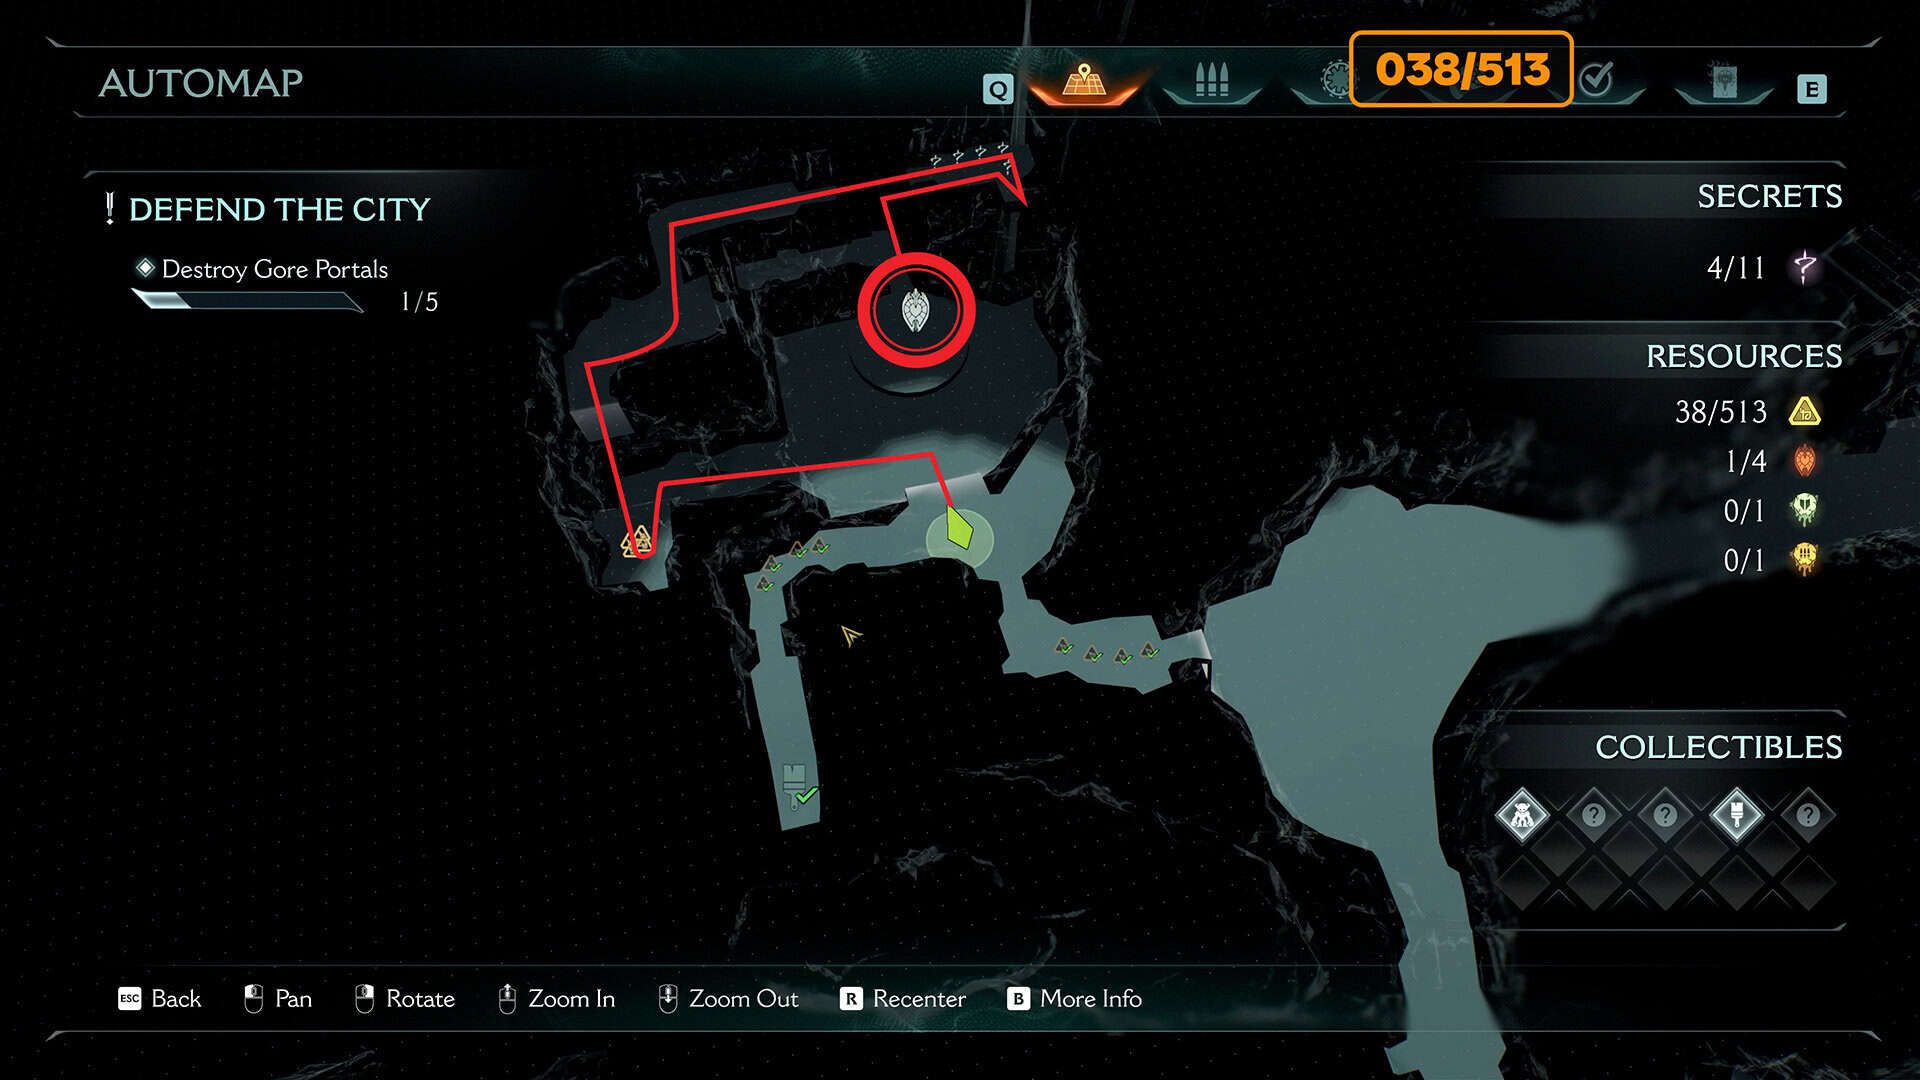
Now let’s move on to the riddle with the flooded room. I have drawn the route for you on the map. Jump into the water and swim to the left, where you will come out into a room where you will receive 5 gold coins. Turn around and jump over the water onto the wall, then climb up it. Go forward until you see a wooden wall that you need to break down. Be careful, there are traps on the floor that will cause damage. In the new room, you will find yourself in front of a closed gate.
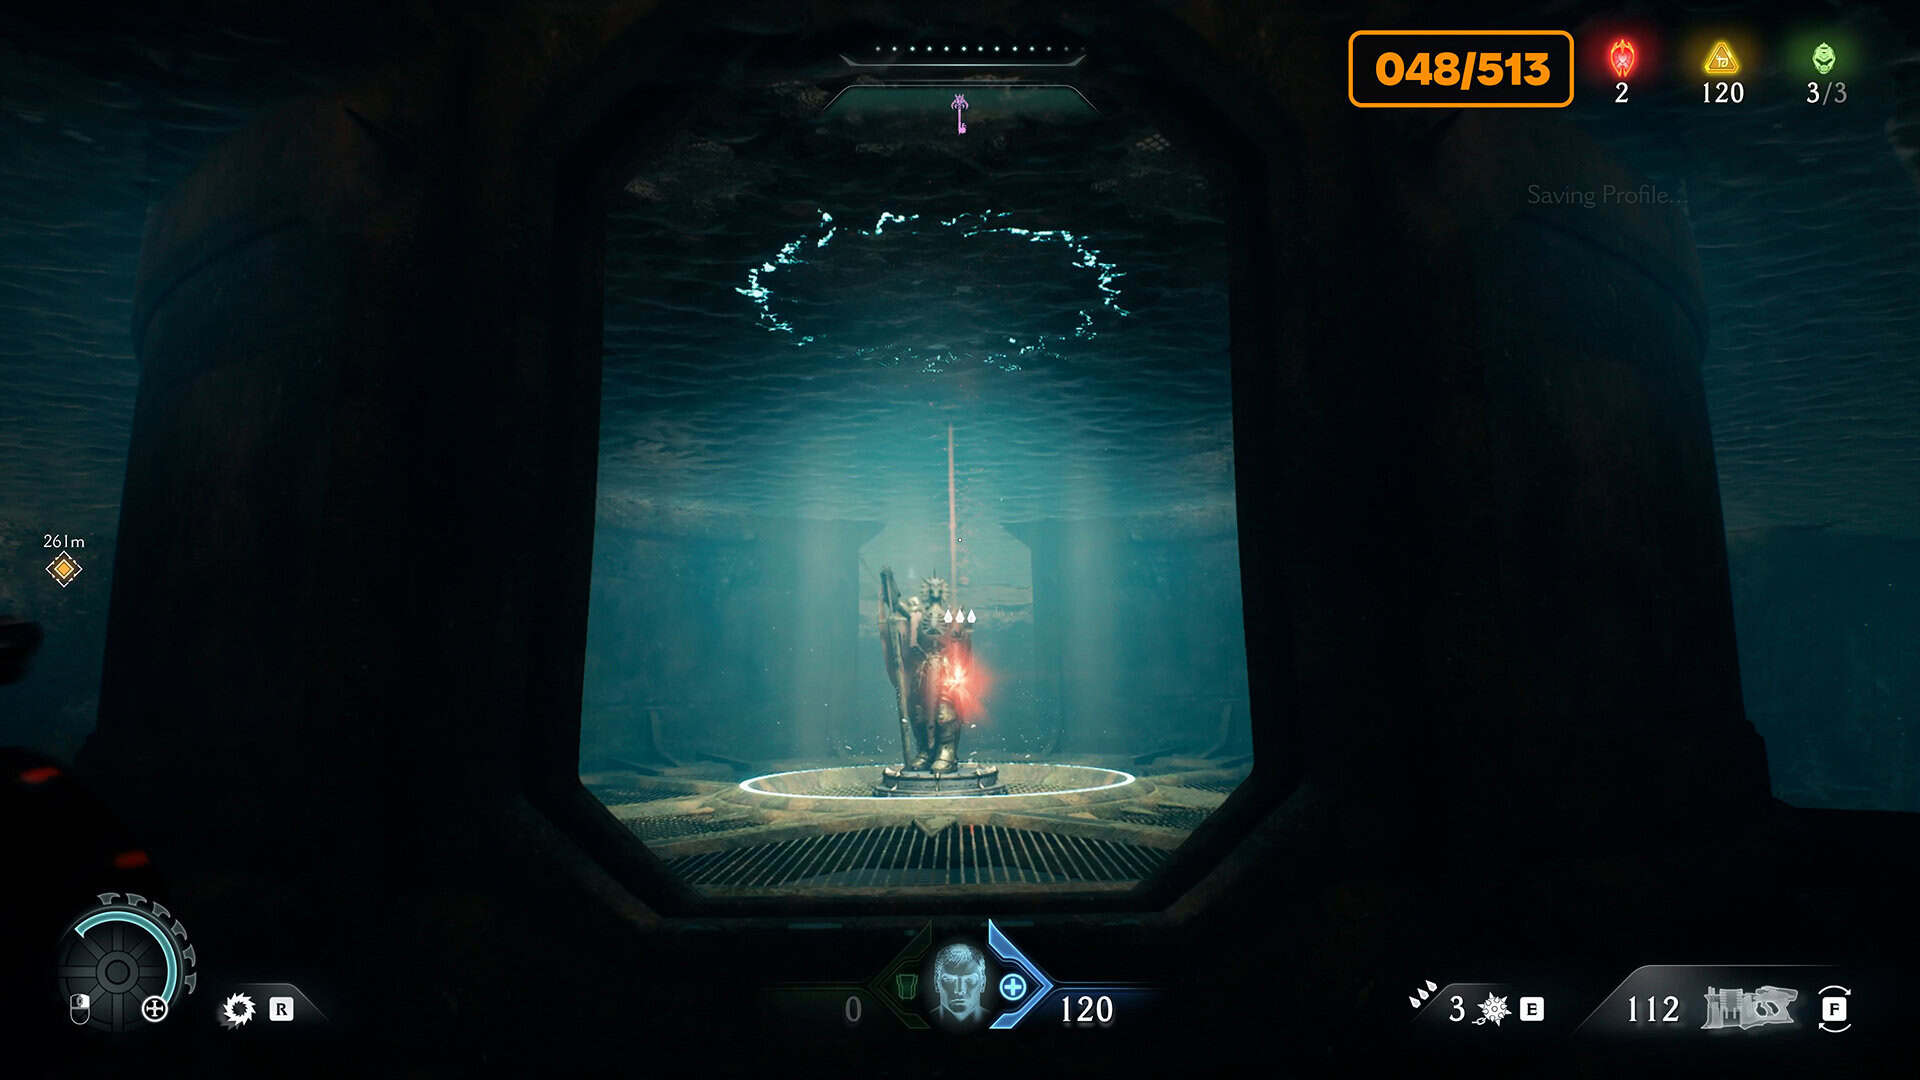
Throw your shield at the element above the gate to open it and move on. Jump over the water again and get 5 gold coins, which will lead you to the lever. Push the lever. This will lower the platform in the center of the room with water to the bottom. Now go back and dive into the water where you last jumped over it. Swim to the platform. It is open, and the second ruby awaits you inside. The difficult puzzle is solved, and you can move on.
-
- This route will unlock the mystery
-
- Ruby in the underwater room
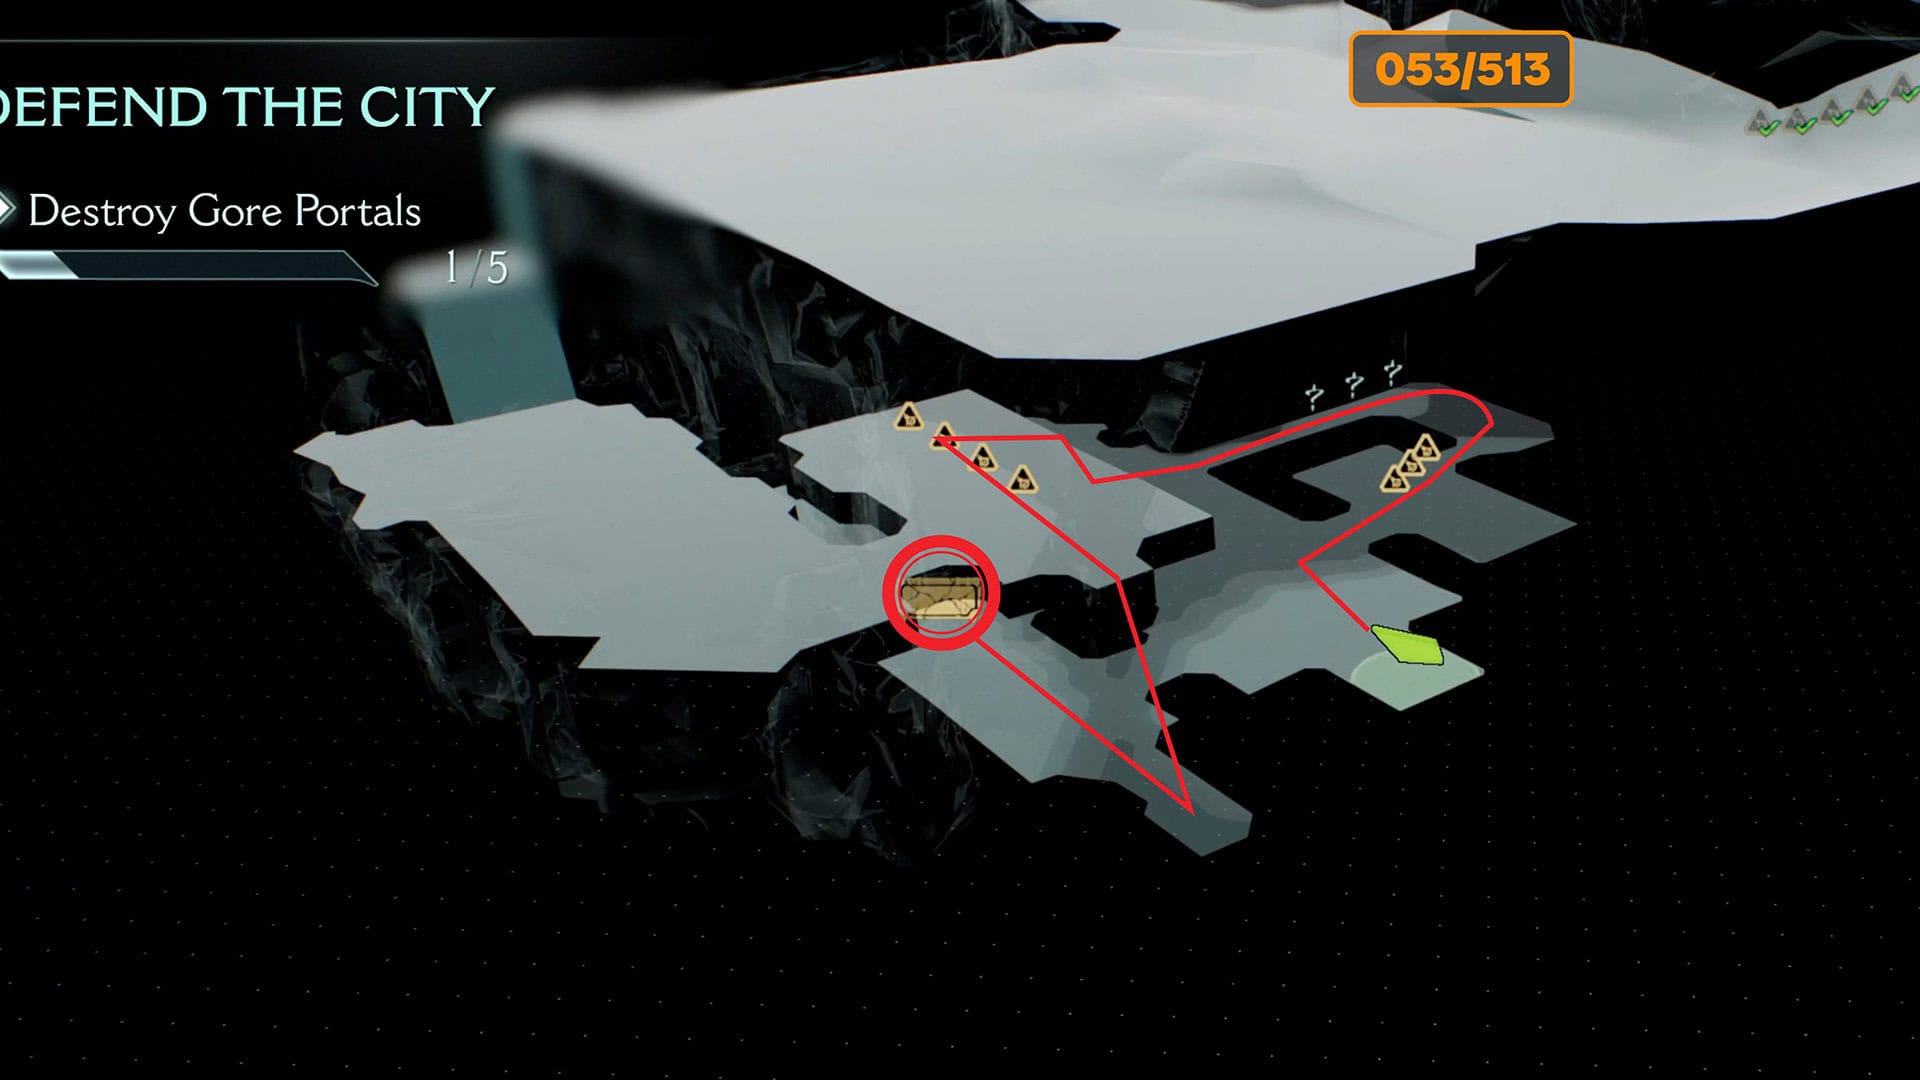
5 gold (53/513) + Blue Portal
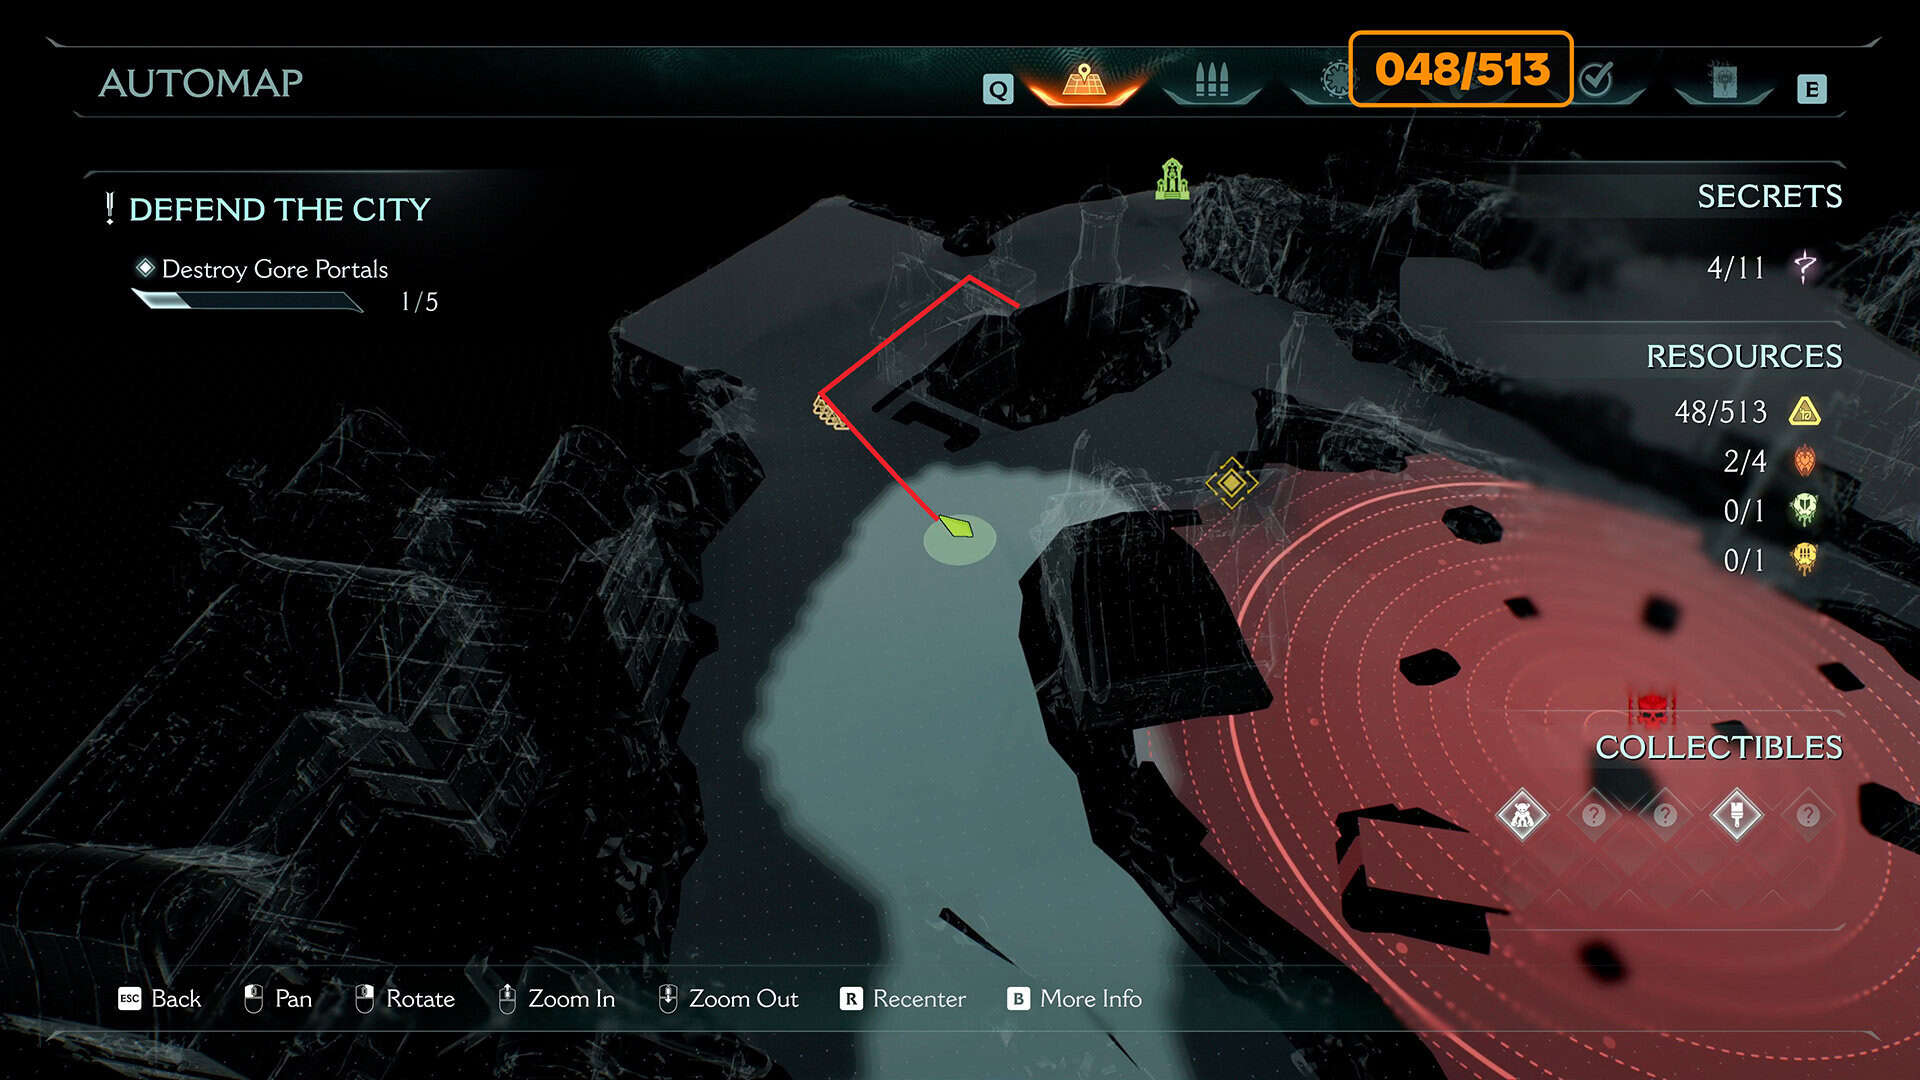
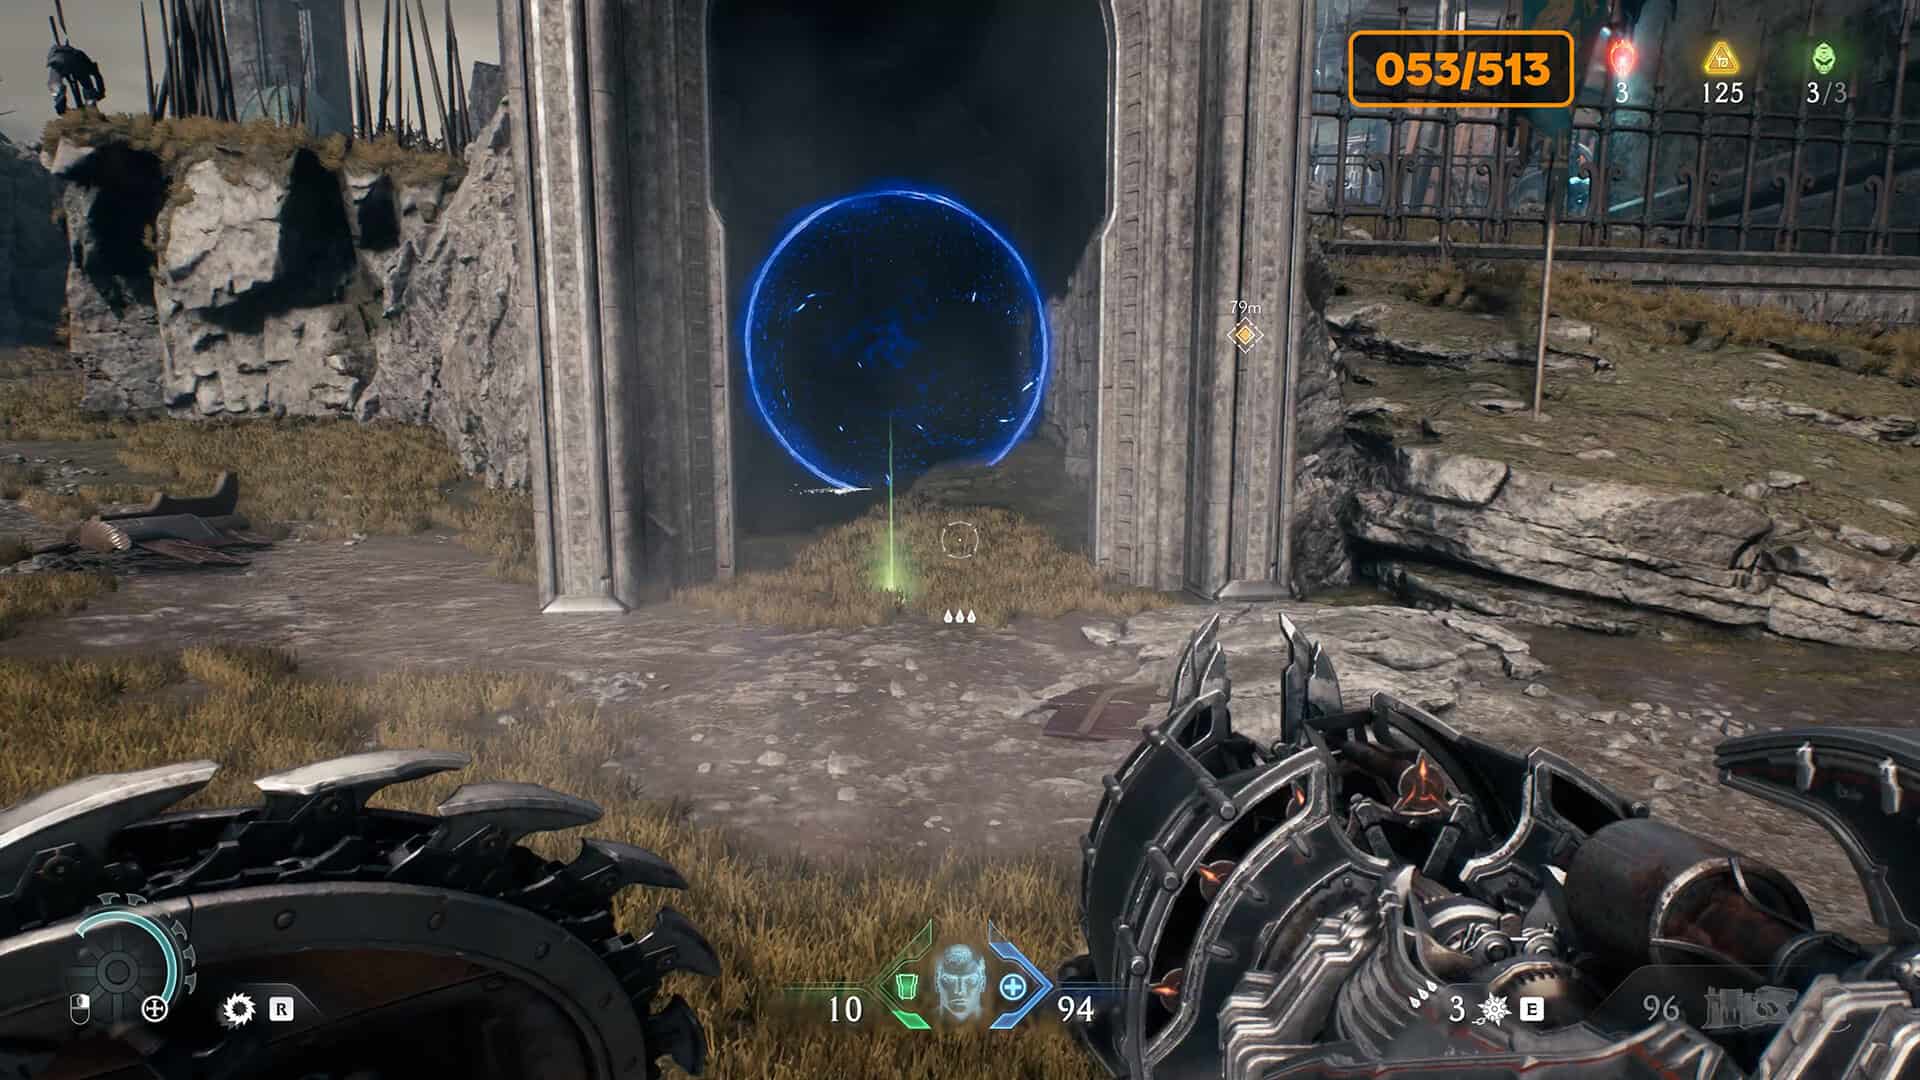
As you approach the red area on the map, look to your left. You will see five gold coins. Here, you must defeat a difficult enemy, and then you will be able to enter the round blue portal. I have also marked its location on the map as the final destination. This is the entrance to a new area.
-
- The path to the portal to another region
-
- A portal you can only enter once
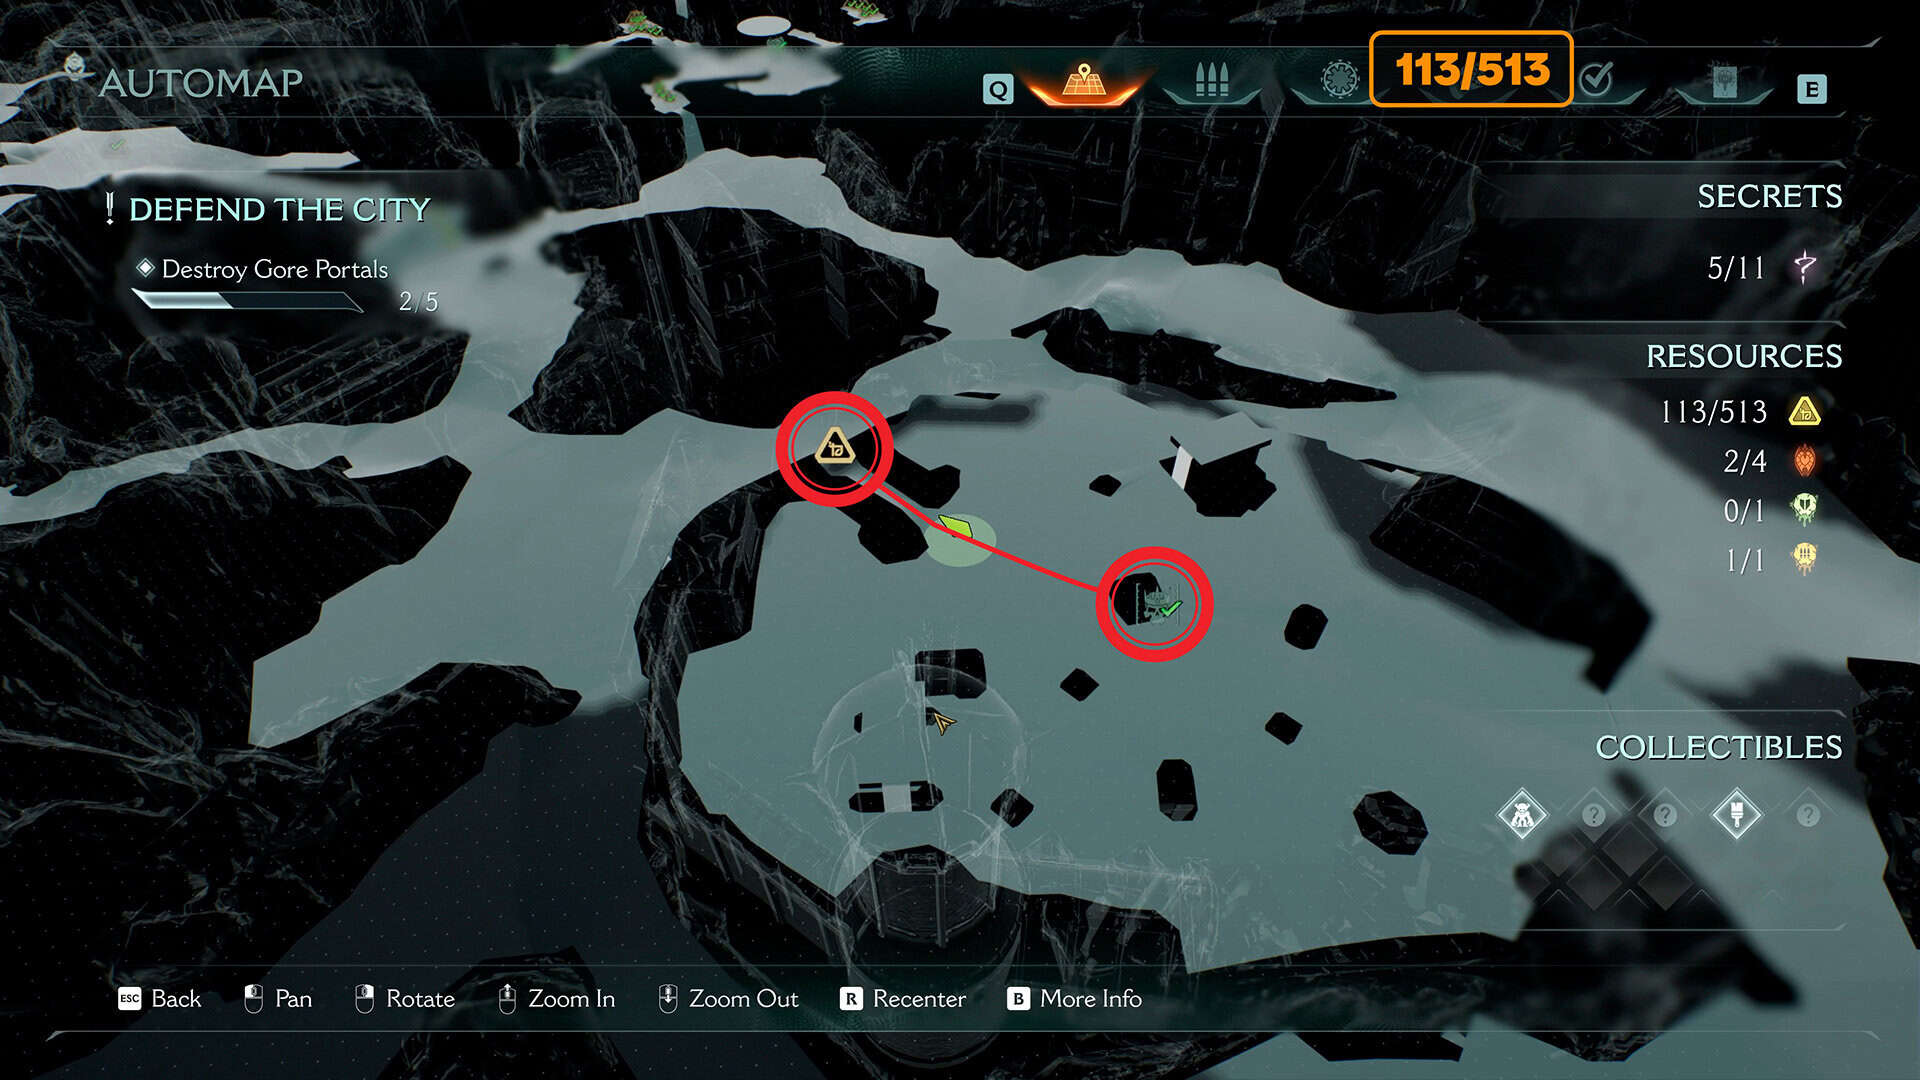
Secret #5 from 11 + 60 gold (113/513)
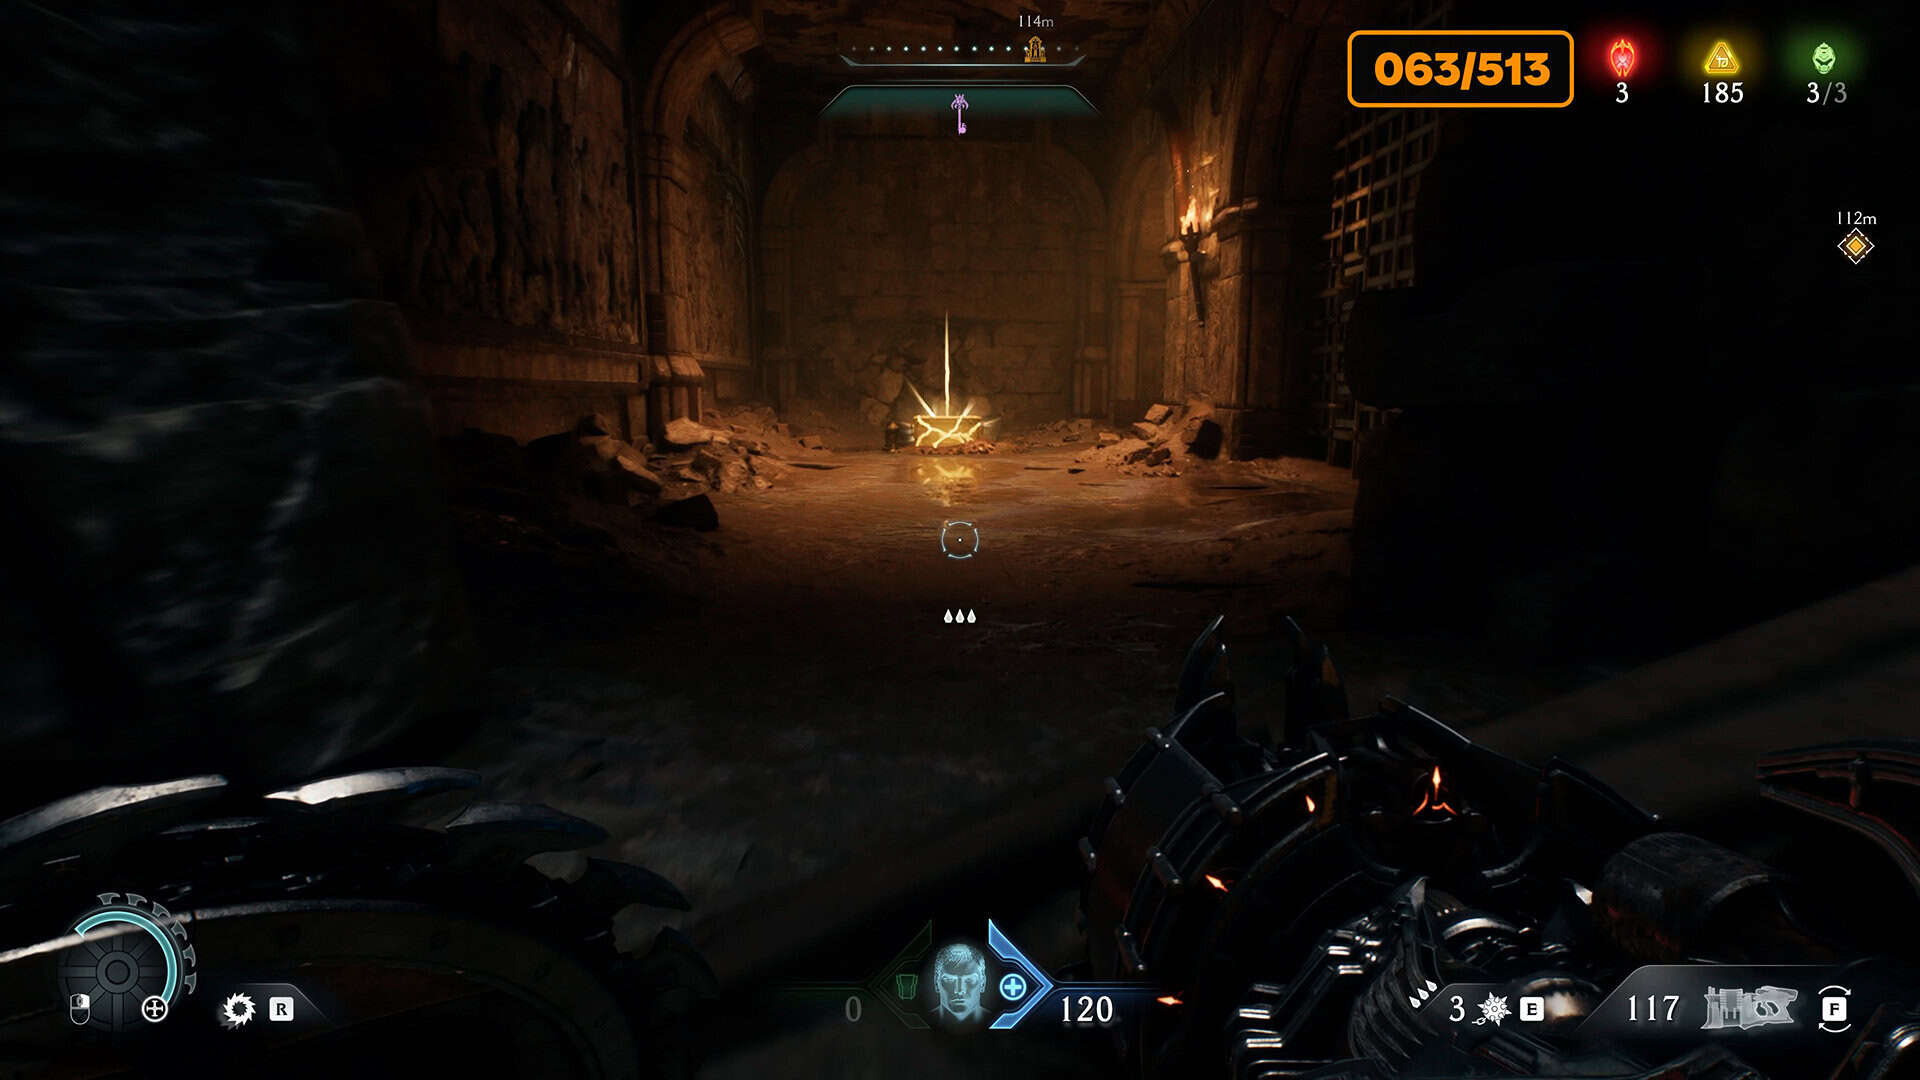
This is an interesting place. The route is marked on the map. First, look to the right and throw your shield over the grate to open the passage. Inside, you will find 3 gold coins. Next, you need to break through the stone wall ahead. Inside, a hellknight will be waiting for you. This is the most convenient place to complete the first quest of Chapter 6, called Immovable Object. Don’t rush to destroy this monster. Every time it jumps at you, defend yourself with your shield.
You must make 10 defenses to complete the quest. Now deal with the monster and move on. Pick up 3 gold coins and push the container forward. Follow the container and use it to climb to the second floor. Pick up 4 gold coins and break the wooden barrier. You will fall into a room where there is a chest that will give you 50 gold coins. To exit the room, break the chain, which will open the metal grate.
-
- Follow this route to collect all the rewards
-
- Final 50 gold in this location
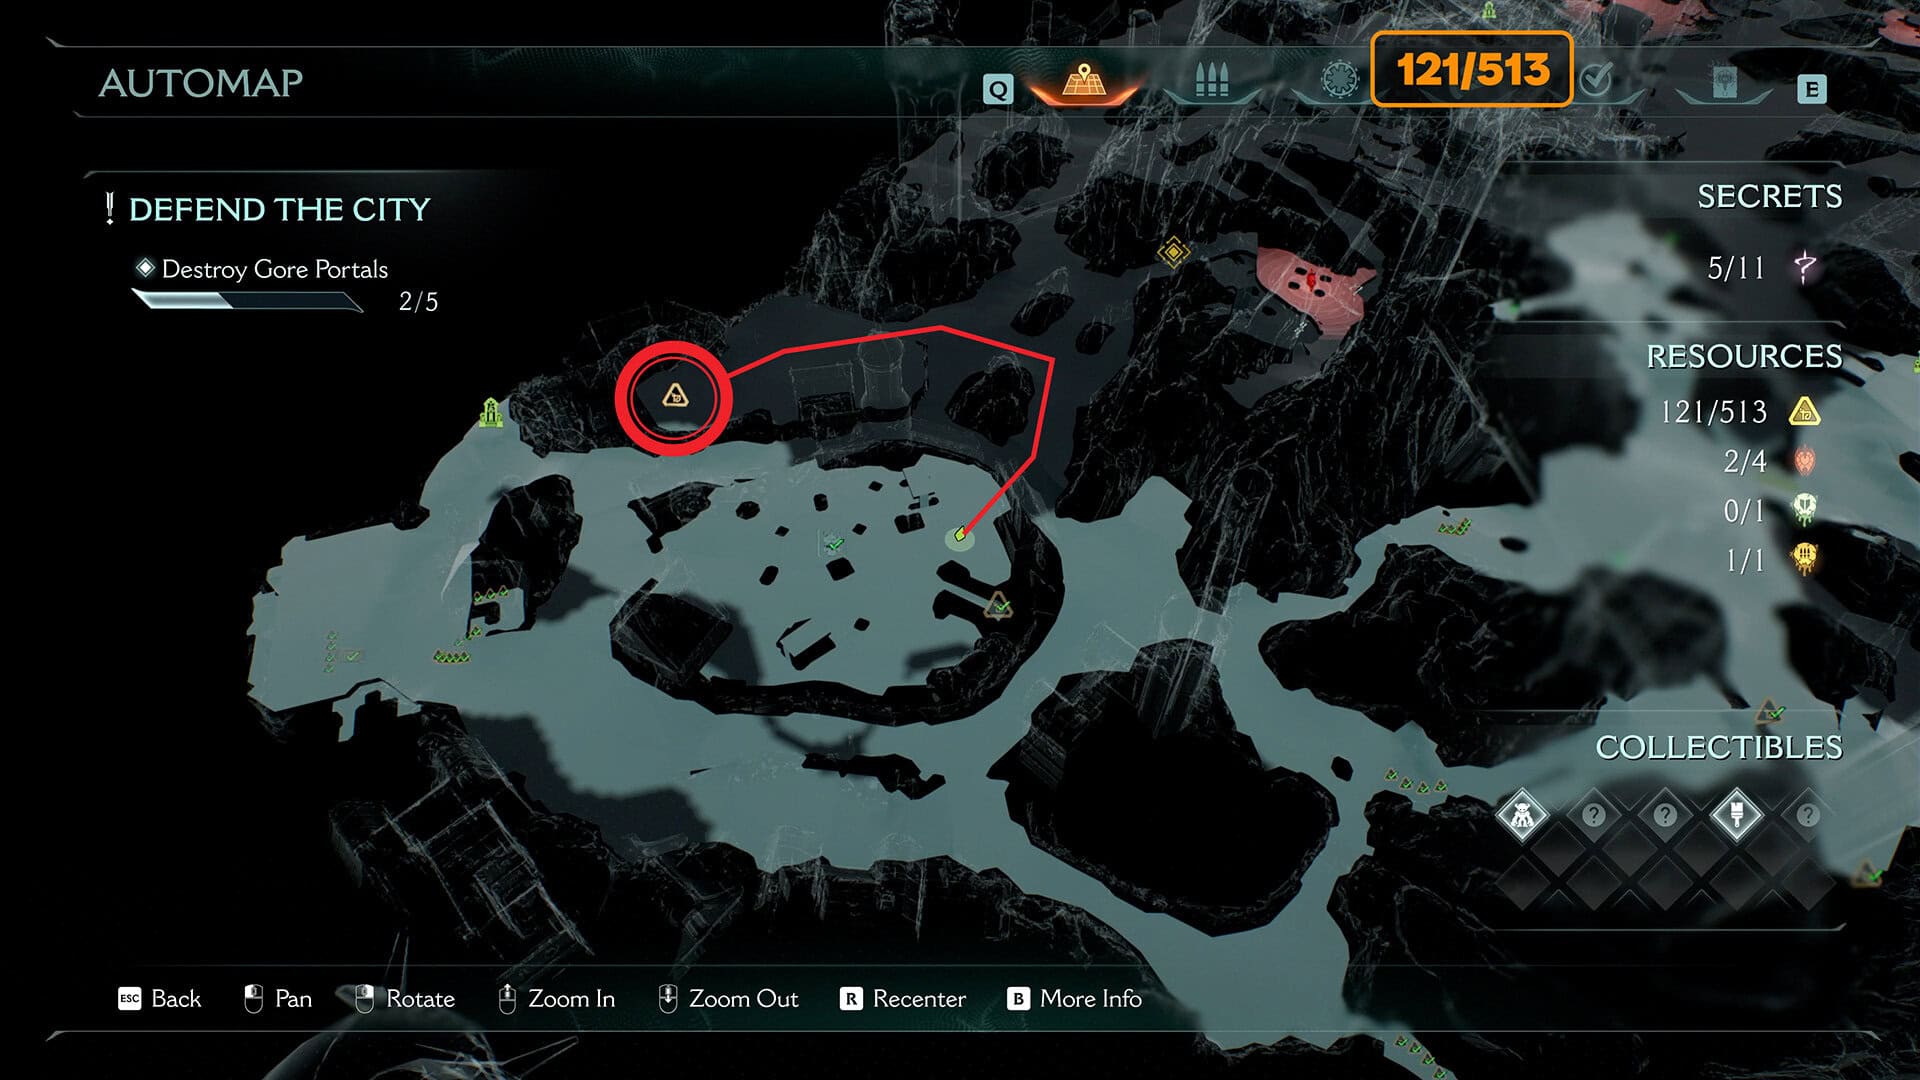
Demonic Essence Amo + 8 gold (121/513)
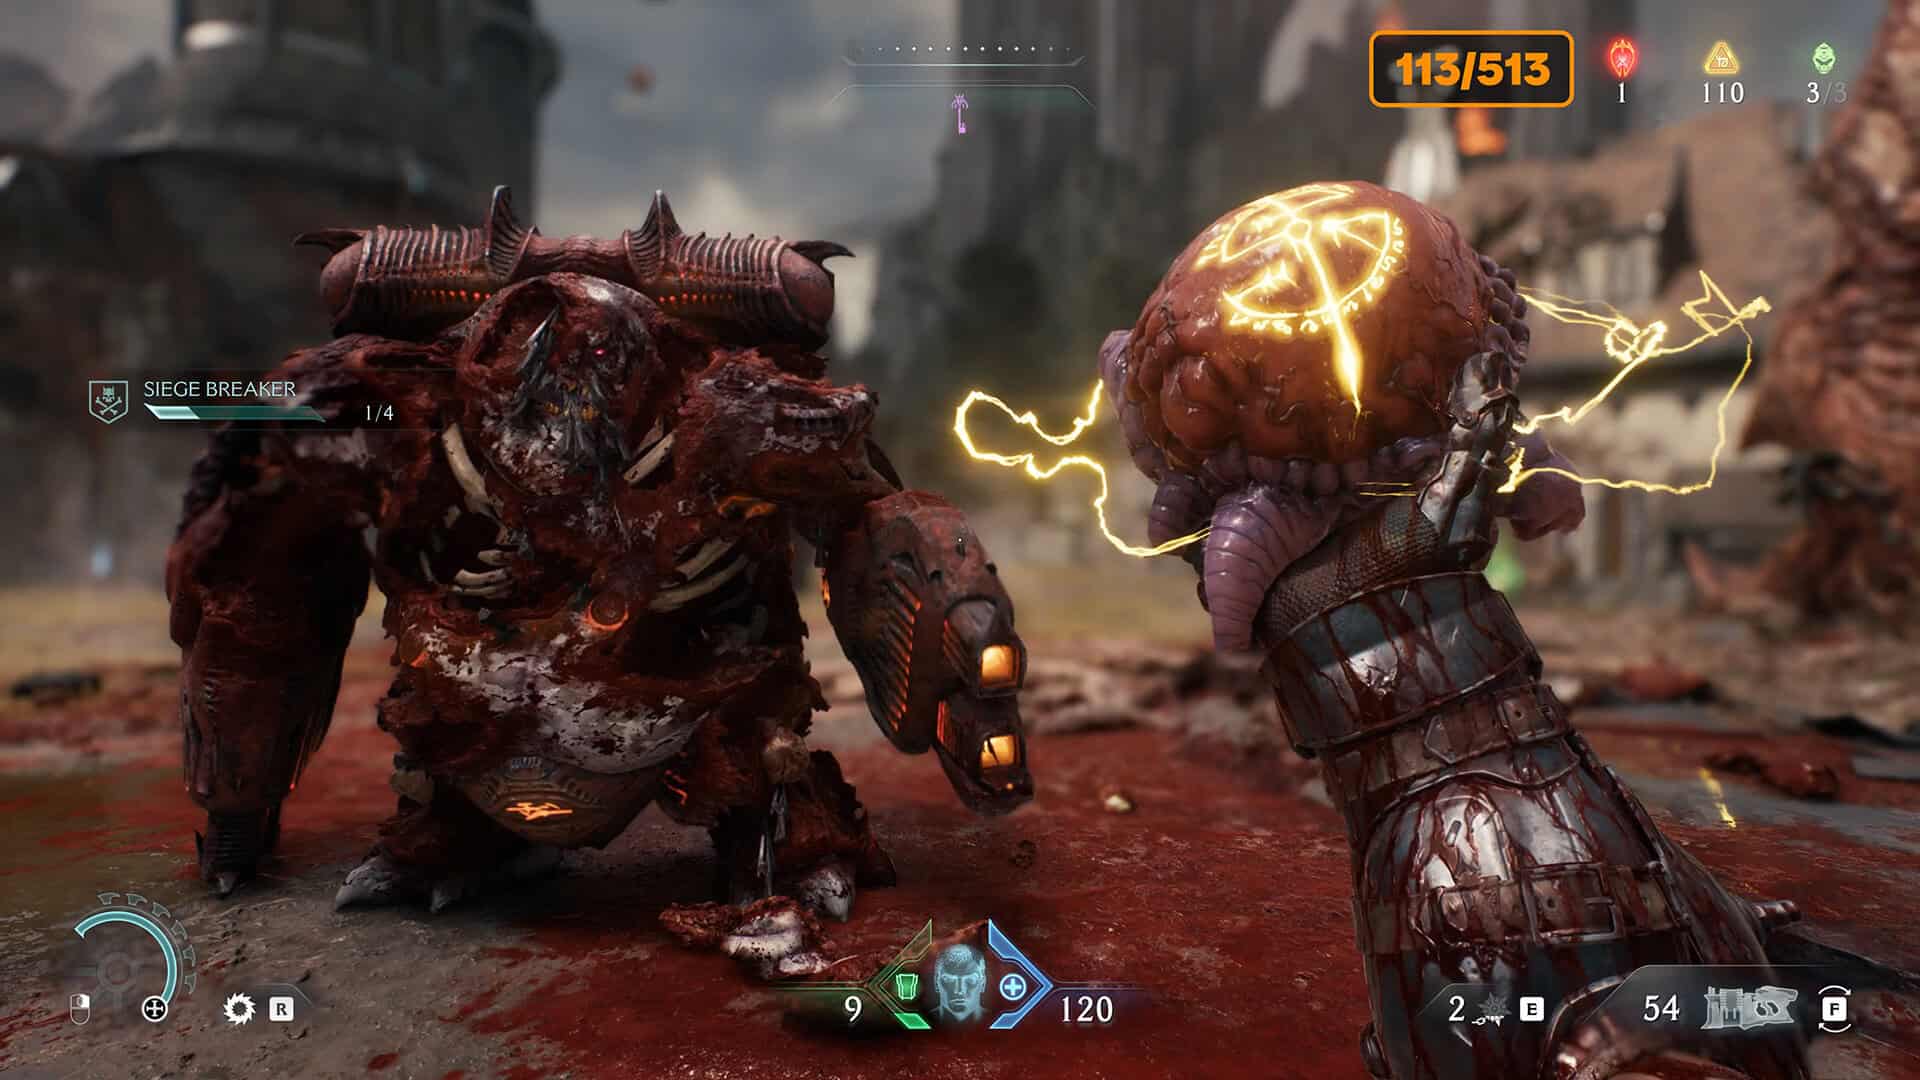
Remember, you destroyed the first Gore portal at the beginning of the location. Now we’ve reached the second one. Here you’ll have to fight a large number of enemies. When you defeat the main enemy, you’ll automatically receive Demonic Essence Amo. You’ll also find 8 gold coins where the portal was.
-
- Demonic Essence Amo + 8 gold
-
- Demonic Essence – Ammo in 6 chapter Siege part 1
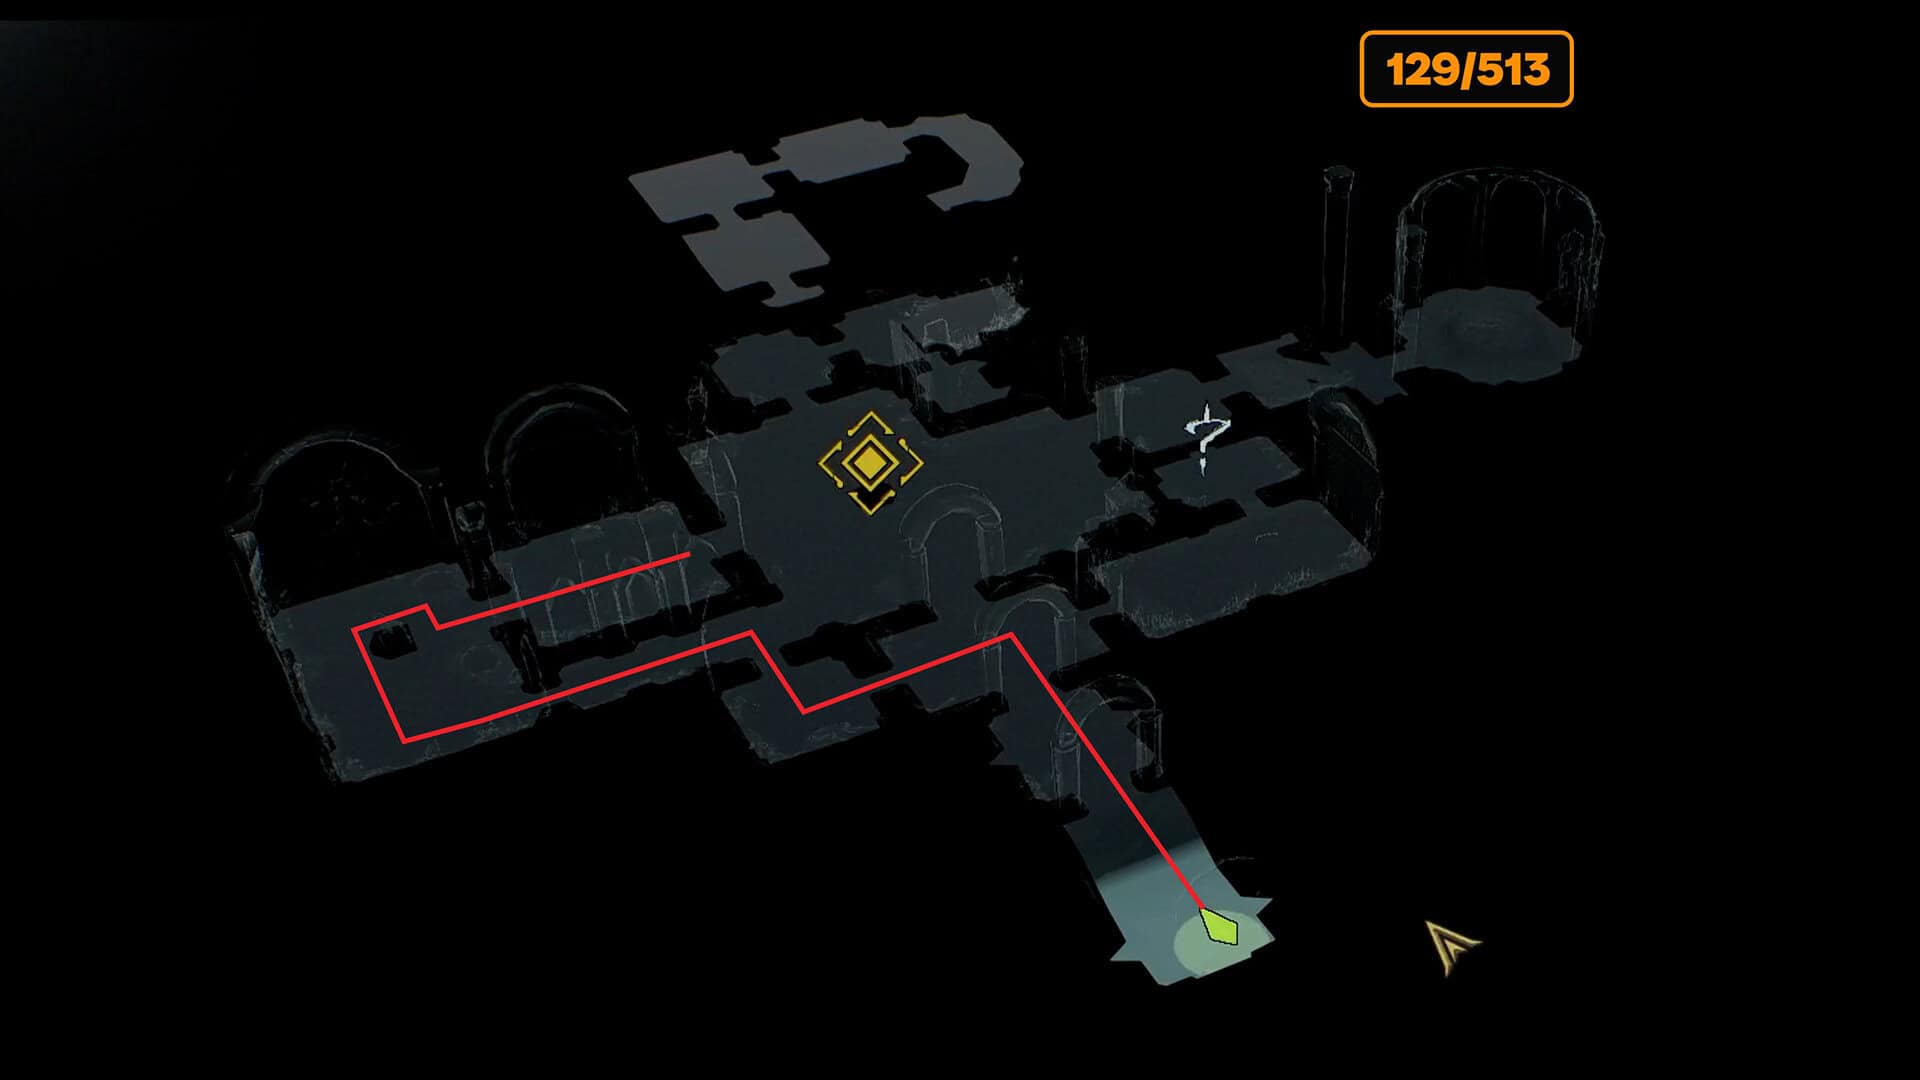
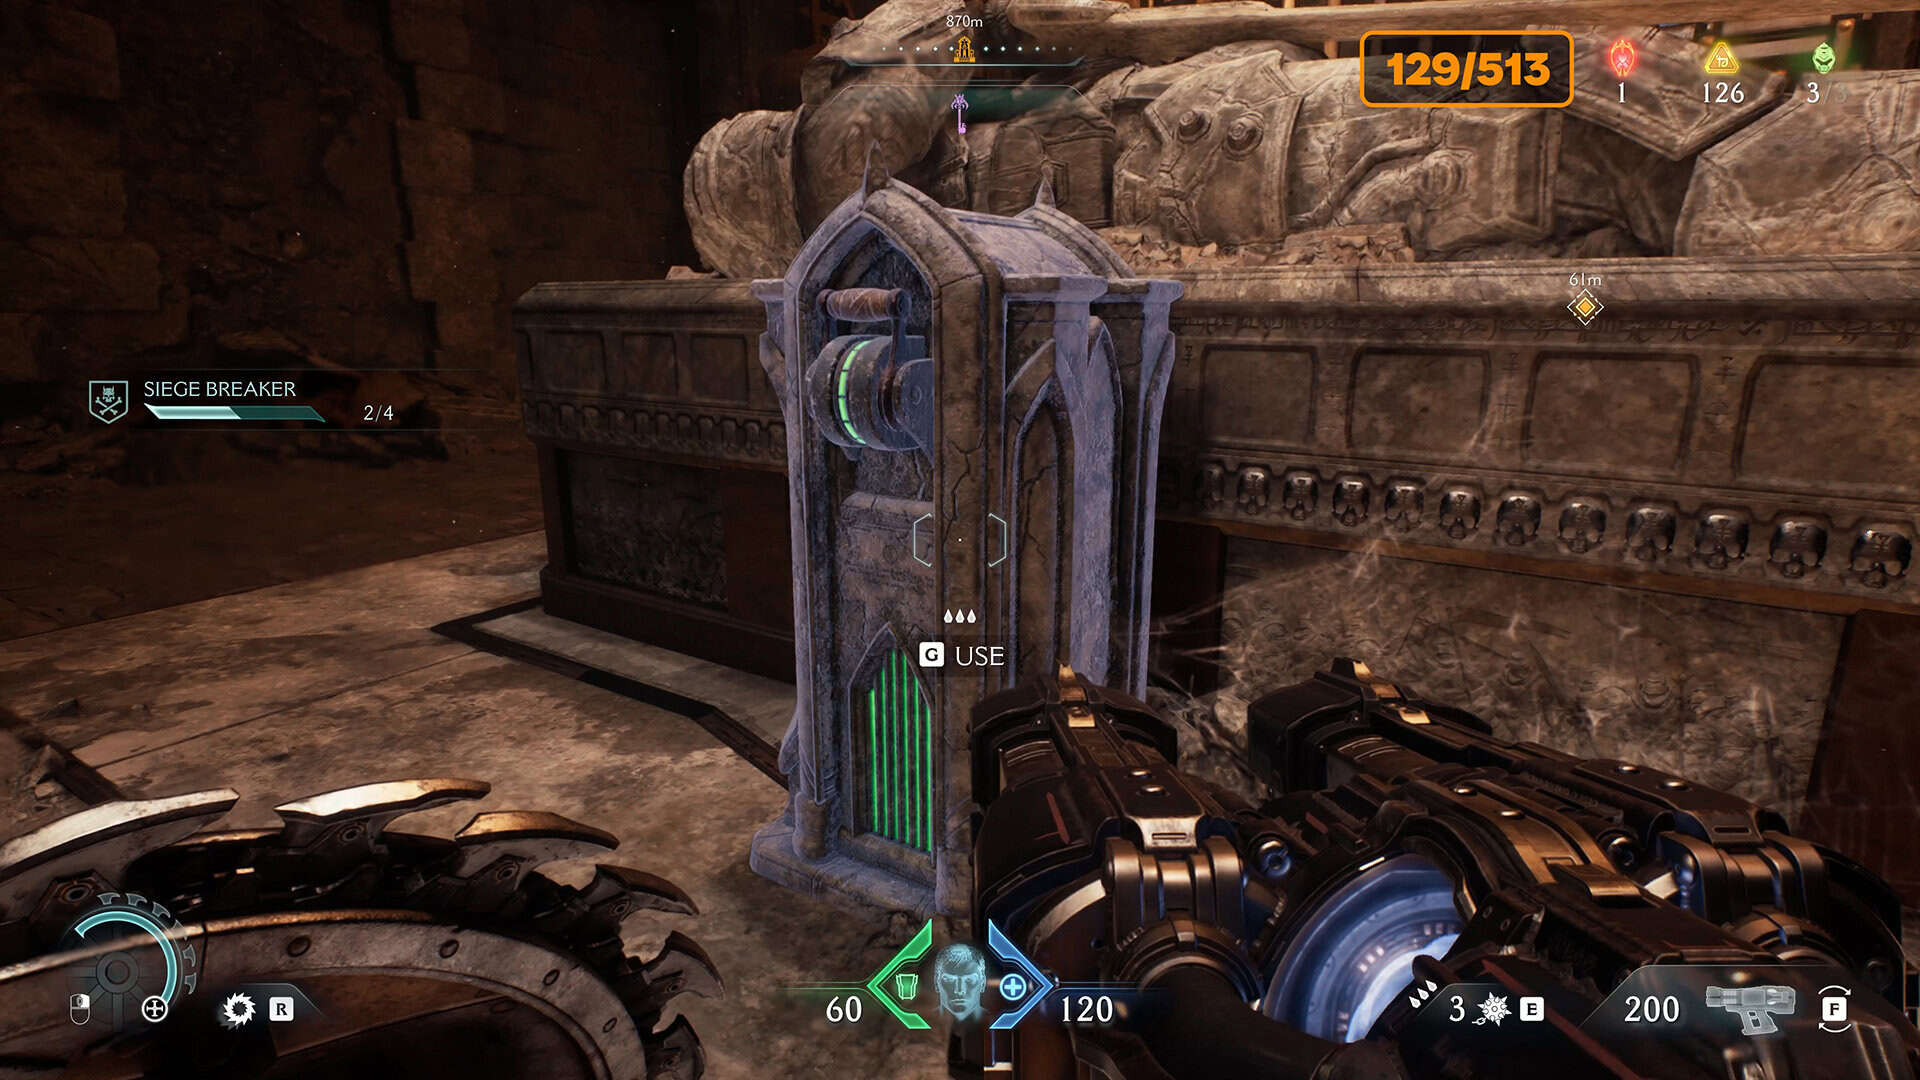
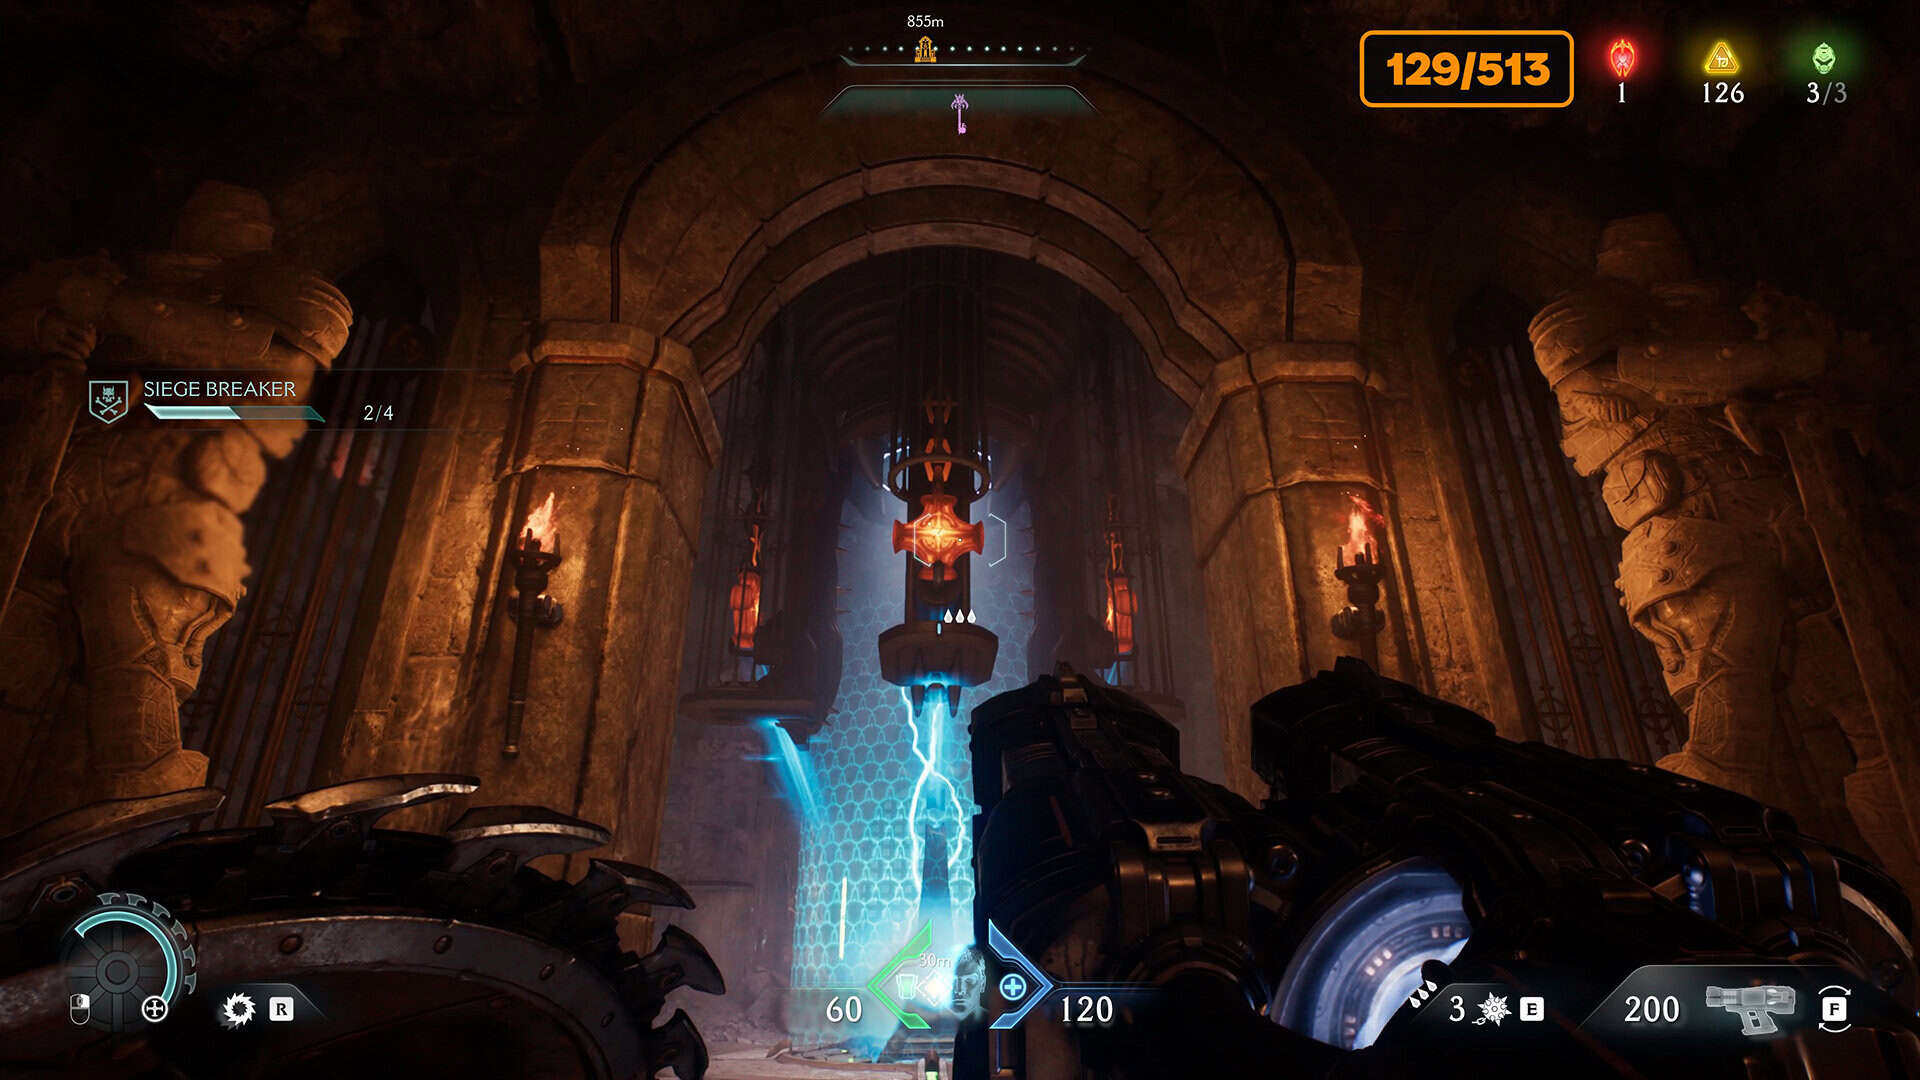
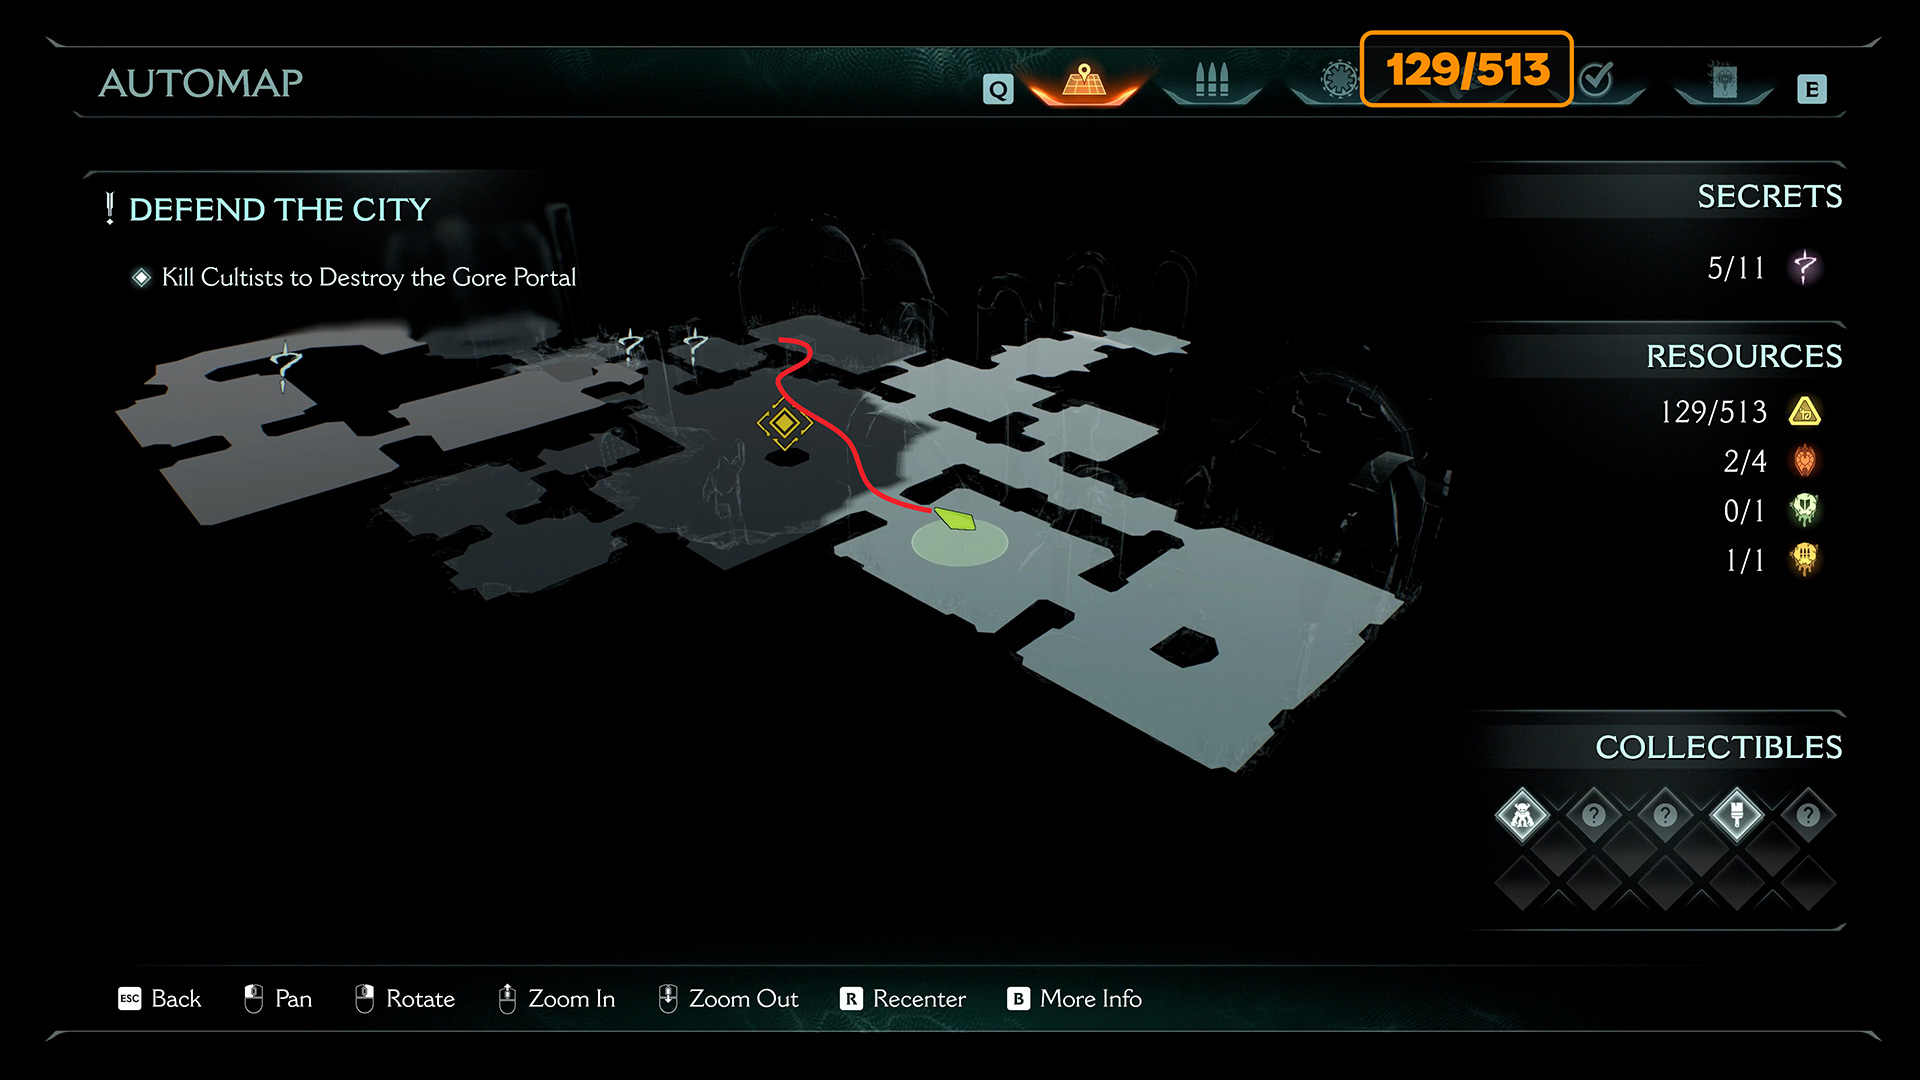
8 gold (129/513) + Siege Breaker Challenge #2 from 4
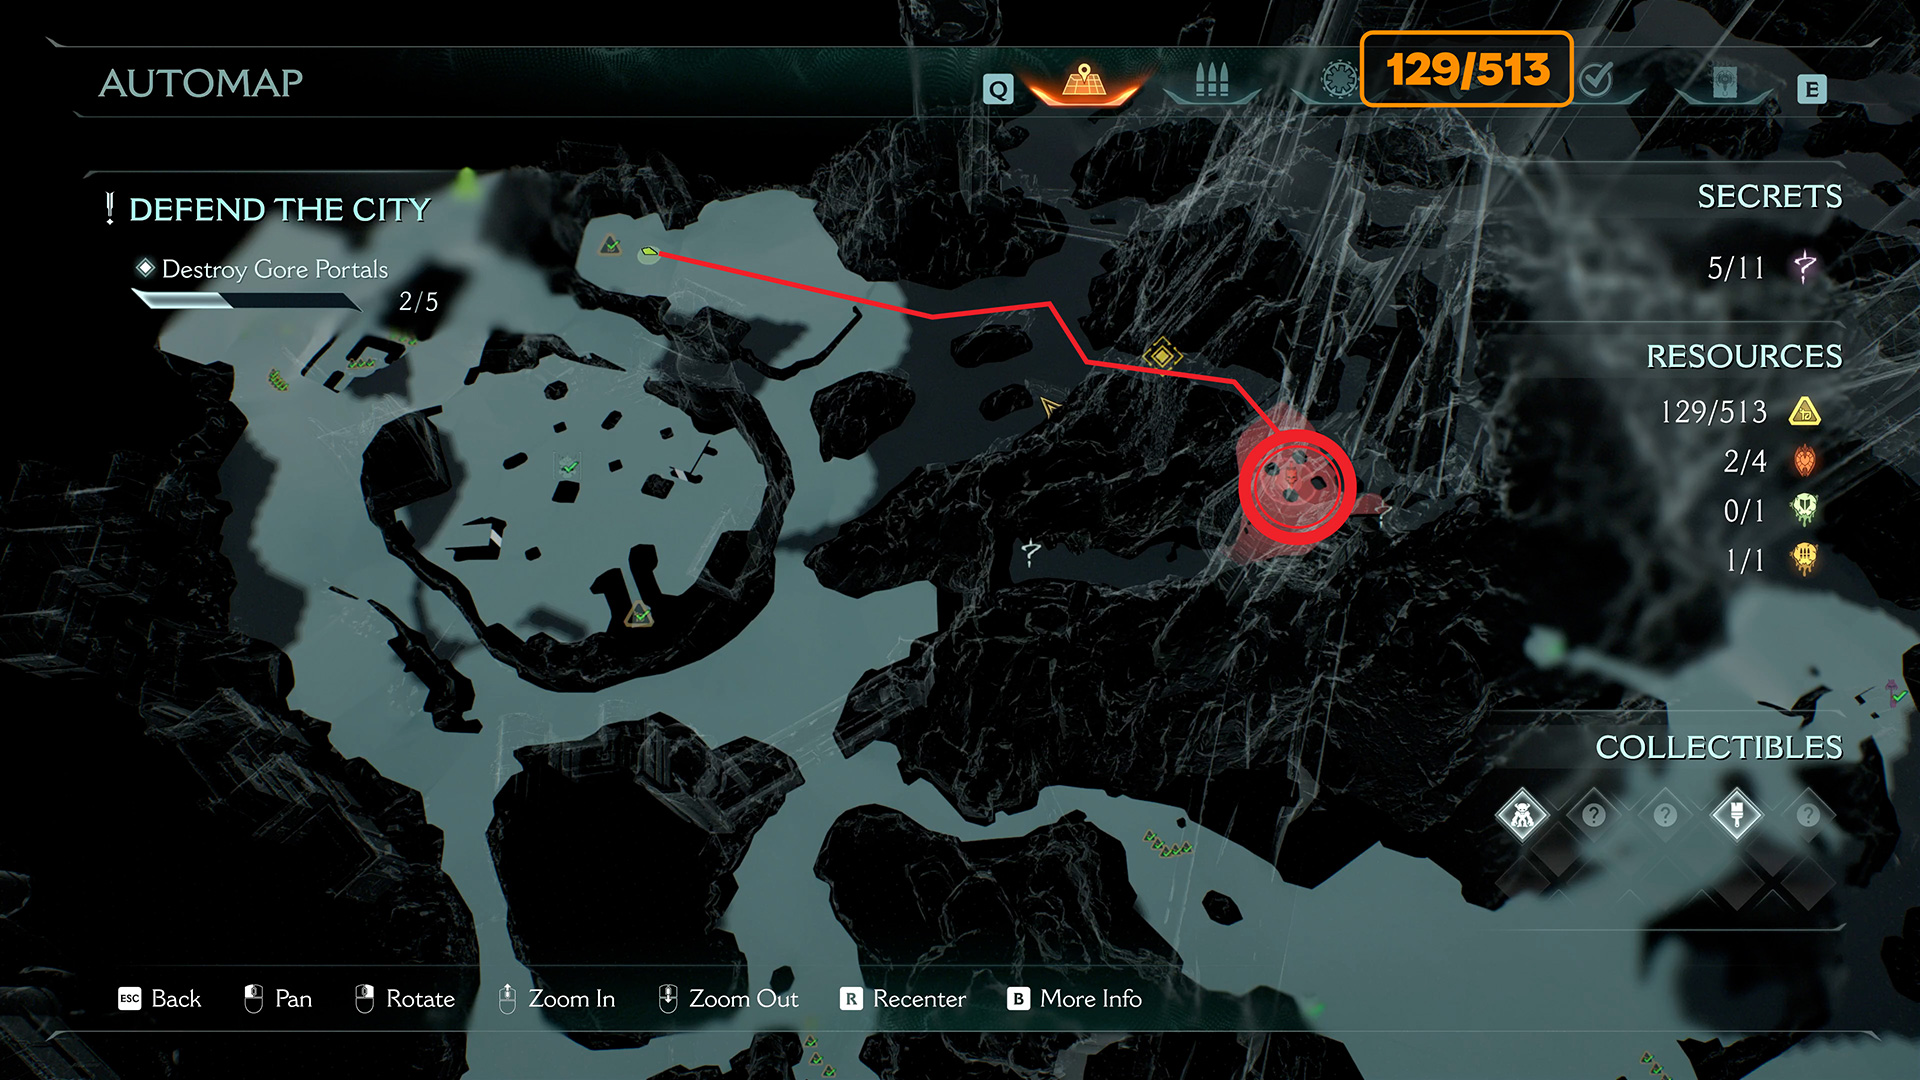
Next, you need to find and destroy the second artillery cannon. Remember, this is part of the Siege Breaker quest. I’ve marked the route on the map, but you need to find the location yourself. It’s not difficult to get there. Destroy all the enemies, then neutralize the cannon. You’ll find 8 gold coins in its place.
-
- Route to the second Siege
-
- Second Siege for the Siege Breaker challenge
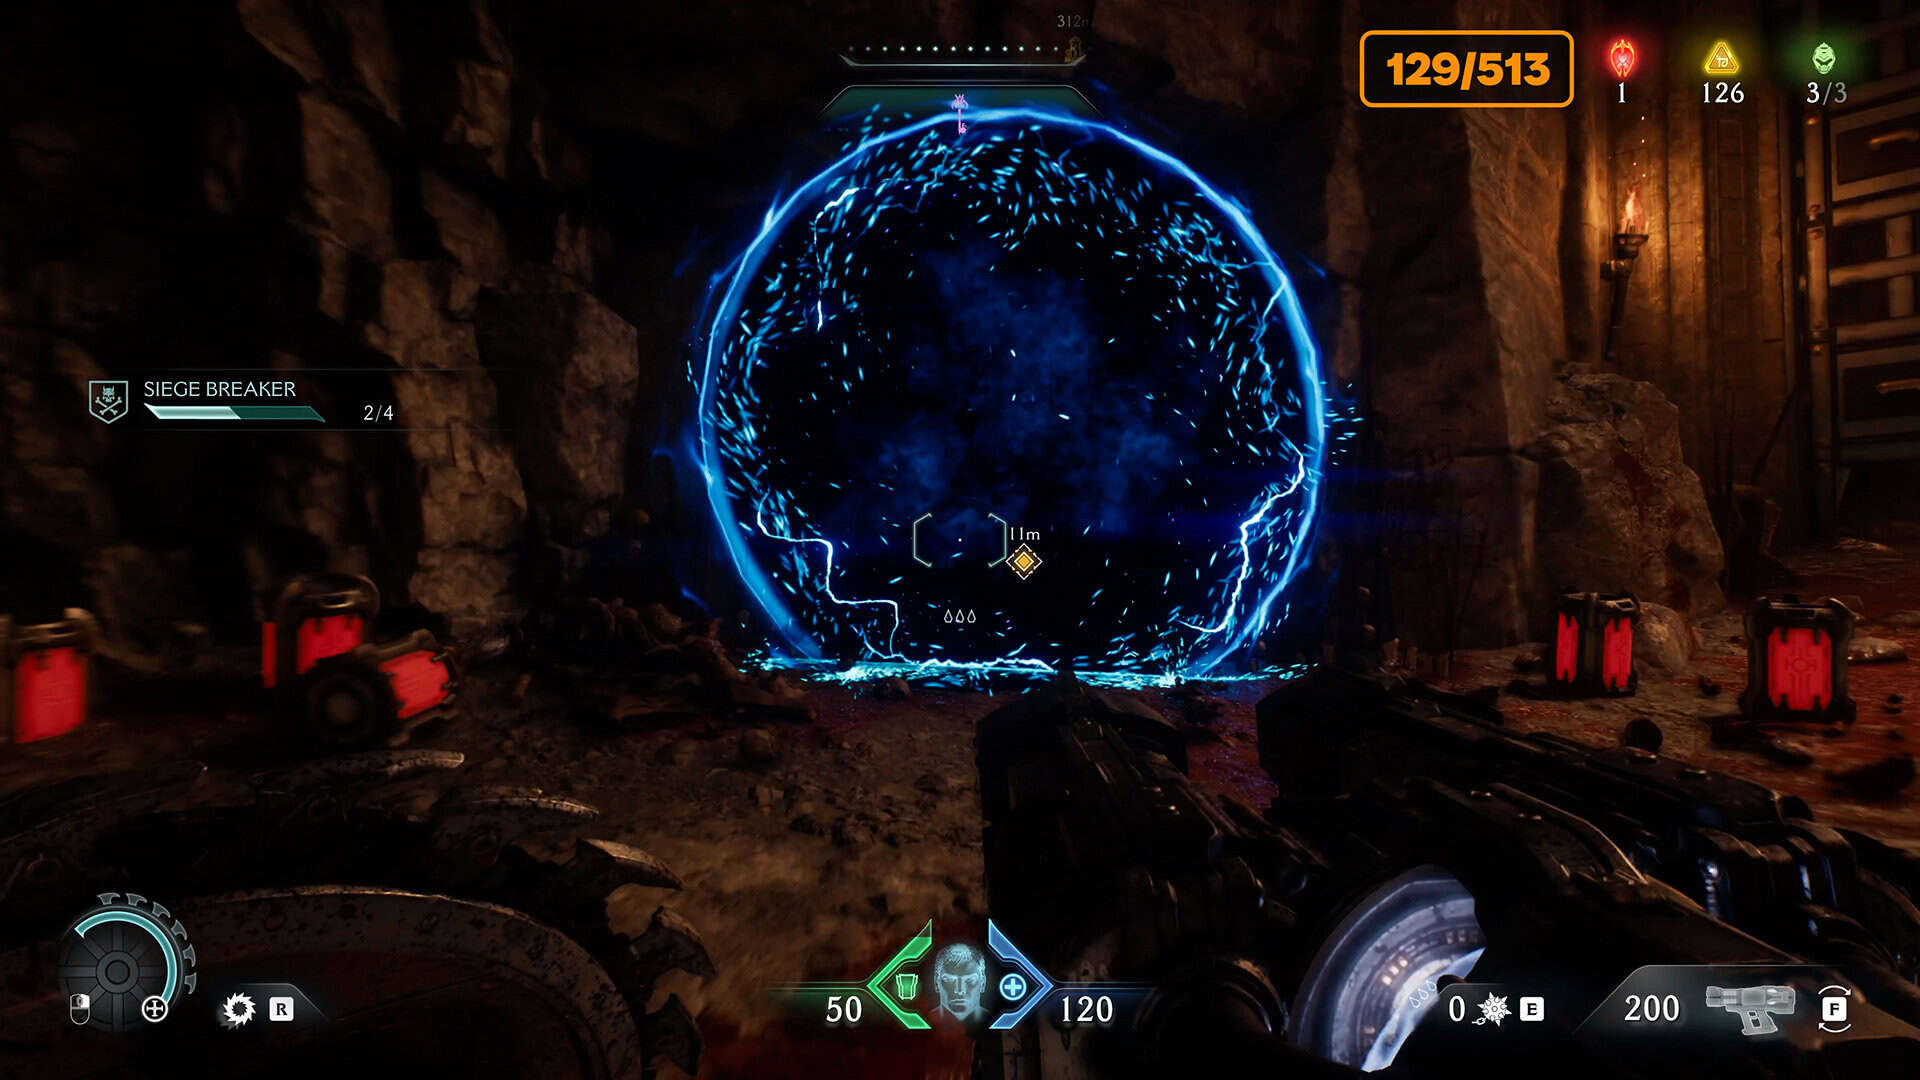
Blue Portal in Gore Portal
The next goal is the third Gore Portal. We are moving across the map towards it. I showed you the route specifically from the last point so as not to get confused on this complex map. You can see a red area on the map, marked with a target marker. Jump down, where you will need to destroy all the monsters, and then a round blue portal will open. Enter the portal, and then I will show you what is interesting there.
-
- The path to the second Gore portal
-
- Portal to another location to destroy Gore
Riddle inside the third Gore Portal
You will find yourself in an interesting area containing many mysterious rooms and a central puzzle. Go forward, ignoring the button on the floor in front of you. Turn left. You will find yourself in a room with a closed metal gate blocking your path. Throw your shield at the object above the gate and it will open. After passing through the gate, turn left again, and you will find yourself in a room with a stone sarcophagus. Behind it is a lever.
You need to press it. Another grate will rise up in front of you. Pass through it and you will see a large button on the floor. You need to stand on it. This will activate a special mechanism, and you will see a protective grate rise up in front of you, covering a metal cross.
-
- Let’s start solving the puzzle of this place
-
- Find and press the lever
-
- Break through the first stage of defense
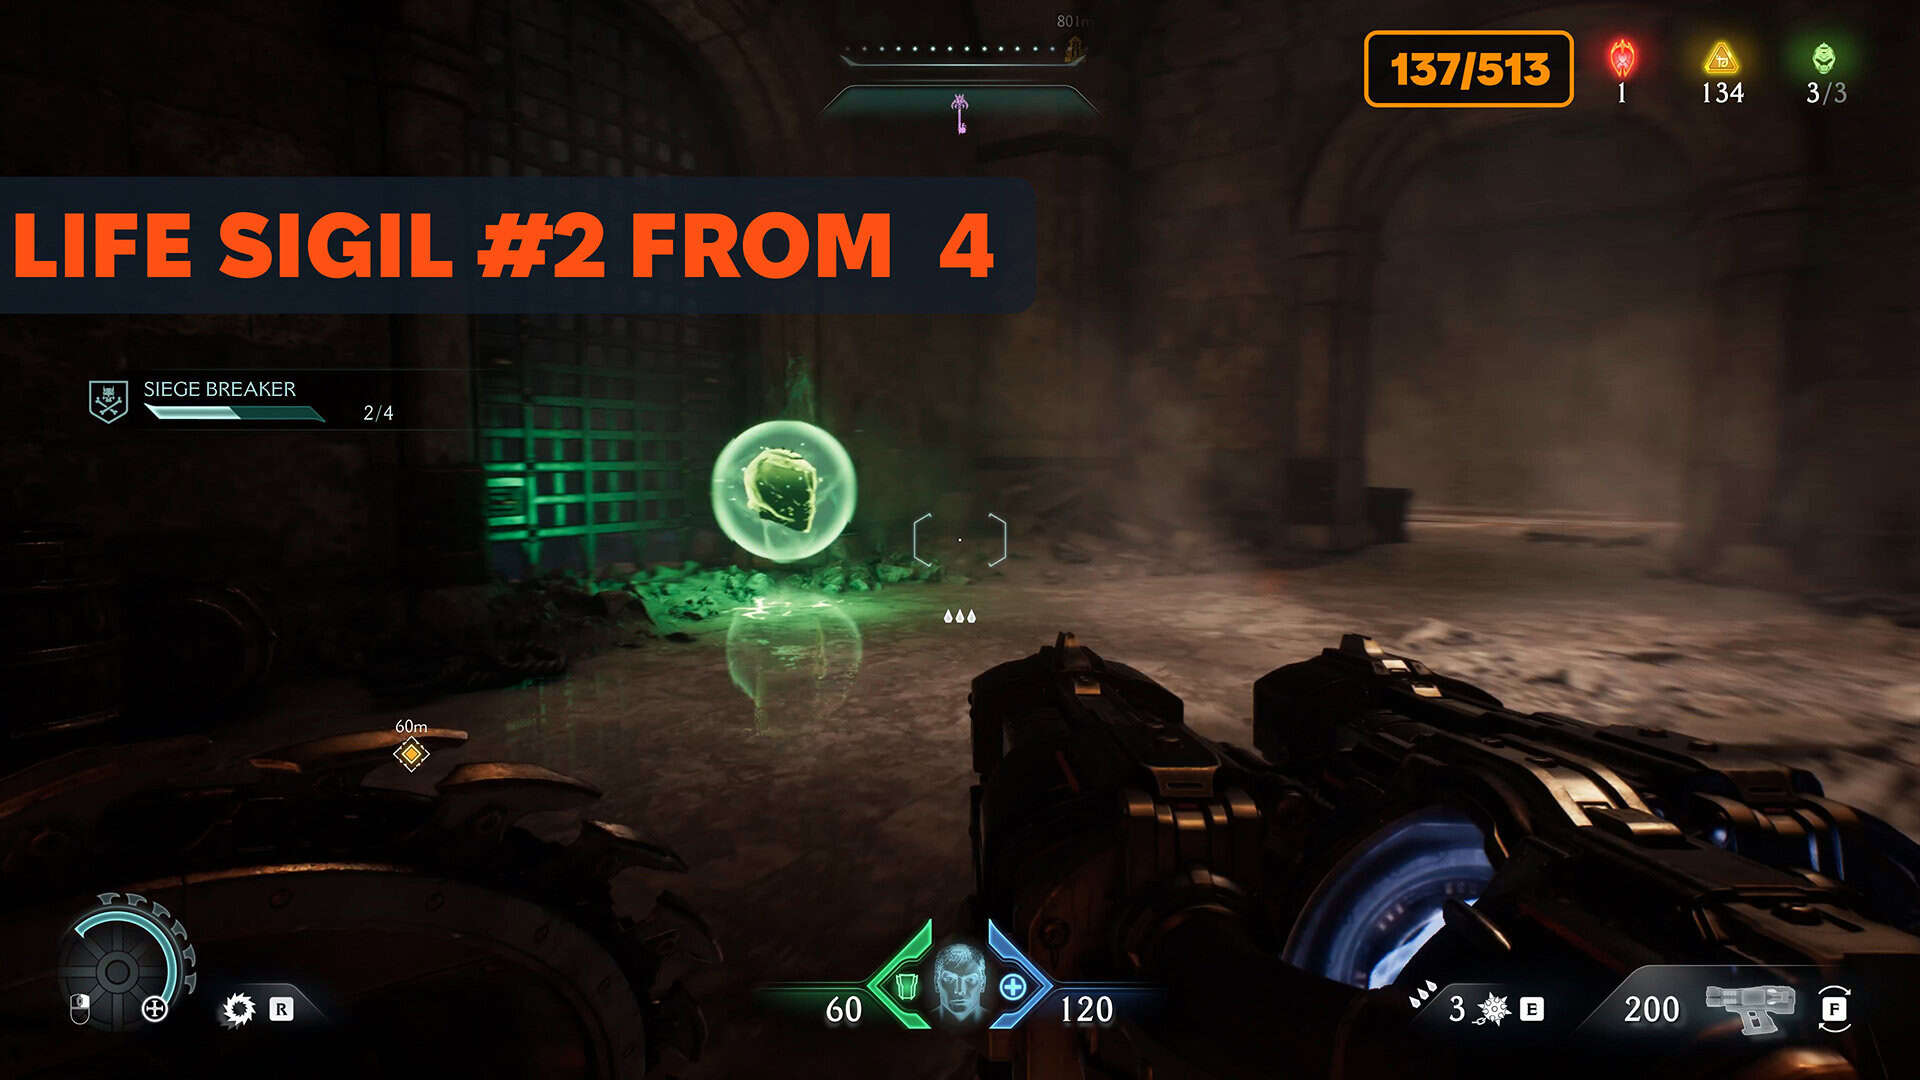
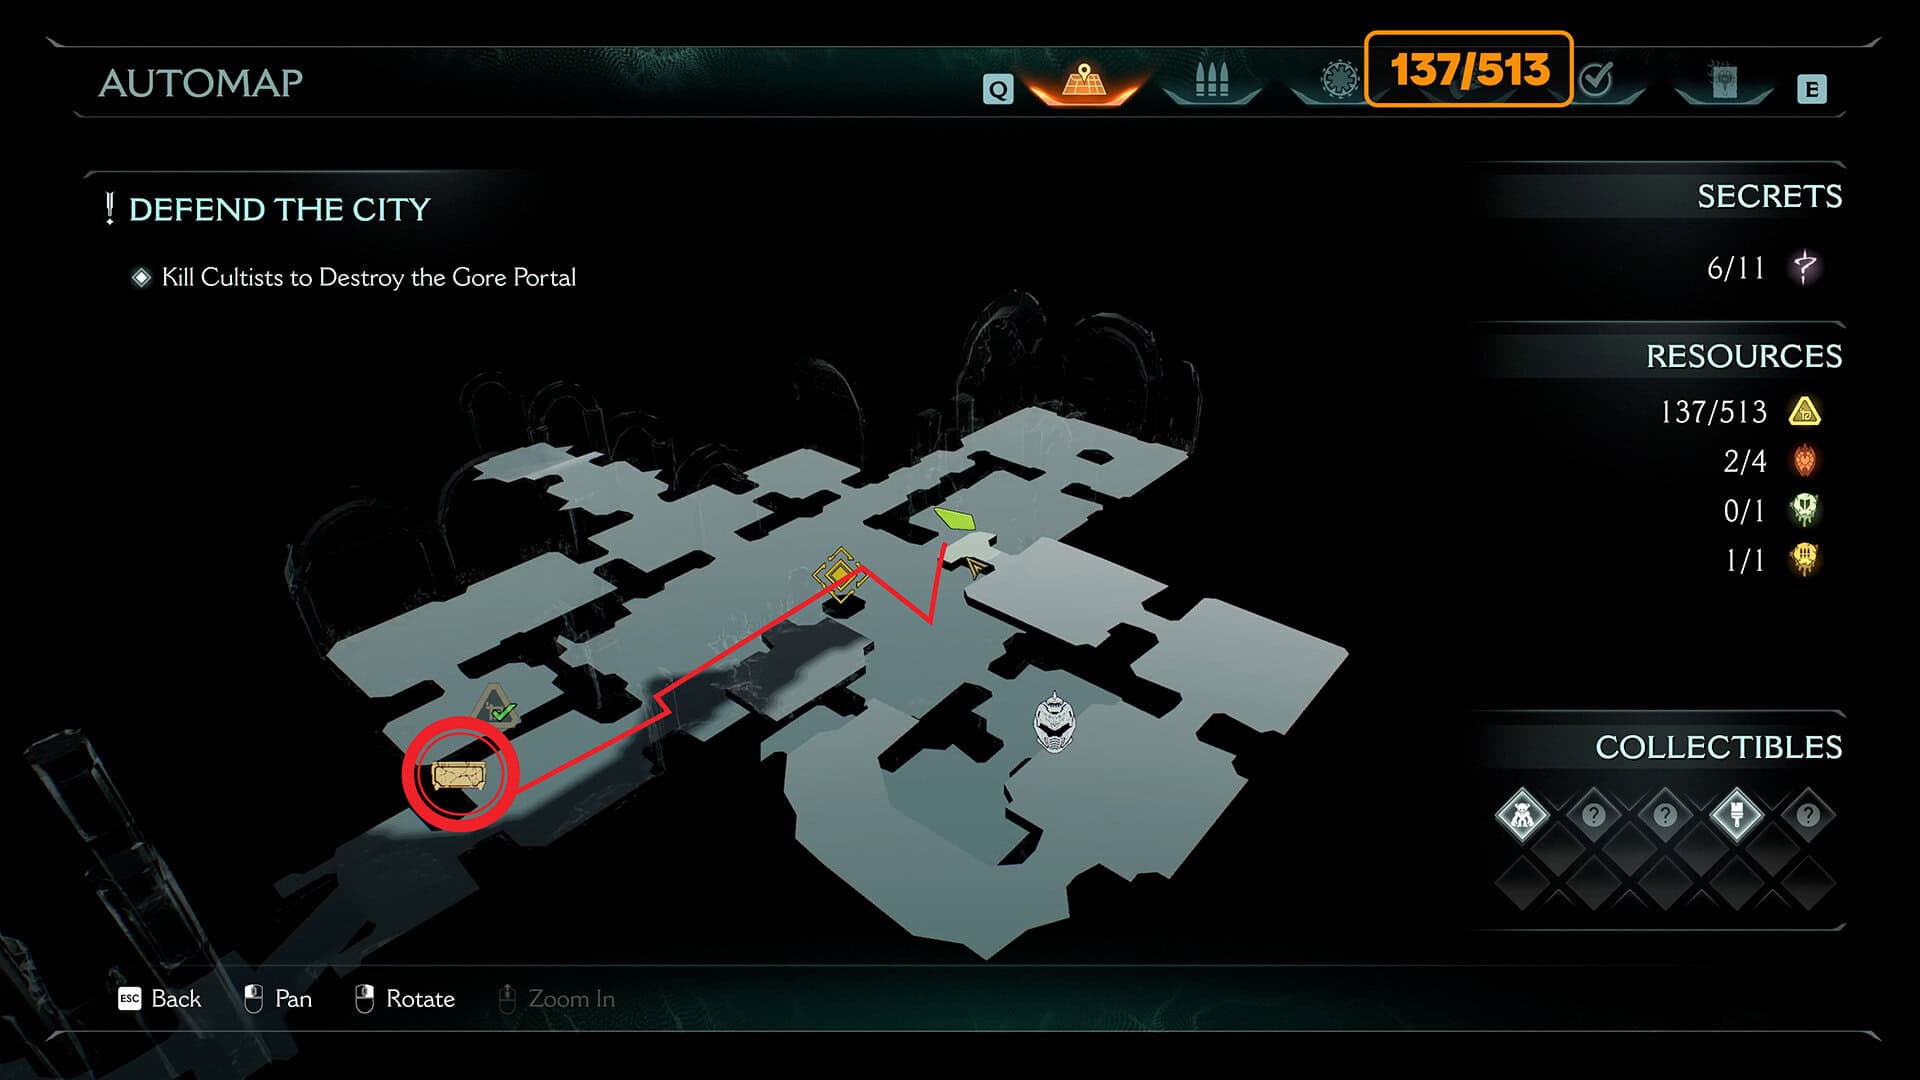
Secret #6 from 11 + 8 gold (137/513) + Life Sigil #2 from 4
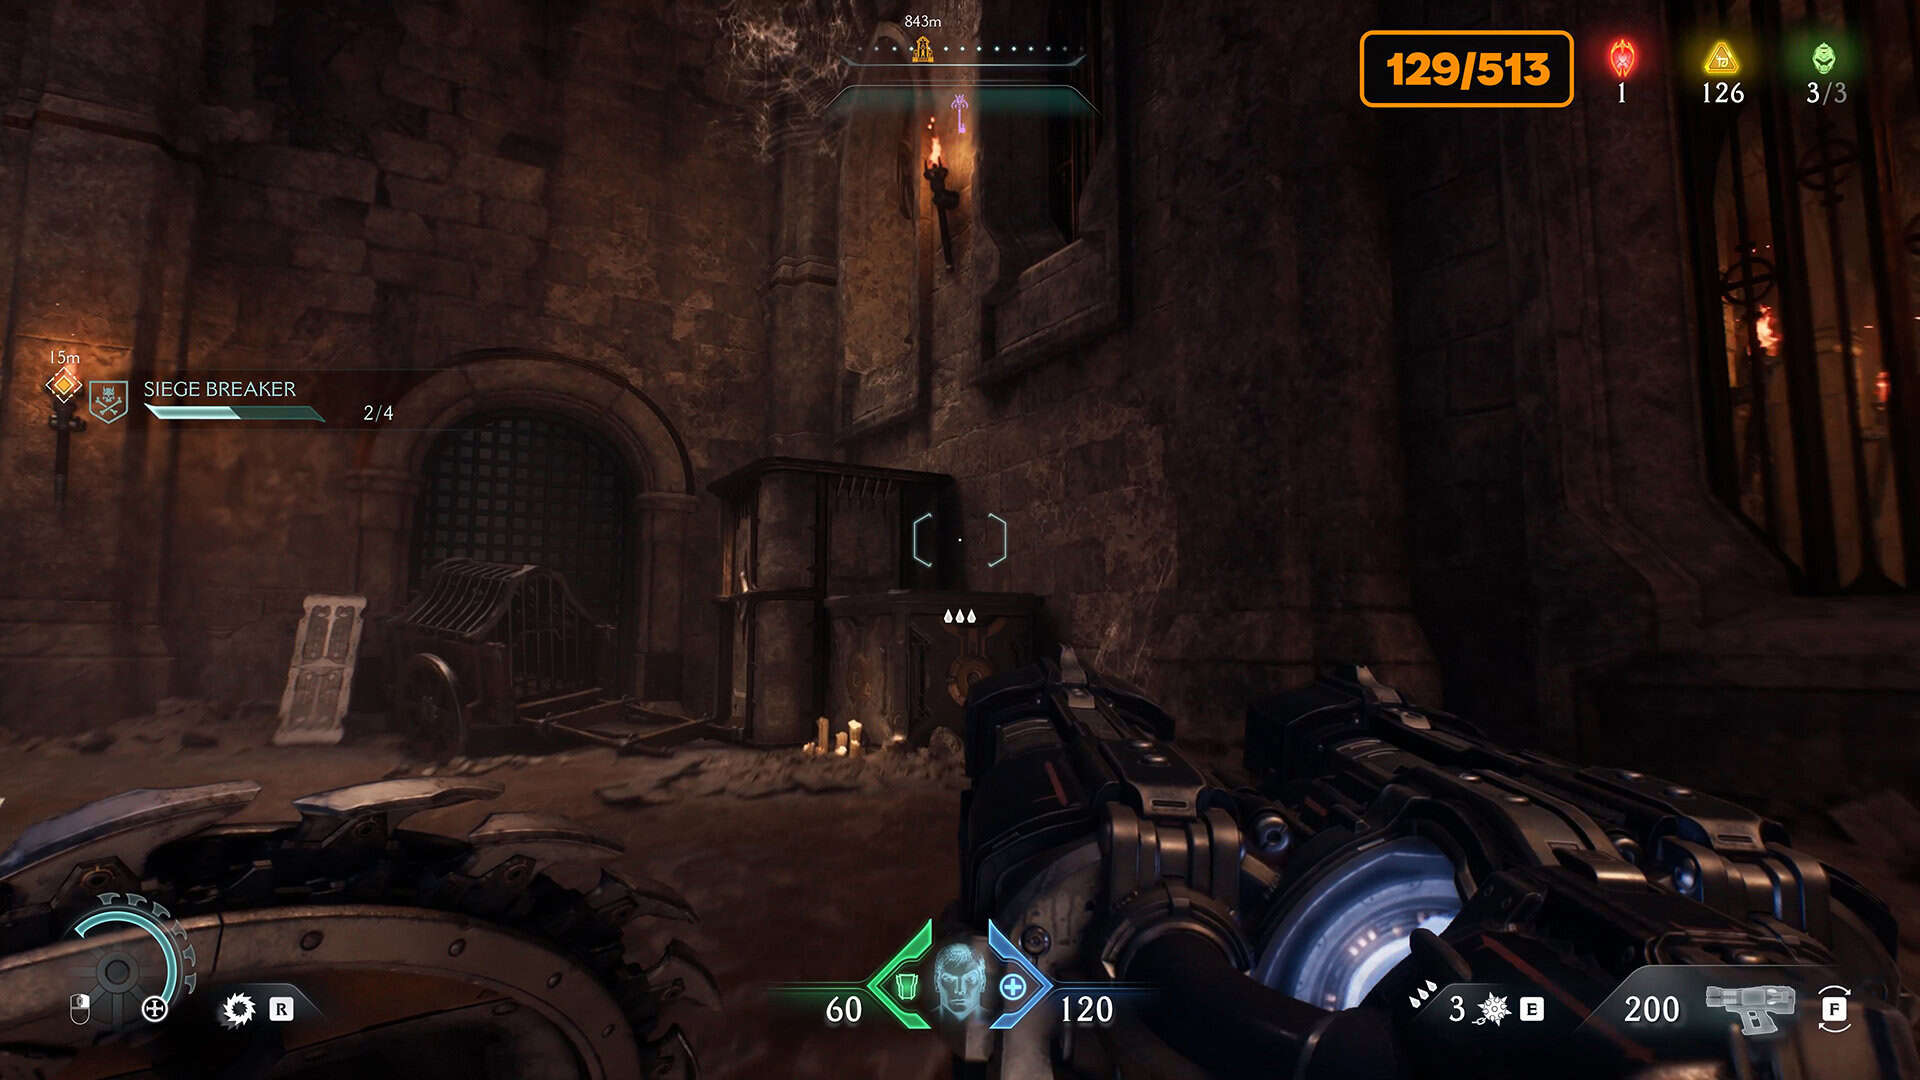
Now go to the central room. Look to your right, there are containers in the far corner. This is your chance to get into a special place. In front of you, you will see a metal cross with a chain. Throw your shield at it and the gate in front of you will open. But before you go through it, turn around. You will see a mark on the stone wall, which means that the wall can be broken. This is a passage to a secret area with gold.
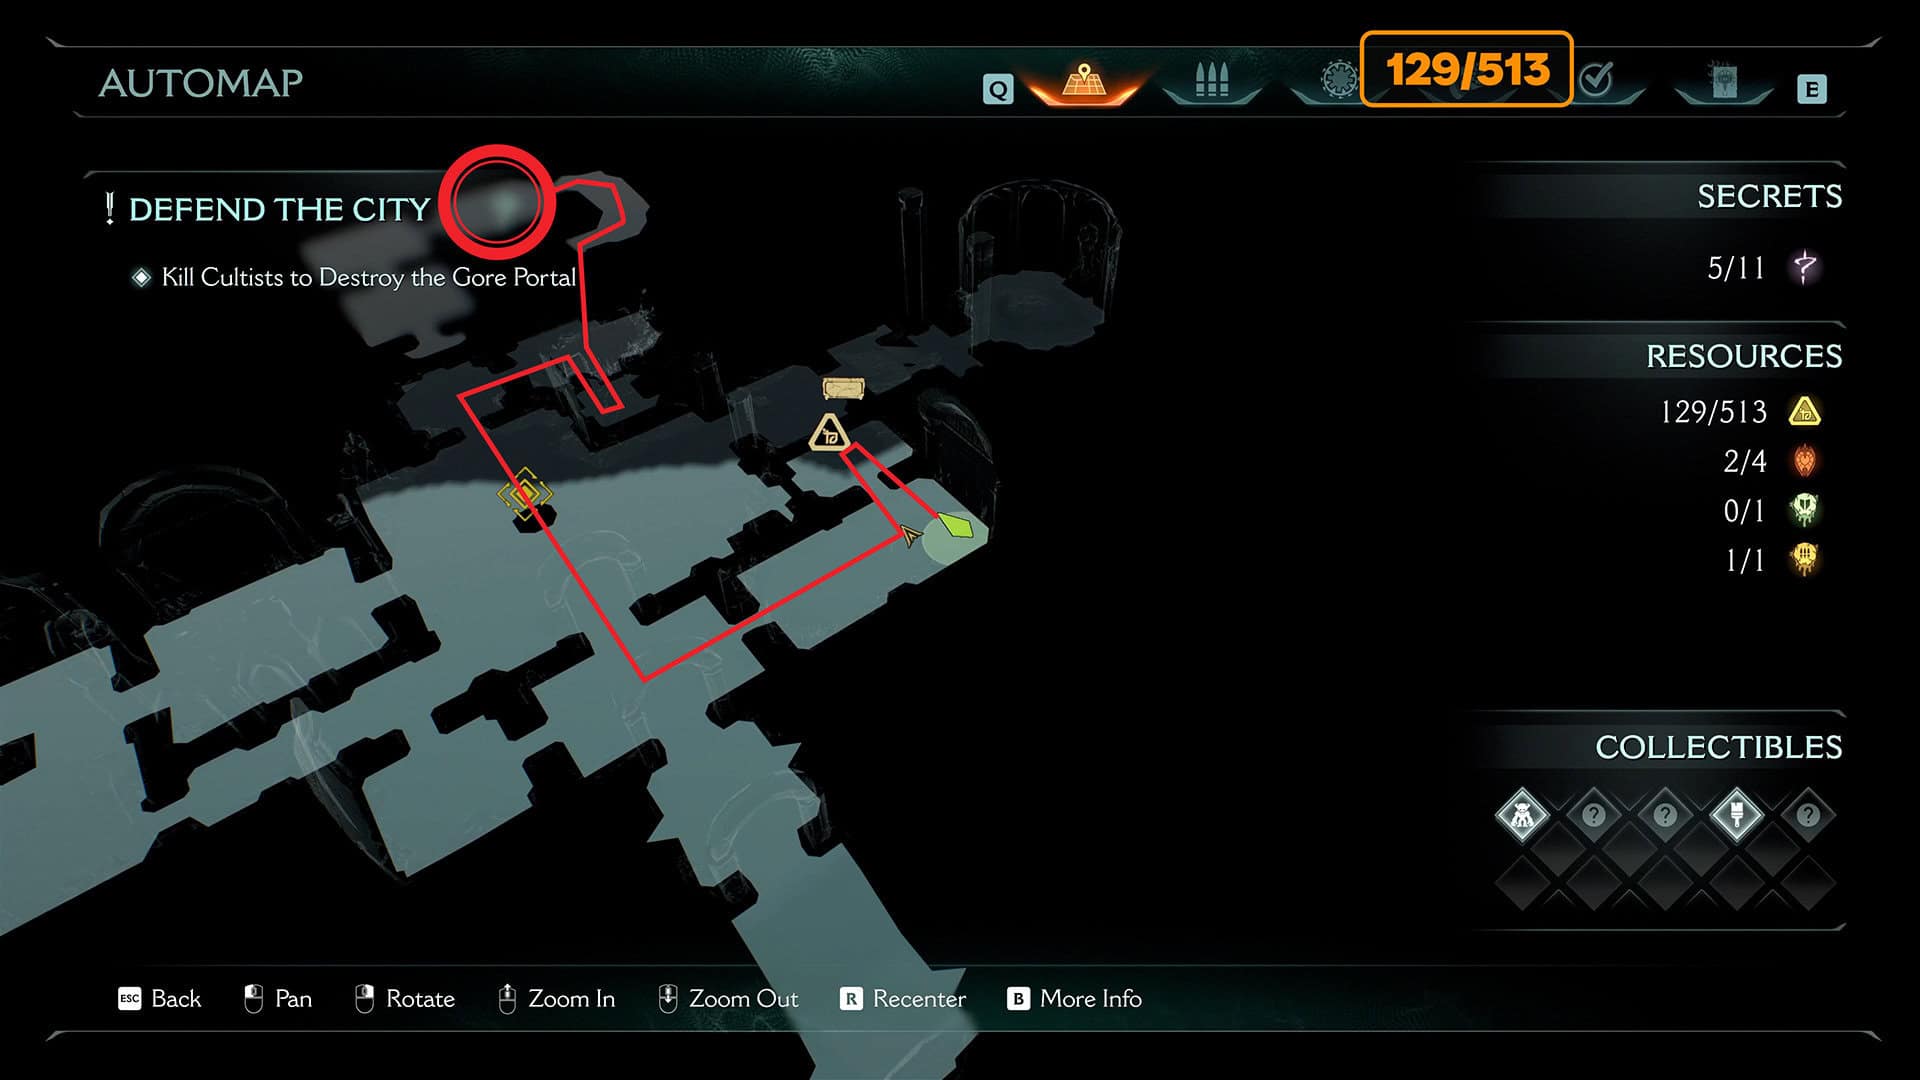
Now I’m drawing the route on the map again. This area is really confusing and needs to be clarified. Of course, first we break the wall, open the secret and find 8 gold coins. Then we return to the central puzzle. Here again there is a button on the floor. Stand on it, throw your shield and you will open another part of the complex puzzle. Next, you need to go through the central room in the direction of the red line on the floor.
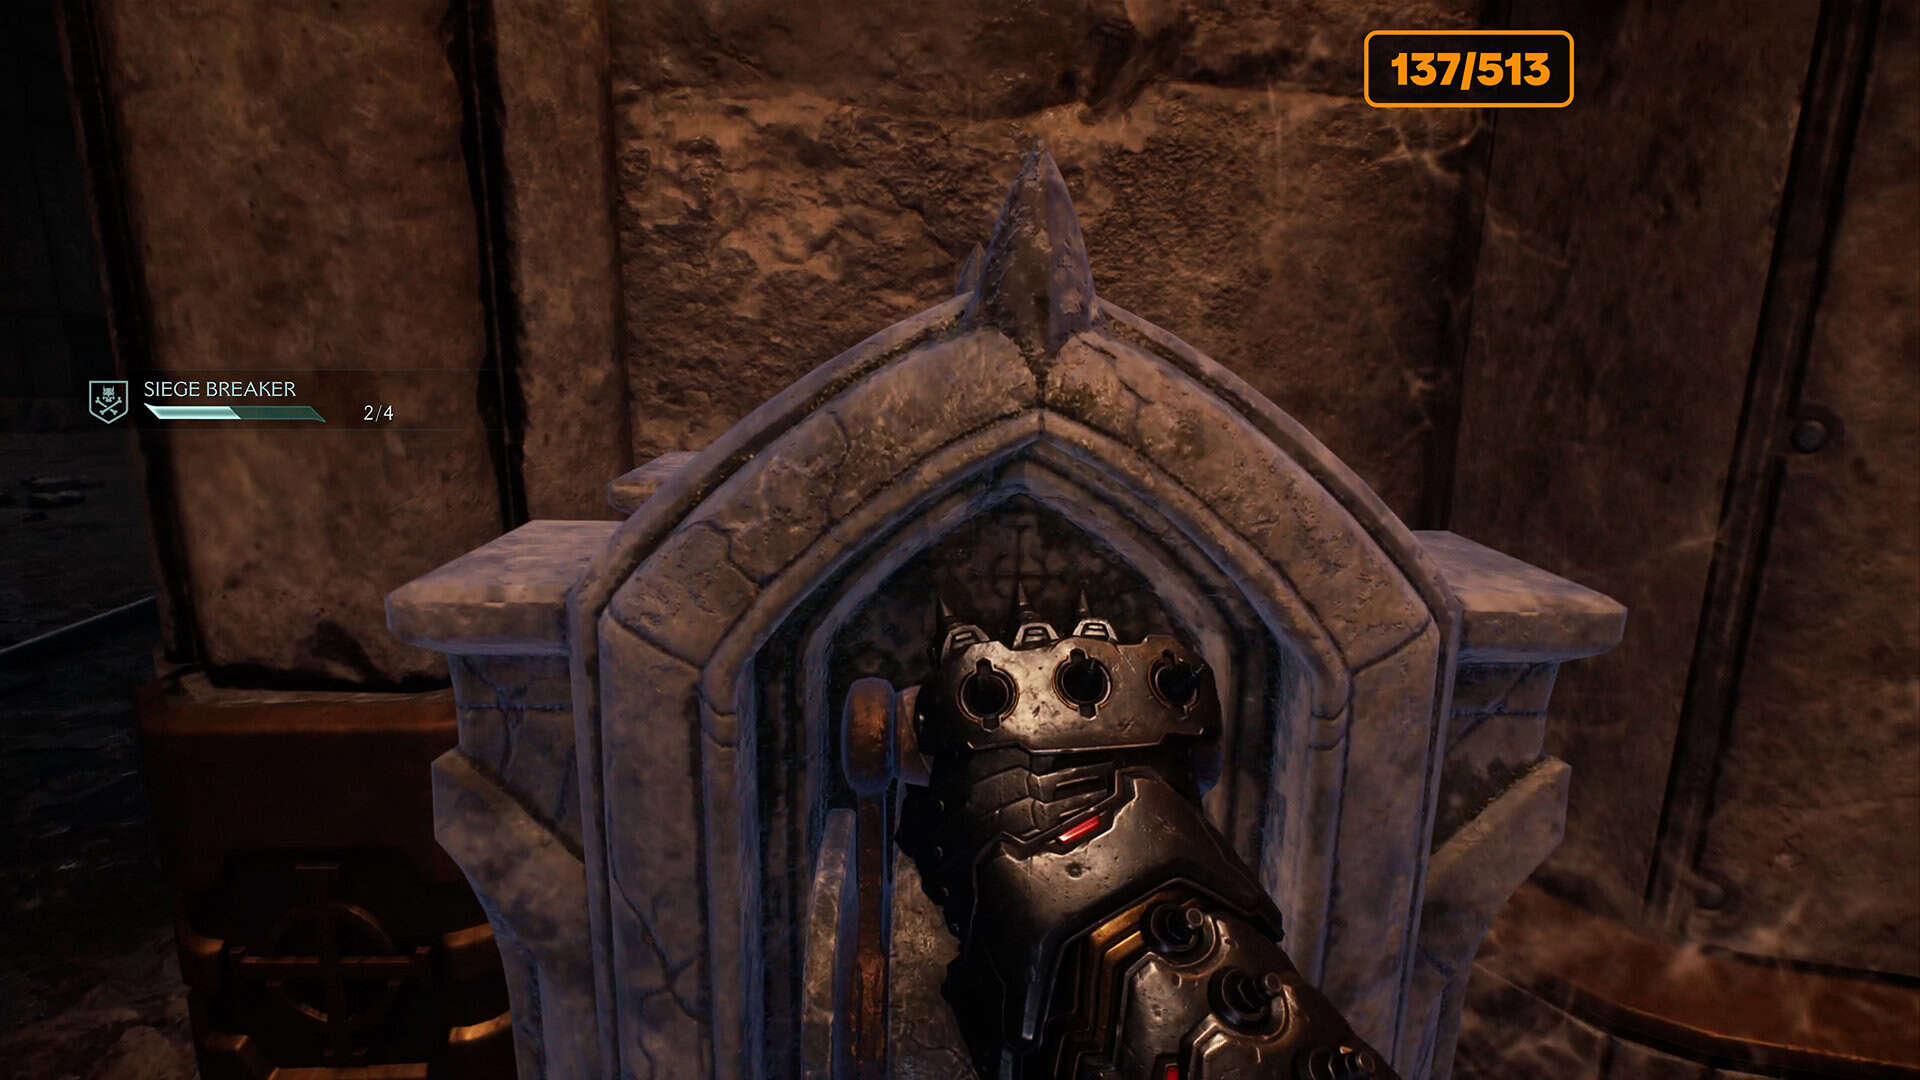
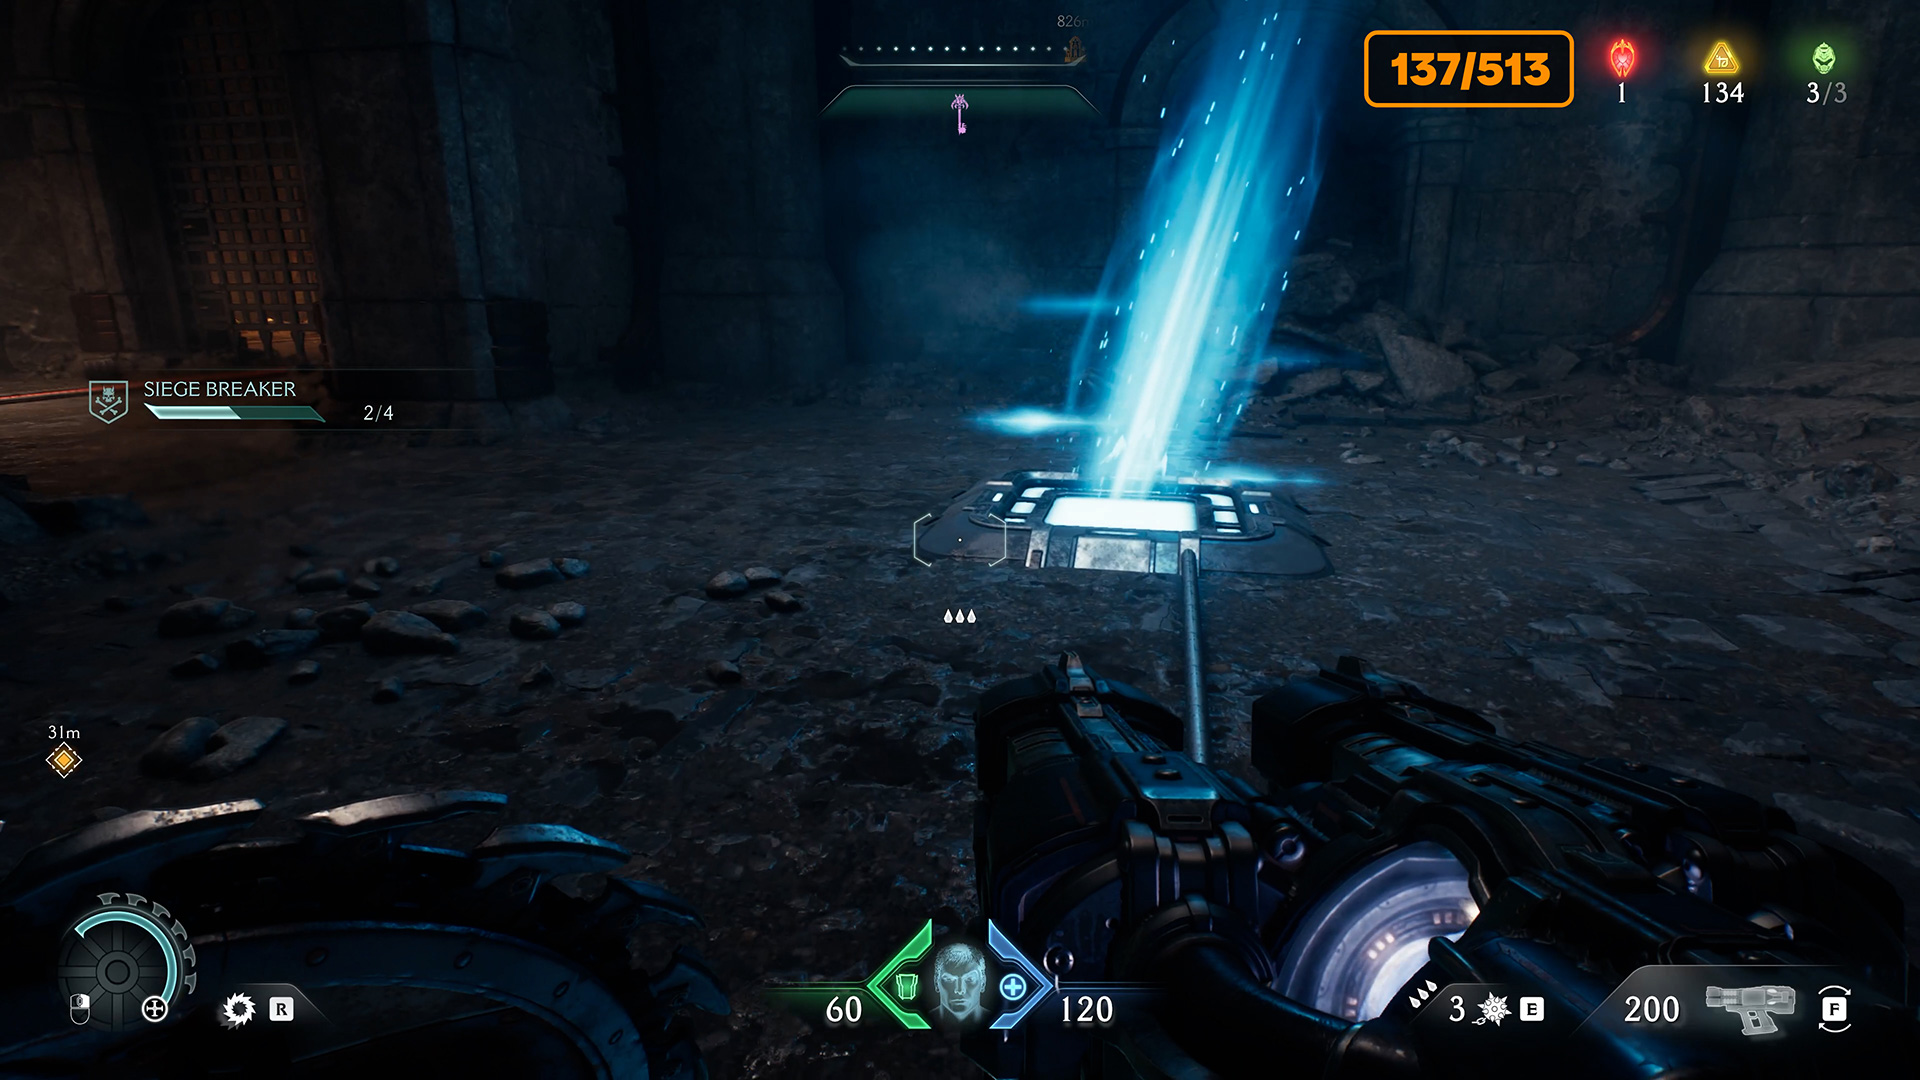
Turn right several times and you will find yourself in a room with a lever that activates the accelerator. It is located nearby, and with its help, you will fly to the second floor. Go forward, then left, and take the Life Sigil if you need it.
-
- The start of the route in this confusing location
-
- In the corner, containers to climb to the second floor
-
- Continuation of the route on the second floor
-
- Lever to activate the accelerator
-
- The accelerator will throw you even higher
-
- Final reward – Life Sigil
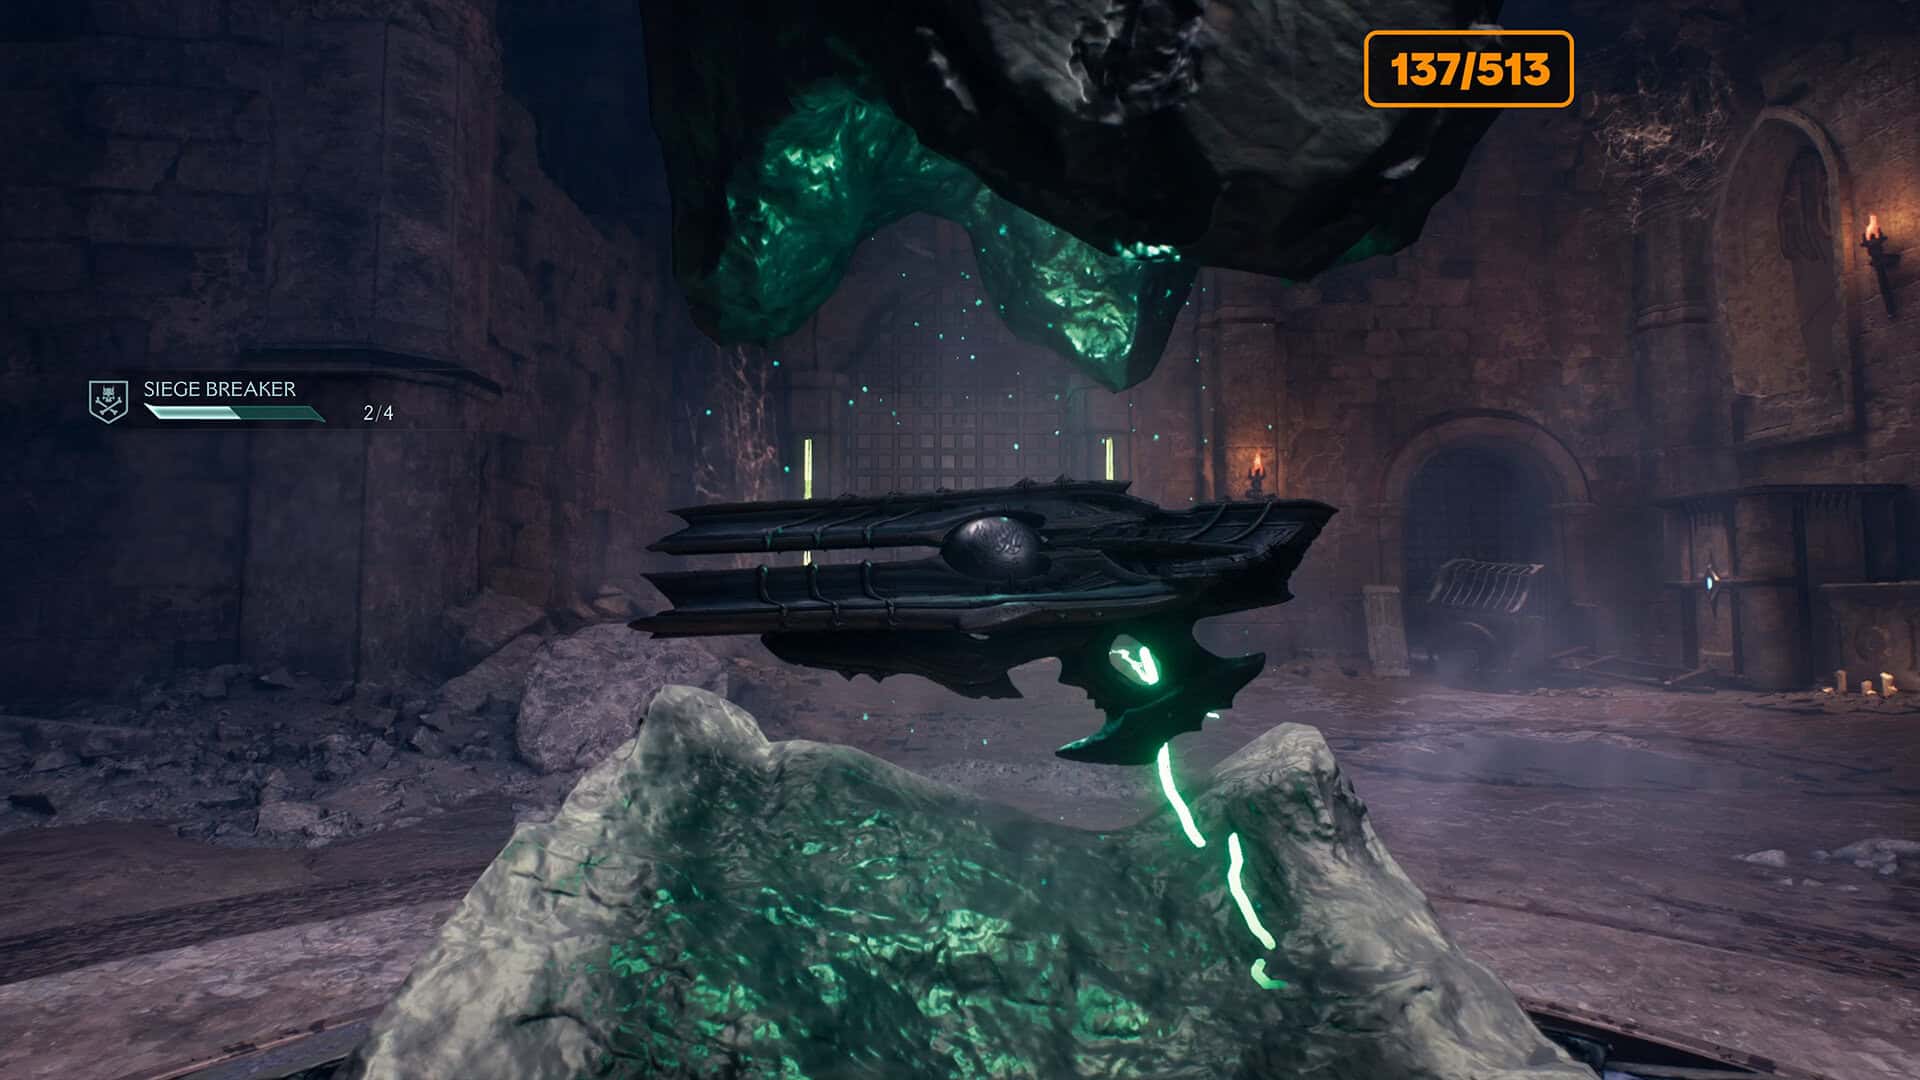
ChainShot + 50 gold (187/513)
Now go forward and turn left. At the edge of the balcony, you will see a familiar button on the floor. Step on it to open the last protective barrier. You need to throw your shield at the last object to unlock the central puzzle.
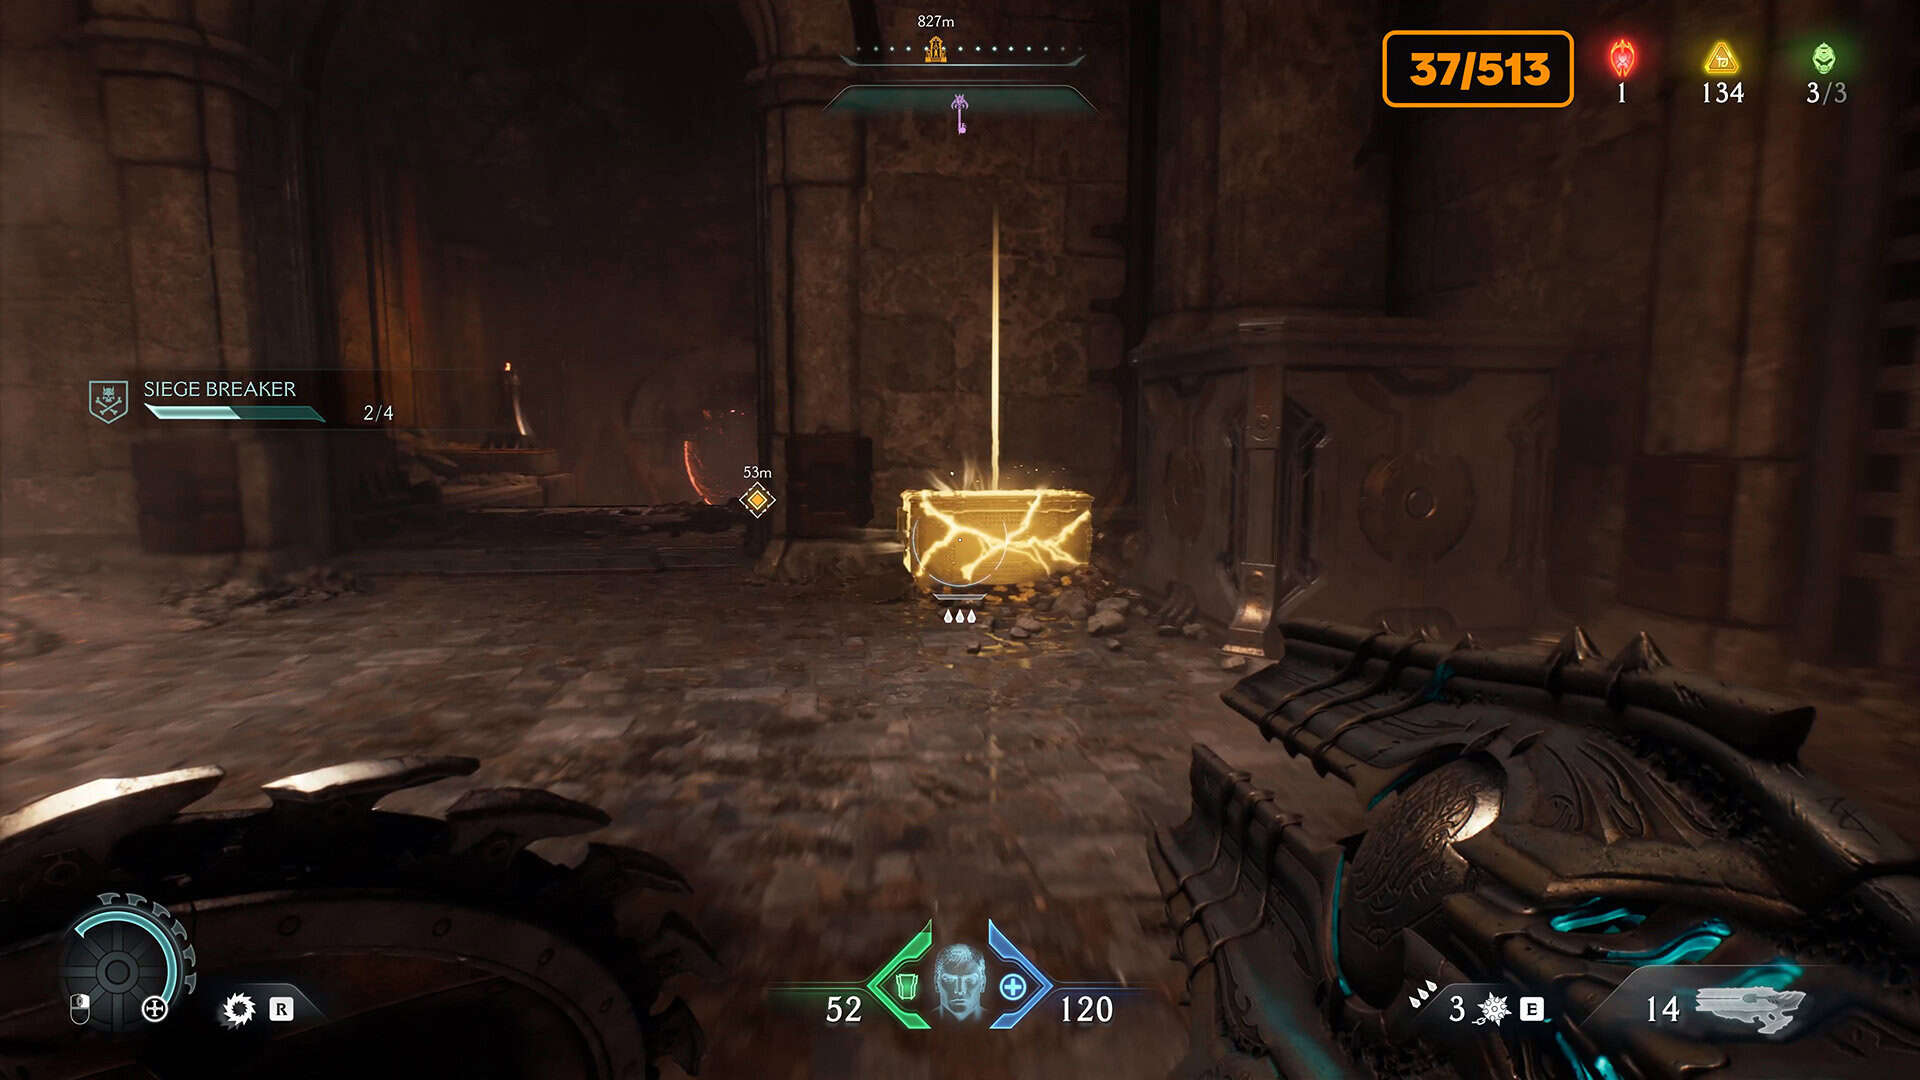
Now jump down. The central puzzle has been solved. A new weapon awaits you in the center – Chainshot. Once you get it, the grate blocking the exit will open. There you will find 50 gold. Move forward, destroy the cultists, and you will break the portal, which will be the exit from this area.
-
- New route with rewards
-
- Get new weapons ChainShot
-
- Finally collect 50 gold
8 gold (195/513)
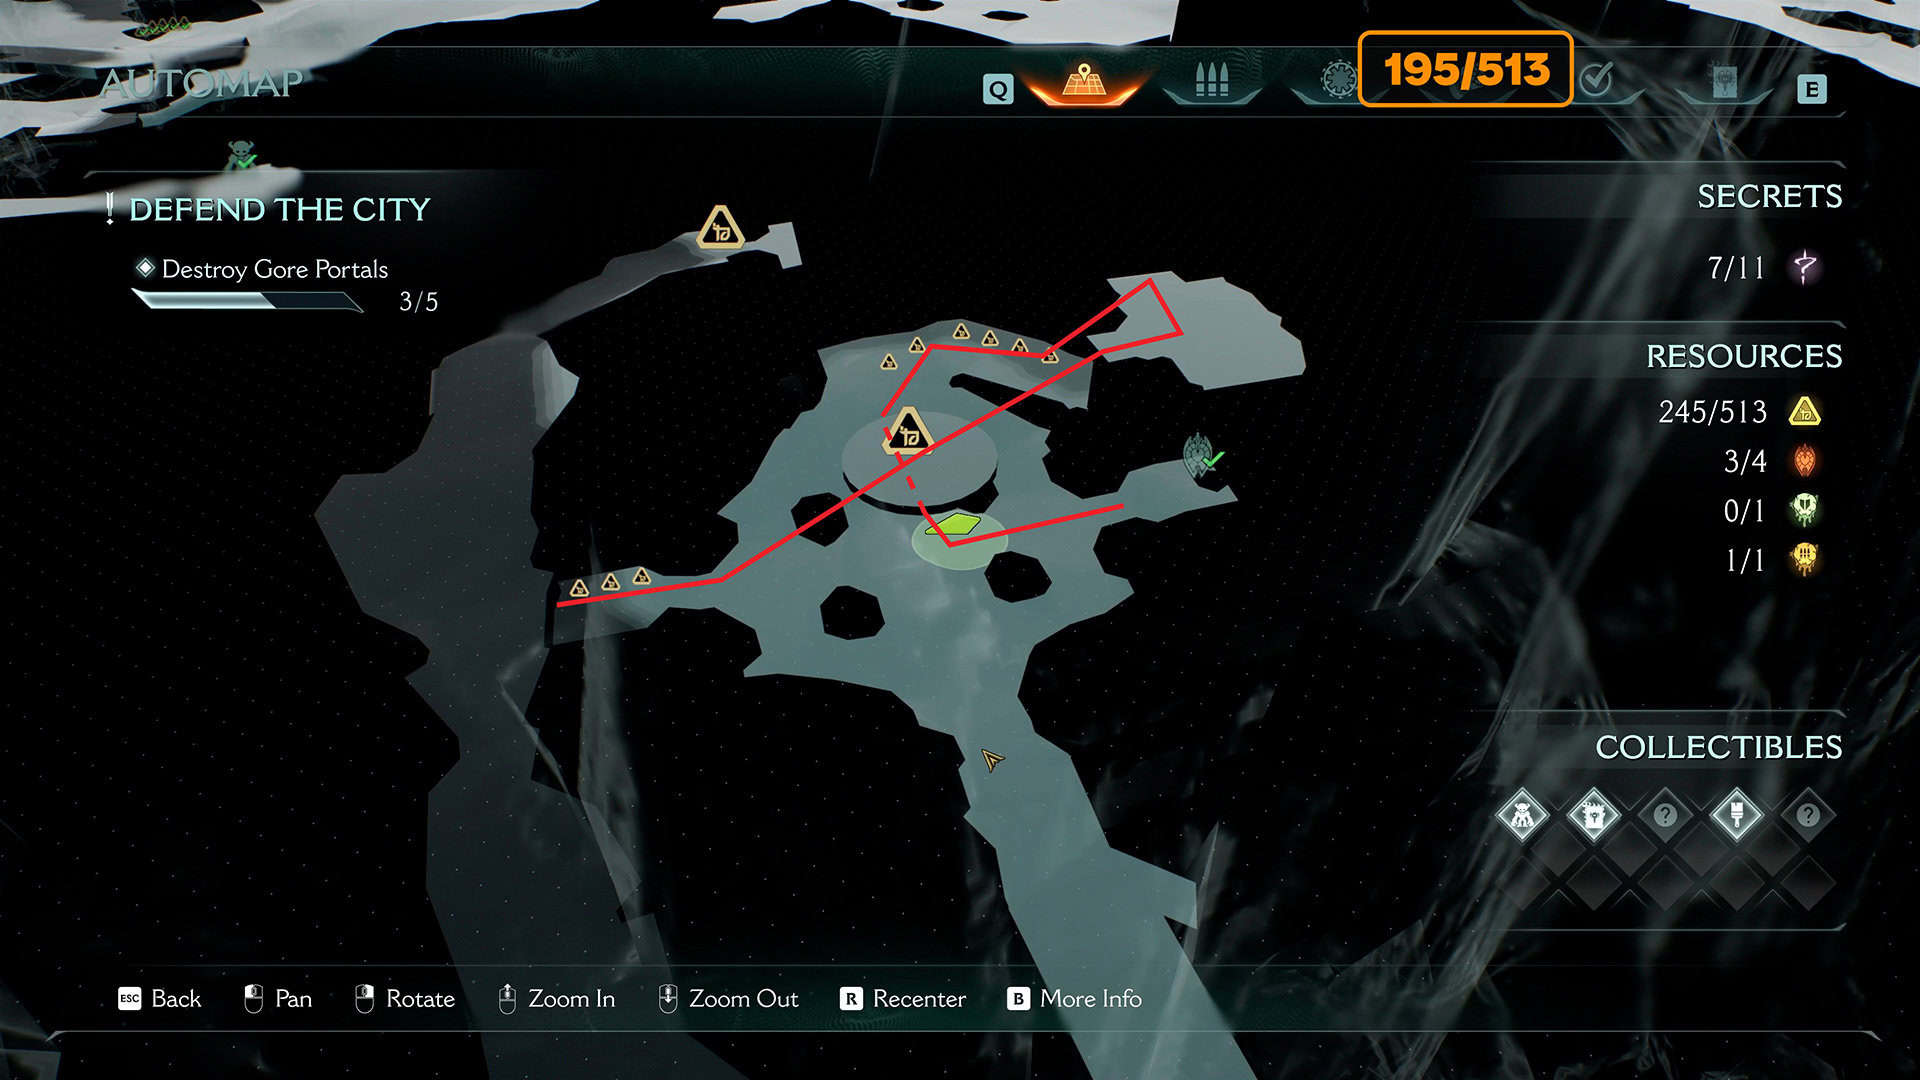
Now I will show you the map in detail and draw the route on it. When you leave this place, you will receive 8 gold. Next, you will need to jump down. Make sure you have followed all my previous instructions and collected all the gold and items in this place.

Codex Page #1 from 2
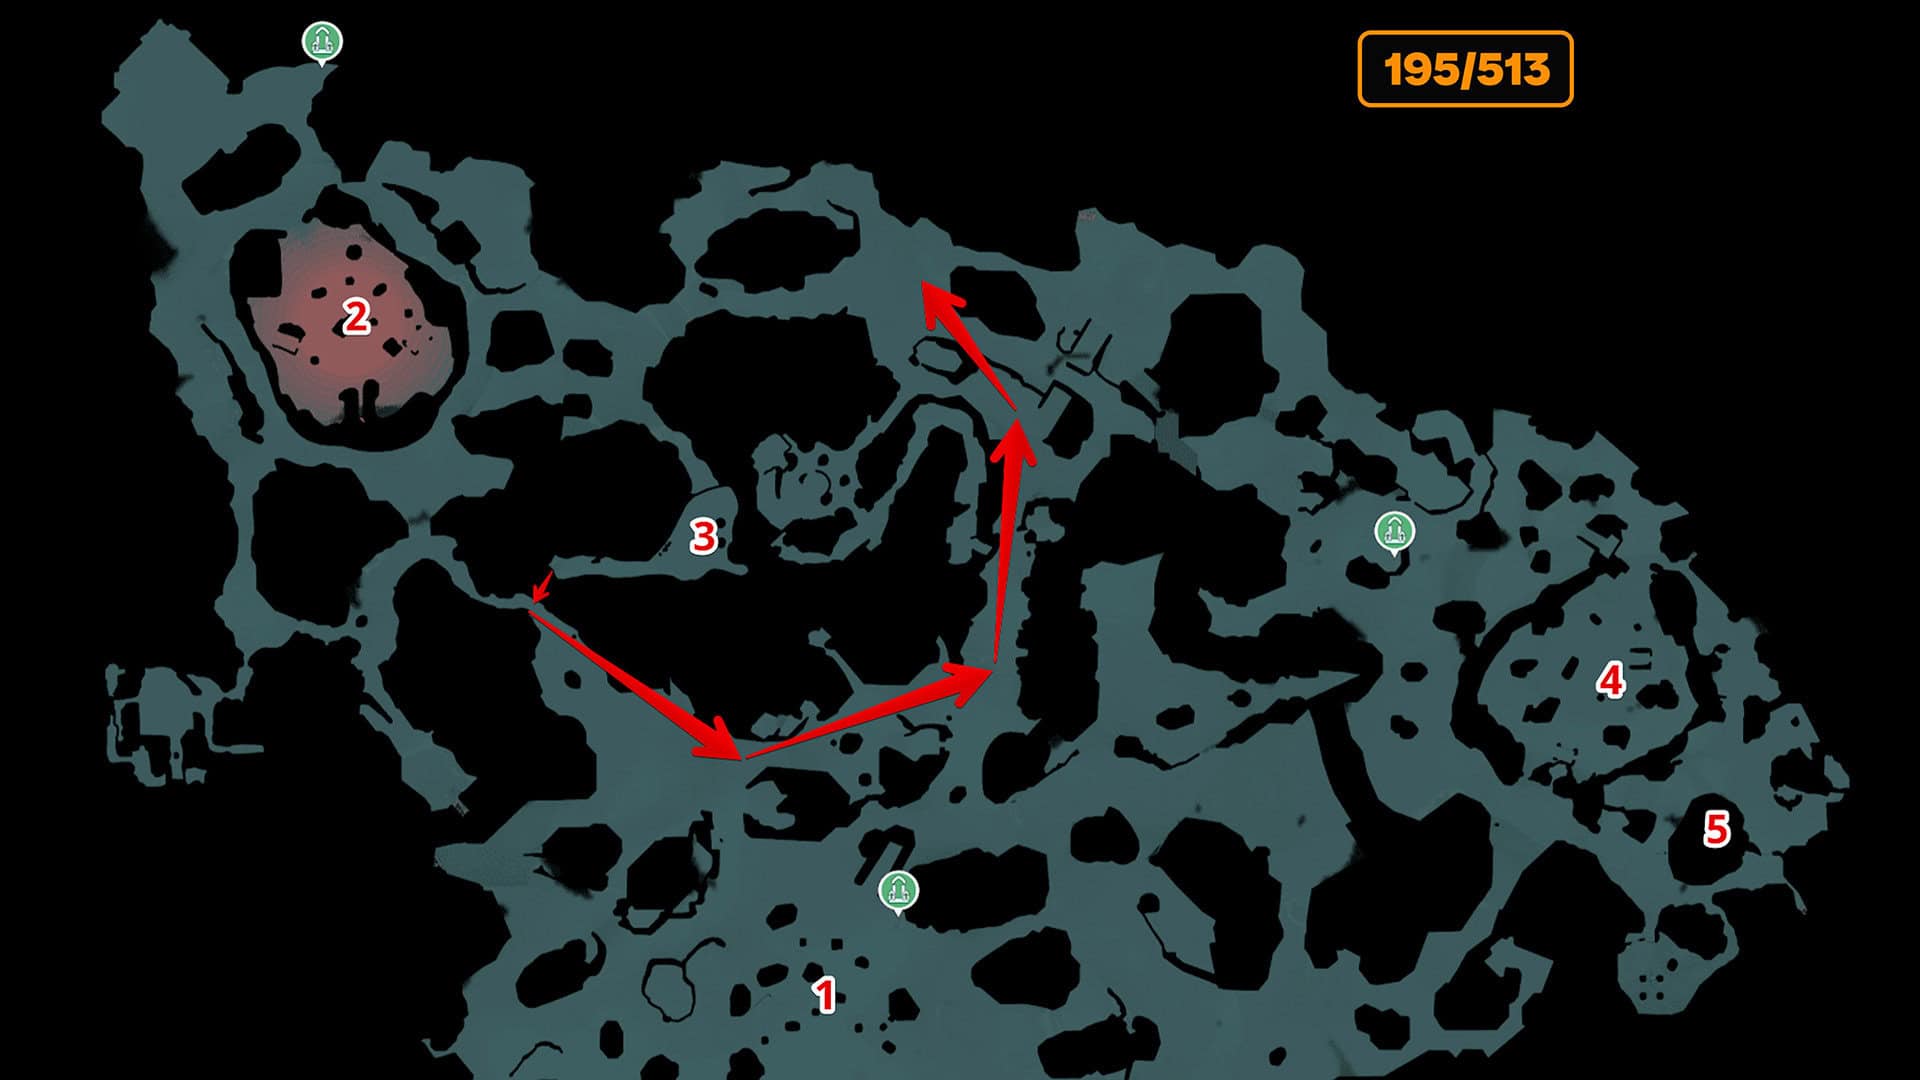
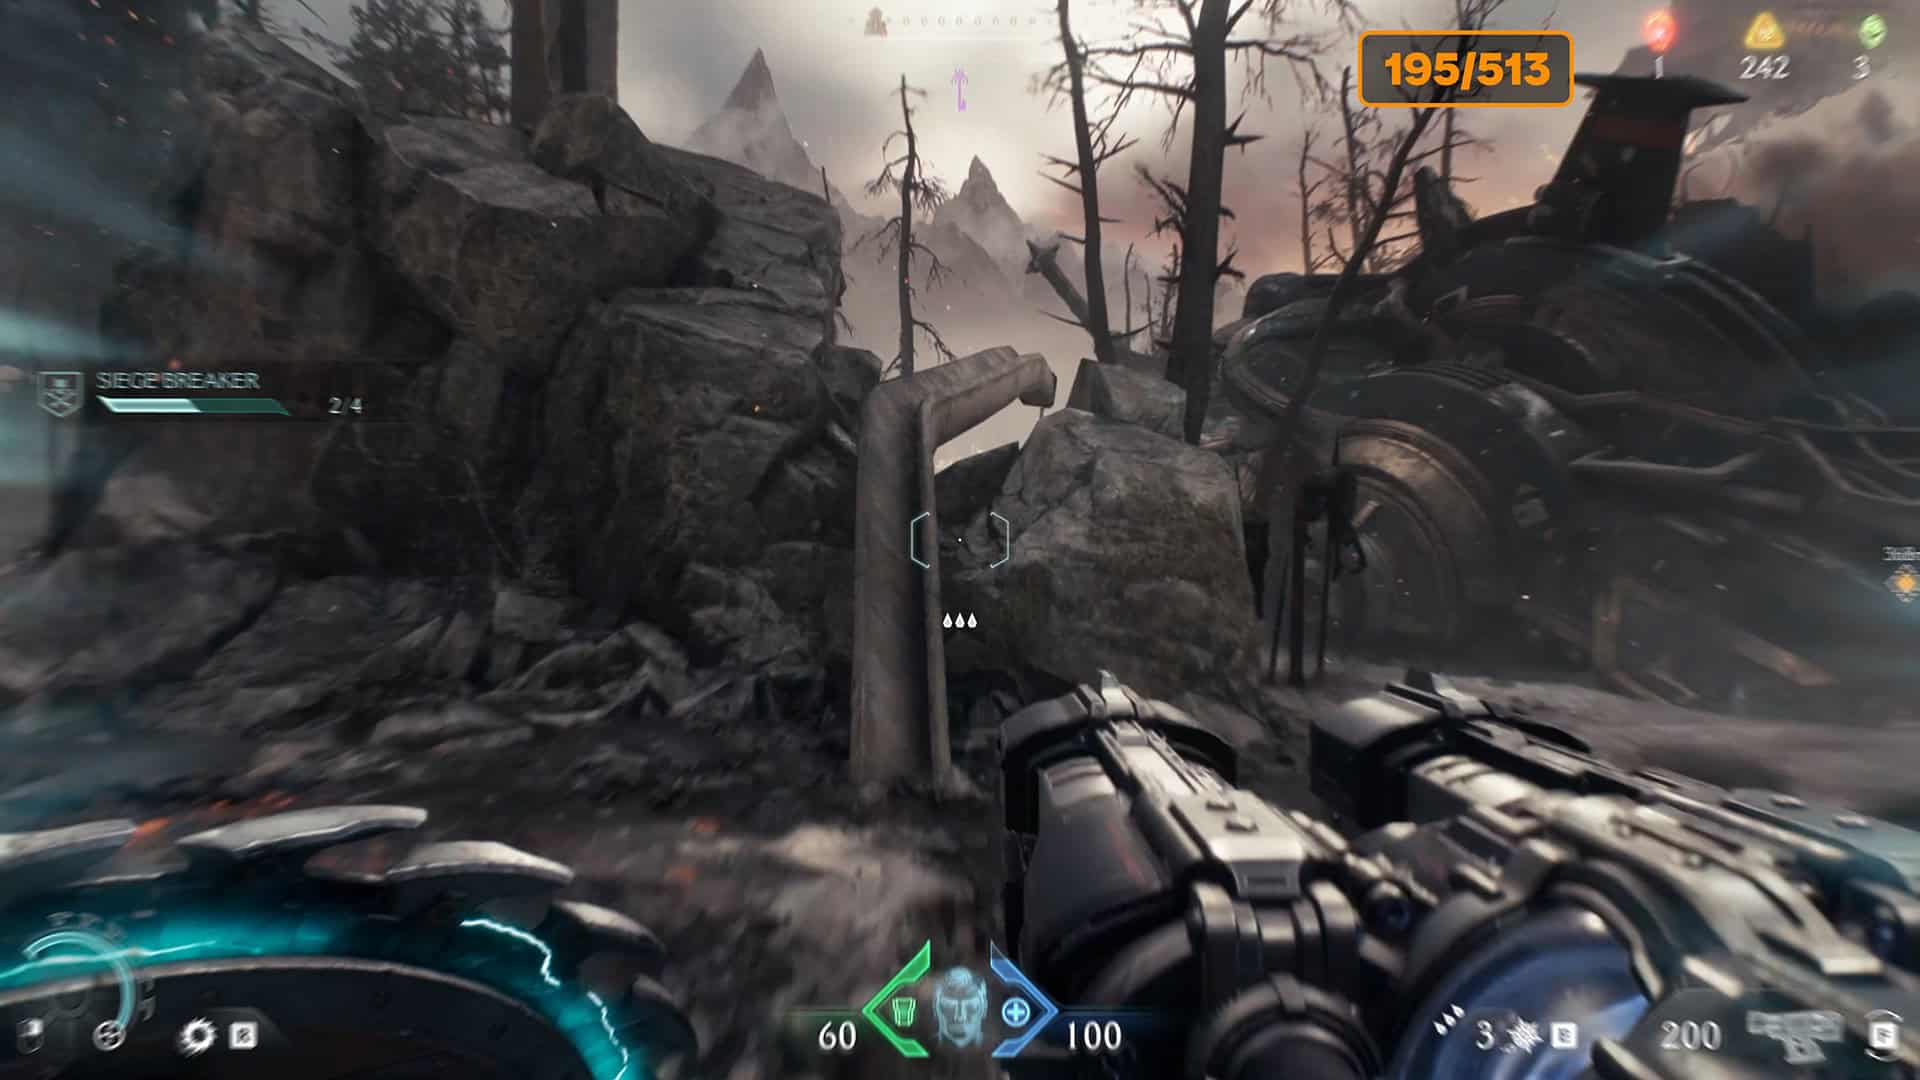
Next, you need to make a long transition to another location. I have marked the route on the map with red arrows. Once you arrive, after destroying a large number of monsters, you can climb the hill via the metal beams to find the codex page. It is worth noting that it may take several attempts to succeed.
-
- Long transition to another location
-
- Entrance to the hill where the codex page is located
Secret #7 from 11 + Ruby #3 from 4
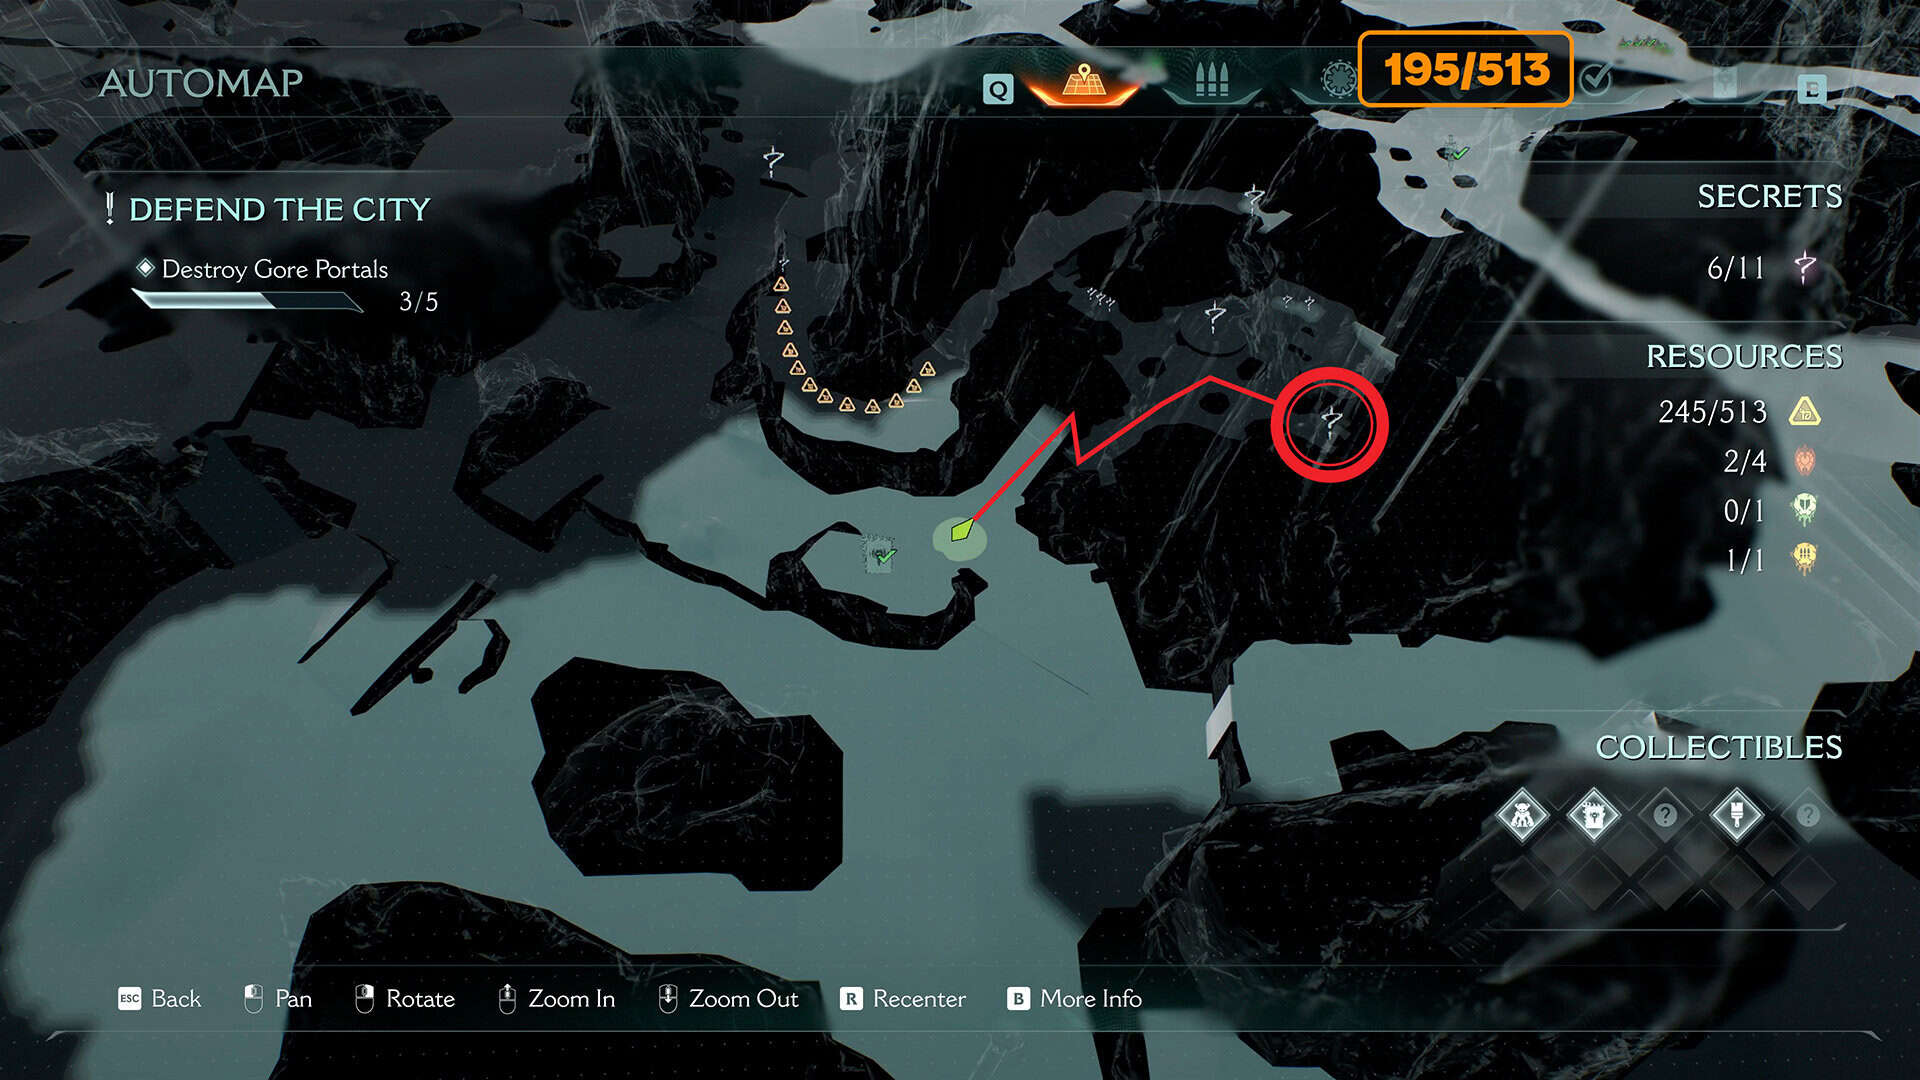
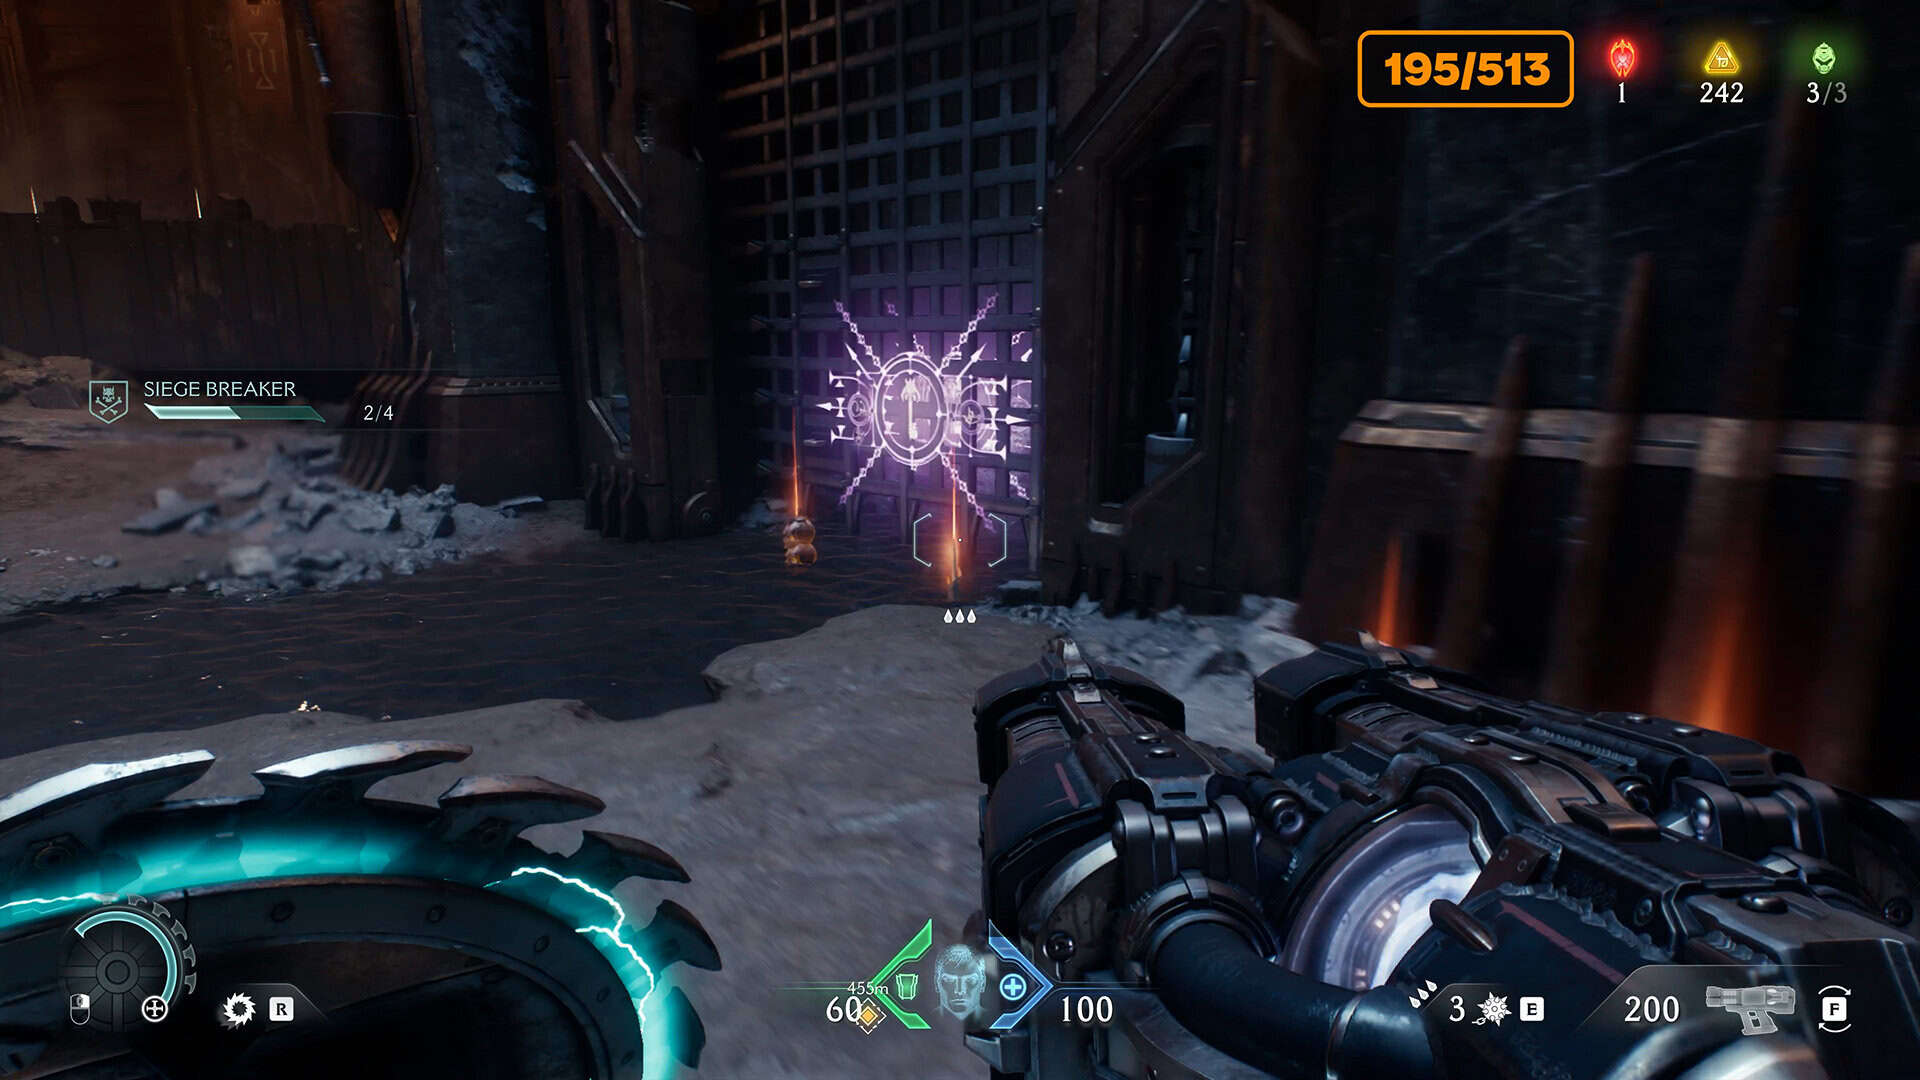
Near the place where you found the codex page, there is a ledge from which you can jump down. This place is marked on the map. There is a mystery associated with this location. Therefore, I will reveal it to you gradually. First, you need to go to the right, where you will find a metal grate that will open automatically only if you have the secret key I mentioned earlier in this video. Inside, you will find the third ruby of this large location.
-
- New location with numerous puzzles
-
- The door will open because you have the key, and inside is the third ruby
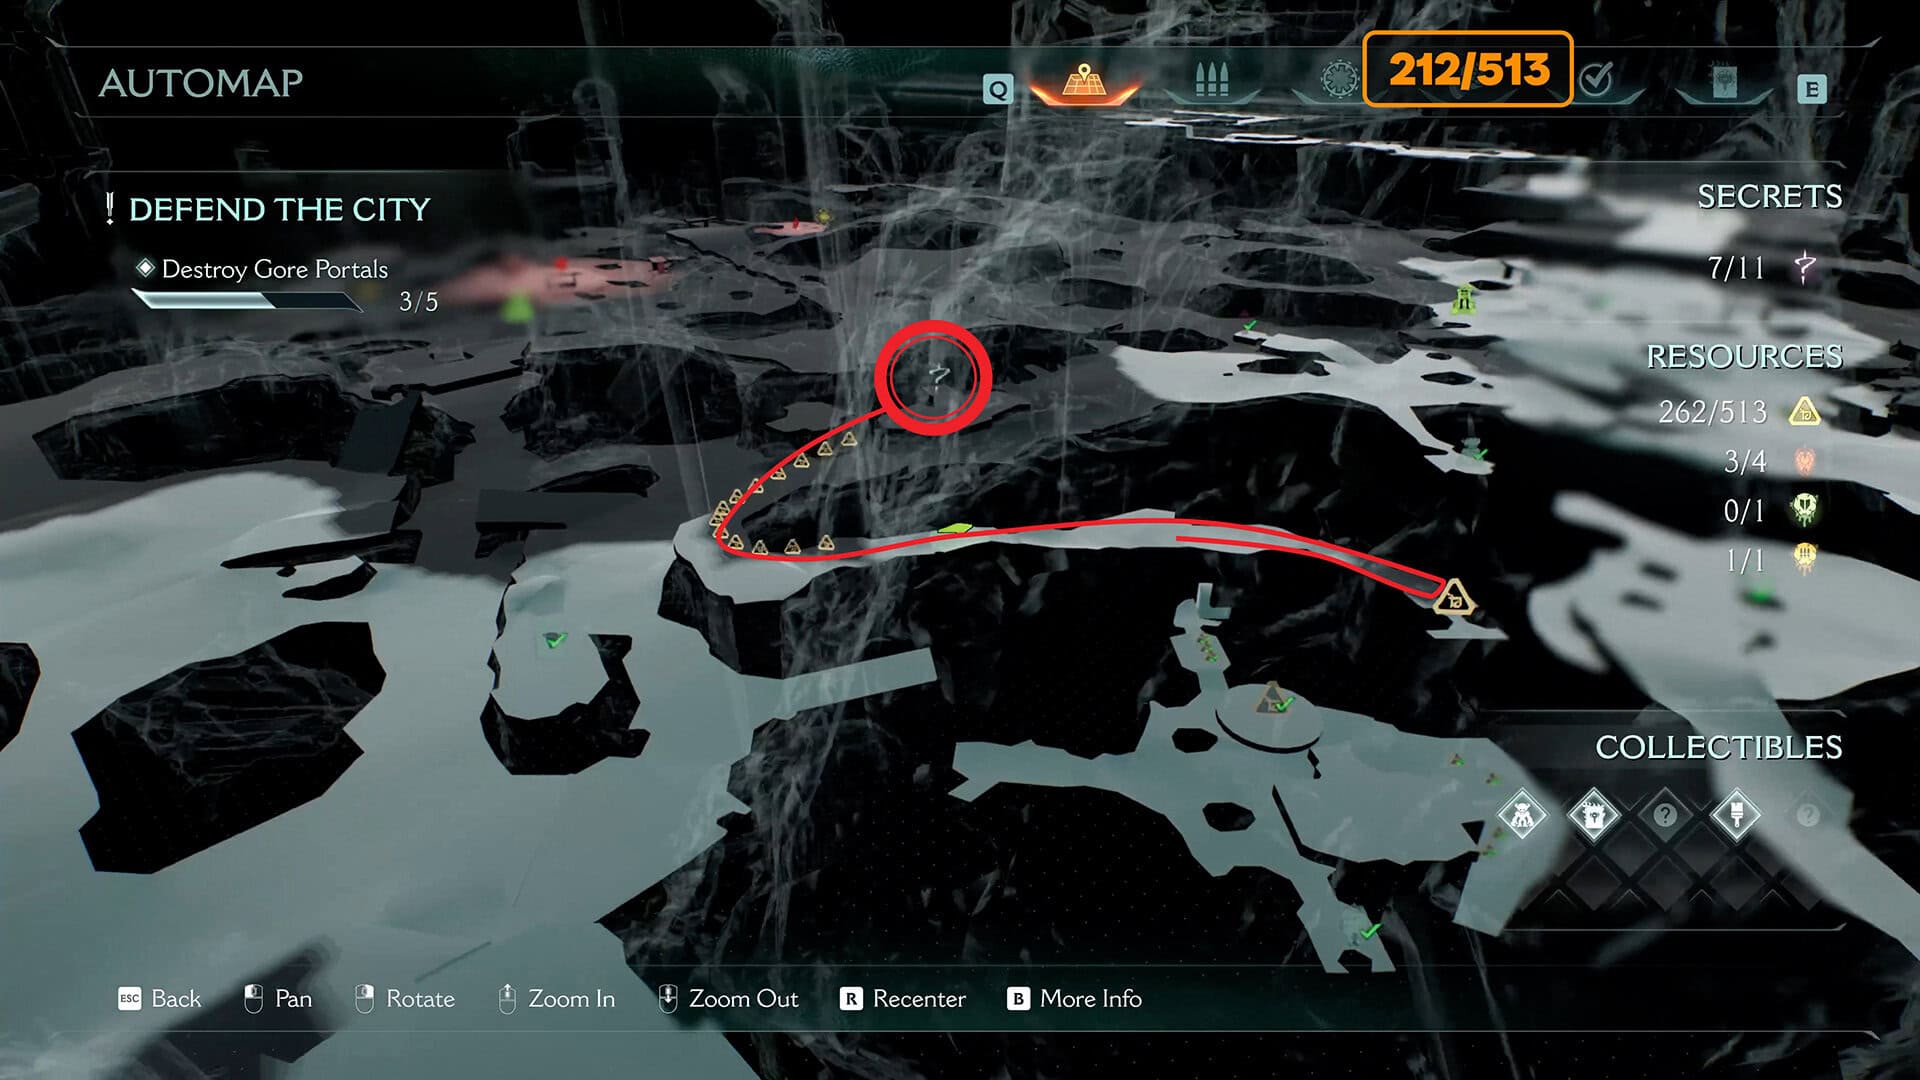
17 gold (212/513)
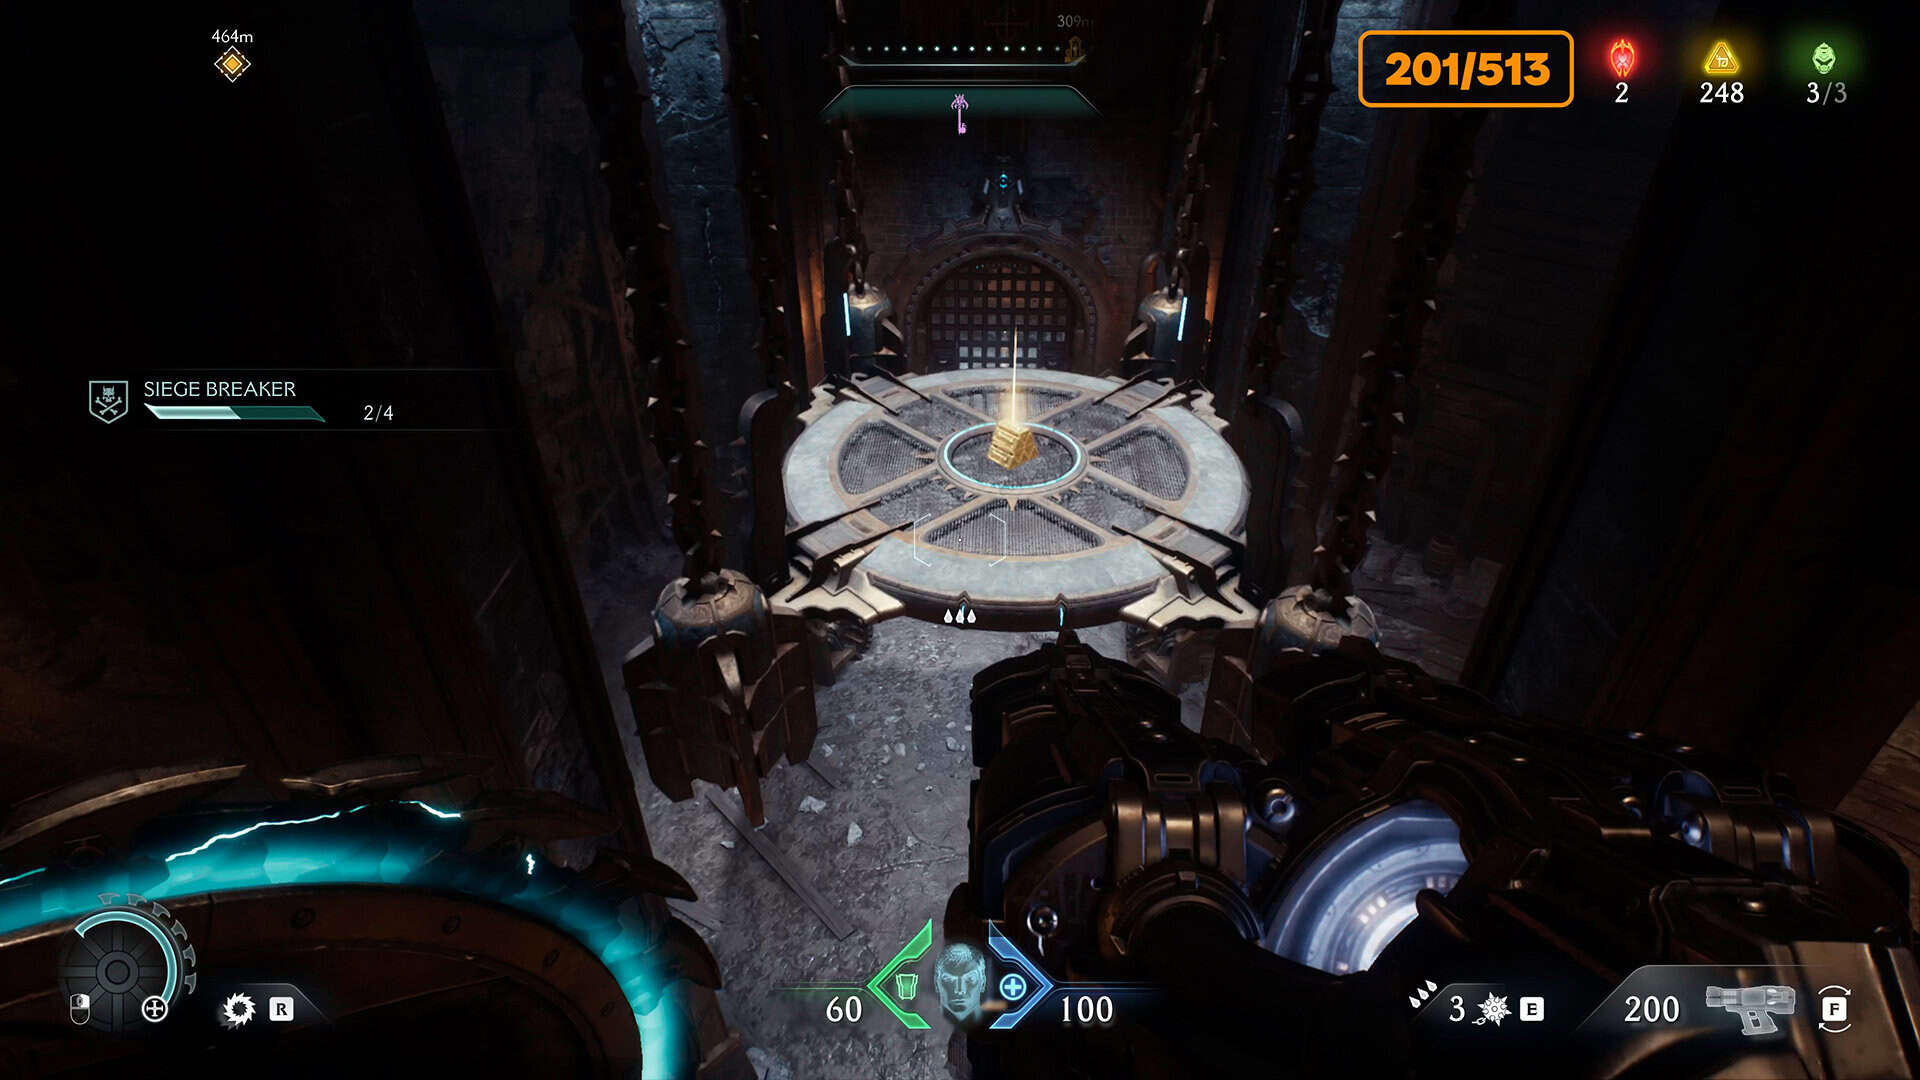
Leave the room and turn right, where you will find a golden path. You will receive 6 gold coins here. Next, you need to jump to the second floor. Throw your shield at the green statue and press the corresponding button to fly after the shield. Moving forward on this floor, you will see a platform with gold in the center. Jump onto the platform, and you will receive 8 gold.
Under the weight of your character, the platform will descend to the ground, opening the gate directly in front of you. Go through this gate, and you will find three gold on the floor and a container a little further on. Use it to climb up, and then look at the map again.
-
- Route to collect 17 gold
-
- The platform you need to jump on
71 gold (283/513) + Secret #8 from 11
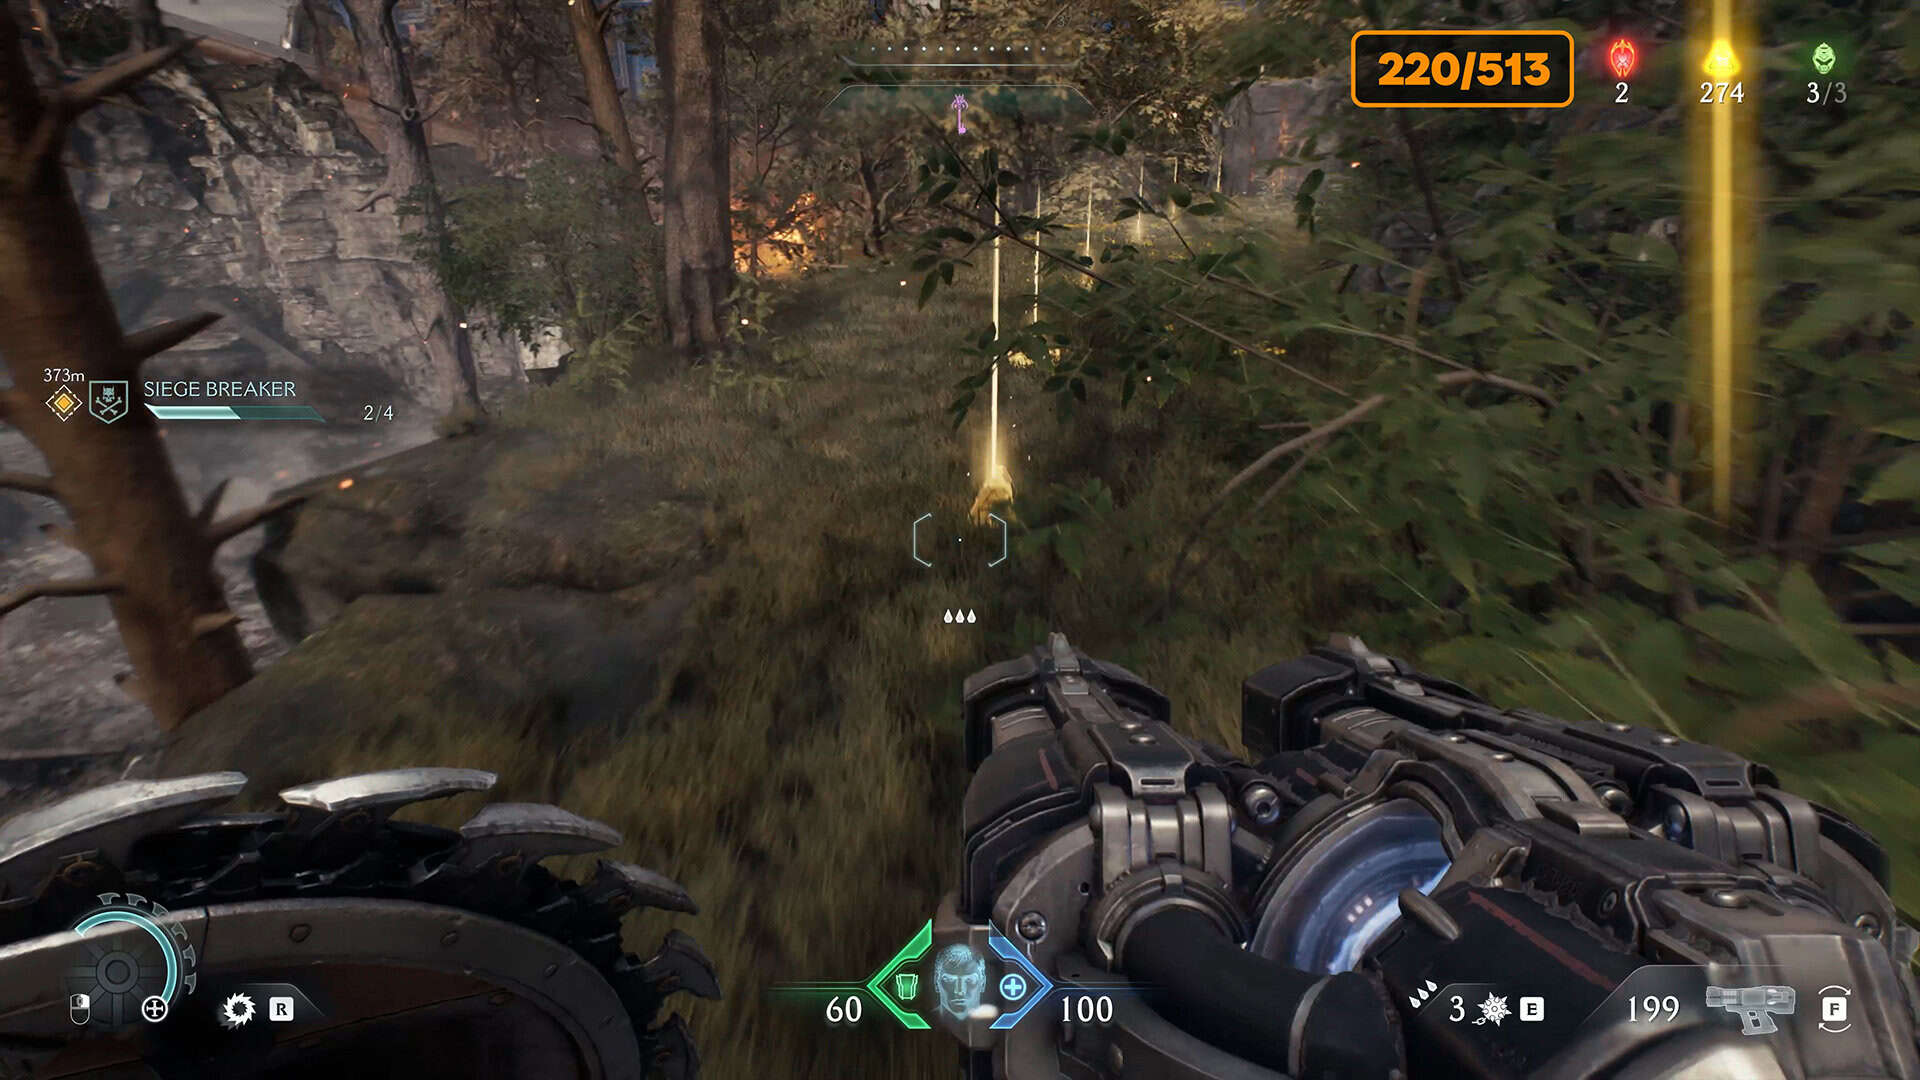
At this point, you will ascend and initially need to proceed to the right. At the end of the corridor, you will encounter a wooden barrier; break it down. Inside, you will find a reward of 8 gold coins. Now exit the room and proceed in the opposite direction. Be careful, there are fire turrets on the ceiling that shoot fireballs at you. I just tried to dodge them and ran to the exit.
At the end of the corridor, there will be an exit to an open space. Go further and you will see a path of gold coins on the floor. You will collect 13 gold coins here and end up in front of a wall that you can climb. There you will find another secret and 50 gold coins. A worthy reward for all the puzzles solved in this place.
-
- Route to find 71 gold
-
- A lot of gold underfoot
50 gold (333/513)
Not far from the codex page, there is a chest containing 50 gold coins. This place is guarded by a special monster. You need to deal with it, and then you can approach and collect your reward.

Toy #2 Mancubus from 2
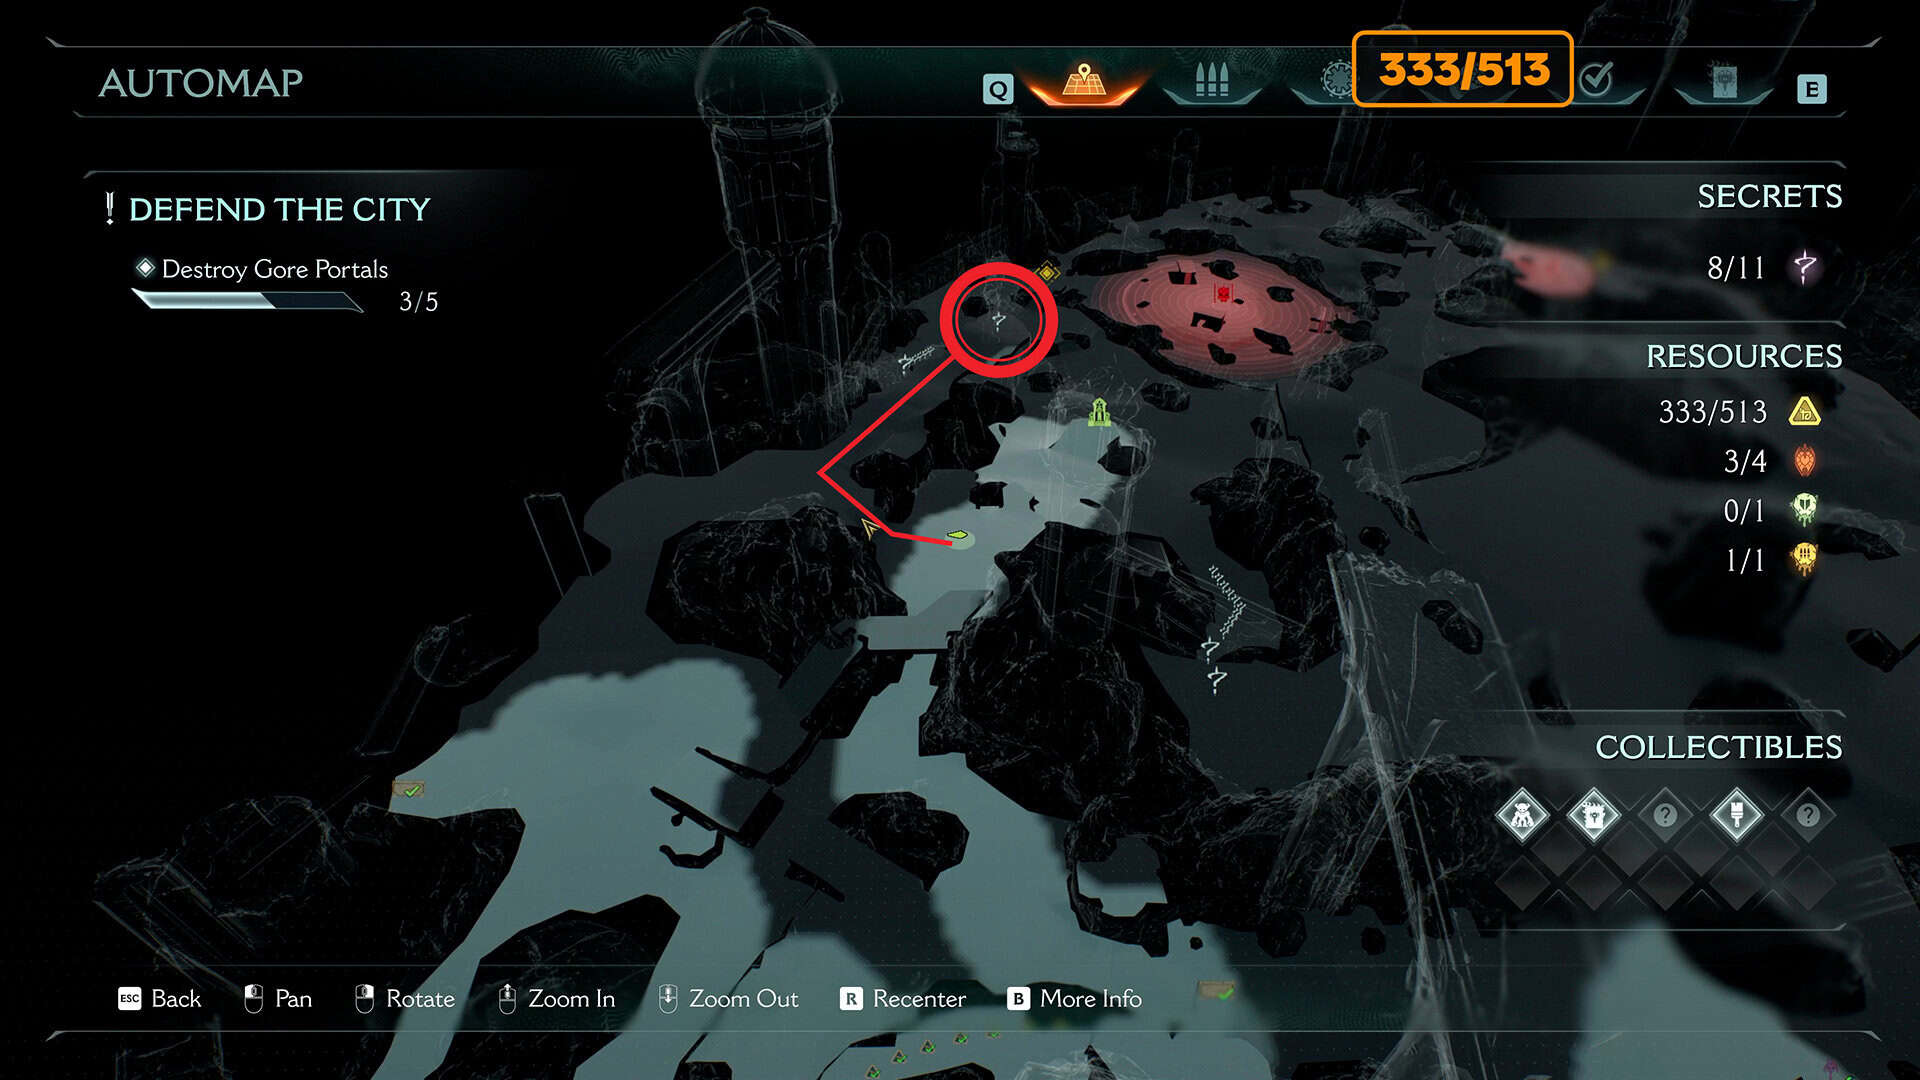
From the previous location, you need to move a little further towards 4 Gore Portal. Here you will find a wall that you need to climb to reach a platform where monsters will meet you. After the battle at the end of the platform, you will see a huge statue and a collectible Mancubus toy at the foot of the statue.
-
- The path to the second collectible toy
-
- Mancubus
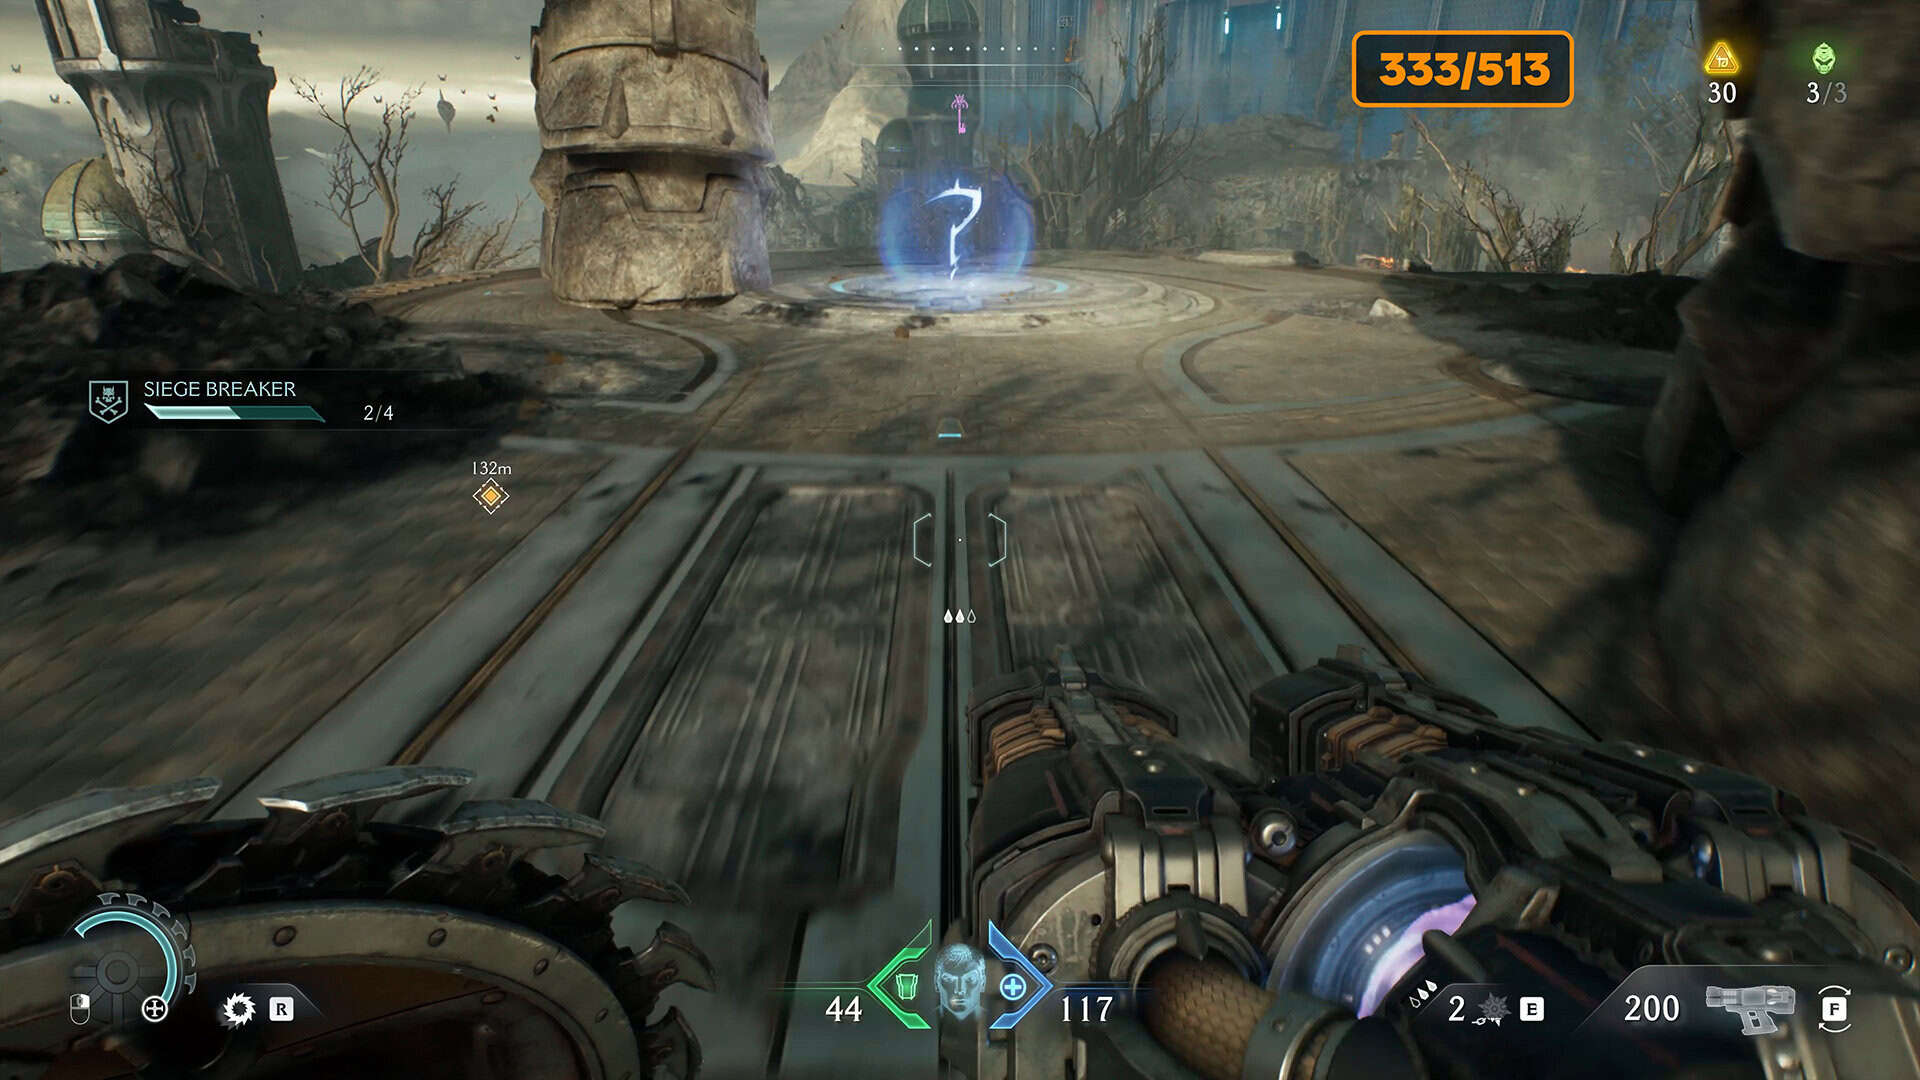
Codex Page #2 from 2 + 5 gold (338/513)
From the platform, you should see the codex page and 5 gold coins below. There is a spot that is easy to spot. You need to jump down to the lower level and collect all the rewards located there.

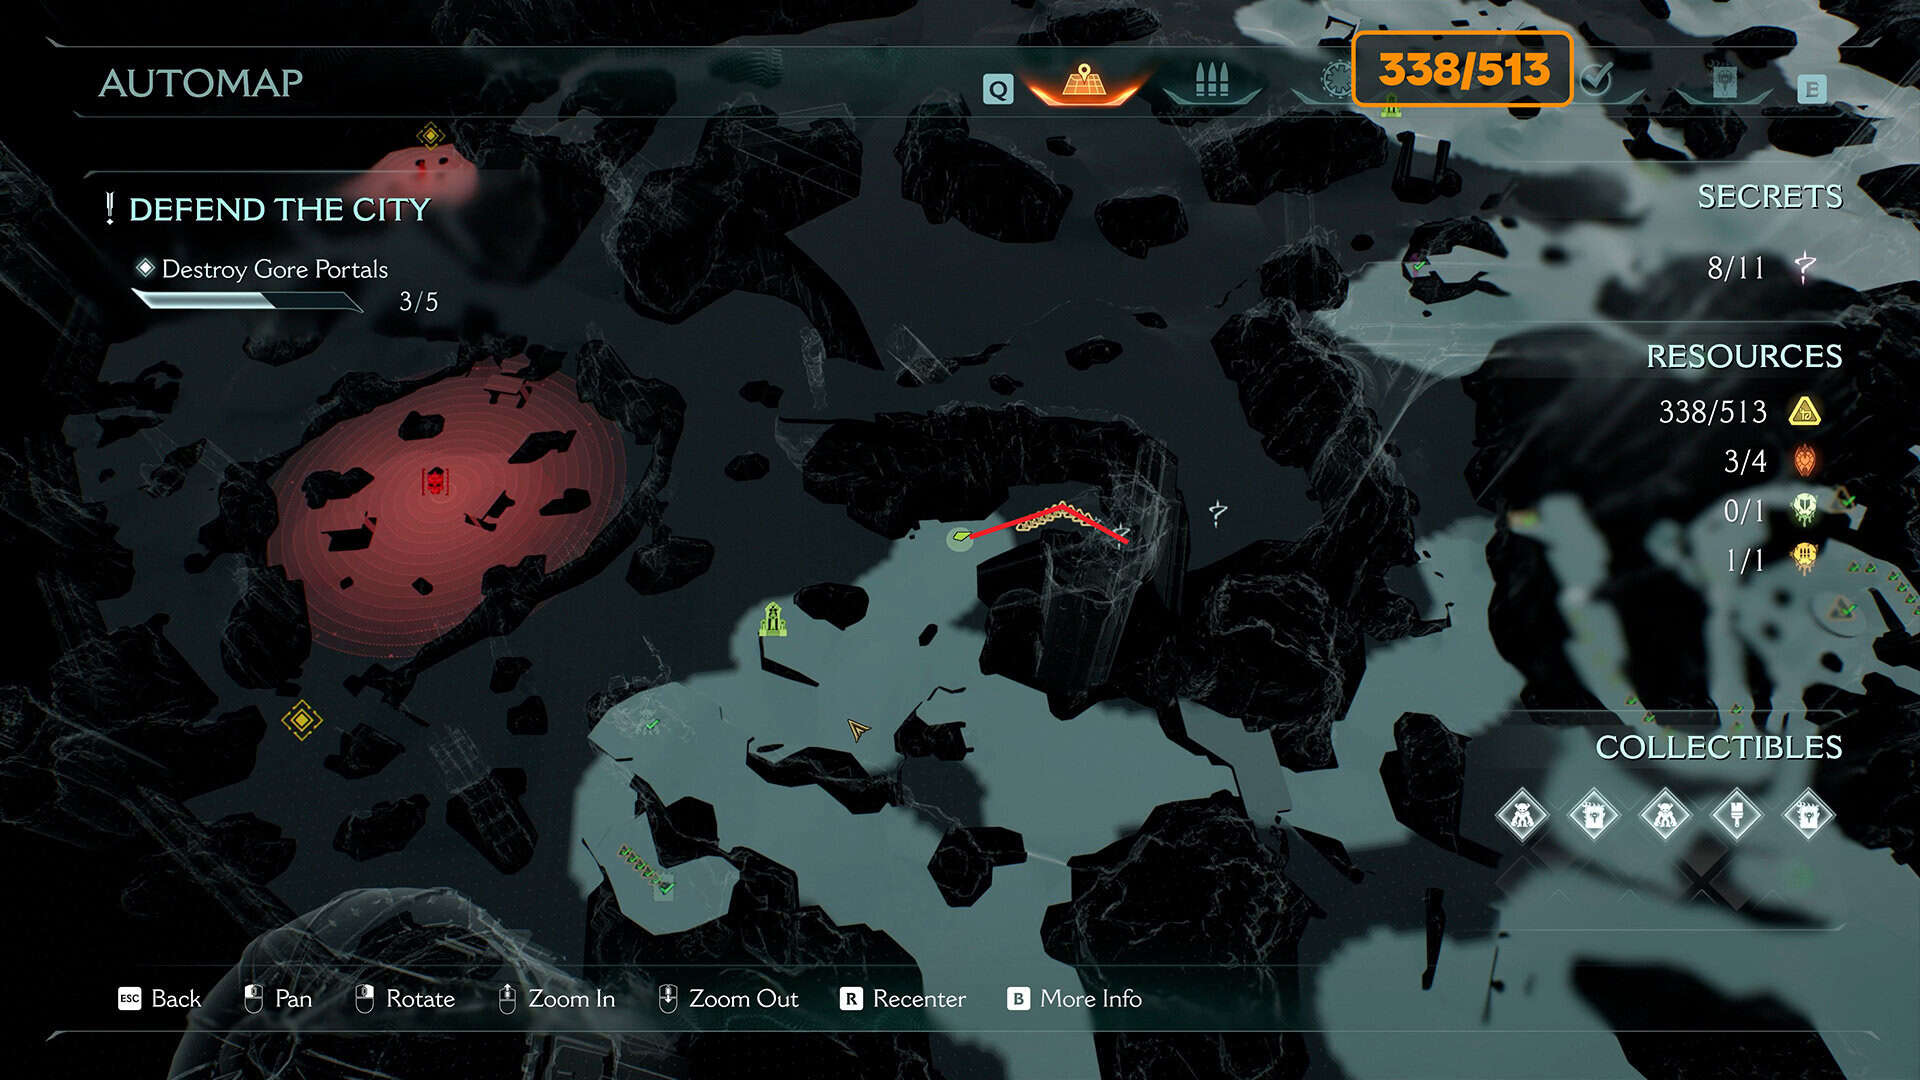
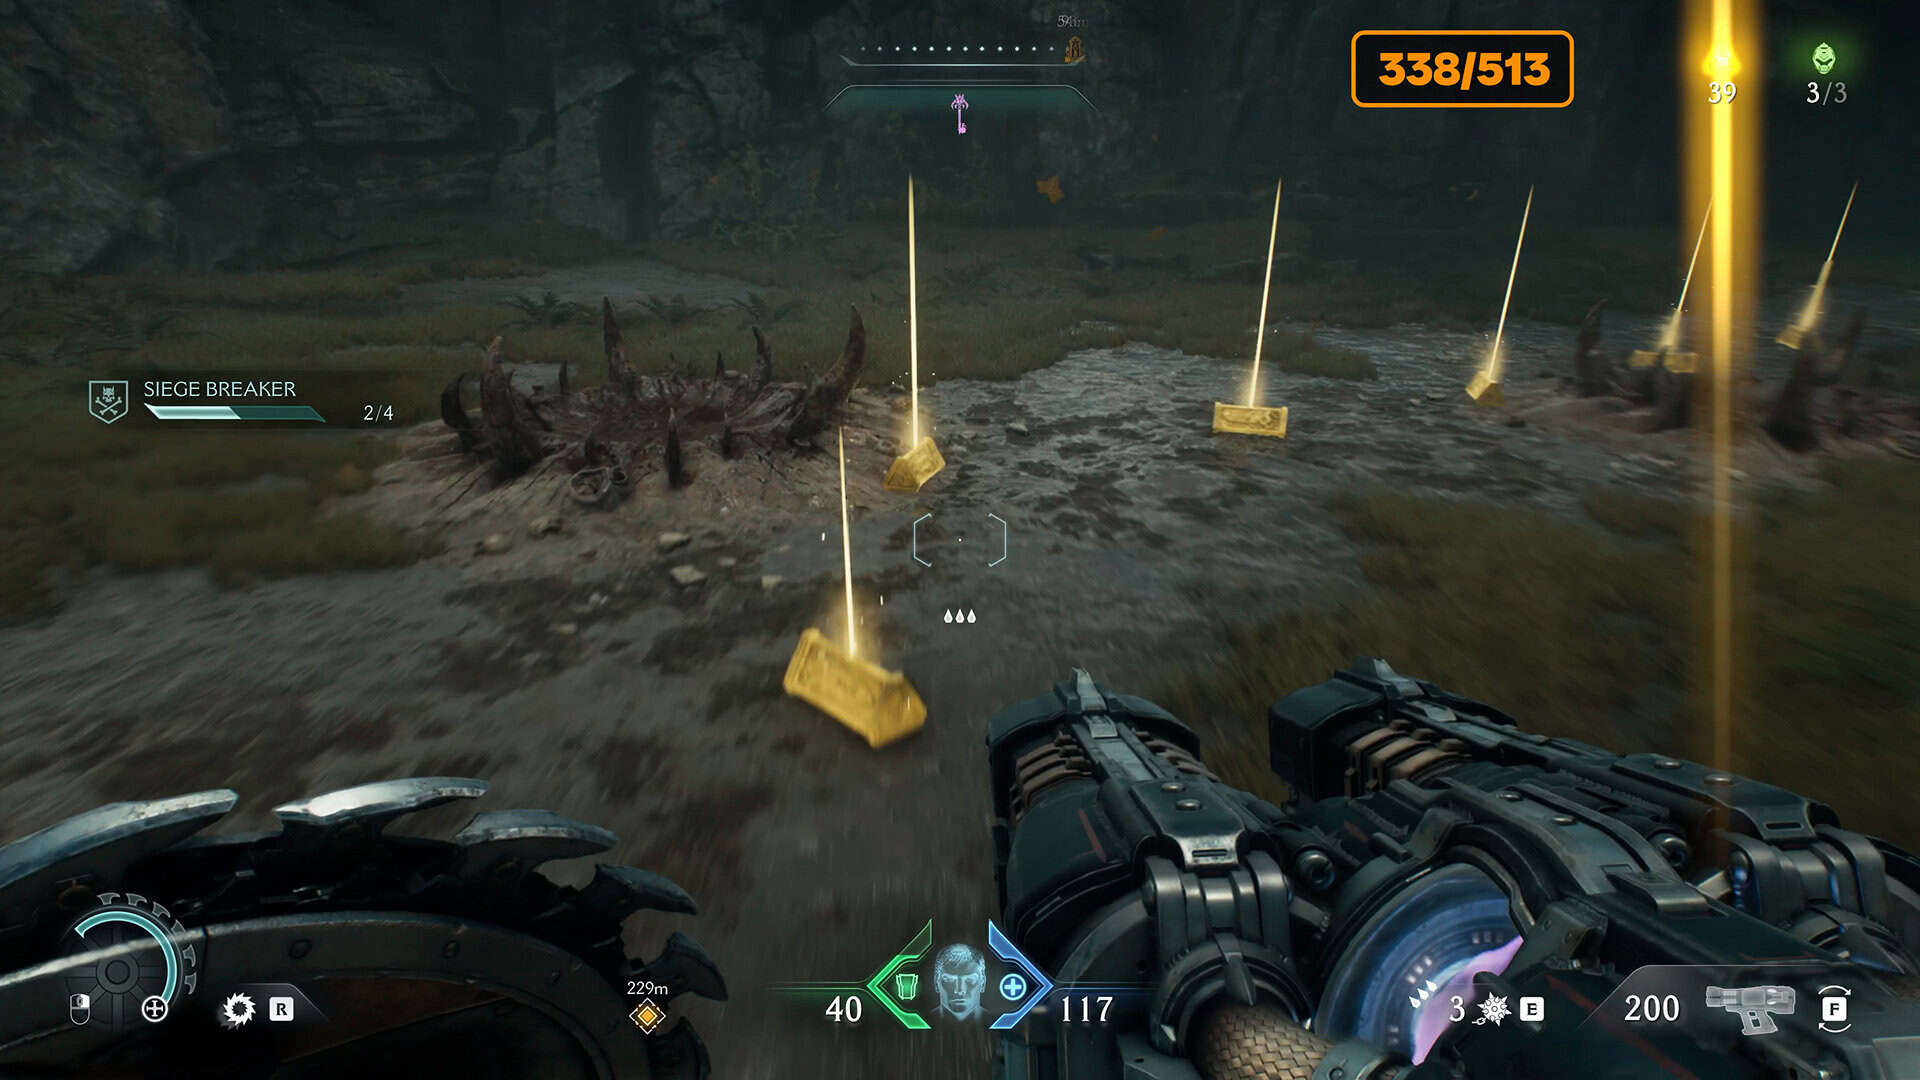
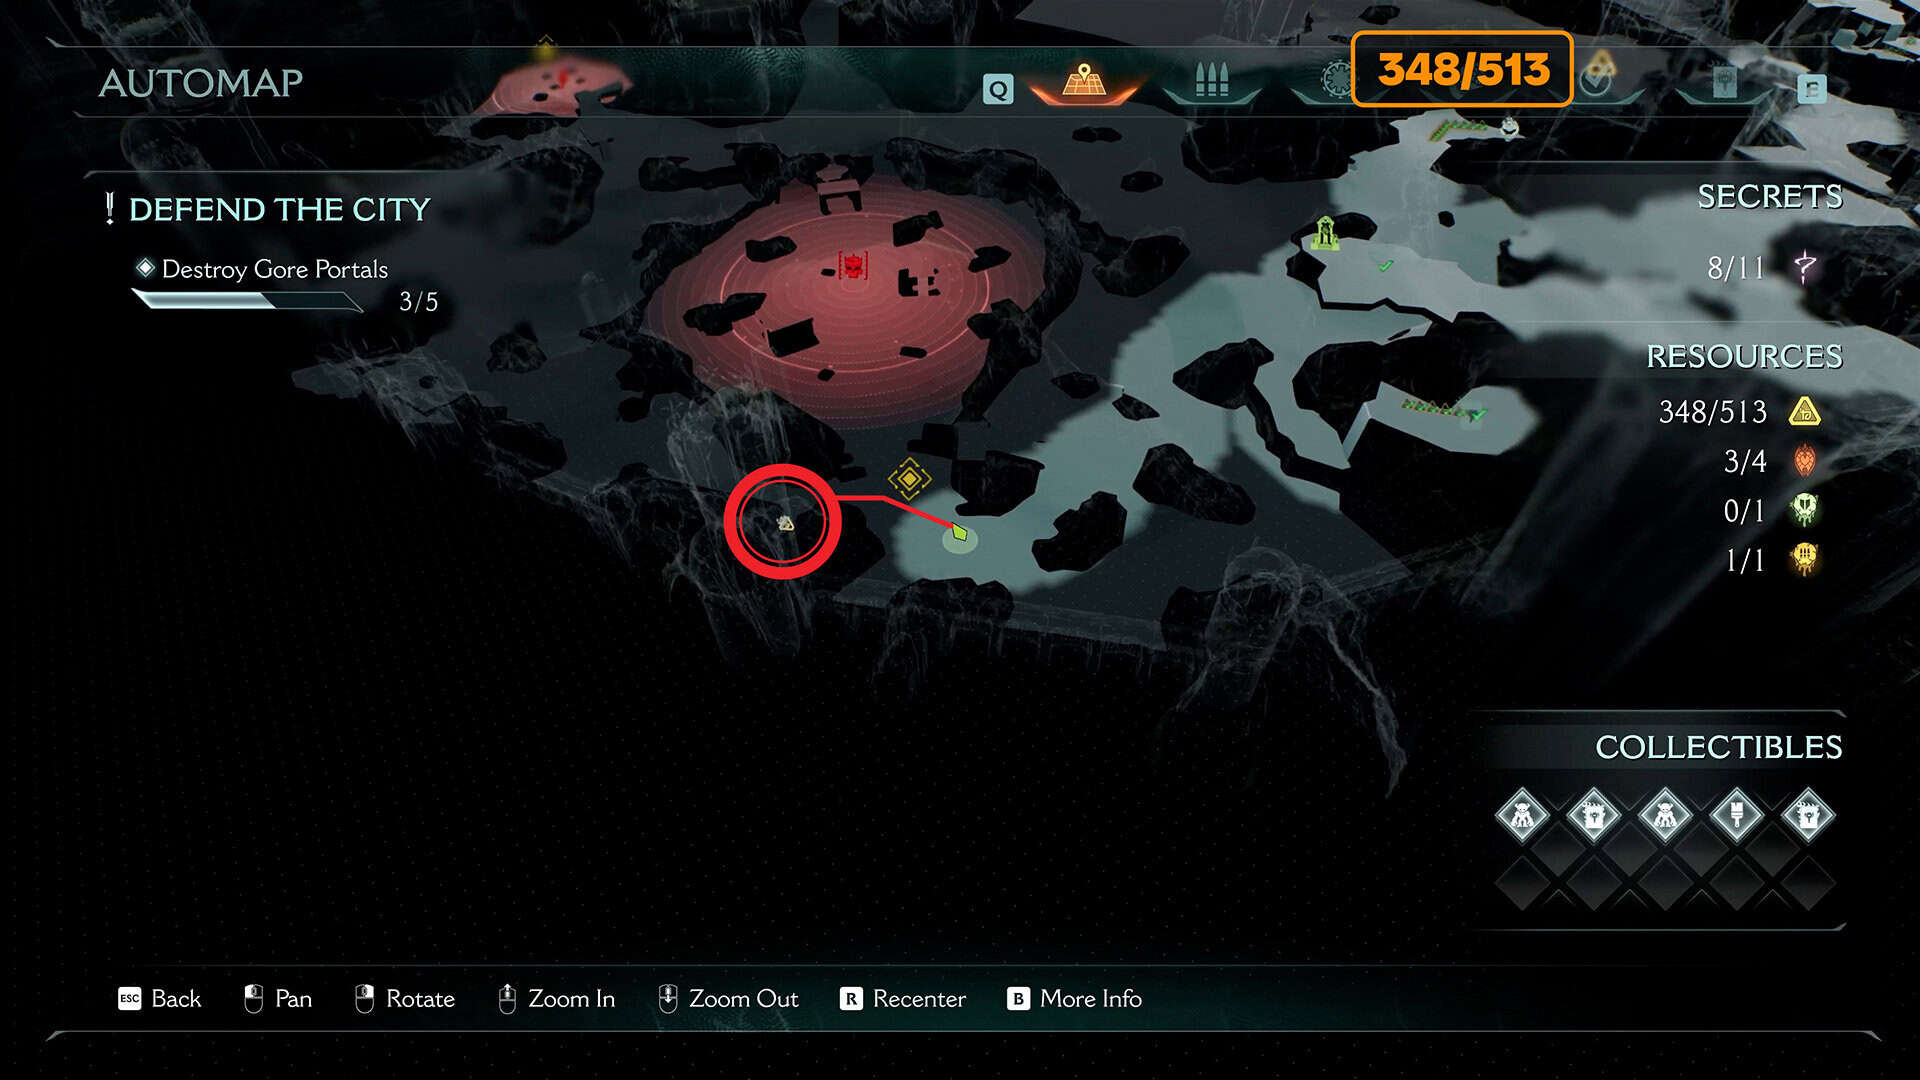
10 gold (348/513) + Life Sigil #3 from 4
To the right of the Sentinel Shrine in this area, you will find another trail of gold coins. Here you can collect 10 gold coins. Be careful, there are traps on the ground that will damage your character when you approach them. At the end, you can collect the Life Sigil if you need it, but it does not affect 100% completion of the location.
-
- Route with traps to the Life Sigil
-
- Traps near gold cause damage
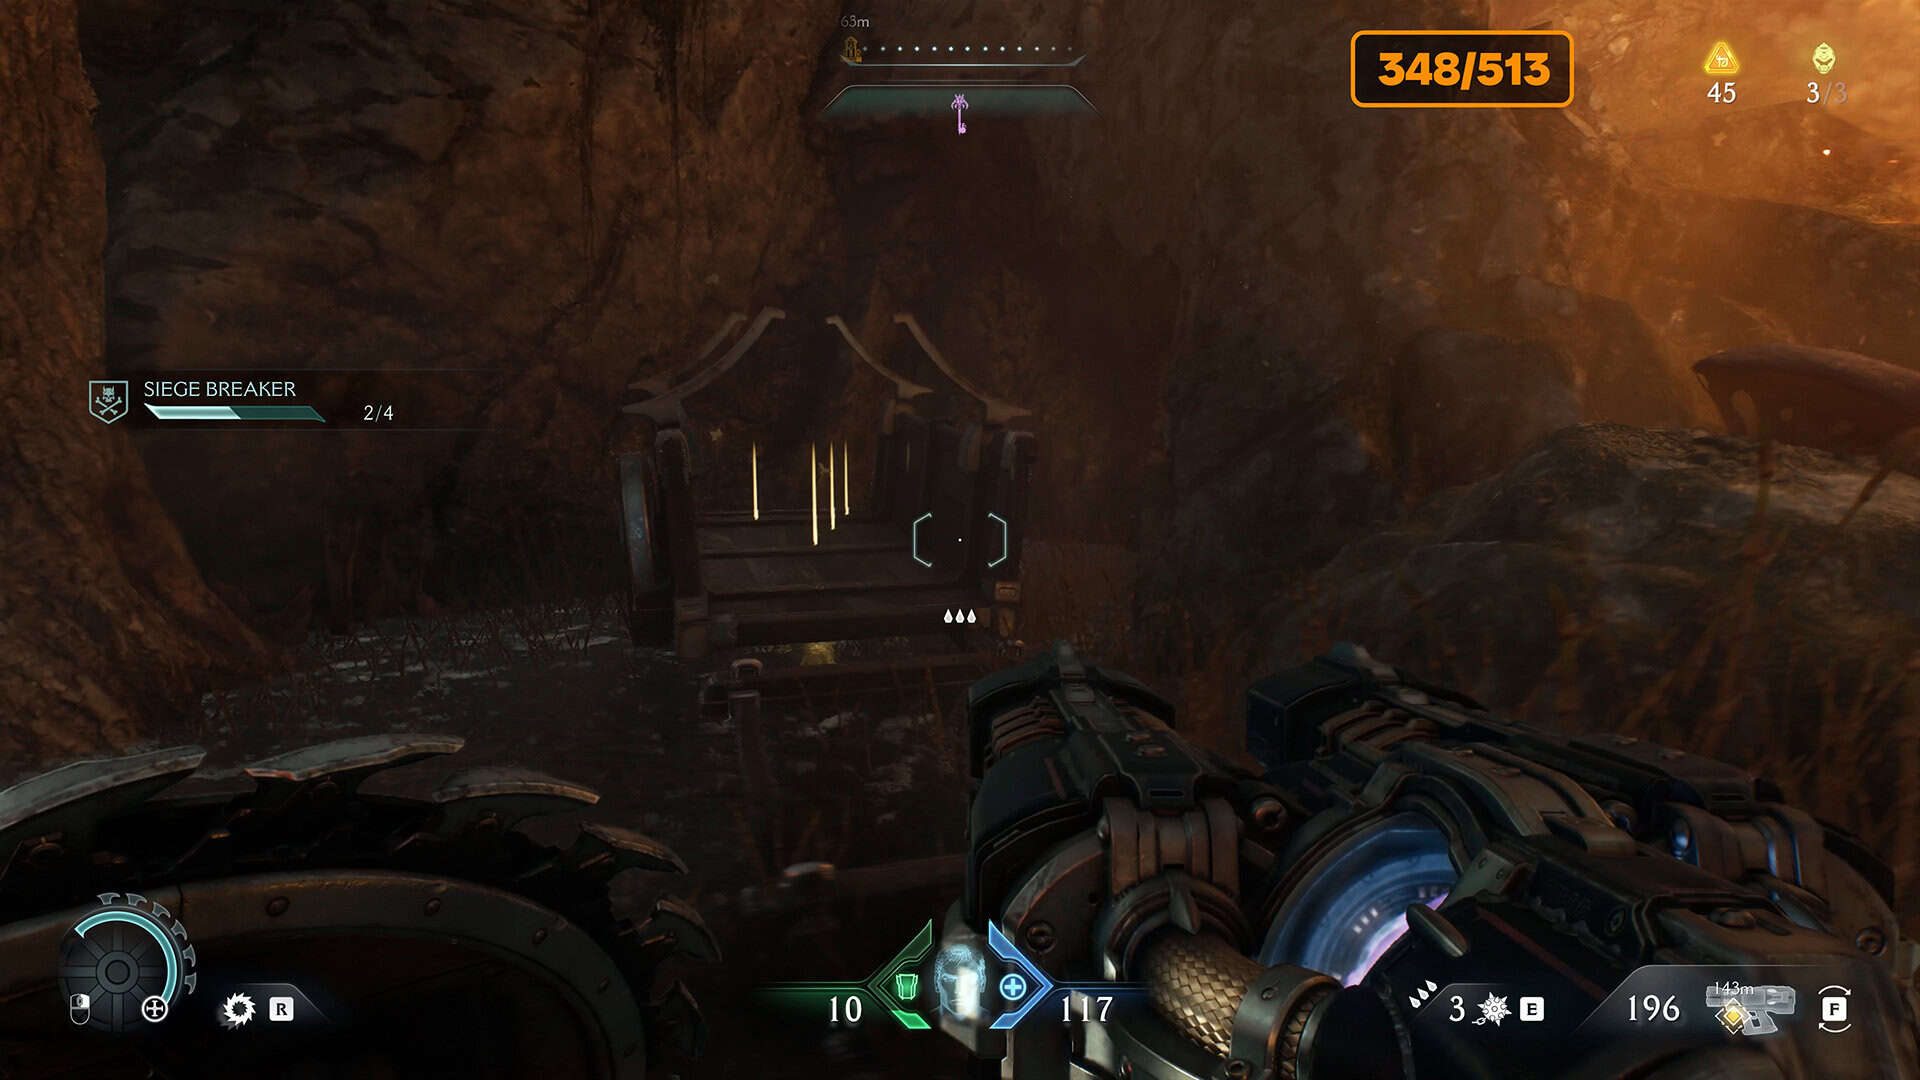
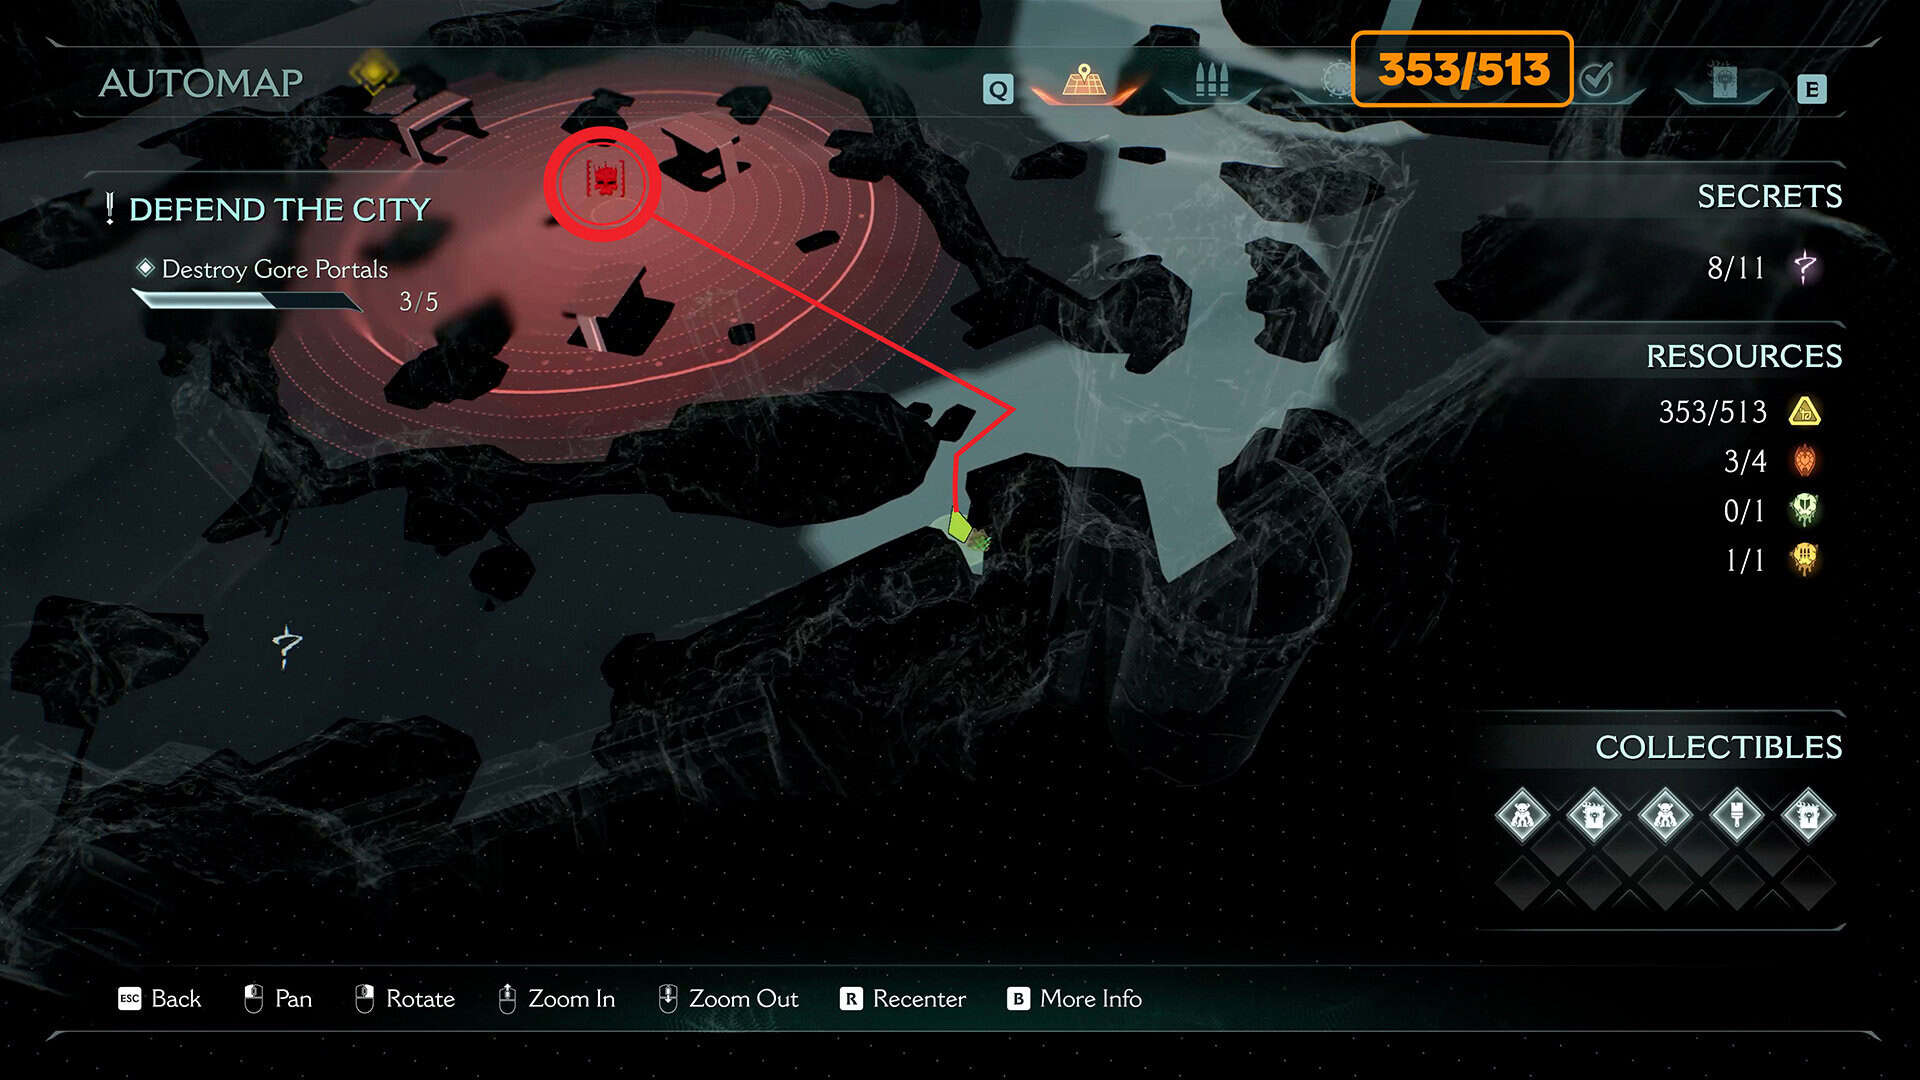
5 gold (353/513)
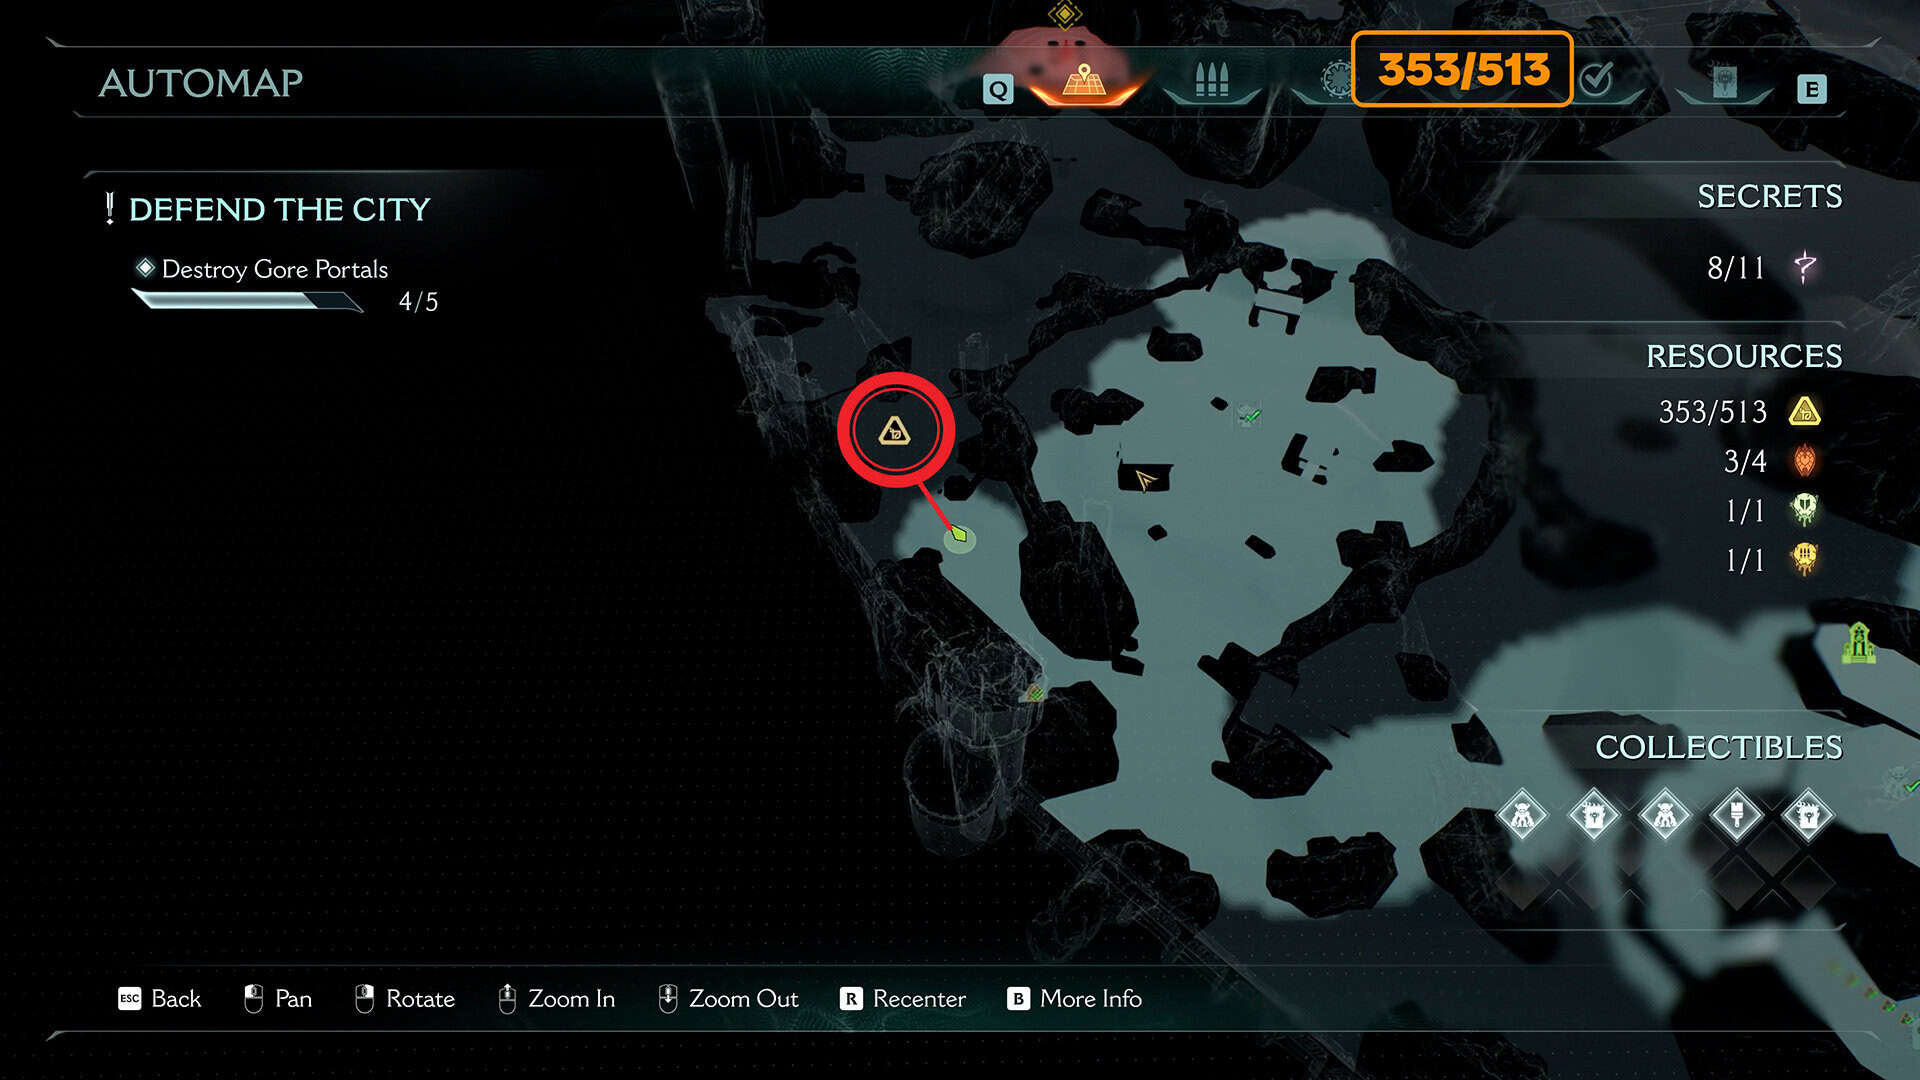
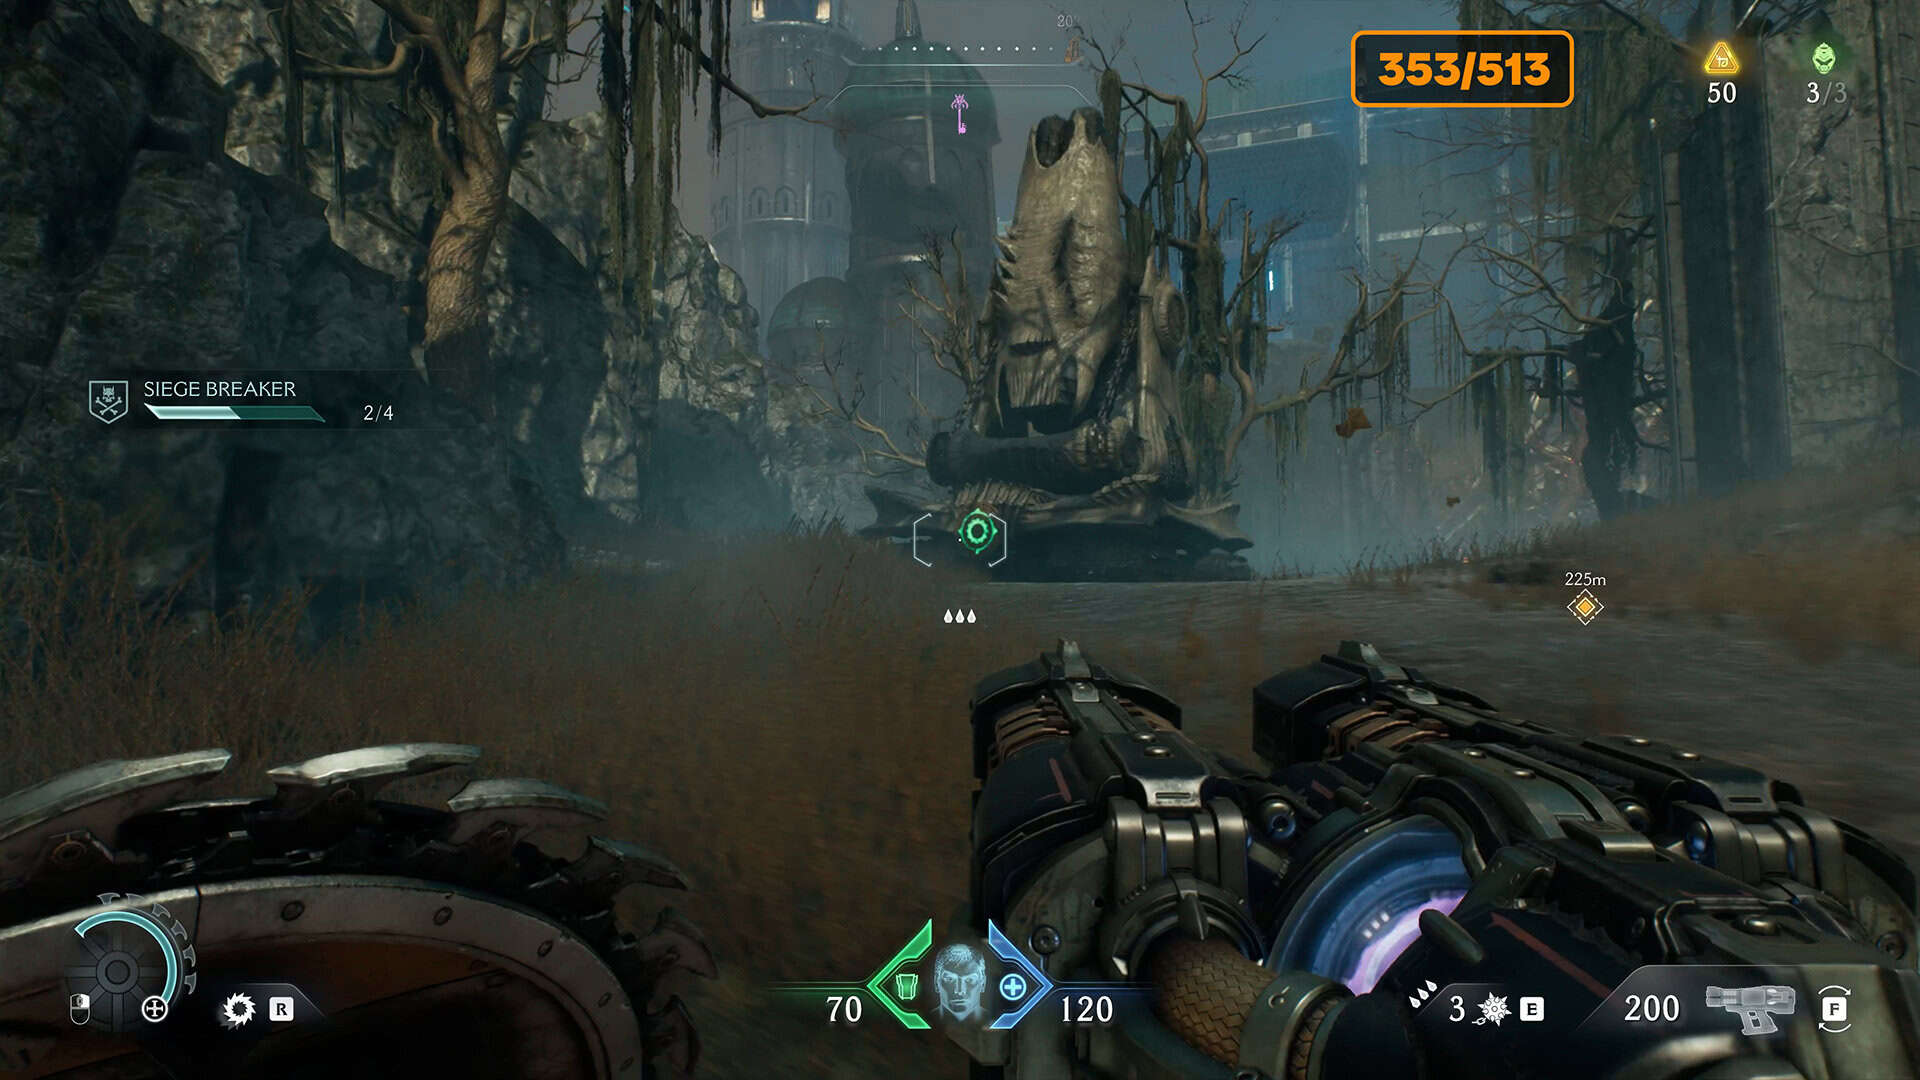
We approach the fourth Gore Portal, but first go a little to the left. Here you will find 5 gold coins hidden under a wooden cart. Just break the cart and you will get your reward. Although this can be done after destroying the Gore Portal, I saw gold here and decided to take it.
-
- Near the fourth Gore Portal, we find gold
-
- Gold hidden under the cart
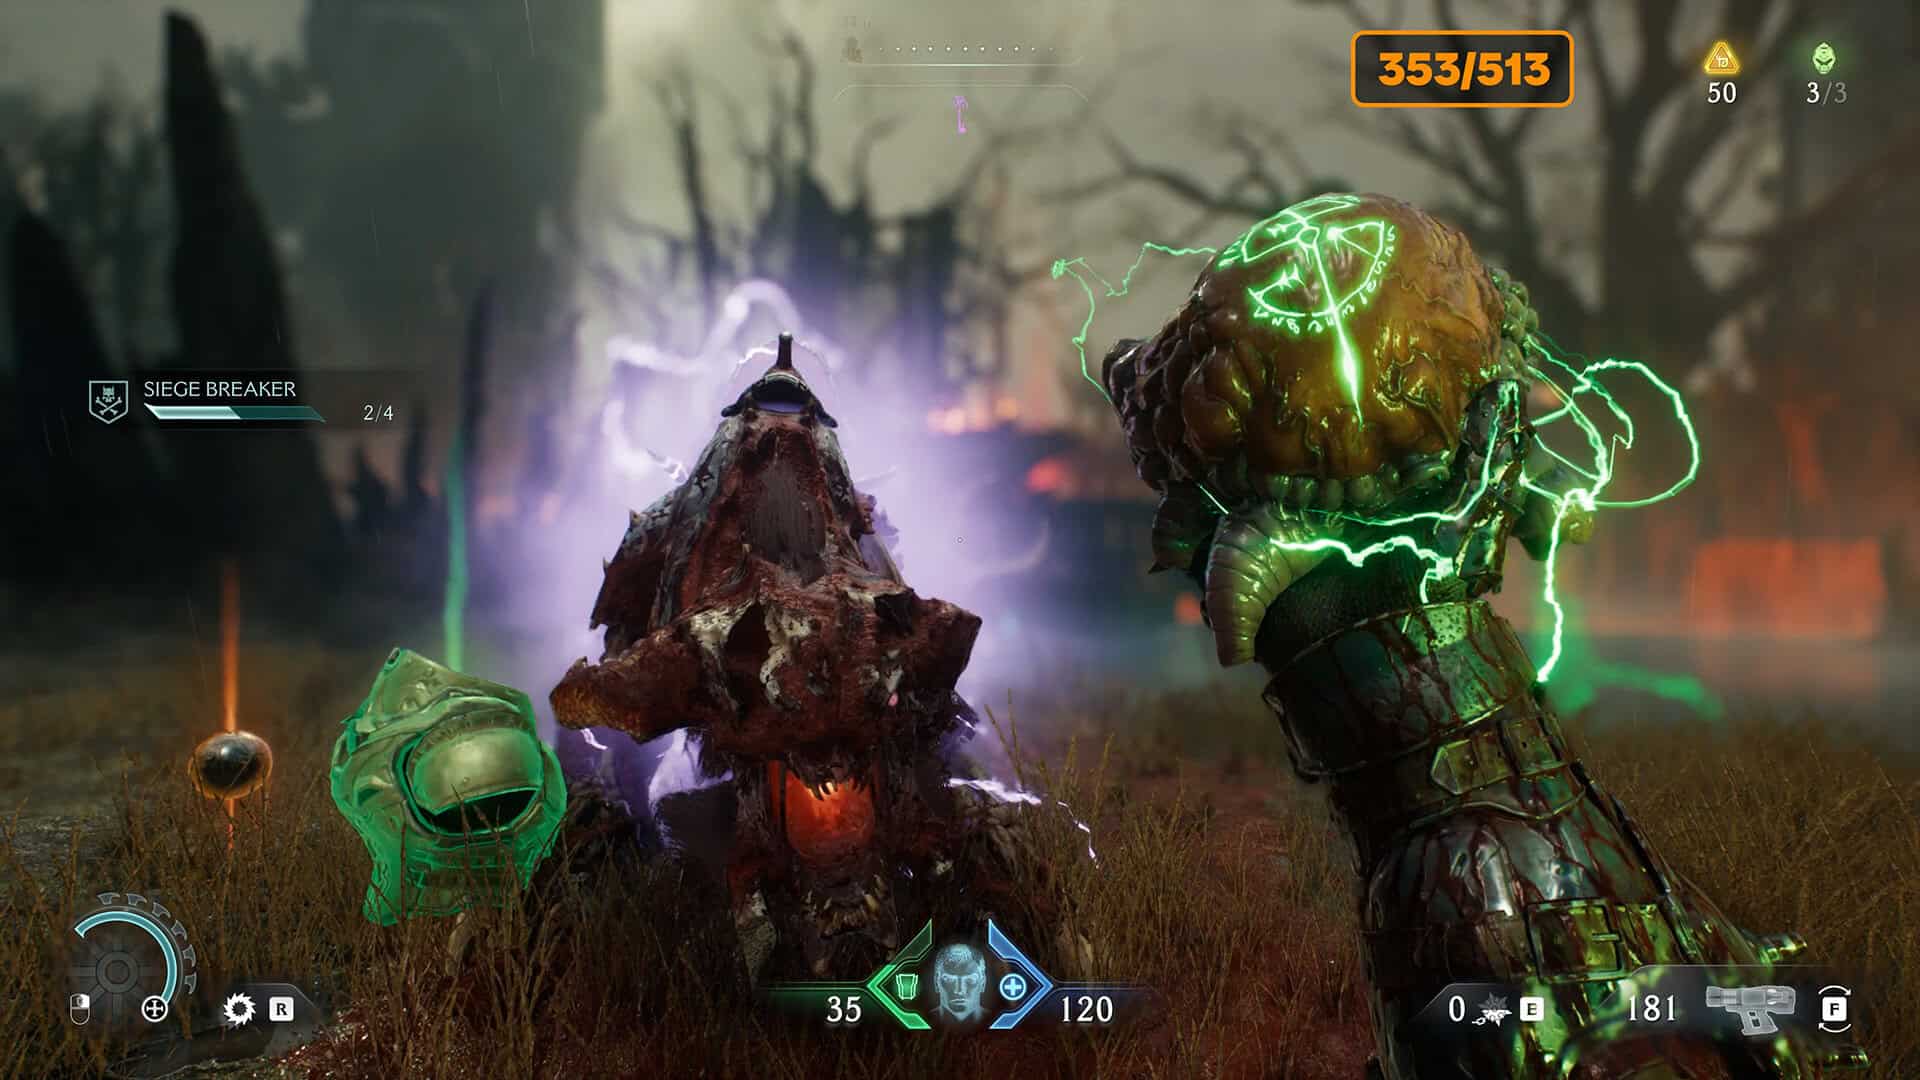
Demonic Essence Armor + Gore Portal
Next, go into the red area. Here you will find the fourth Gore portal, which you must destroy. Here you will face a difficult battle with a large number of enemies. I’m sure you’ll figure out the battle tactics. I’ll just say that there are almost no puzzles or bonuses here. At the end of the battle, after defeating one of the main enemies, you will receive Demonic Essence Armor.
-
- Closing the fourth Gore Portal
-
- Demonic Essence – Armor
8 gold (361/513) + Siege Breaker Challenge #3 from 4
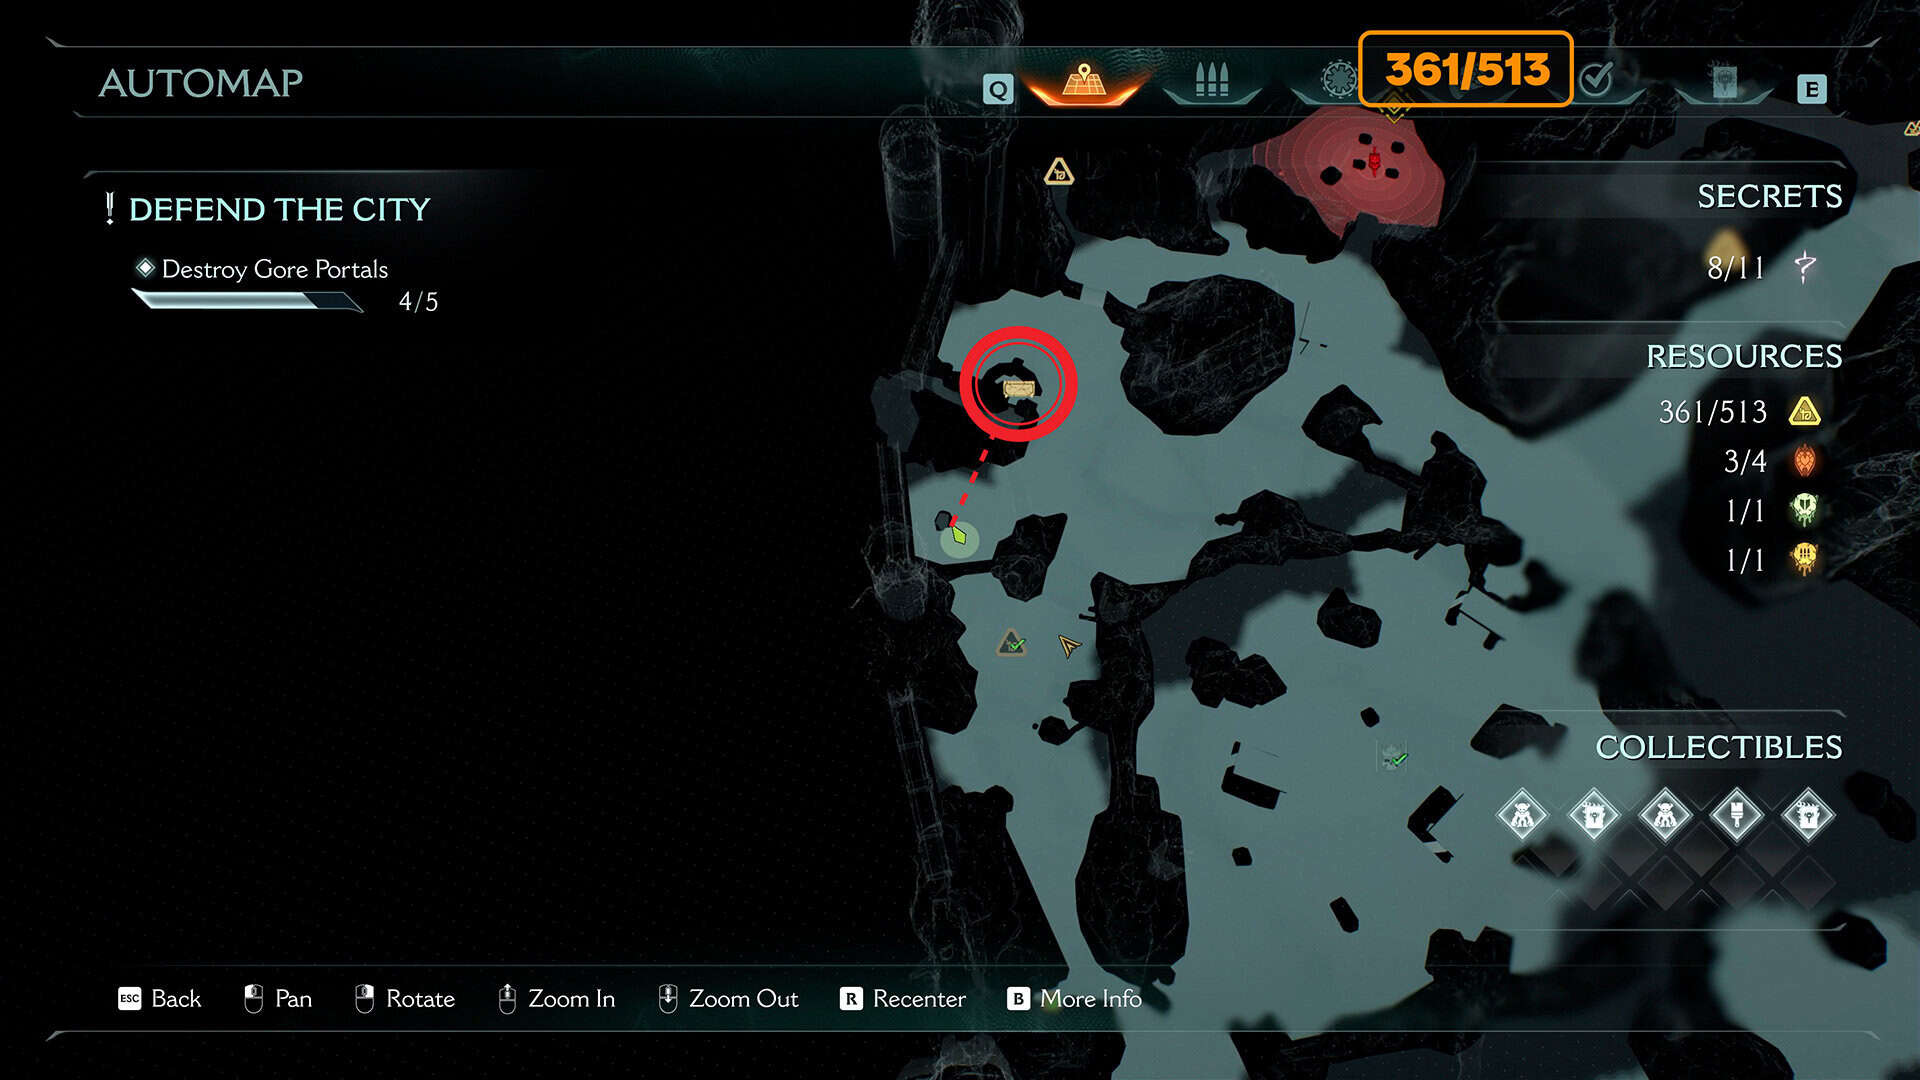
To the left of this epic battle site is the third artillery cannon that you need to destroy while completing the Siege Breaker quest. After destroying the cannon, you will find 8 gold coins in its place. This is your reward for a job well done.
-
- Find and destroy the third Siege
-
- Third Siege and 8 gold
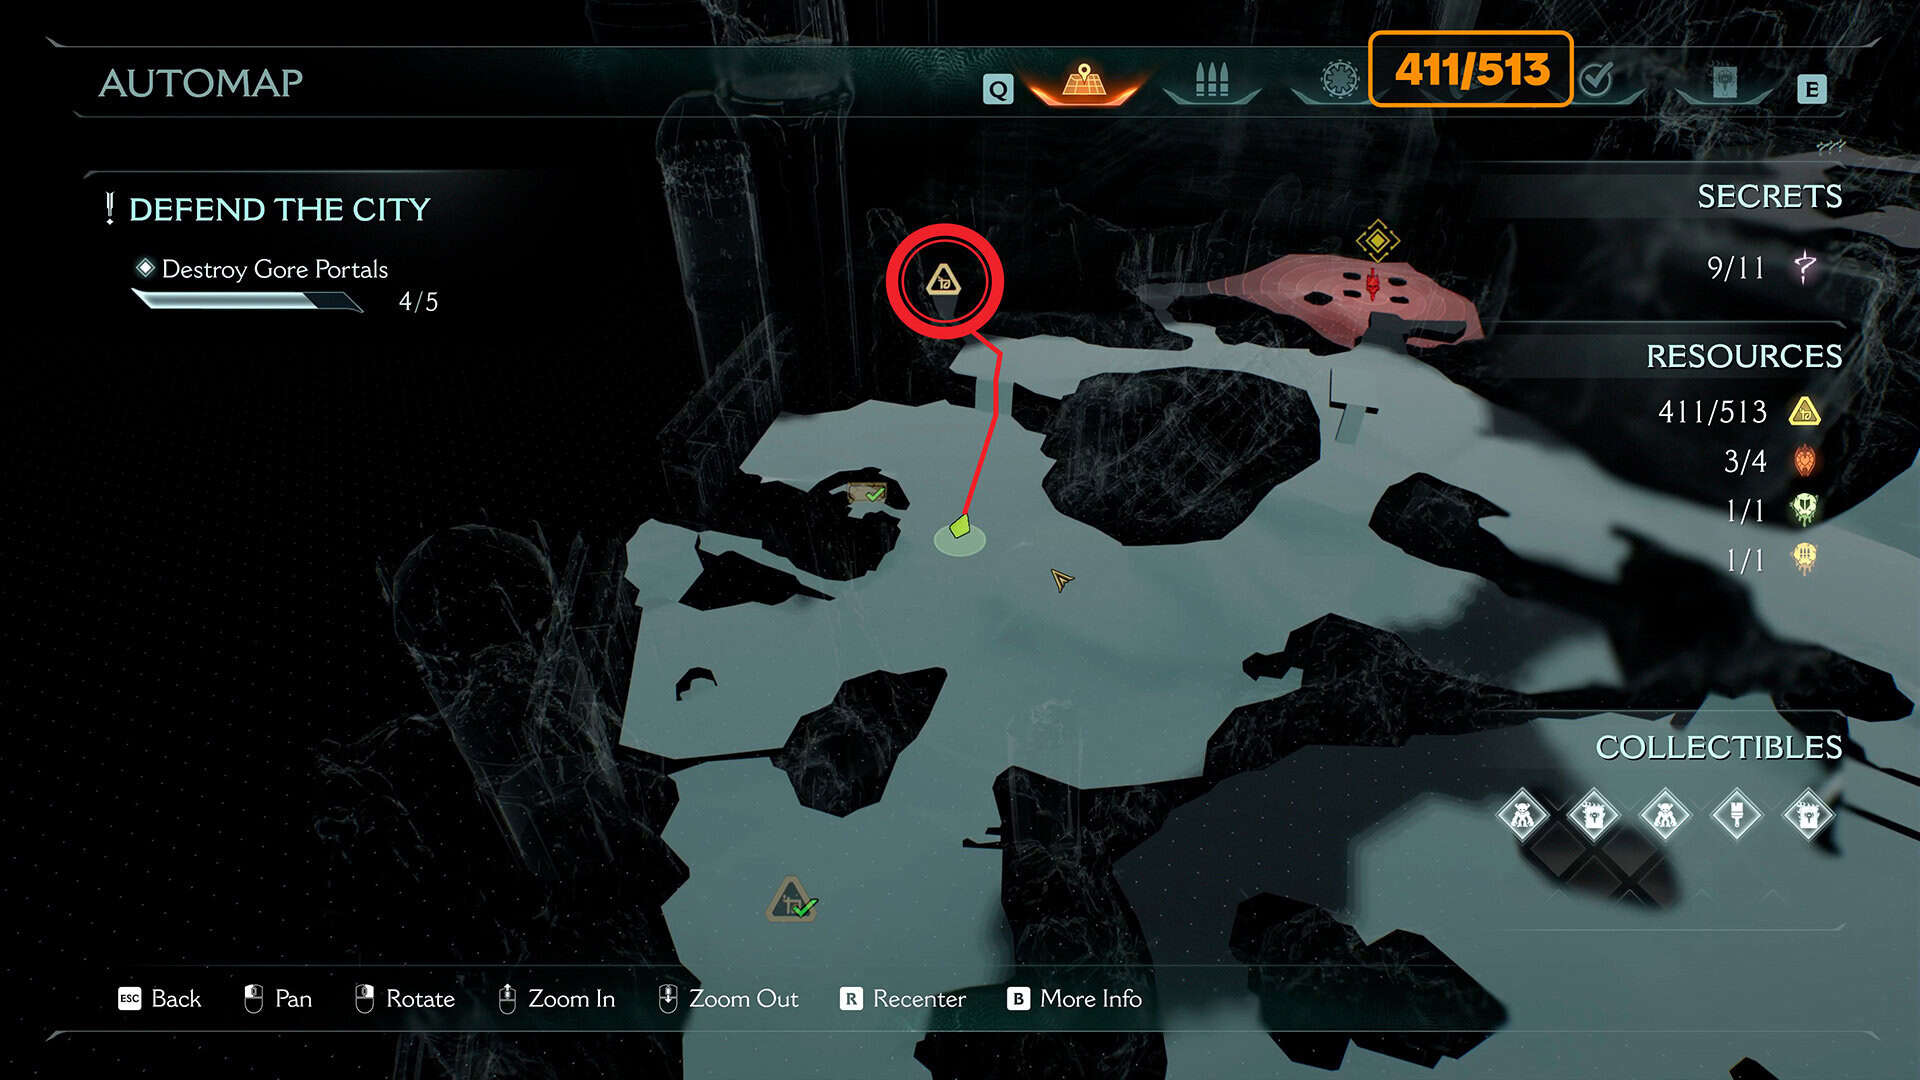
Secret #9 from 11 + 50 gold (411/513)
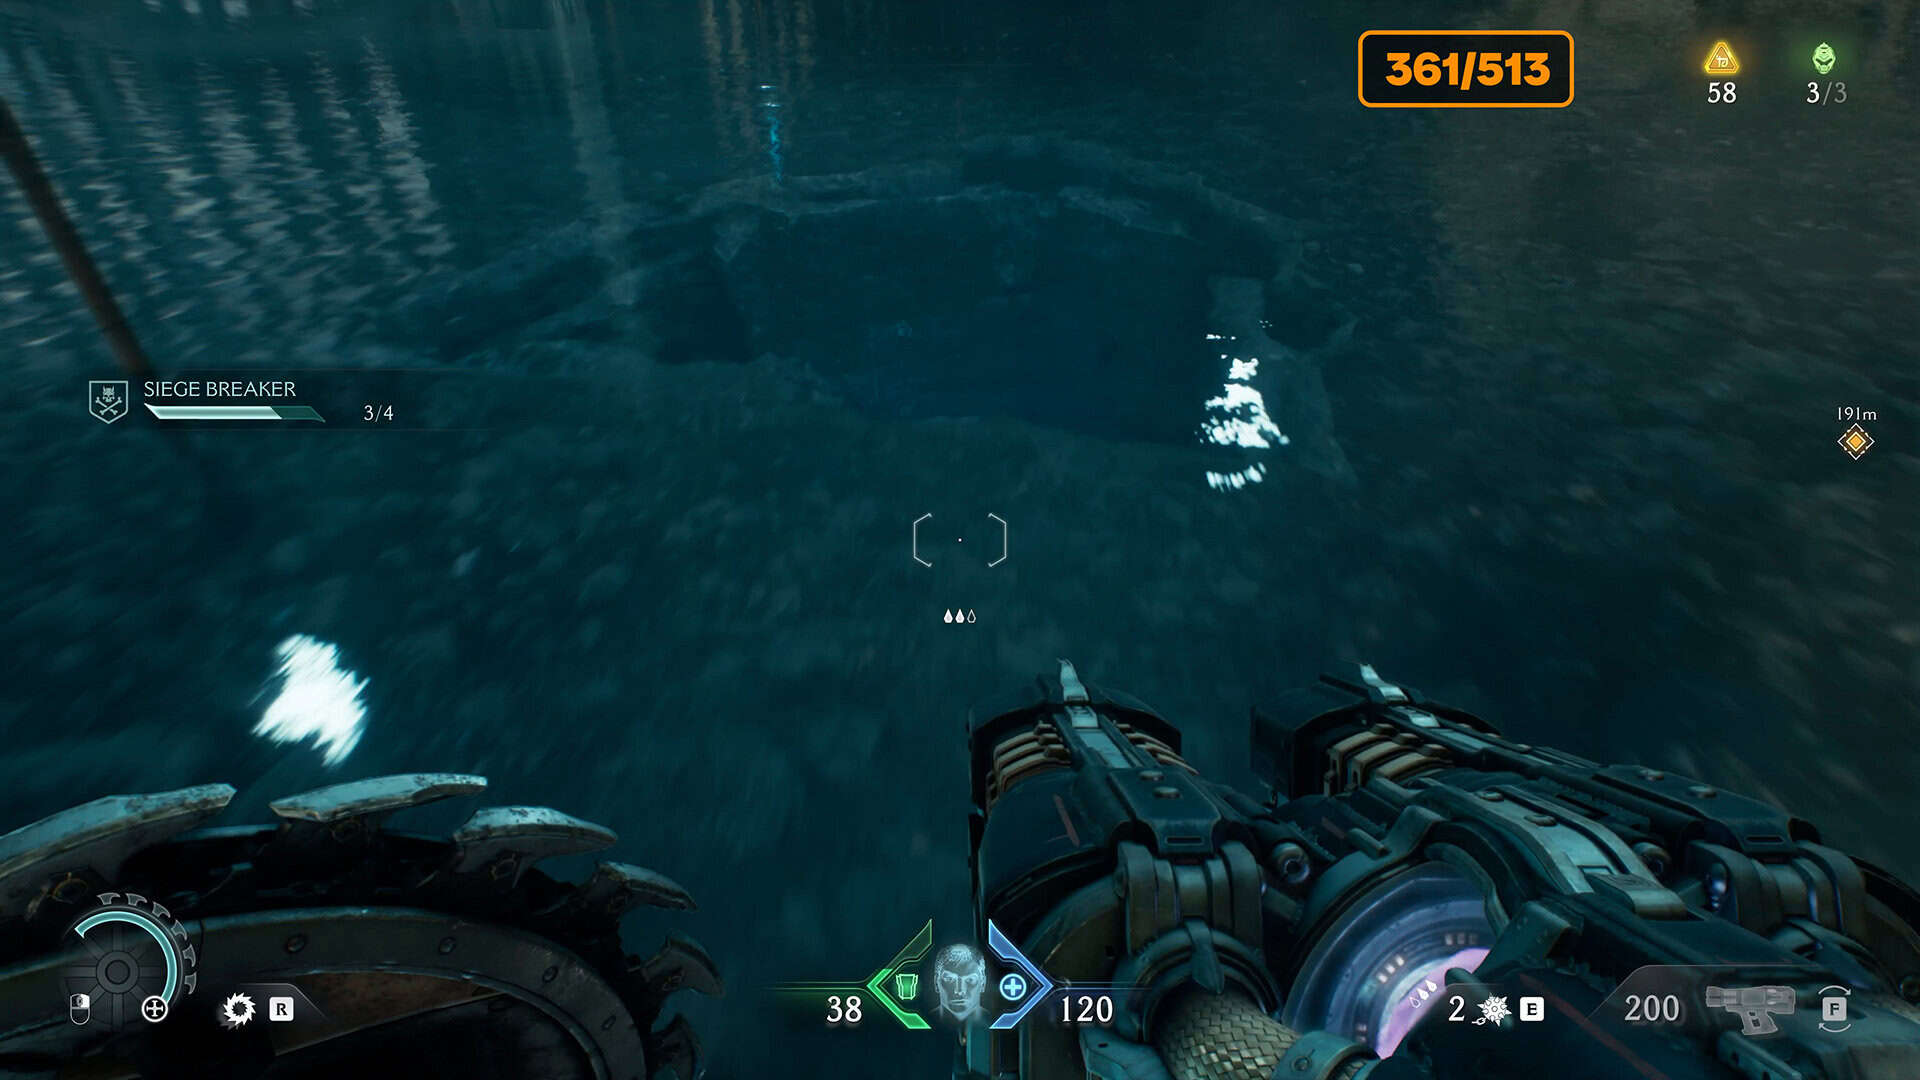
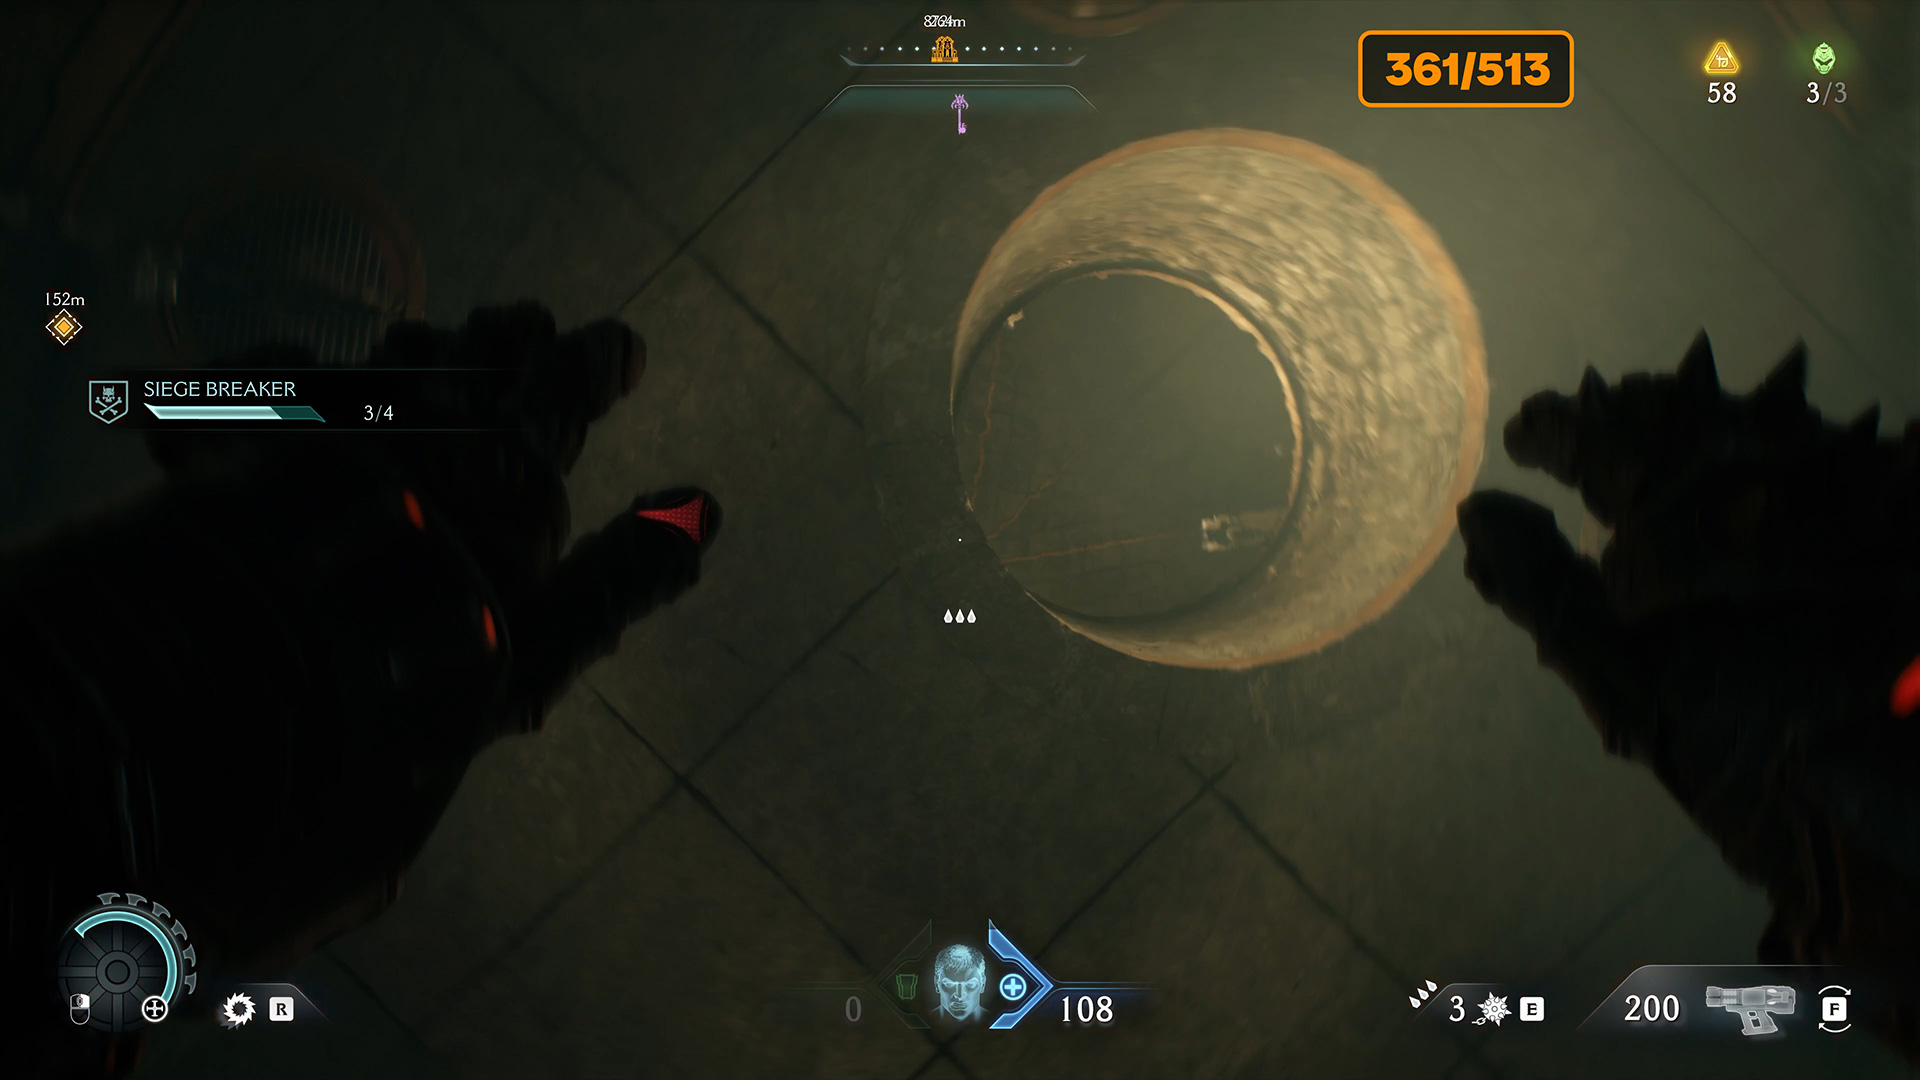
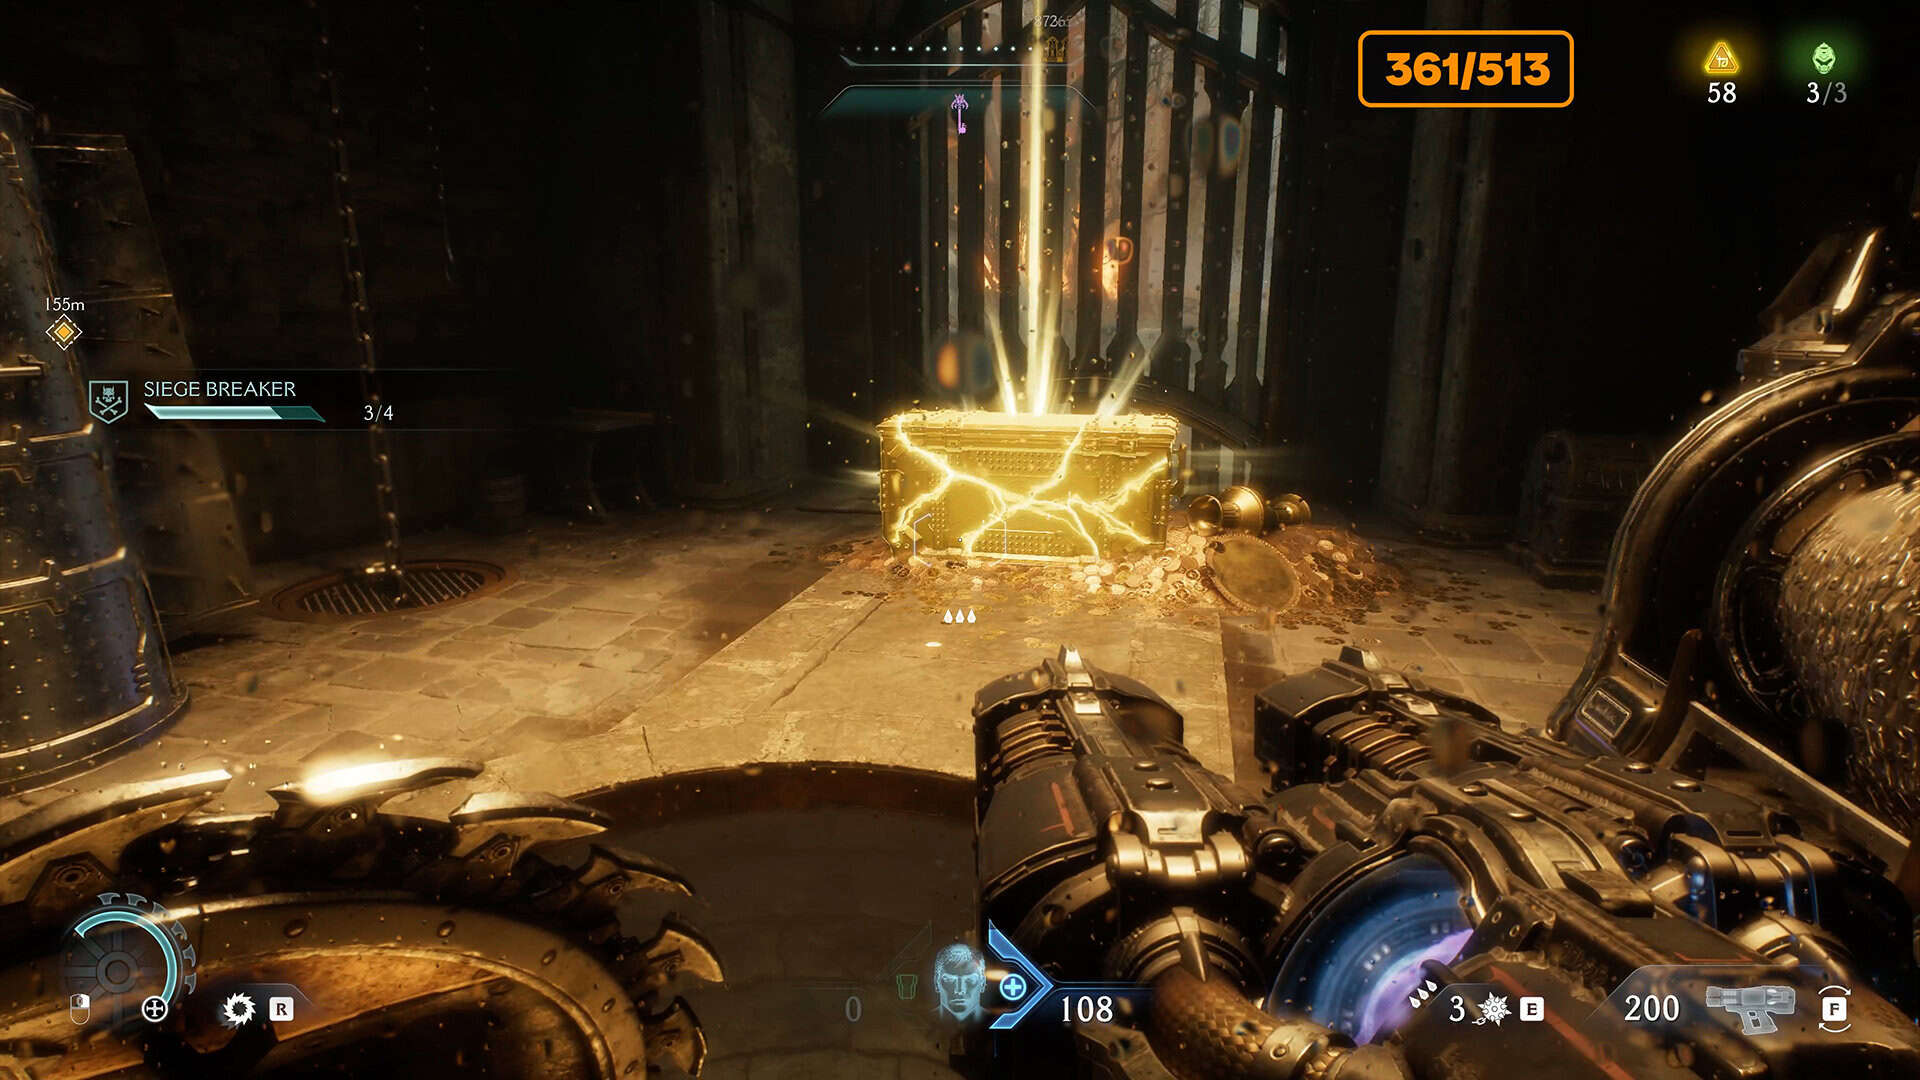
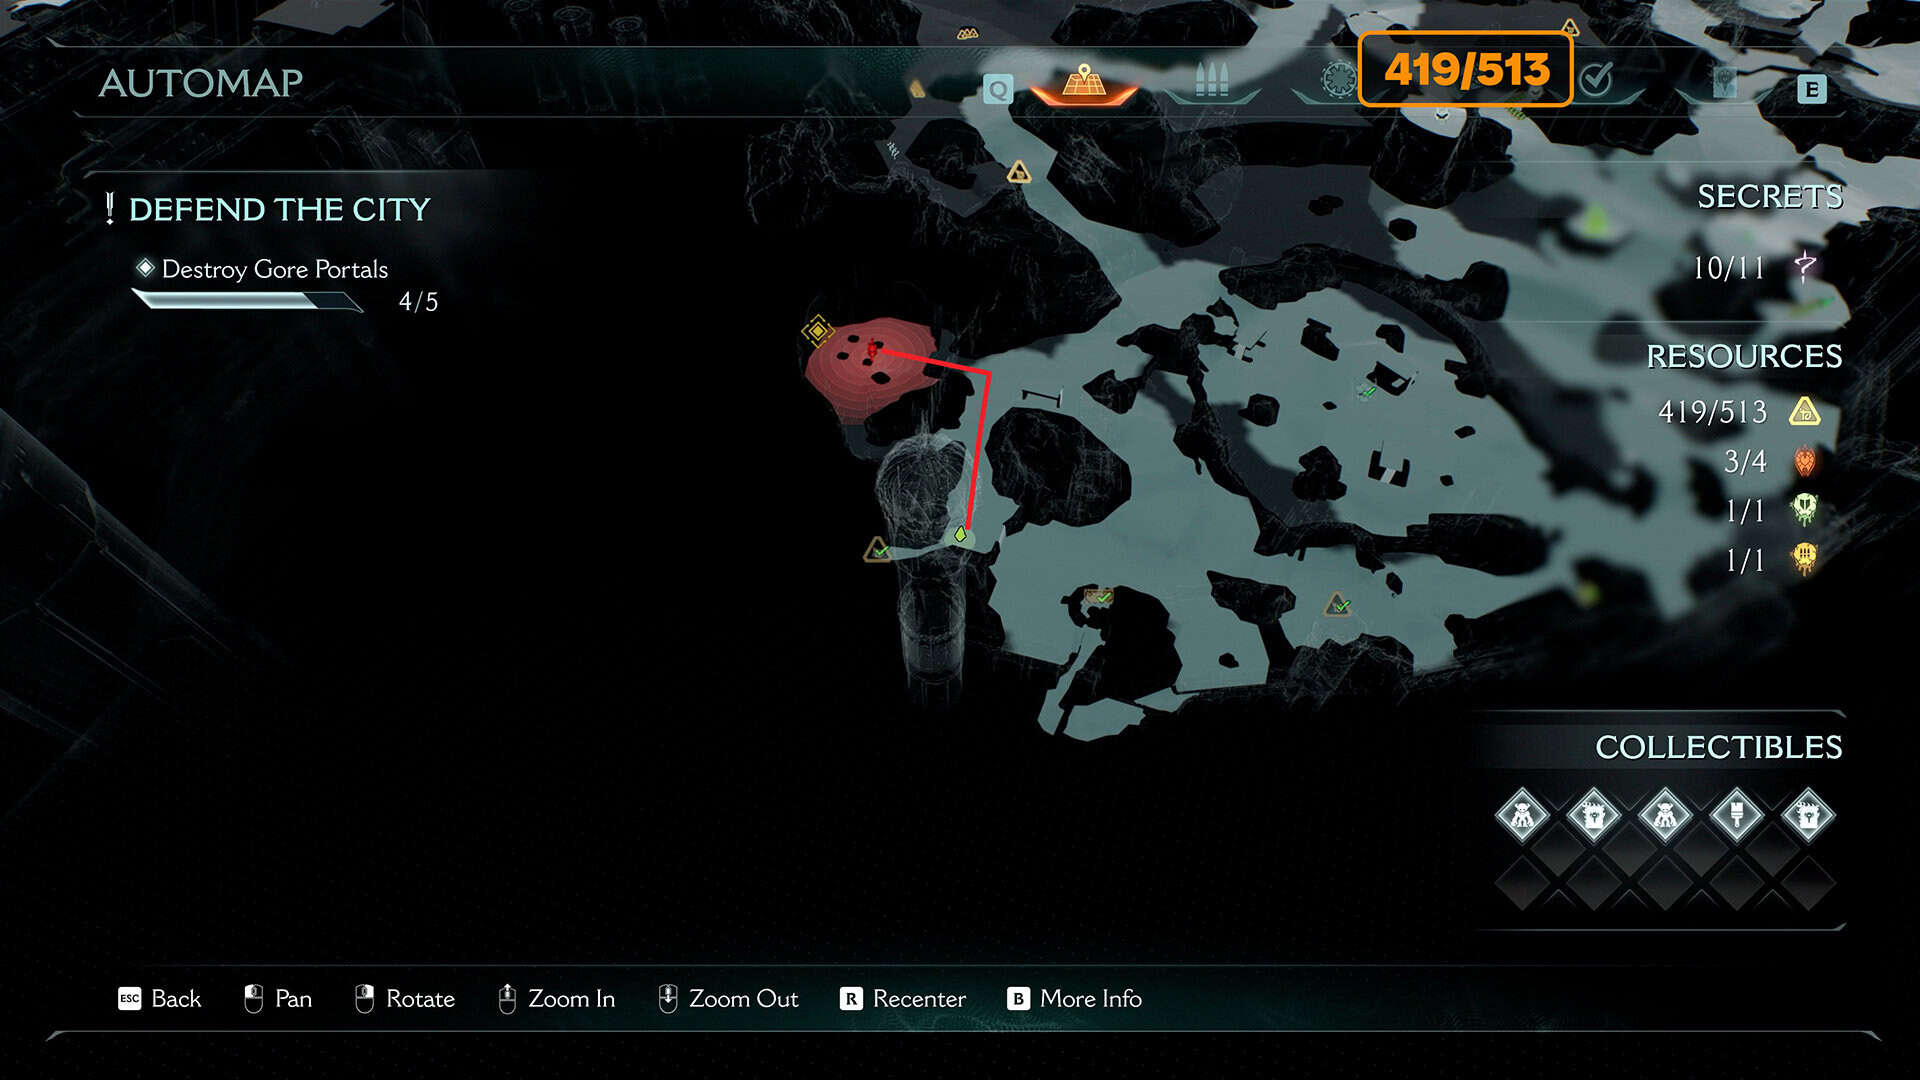
Pay attention to where my character is on the map. This is where the entrance to the underwater pool is located. This is the only way to get to the secret room with the reward. You need to dive underwater and swim through the underwater tunnel. Underwater, you will be shot at by fire turrets, which is strange, but true. At the end of the tunnel, you will see a round exit above you. Swim up and you will find yourself in a locked room where the secret and 50 gold coins are located. Take the reward and go outside, the door will open automatically.
-
- Starting point up to 9 secrets and 50 gold
-
- Dive into this hole filled with water
-
- This is what the place looks like where you need to swim to the upper level
-
- The final prize – gold behind closed doors
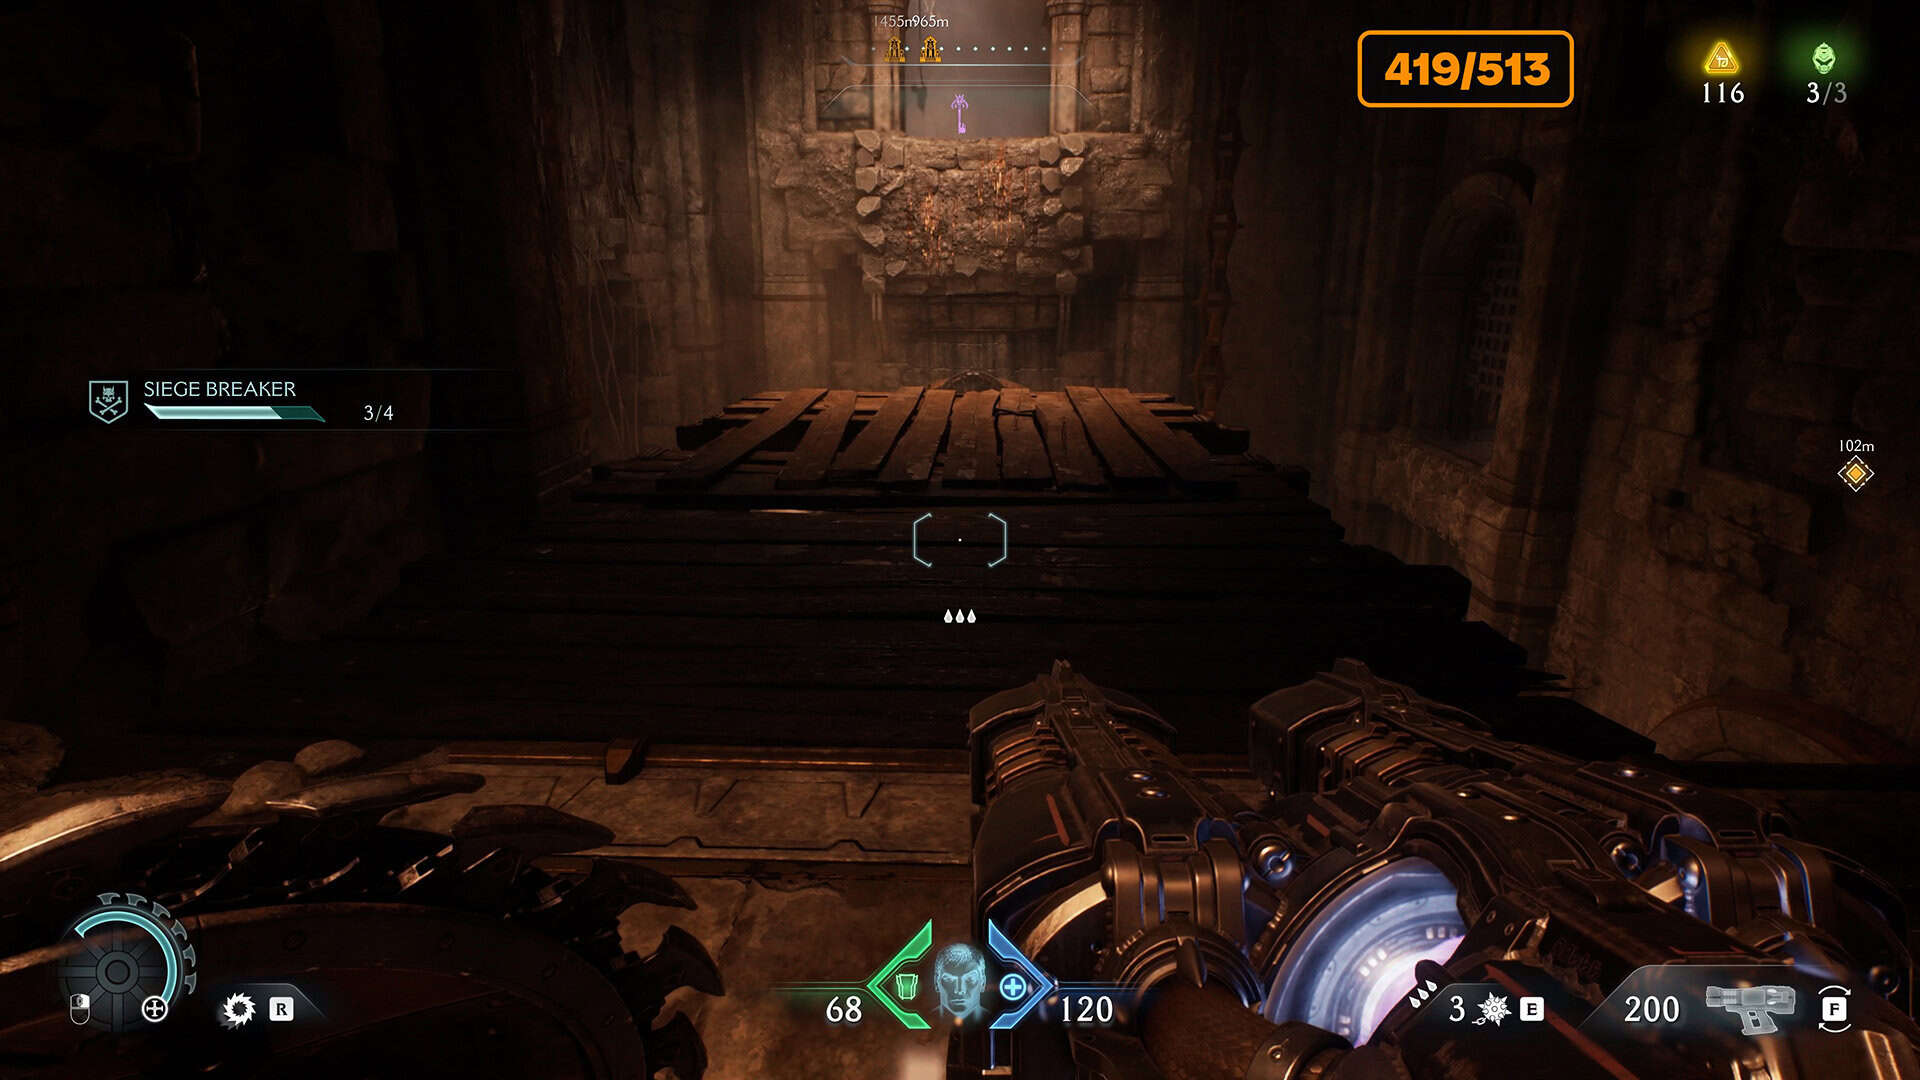
Secret #10 from 11 + 8 gold (419/513)
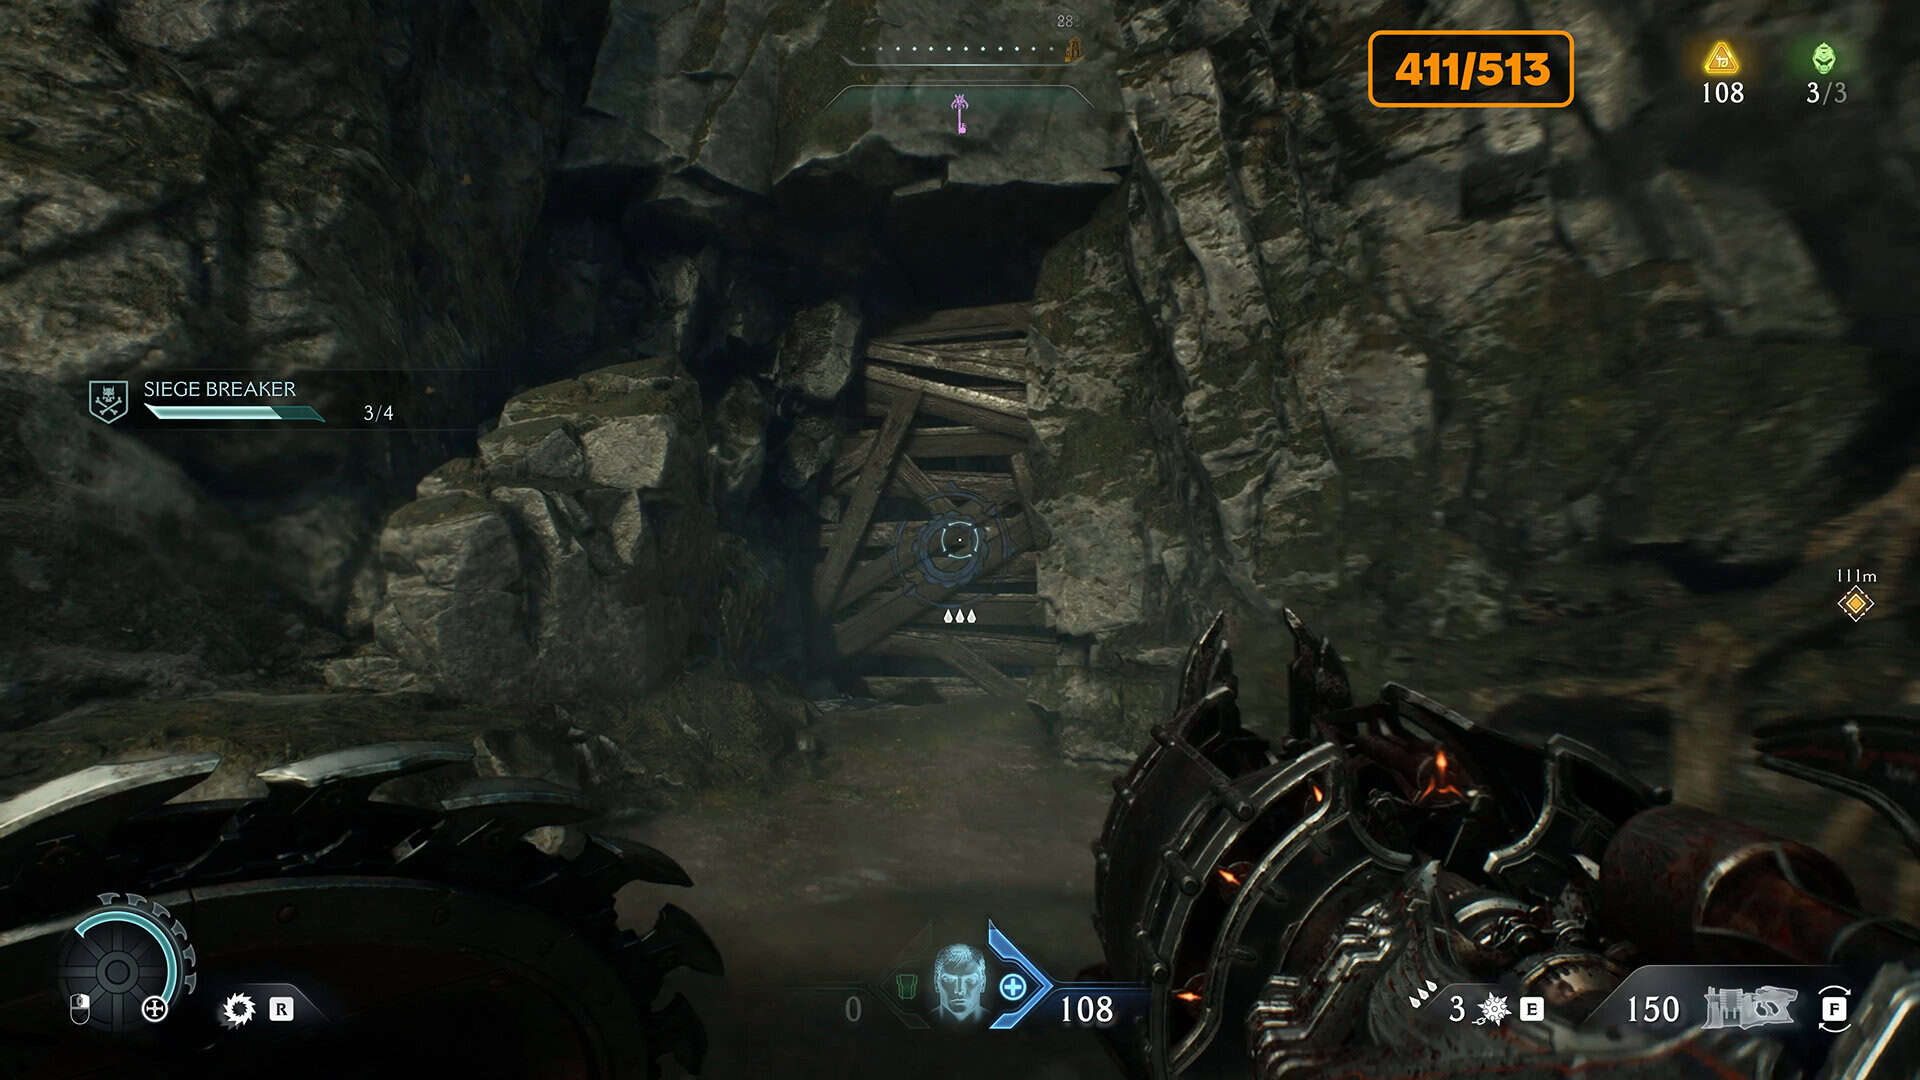
When you leave the room, turn left. Go forward, climb up the wall, and you will see a place closed off by a wooden barrier that can be broken. Break the barrier. Inside, there will be a cave with a secret. You will find 8 gold coins here.
-
- The path to the secret room with gold
-
- To get in, you have to break through the wooden barrier
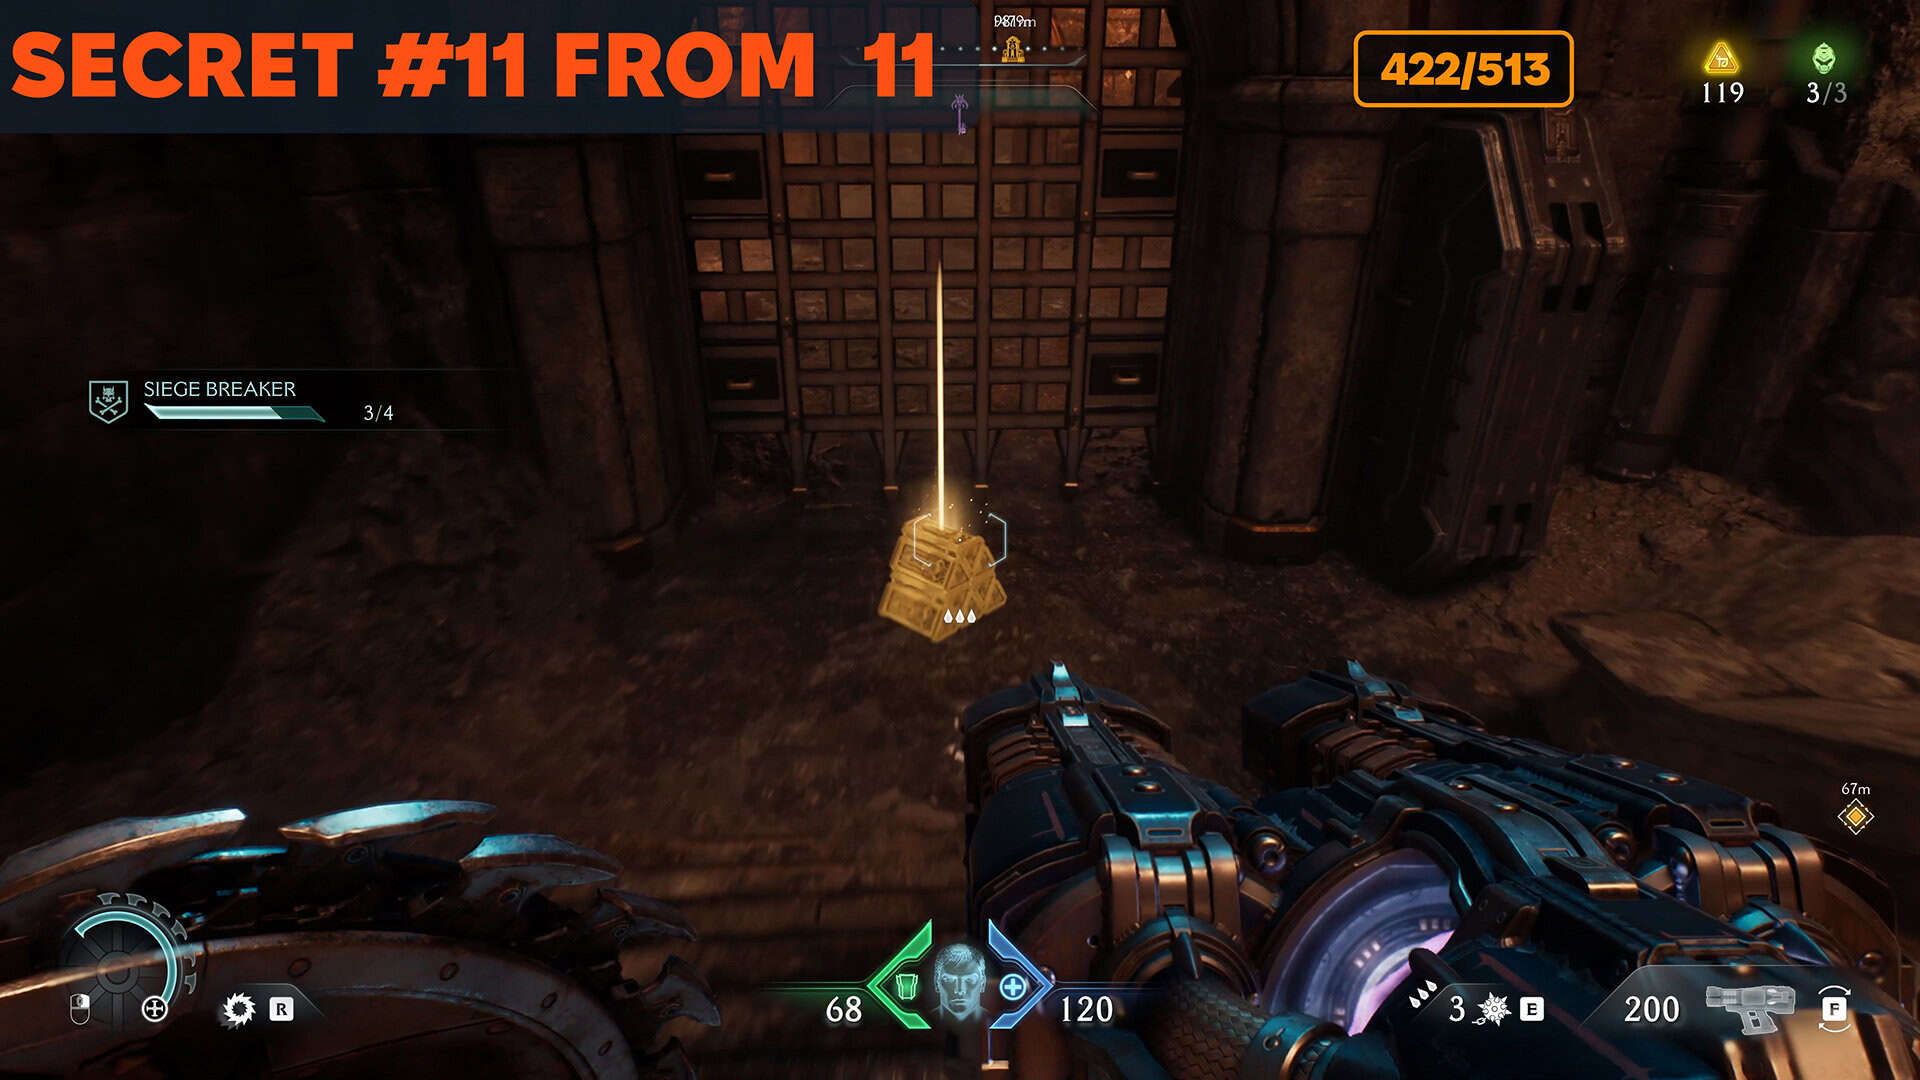
Secret #11 from 11 + 11 gold (430/513)
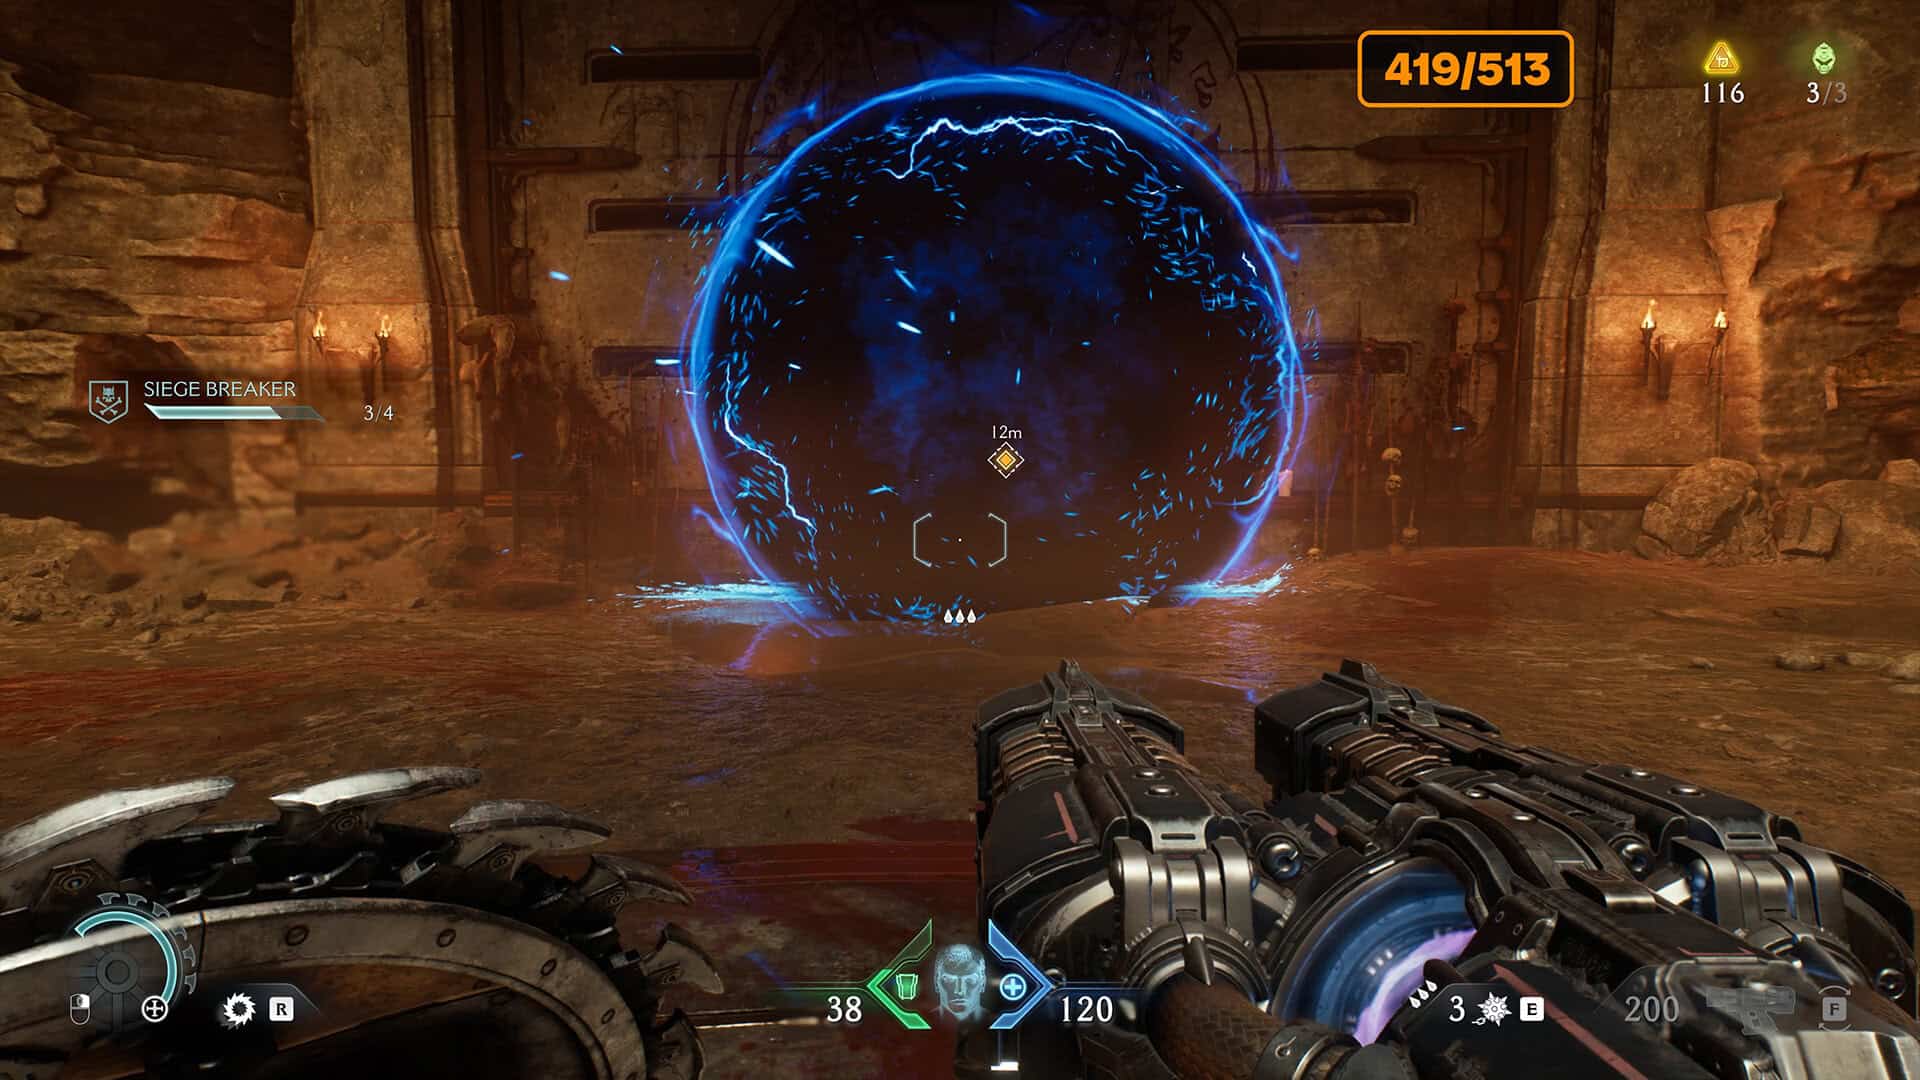
It’s time to deal with the last fifth Gore Portal. Move towards it on the map. When you’re ready, jump down. Of course, monsters will appear there and attack you. After you deal with them, you will see a round blue portal. Enter it, and it will transport you to another location, which I will describe further on.
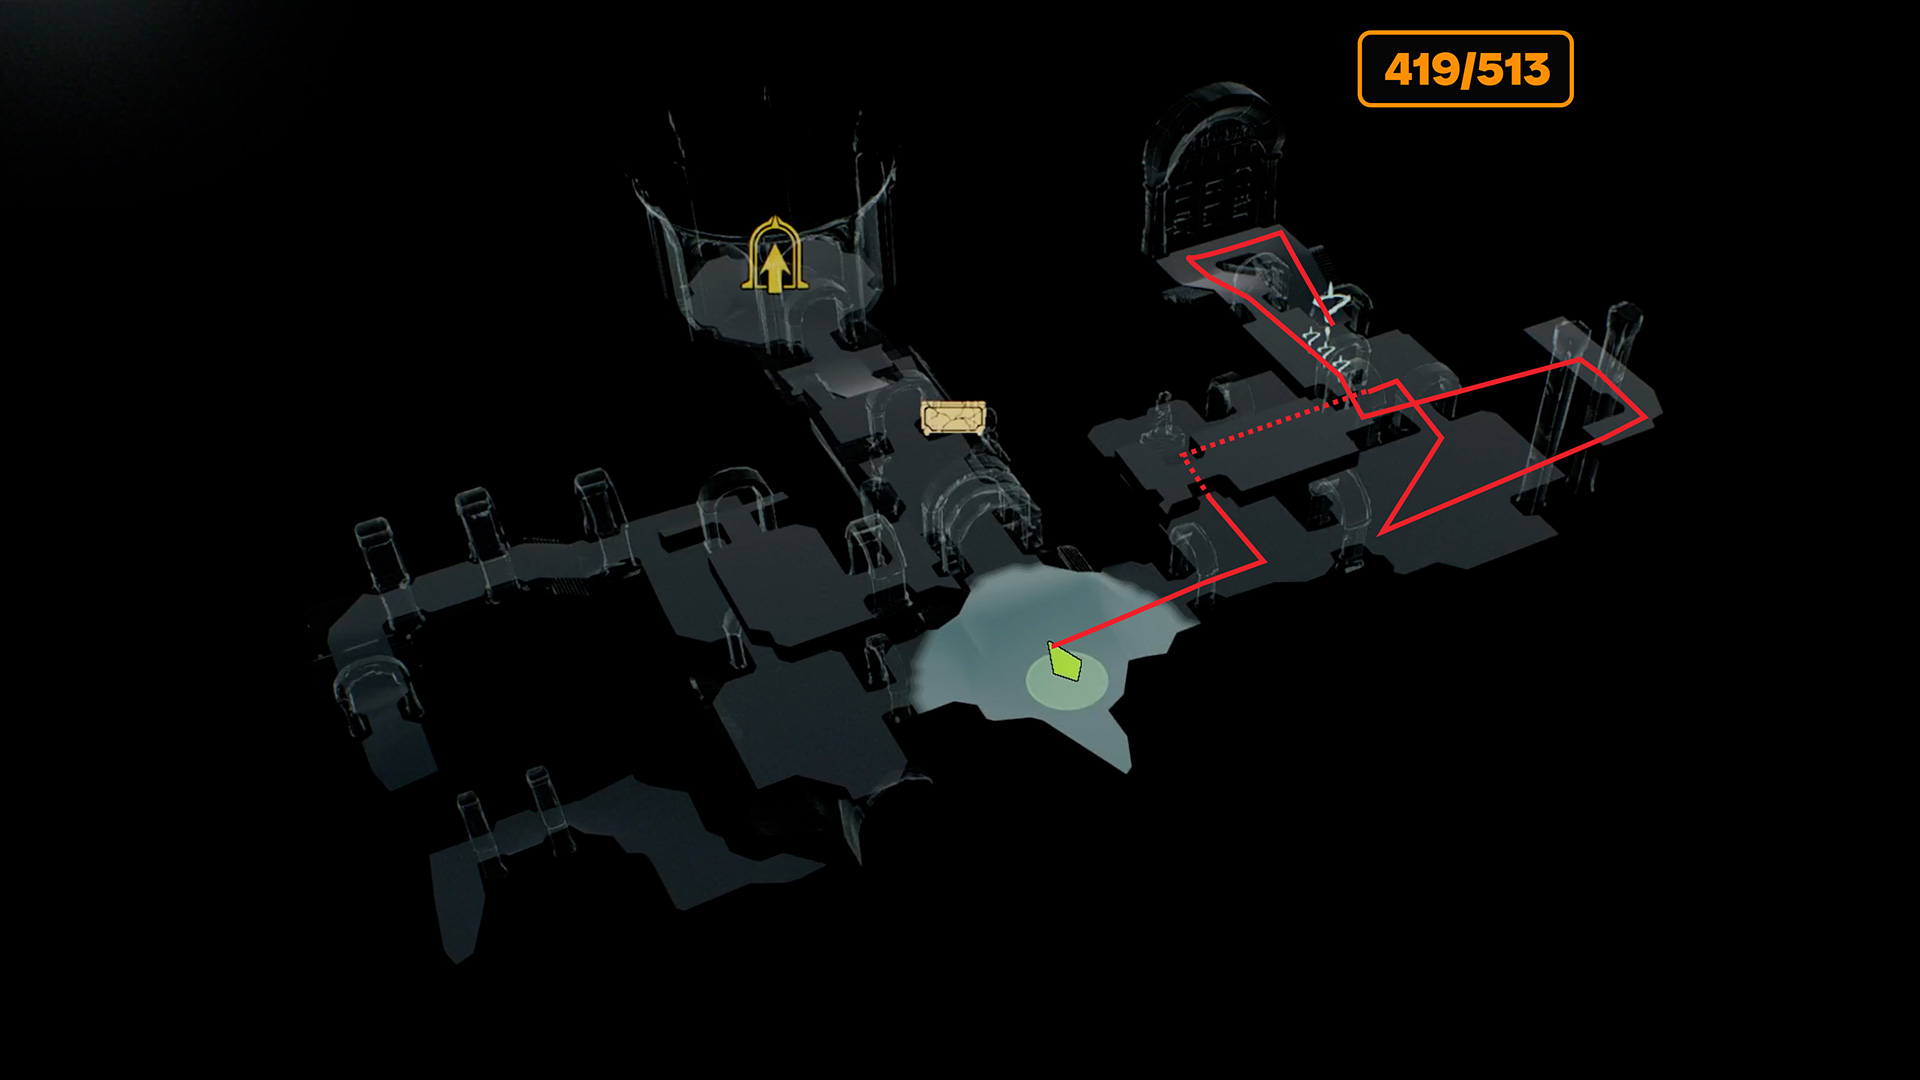
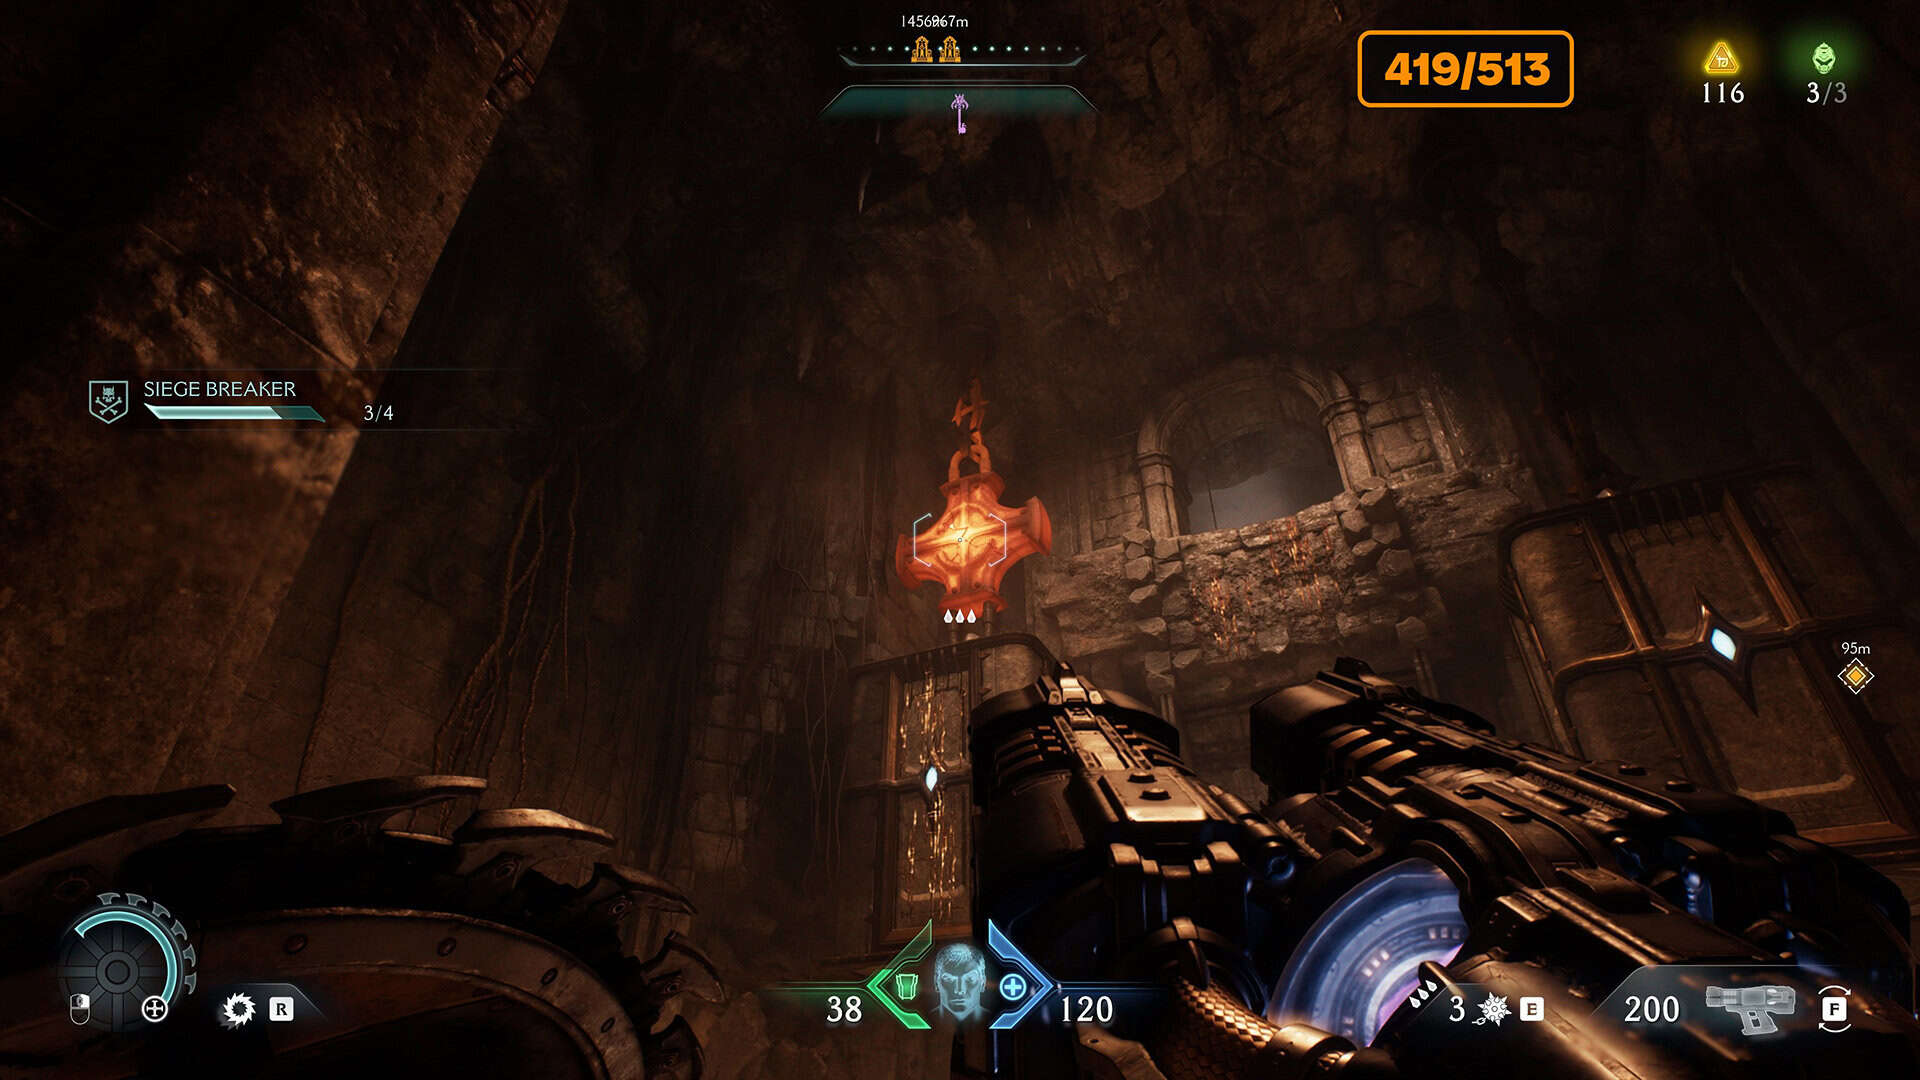
From where you appear, you need to turn right. In the next room, there will be a stone wall that you need to break through to continue. Then, after a few turns to the right, you will see a container hanging from a metal chain in the far corner. Throw your shield to break the chain. The container will fall down and you will be able to climb on it. Once you climb onto the container, turn around. You will see a green statue, throw your shield at it and fly after it to get to a secret place.
In this place, you will see a wooden wall that you need to push. It will fall and form a bridge. Now you need to run and jump to the other side of the room. Don’t rush to move forward here. From the second floor, look to the right. You will see an opening that you can climb into. Use another container with a chain to jump into this new room.
Here you will receive three gold coins. Continue forward, go down the stairs, and you will find eight gold coins. Now you need to return to the place on the second floor from which you jumped into this room. I will skip this stage because it is a trivial repetition. After jumping from the wooden bridge, continue straight ahead, and you will find a lever on the balcony that you need to press.
-
- The Road to the Last Gore Portal
-
- Again, a blue teleport to access the interior
-
- Inside, a complex path to secrets
-
- Break a metal cross
-
- Lower the bridge and jump off it
-
- The last secret of the sixth chapter
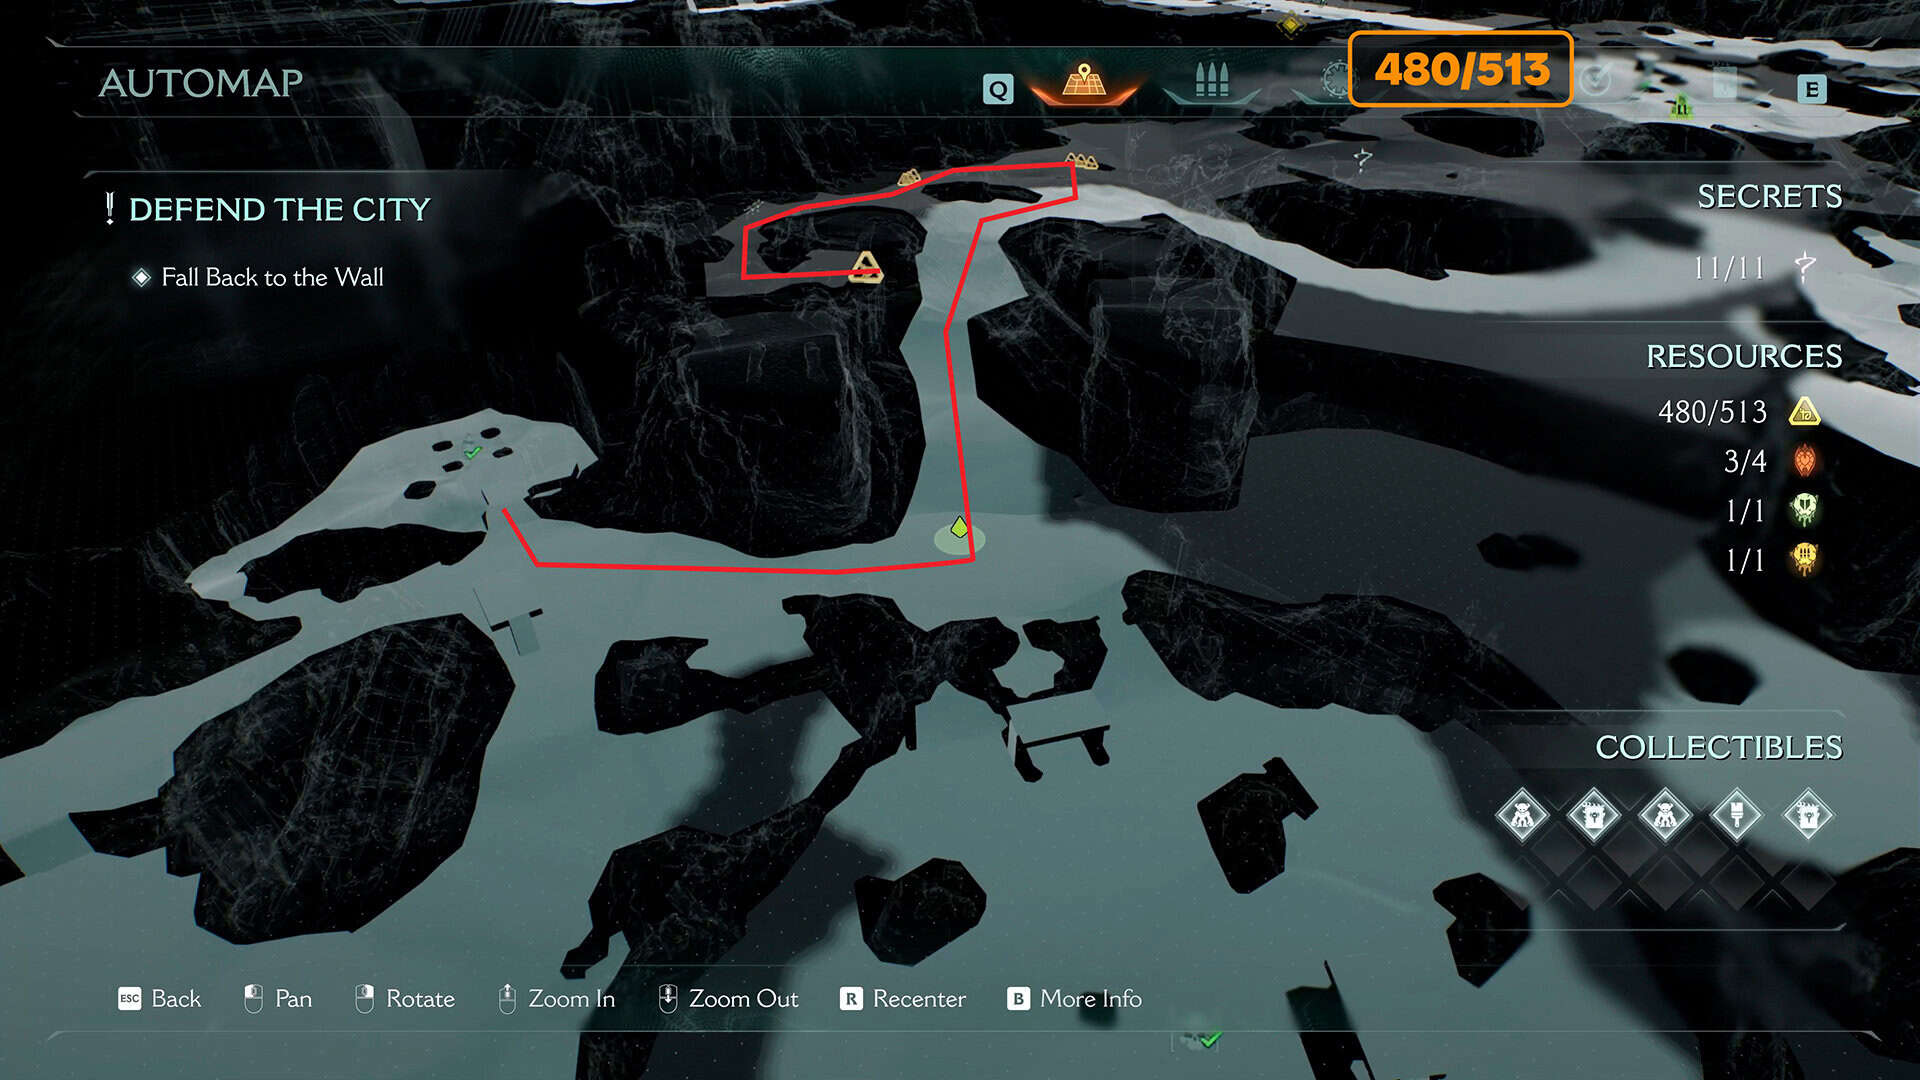
50 gold (480/513)
After that, jump down and turn right. Take 50 gold. Next, you need to go to the left side of the location and find the lever there as well. There are no collectibles there, and everything is pretty straightforward, so I’ll skip this part.

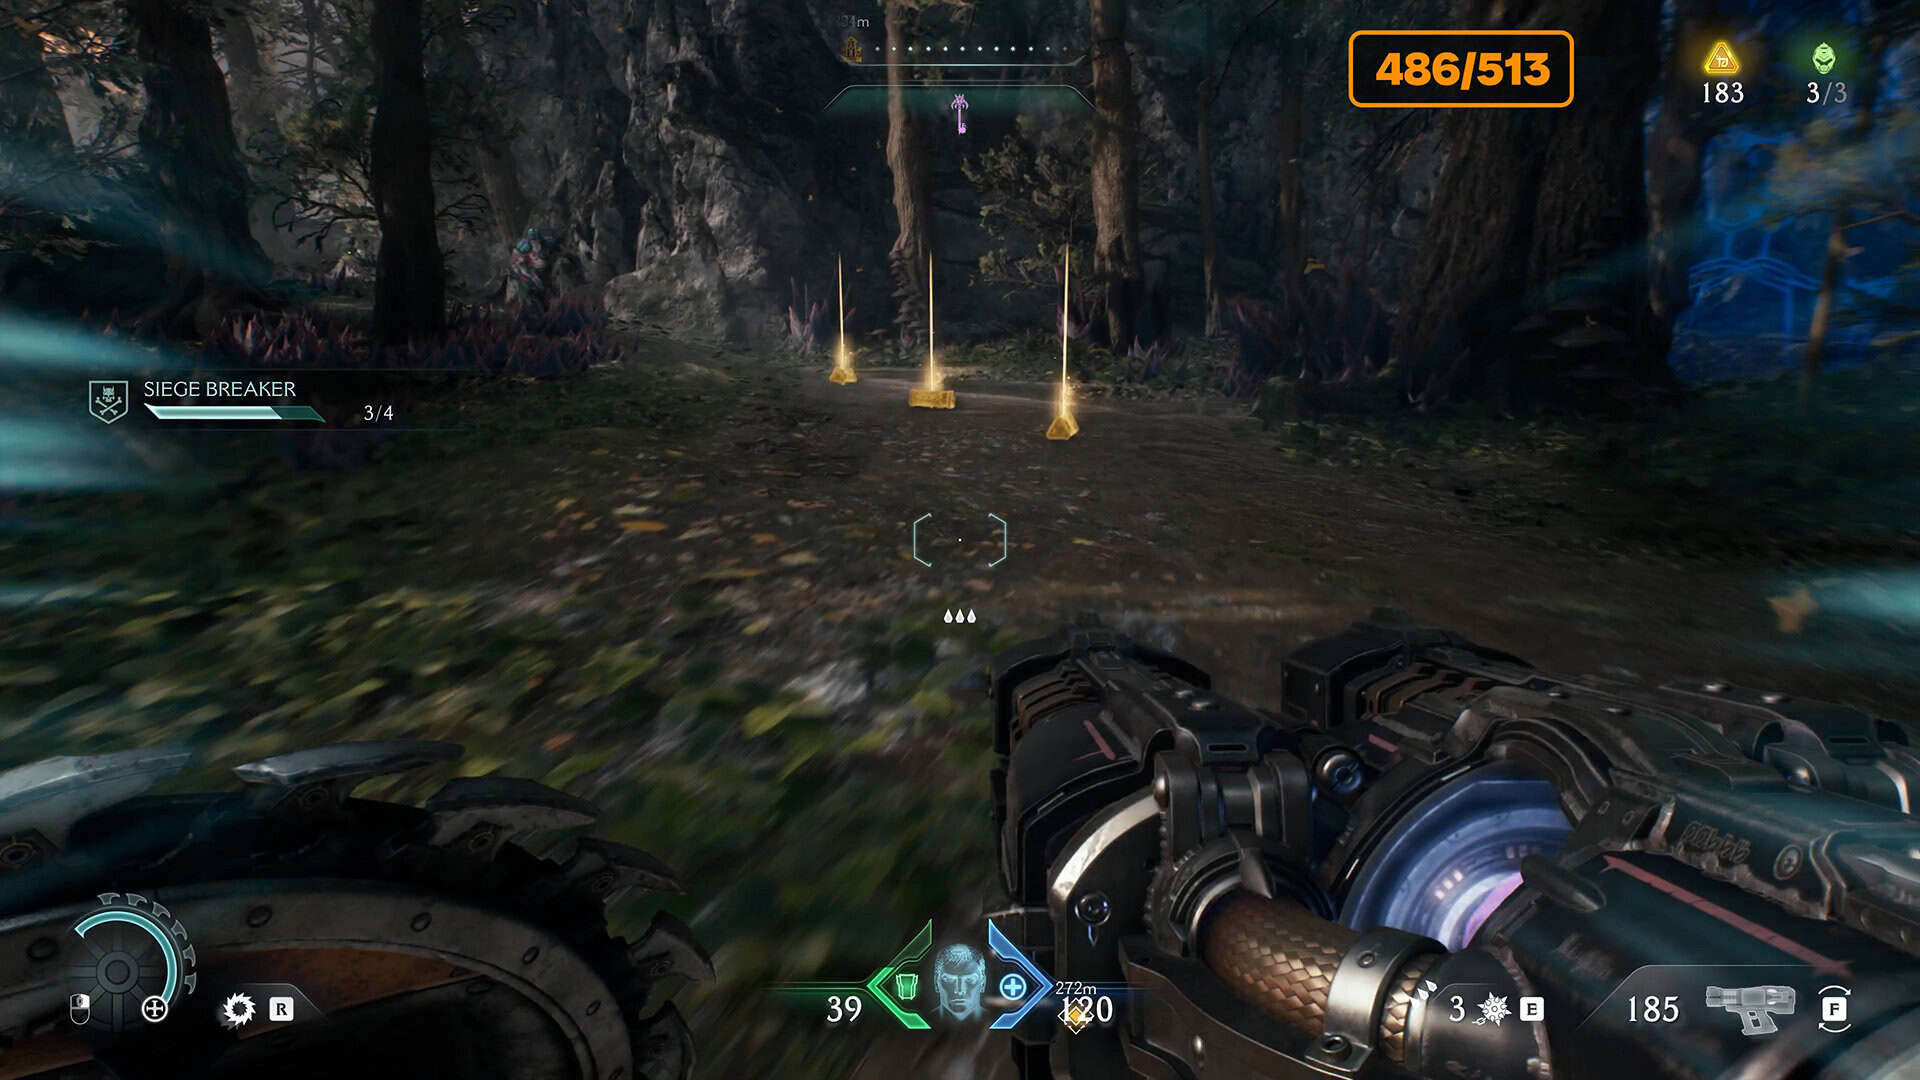
25 gold (505/513)
After destroying the Gore Portal, turn left when you exit. You will see several locations on the map where gold is located. Proceed to those locations. Of course, monsters will attack you along the way. First, collect 3 gold, then another 3 gold a little further on, and then another 3 gold. As a result of following this collection route, you will find yourself on a platform where there is 16 gold.
-
- After completing the main mission, collect gold
-
- Gold on the ground along the way
-
- The final large amount of gold on the balcony
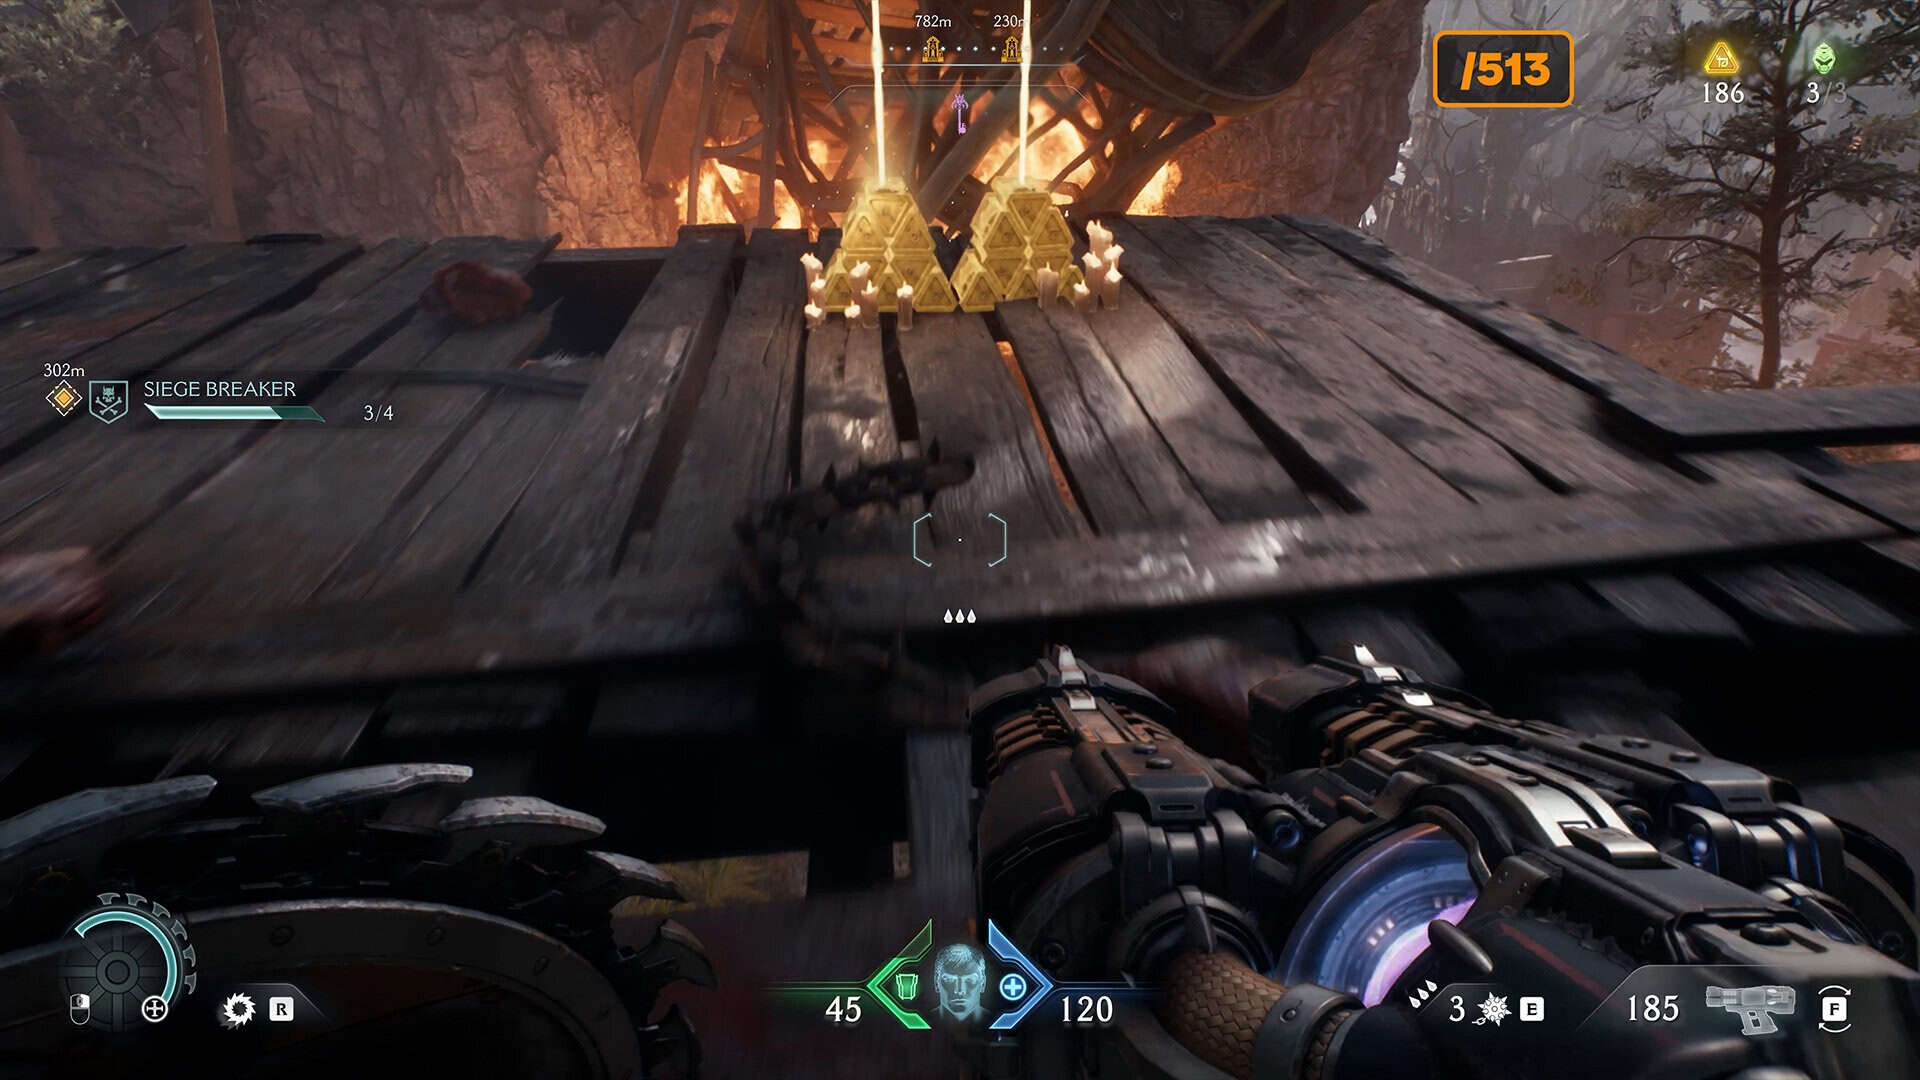
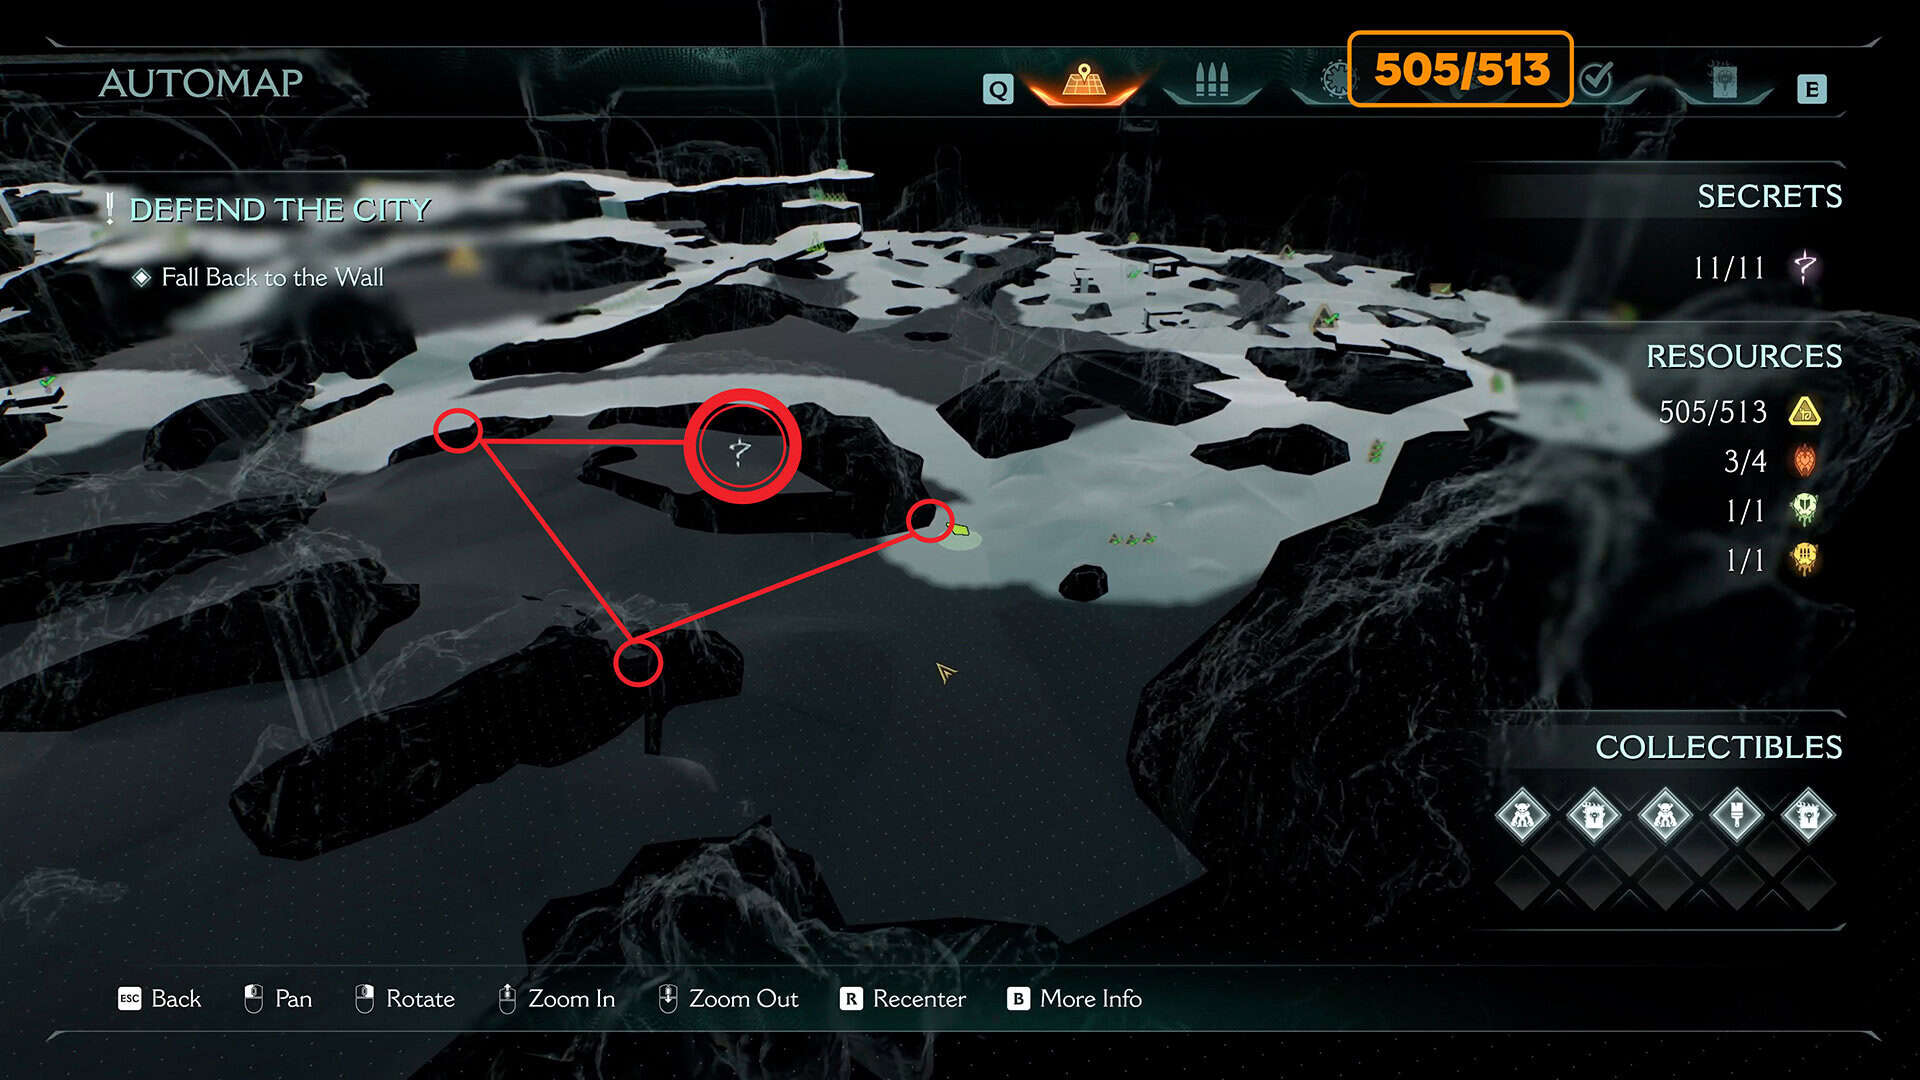
Wolf Statues Puzzle + Ruby #4 from 4
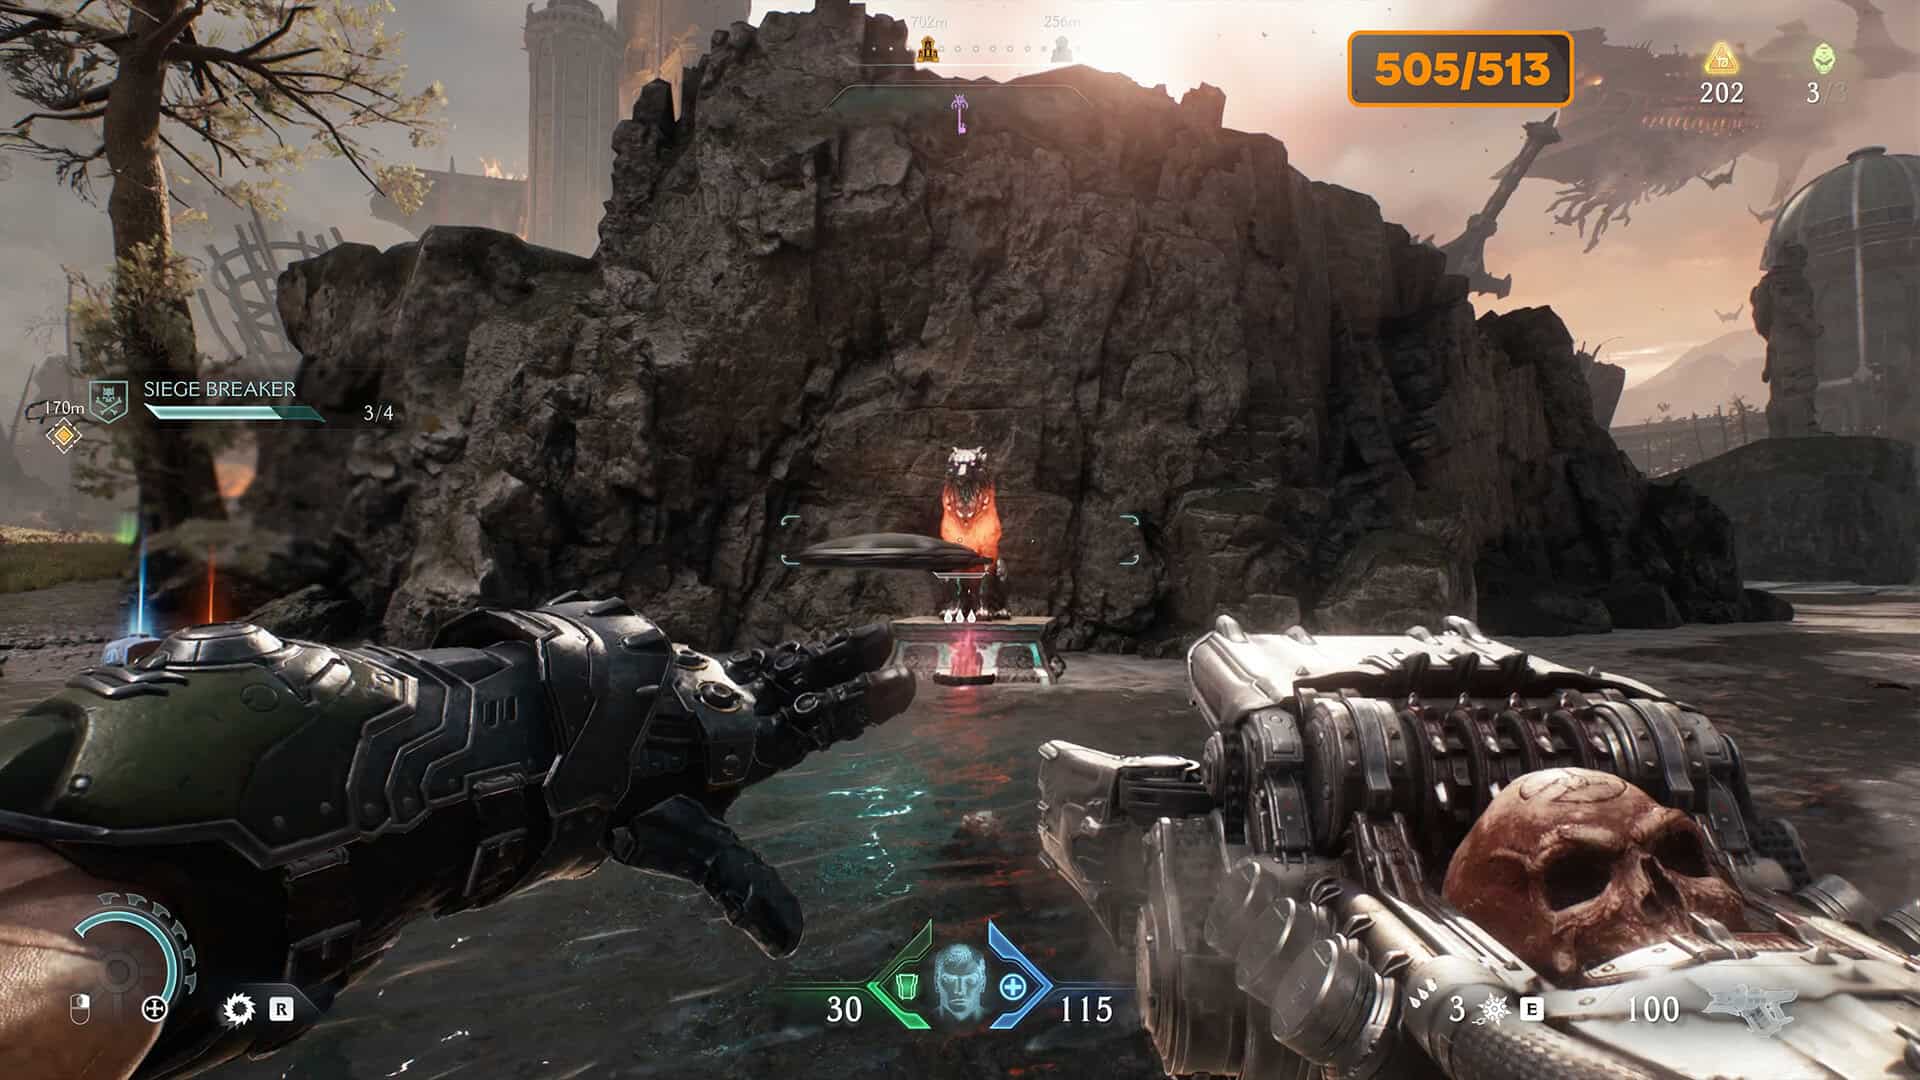
As we near the end of the video, I will tell you about the riddle with the wolf statues. I have marked the locations of the statues on the map. The first statue will be surrounded by a transparent barrier, which will disappear after you destroy all the enemies around it. Now you can approach and break the wolf statue with your shield.
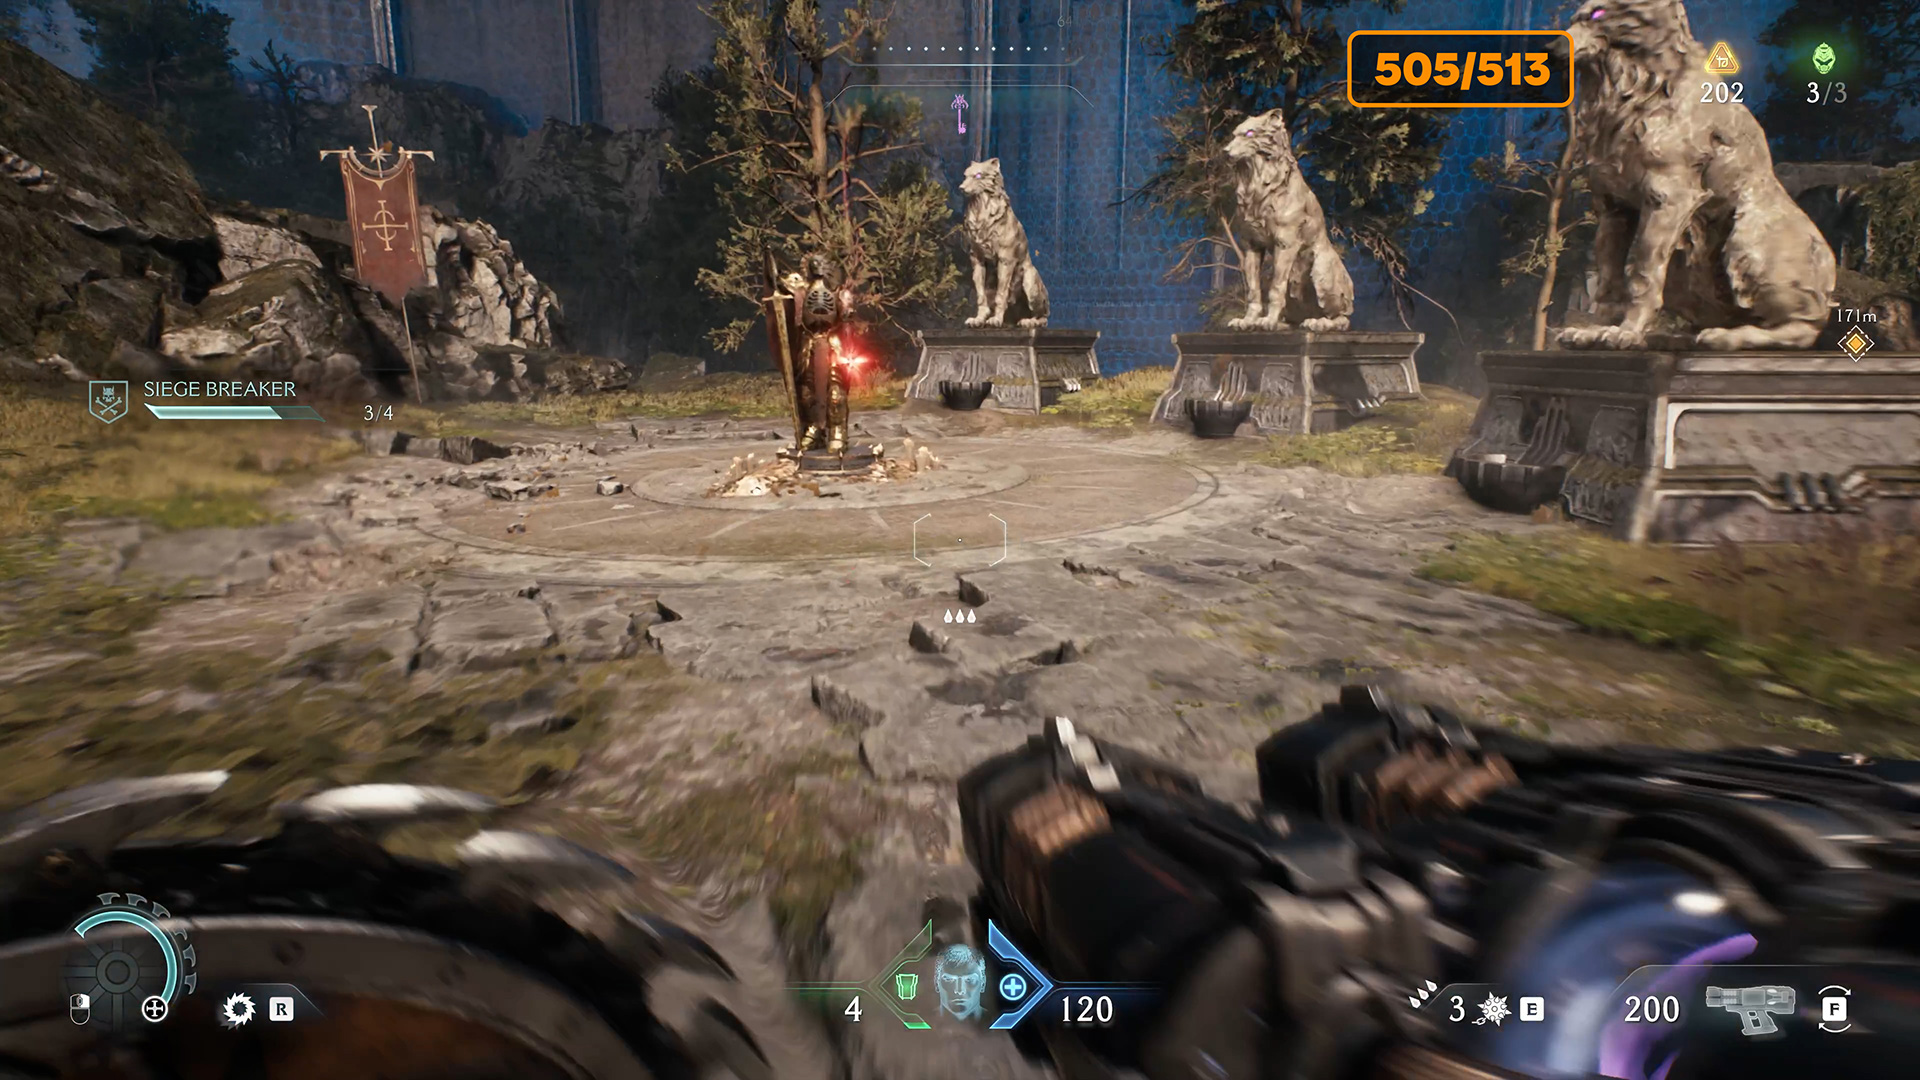
Move on to the second statue, which is nearby. Break it with your shield as well. You will hear a characteristic wolf howl. The third wolf statue is also nearby, on the way to the final location. Break the statue and go to the hill where your reward is located. Here you will receive the fourth ruby in this location.
-
- Puzzle with three wolf statues
-
- You need to break the statues of wolves with a shield
-
- And get the last ruby in the sixth chapter
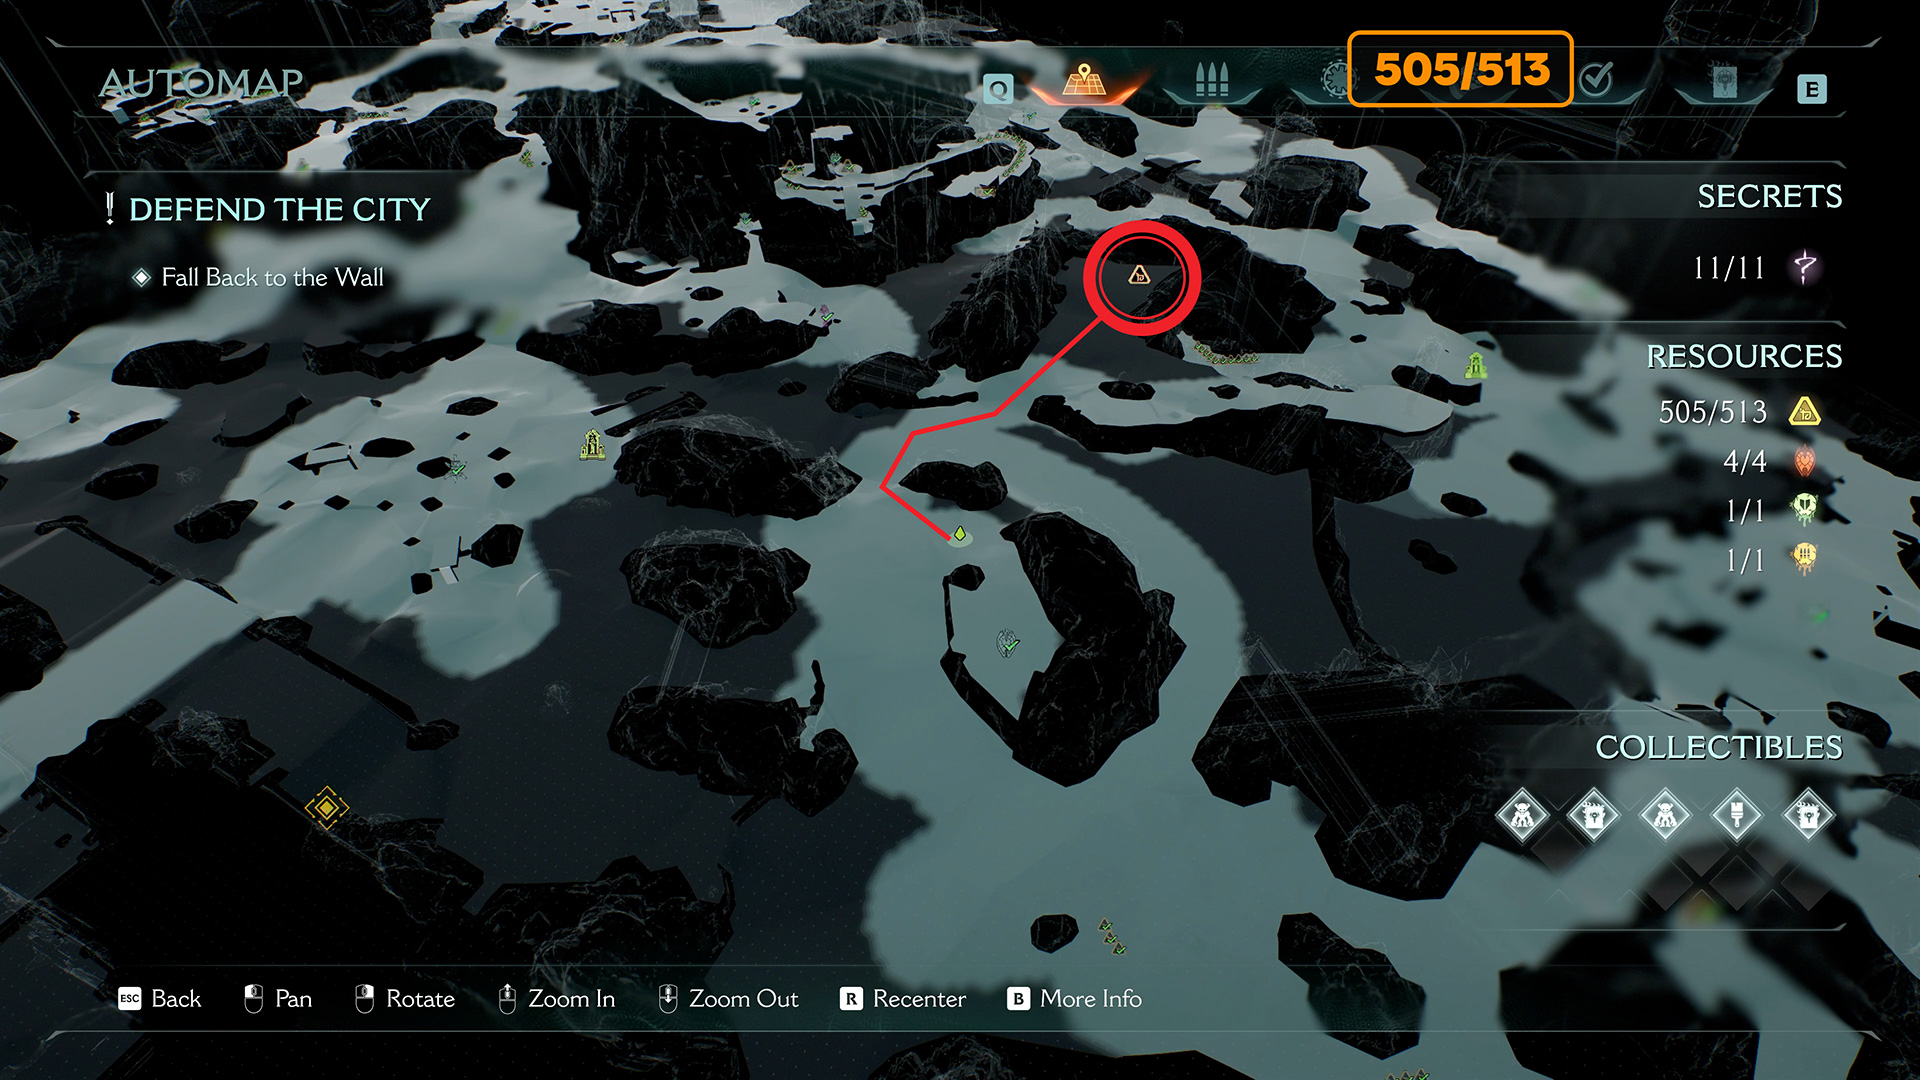
8 gold (513/513) + Siege Breaker Challenge #4 from 4
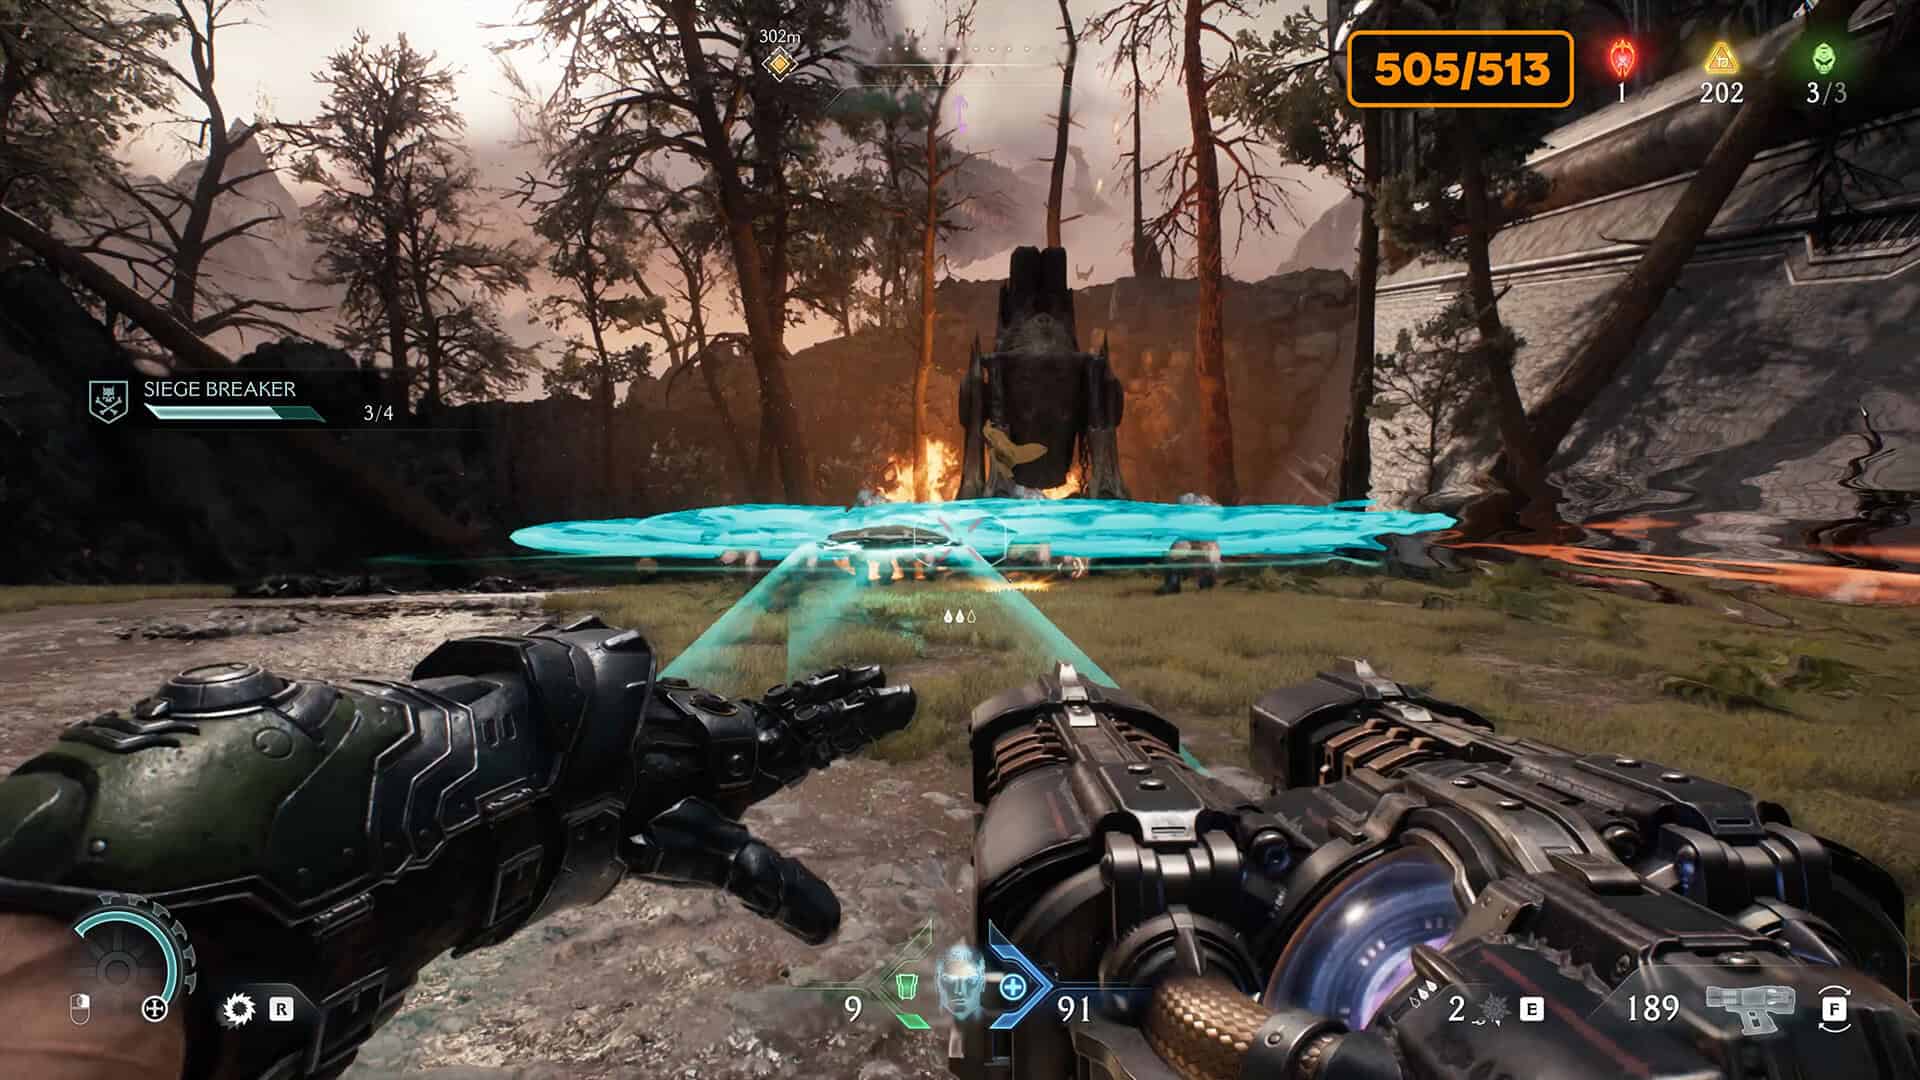
Finally, from the location of the wolf statues, navigate the map to the last artillery cannon. Once you destroy it, you will complete the Siege Breaker quest. You will also find 8 gold coins at the location of the cannon. That concludes the quest, and you have obtained all collectibles for Chapter 6 Doom: The Dark Ages.
-
- The last Siege and challenge completed
-
- Destroy the defenders and Siege
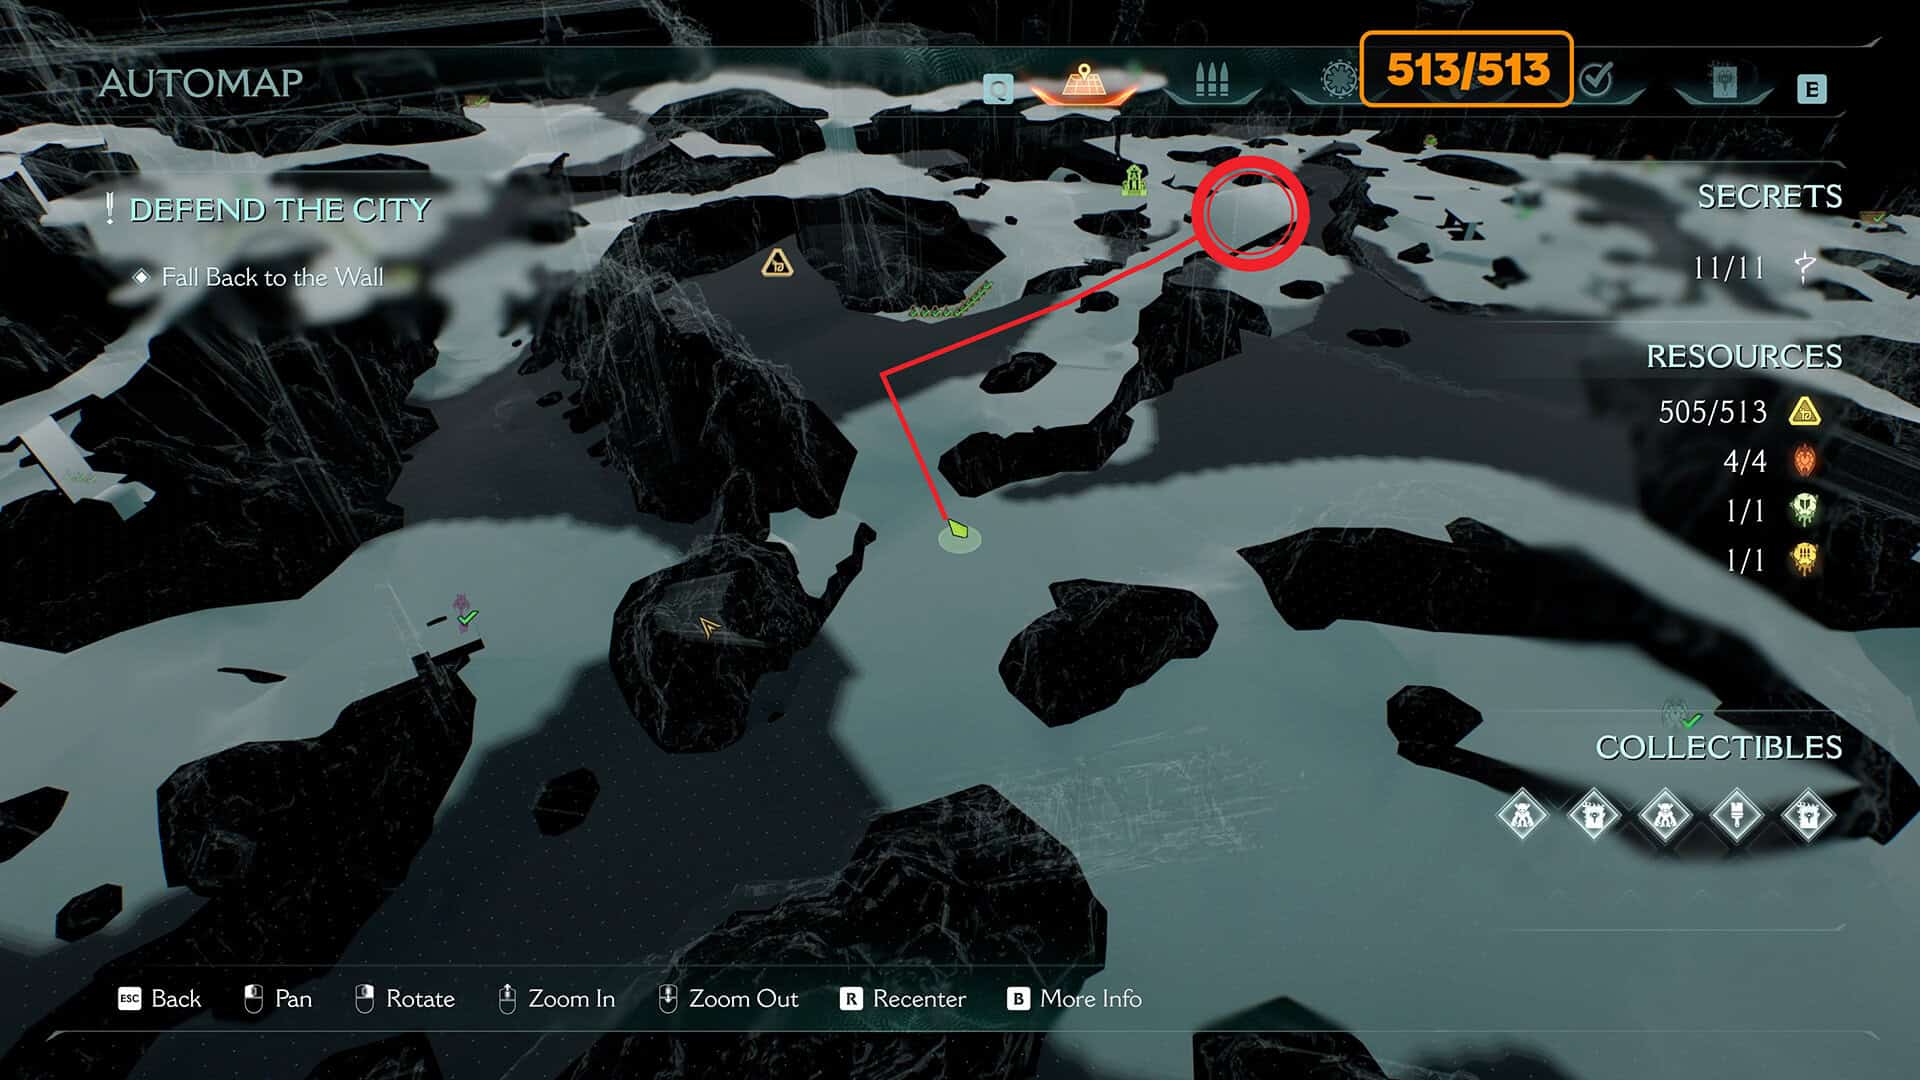
Life Sigil #4 from 4
I almost forgot. Here is the last fourth Life Sigil.
-
- The last Life Sigil in Chapter 6
These are all collectibles, secrets, toys, codex pages, rubies, and gold in Chapter 5: Siege – Part 1. Congratulations, you have completed the chapter with 100% completion.




