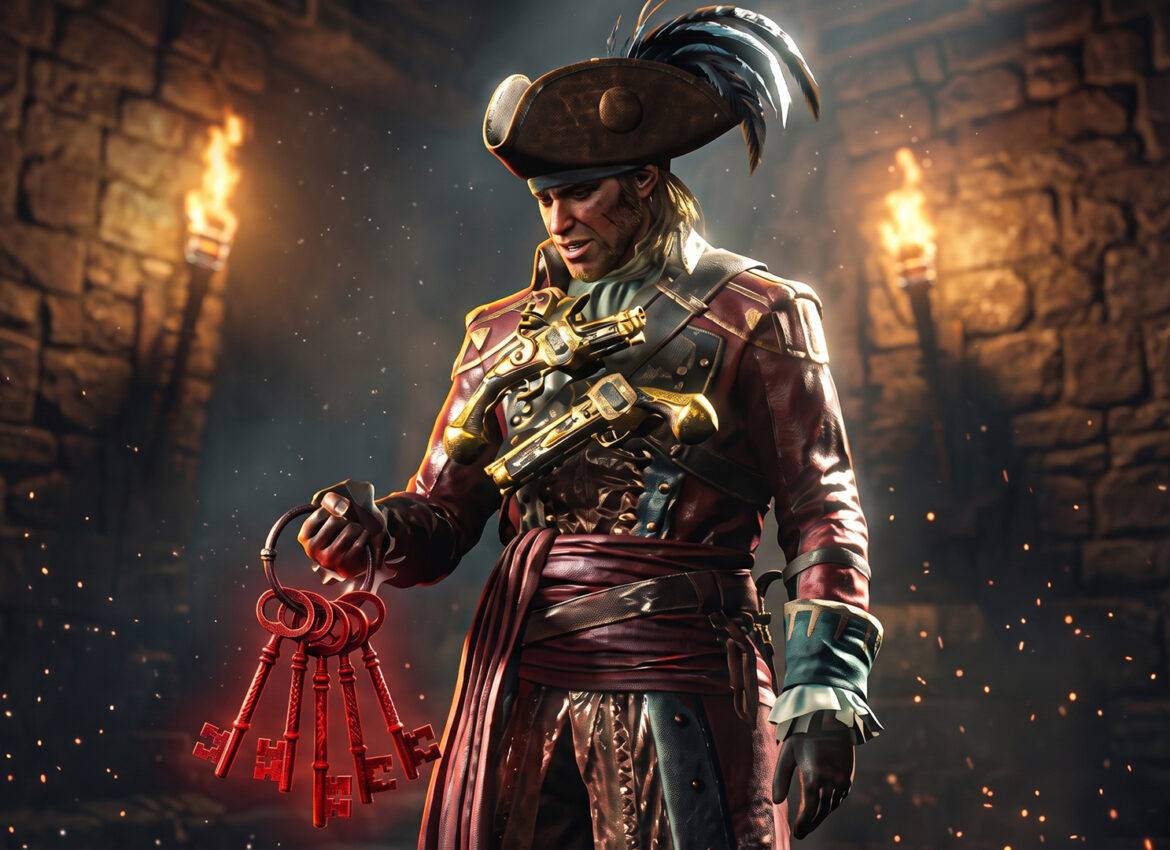
Black Flag Resynced Damn Fine Gear Side Quest: How to Get All 5 Templar Keys
If you want the Templar Armor sitting behind the five-lock gate in your Great Inagua manor, you need all five Templar Keys, and that means finishing the Damn Fine Gear side quest from start to finish. I’ve already gone through all five key targets myself, so I’ll walk you through exactly where each one is, who you’ll be working with, and what you actually get for your trouble once that gate finally opens.
Bookmark this one before you head out, because the quest chain jumps between four different regions and it’s easy to lose track of which Templar Hunt you’re on. If you want more on building up your base while you’re at it, we’ve also covered the unmarked islands scattered around Great Inagua, which is worth doing alongside this quest since you’ll already be sailing past most of them.
The First Templar Key: Julien du Casse and the Start of the Templar Hunt
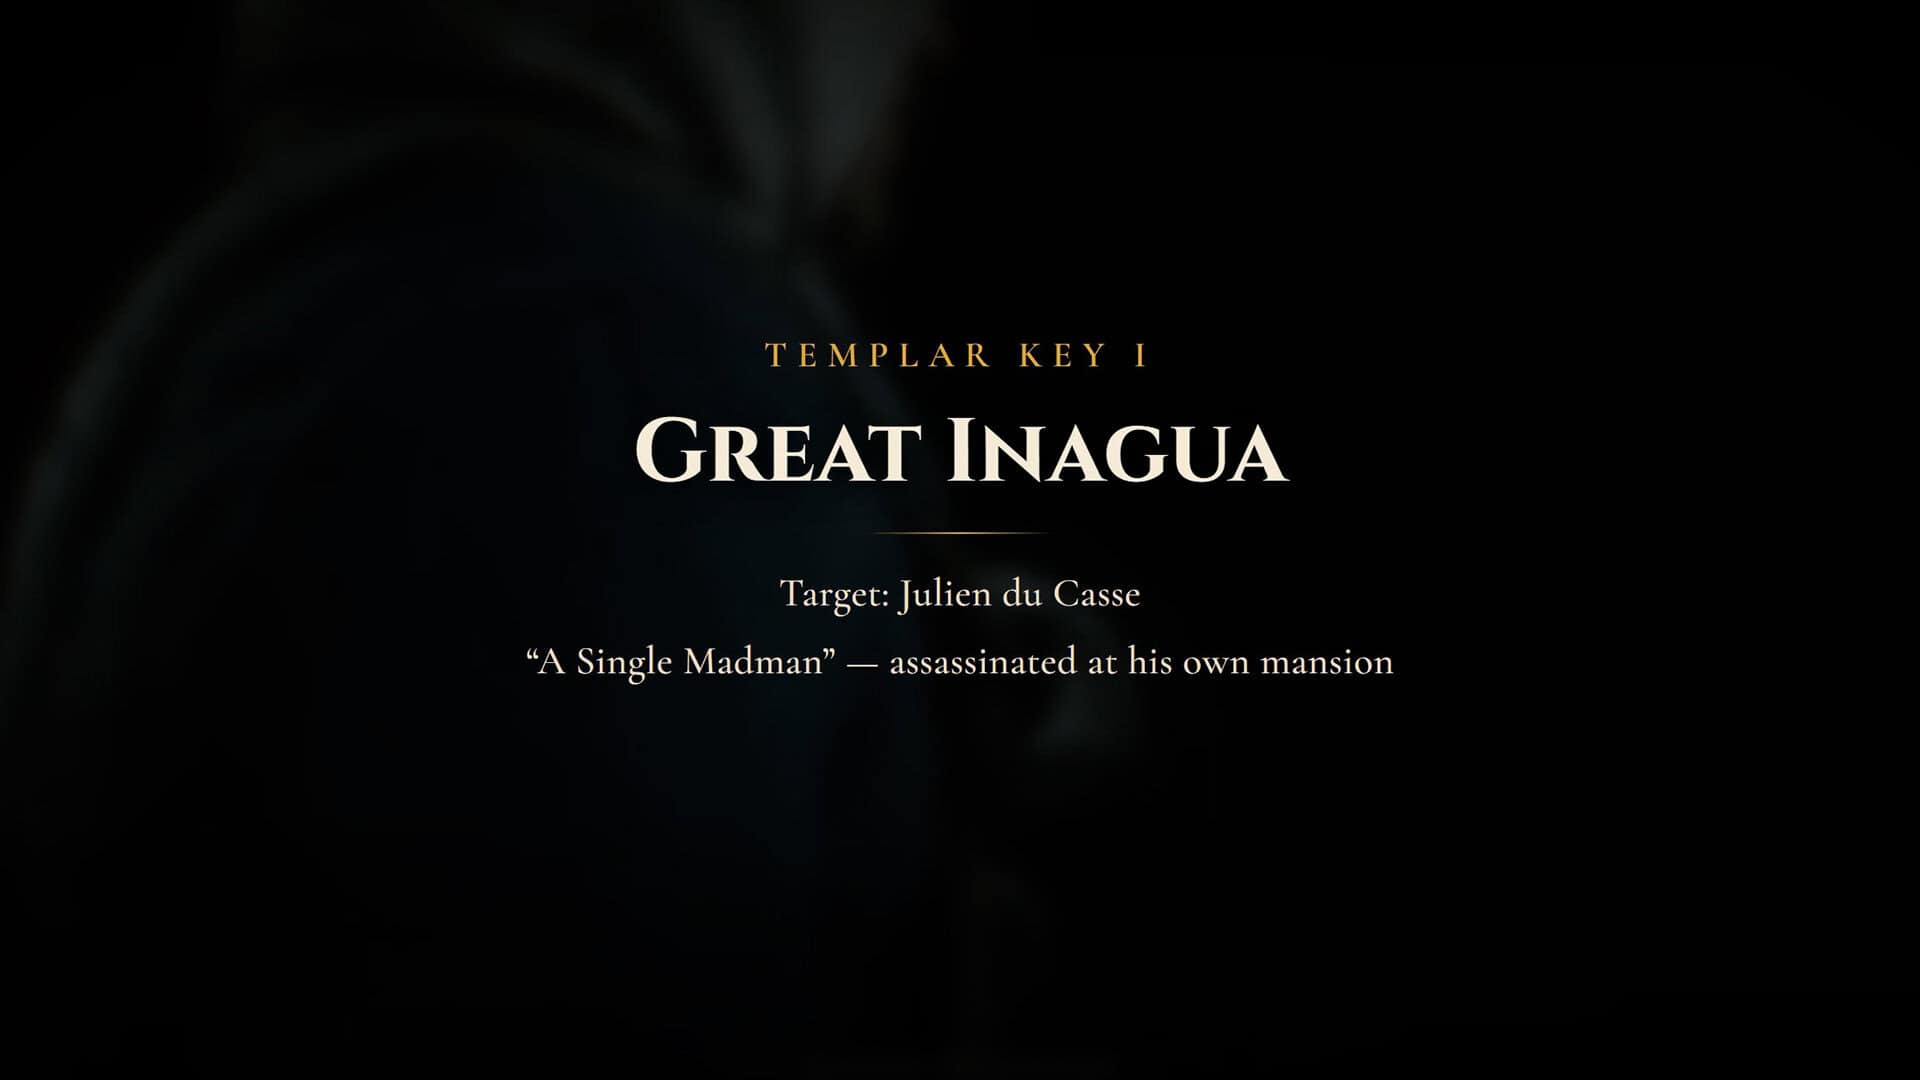
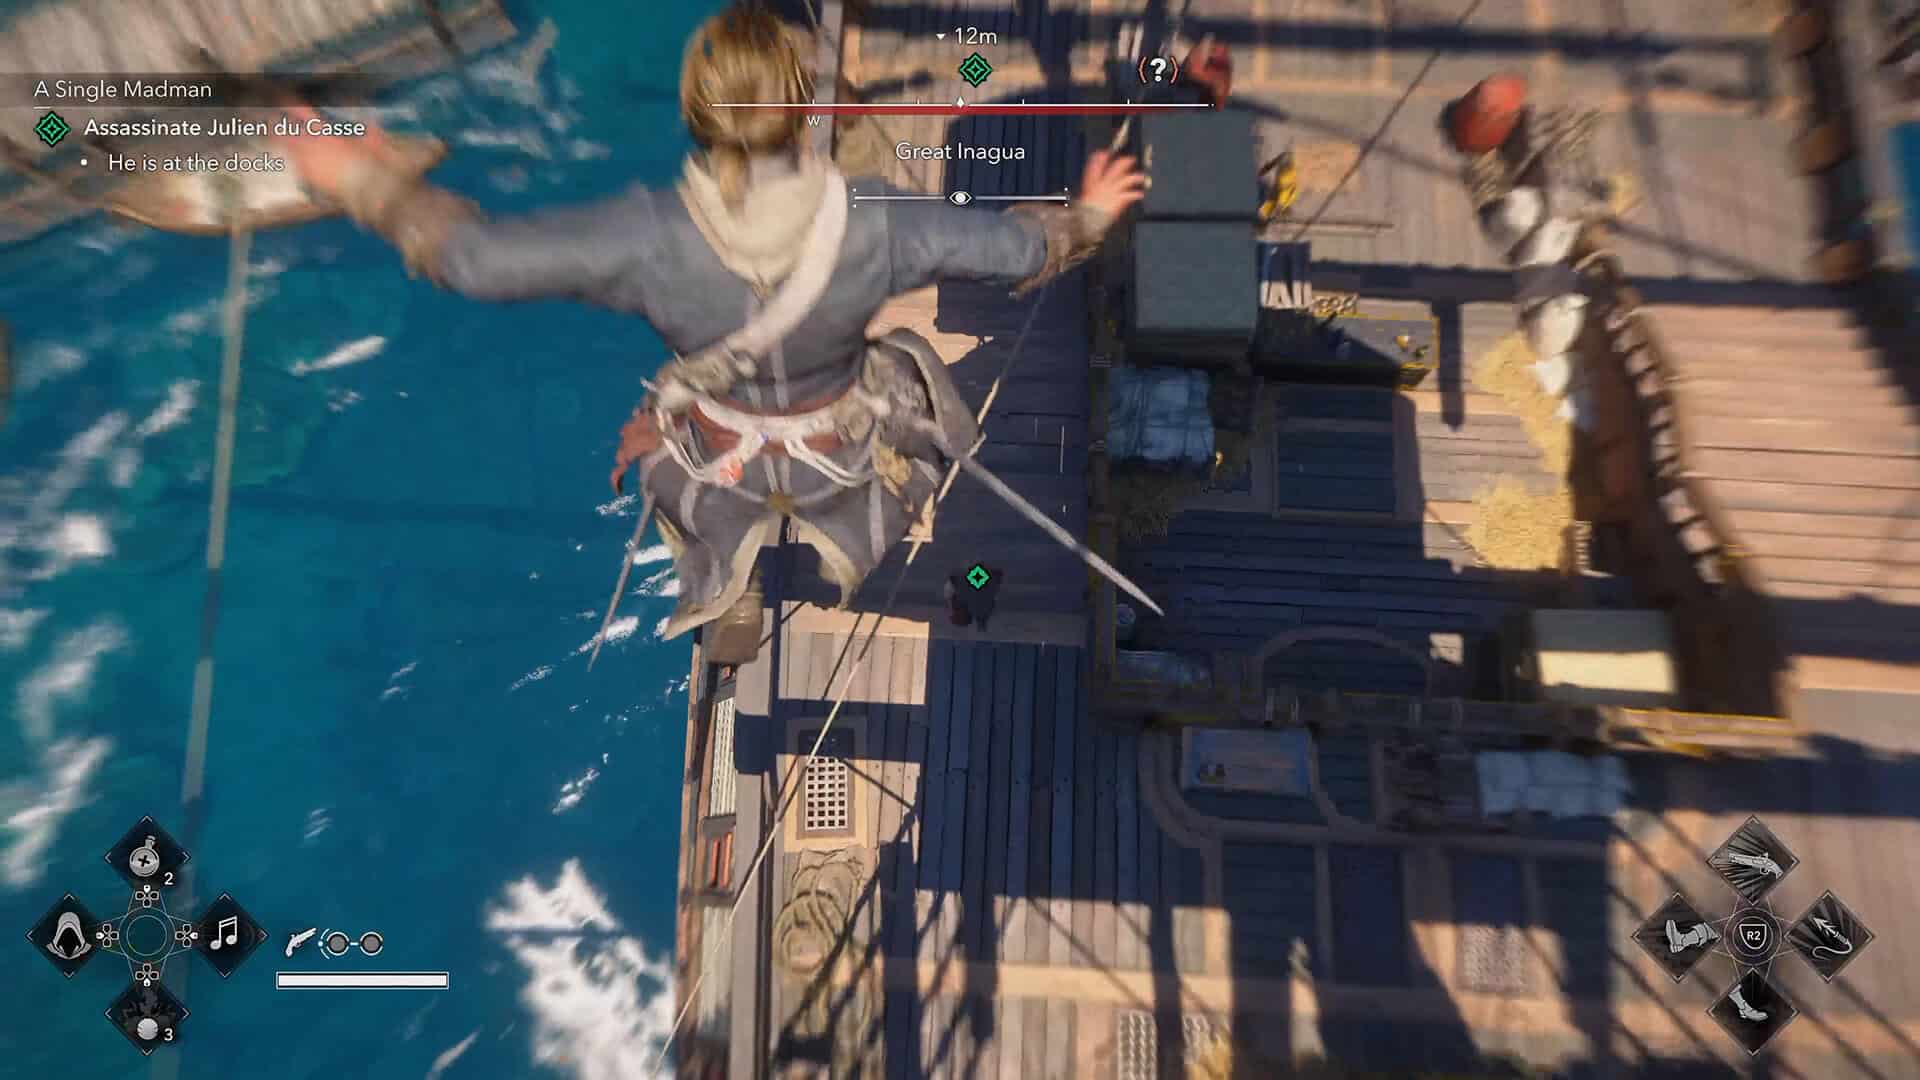
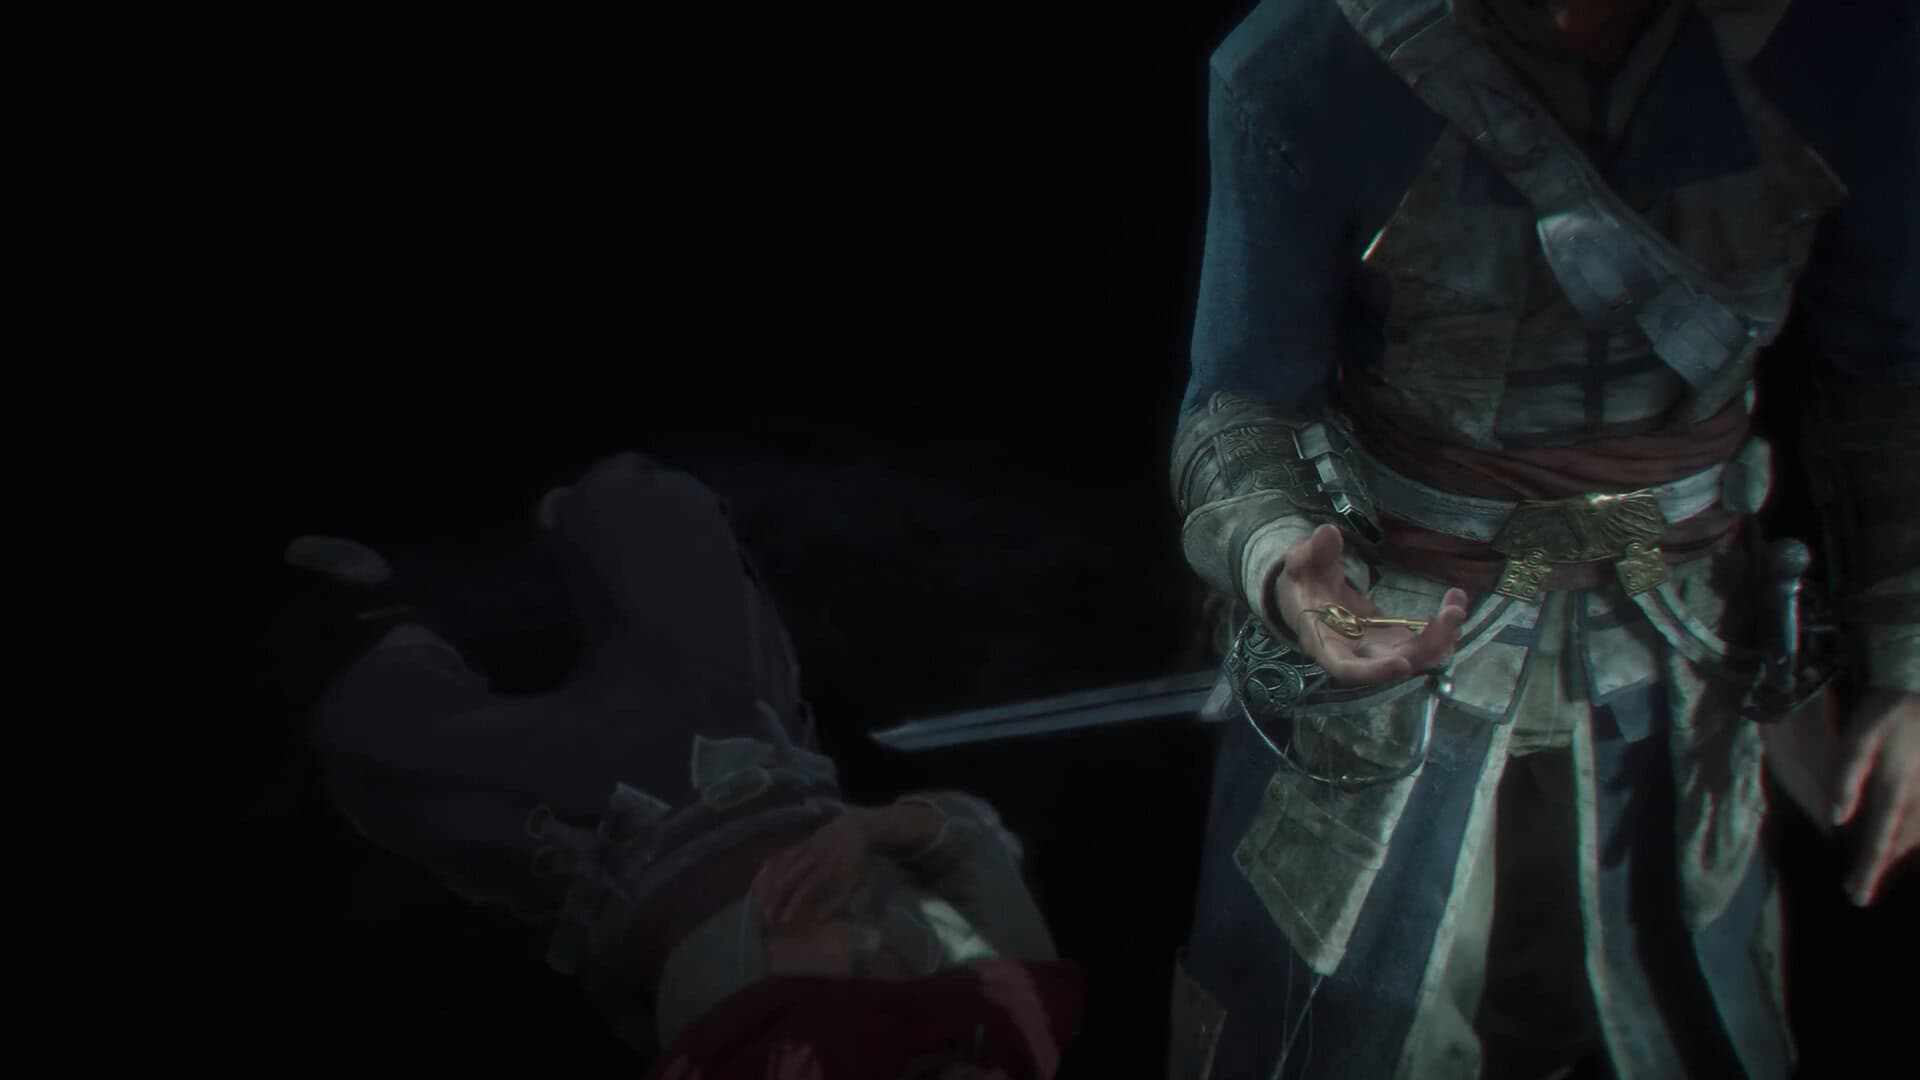
You’ll pick up the first key without even trying. It happens during the story mission “A Single Madman,” right after you liberate Great Inagua and see your future hideout for the first time. Everything here is linear, so you really can’t go wrong. Free the pirates, fight through the port, and sneak onto the ship where Julien du Casse is walking the deck. I climbed up as high as I could to get a good look at the situation, spotted him from above, and dropped in for an aerial assassination. Right after the cutscene, Edward takes du Casse’s Templar key, and that’s key number one out of five, no side quest required yet.
Back at the manor during this same stretch of story, you’ll actually see the locked gate for the first time, five slots, one key already sitting in it. That’s your reminder that four more Templar Hunts are waiting for you across Havana, Nassau, Kingston, and Cayman Sound.
-

- The First Templar Key
-
- Assassinate Julien du Casse
Second Templar Key: Rhona Dinsmore’s Templar Hunt for Hilary Flint in Havana
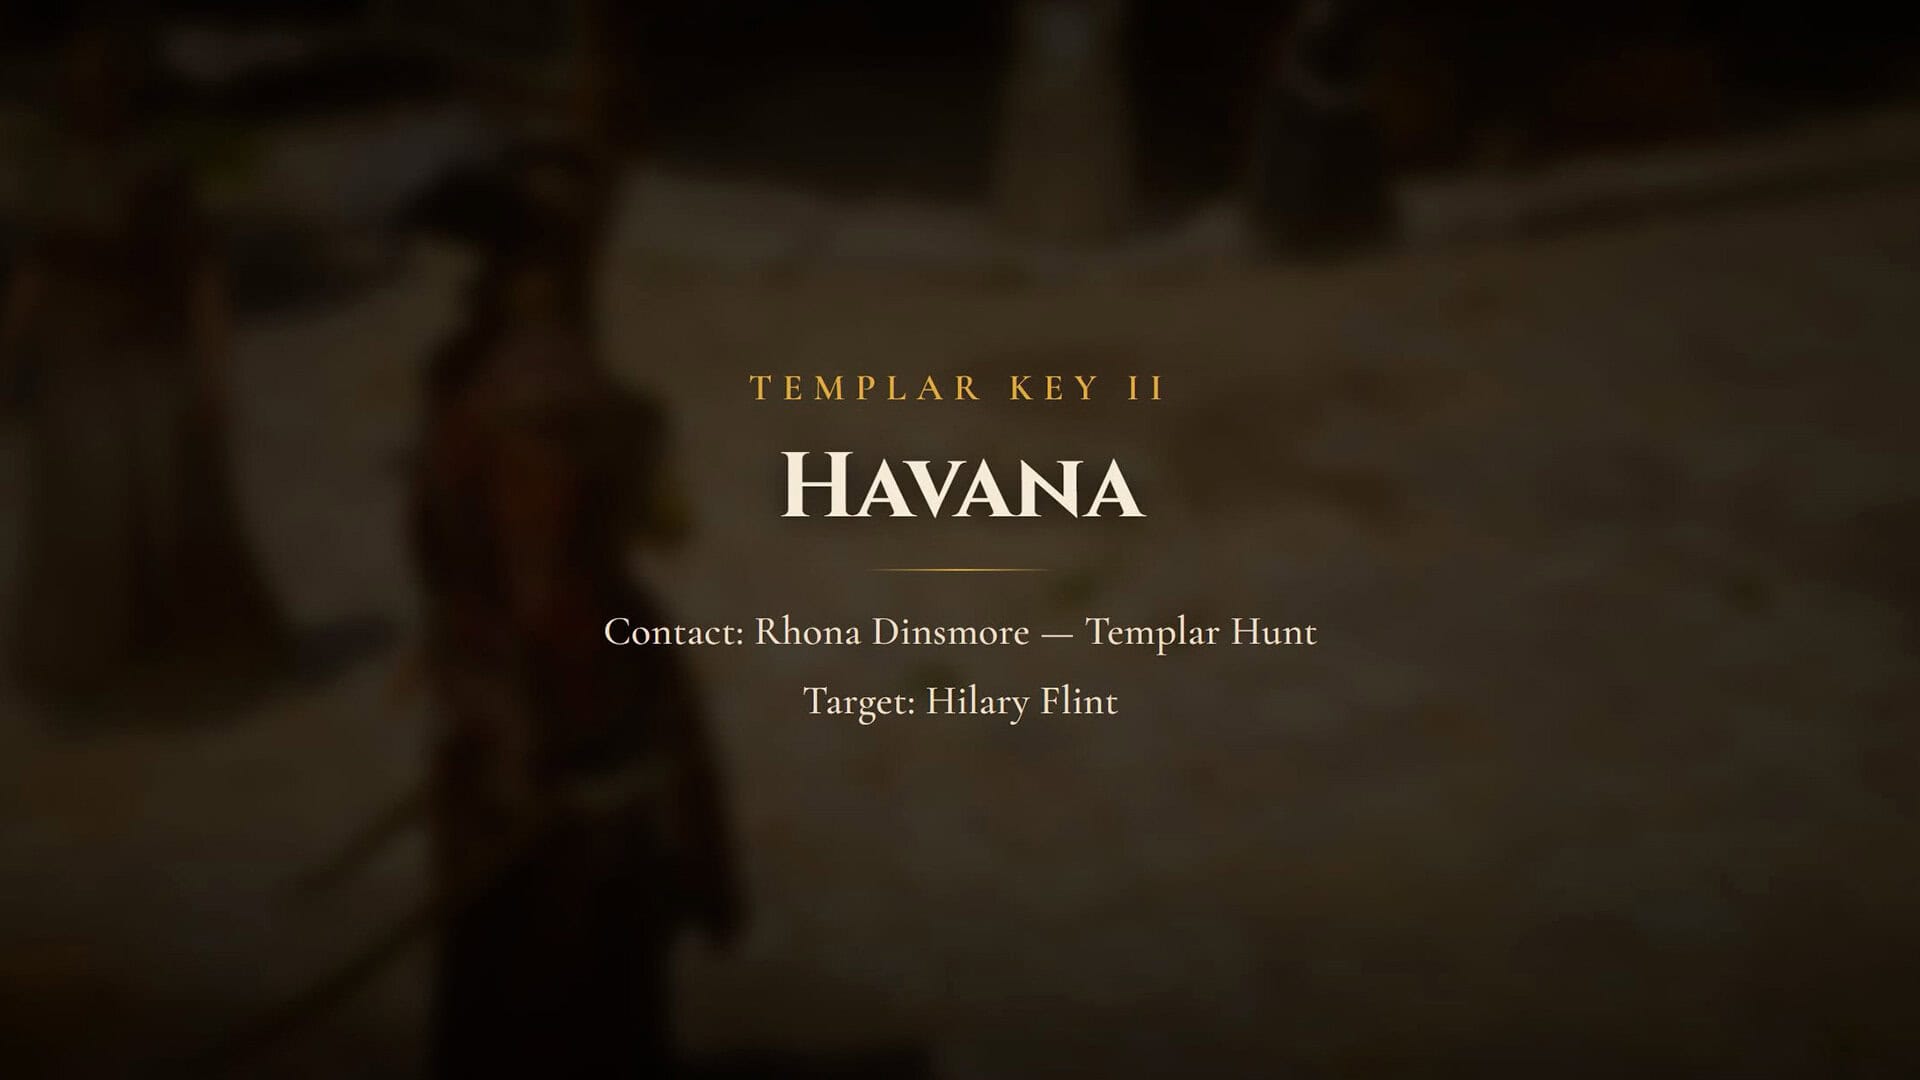
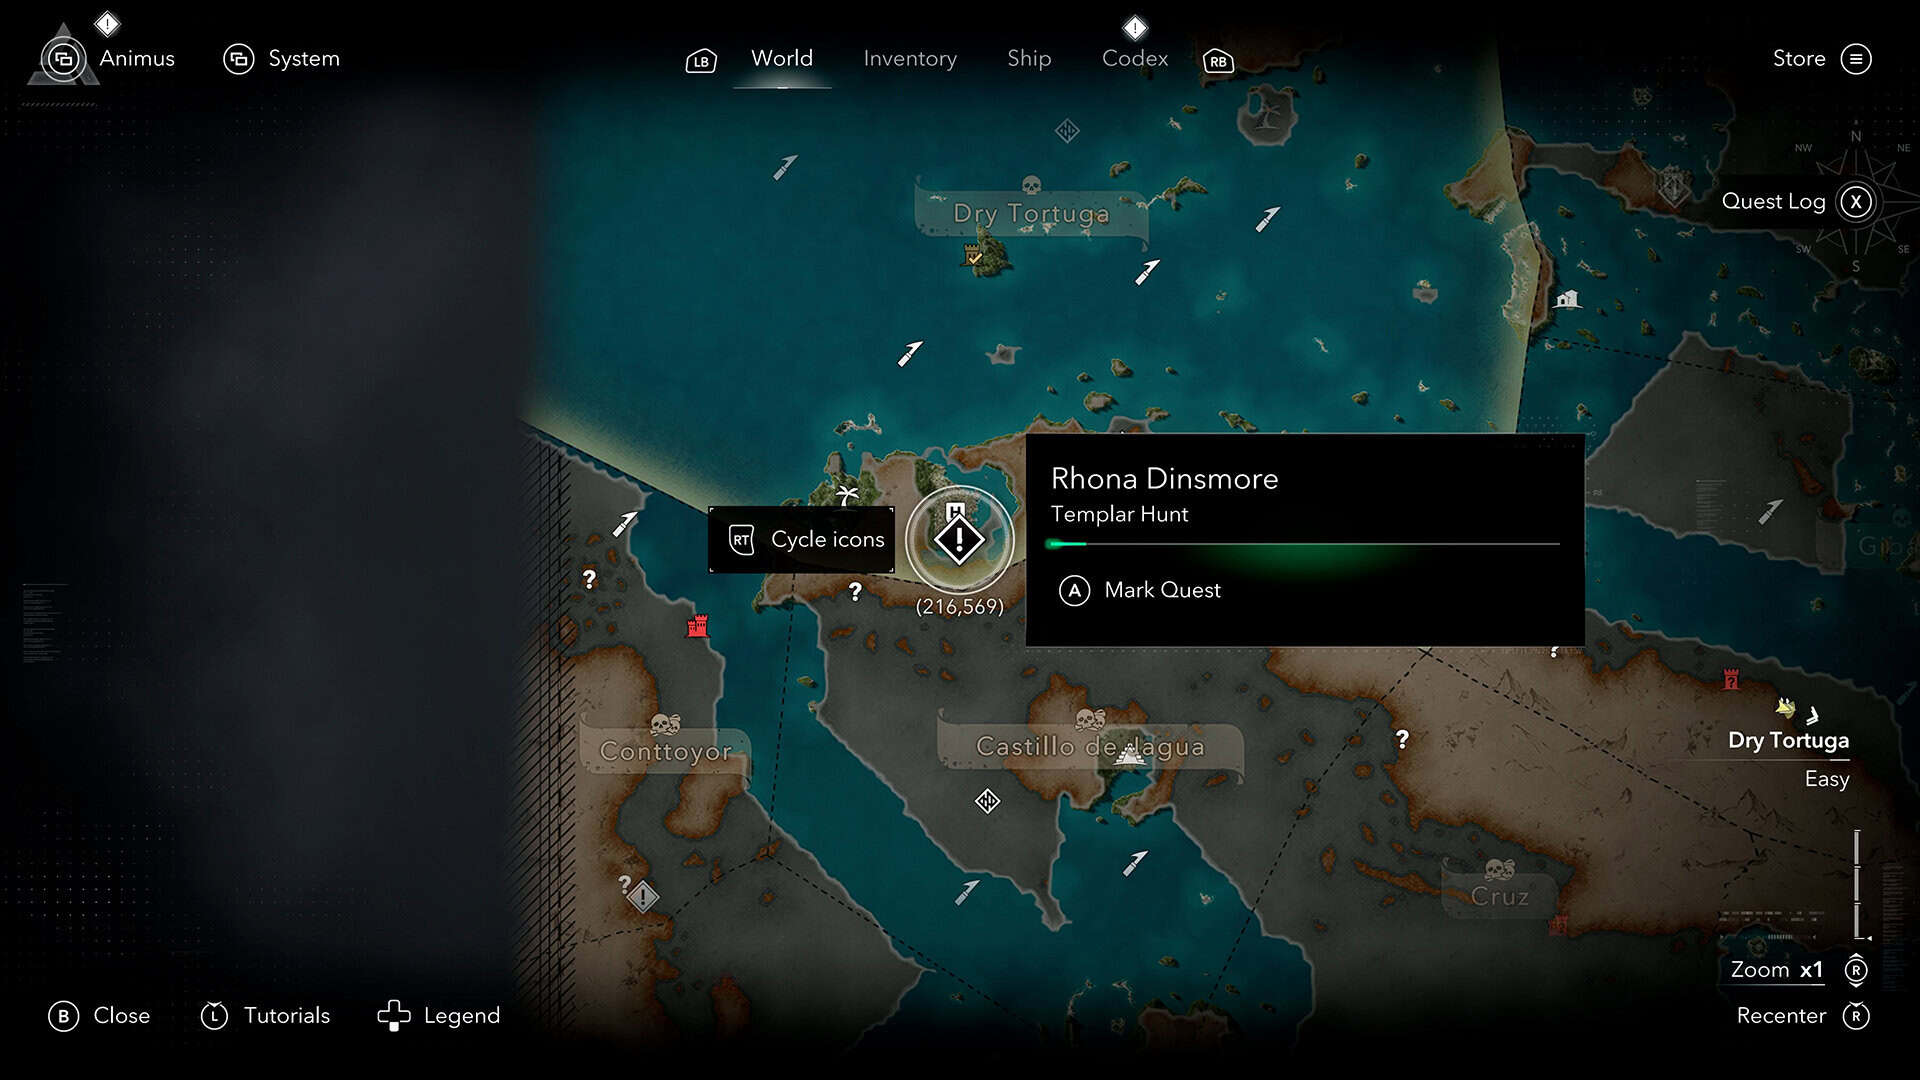
The second key comes from Havana, and it starts when you track down Rhona Dinsmore. I found her pinned down with enemies closing in, and your first job is just protecting her through a few waves. Here’s a little tip: pick up the gunpowder barrels lying around and drag them to the entrances enemies are funneling through. There are two of them. Wait until a group bunches up in the doorway, then shoot the barrel from a distance and watch the whole cluster go down at once. It’s not required, but it makes the fight a lot less messy.
Once Rhona’s safe, she sends you to the market to investigate a theft. Talk to the people with quest markers over their heads, then hide and wait for the pickpocket to show up. He’s not fast, so the chase is short. Beating him gets you the clue you need to keep the Templar Hunt moving. From there, Rhona has you burn three separate gunpowder stashes around the city, each one guarded, so clear the enemies first, use Investigate to spot the correct barrel glowing green, light it, and run. It goes off fast enough to kill you if you’re standing too close.
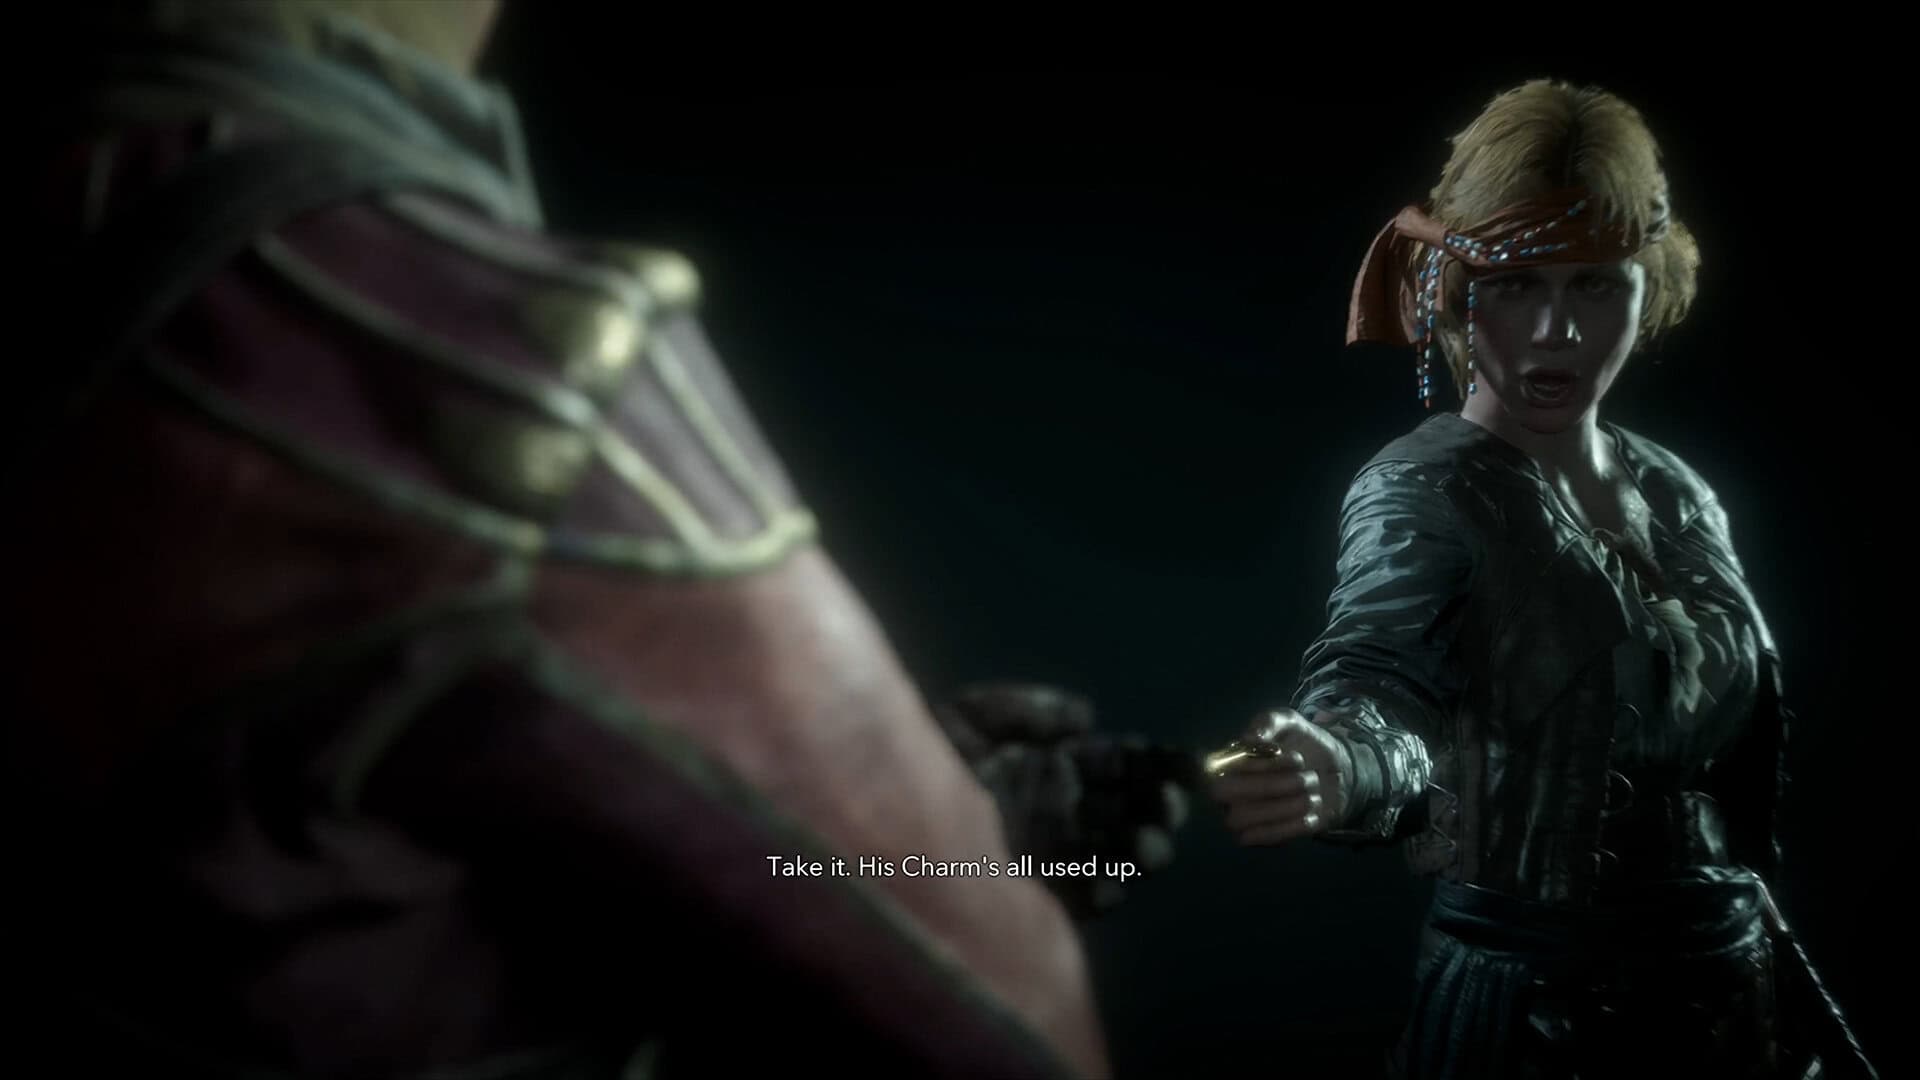
If you’re the type who chases down every legendary item along the way, it’s worth pairing this trip with our roundup of the game’s ten flawless items, since a couple of them sit close to Havana. The last leg has you chasing Rhona across the rooftops until she leads you straight to Hilary Flint. There are a lot of enemies in this stretch, so either fight through all of them or beeline for Flint himself, it works either way. Finish him off, confirm the kill, and you’ll get a short scene with a Templar that hands you your second key. Don’t skip talking to Rhona afterward or the quest won’t actually close out.
-
- Second Templar Key
-
- Rhona Dinsmore first location
-
- Hilary Flint Templar key
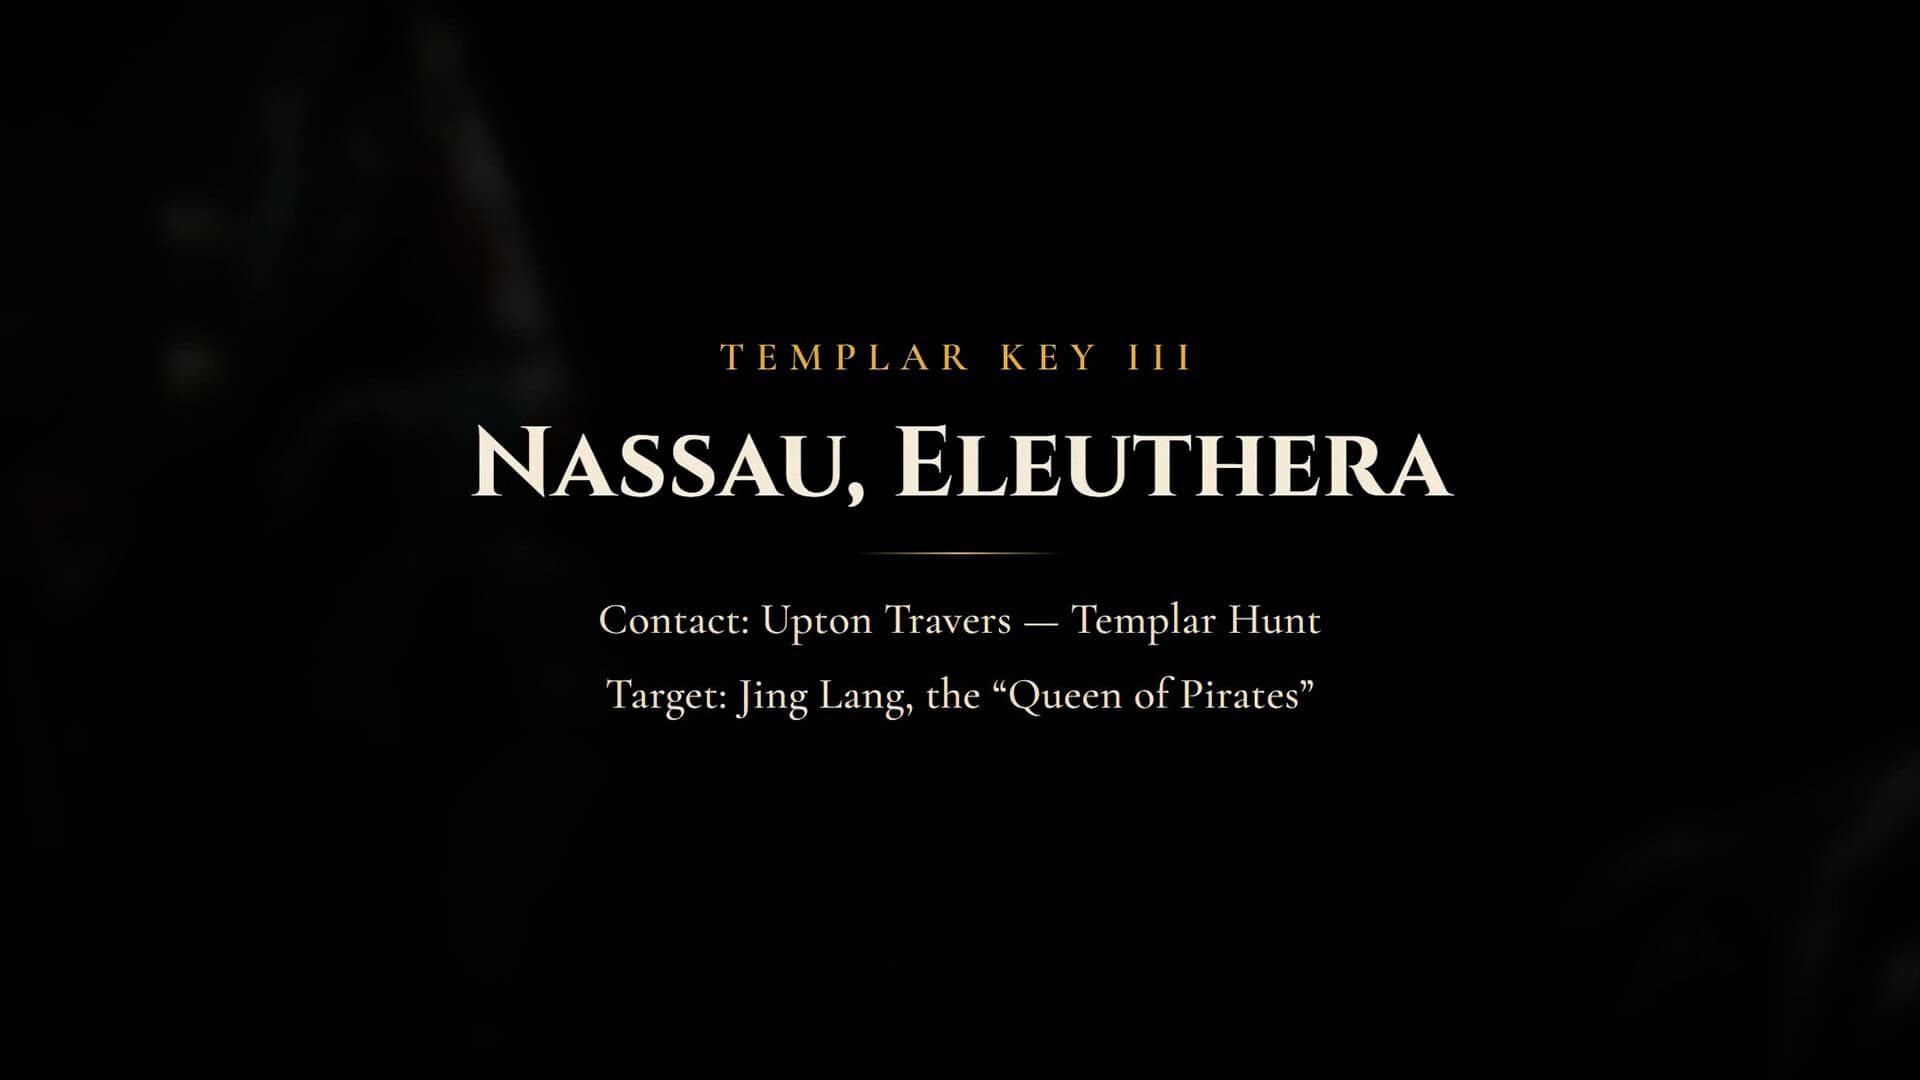
Third Templar Key: Upton Travers and the Hunt for Jing Lang in Nassau
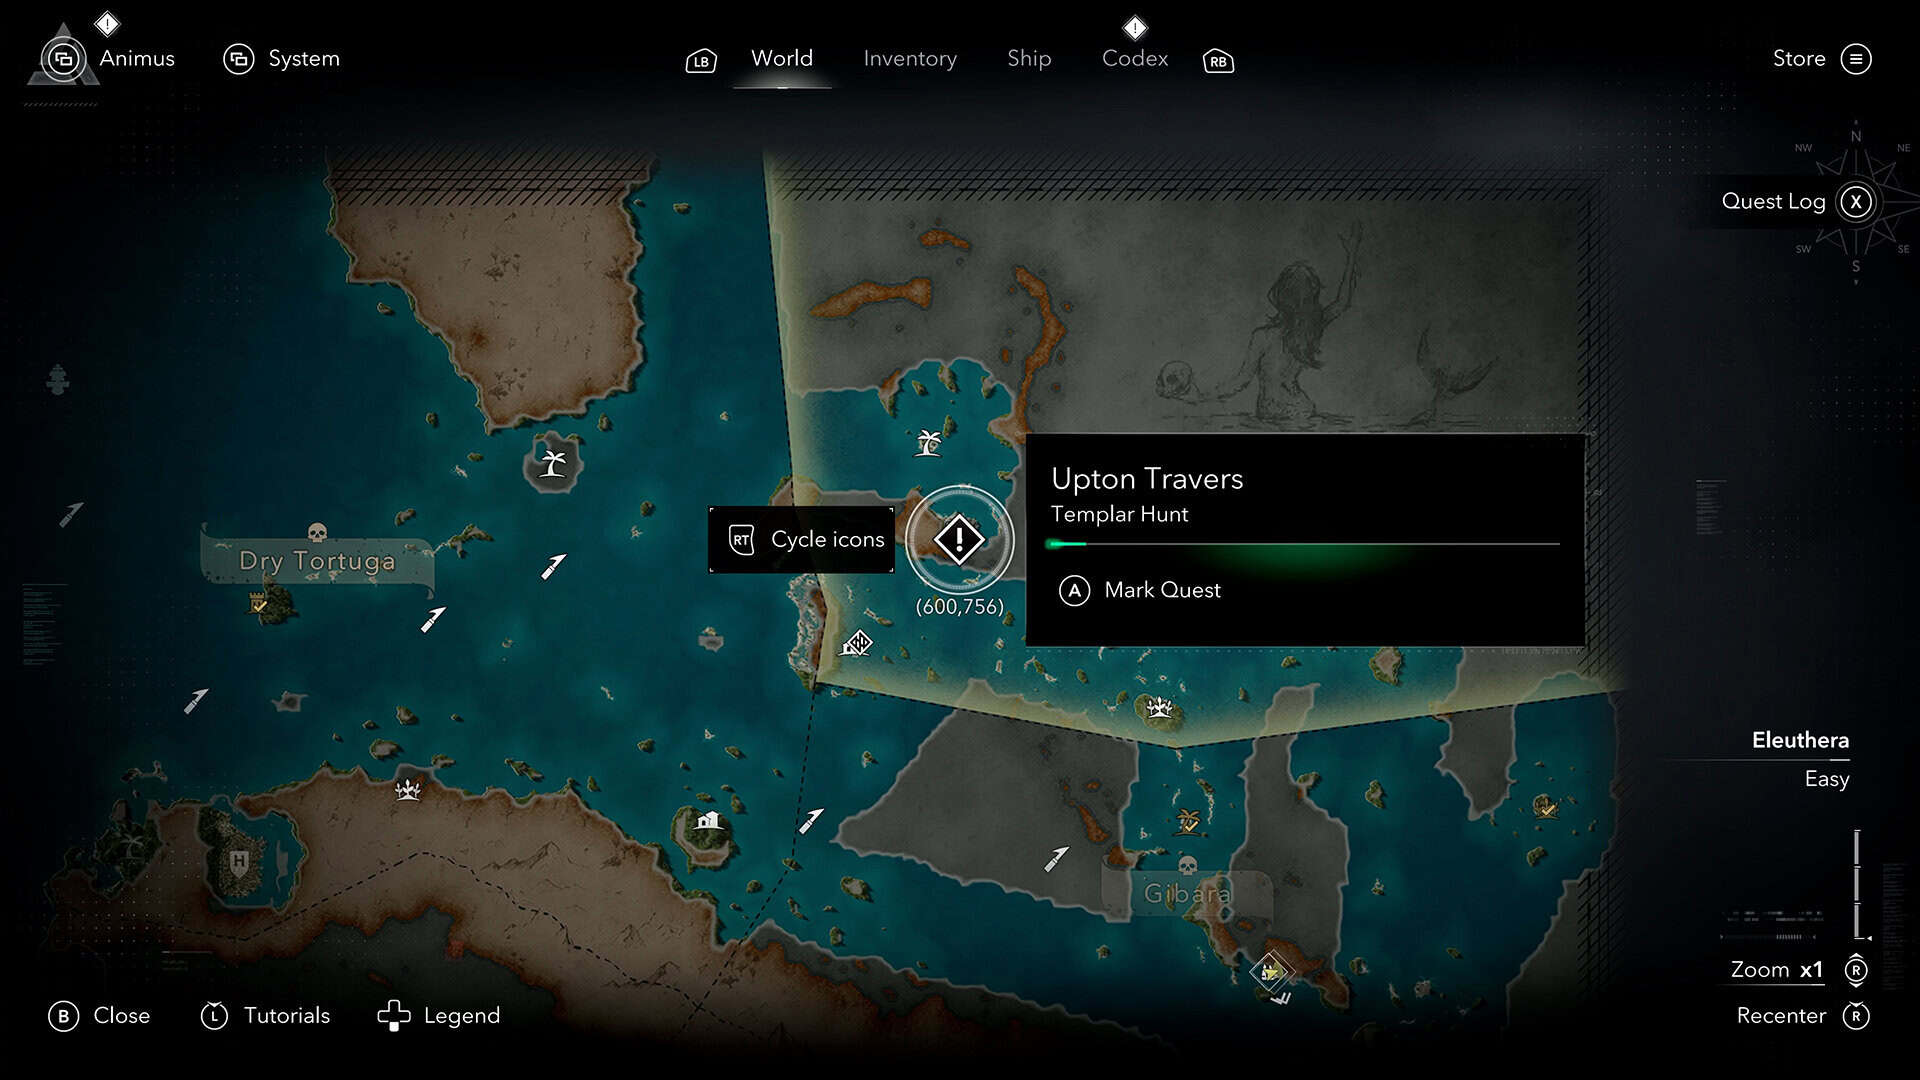
Key three is in Nassau, tied to a man named Upton Travers, though the setup for this one is stranger than the others. You’re pointed at a target on a rooftop, and when I took the shot, it turned out my mark wasn’t dead after all, it was actually Upton Travers himself. From there the quest spirals fast. You follow him to a tavern and eavesdrop from the grass on a conversation between him and a man named Vance, then chase him again after he runs into trouble with Jing Lang’s men. Investigating the aftermath turns up a letter naming the time and place of a meeting worth listening in on.
That meeting reveals an assassination attempt on Upton is already in motion, so you’ll need to rush to a new marker and fight off the attackers before they get to him, a straightforward brawl with nothing tricky about it. The next time you find Upton, he’s drunk and feeling sorry for himself outside a tavern, and things get genuinely odd from there, a bare-knuckle brawl, a bribe to chase off some women hitting on him, and a bathroom mishap that draws three guards you’ll need to put down fast.
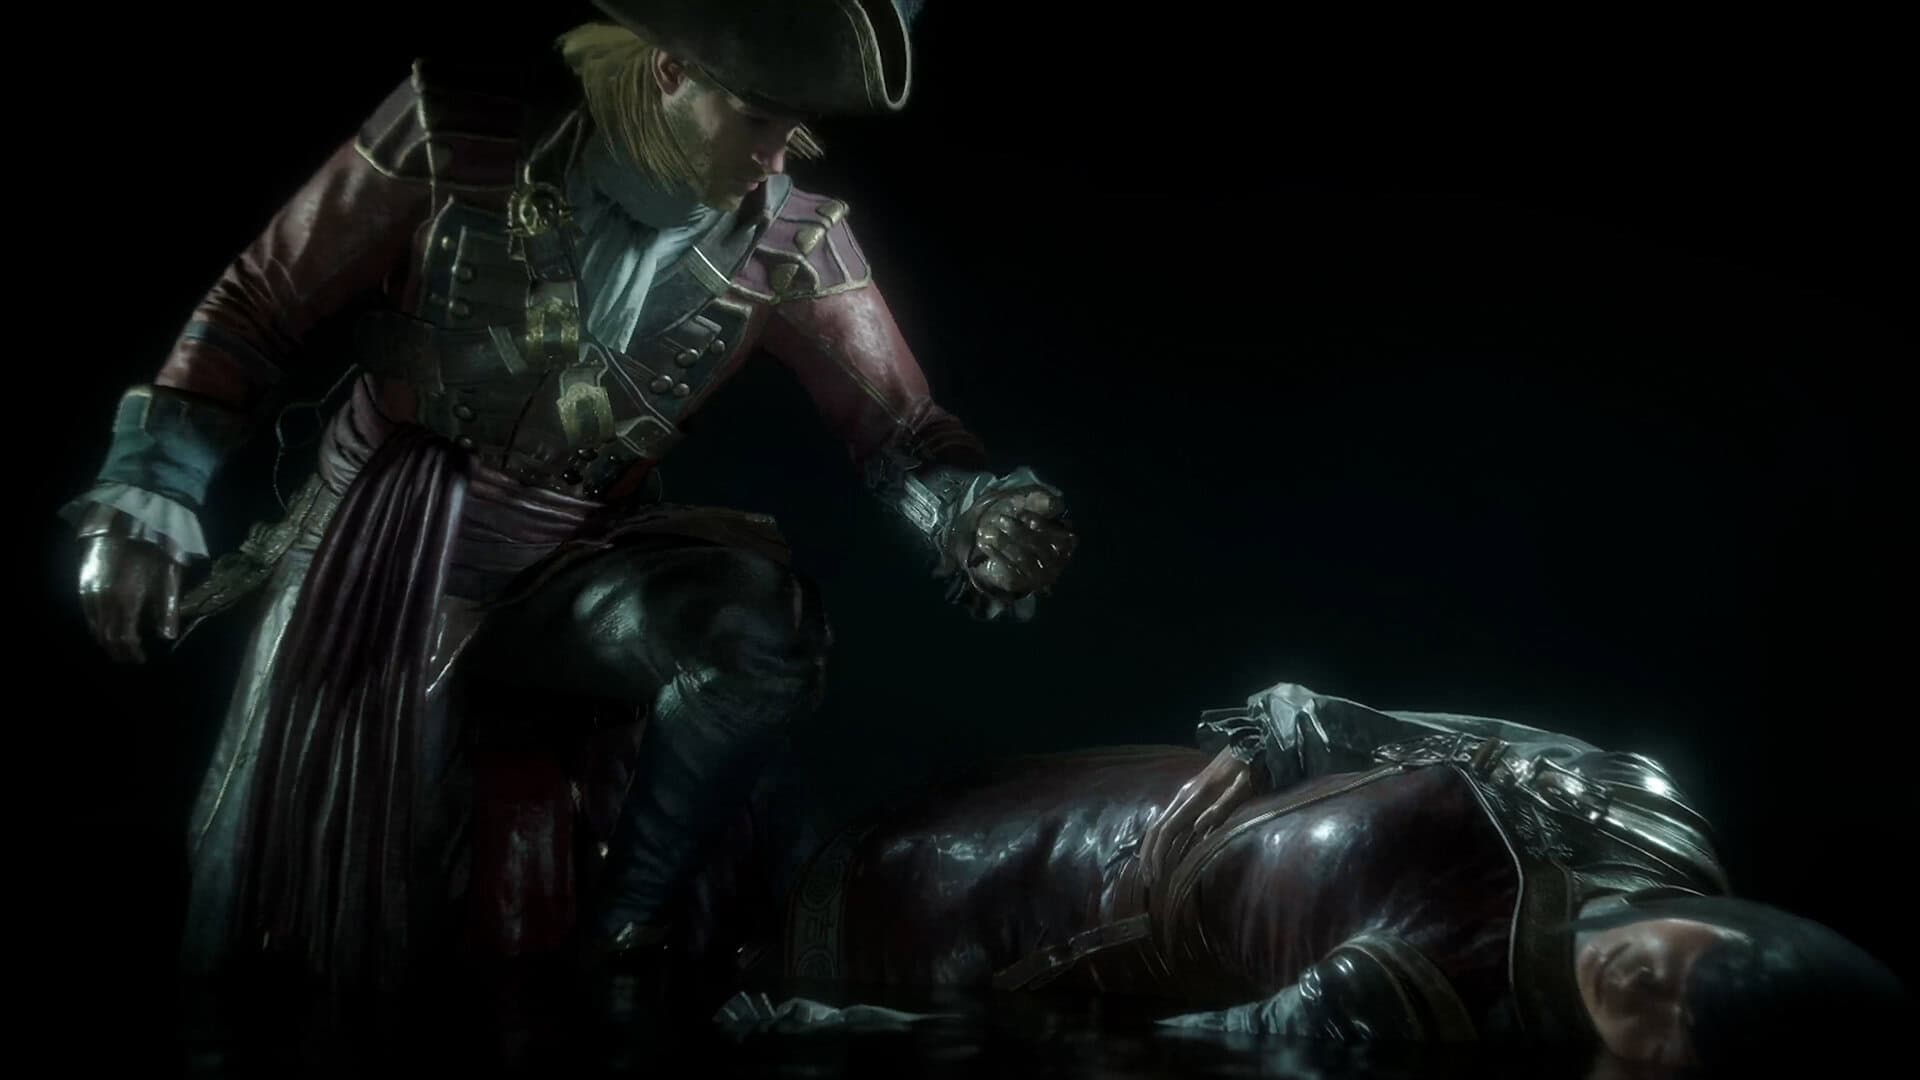
Once Upton’s finally safe, it’s time to finish the job. Push through to Vance and assassinate him, then chase down Jing Lang, who runs at first and calls in backup once you close the distance. Beating her triggers the cutscene where you finally collect your third Templar key. Talk to Upton one last time to wrap the chain before moving on to Kingston.
-
- Third Templar Key
-
- Upton Travers first location
-
- Jing Lang Templar key
Fourth Templar Key: Anto and the Kenneth Abraham Templar Hunt in Kingston
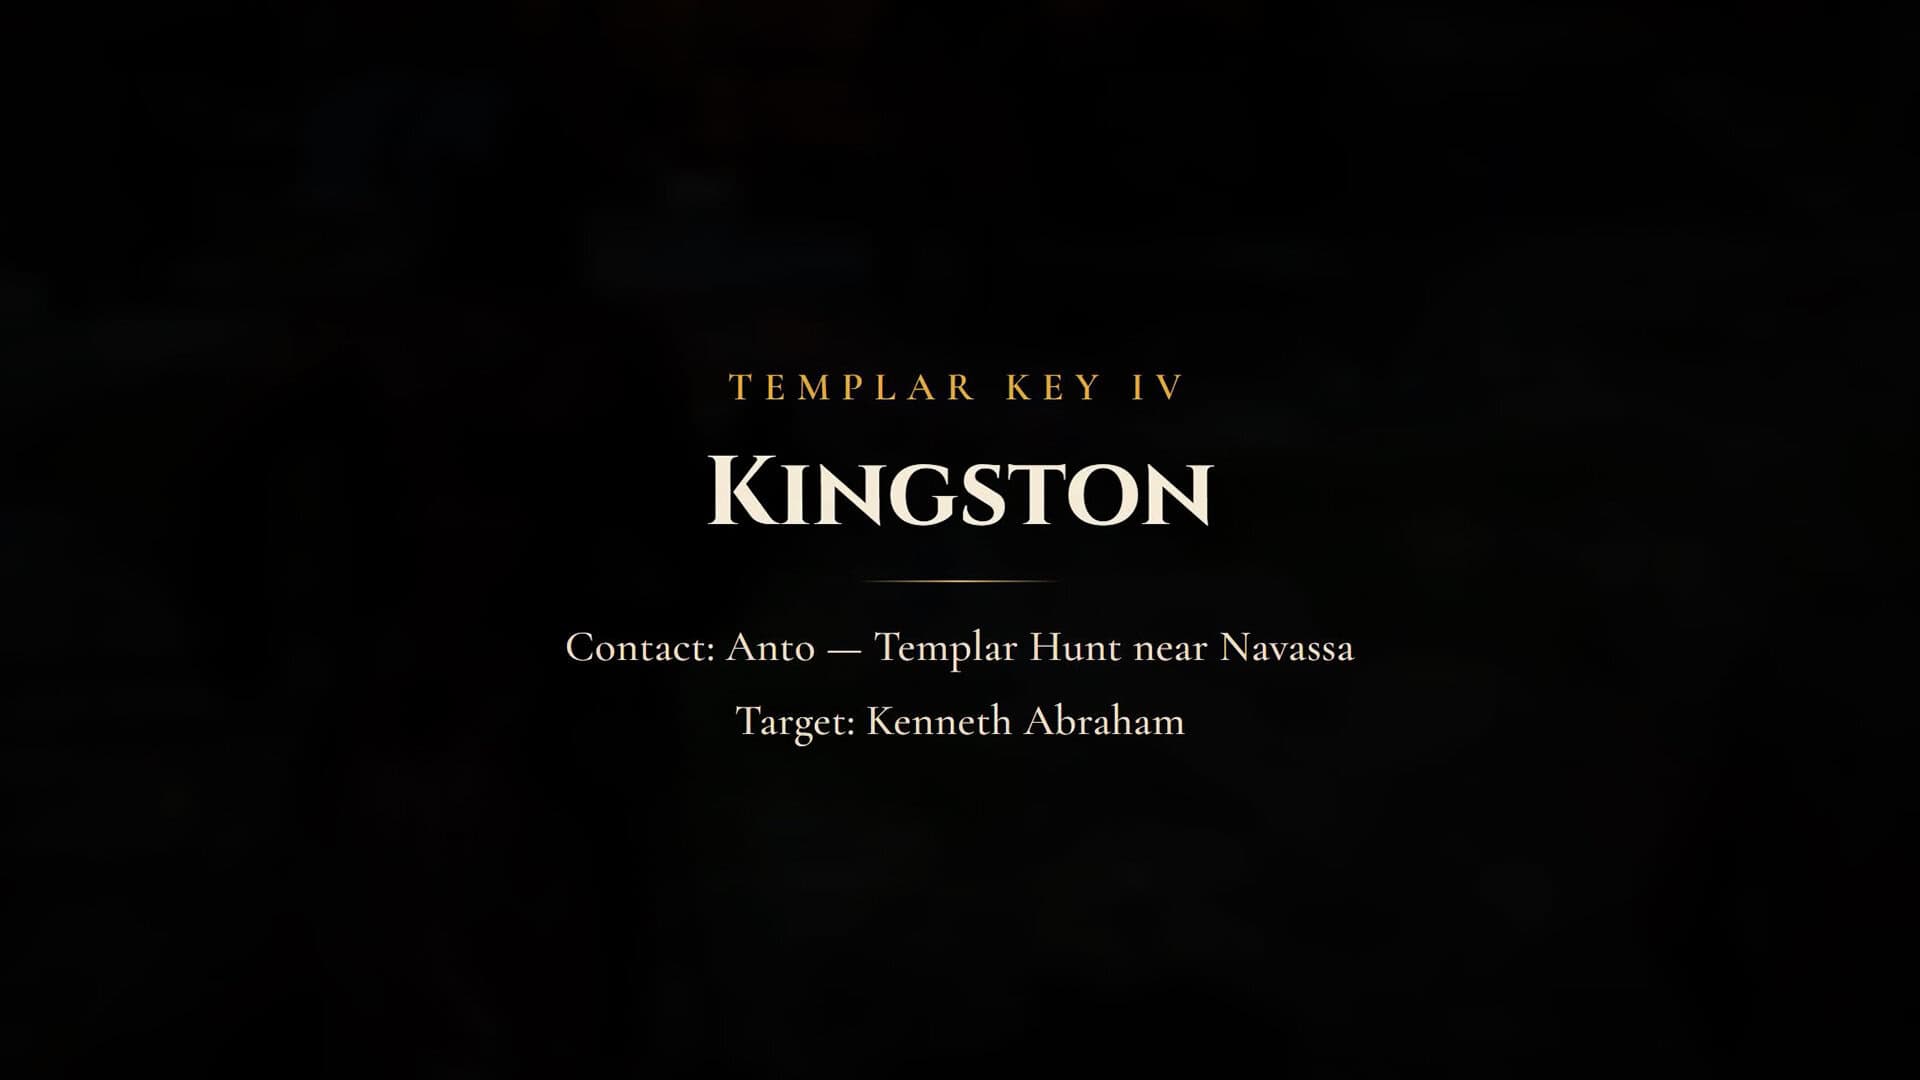
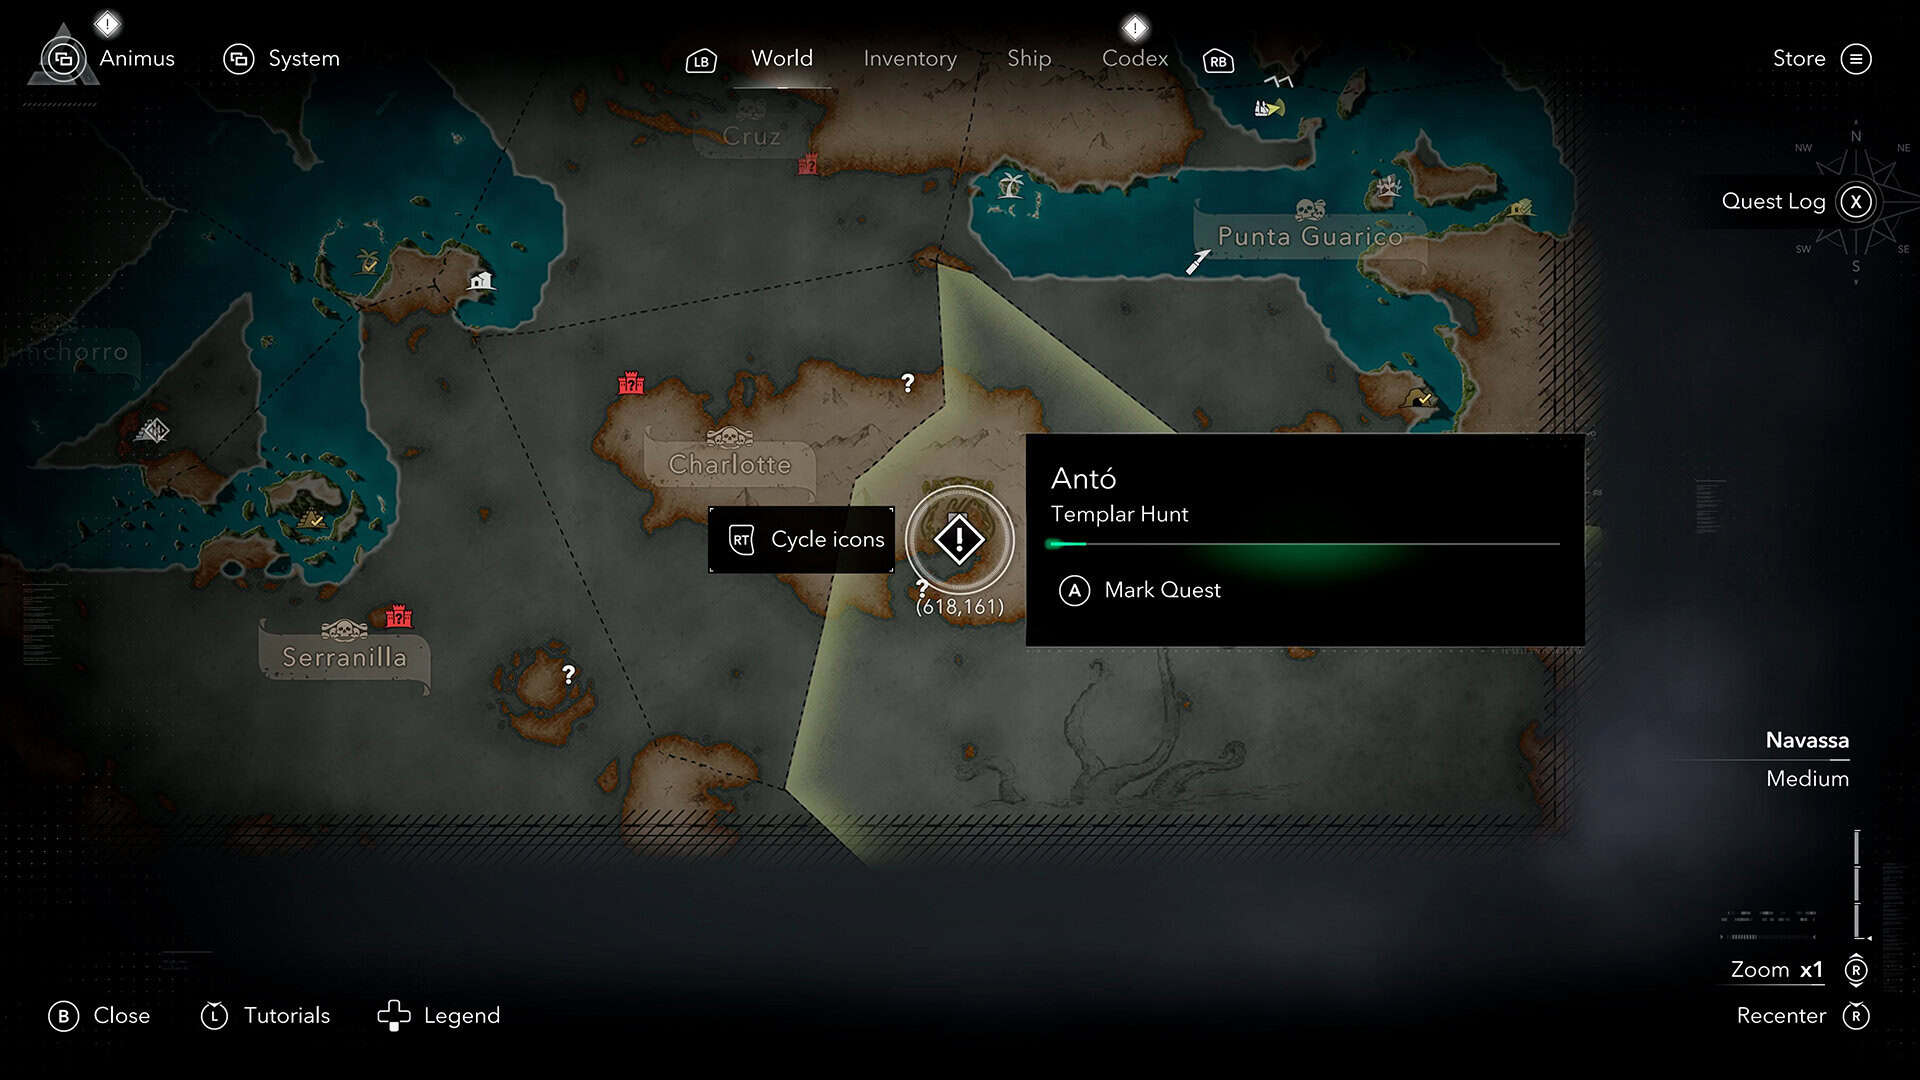
Head to Kingston and find Anto for key number four. After a short conversation, he points you toward a tavern where you’ll dig up a letter, then toward the area near the church, where a guard bolts the moment he sees you. Catch him and interrogate him to keep the thread going. Anto then leads you to a group of Maroon prisoners spread across three separate locations, all guarded, and you’re free to clear each one out one at a time or all at once. After that, track down and eliminate an officer working against the Maroons, another simple, direct fight.
Report back to Anto and he’ll tell you the key isn’t ready yet, which is a little annoying, but the real payoff comes fast. While you’re in the area, it’s also a good time to swing by Great Inagua and check the first Animus Rift on the southern tip of the island, since it’s an easy detour between Templar Hunts. Your next meeting with him gets interrupted by an attack, including enemies shooting down from the rooftops, so keep moving and don’t stand still in the open. The final stretch has you and Anto disguising yourselves as defeated officers to crash Kenneth Abraham’s party, which is exactly as messy as it sounds. Fight through to Abraham himself, confirm the assassination, and the fourth Templar key is yours. Talk to Anto afterward to close things out.
-
- Fourth Templar Key
-
- Anto first location
-
- Kenneth Abraham Templar key
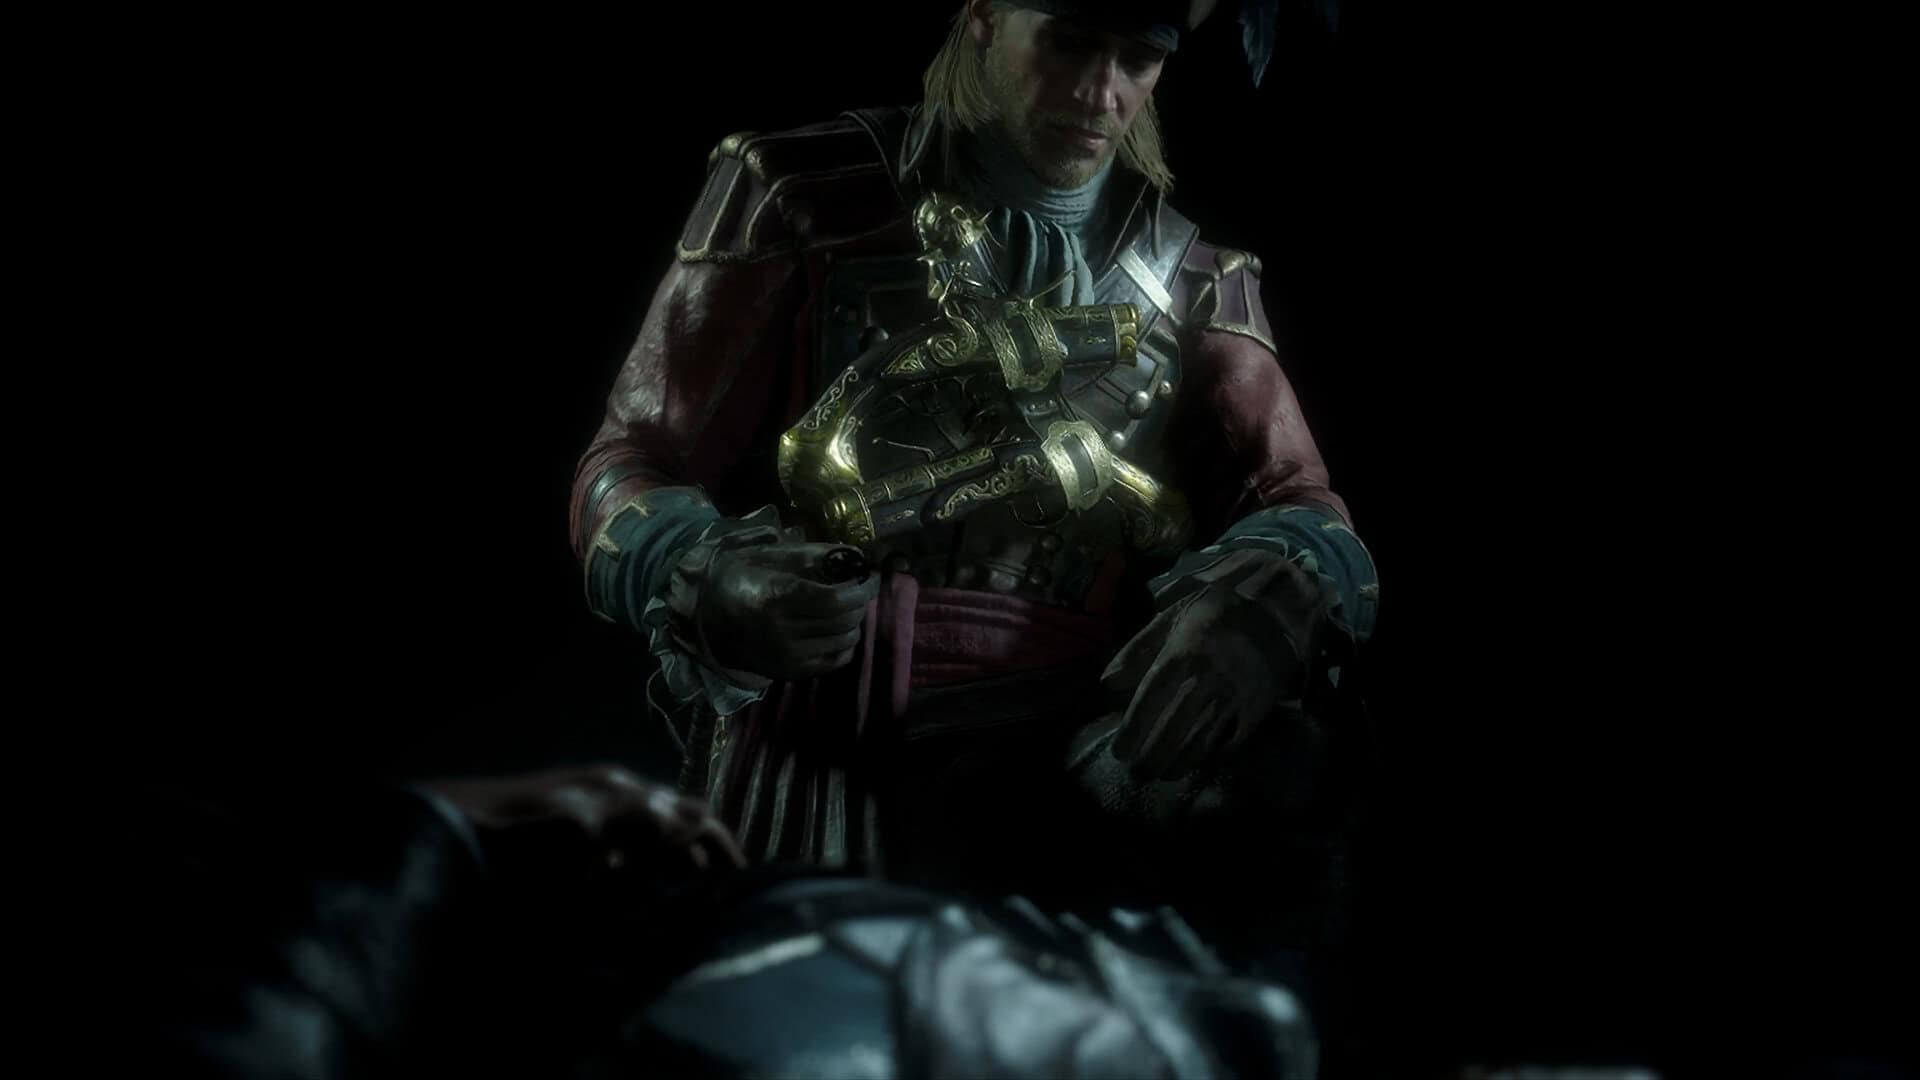
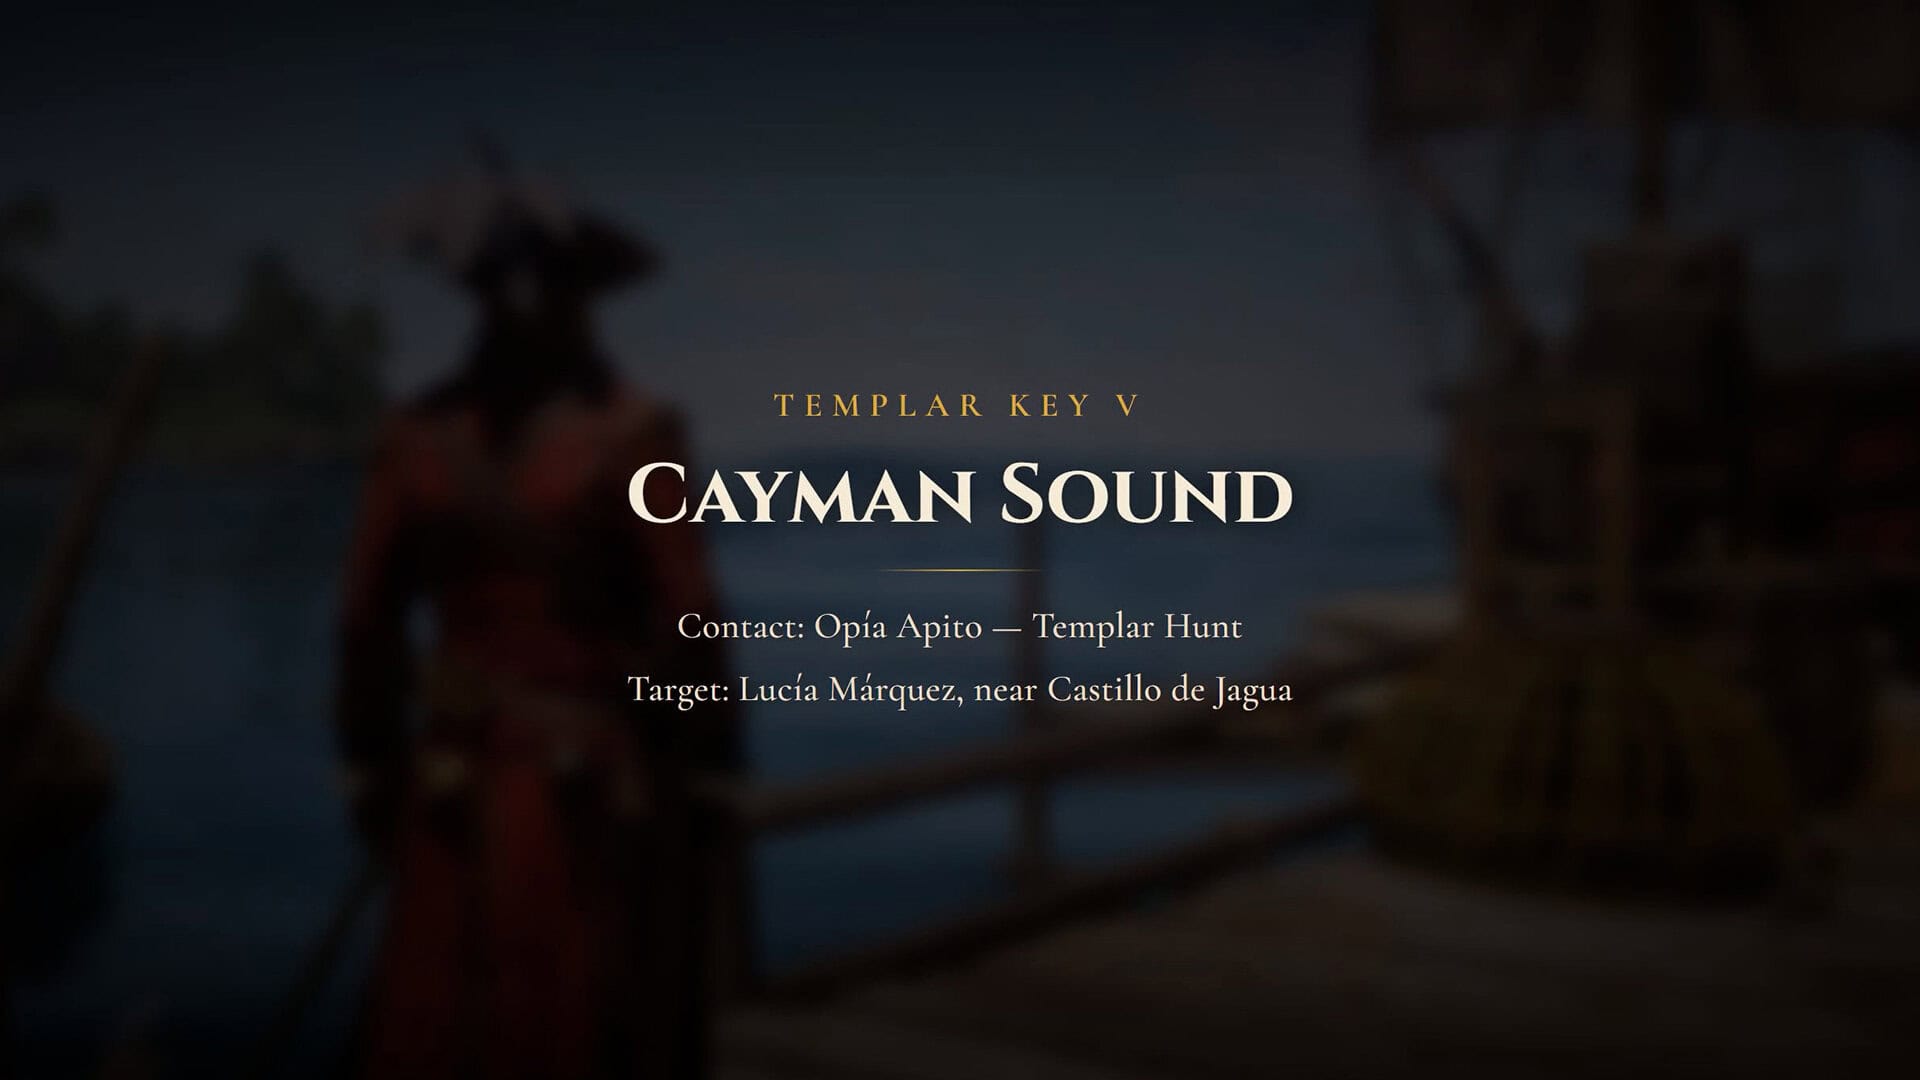
Fifth Templar Key: Opia Apito and Lucia Marquez in Cayman Sound
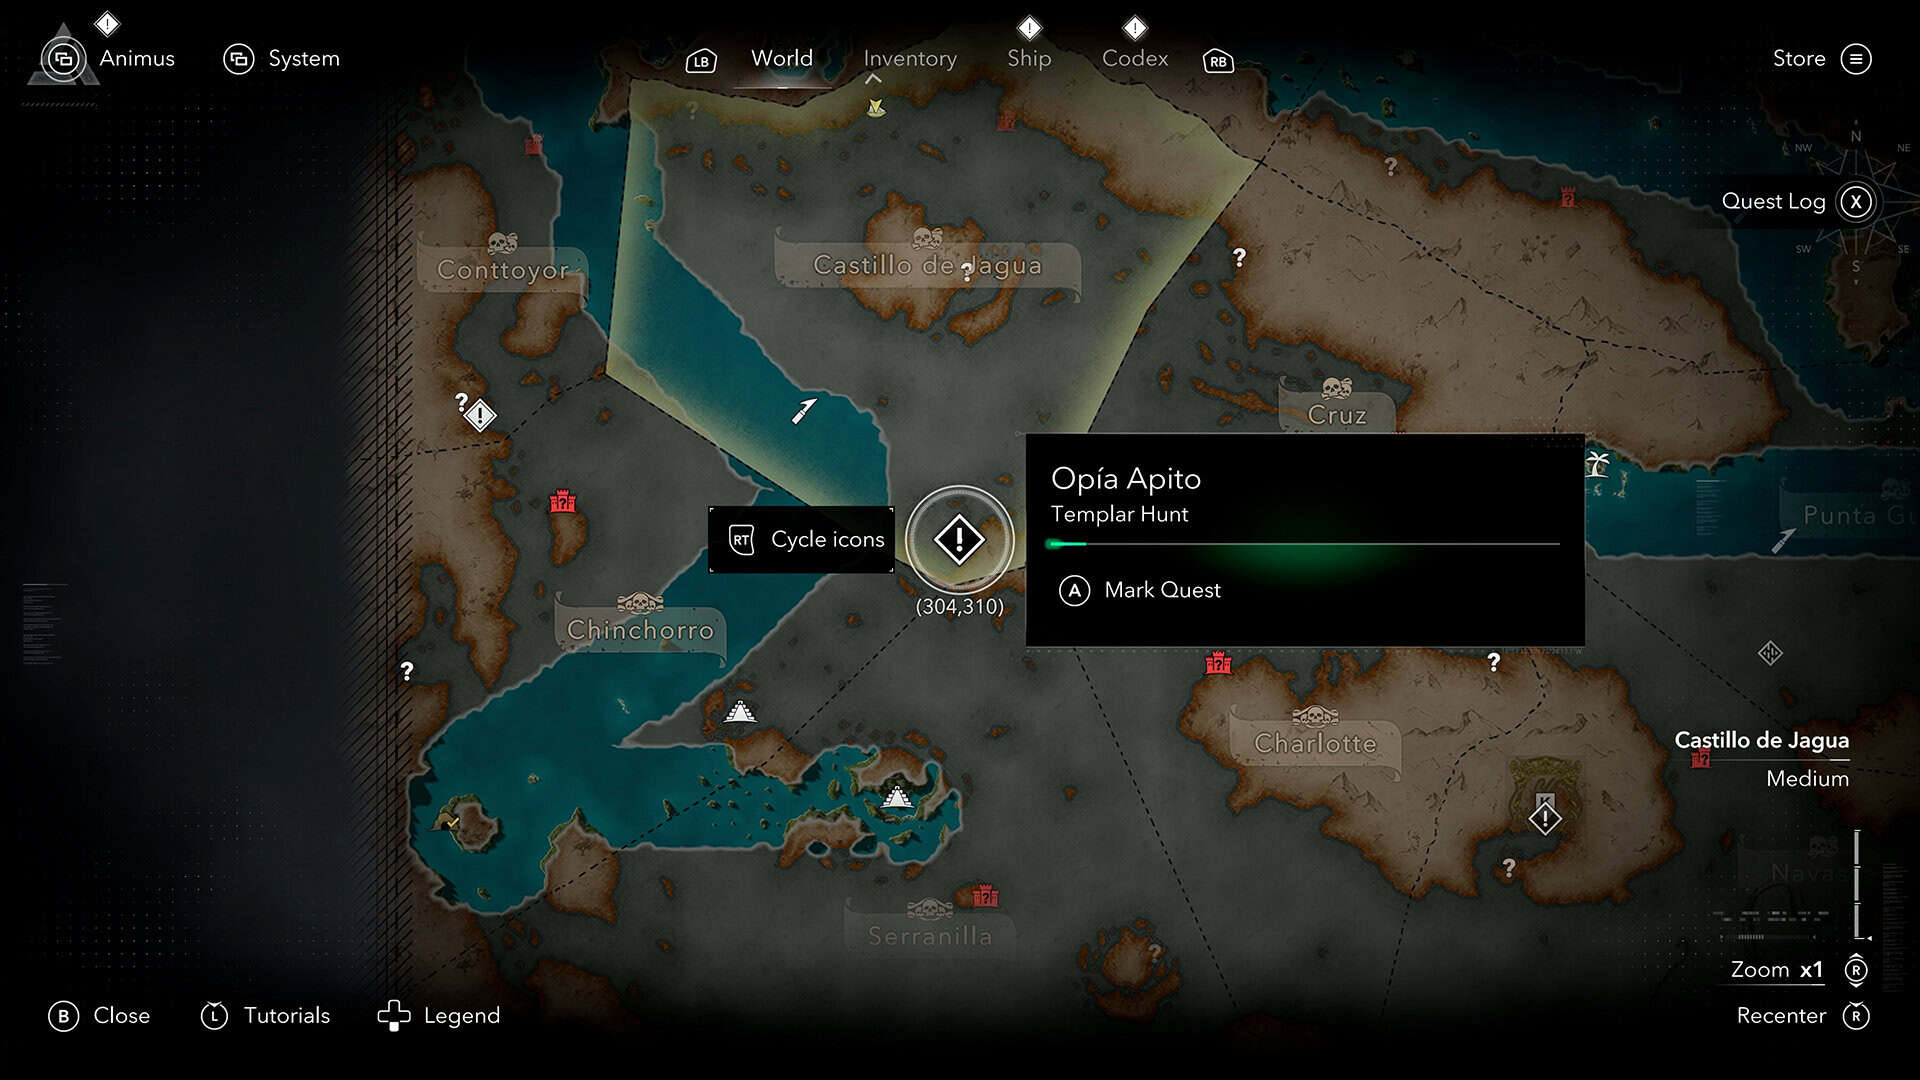
The last key takes you to Cayman Sound to find Opia Apito, and I’d suggest caution getting there. The zoomed-in map shows red markers for enemy ships that will engage you if you sail too close, so if you’re not up for a naval fight yet, anchor further out and cover the last stretch on foot or by rowboat. If you do want a proper ship battle along the way, it’s worth knowing your way around the game’s legendary ships and their weak points before you pick a fight you can’t win.
Opia won’t work with you until you earn her trust, which means hunting down a white jaguar that’s been terrorizing the island. Shoot it from a distance before it notices you, since it hits hard up close. From there, you’ll eavesdrop on two men talking and steal a clue off a fisherman, either by lifting his wallet unnoticed or just beating him down for it. Opia then sends you after a man named Vargas, who bolts for a ship the moment you reach the pier, forcing a naval chase where you need to catch him, batter his ship with cannons and mortars, then board it to pull the information out of him directly.
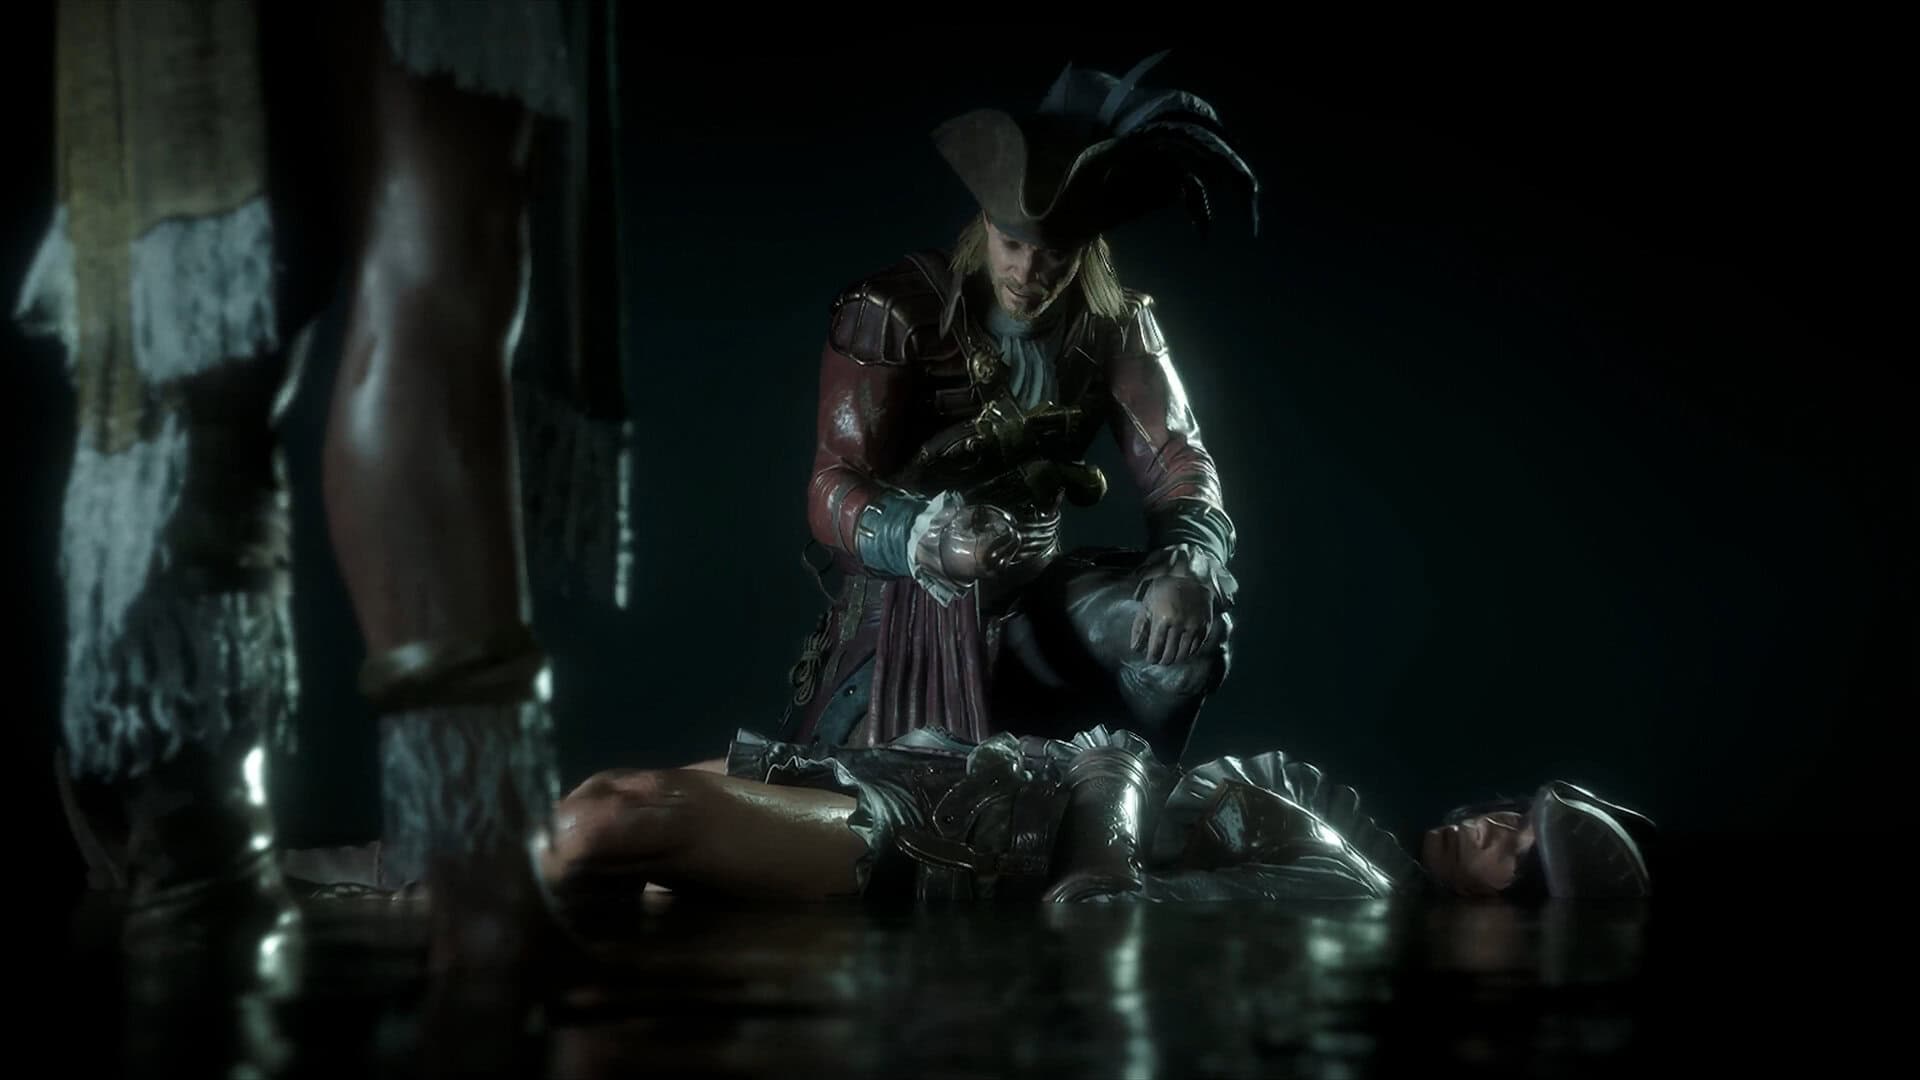
The finale has you and Opia taking on seven of Lucia Marquez’s men on the shoreline, best handled from cover in the grass, picking off stragglers with surprise assassinations as they wander close. Once most of them are down, Marquez breaks and runs, so chase her down along with whoever’s still fighting at her side. Beating her triggers the final cutscene and hands you your fifth and last Templar key. Talk to Opia one more time to finish the quest chain in Cayman Sound.
-
- Fifth Templar Key
-
- Opia Apito first location
-
- Lucia Marquez Templar key
How to Unlock the Templar Armor After the Damn Fine Gear Side Quest
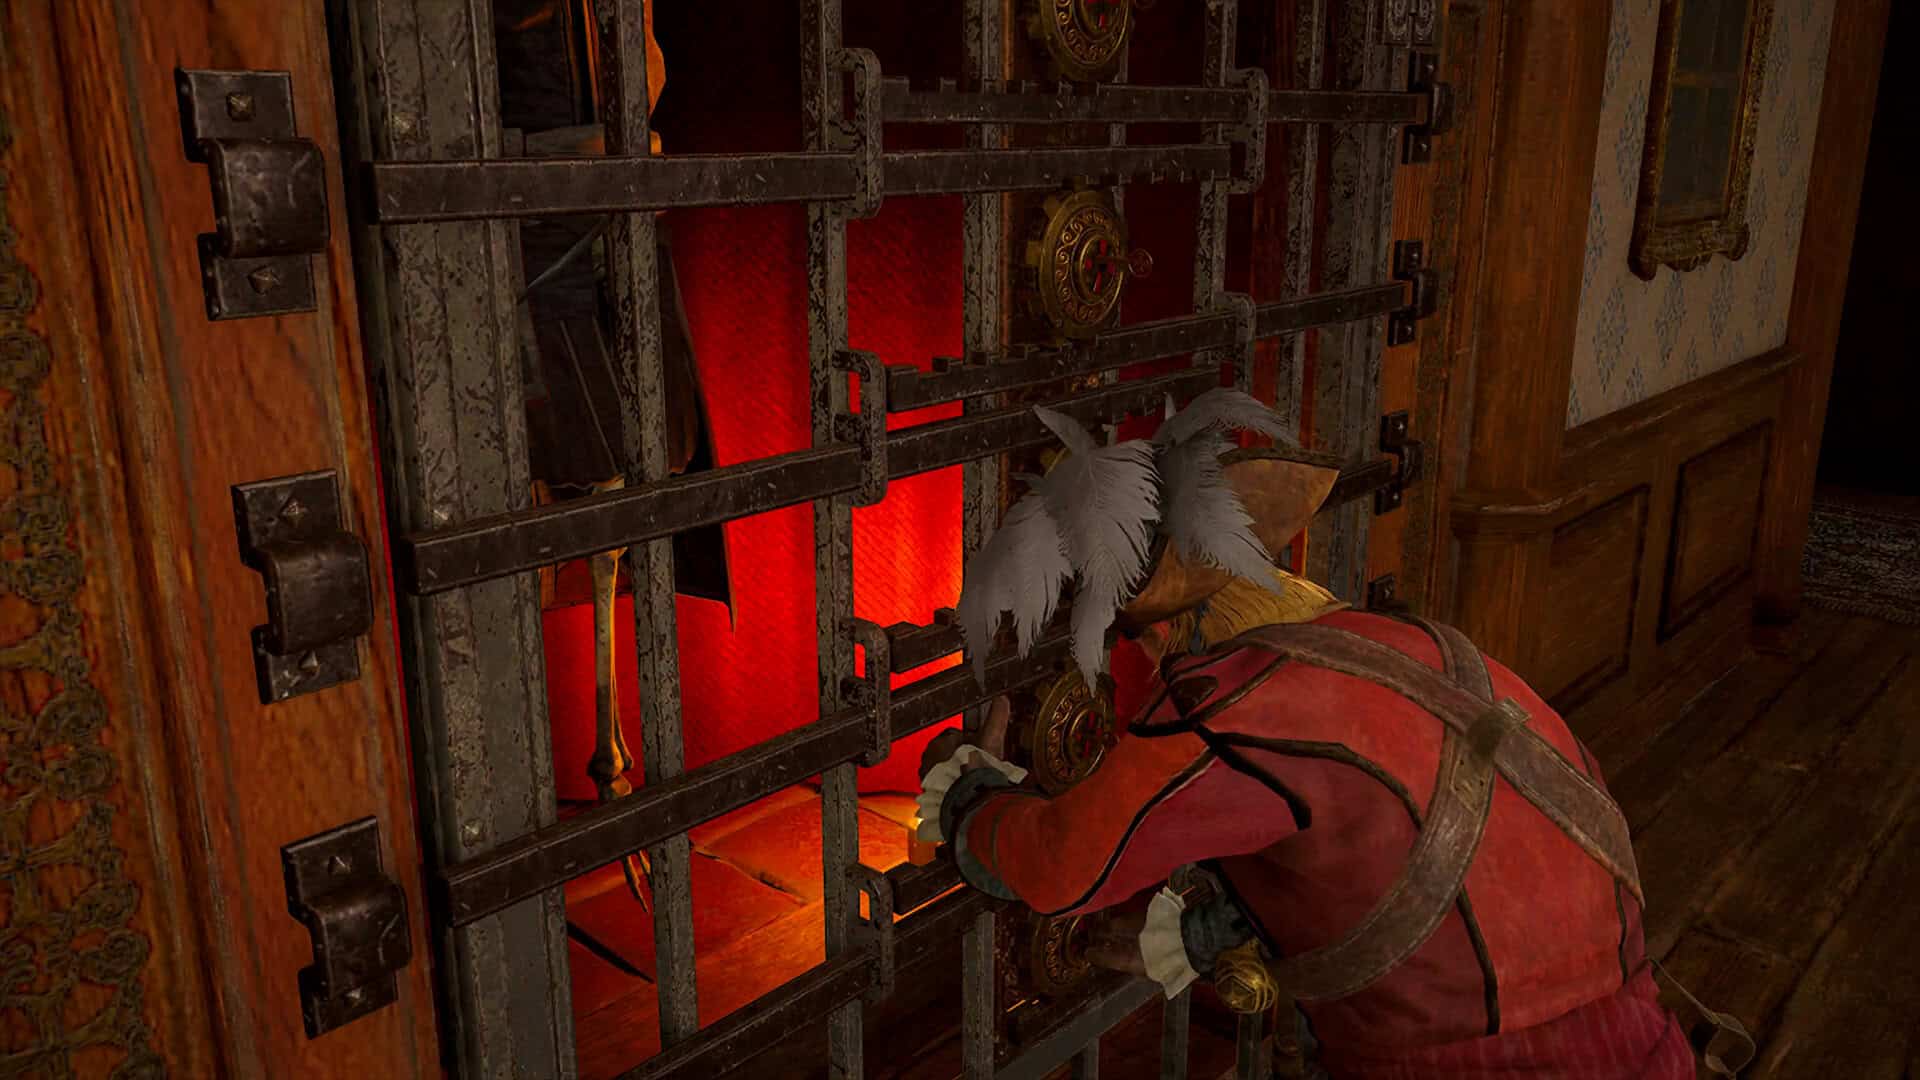
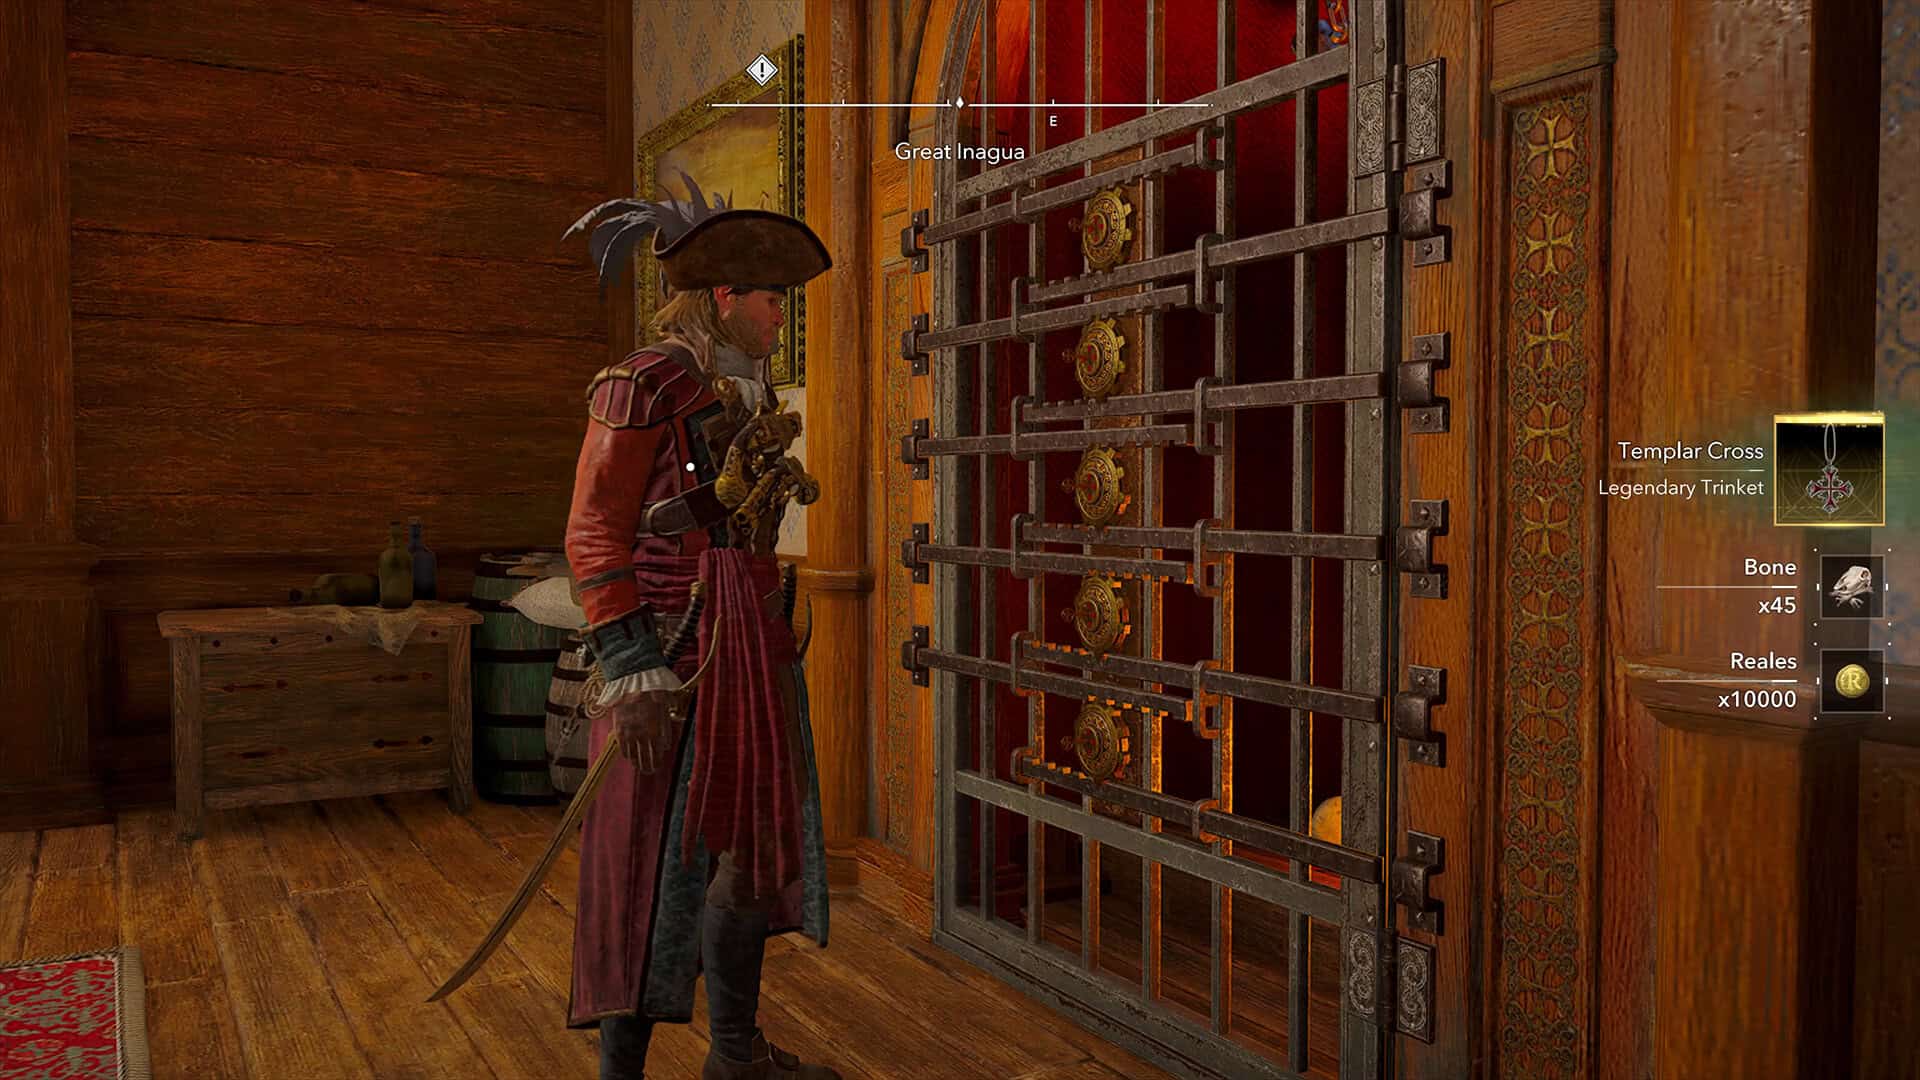
With all five keys in hand, sail back to Great Inagua and head into the manor. The locked gate sits at the back of the main hall, and each key fits one of its five slots. Opening it completes the Damn Fine Gear side quest and hands you the Templar Armor, a cosmetic-only outfit with no combat bonuses attached, alongside the Templar Cross trinket, which cuts down melee damage taken enough that you’ll notice fewer trips back to your healing items. On top of the gear, you’ll also walk away with 10,000 Reales and 45 Bones, which is a nice bonus if you’re still working toward crew attire or hideout upgrades. If gold is still tight after that payout, our guide to the best passive money method pairs well with whatever you pick up here.
I won’t pretend the reward is game-changing, since the armor is purely cosmetic, but the Damn Fine Gear side quest itself is genuinely one of the more entertaining chains in the game, and closing it out feels good after bouncing between four regions and four very different personalities.
-
- Templar Armor final location
-
- Unlock the Templar Armor
-
- Damn Fine Gear Side Quest reward
Damn Fine Gear Side Quest FAQ
When does the Damn Fine Gear side quest unlock? It becomes available once you finish the “A Single Madman” story mission and liberate Great Inagua, which is where you’ll first see the locked five-slot gate in the manor.
How many Templar Keys do I need? Five total. The first comes automatically from the story, and the remaining four come from separate Templar Hunts in Havana, Nassau, Kingston, and Cayman Sound.
Can I collect the keys in any order? Yes, the four region-based Templar Hunts aren’t tied to each other, so you can tackle Rhona Dinsmore, Upton Travers, Anto, or Opia Apito’s chains in whatever order you reach their regions.
Do I have to open the gate right away once I get a key? No, you can hold onto keys and use them whenever you like, so it’s fine to finish collecting all five before making the trip back to Great Inagua.
What’s actually behind the gate? The Templar Armor outfit, the Templar Cross trinket for melee damage reduction, plus 10,000 Reales and 45 Bones.
That’s the full Damn Fine Gear side quest from the first key to the last lock. If you’re chasing down everything else Great Inagua has to offer, check out our other guides on ingametor.com for more Black Flag Resynced coverage.