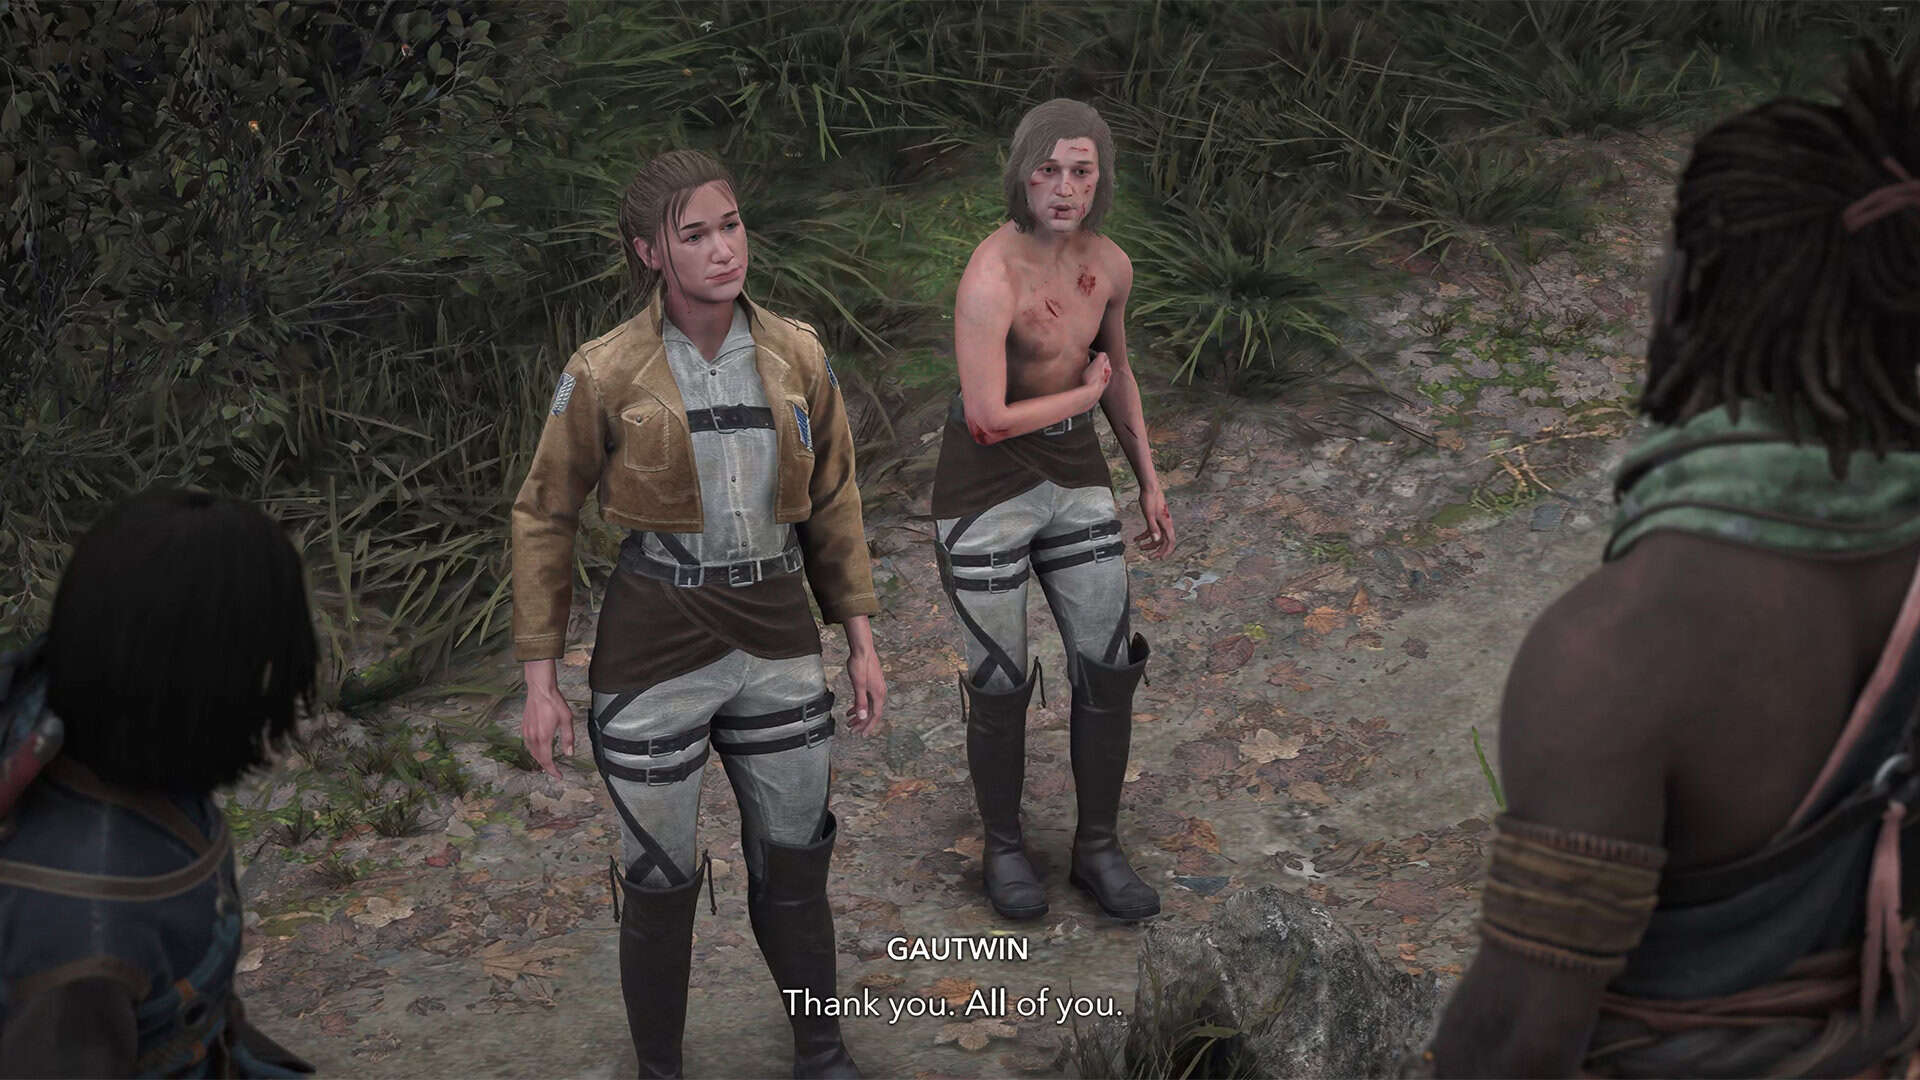
The Beyond the Walls quest is an opportunity to gain new experience in Assassin’s Creed Shadows. The update brought us a side quest that is only available from November 25 to December 22, 2025. So if you want to complete this quest, you have to do it once.
At the beginning, you will find a letter, and then you need to go to Hanazono Castle to meet Ada. She will tell you a rather strange story and behave strangely in general. But that doesn’t scare us, so we agree to help her. At this stage, the part of the quest begins where everything takes place in another dimension, without reference to the map.
Descent – Route in the cave
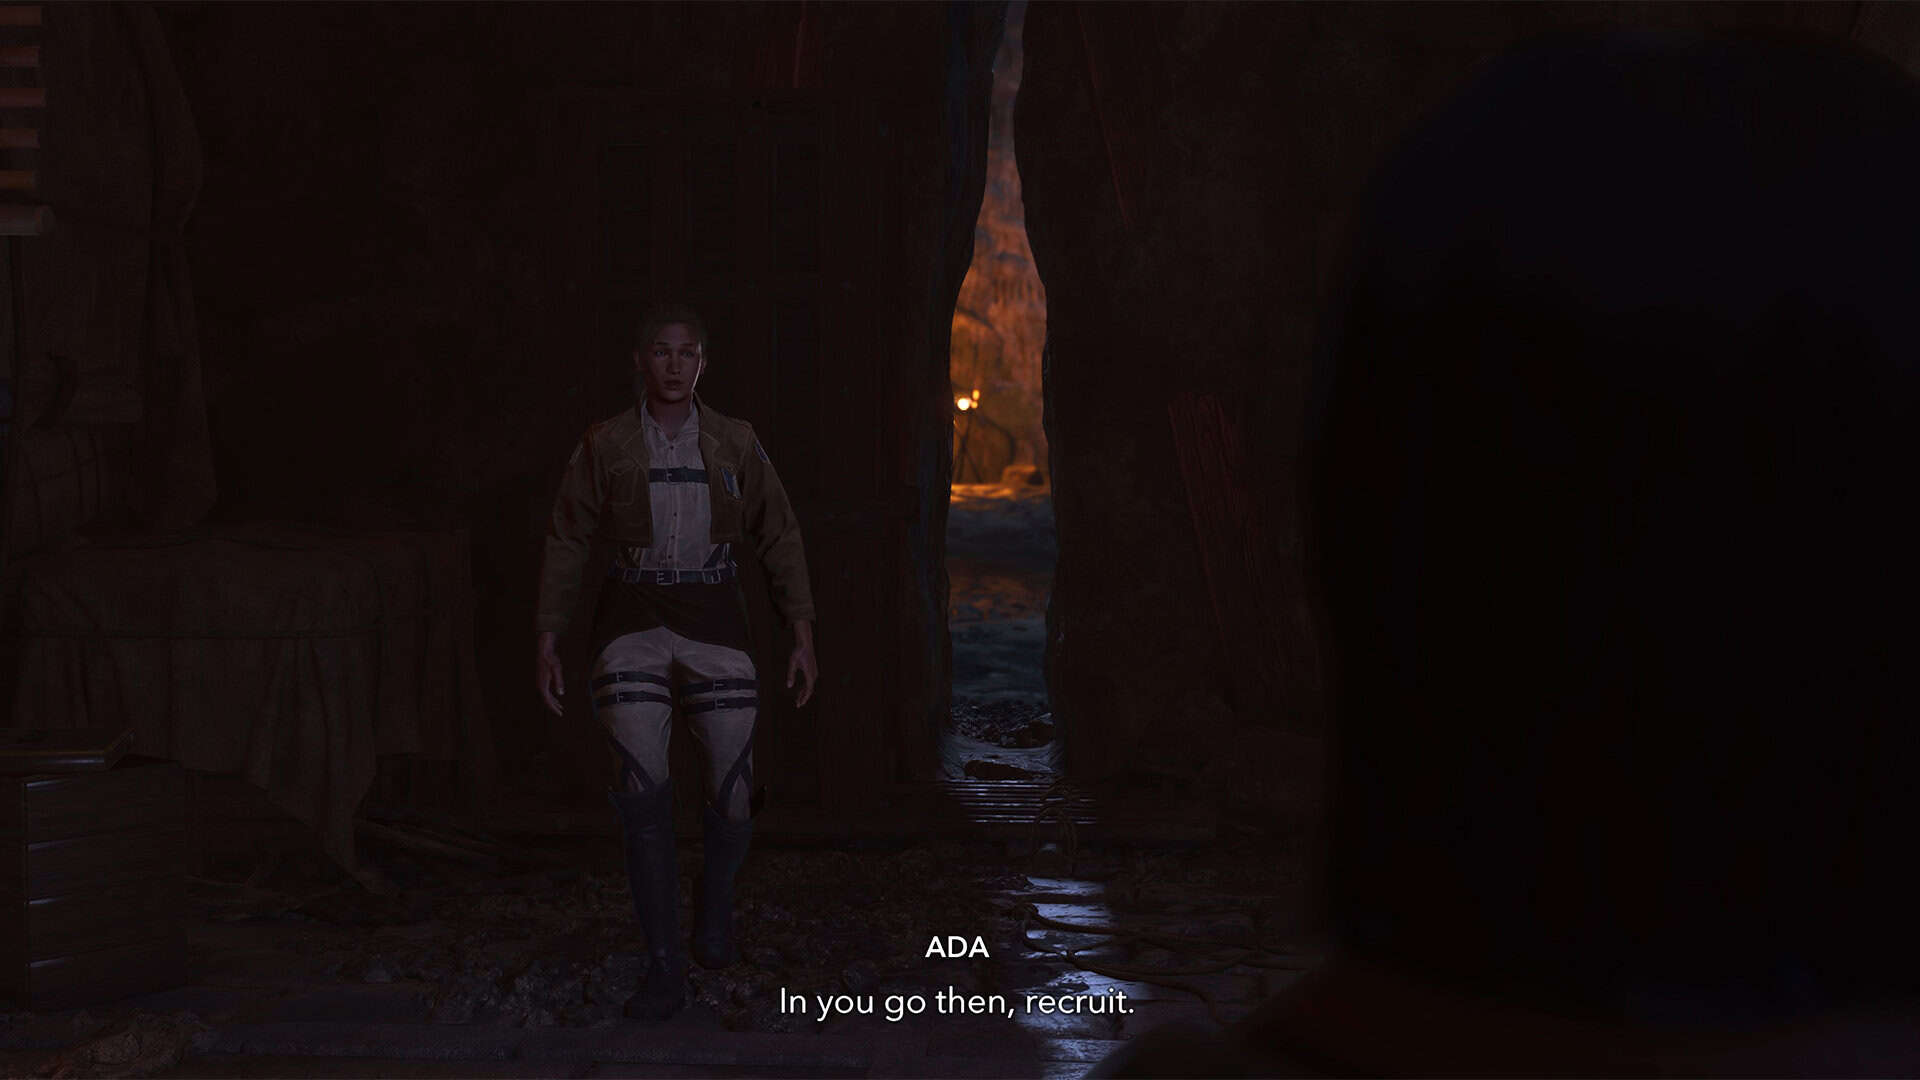
Following Ada to the basement, you will find yourself in a room where, after a dialogue between the characters, Ada will show you a place where you can go forward and clear the way for the other participants. This is part of the quest where you need to play as Naoe and navigate the difficult path through a strange and confusing cave. We will break down this path step by step. But first, you need to clear the way for your friends. On the left, you will see a hole through which you can crawl into a small room.
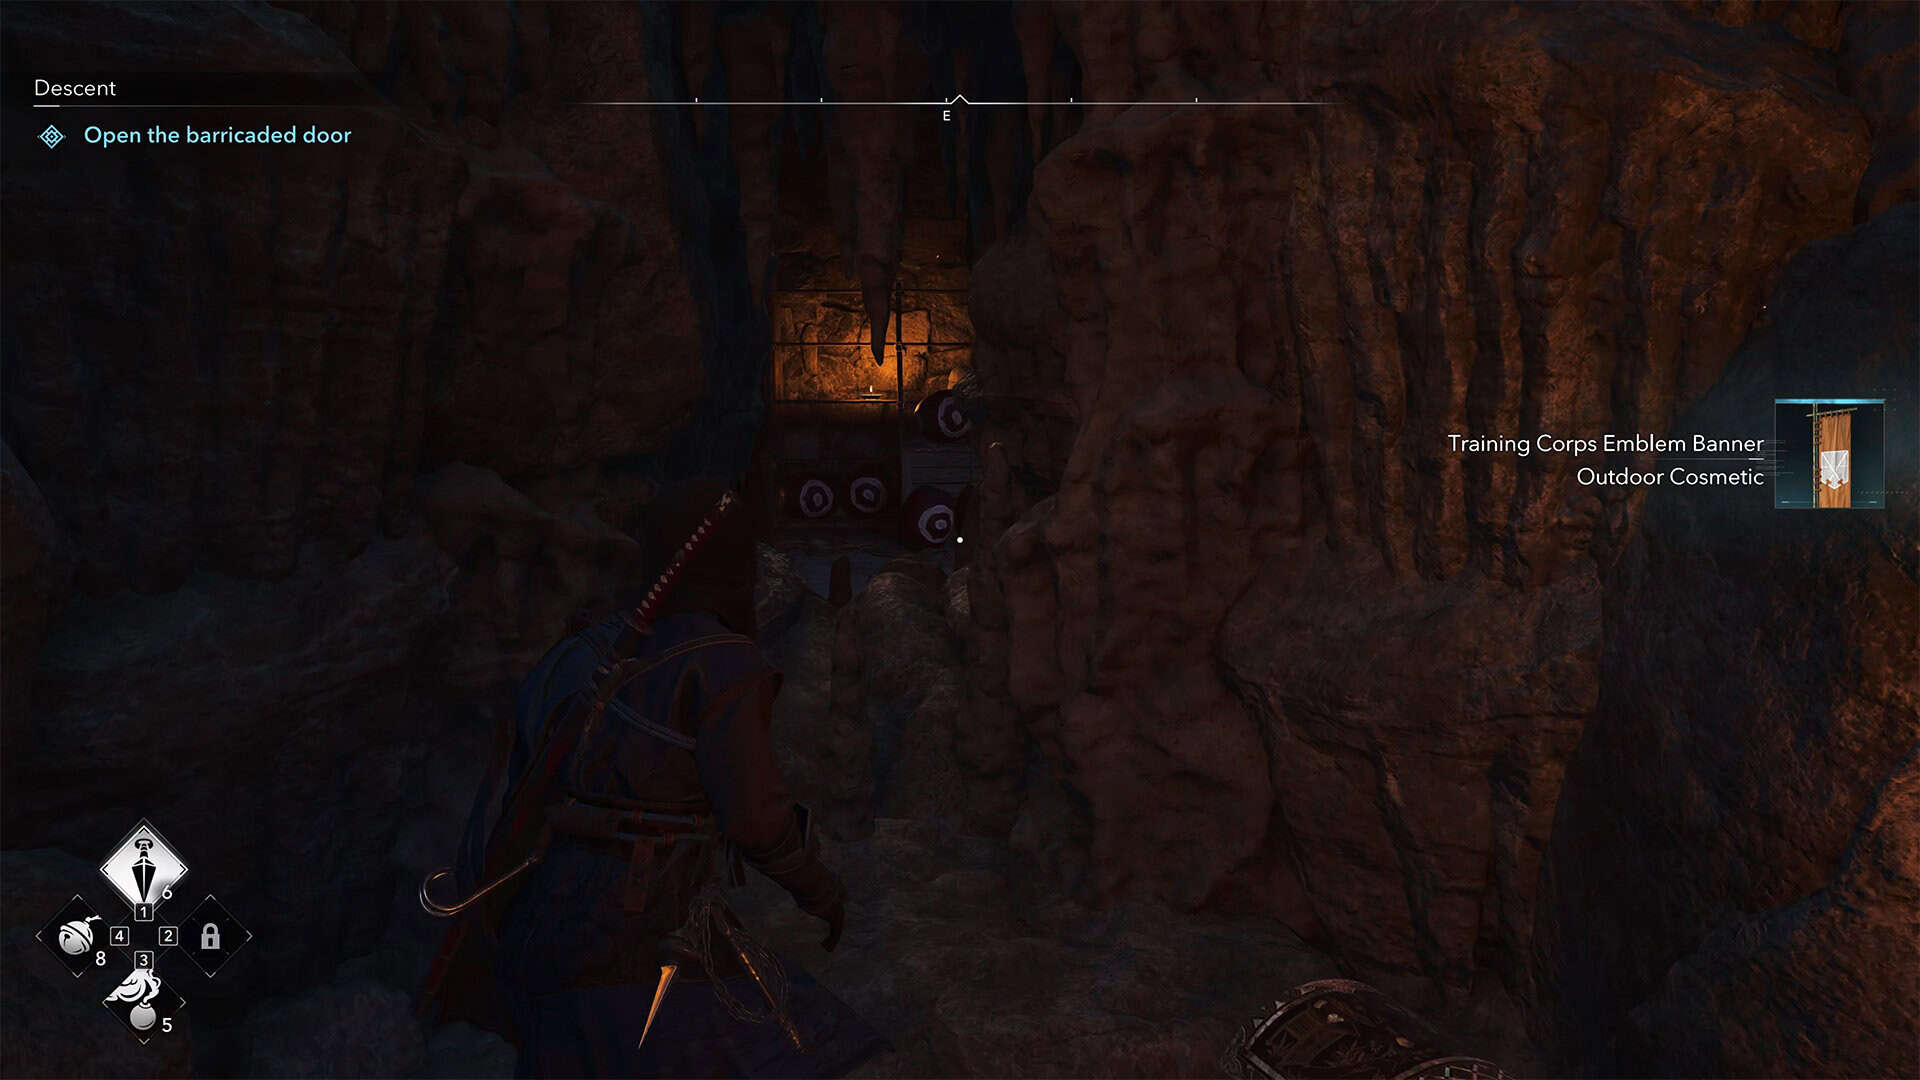
In this room, follow the torches. They will lead you to a room with a chest. This is your reward for your efforts. Next, through a small window, you will see barrels of gunpowder ahead. Throw your kunai at them. The barrels will explode and clear the way for your friends. But this action will block the exit for you, so you need to find another way through the cave.
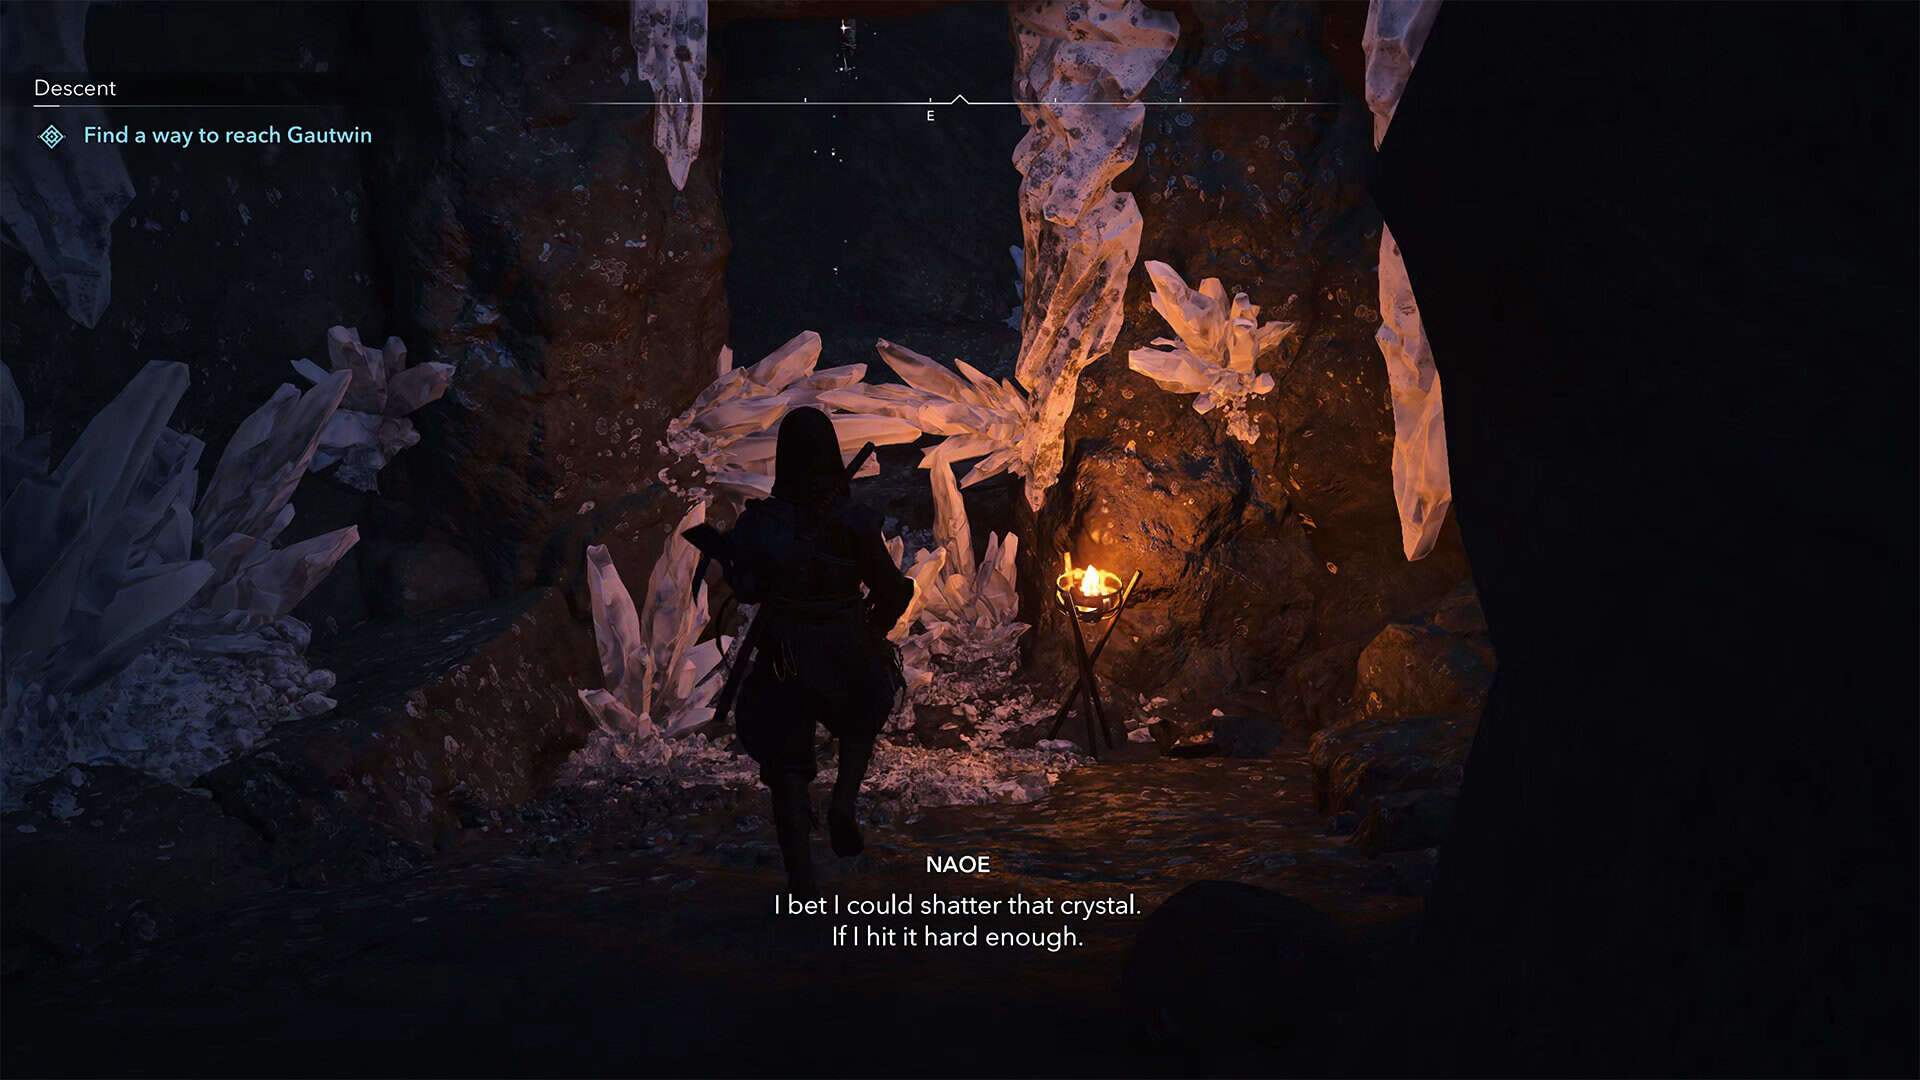
You need to go back the way you came. You already know this path. Keep going until you see a place where you need to crawl through a narrow passage. You will come out into the starting room. On the right will be the entrance you came in through, but it is now blocked. So you need to turn left and go forward into the opening in the wall. Here, the path is also lit by torches to the place where you will first see ice crystals. To proceed, you need to break them, as they block the only possible passage.
-

- Passage to the cave with adventures
-
- Barrels that will open access to friends
-
- Ice barriers that must be destroyed
-
- Parkour on ice ledges
Here, you need to hook onto the hook above, slide down the rope, and then jump off. I successfully ignored this and just fell down from a height, but it didn’t hurt Naoe at all. Next, you need to go straight ahead. It’s a long and rather boring corridor with no branches or obstacles.
Finally, you will reach a room where you need to hook onto the hook and fly over to the bridge ahead. From this platform, I suggest you climb down. If you turn around here, you will see a chest. I won’t say that there is a super useful gift inside, but you don’t want to miss the chest. After opening the chest, you need to climb onto the stone pillars nearby. Climb onto the highest one.
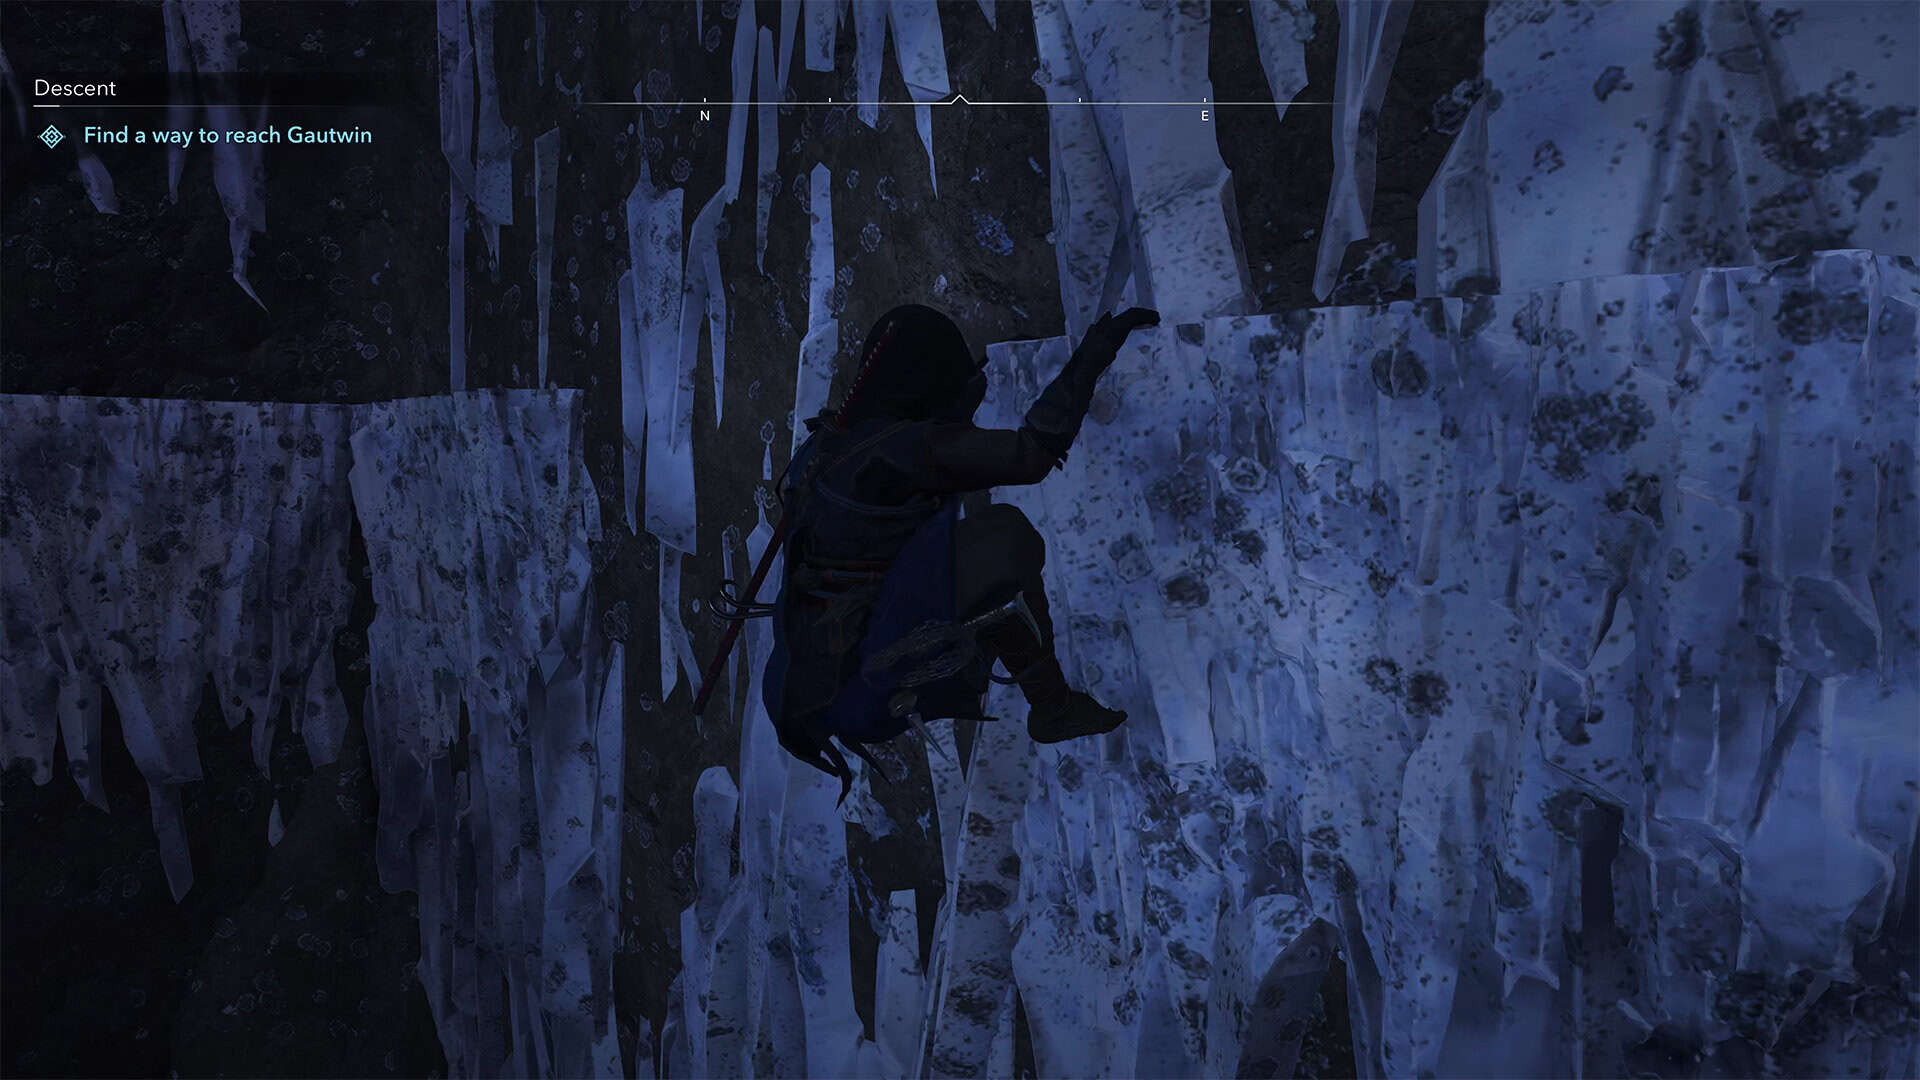
Jump forward and you will grab onto the ice ledges. Here you need to move sideways and then climb up. On the last ledge, the game will tell you what to do to jump onto the platform behind you. Move forward on the platform and you will see wooden beams. Jump on them and you will find yourself on a platform with a door.
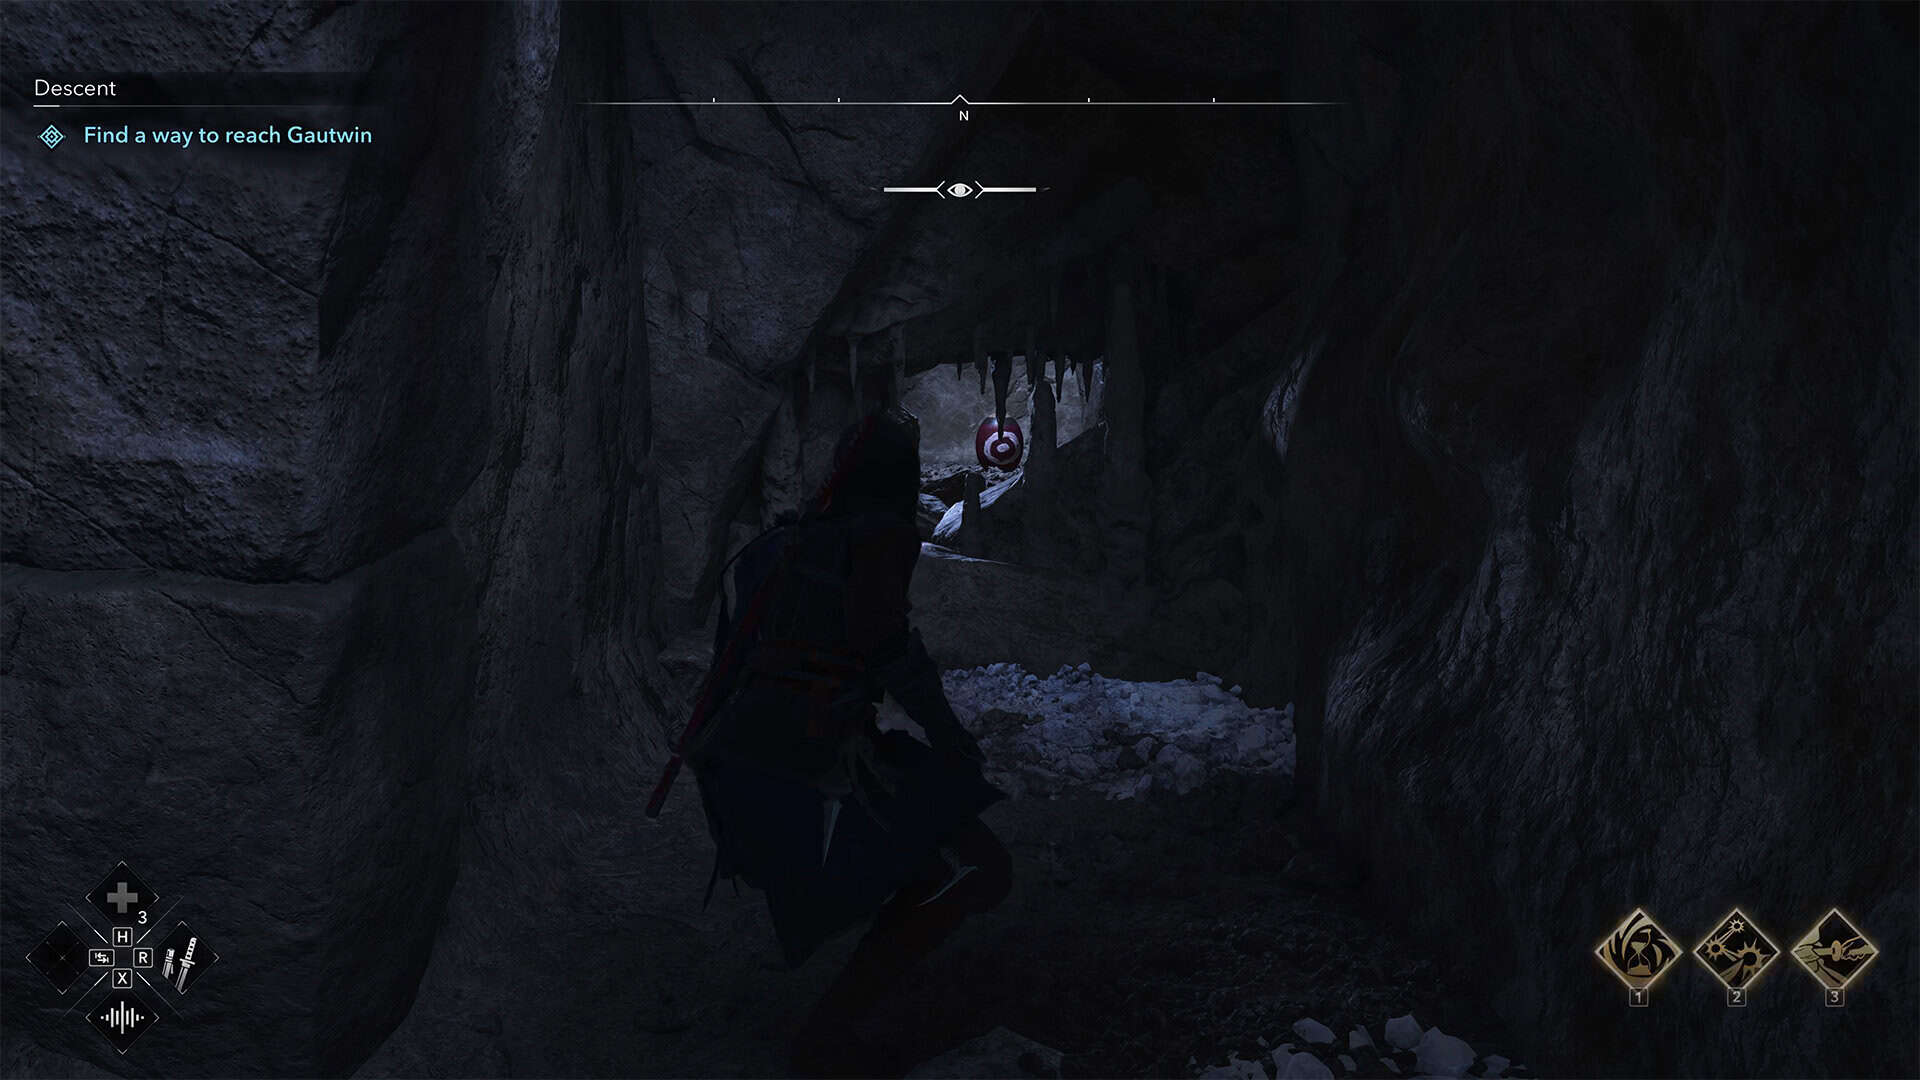
Go inside, and you will immediately see that you need to crouch down and crawl through a narrow corridor. Here, through a small window, you will again need to throw a kunai into a barrel to make it explode and clear the passage. Now go back to the place where you jumped on the wooden beams. Now there is an open passage here, which was previously blocked.
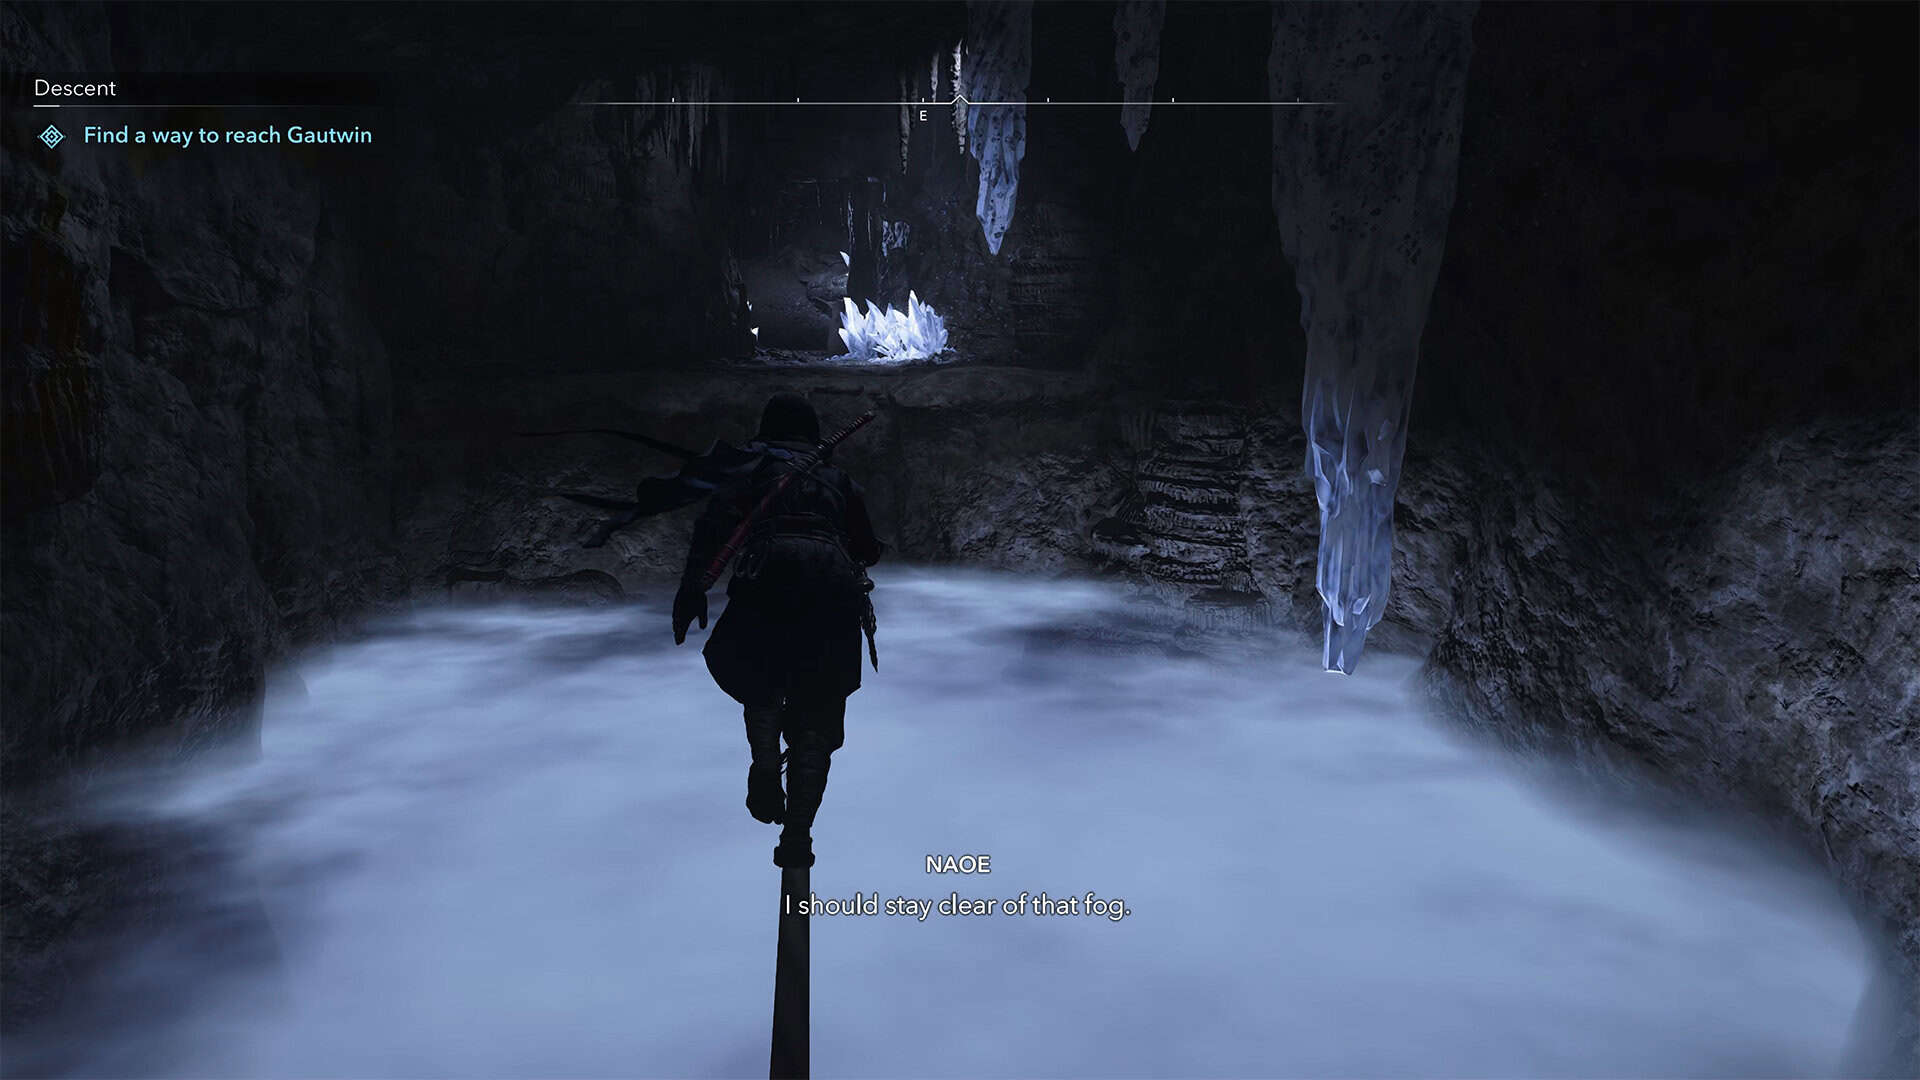
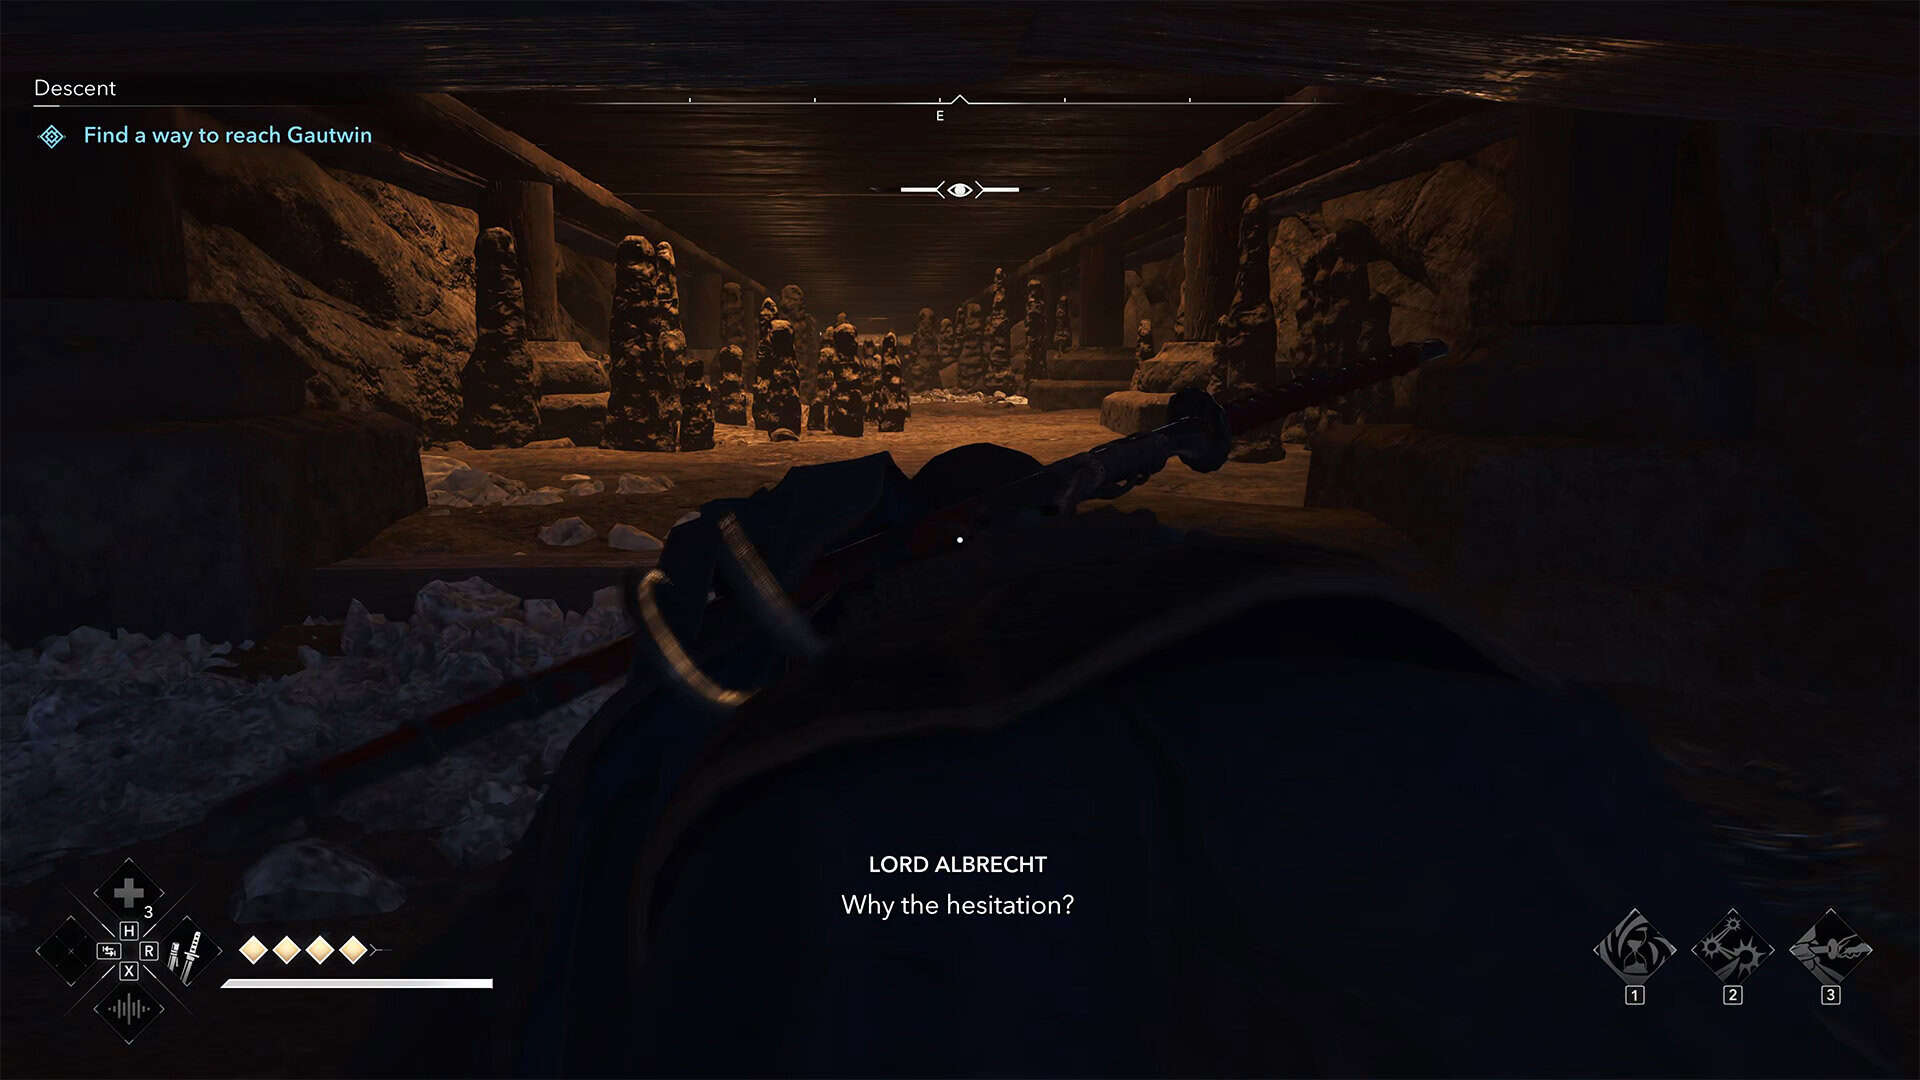
This is the point of no return. Walk forward along the rope stretched across the fog. Next, you will have another boring route, because you have to walk straight ahead and not turn anywhere. Eventually, you will have to crawl under the building for quite a long distance. You will hear voices coming from above and generally understand your opponent’s intentions. Nothing will happen here, this is just an informative part, so just crawl forward.
-
- Blow up a barrel to gain access further
-
- Enchanting views in the cave
-
- A long tunnel with eavesdropping
-
- More barrels to blow up
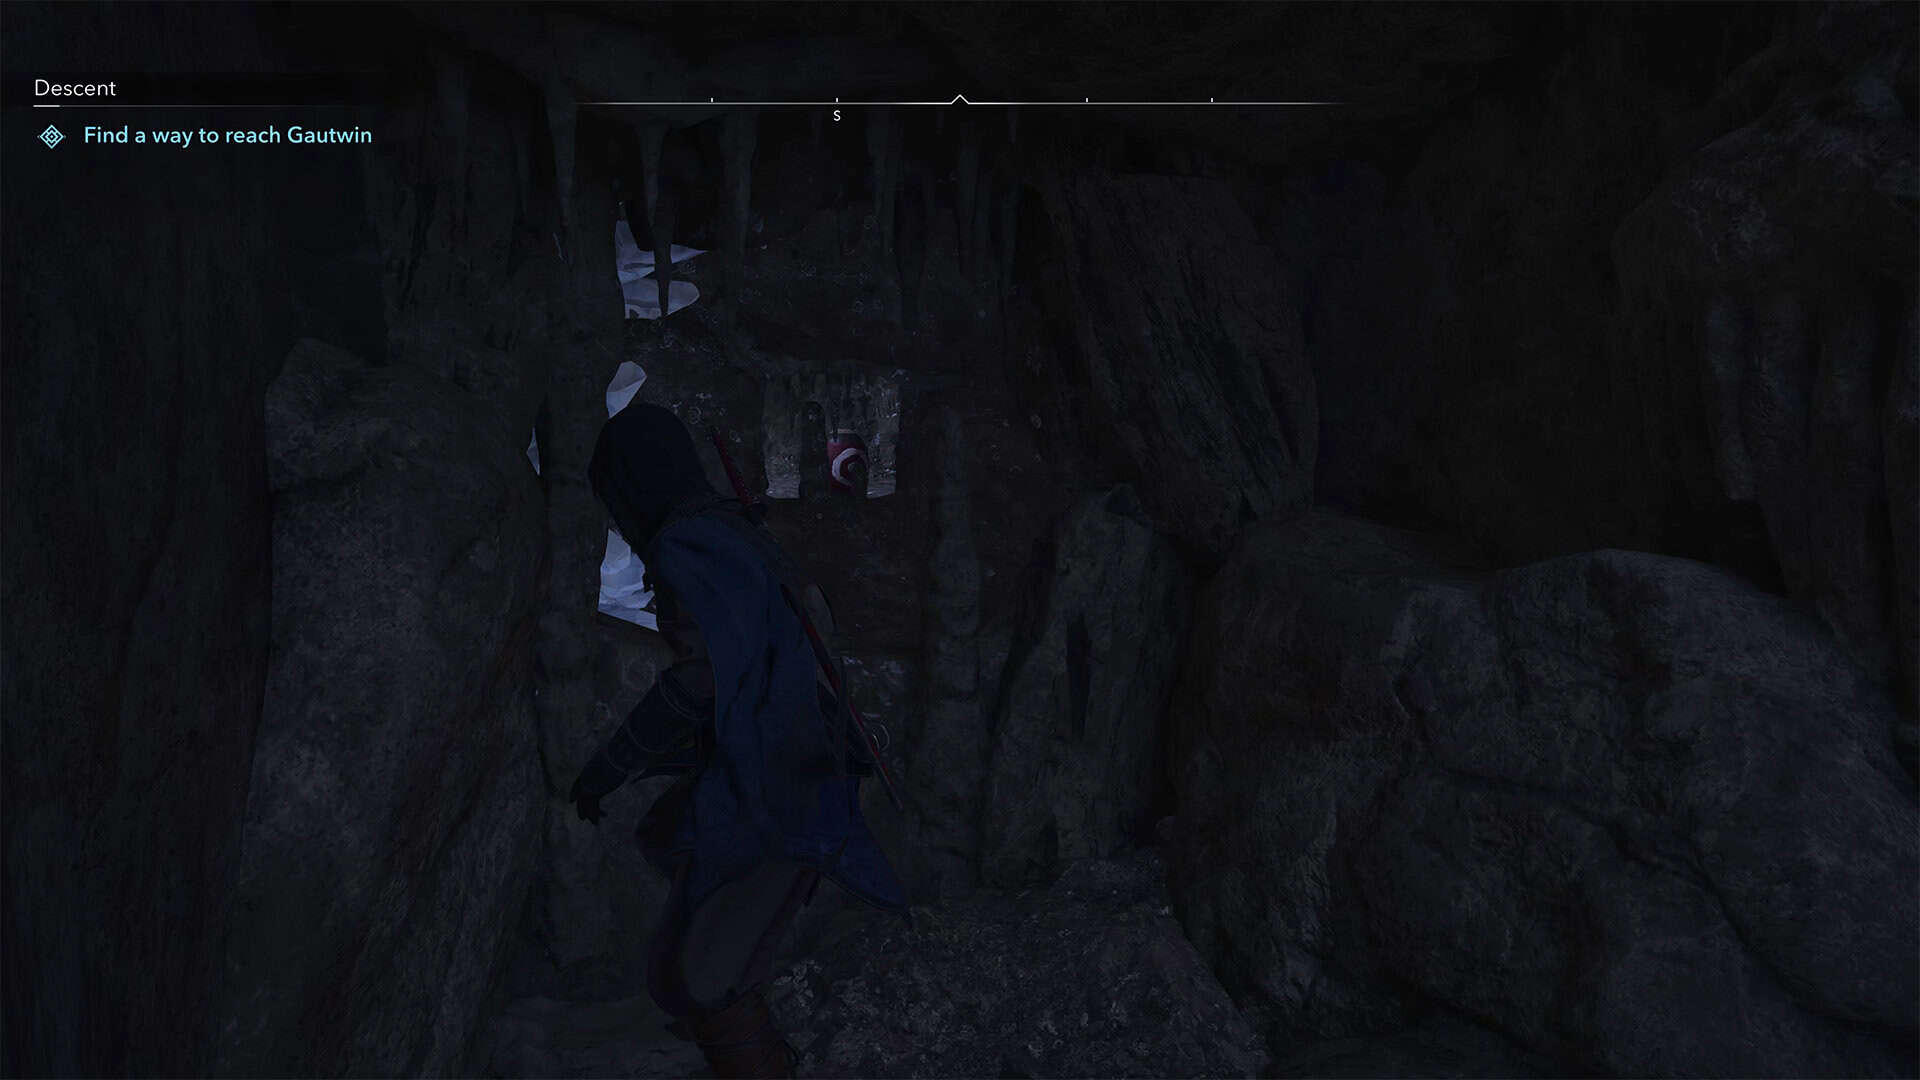
Once you are on your feet, run forward until you see the place where you need to jump and hook on to fly forward on the rope. You will jump onto the platform, and then you will see the familiar ice ledges that you will use to move forward. I actually thought that finding the right path would be more difficult. You almost always have to move forward, jumping over the obstacles that come your way. Soon you will have to lie down again and crawl through a low corridor. At the end, there will be another point of no return.
Break the crystals blocking your path and jump down. You will slide down the sloping platform. Ahead, you will see a hole into which you must throw a kunai to explode the barrels of gunpowder. After that, you will see the continuation of the path on the right. Here you can replenish your supplies, as you will need kunai in the next stage of your journey. Run forward and be careful. Ahead is a place where you will start sliding down. At the end of this sloping ramp, you need to jump forward and grab onto the ice ledges.
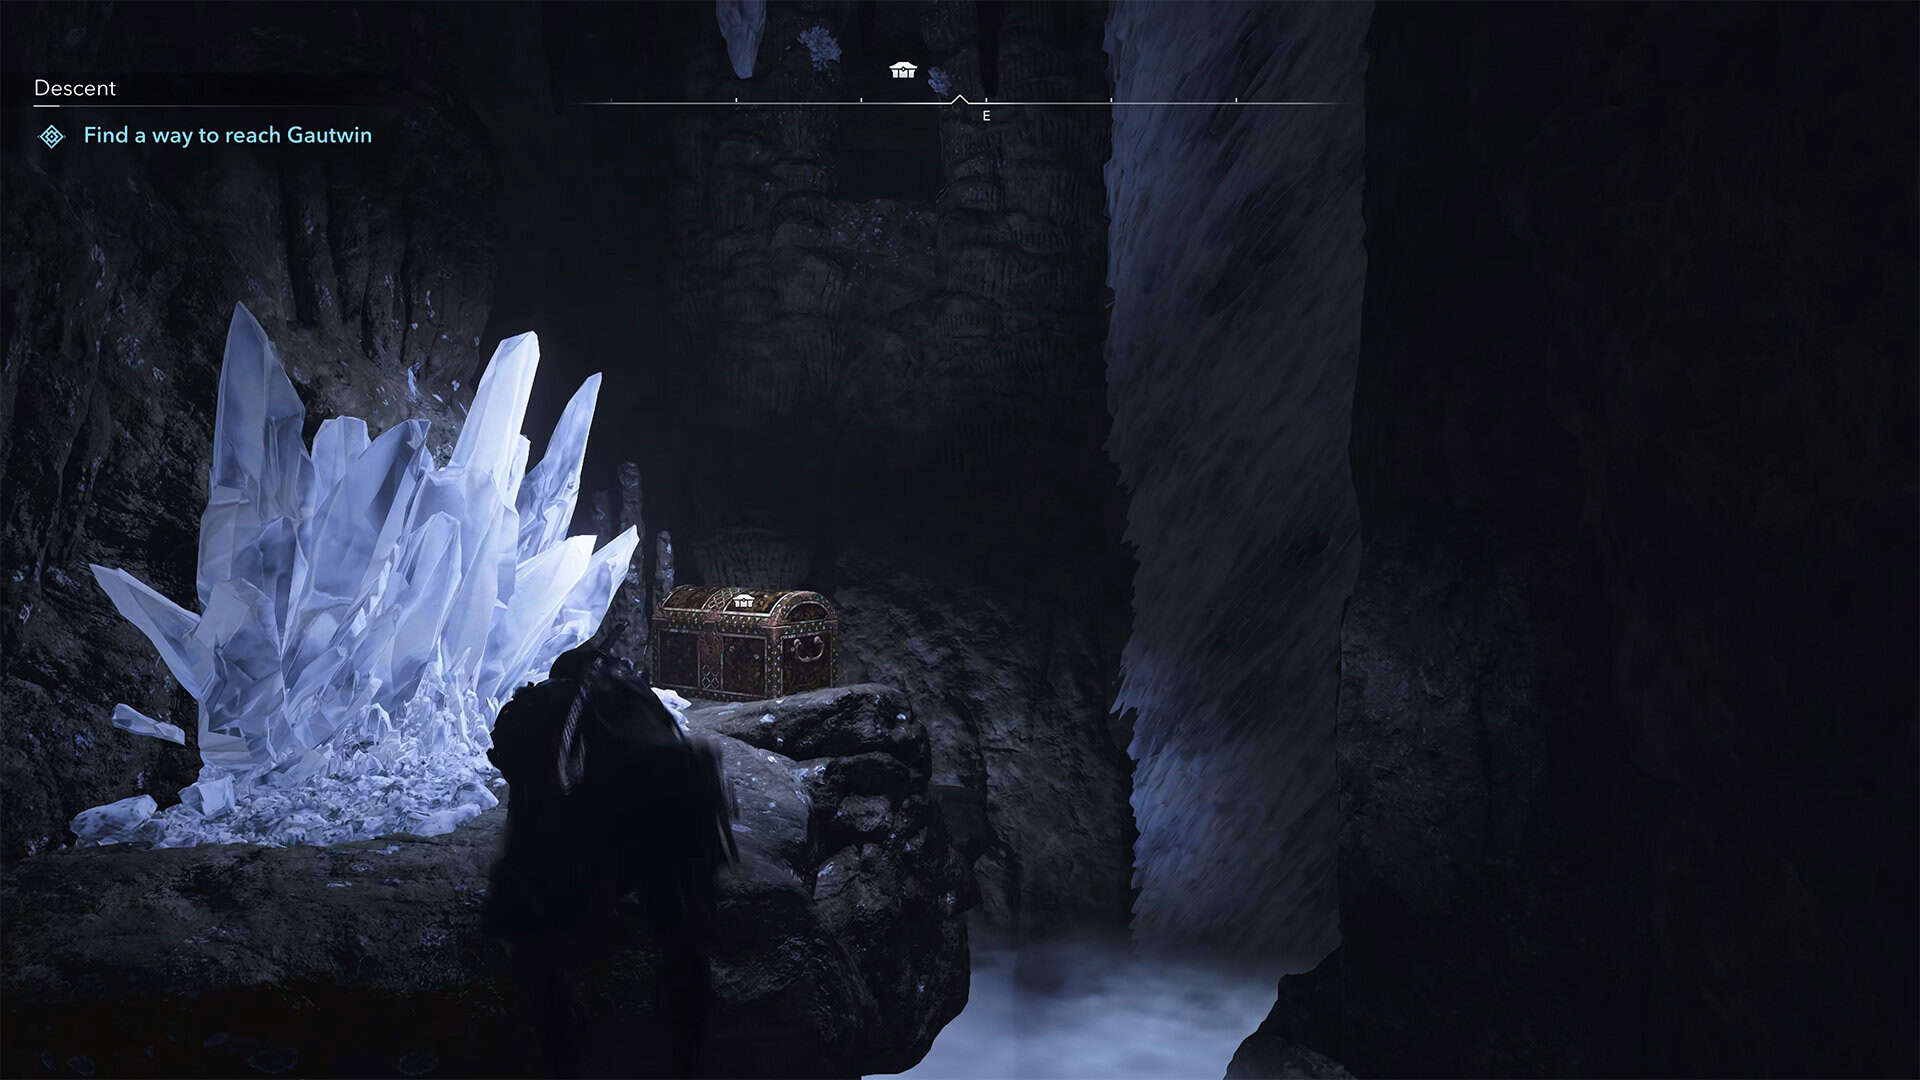
If you don’t do this, you will fall. Holding on to the ice ledges, I suggest you climb down. Here, on the right, you will see yellow paint on the stone wall. This is a marker that will lead you to the chest. It only contains improvements for your home, so you can choose whether you want to go for it or not. After opening the chest, return to the ice ledges and now climb up. Using your hook, you will jump forward and run forward. Here you need to hook onto the hook above and climb down the rope. At the bottom, jump off to pass this point of no return.
-
- One of the secret chests along the way
-
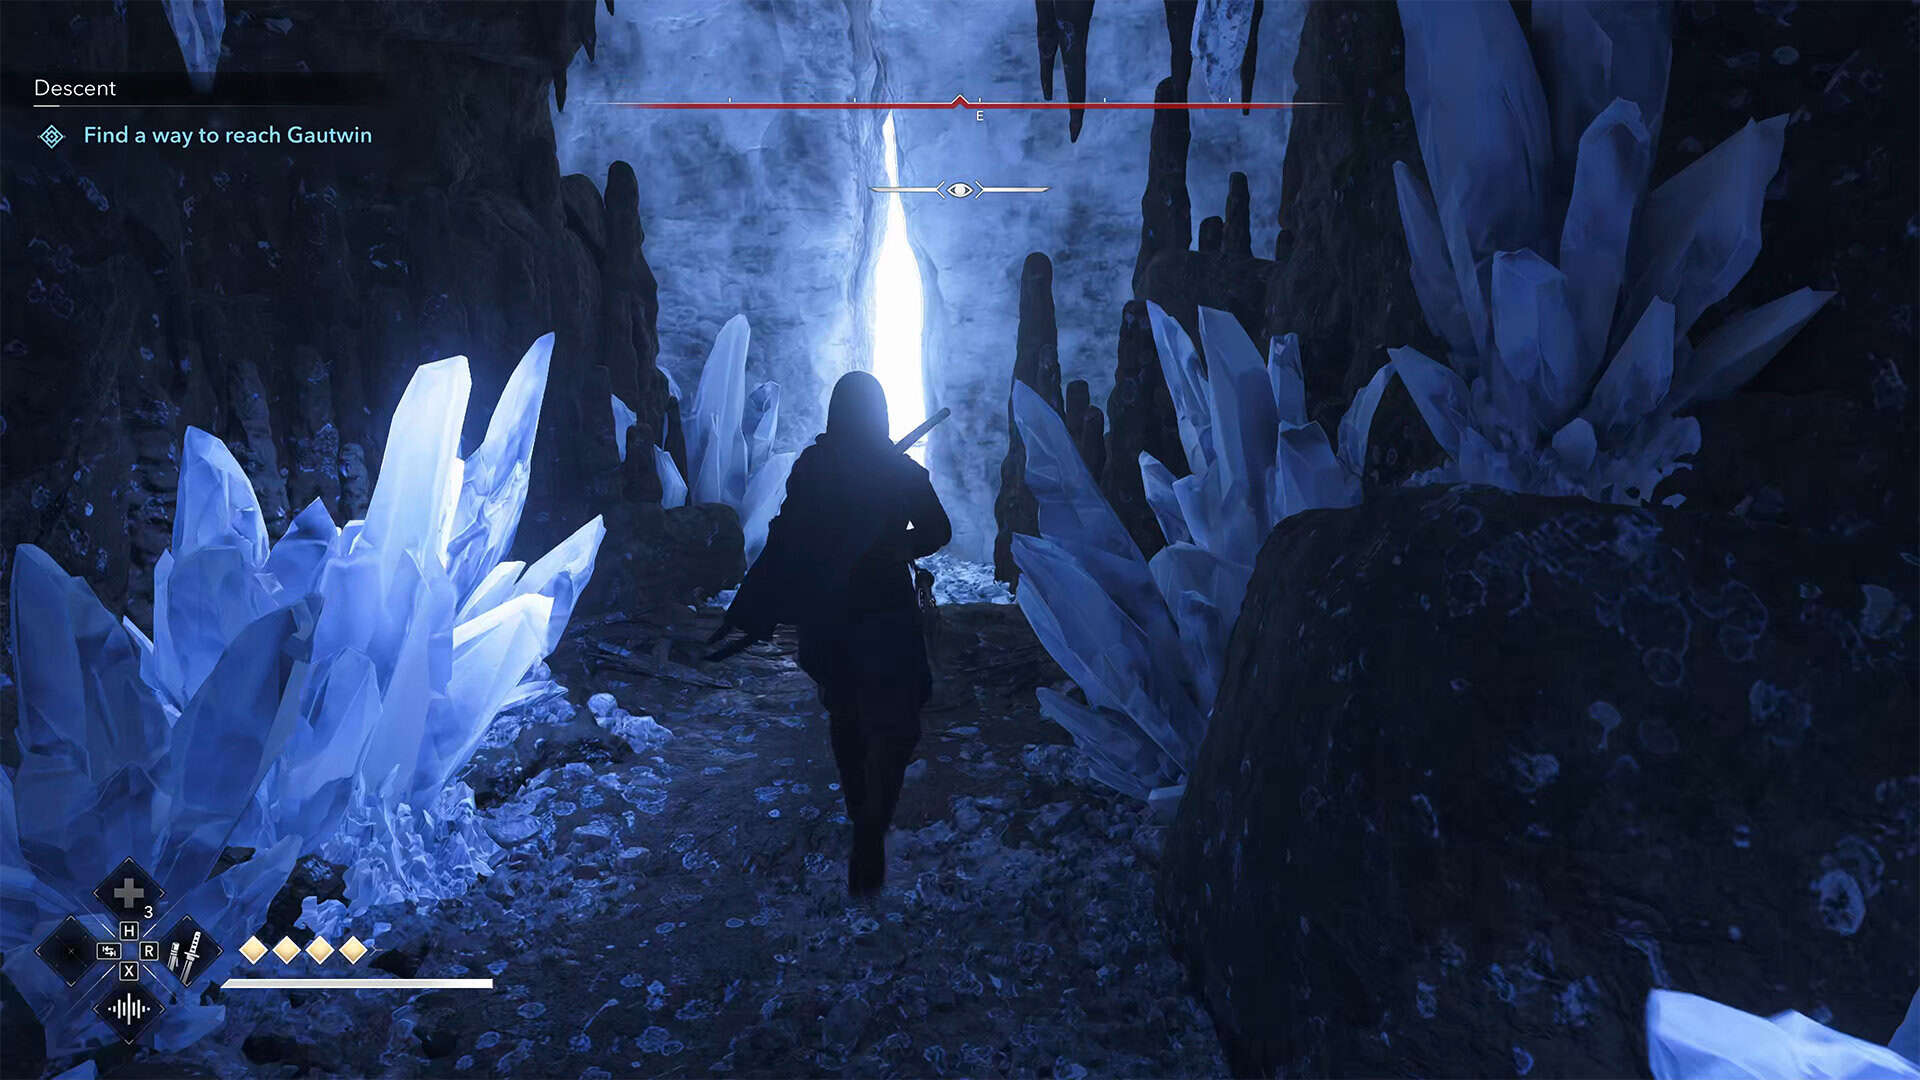
- Exit to the ice cave
Find a way to reach Gautwin
Below, you will see two enemies. You must defeat both of them, and then you will be able to replenish your supplies and move forward. You will see the exit from this cave and find yourself in an even more strange, but at the same time beautiful place. It is a huge ice cave. During the cut scene, you will see Gautwin chained to an ice platform. You need to free him. To do this, you need to overcome this confusing route.
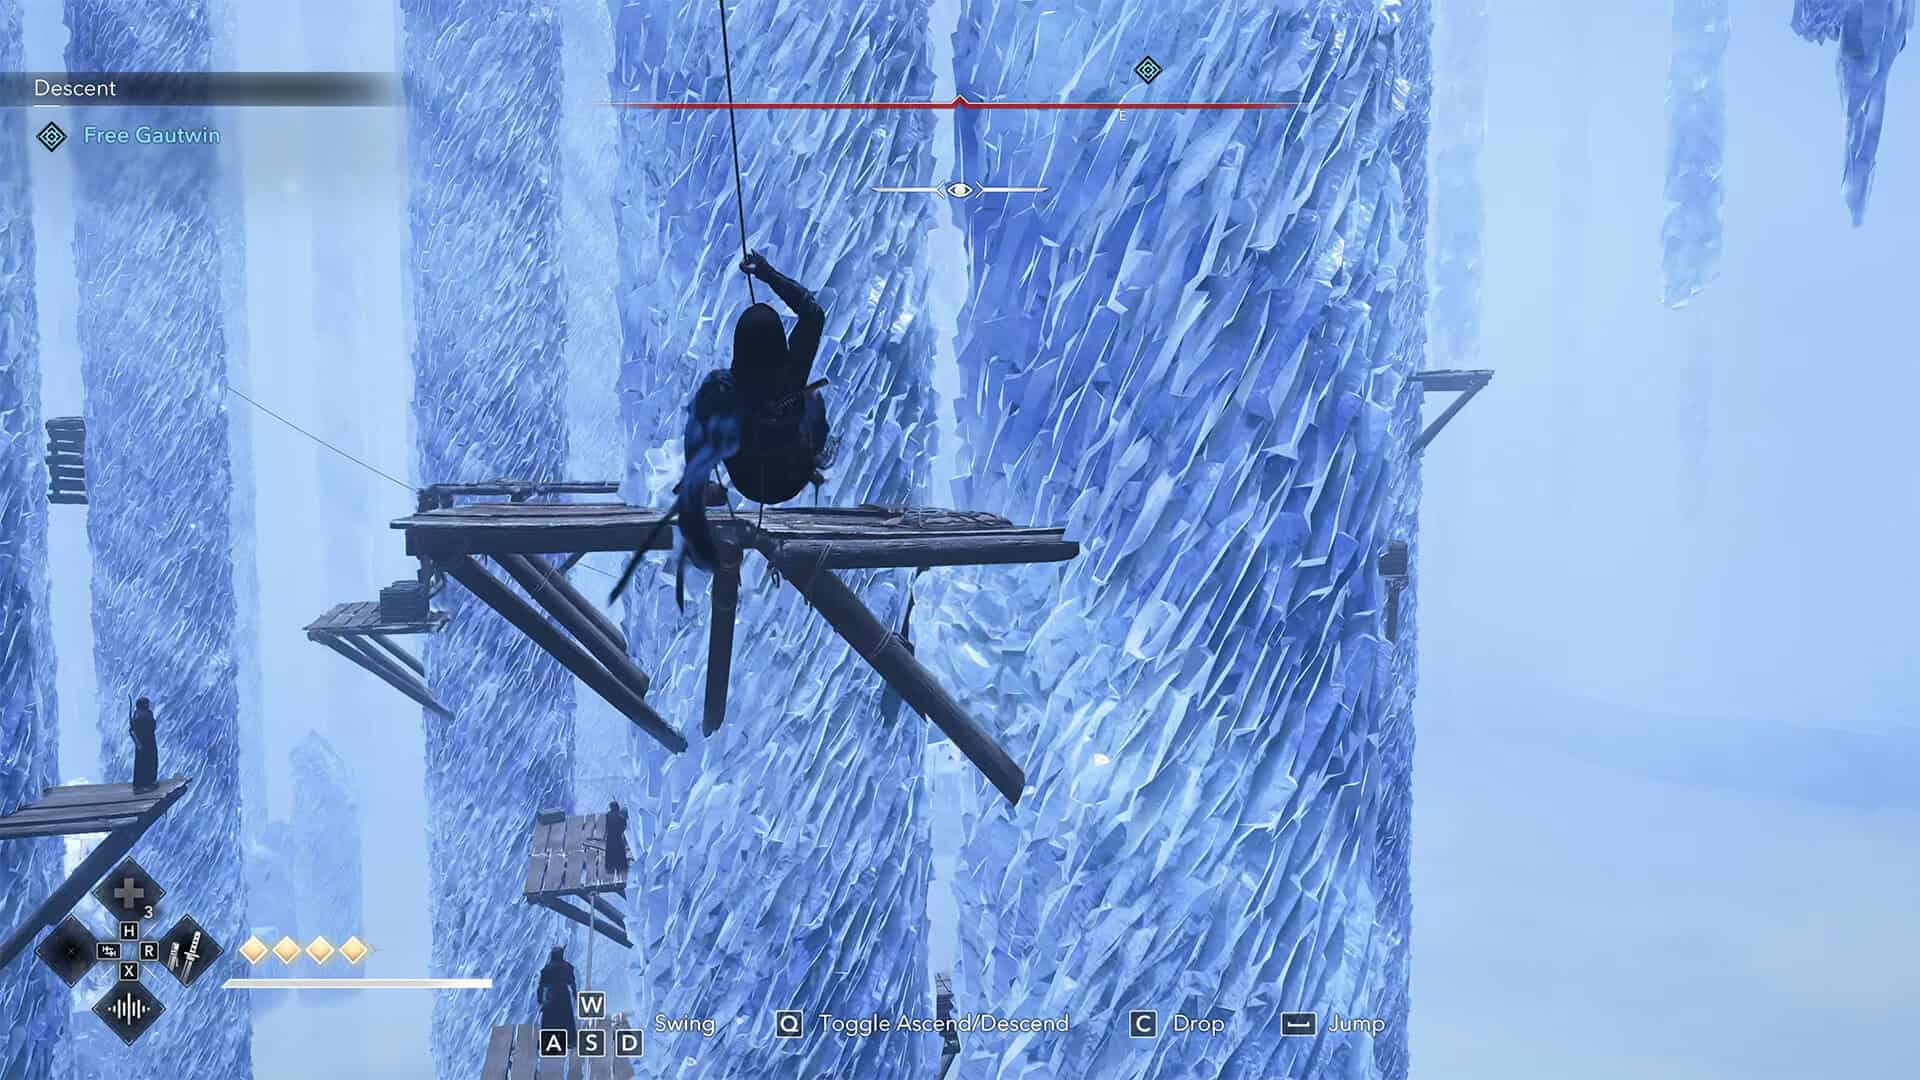
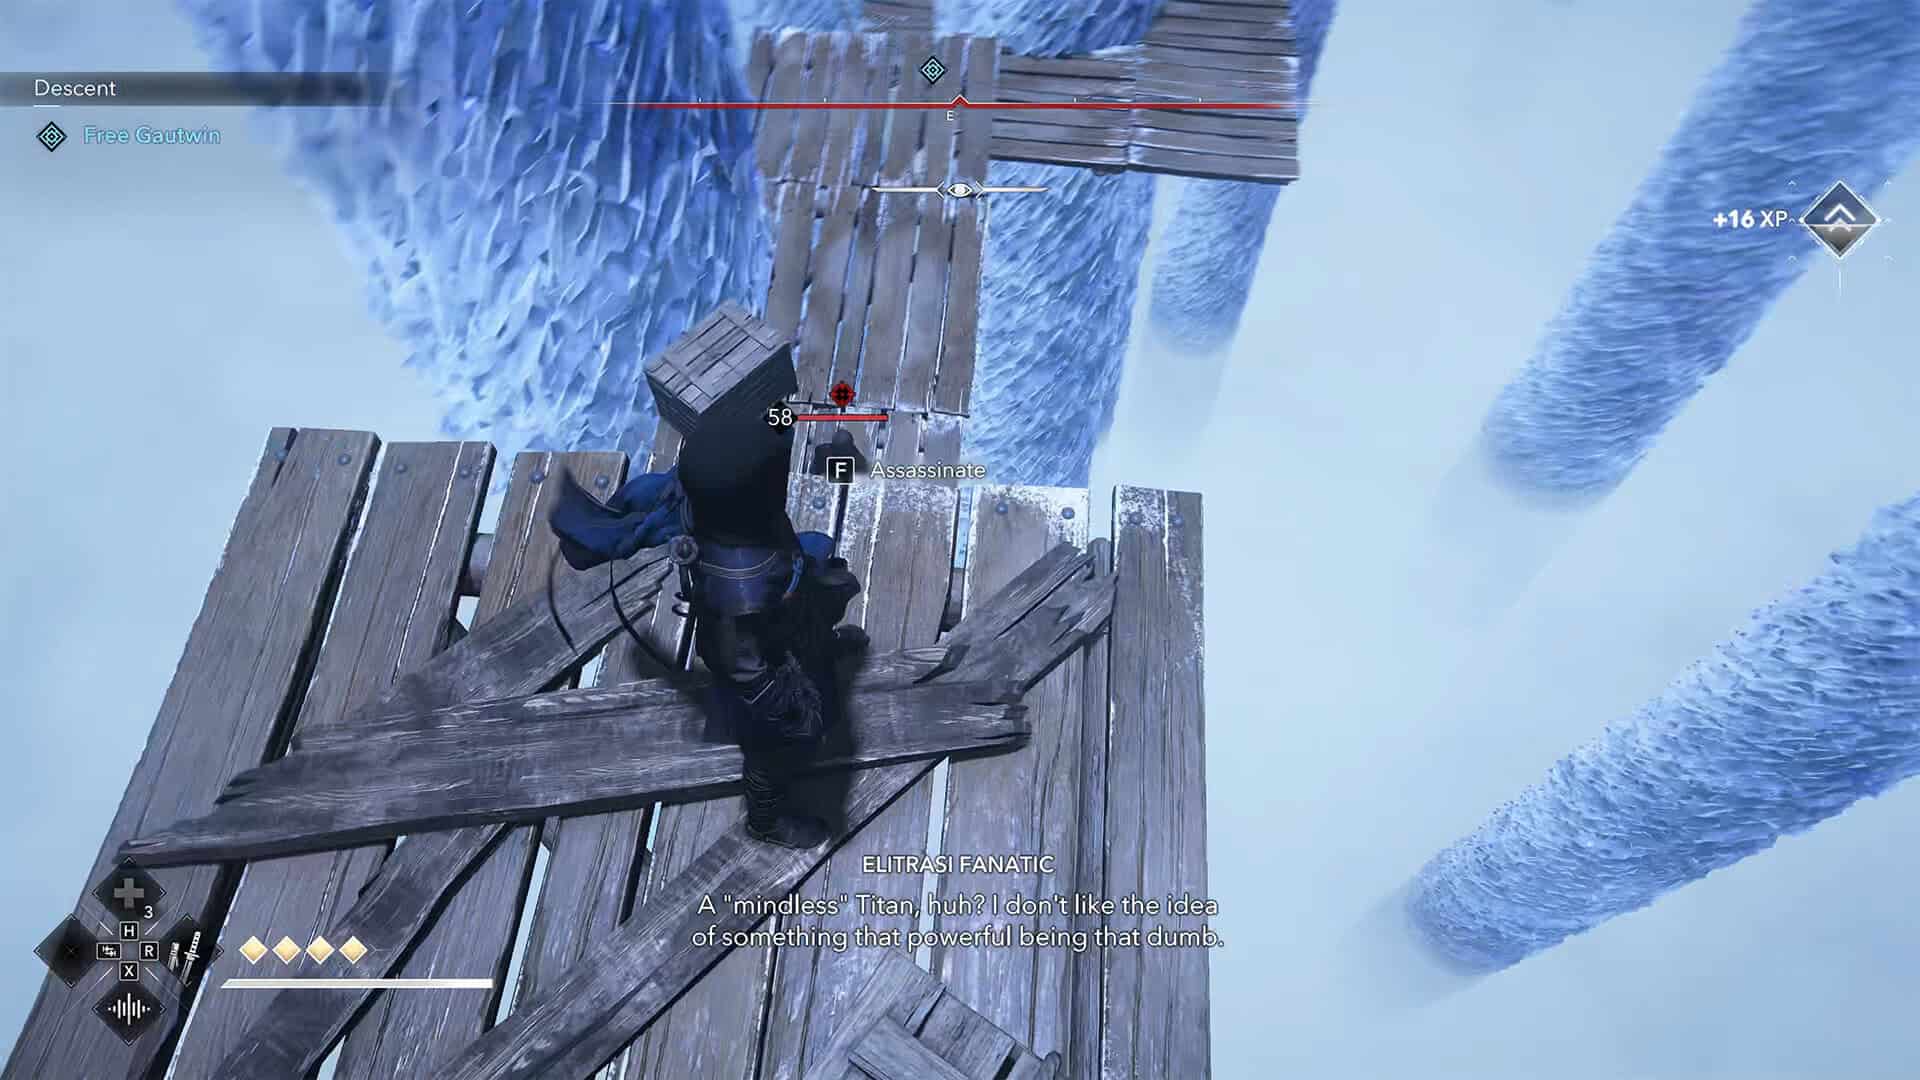
Jump forward and hook twice to reach the platform ahead. Here you can replenish your supplies if you need to. Next, look carefully ahead and you will see two enemies in front of you. One is slightly to the left, the other to the right. Throw a kunai to neutralize them. After that, you should see an enemy below you. Use Assassinate to destroy him. Walk forward along the rope to the platform ahead. Then jump along the wooden beams and you will find yourself on a platform where you will see two enemies ahead, standing with their backs to you.
If you have learned the double assassinate skill, you can easily deal with them. Further ahead, you will see another enemy. Throw a kunai at him. Use your hook to fly to him. On the left, you need to climb twice up the vertical wooden elements.
-
- Path through the ice cave
-
- Wooden elements for parkour
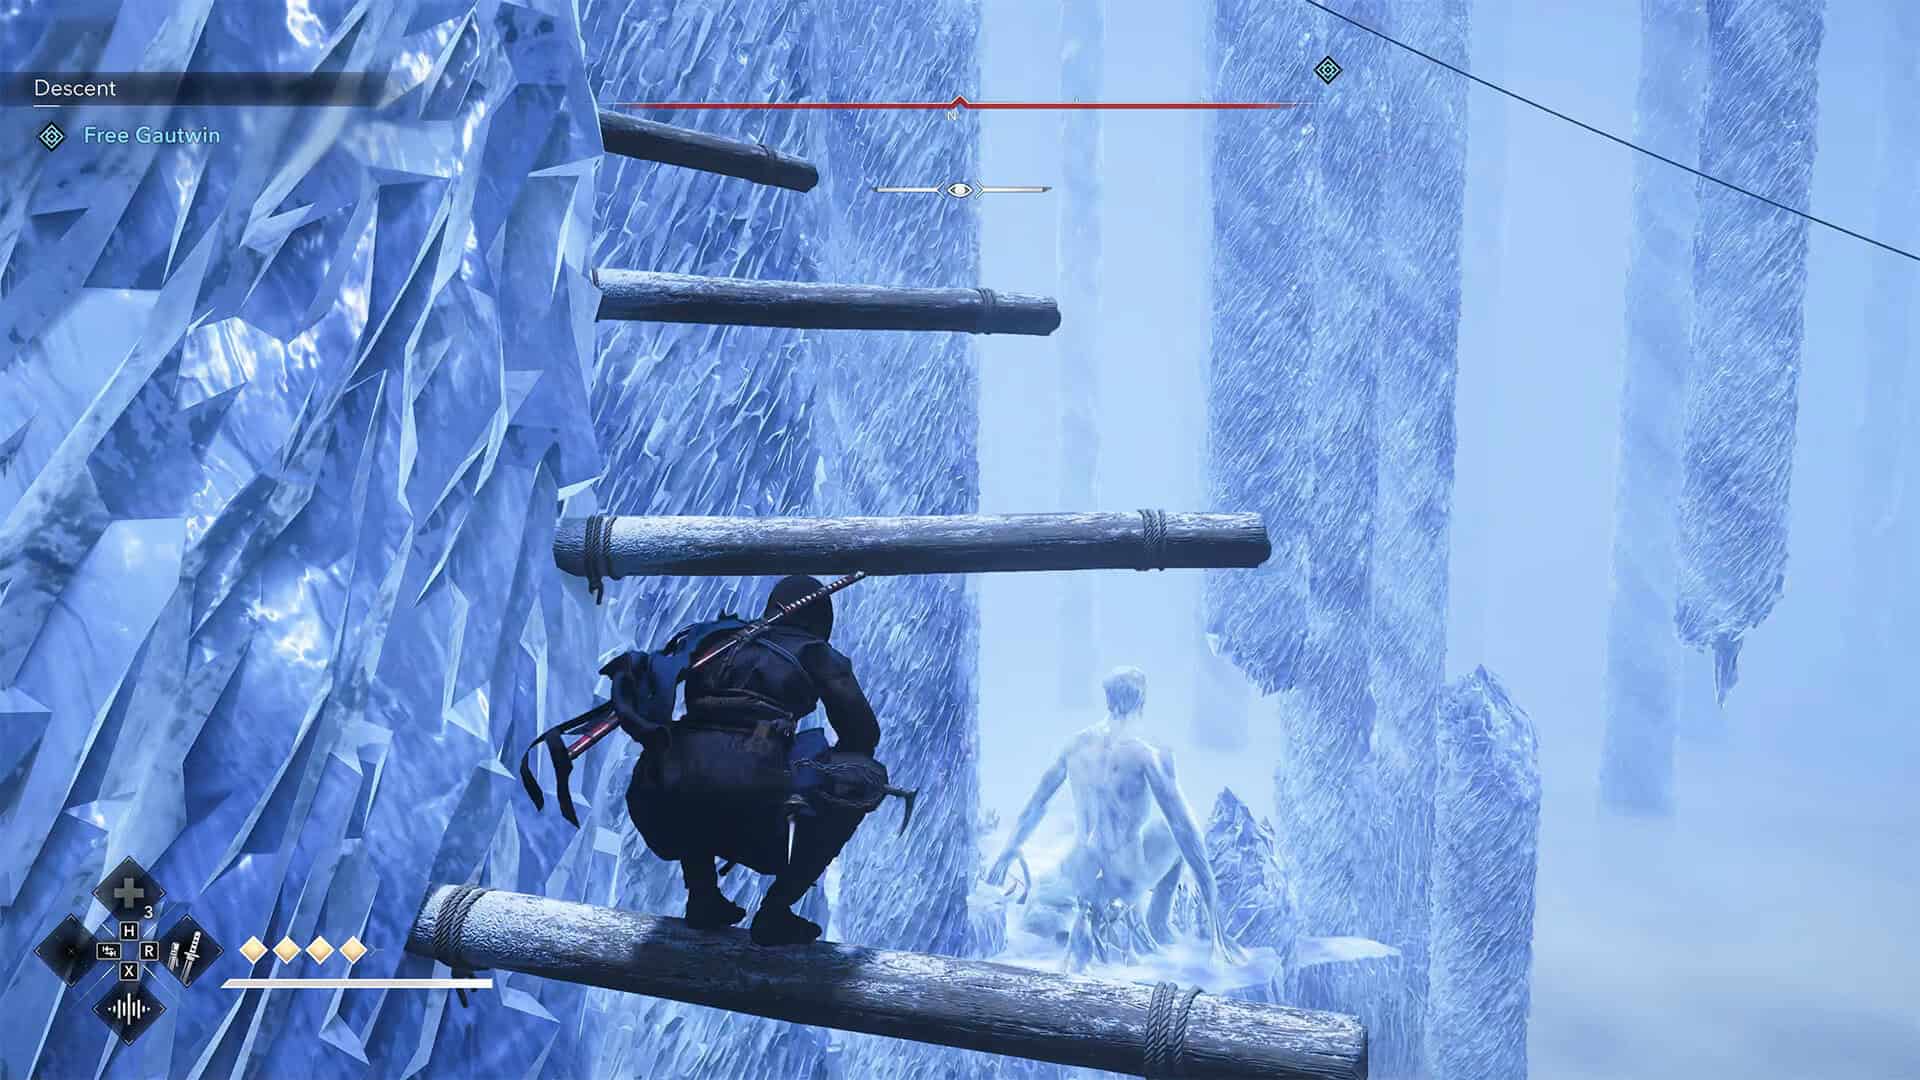
On this platform, find the direction where you need to jump and hook twice to jump onto the platform ahead. Here you can replenish your supplies again. After that, you need to neutralize the enemy ahead and then assassinate the enemy below you. You will see a rope stretched out. Walk along it and you will see two enemies below. They must also be eliminated quickly so that they do not come to their senses. Next, you need to climb two vertical wooden elements.
Before moving forward, you need to destroy the enemy ahead. Also, look to the left and up. Here you will see another enemy, at whom you need to throw a kunai. Next, you need to assassinate the enemy below. Run forward, jump onto the second wooden platform, and here you will see wooden beams that look like steps moving in a spiral. Jump onto the vertical element, then turn around and jump onto the vertical wooden element again. From this platform, you need to jump forward and hook three times to jump onto the platform ahead.
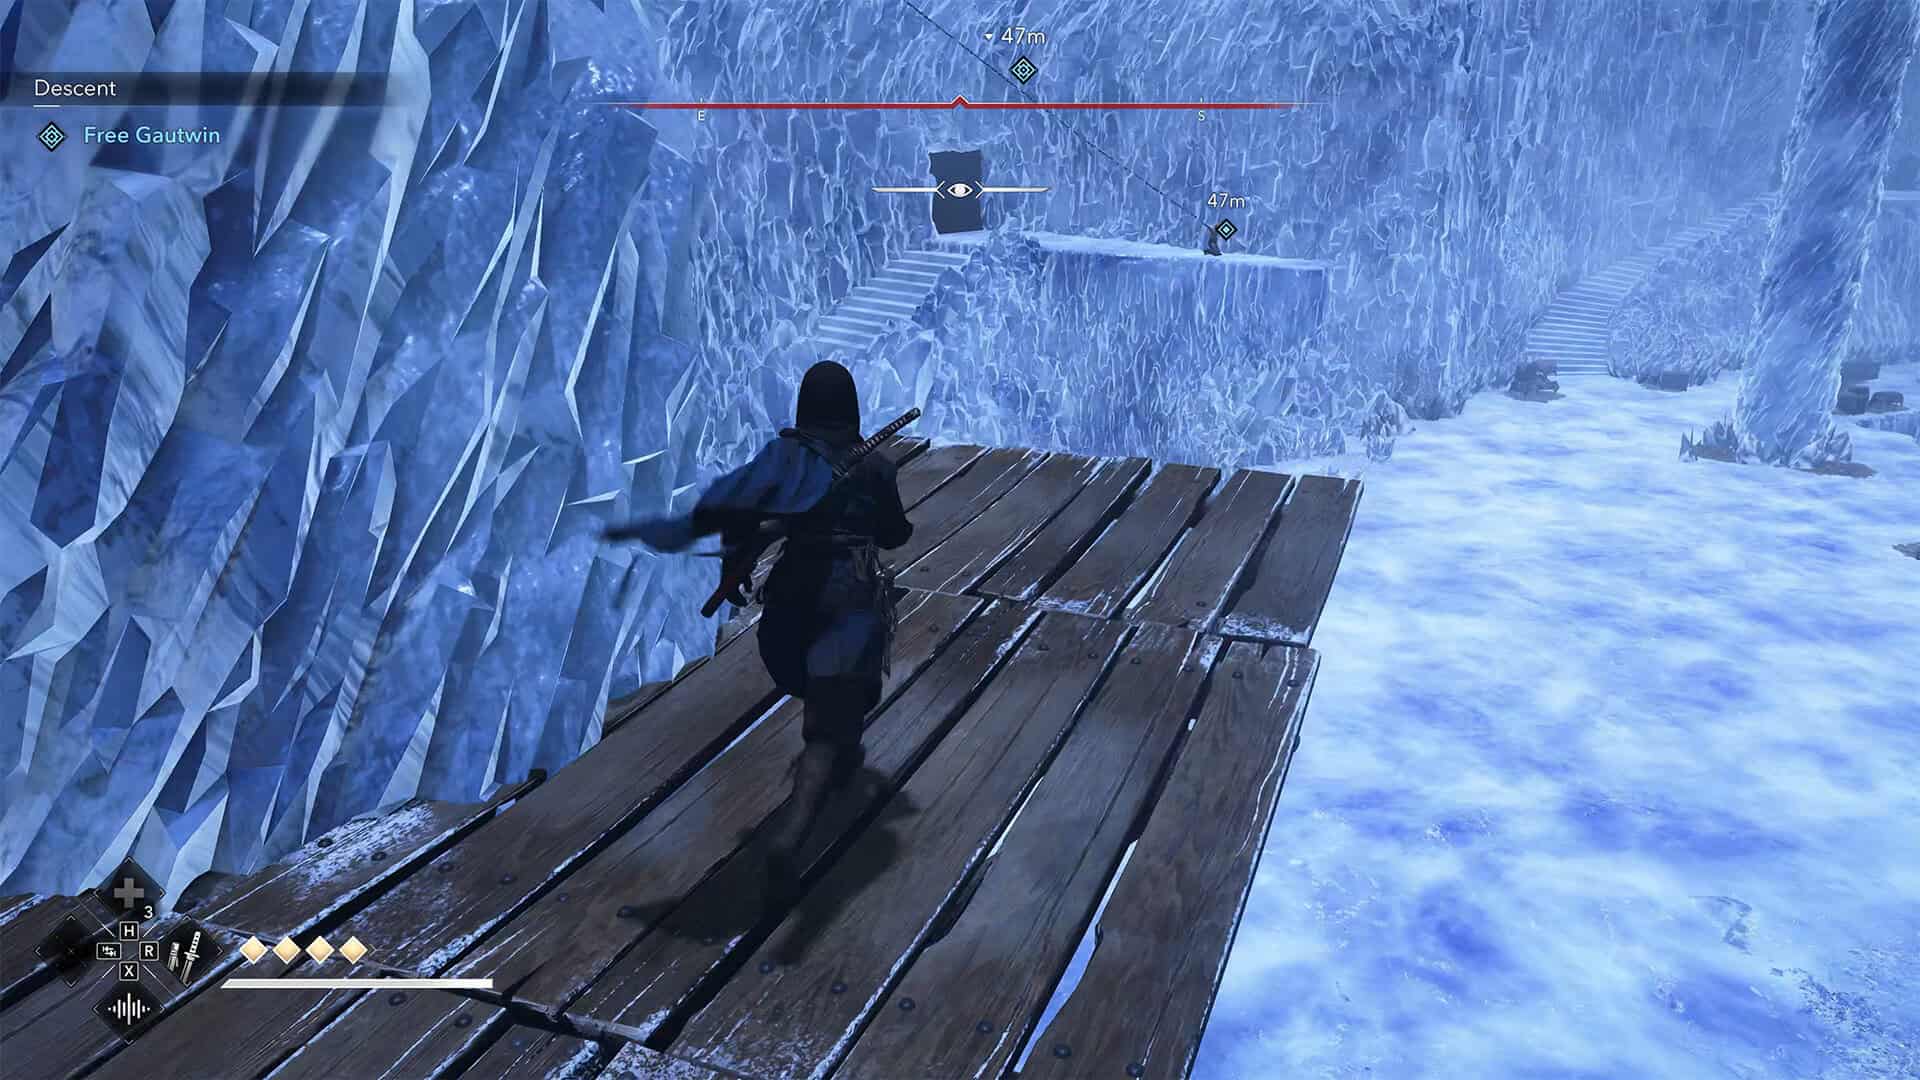
Go around the ice column, find the enemy below, and assassinate him from above. Next, you will see the next enemy. Throw a kunai at him, then perform a hook to jump to him. You are close to the end of this path. You need to walk forward on the rope and turn to the platform on the right. From here, you need to hook twice to reach the final destination of this path.
-
- Assassinate enemies along the way
-
- Final jump to Gautwin
Battle with Lord Albrecht
Next, you will experience several cut scenes. It’s interesting that you had to go through quite a difficult journey to get here. Your friends, on the other hand, will simply enter the location, which personally annoyed me a little. So as not to spoil the dialogue and what is happening here, I suggest you watch these videos in the game yourself and find out what this place is all about.
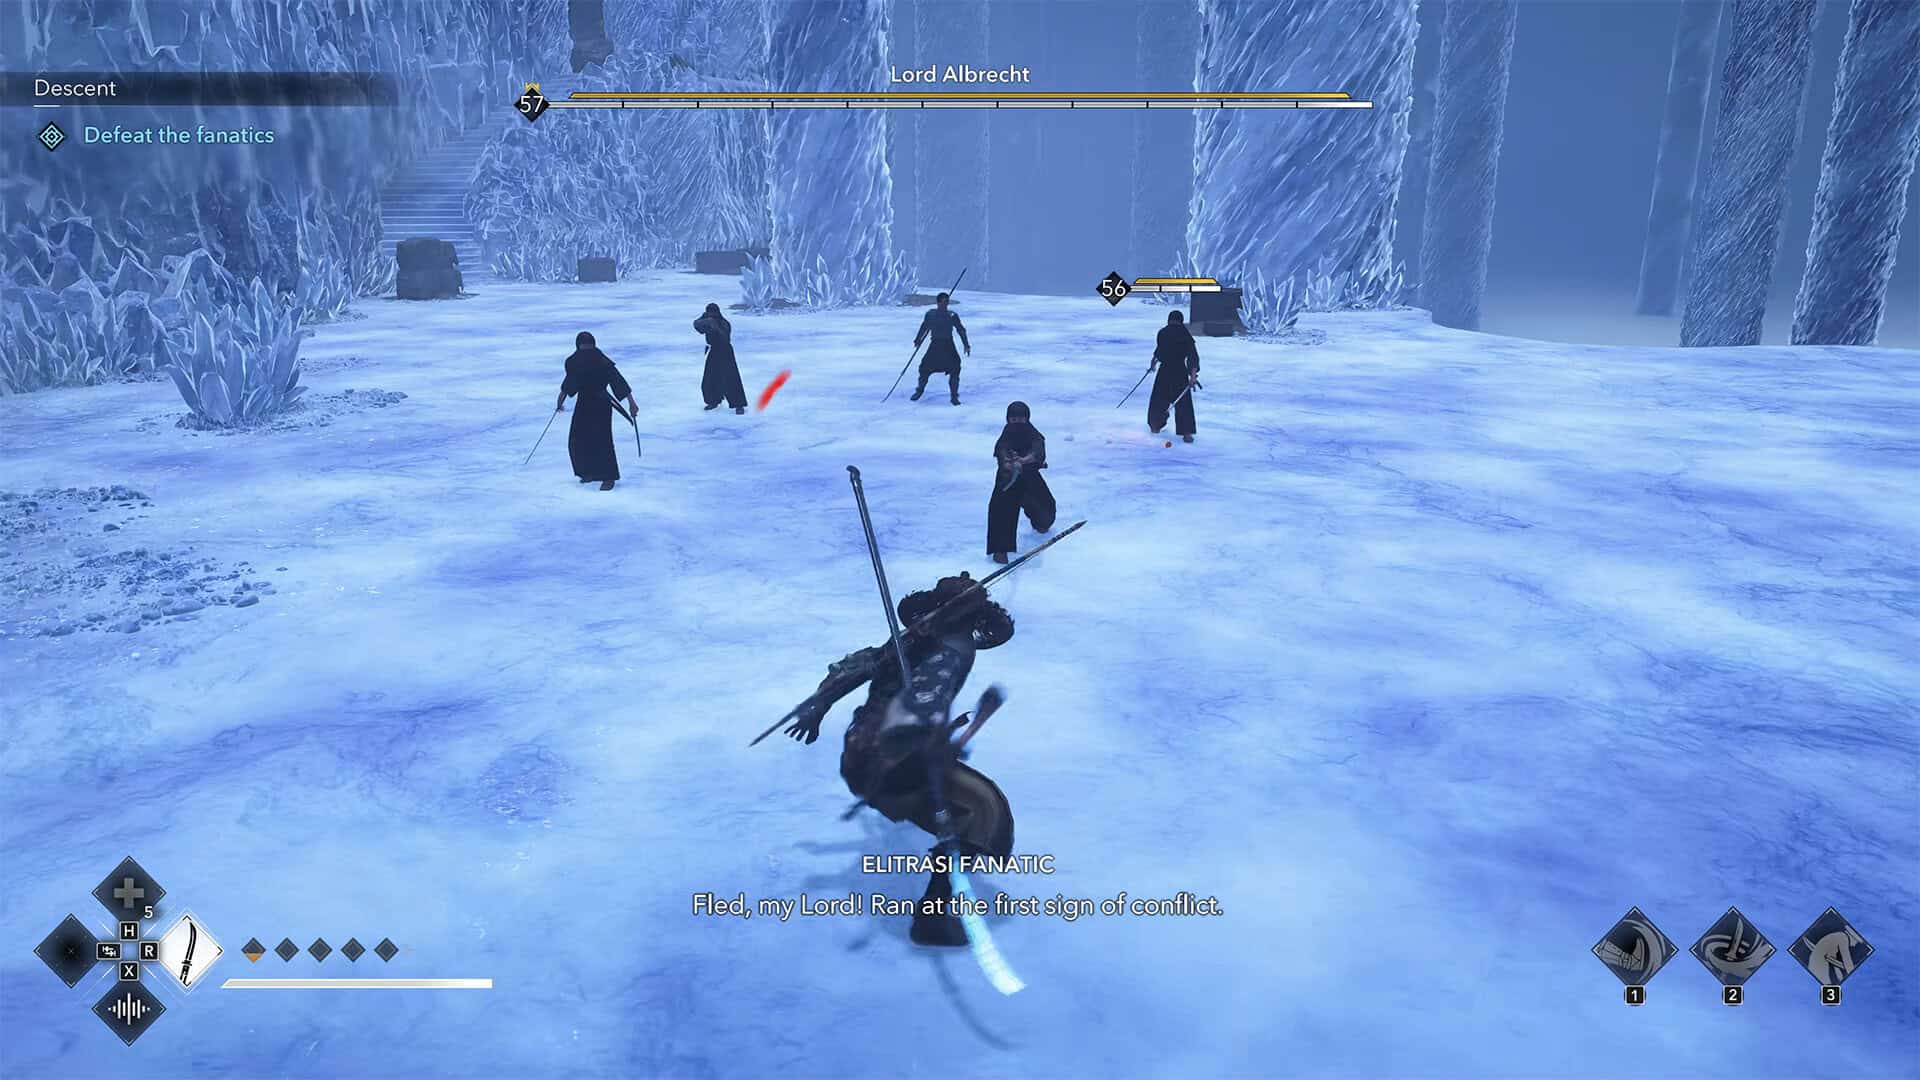
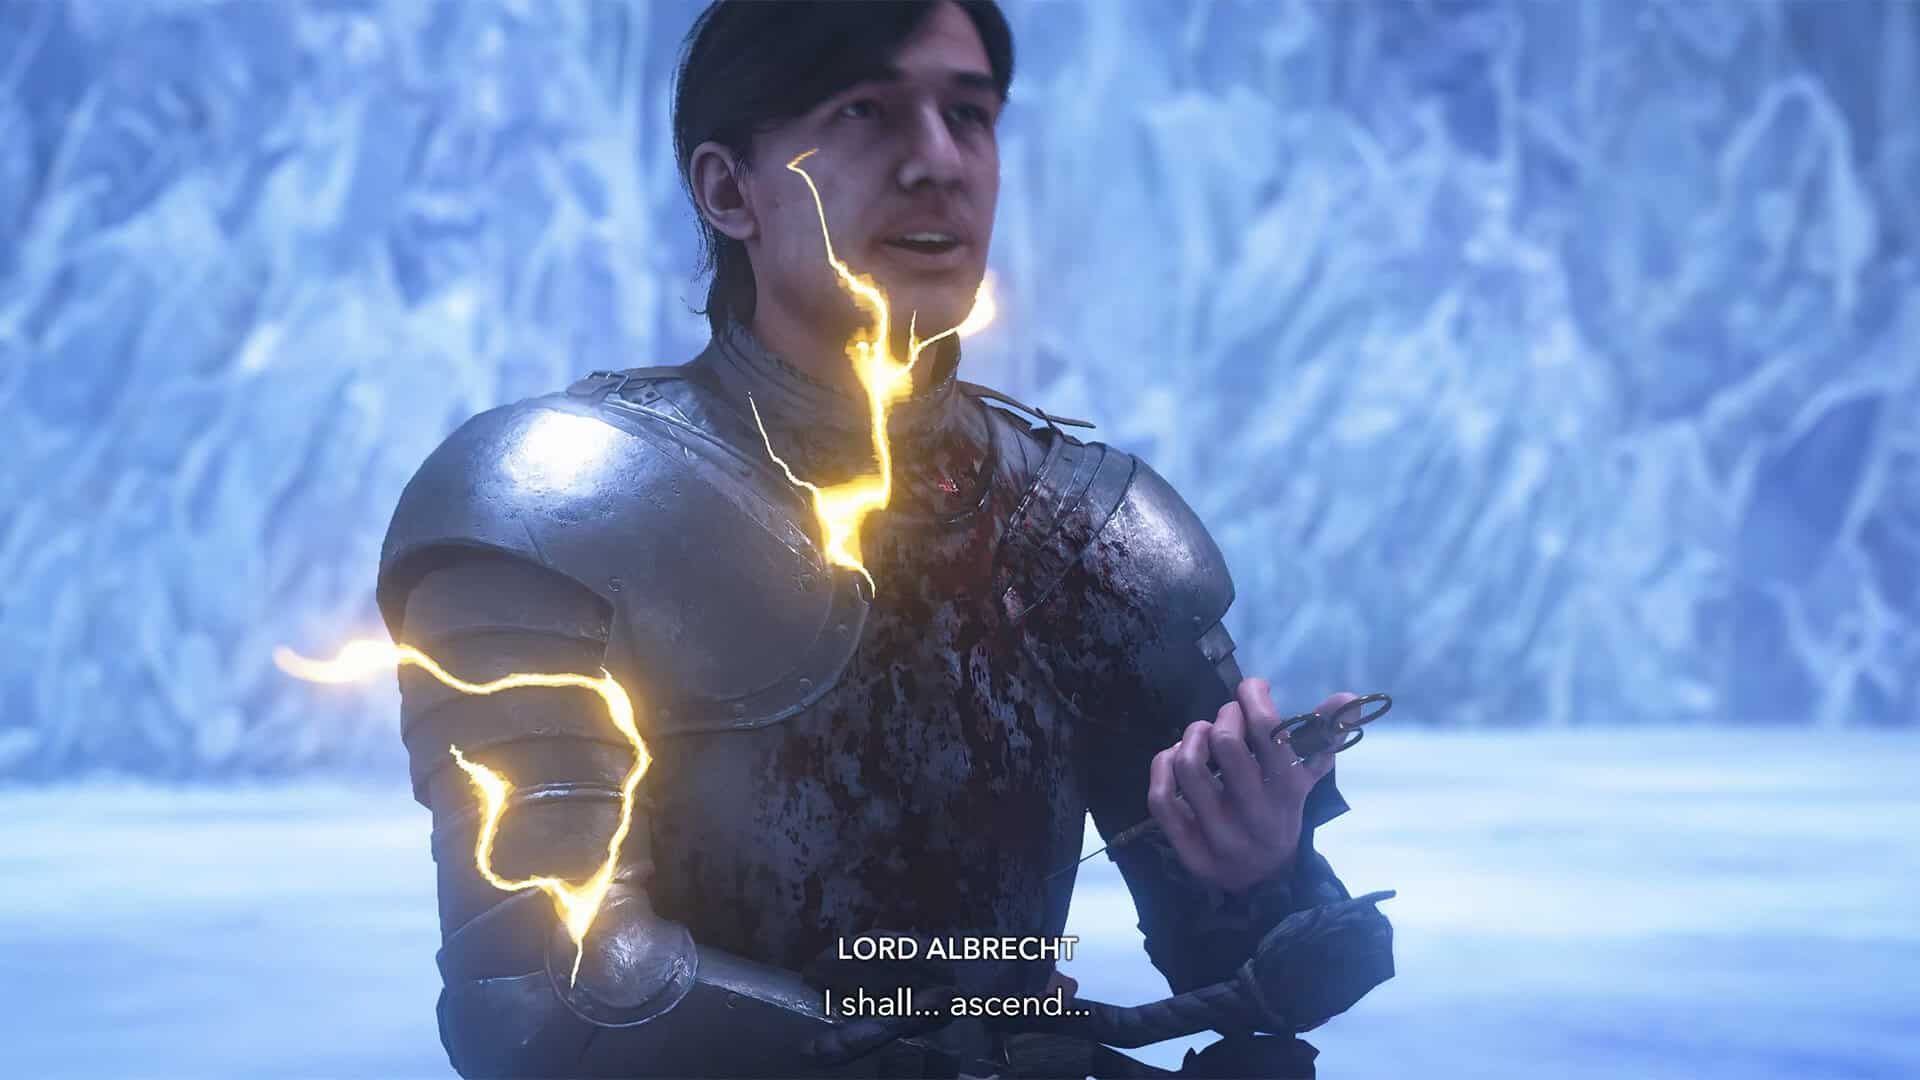
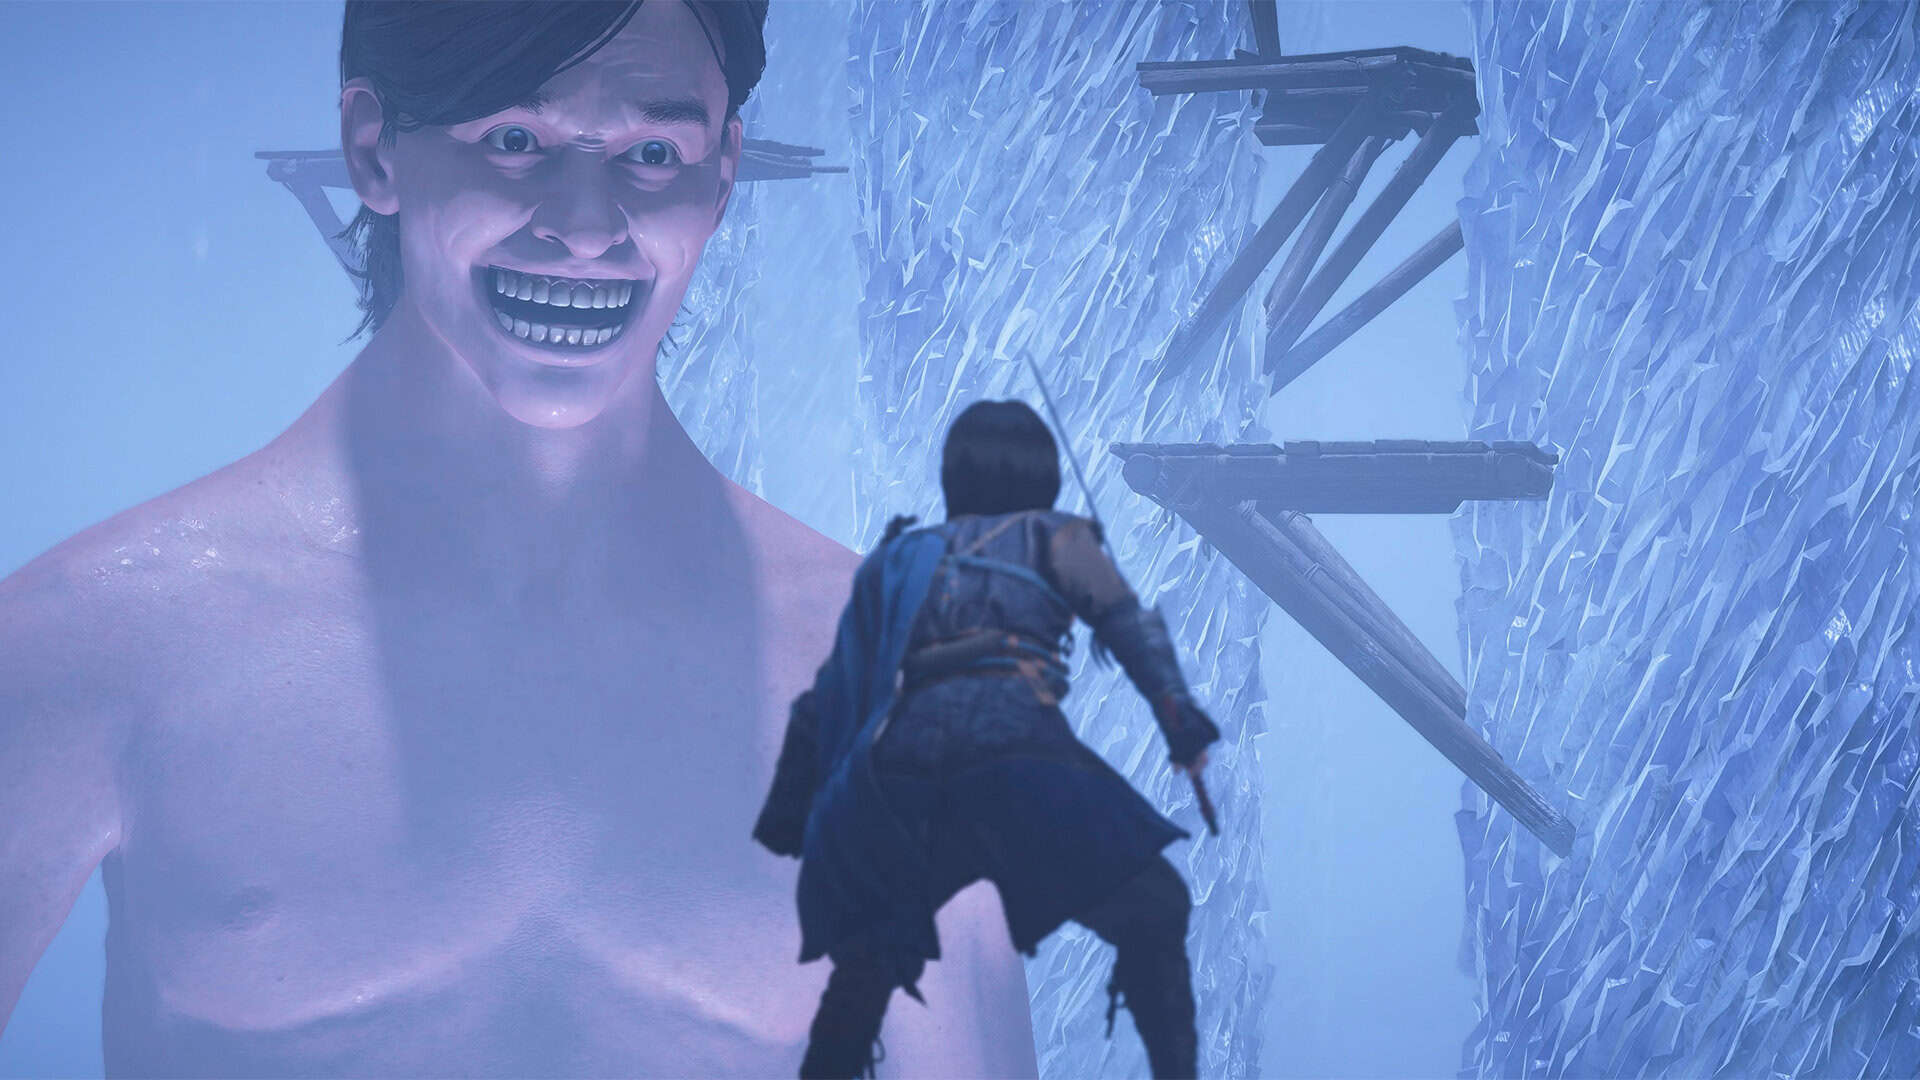
Next, the main enemy will join you with a group of guards. This time, your control will switch to Yasuke. While Naoe and Ada free Gautwin, you will have to fight an interesting battle with a group of enemies. In general, they are not a threat, and you can easily deal with each guard and finally destroy Lord Albrecht. And here you will witness a very unexpected transformation of the main enemy. He will grow to an incredibly large size and literally turn into a huge monster.
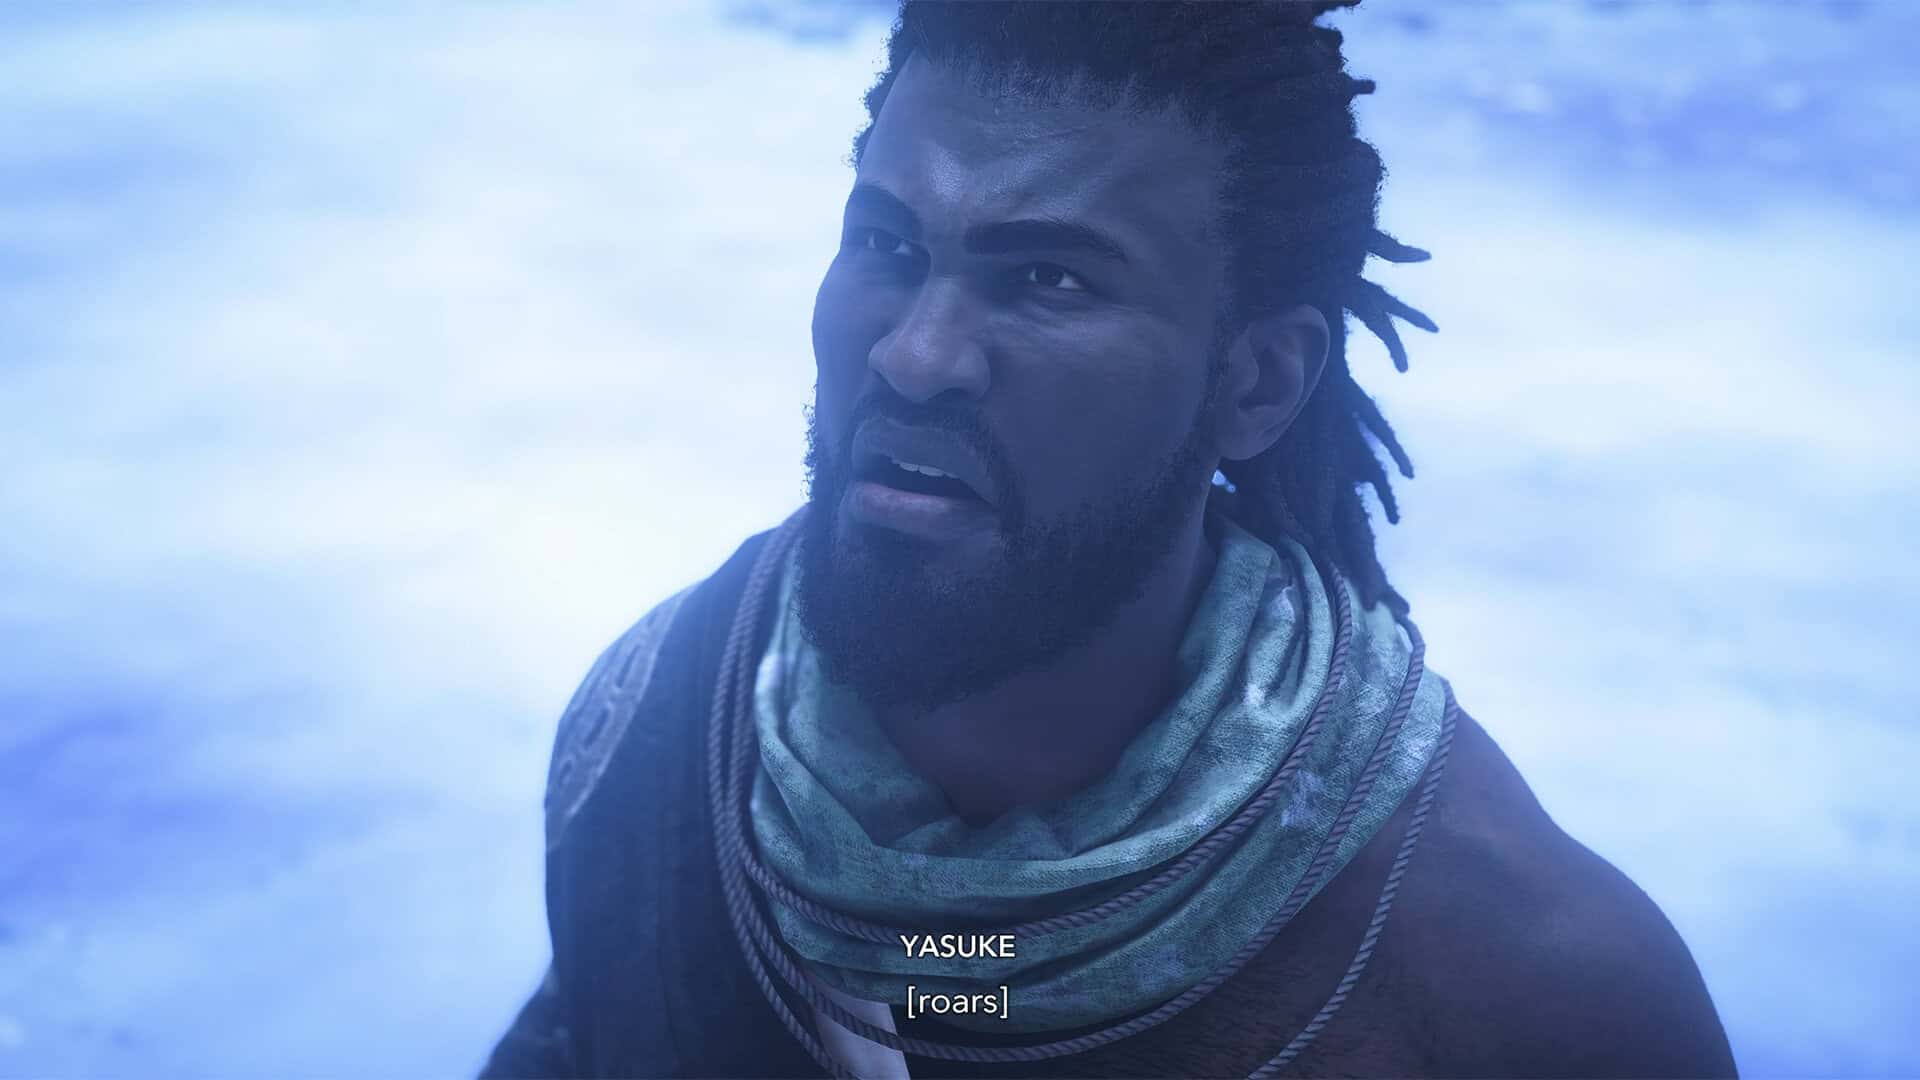
Yasuke will distract him and tell his friends to rescue Gautwin and run away from here. And then, playing as Yasuke, you will have a very important role to play. You need to show your skill and make a strategic escape from this unreal, terrifying monster in time. It’s a pity, I would have been interested to see if the developers had allowed you to defeat him.
-
- Yasuke battles enemies and Lord Albrecht
-
- Lord Albrecht injects himself
-
- Lord Albrecht transforms into a giant
Escape the cave
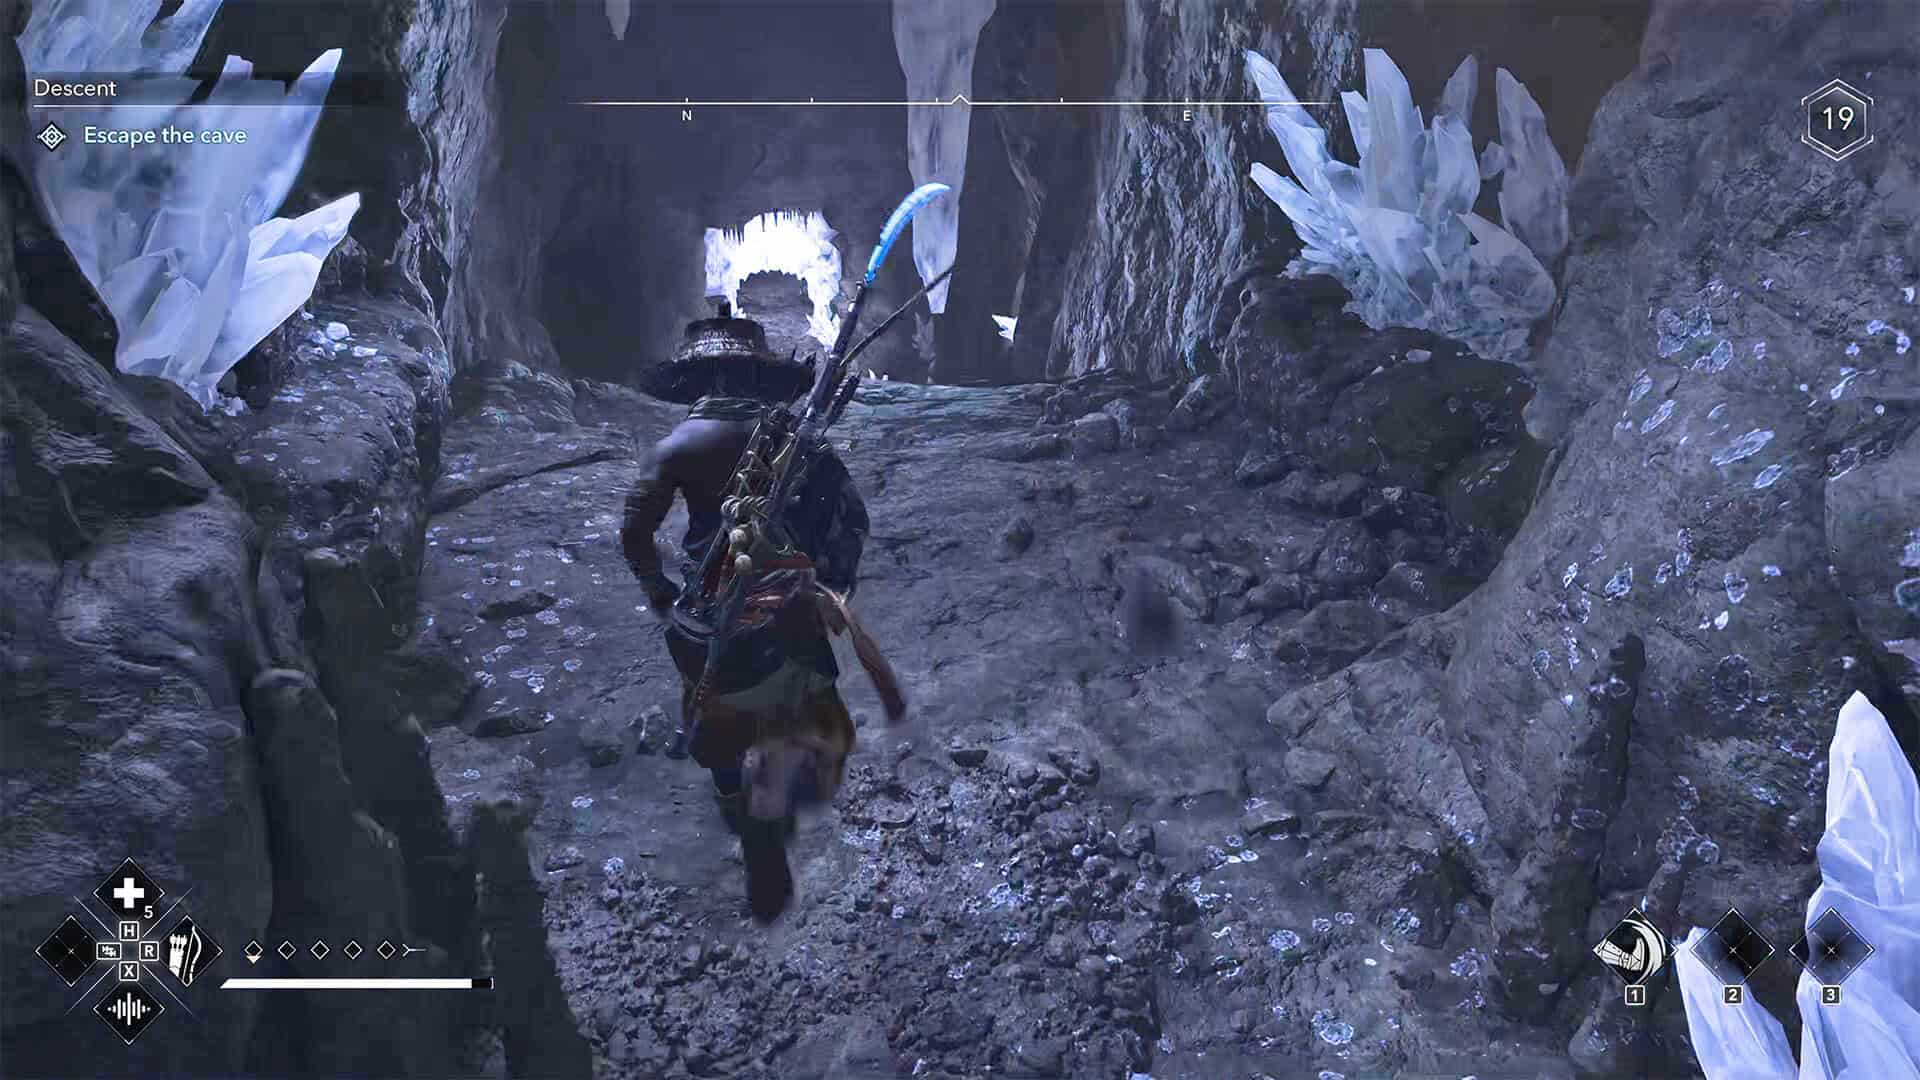
The final phase, in which you simply need to run as fast as you can, will not be difficult for you. You need to run straight ahead at all times. You may see branches to the right or left, but there is no passage there, and you will simply waste time and lose the race if you run there. There will be quite a few ice walls on your way. Don’t stop in front of them, Yasuke breaks through them with momentum. Your task is to run very fast. Therefore, use acceleration whenever possible.
Try to spend as little time as possible recovering after hitting an ice wall. At the end of the race, you need to jump on the ice hooks and crawl to the other side of the chasm. Here, I recommend jumping a little forward, because Yasuke’s movement on these hooks will be quite slow. After you jump onto the platform after these ice hooks, the quest will be completed. You will see the final cut scene and receive a reward for the quest.
-
- Yasuke distracts the giant Lord Albrecht
-
- Yasuke runs away from the giant Lord Albrecht
-
- Final scene after completing the quest