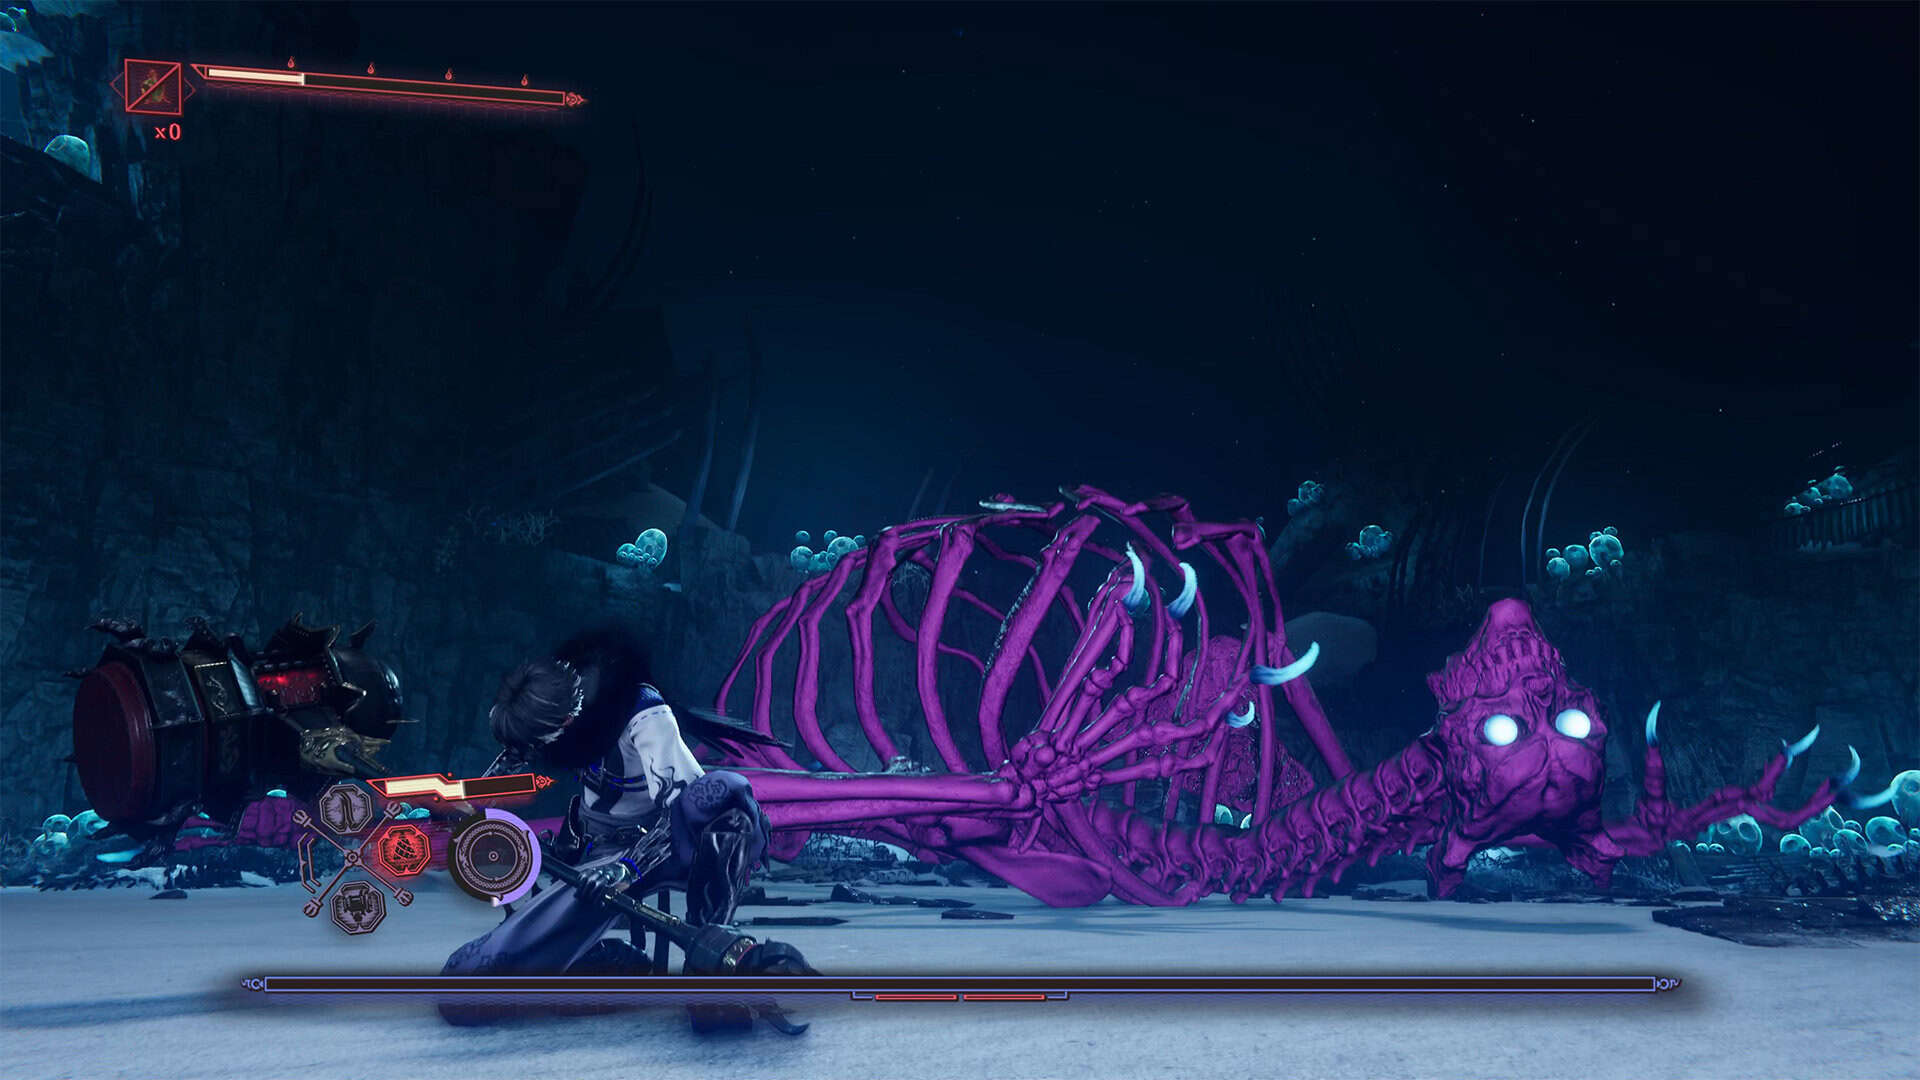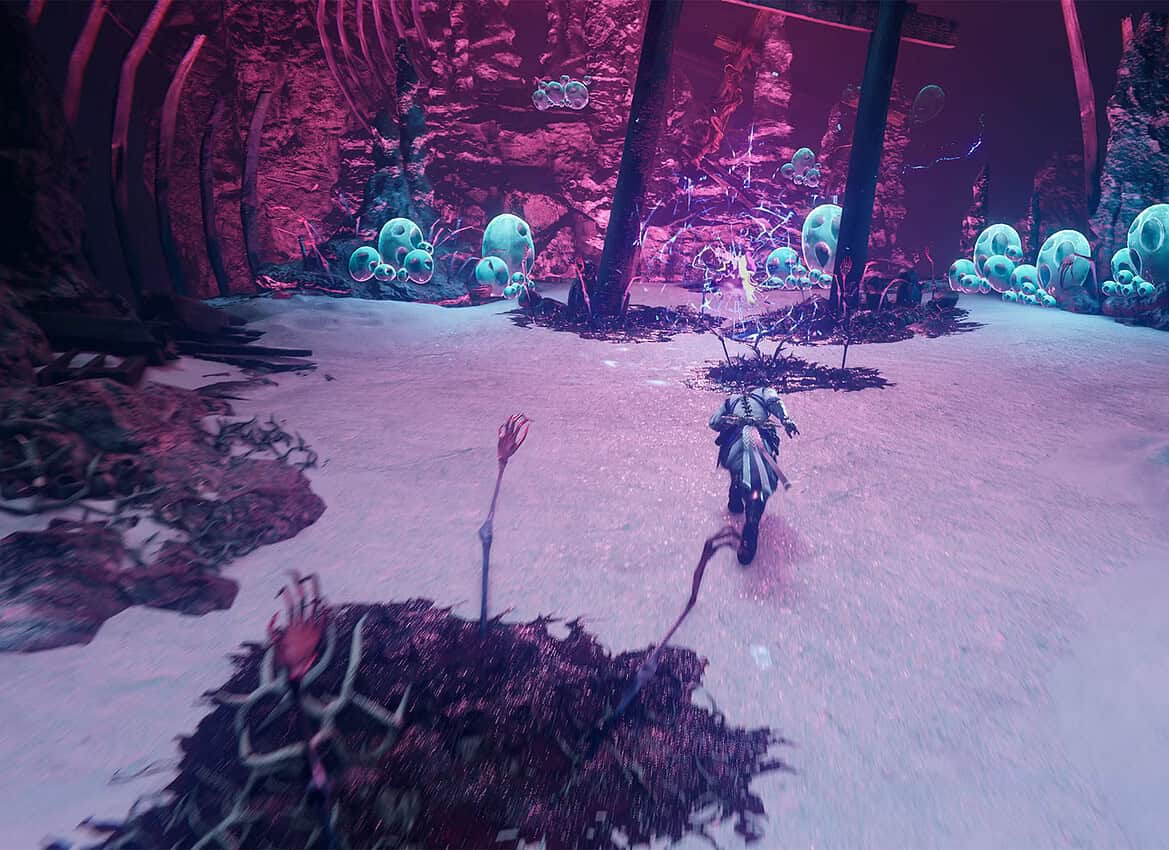
I will tell you where all the key elements are located in Chapter 9, Realm of Silent Dead, of Ninja Gaiden 4. This is an interesting part of the game in which there will be no final boss battle. But this chapter is no less saturated with battles and interesting places. You can find a description of the previous chapter, called Drowned District, in another article on the website.
So in this chapter, you will learn
- Execute the Miscreant (quest completion)
- Execute the Enormous Fiends (quest completion)
- Find 3 Beautiful Minerals in the Drowned District (quest completion)
- Cultivation Omamori – 1
- Final boss fight – Veilotl
- Chests – 35
- Gourdy – 2
- Purgatory Gate – 1
Chests 1-4
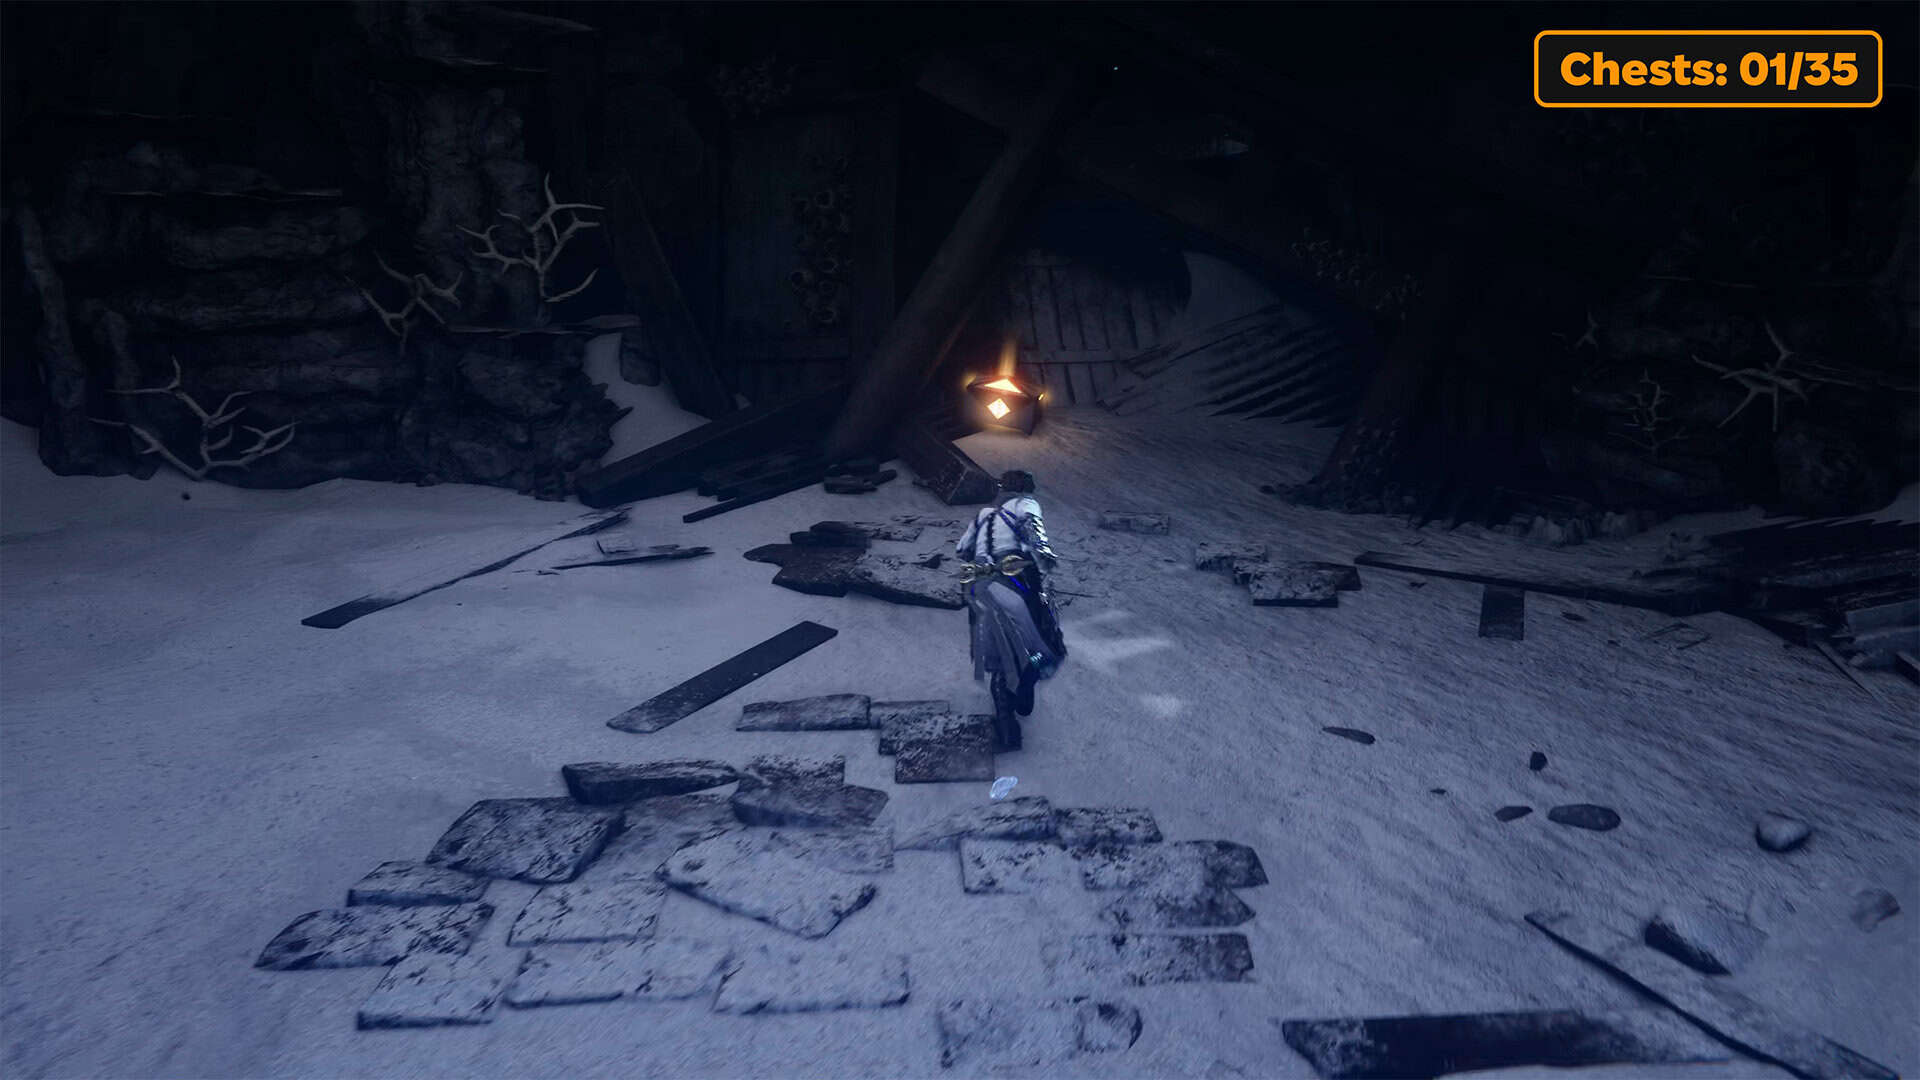
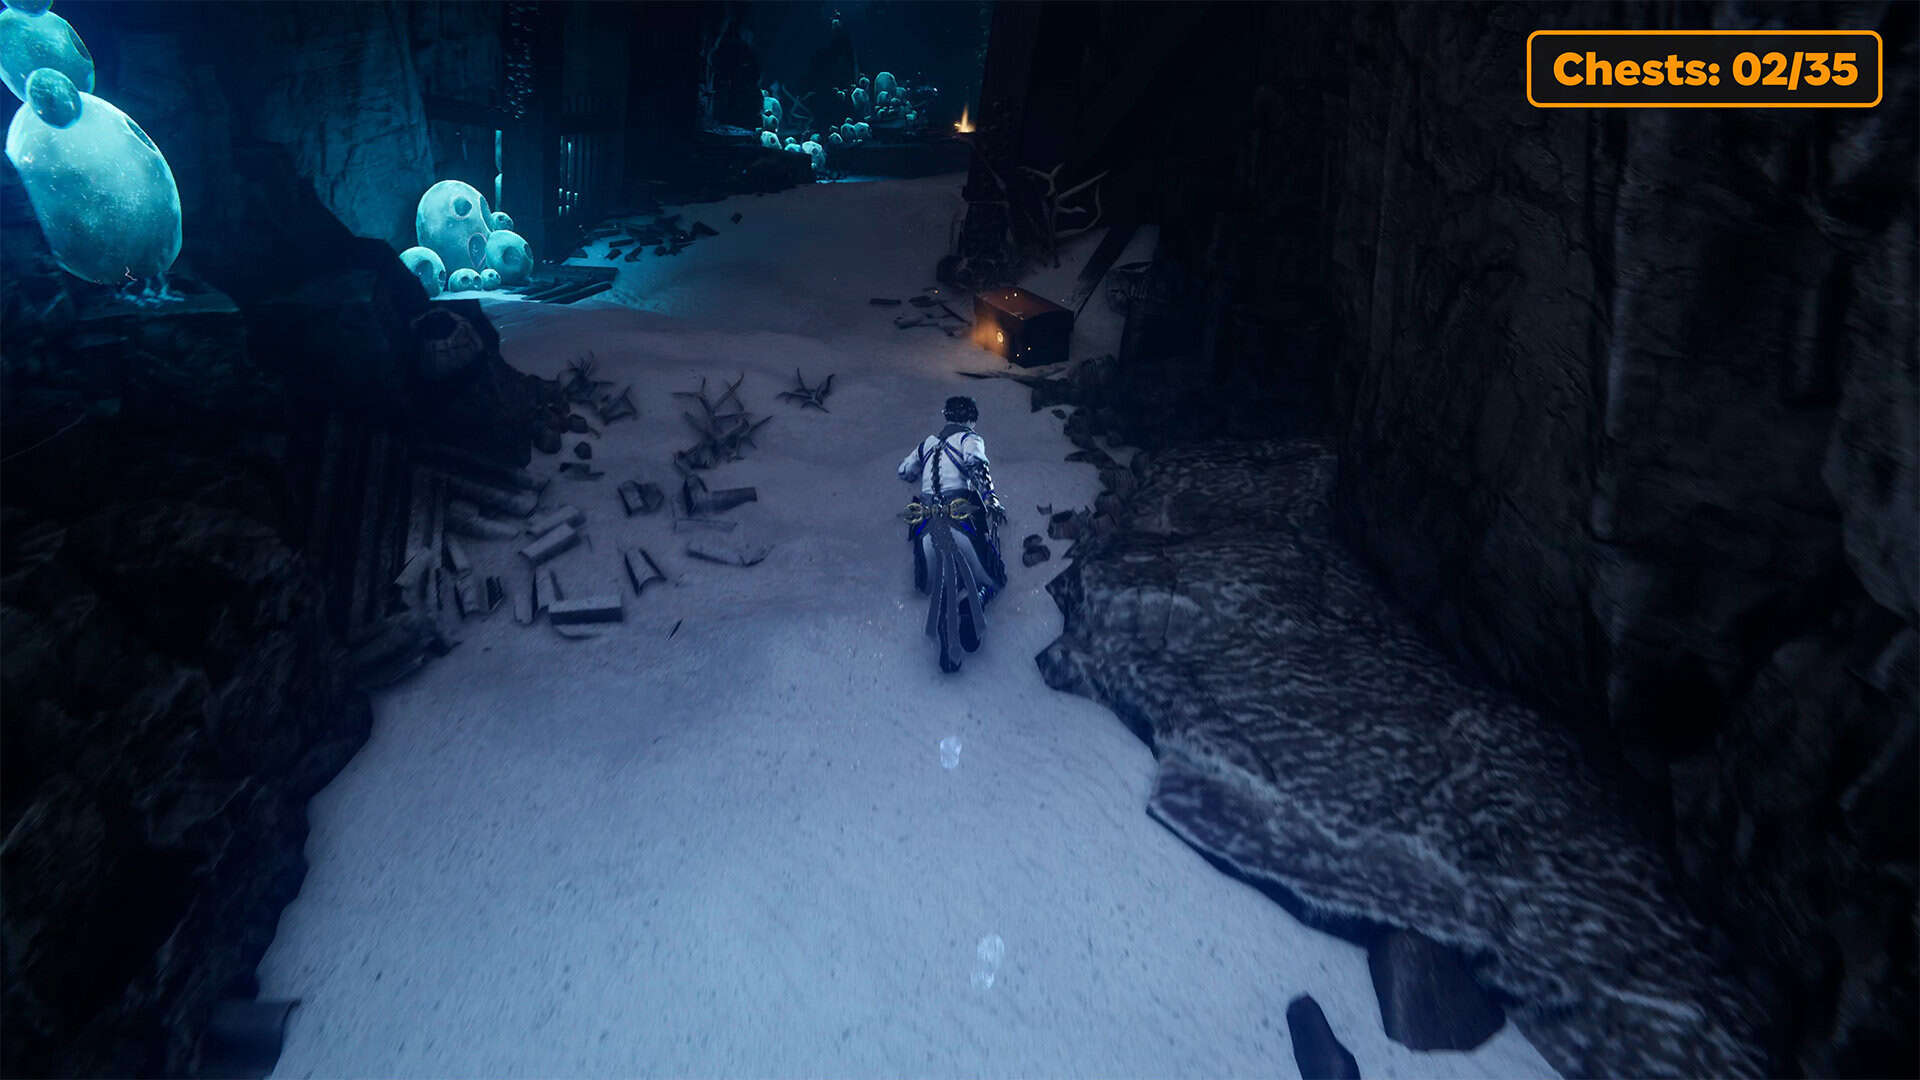
At the beginning, turn around and you will find the first chest with Incense of Rebirth behind you. After that, turn around and move forward. You will walk through a kind of frosty tunnel. To your right, you will see the second chest. Open it to get Life Elixir. Continue moving forward, and you will see the third chest on your right. Inside, you will find Life Elixir again. The next fourth chest will be right in front of you as you move forward. Here you will get Divine Life Elixir.
Divine Life Elixir (chest 5)
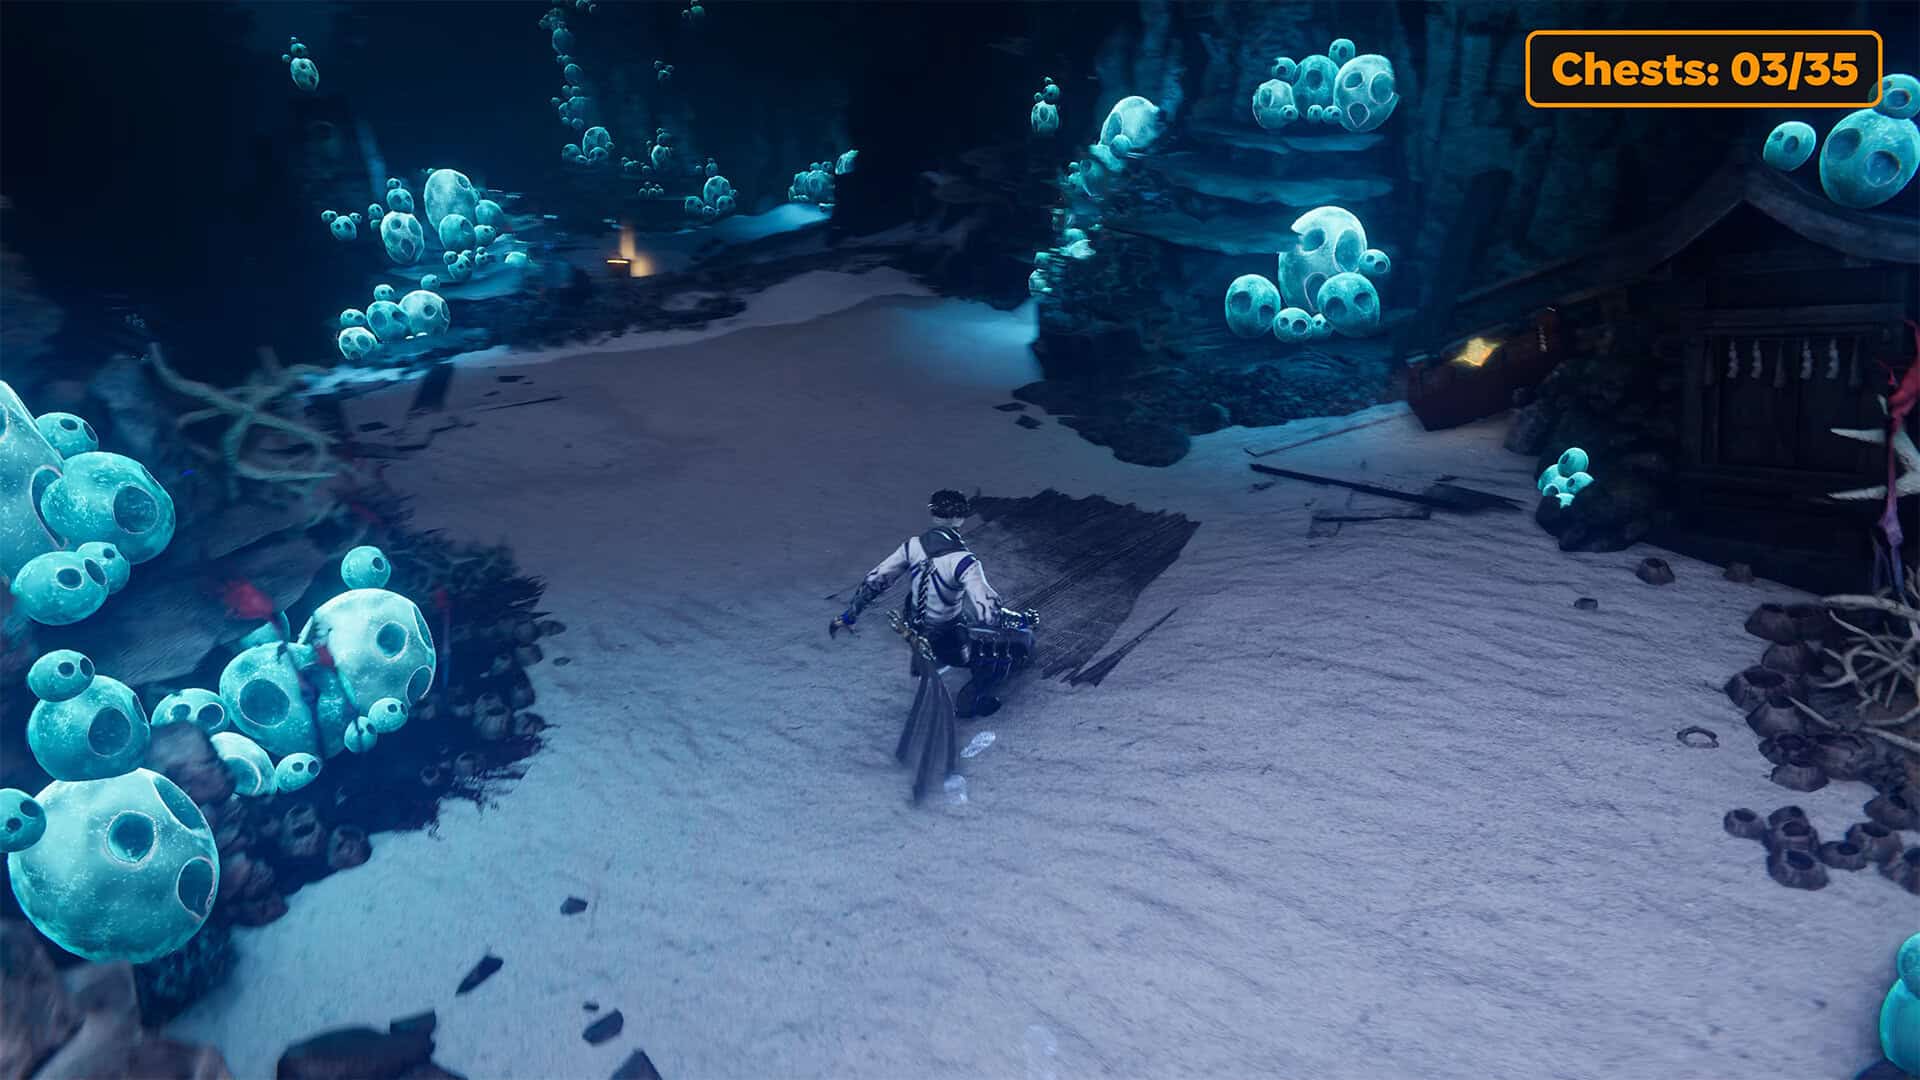
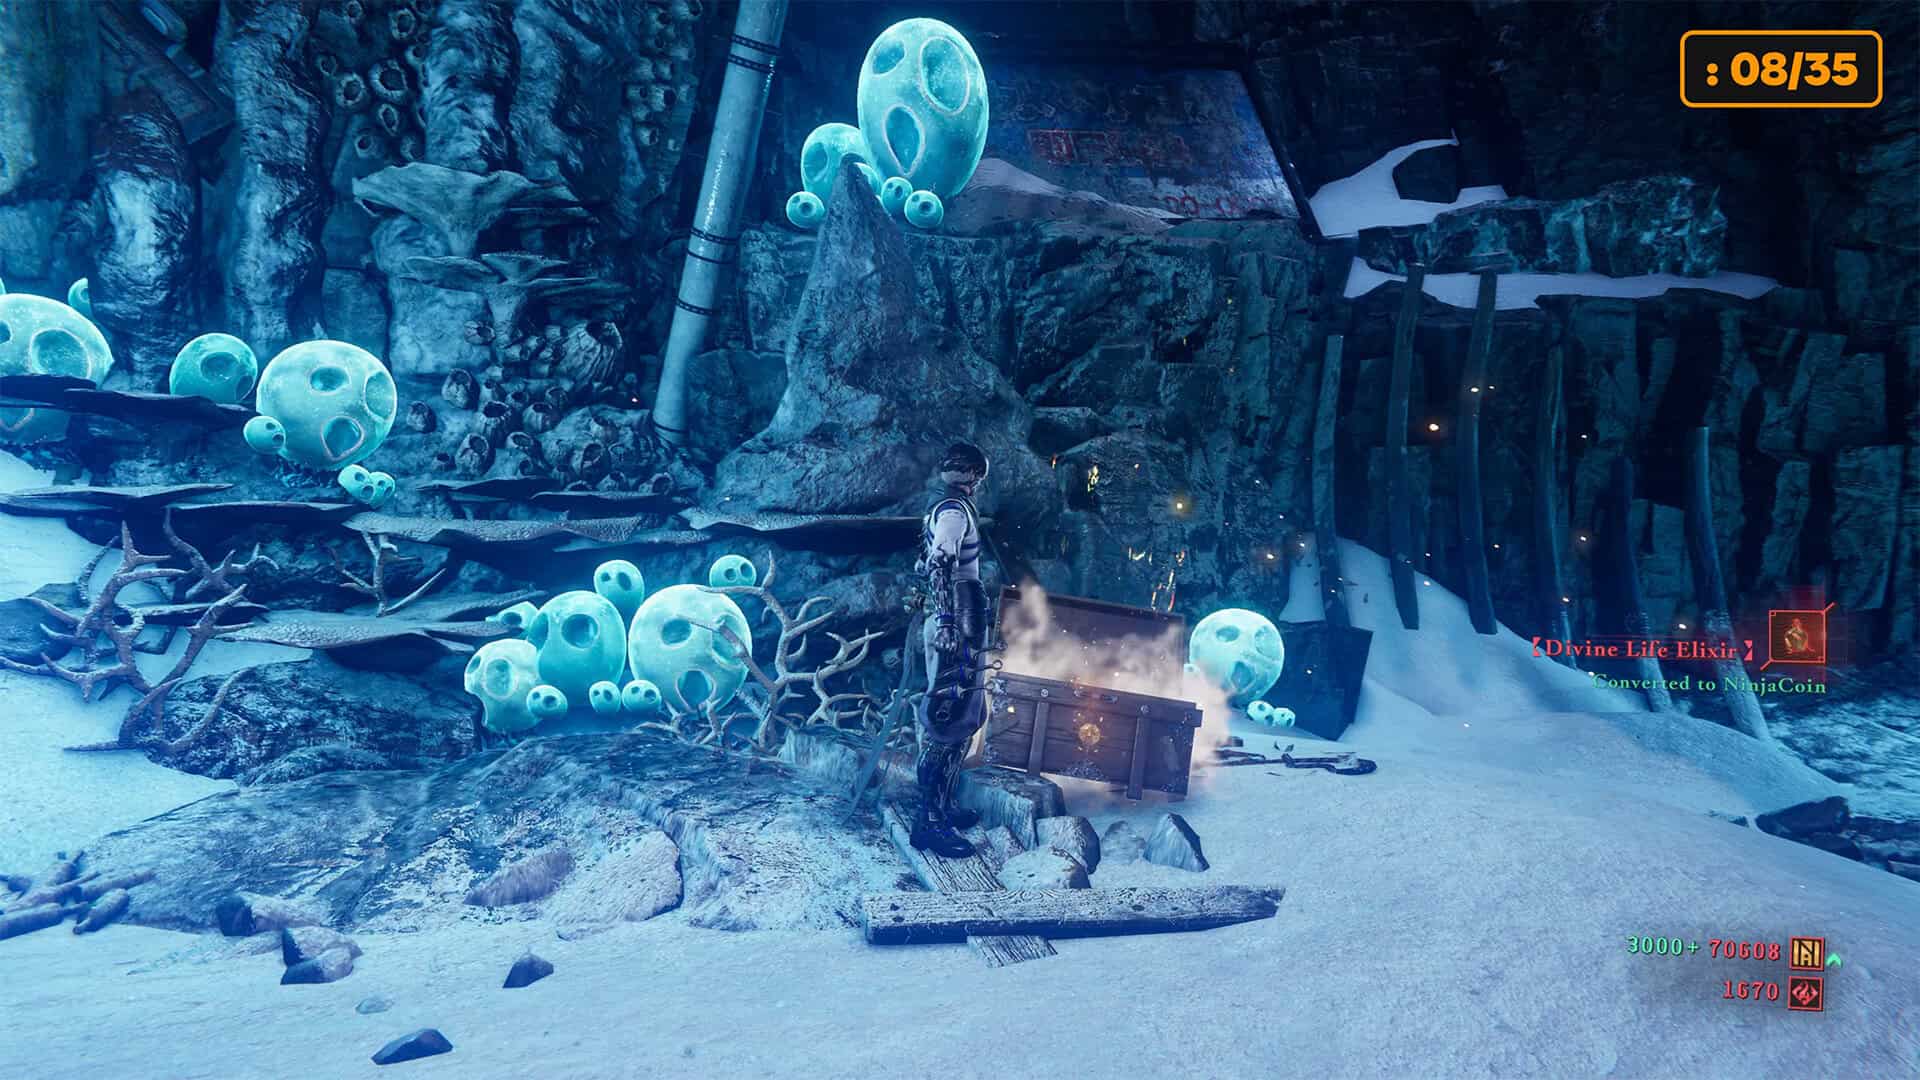
Next, you will see an opportunity to move forward along the wall on the right or jump down. Jump down first. Here you will find the fifth chest. When you approach it, enemies will start to emerge from the ground, and you will need to defeat them. After that, open the chest to obtain the Divine Life Elixir.
-

- Chest #1 in Realm of Silent Dead
-
- Chest #2 in Realm of Silent Dead
-
- Chests 3-4 in Realm of Silent Dead
-
- Chest #5 in Realm of Silent Dead
Life Elixir (chest 6)
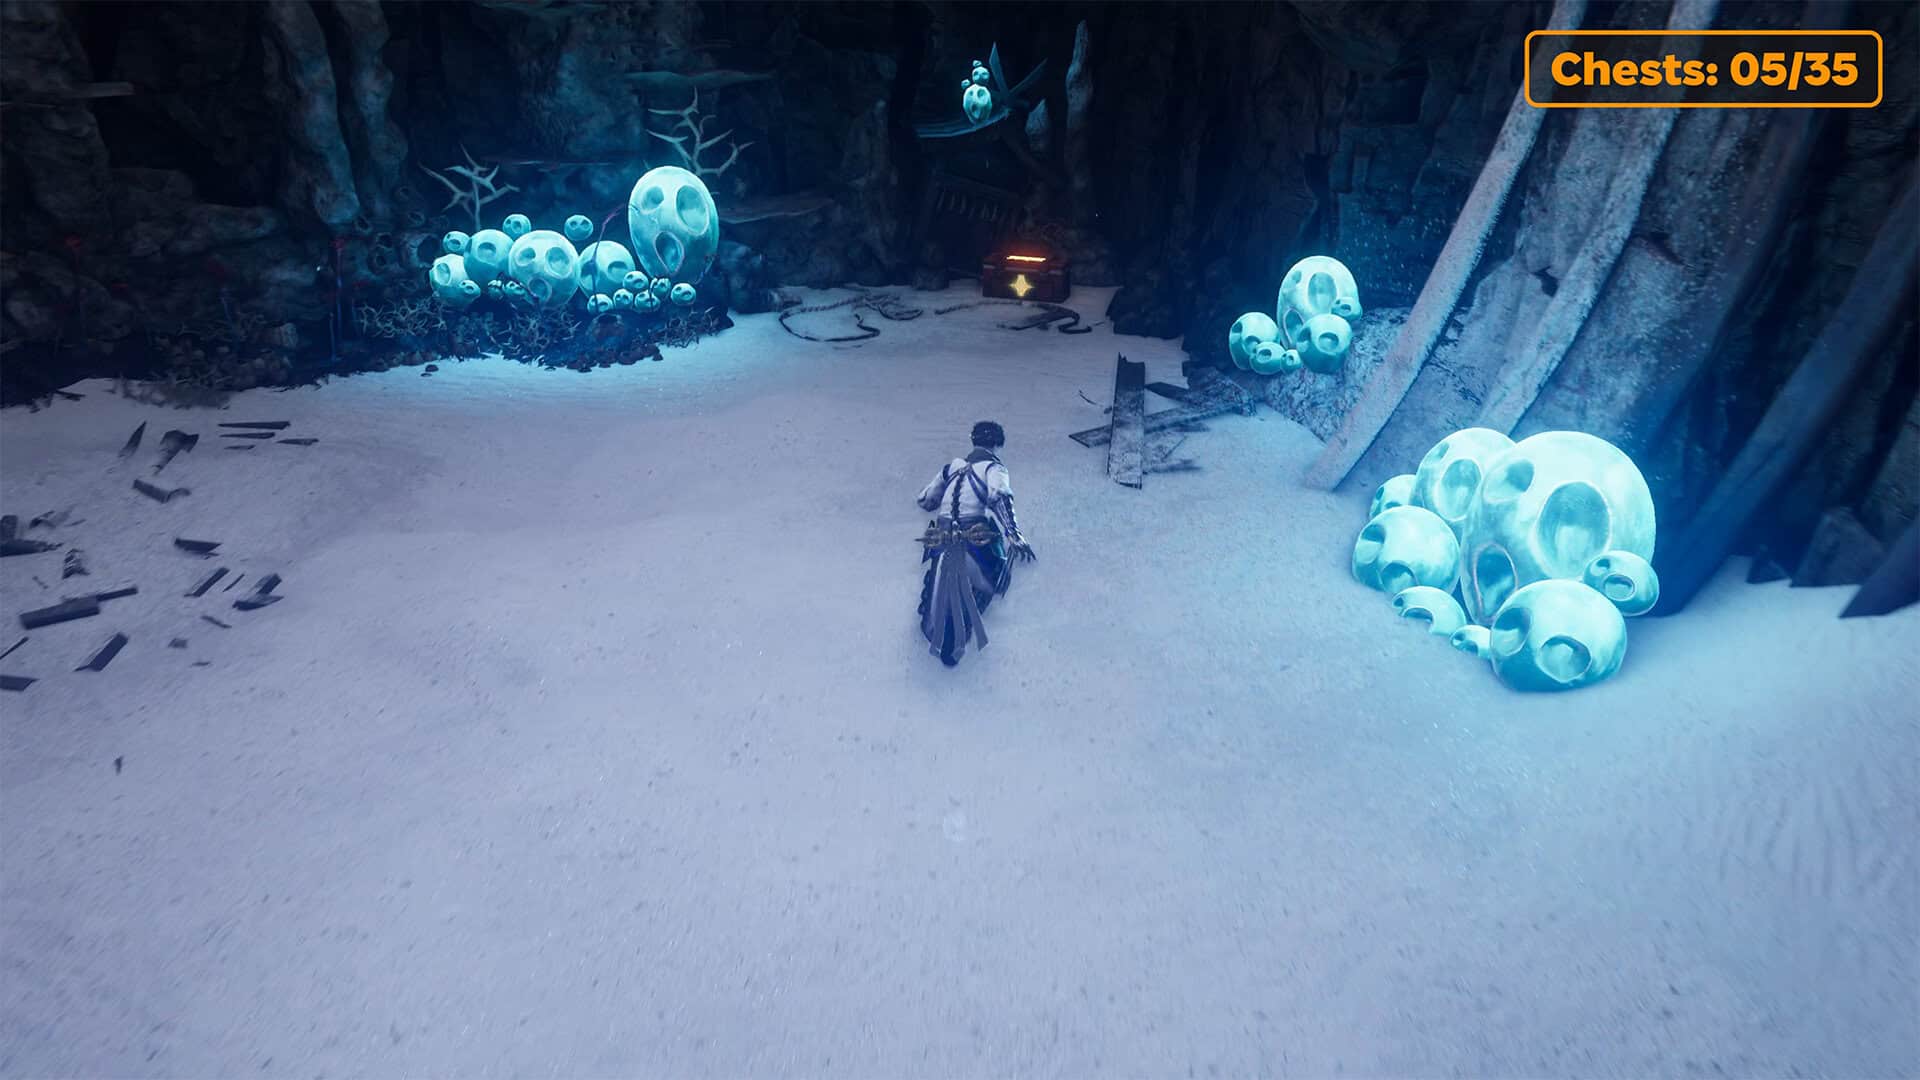
Now you need to get out of the cave. You will find the exit easily; you need to jump onto the platform and you will see the opportunity to hook onto the Caddis Wire to climb up. Go to the place where you jumped down, but now you need to use the wall on the right to move forward. On the other side of the chasm, enemies await you, which you must defeat. After that, move forward and you will find the sixth chest nearby. Inside this chest is the Life Elixir.
Life Elixir (chest 7) + Divine Life Elixir (chest 8)
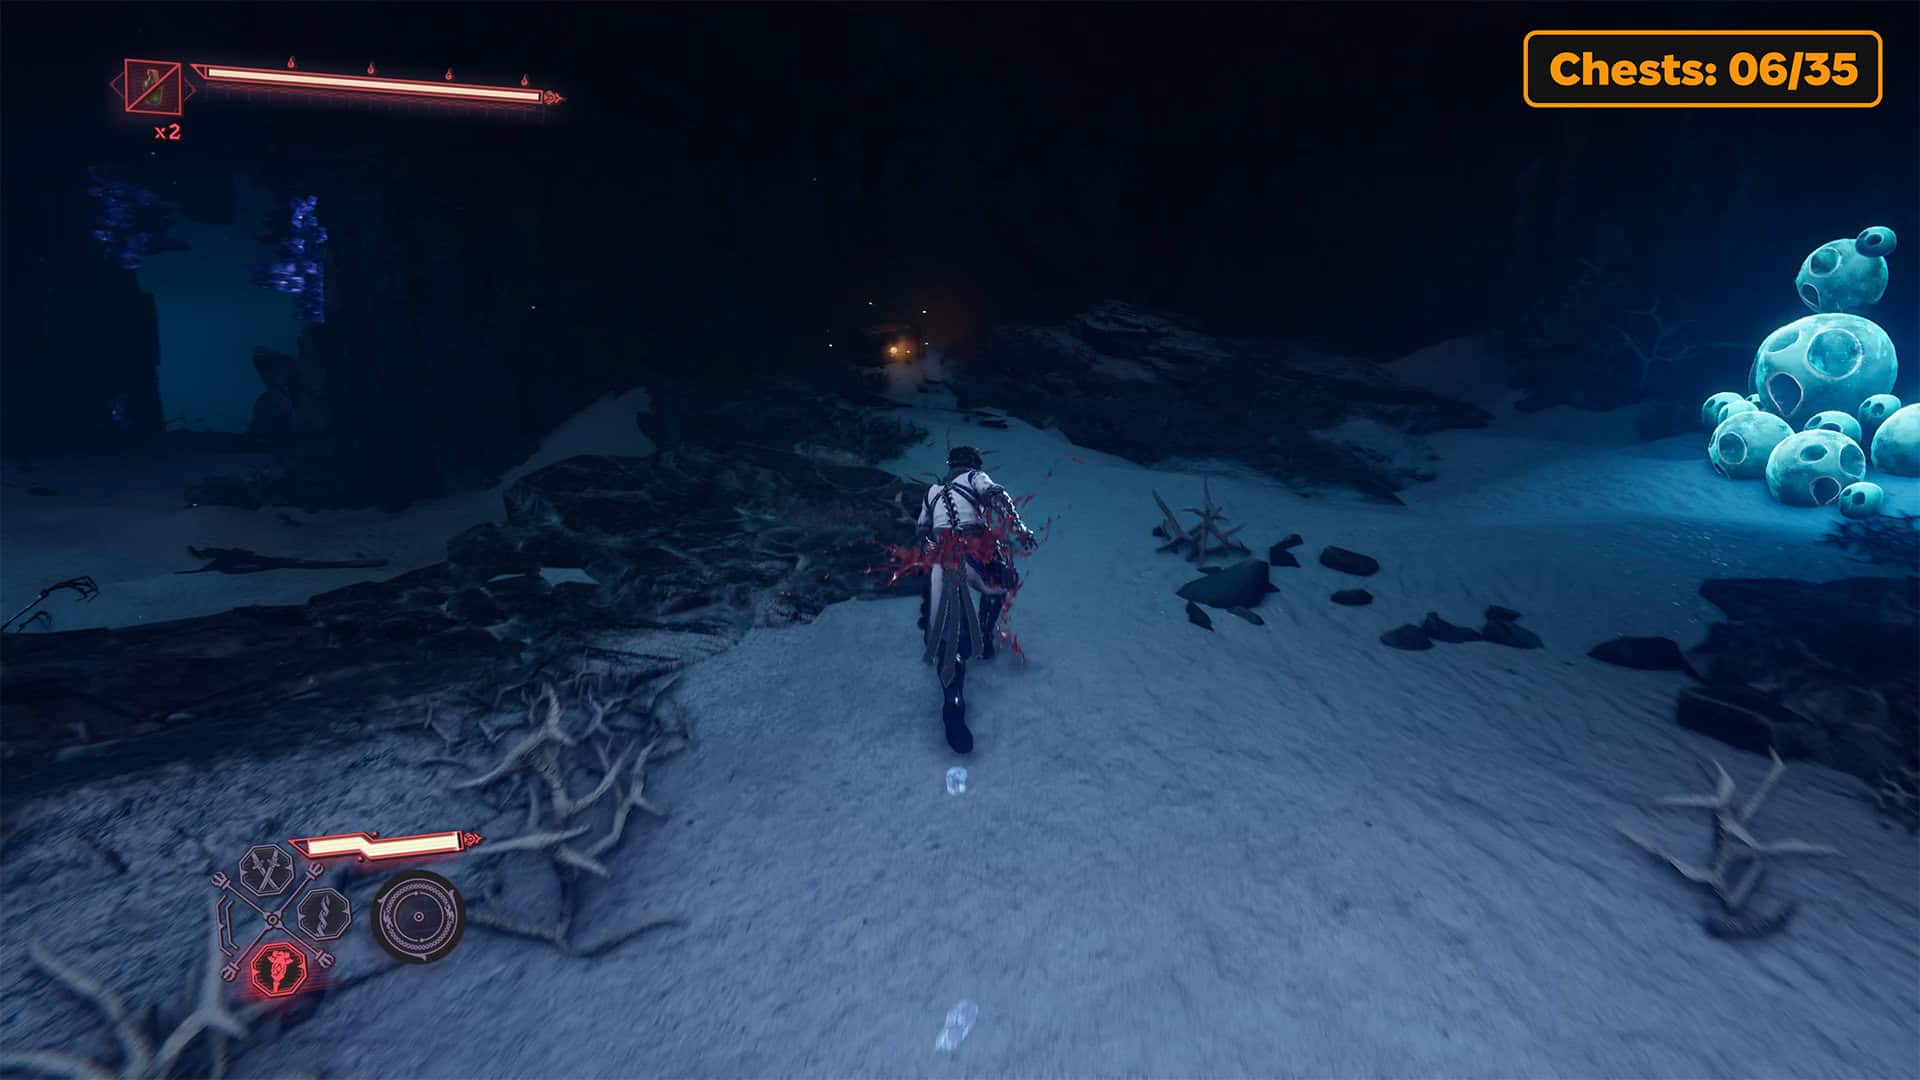
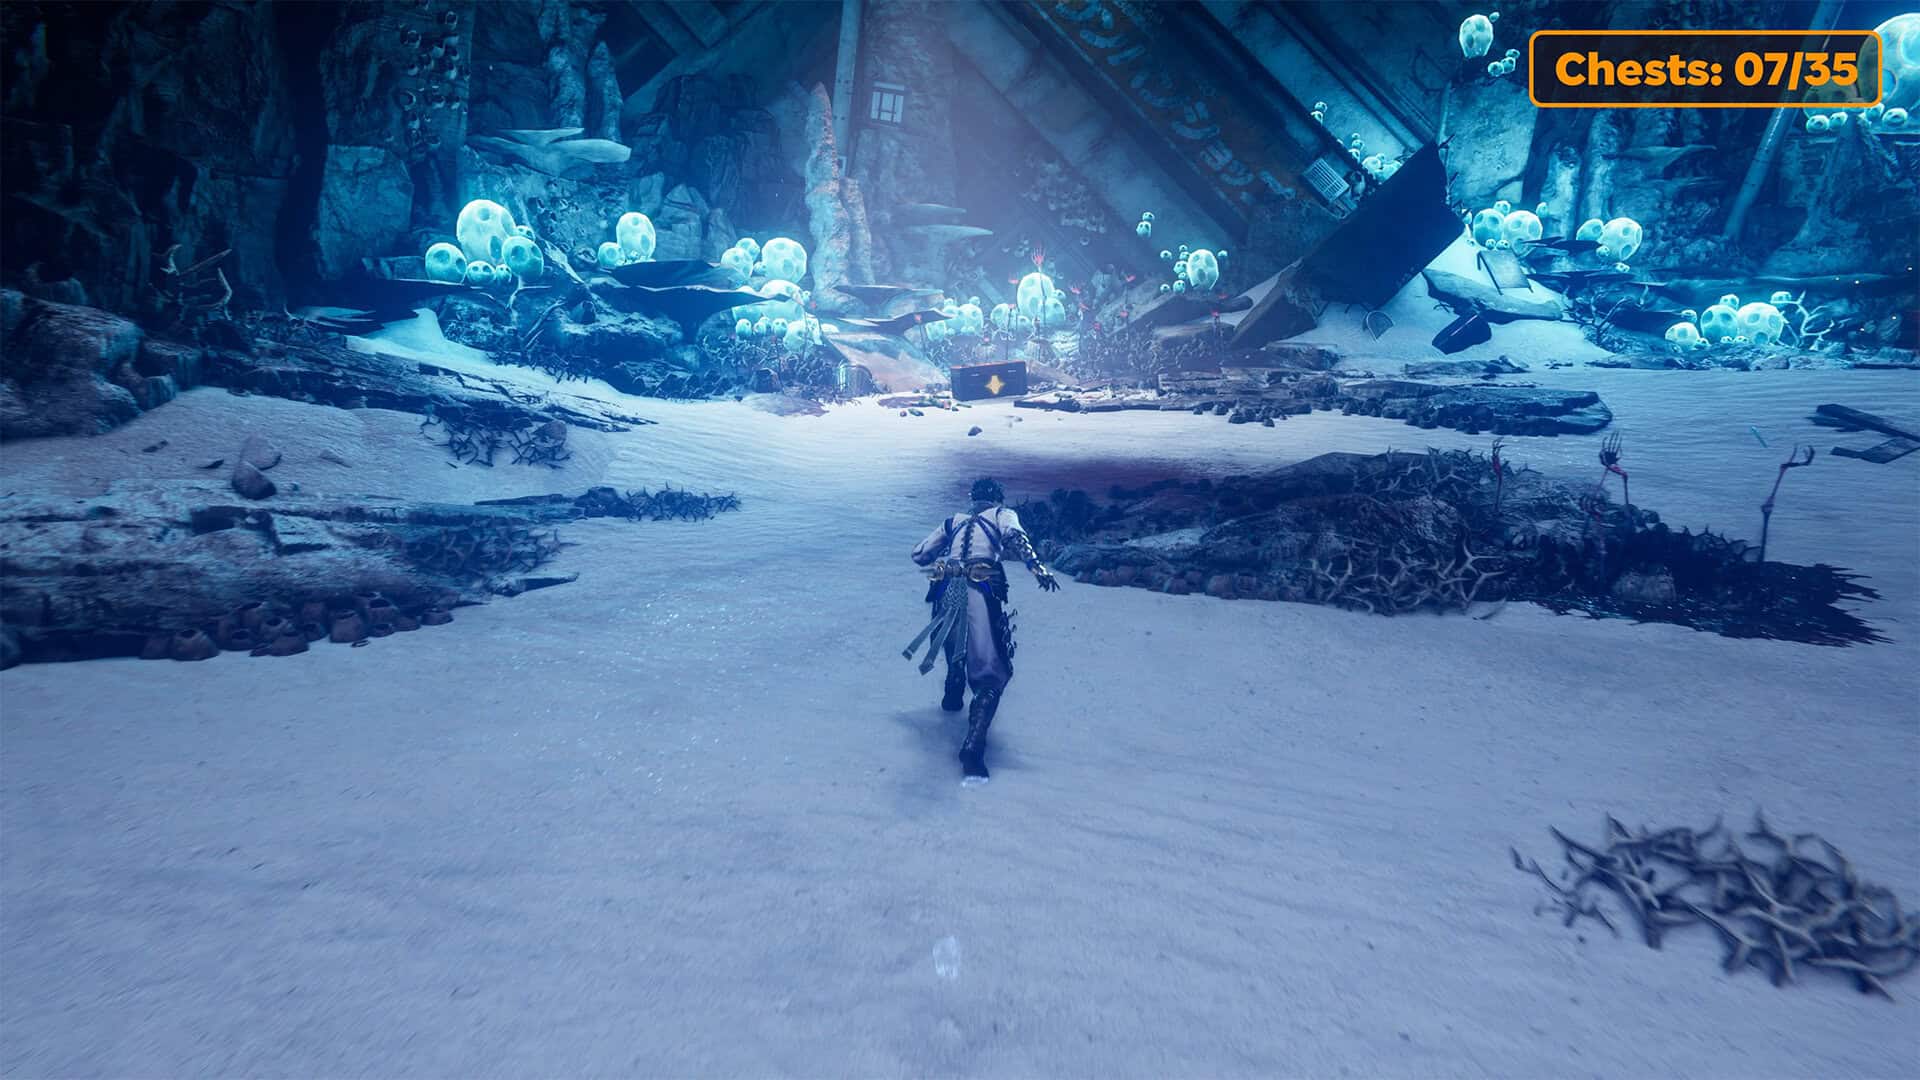
After moving forward a little, you will find yourself in a place where you will need to jump onto a pole, then onto another, and then use Caddis Wire to fly over to the platform with the enemies. You can assassinate the first one from the air, but you will have to deal with the others in combat. After winning in this area, you will find two chests. The seventh chest contains a Life Elixir. A little further on, the eighth chest will give you a Divine Life Elixir.
-
- Chest #6 in Realm of Silent Dead
-
- Chest #7 in Realm of Silent Dead
-
- Chest #8 – Divine Life Elixir
Chests 9-11
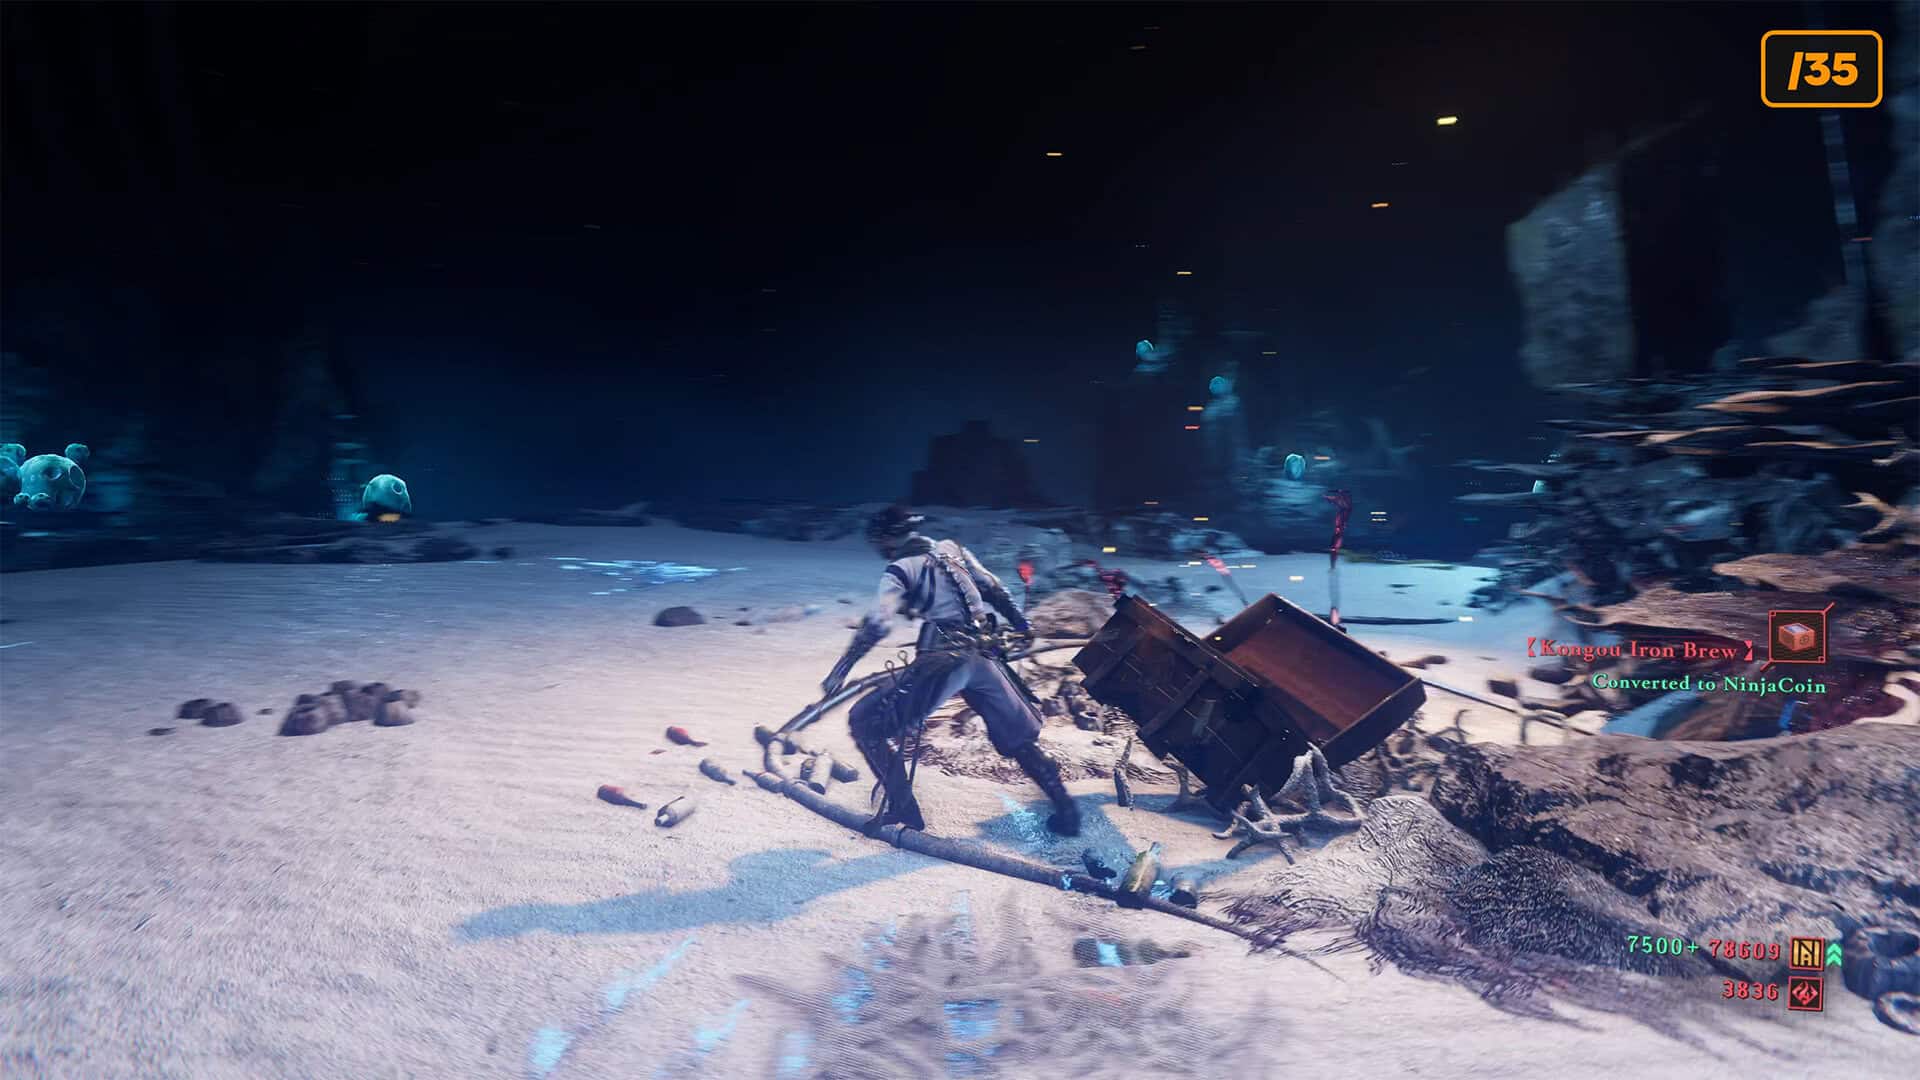
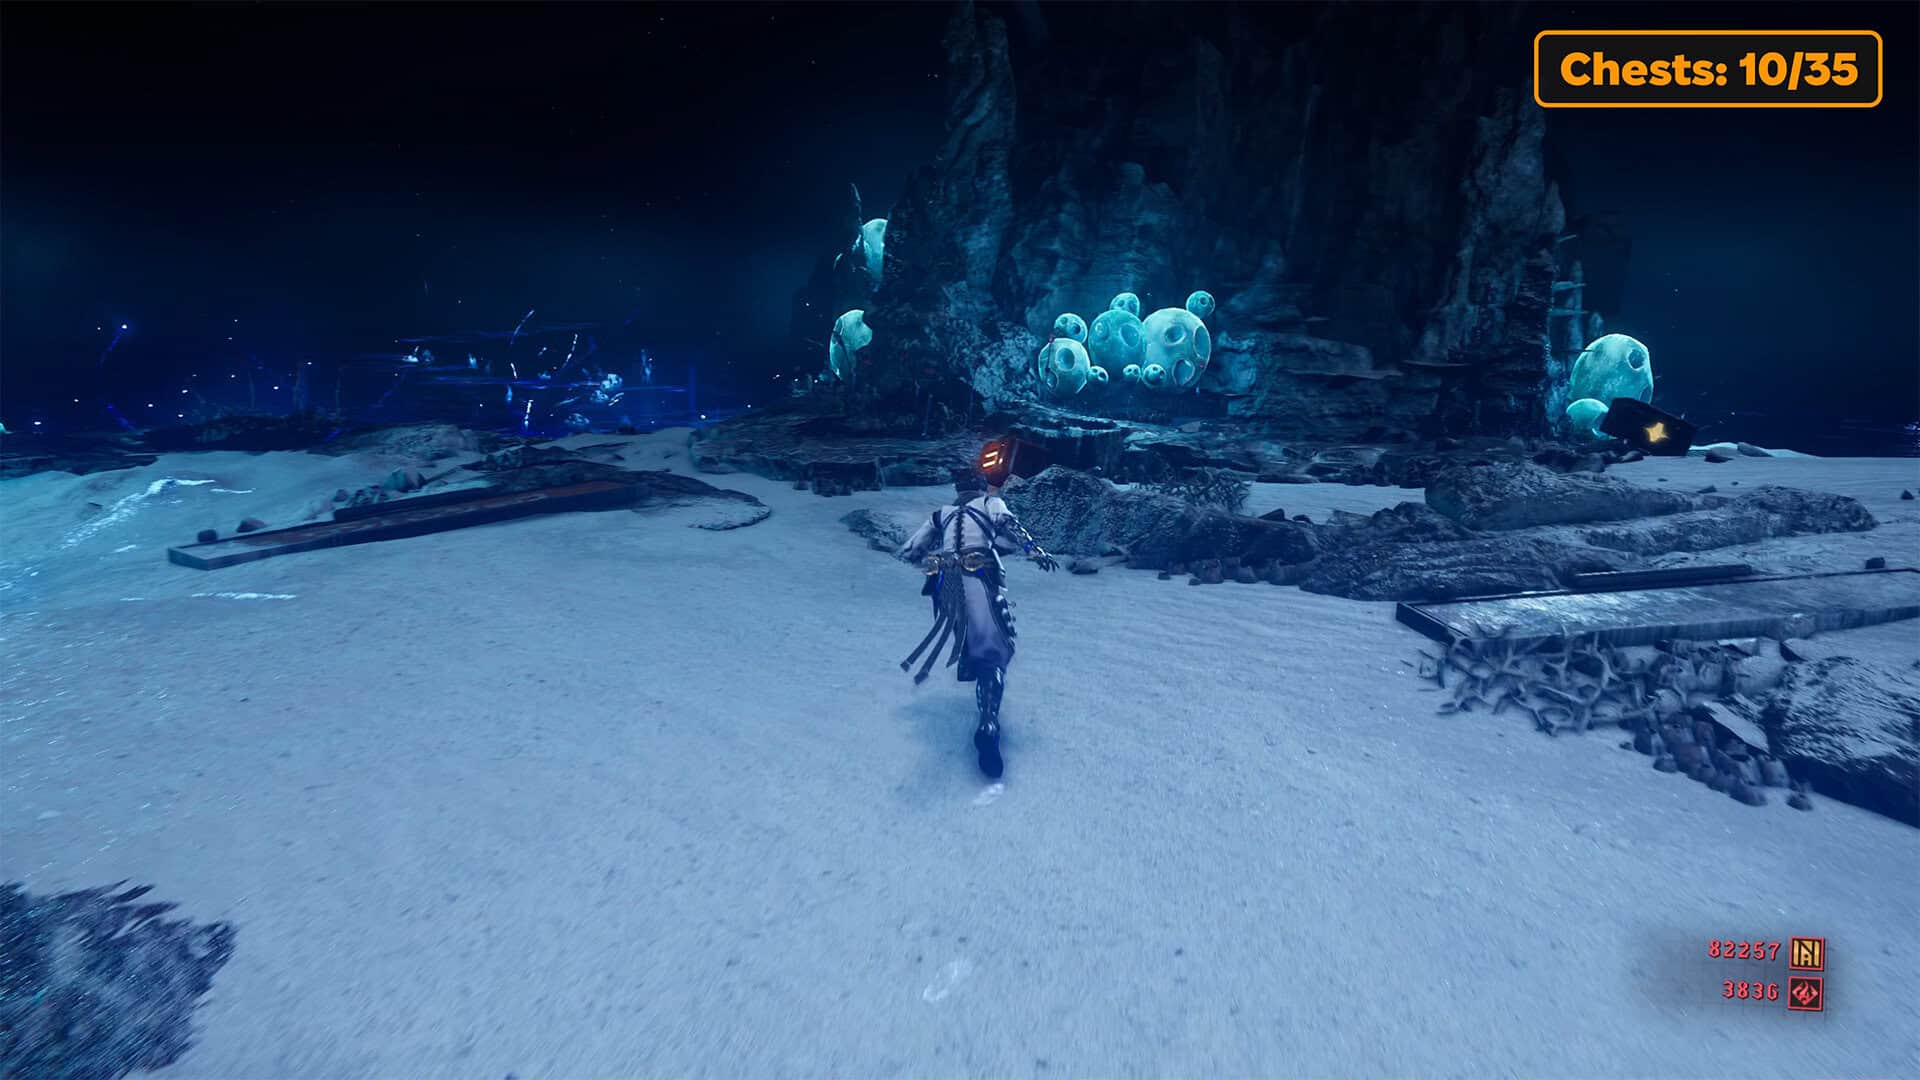
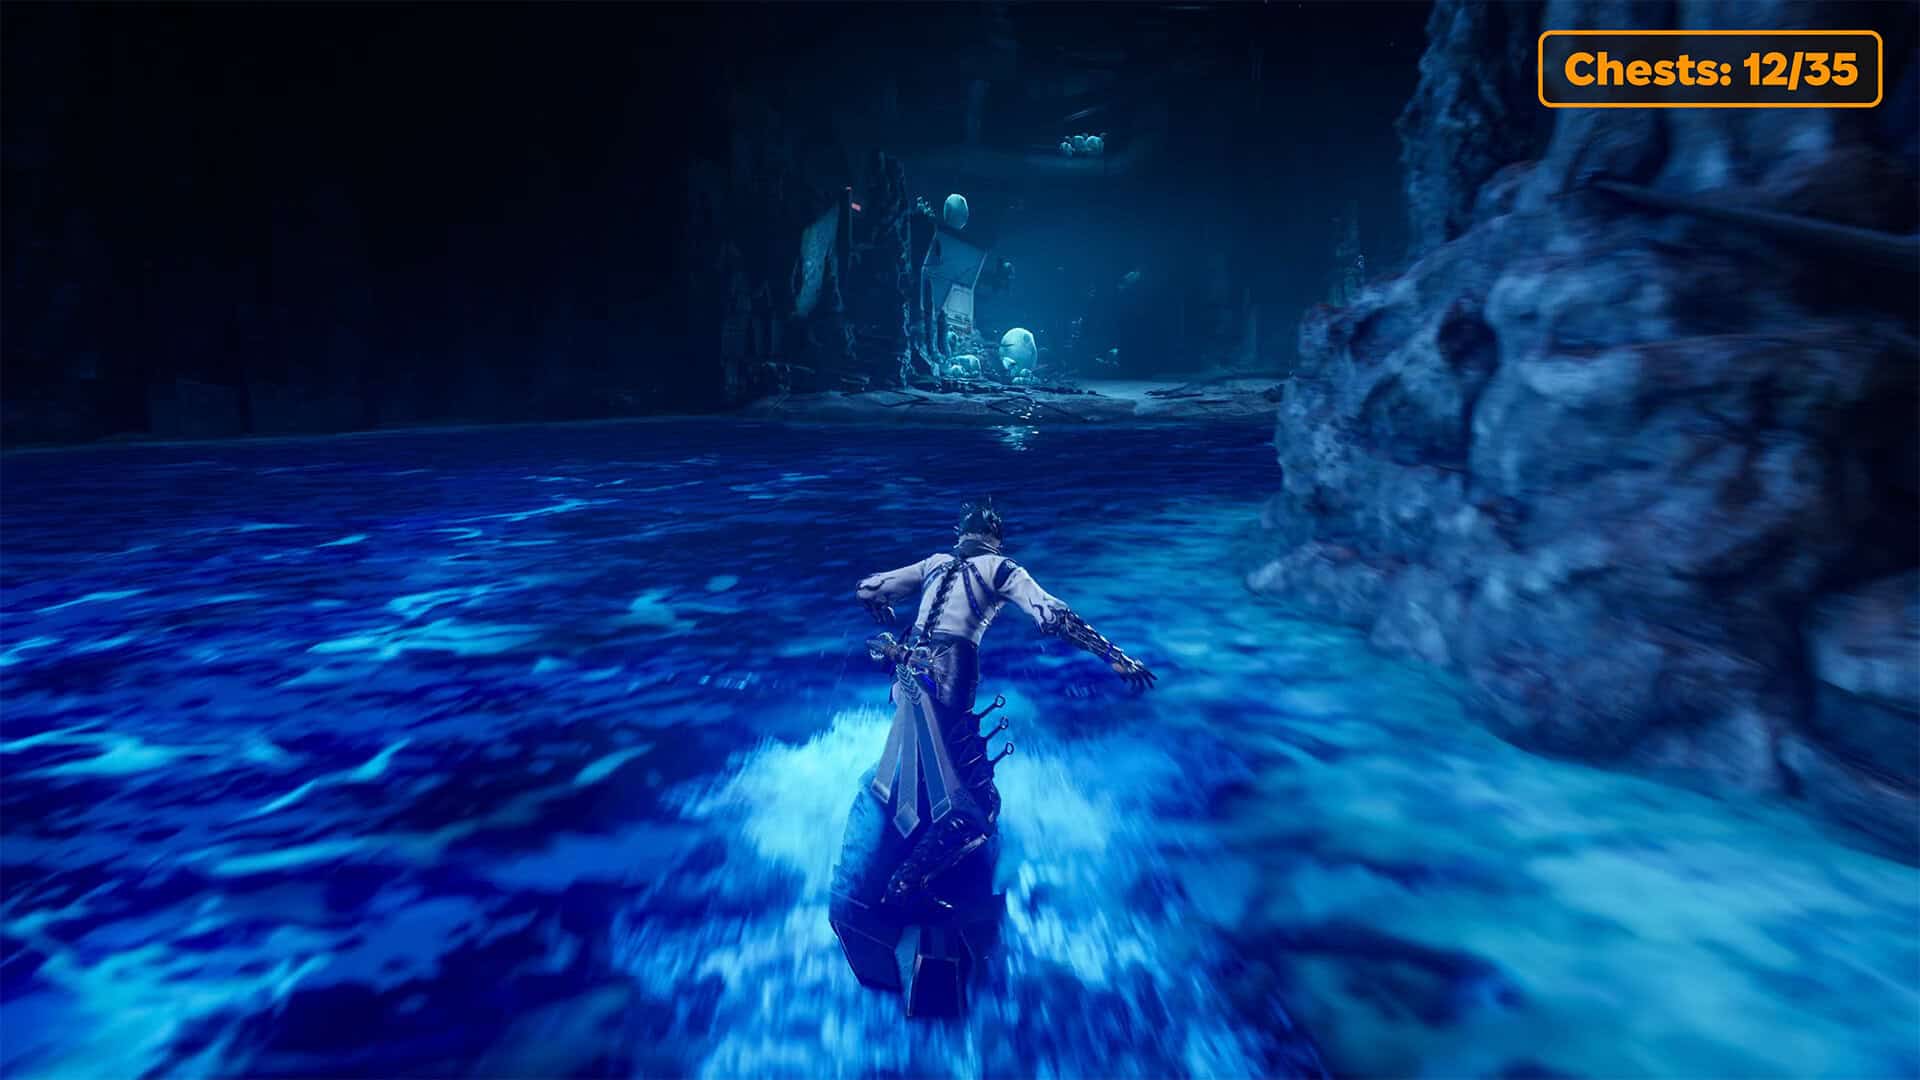
In front of you, you see a large closed door. Open it and go forward. Here you will find yourself in difficult terrain. In general, it can be called a creepy lake. Right in front of you, you will see a central island. Using Pond Strider, move to this central island. You just need to swim forward. On the island, you will find a portal that releases enemies. First, you need to destroy the portal, and then deal with all the enemies that are here. On this island, you will find three chests. The ninth chest contains Kongou Iron Brew. Move forward and you will receive Rejuvenation Elixir from the tenth chest. Now move a little further to the eleventh chest to find Life Elixir. Next, pay close attention to where you need to go.
Rejuvenation Elixir (chest 12)
You need to explore the outer perimeter of this lake’s shore. It doesn’t matter in what order you do it, but don’t leave this lake until you find everything I show in this video. First, the shore without enemies. Here is the twelfth chest with Rejuvenation Elixir.
-
- Chest #9 in Realm of Silent Dead
-
- Chests #10-11 in Realm of Silent Dead
-
- Use Pond Strider on the lake
-
- Chest #12 – Divine Life Elixir
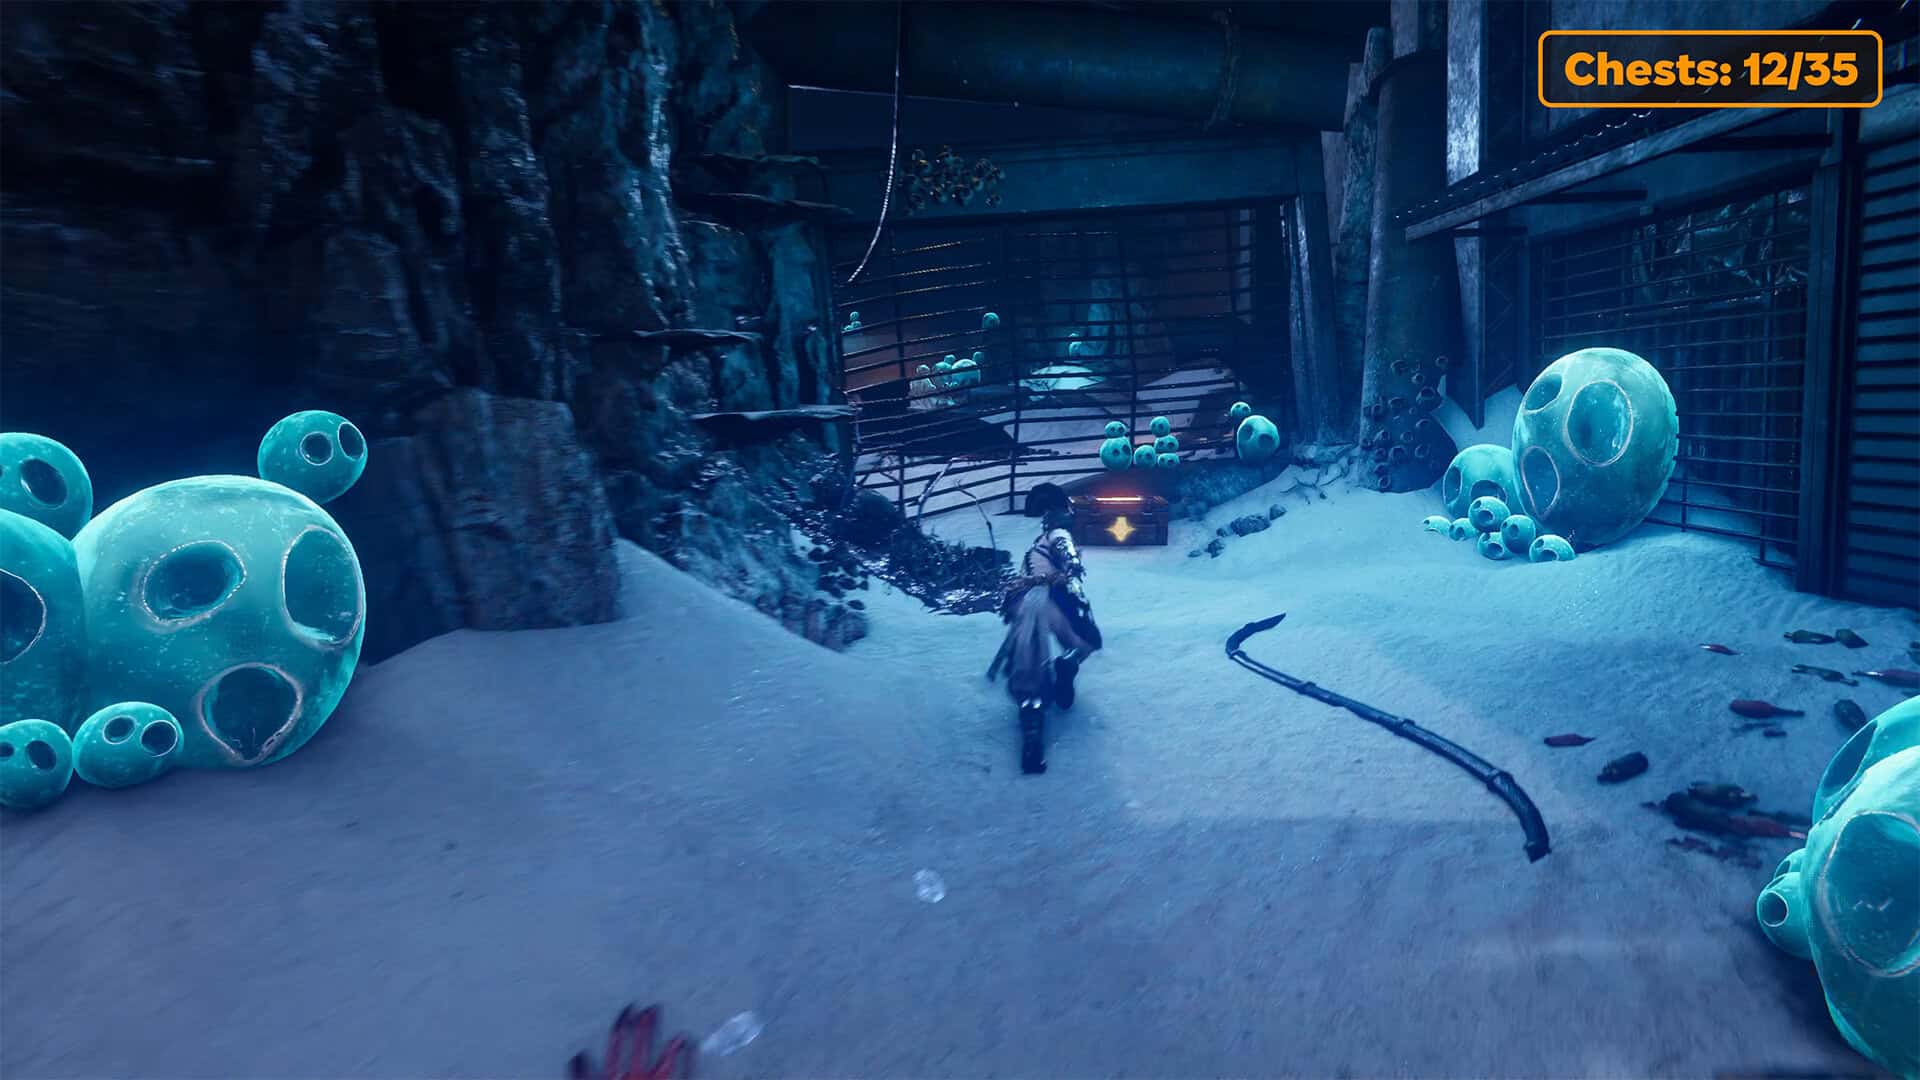
Life Elixir (chest 13)
The next part of the shore around the lake contains the thirteenth chest and several enemies guarding it. You can easily deal with them, and then open the chest to get the Life Elixir.
Divine Life Elixir (chest 14)
Exploring the perimeter of this strange lake, you will find this place. Here is the fourteenth chest. There are no enemies on the shore, so you can open it without hindrance to get the Divine Life Elixir.
-
- Chest #13 in Realm of Silent Dead
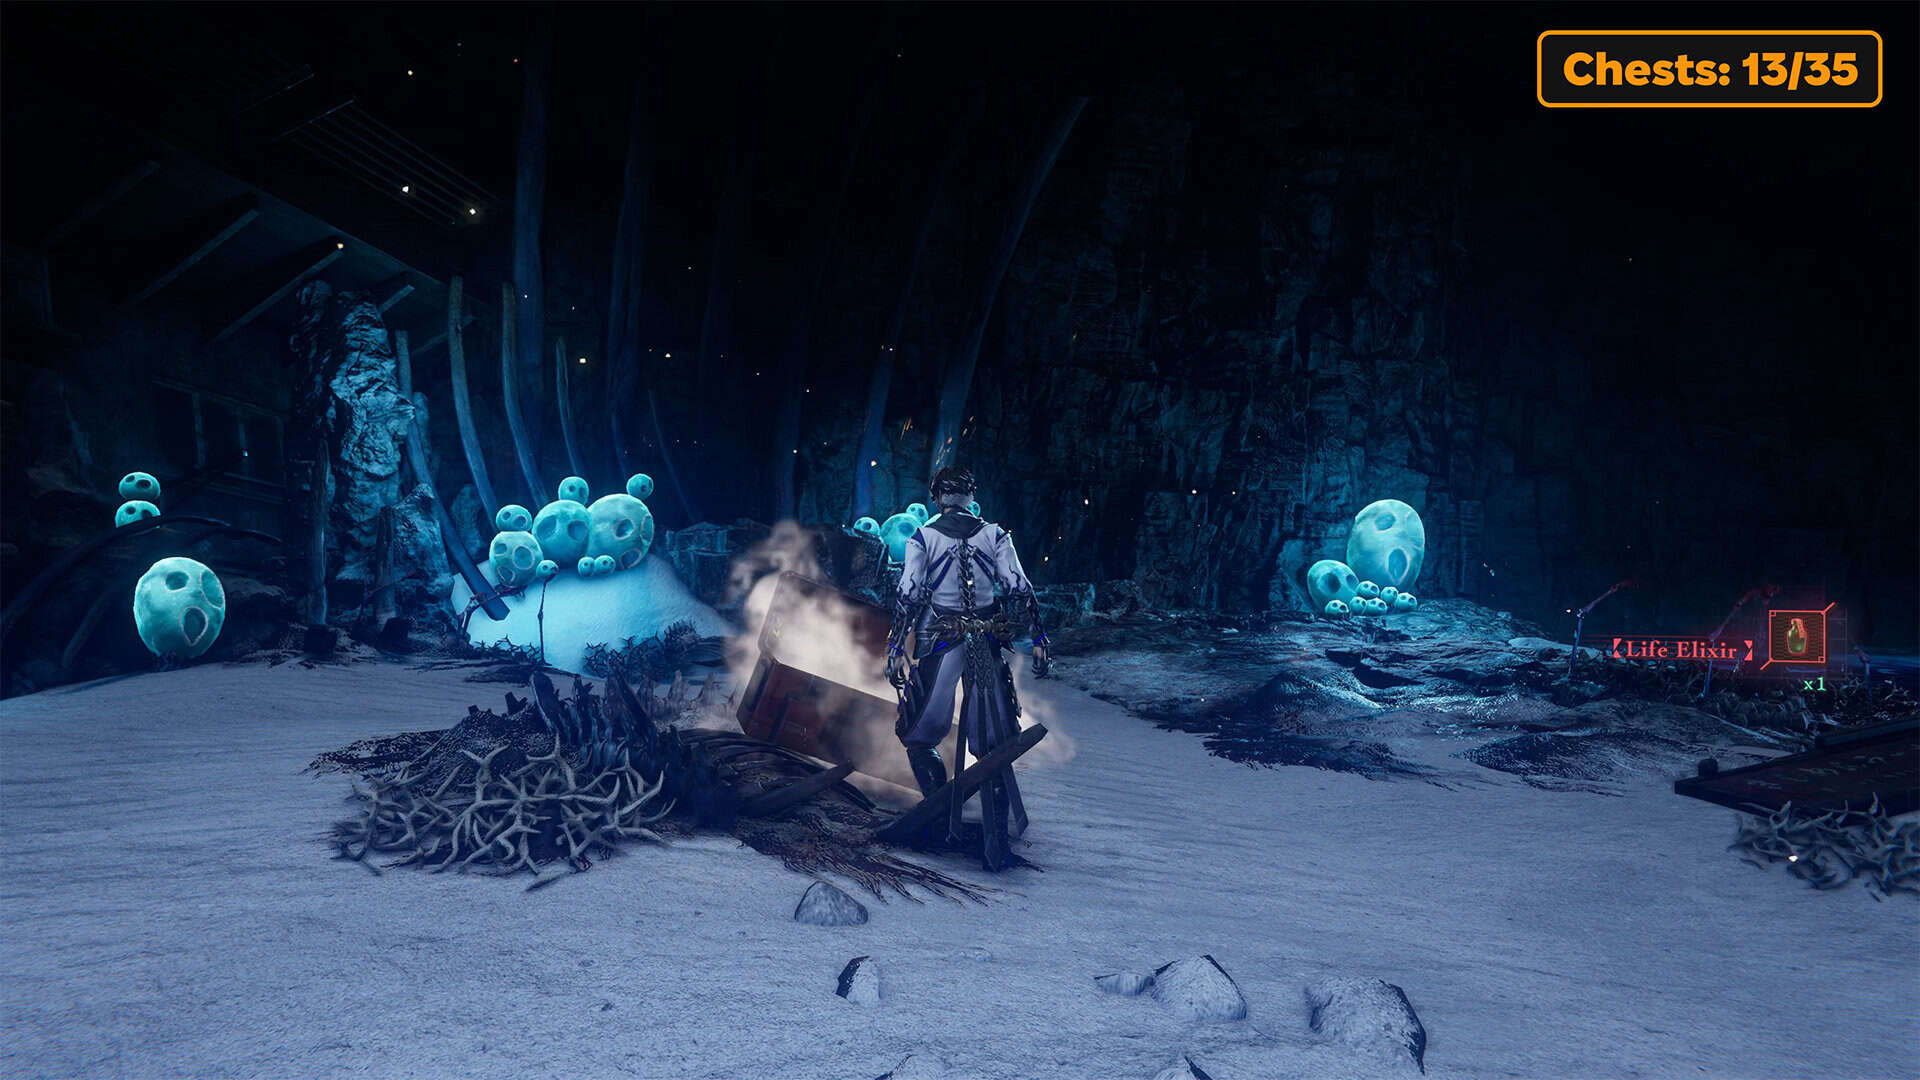
-
- Chest #14 in Realm of Silent Dead
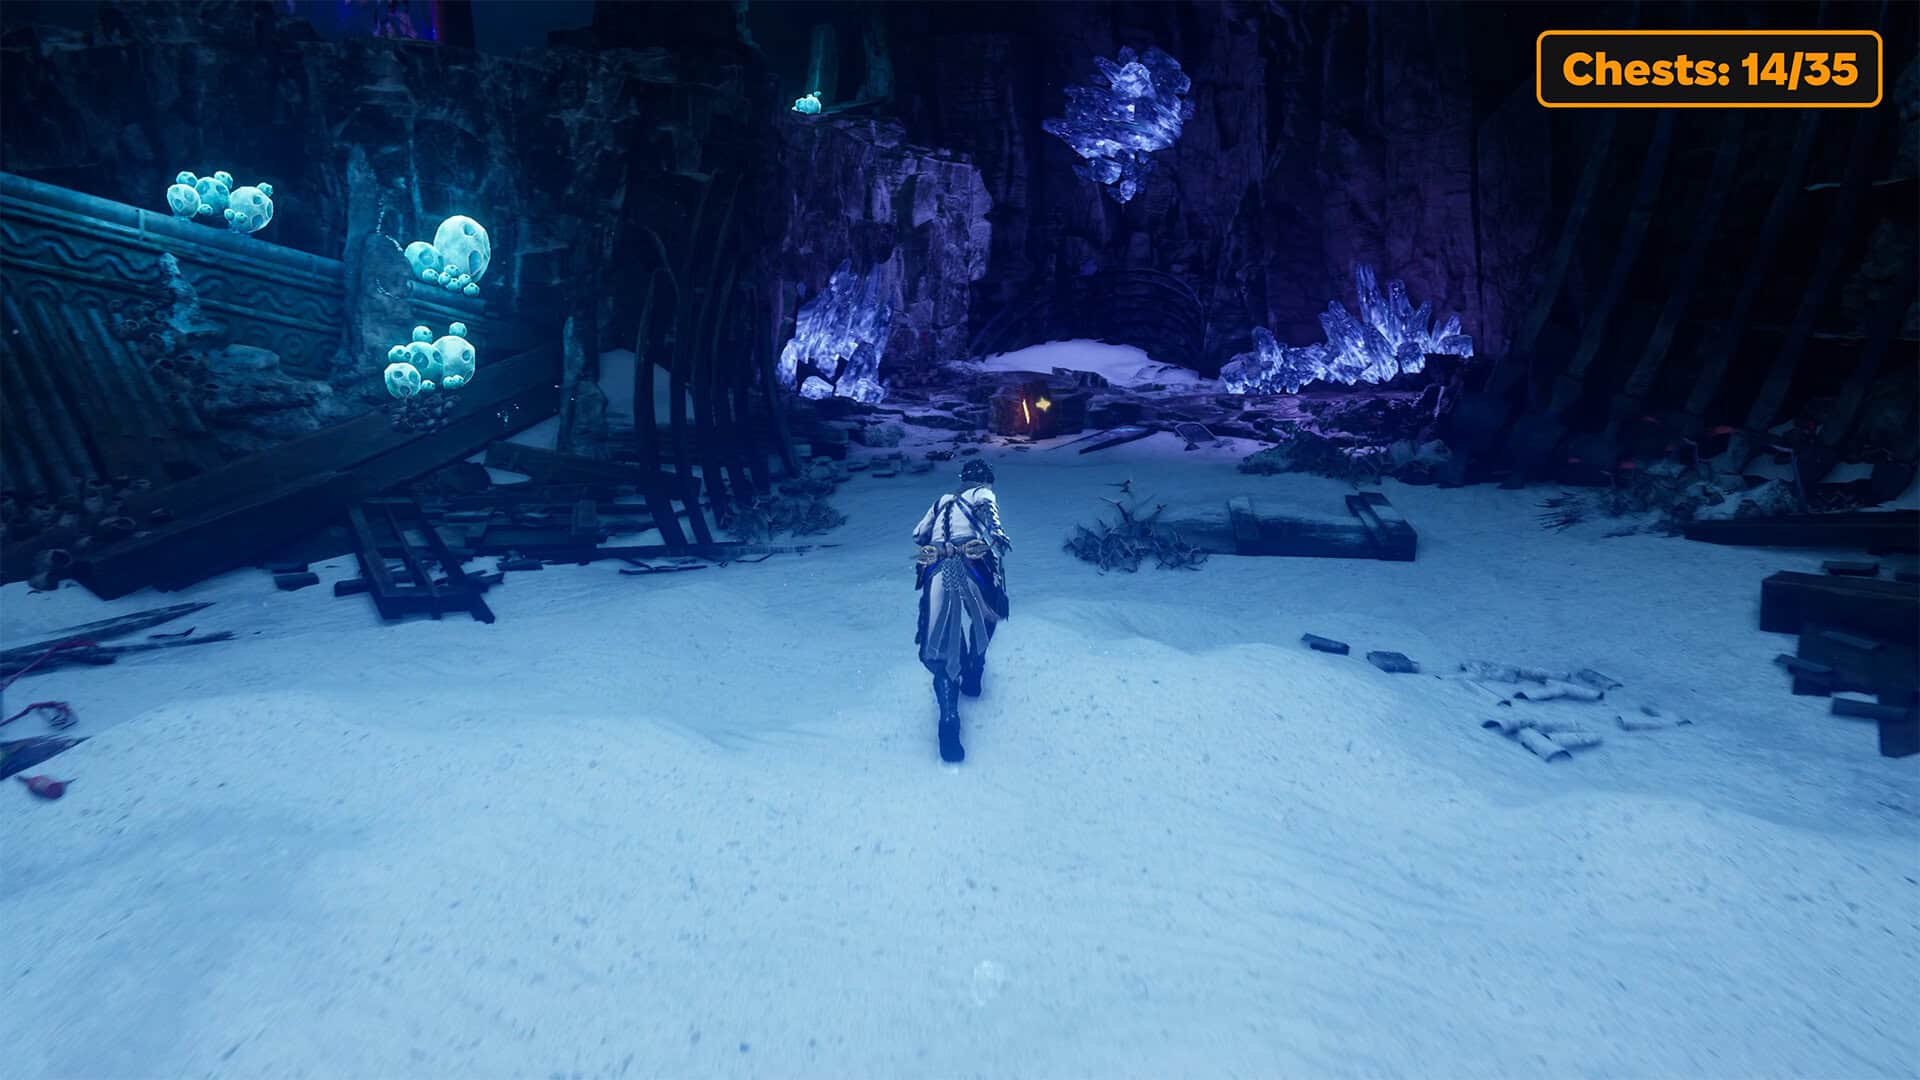
Purgatory Gate in Realm of Silent Dead
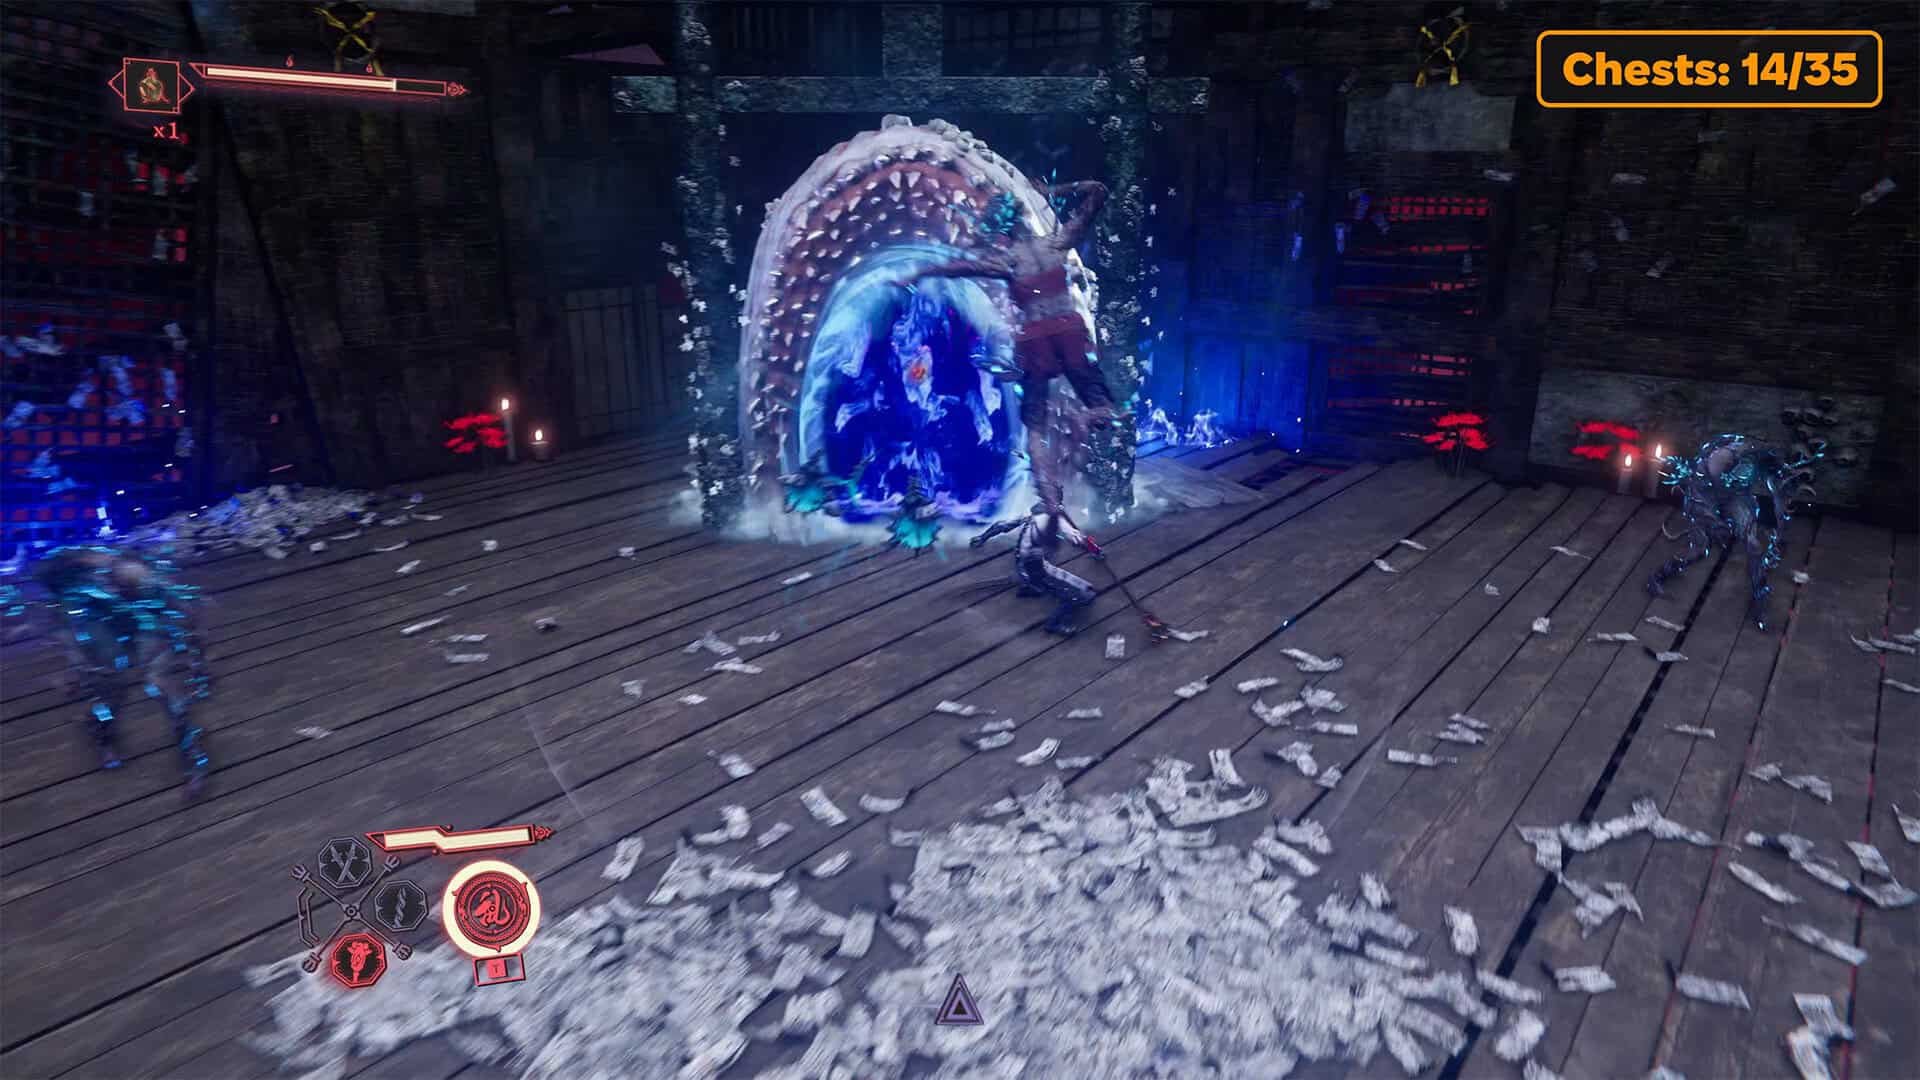
To the left of the chest, in the same place, is the Purgatory Gate. This is the entrance to an area where you will face another test of your ability to withstand a large number of enemies. Of course, you will receive a reward for this. There will be a lot of enemies here. In total, two waves of enemies await you in this trial. As always, the portals that send new enemies to you cause the most trouble. Therefore, you should try to destroy these portals first. During the battle with the enemies in the first wave, use skills that strike an area, and also actively move around the room.
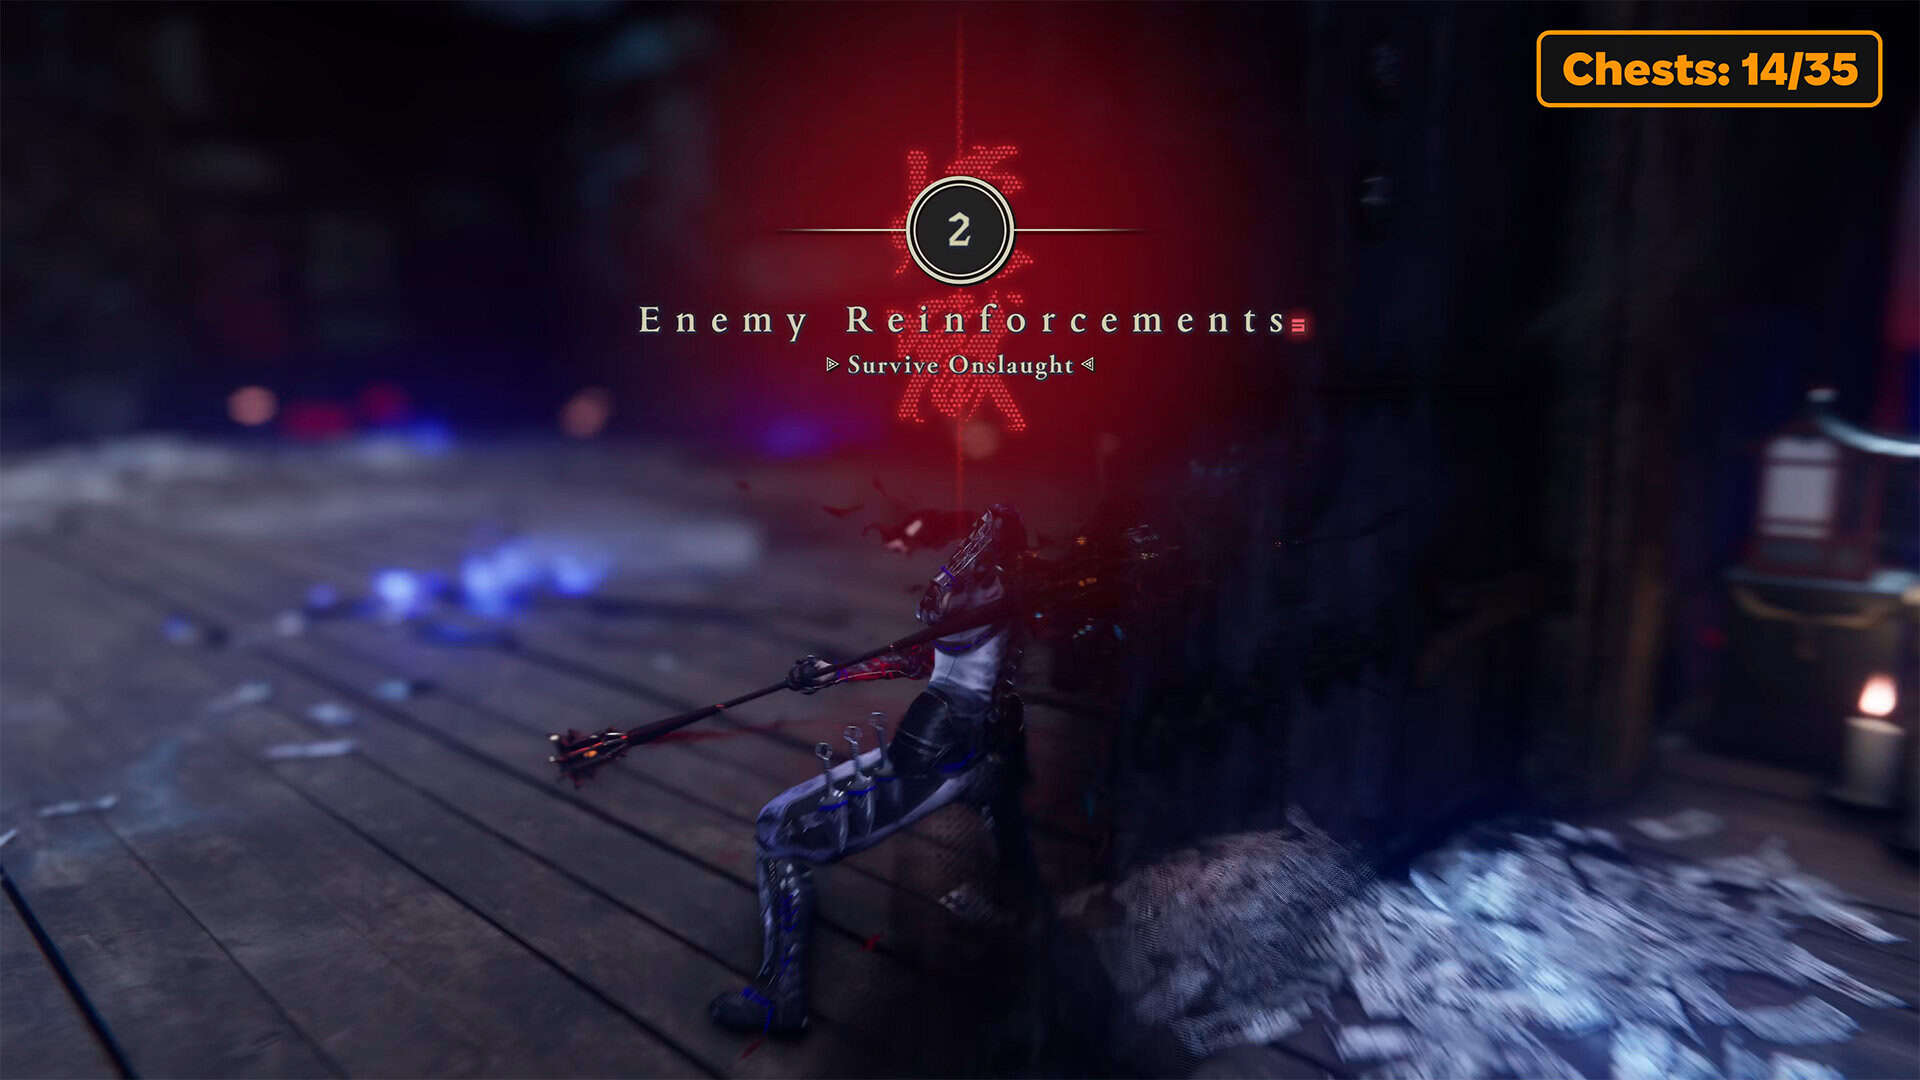
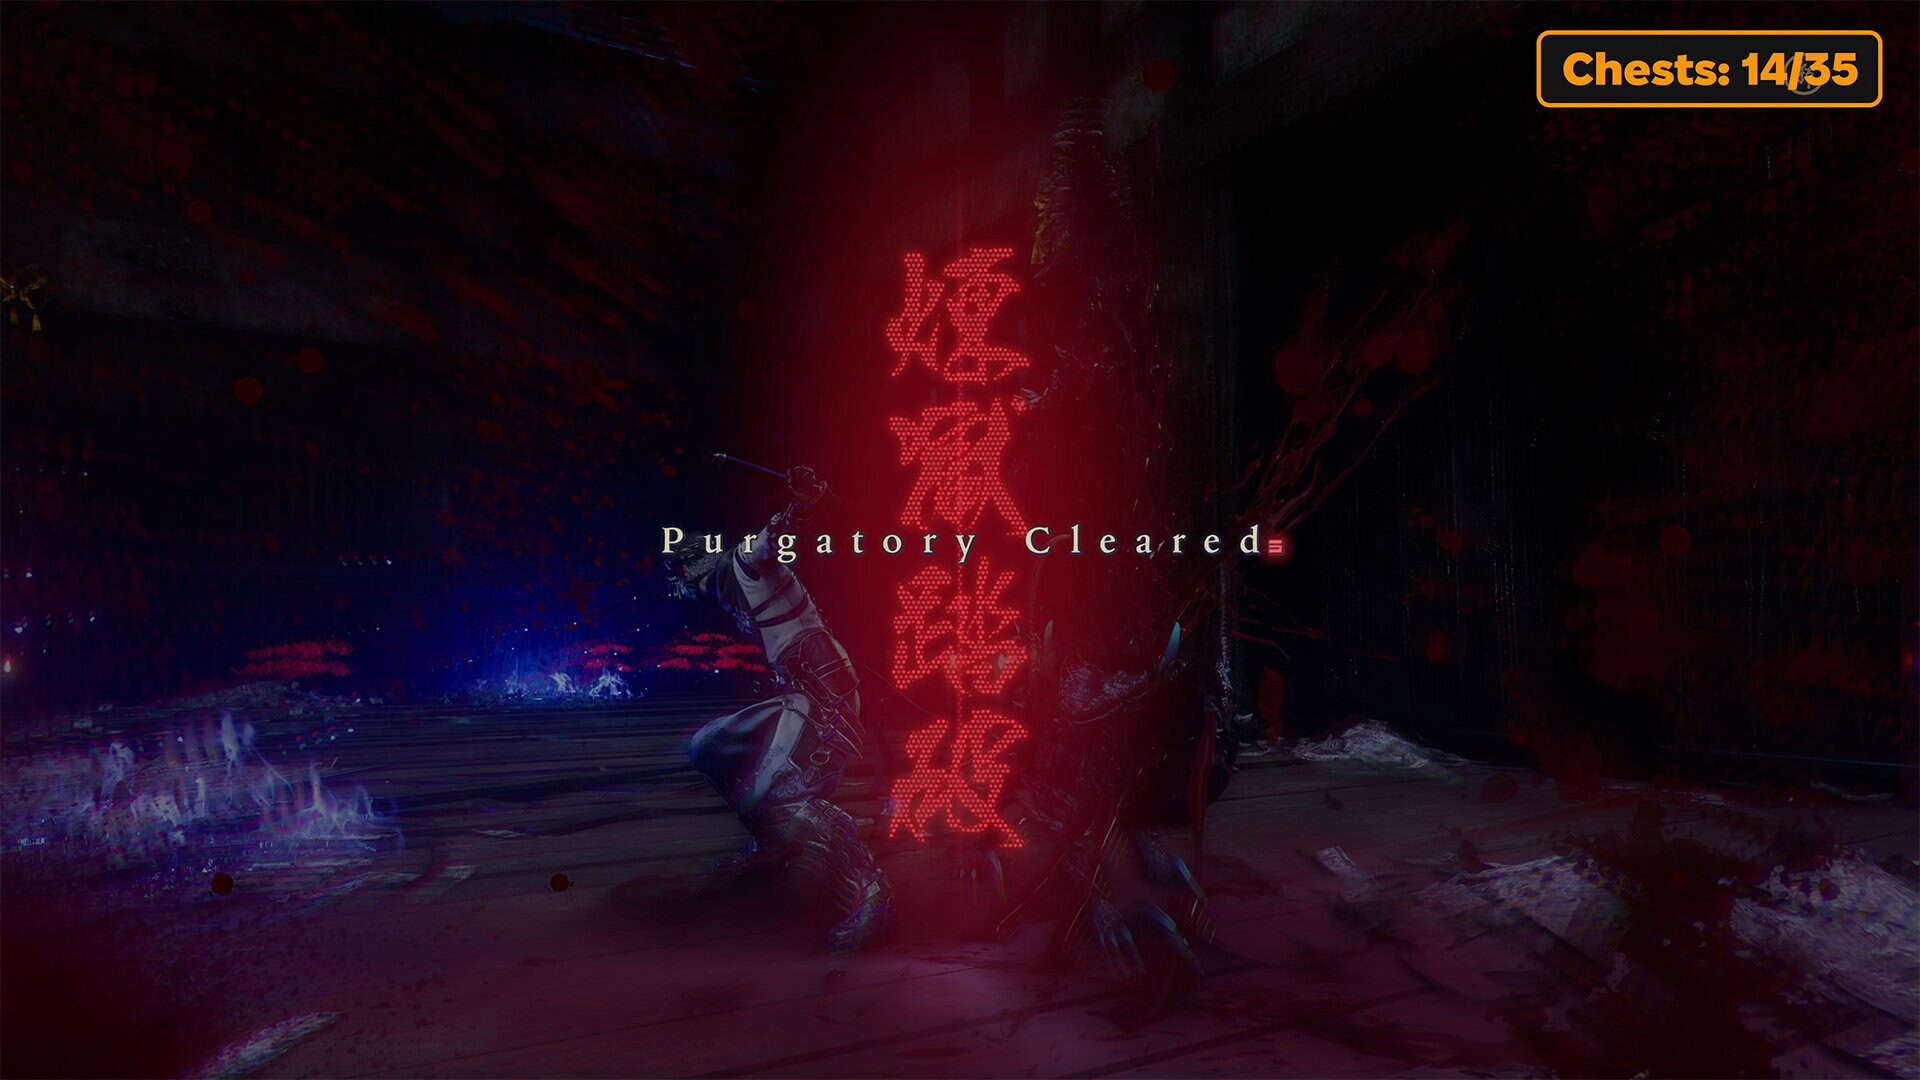
Do not try to finish off the enemy and do not complete your combinations. Interrupt them and move on to another enemy. Gradually, you will defeat them all. The second wave includes portals again and more difficult enemies, in addition to those you have already defeated. The tactics are exactly the same. When the berserk mode accumulates, switch to Takeminakata, because this weapon affects a large number of enemies standing nearby. After successfully completing this test, we receive a reward and move on.
-
- Purgatory Gate in Realm of Silent Dead
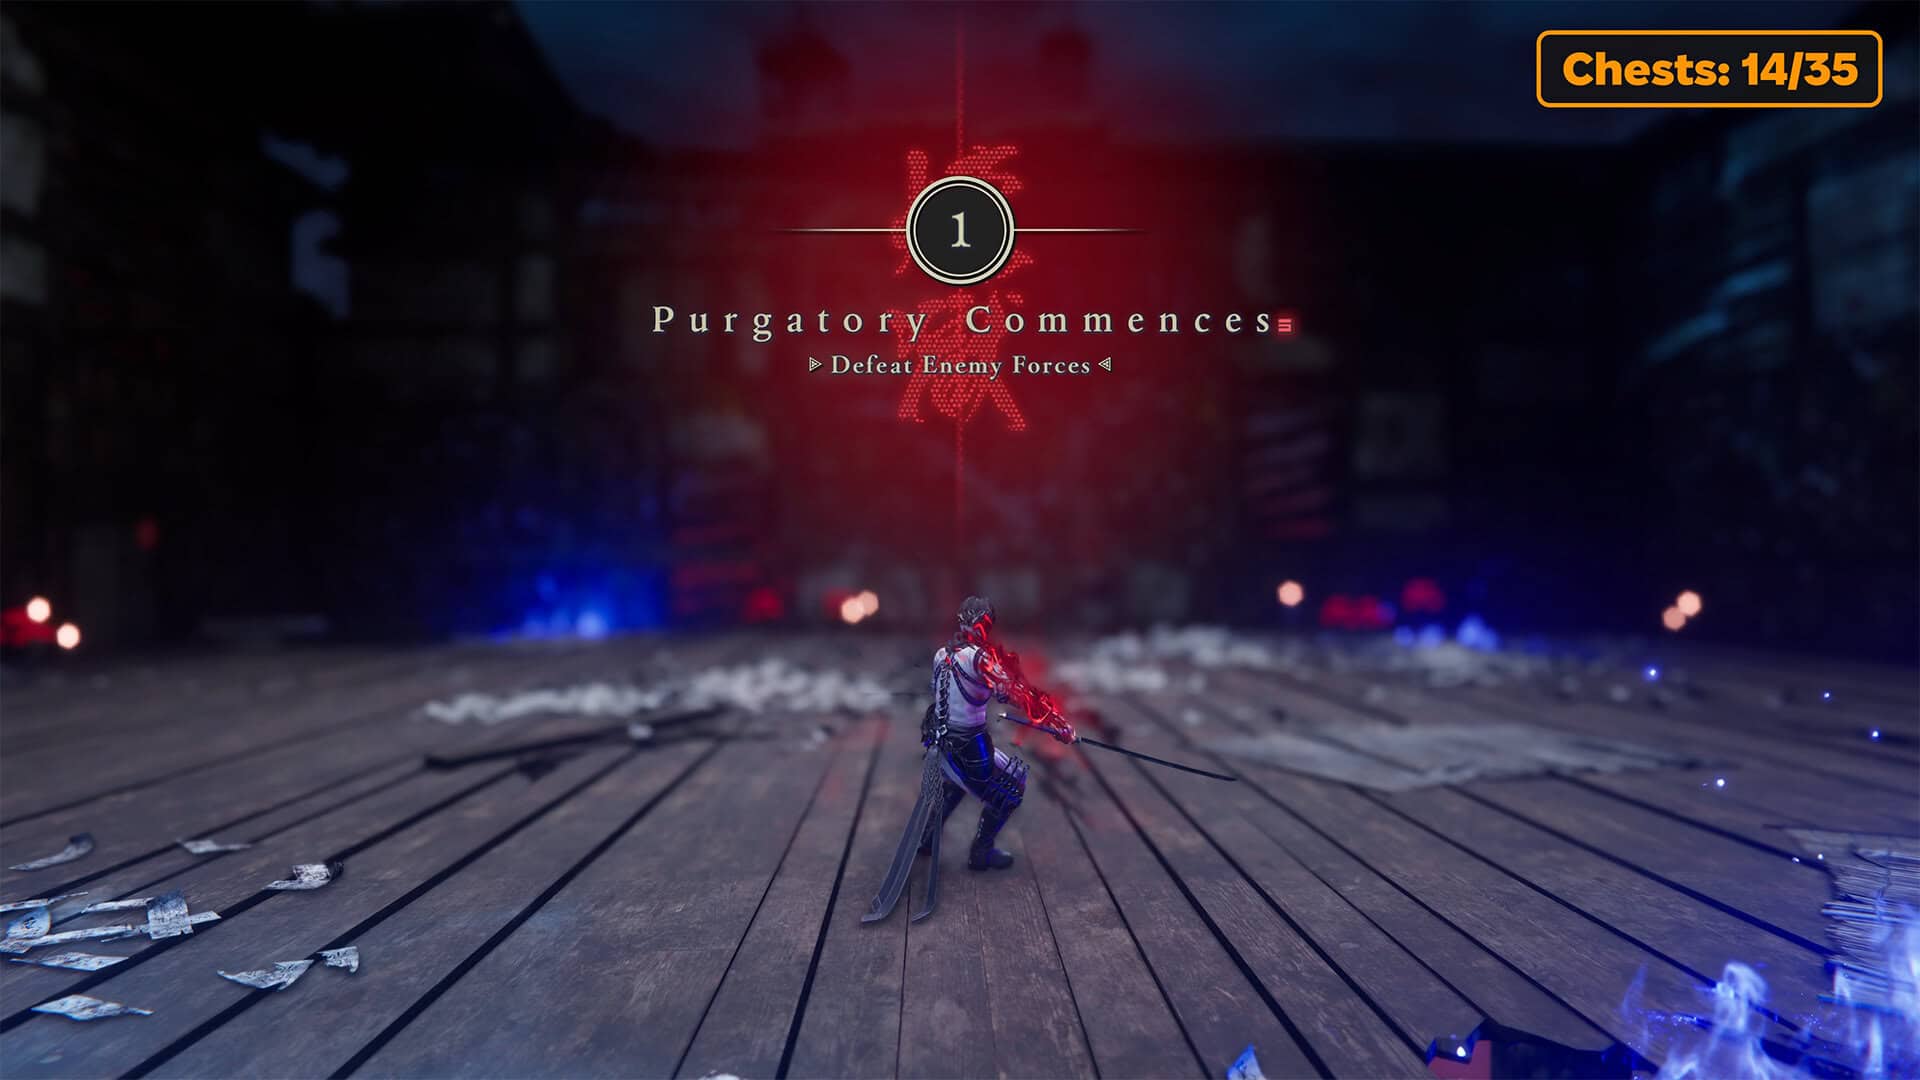
-
- The dangerous portal that must be destroyed first
-
- Transition to the second phase of Purgatory Gate
-
- Successful completion of the trial
Divine Life Elixir (chest 15) + Rejuvenation Elixir (chest 16)
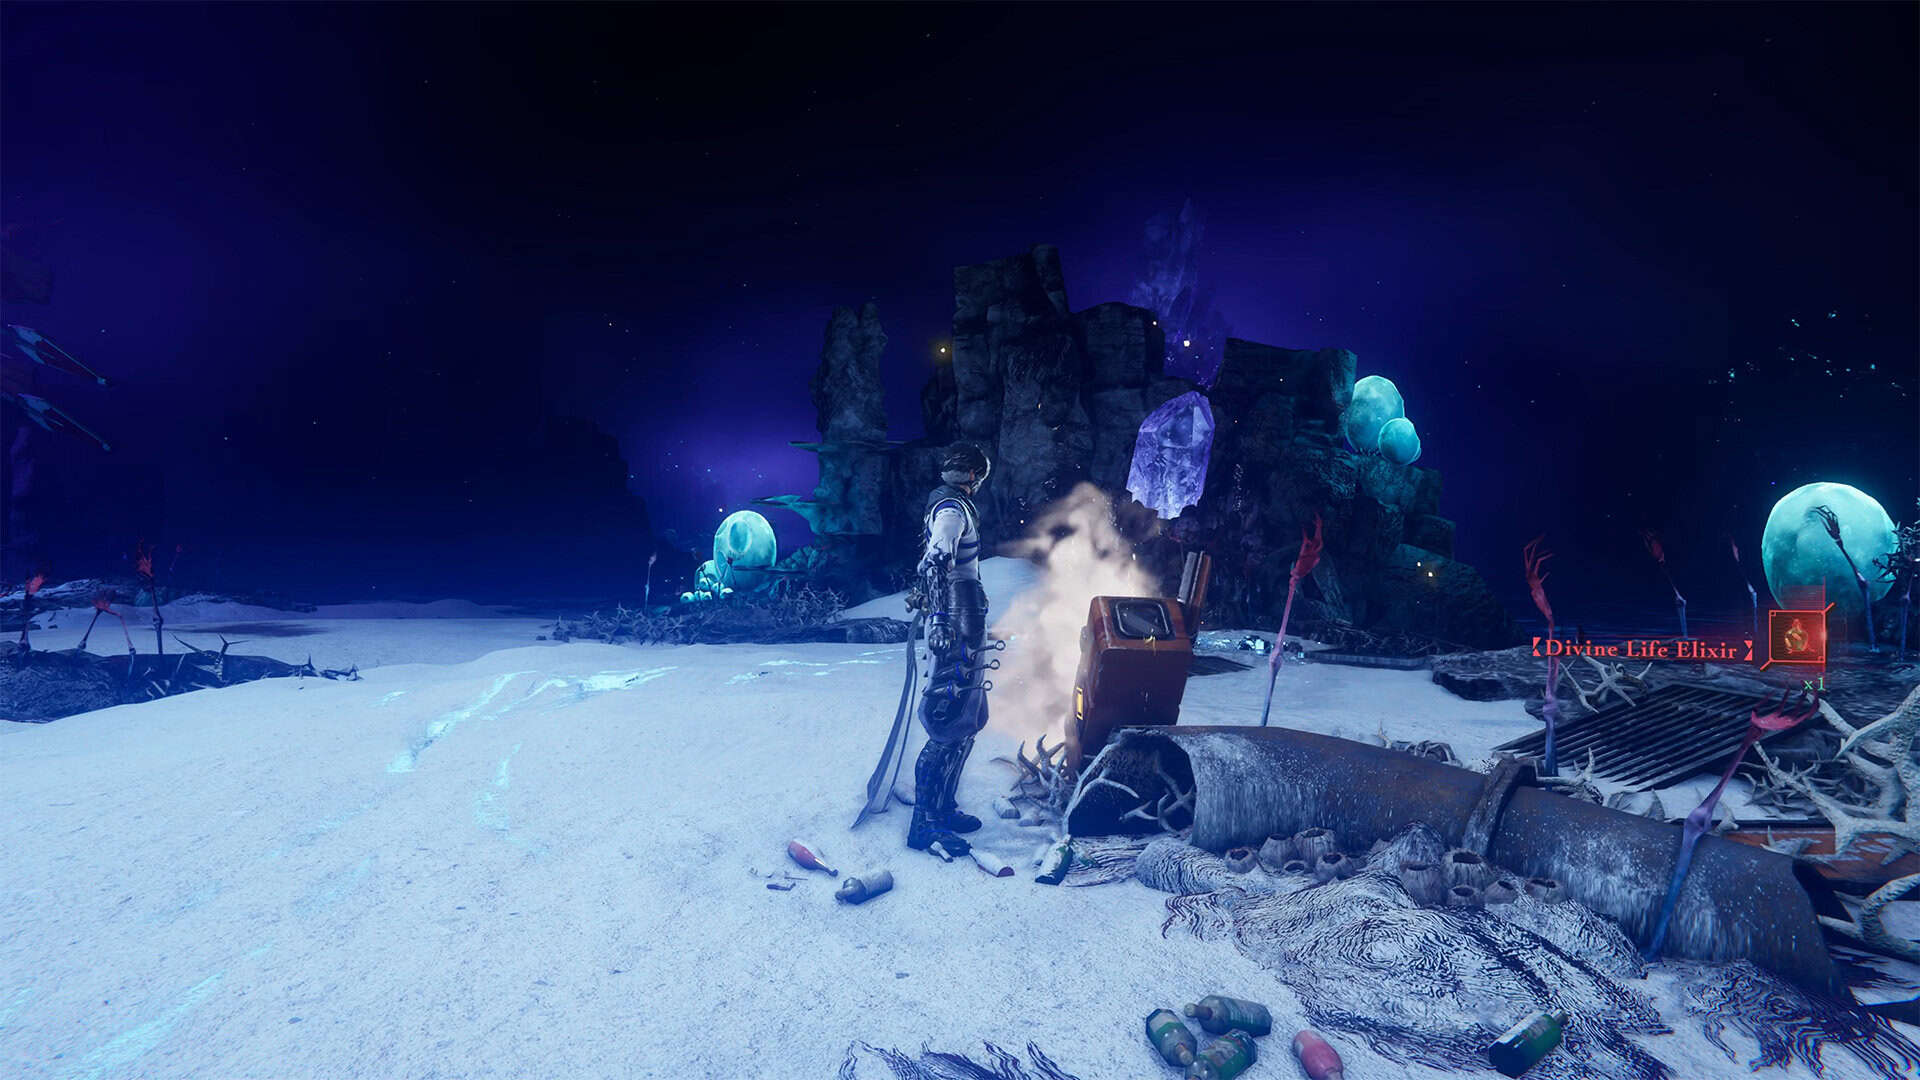
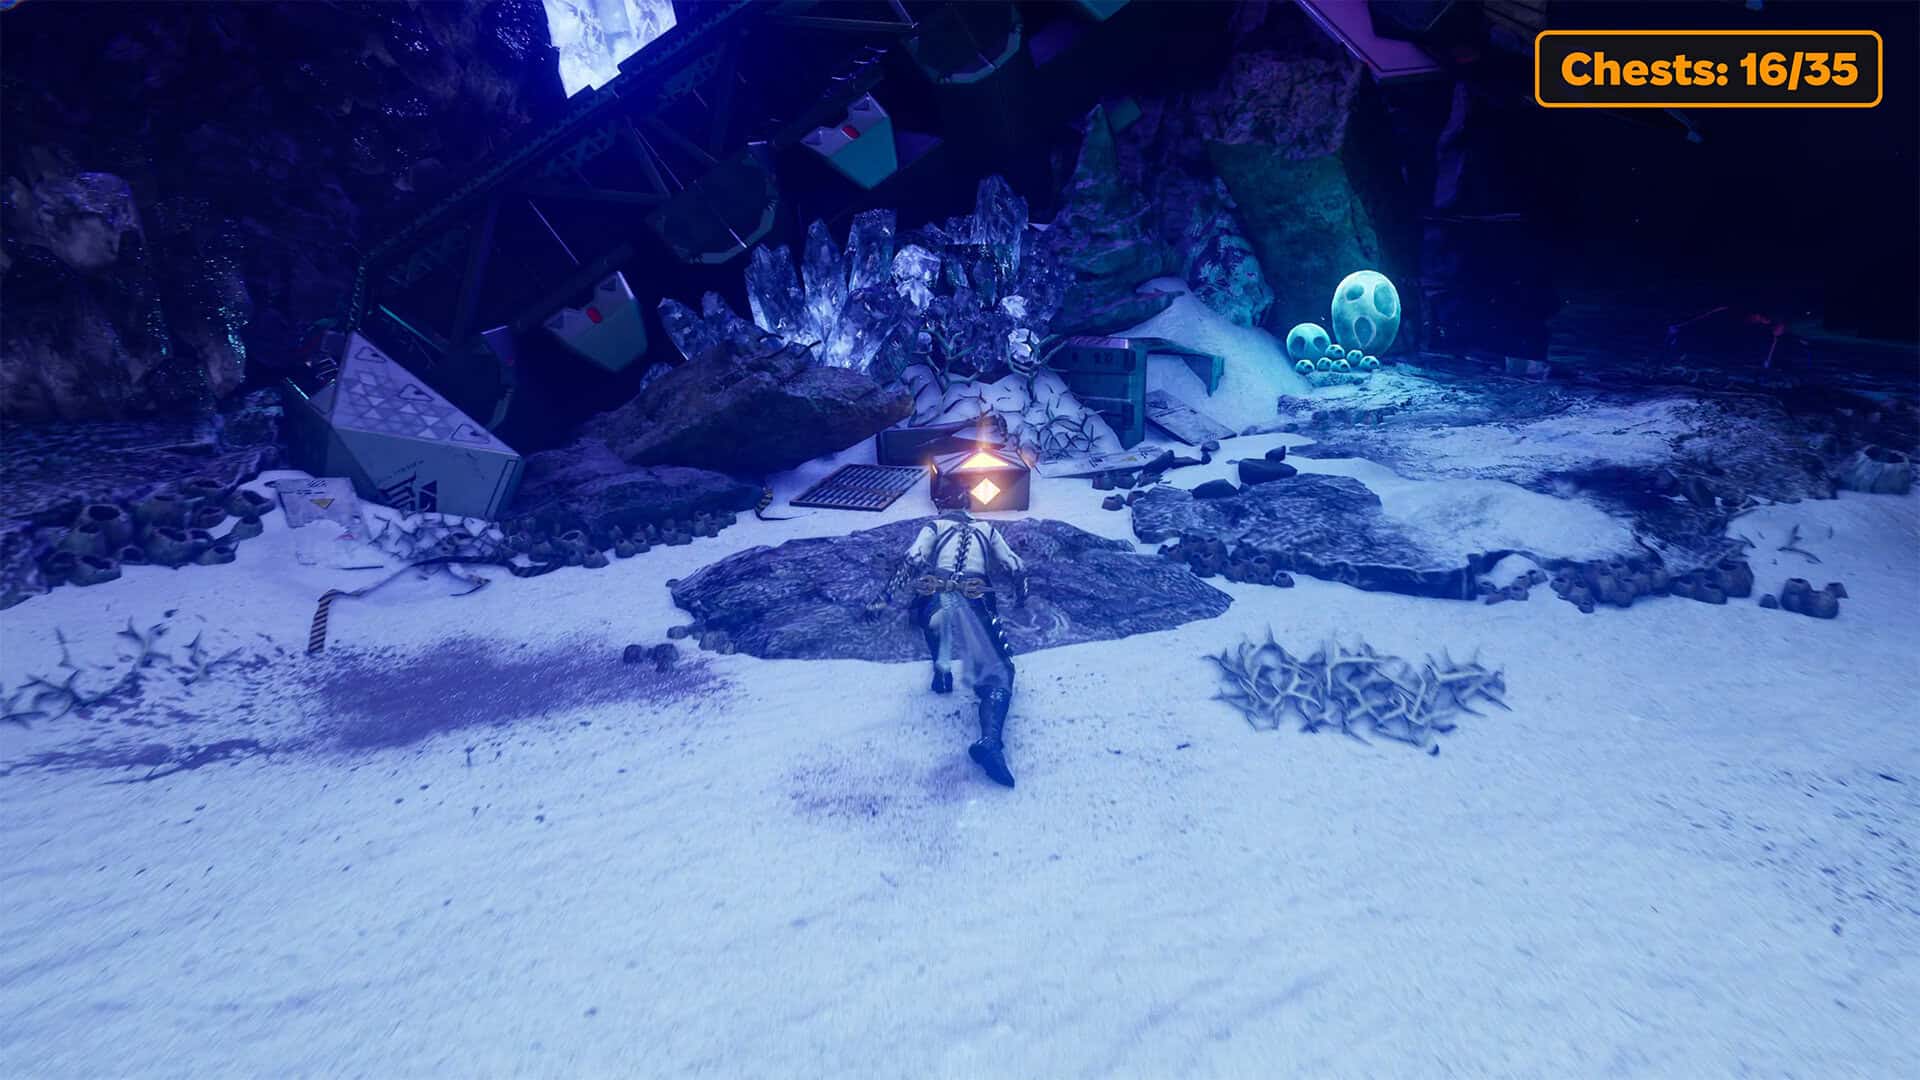
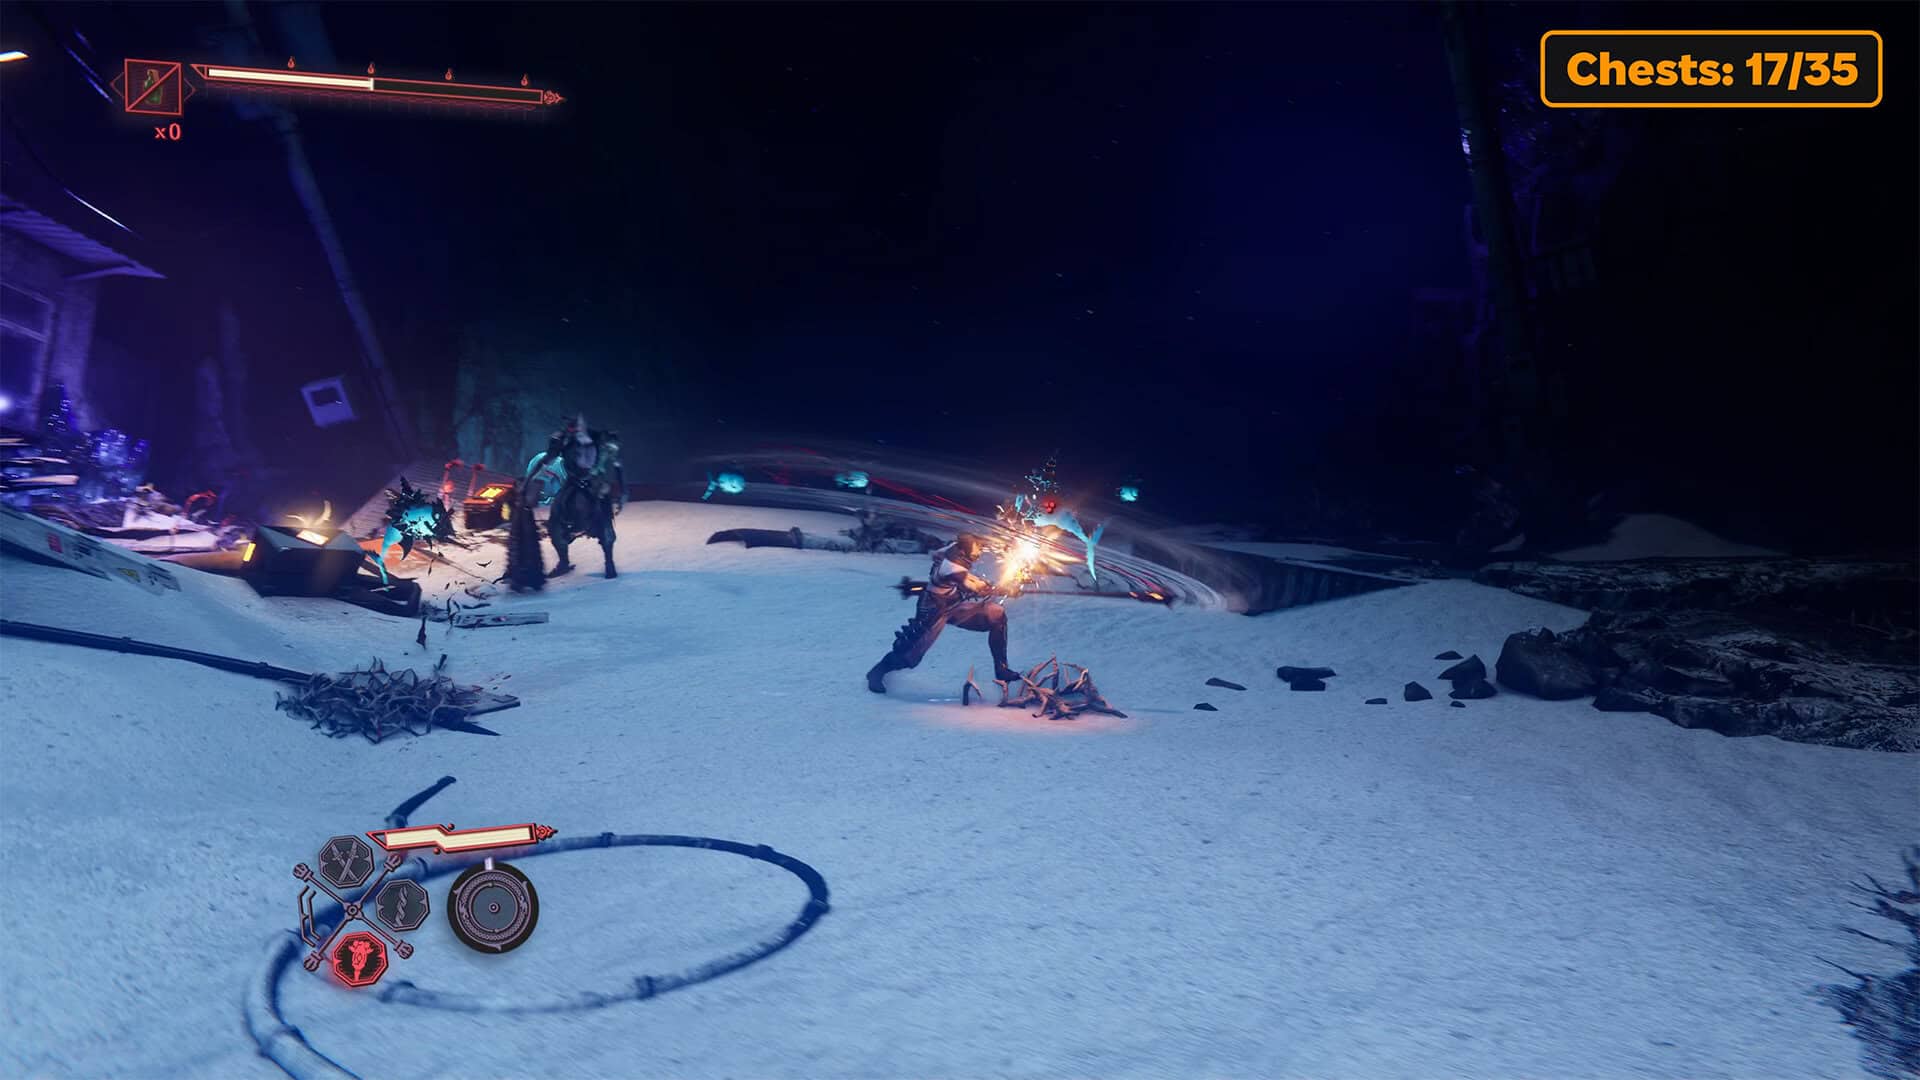
Now you can leave this lake. The exit from the area is illuminated by a dark orange light. You need to dive under the obstacle to move on to the next location. Once you pass this obstacle, you will see another island in front of you. There are enemies and two new chests on this island. Open the fifteenth chest to get the Divine Life Elixir and the sixteenth chest to get the Rejuvenation Elixir.
Crimson Blood Balm (chest 17) + Black Scale (chest 18)
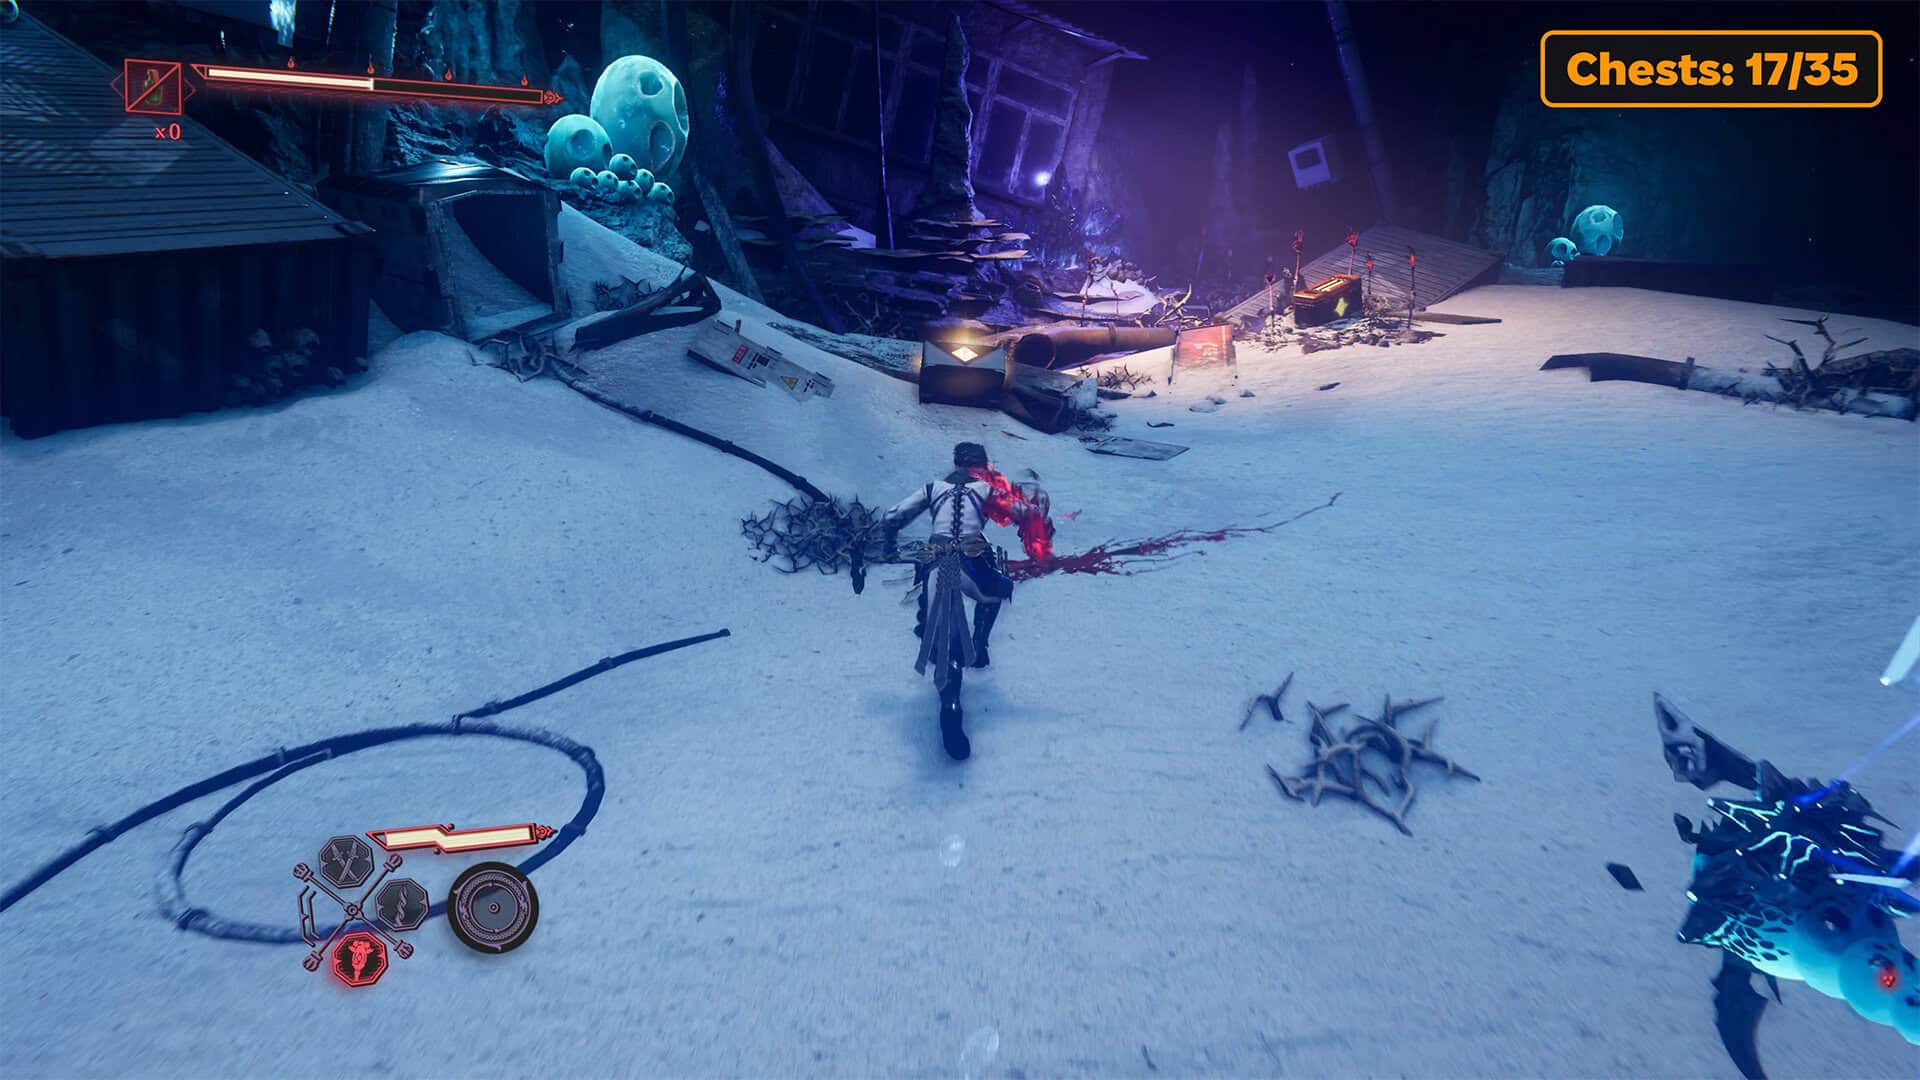
Now you need to explore the shore around this second lake. Turn around to where you came from and, as you jump into the water, turn right. This will take you to a place where there are two chests. As soon as you step ashore, enemies will appear. You must defeat them all. Then open the seventeenth chest to get Crimson Blood Balm. The eighteenth chest contains Black Scale. Once you get this item, it will combine with the Phantasmal Herb you already have, and your health bar will increase. This is an extremely useful and necessary item, so don’t miss this chest location to improve your stats.
-
- Chest #15 in Realm of Silent Dead
-
- Chest #16 in Realm of Silent Dead
-
- Destroy all enemies on the island
-
- Chests #17-18 in Realm of Silent Dead
Incense of Rebirth (chest 19)
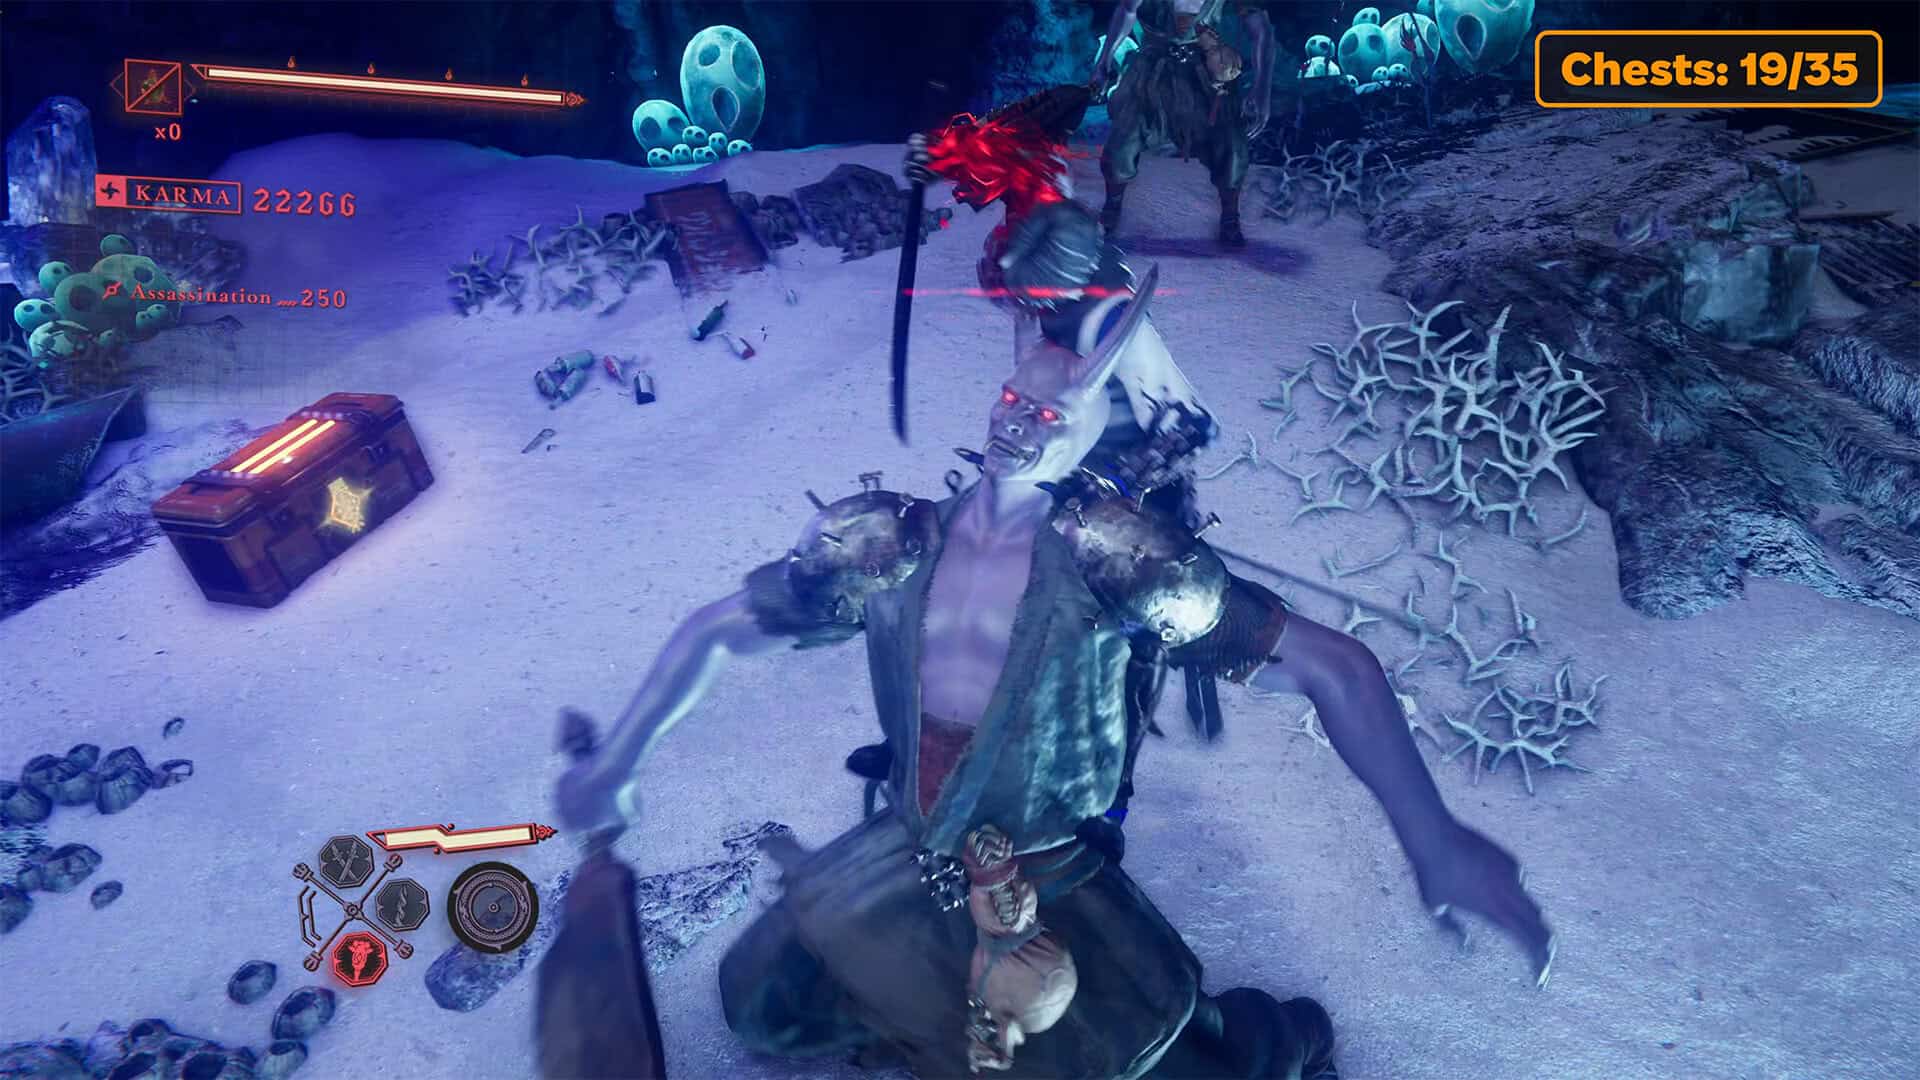
Exploring the perimeter of the second lake, you will find a place where two Foltogres are guarding a chest. You must defeat the enemies and then open the nineteenth chest to obtain the Incense of Rebirth.
Divine Life Elixir (chest 20) + First Gourdy
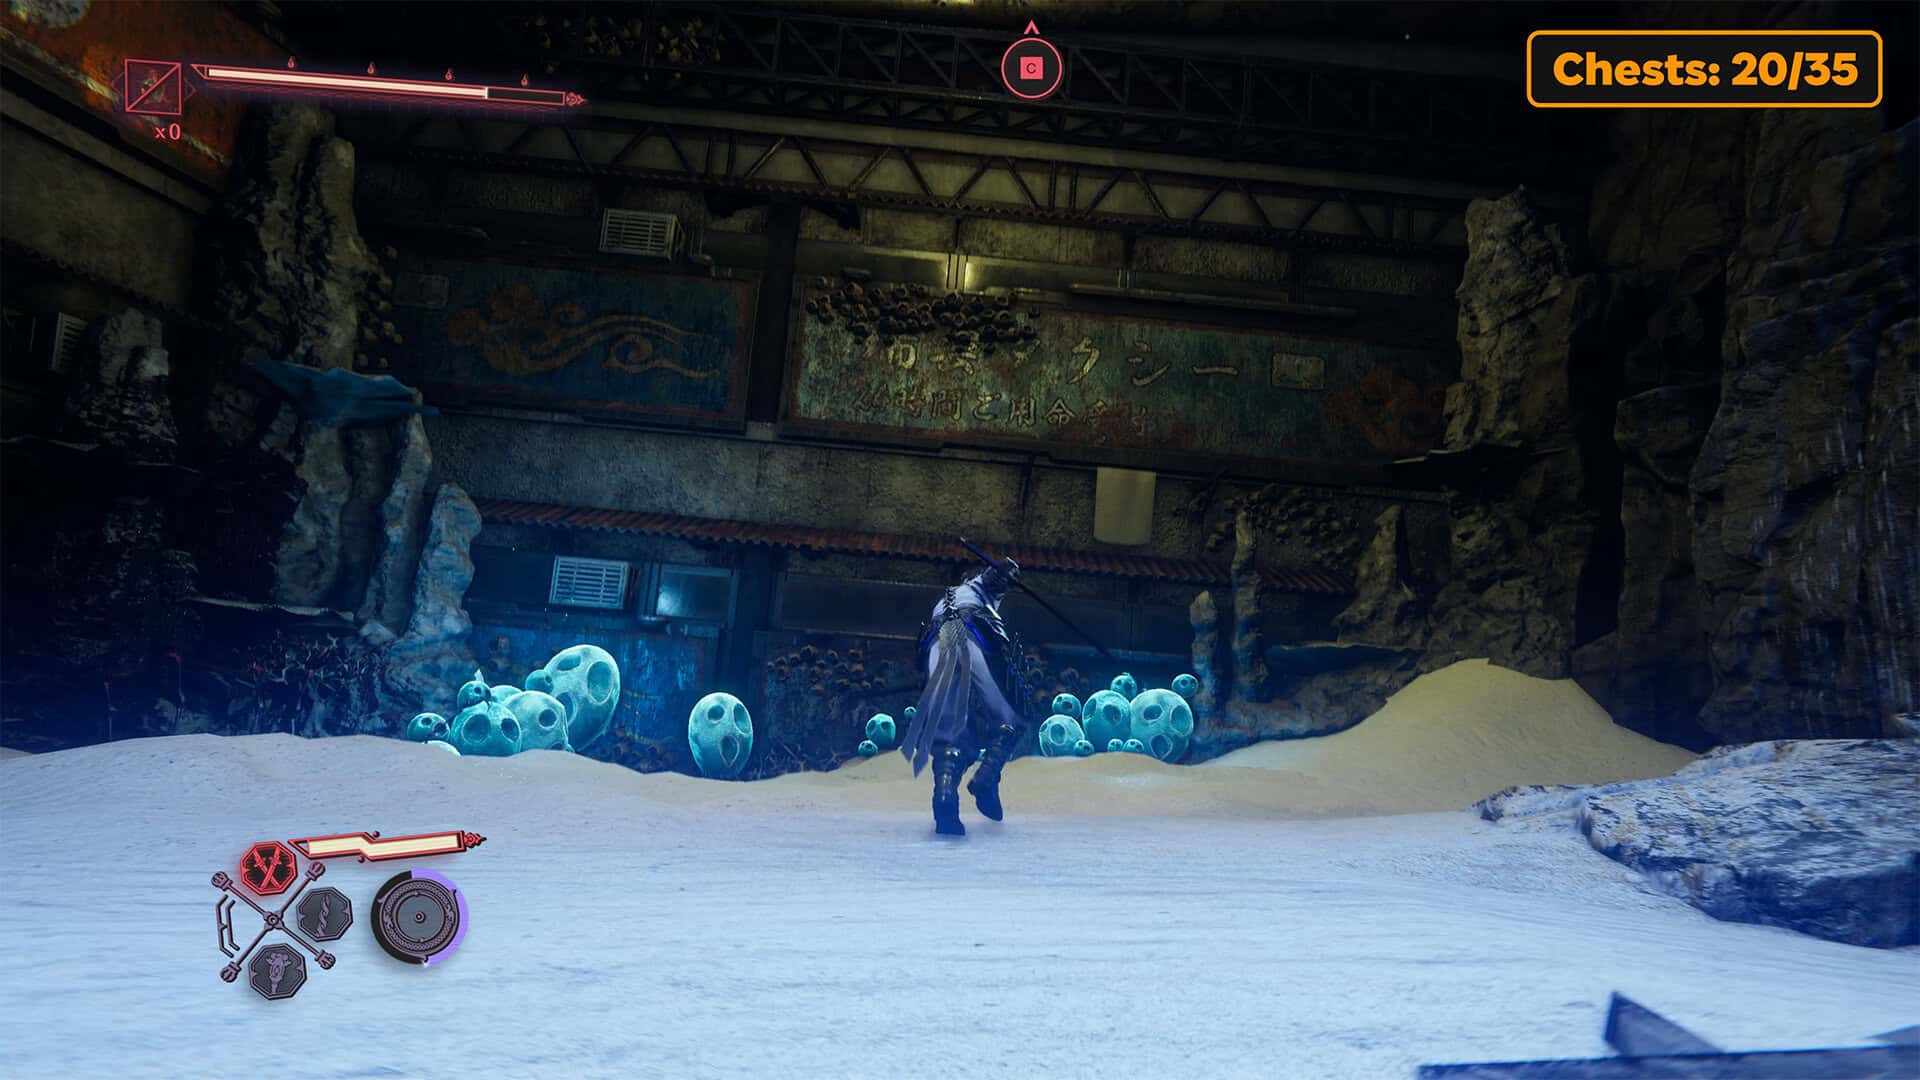
Now you can leave the area of the second lake. Find the yellow springboard that I show in the video. It is a passage to the next location. As soon as you land, turn around and look back. You will see another island in the distance. You need to go there first. Use the Pond Strider to quickly reach the island. Here you need to defeat all the enemies that are here. Don’t spare them, they don’t deserve it. After the victory, use the Caddis Wire to climb higher. There is nothing interesting here. Go forward and use the Dragonfly Glider to fly with the wind.
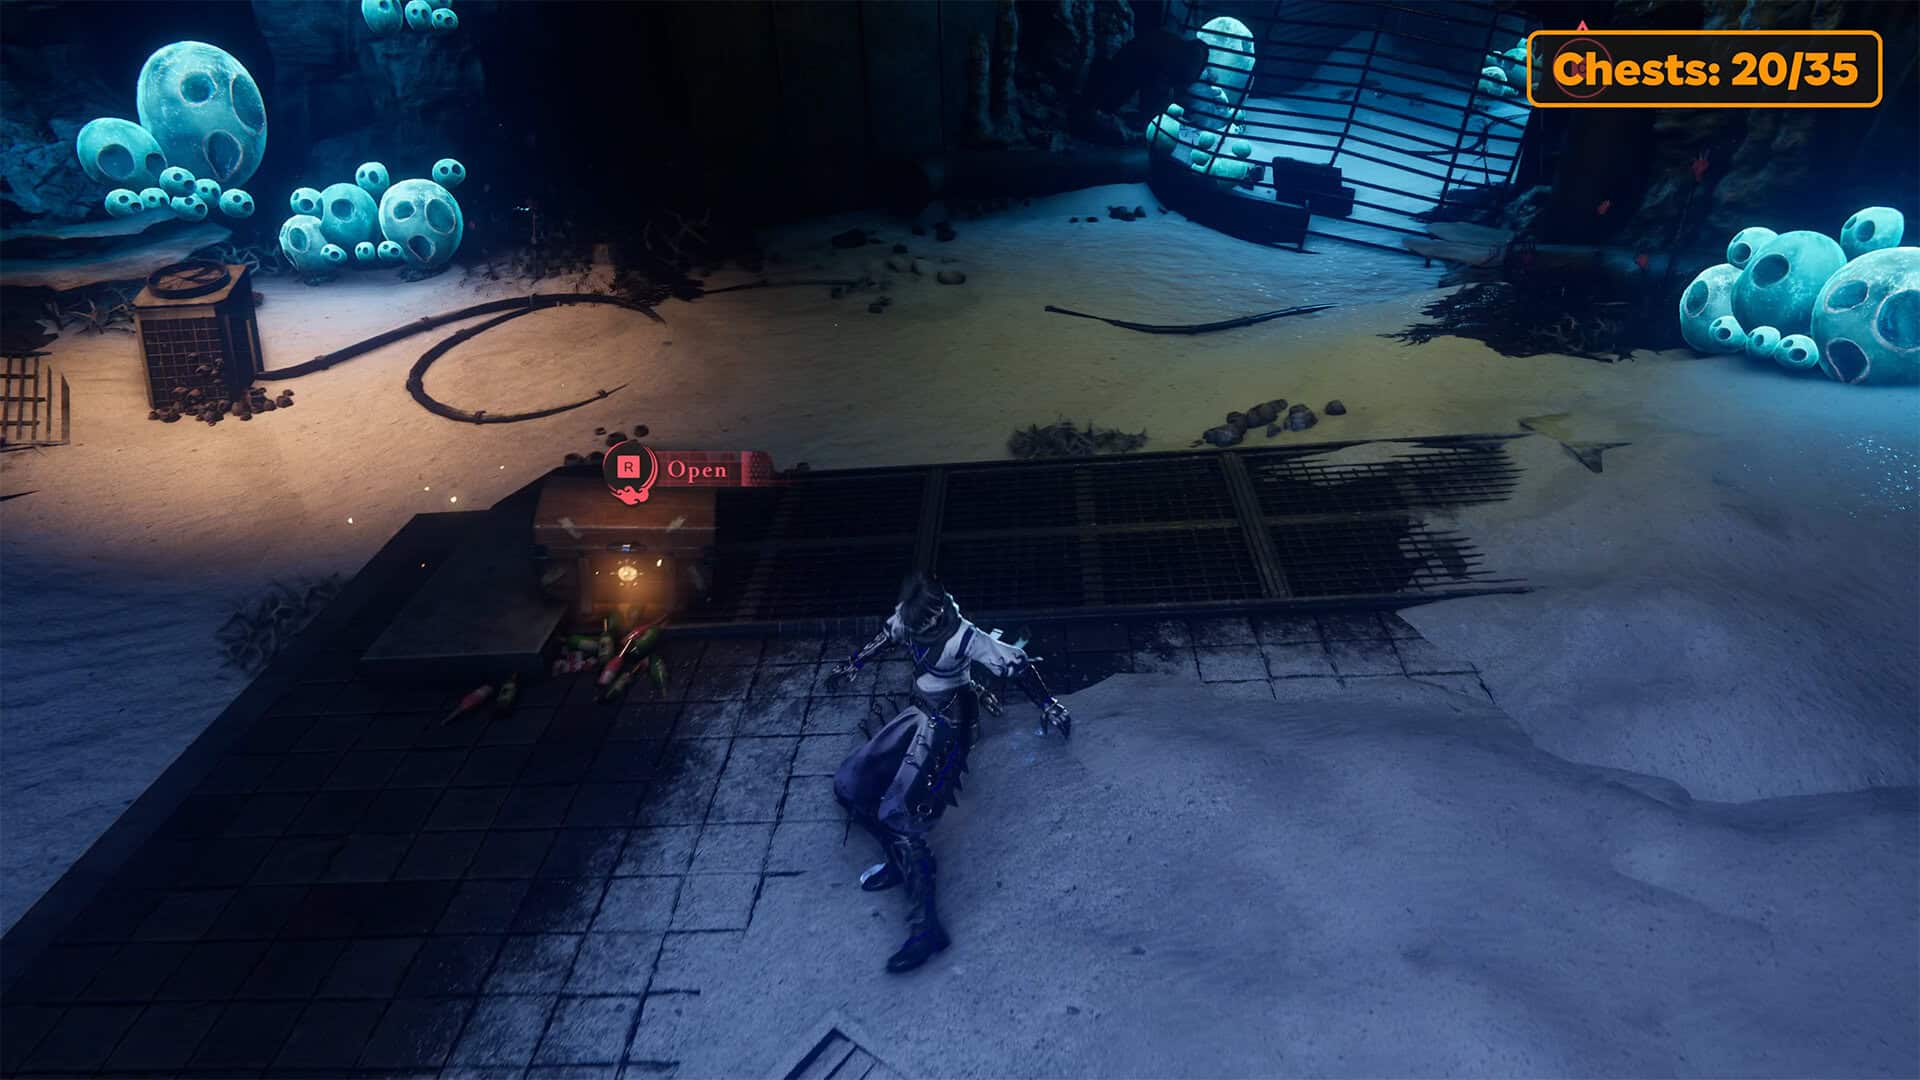
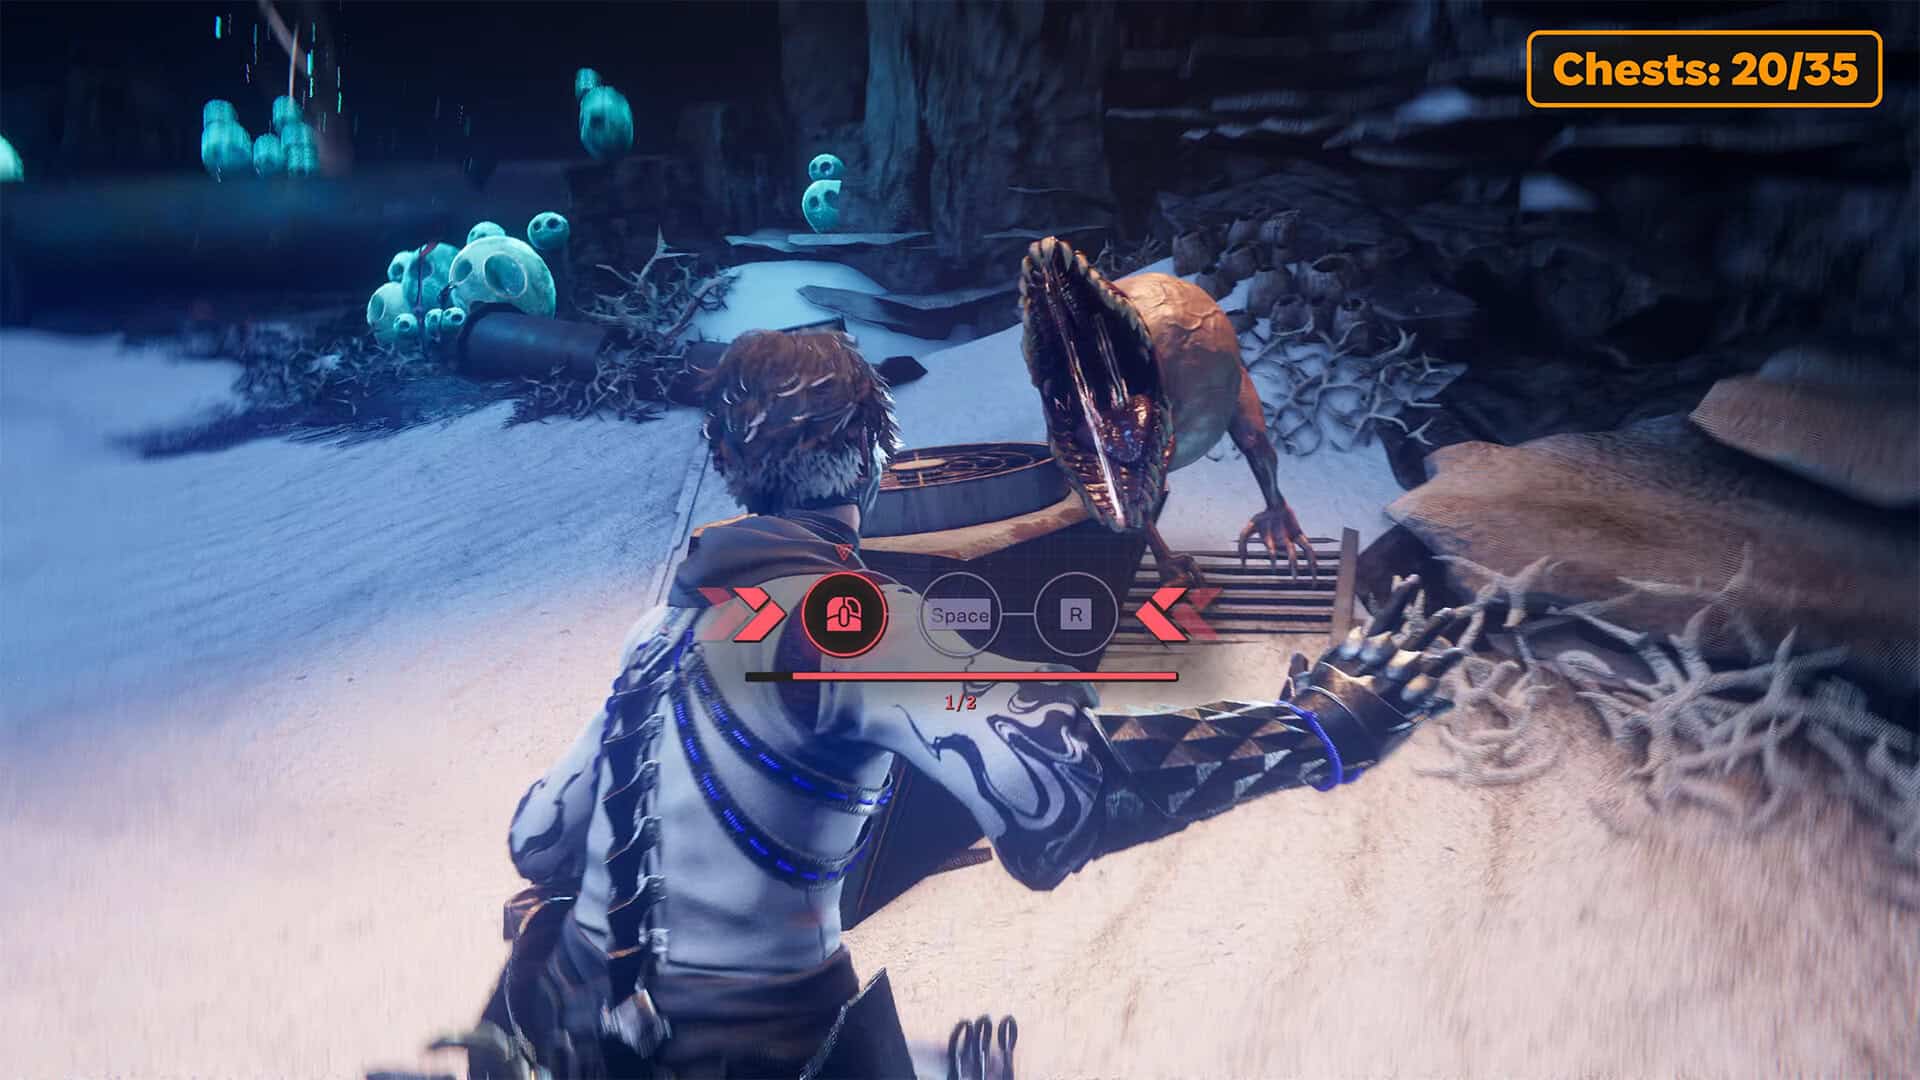
Eventually, you will land in a place you could see from the location of the first lake. Here, open the twentieth chest to get the Divine Life Elixir. Nearby, you will find Gourdy. To catch him, you need to complete a mini-task consisting of two stages. Press the buttons at the right time and you will catch Gourdy.
-
- Chest #19 in Realm of Silent Dead
-
- The Way to the Chest and First Gourdy
-
- Chest #20 in Realm of Silent Dead
-
- The task is to catch Gourdy
Divine Life Elixir (chest 21)
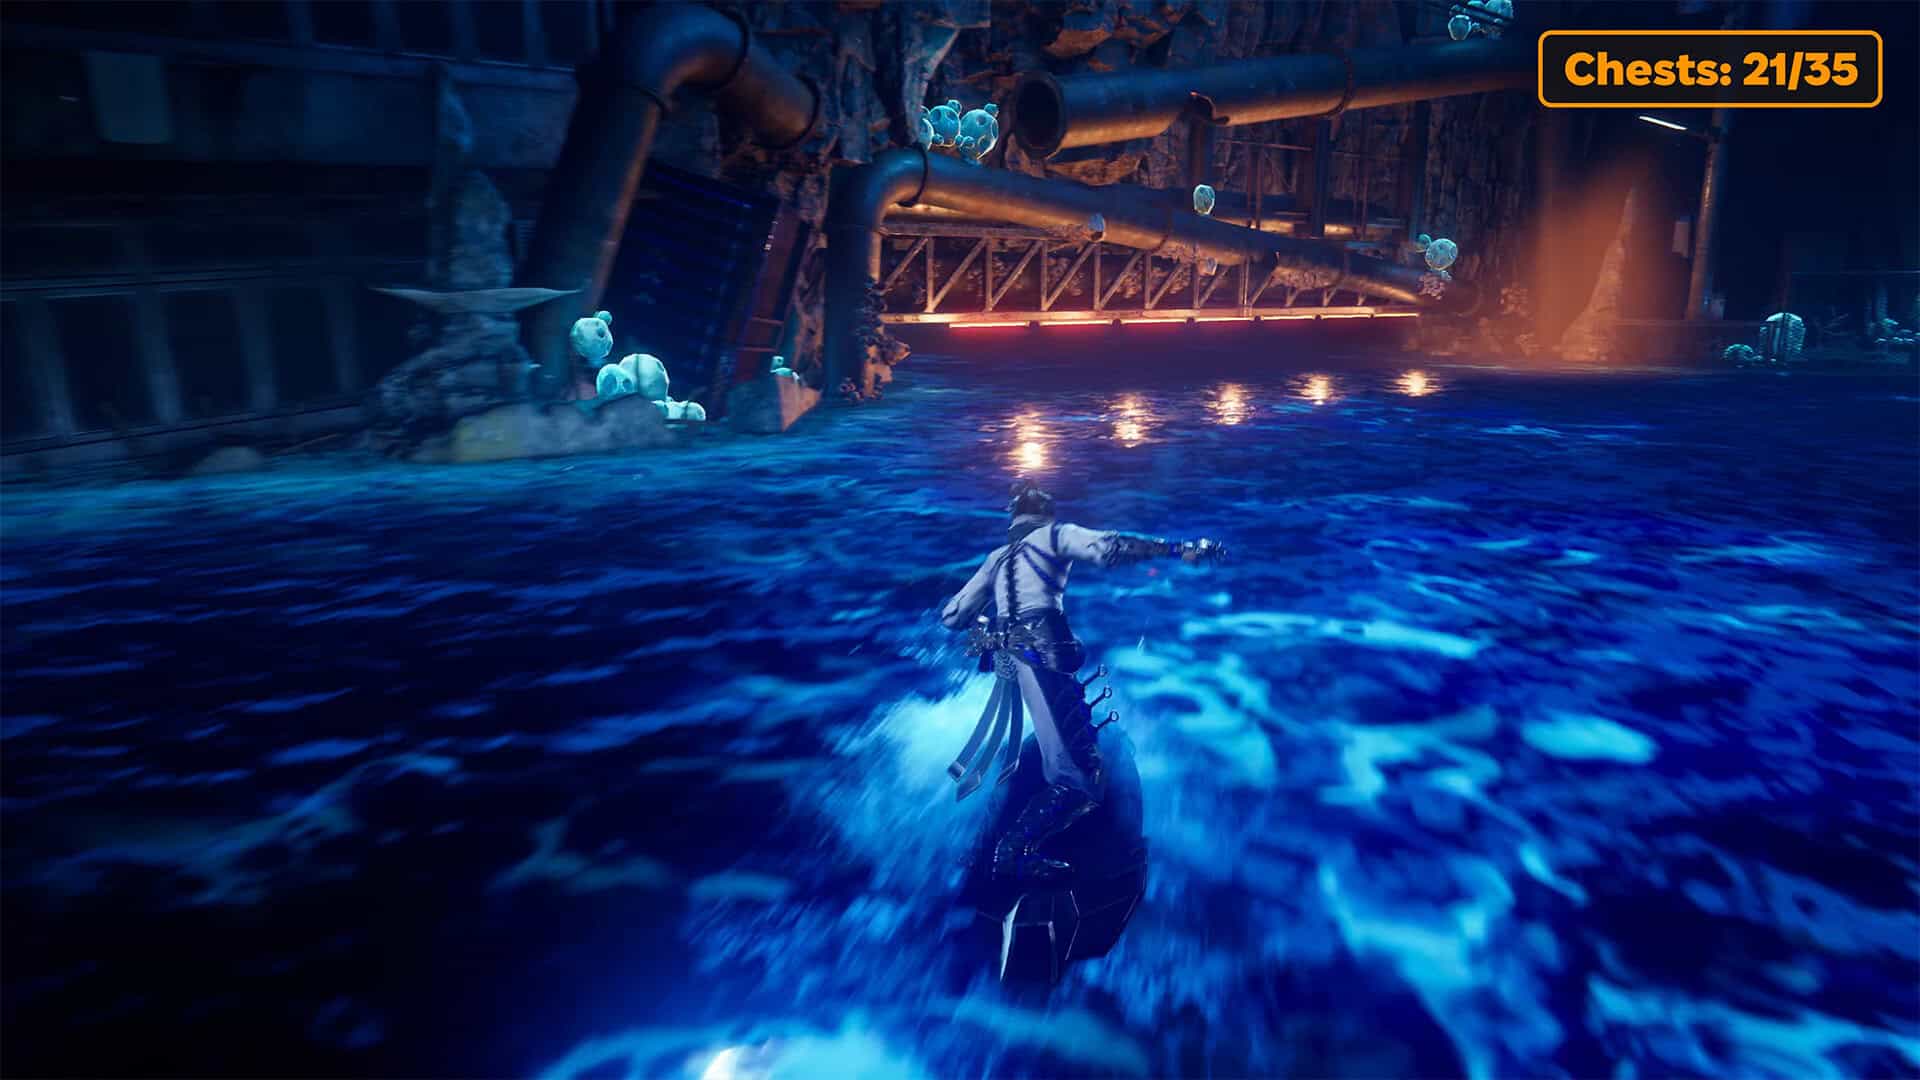
To exit this location, grab onto the Caddis Wire, climb up the hill, cross the platform, and jump down. There is no other way. You will find yourself at the first lake. That’s how far we’ve been thrown. Next, you need to follow the route you already know. Using Pond Strider, swim to the orange obstacle, where you need to crouch to pass under it, then move on to the yellow springboard without stopping. You will find yourself back in the location you were already in, but this time move forward. In front of you, you will see a huge monster running from left to right. Do not chase it. Turn left to find the twenty-first chest. Open it to get the Divine Life Elixir.
Divine Life Elixir (chest 22) + Life Elixir (chest 23)
Next, it’s time to go after the monster you saw. On this path, you will encounter Malherc for the first time. My first encounter was quite difficult. This is a challenging enemy to defeat. After defeating the enemies, you need to climb up using Flying Bird Flip. On the upper platform, you will see two chests. Open the twenty-second chest to get the Divine Life Elixir and the twenty-third chest to get the Life Elixir.
-
- Exit under the structure to another location
-
- Yellow springboard to proceed further
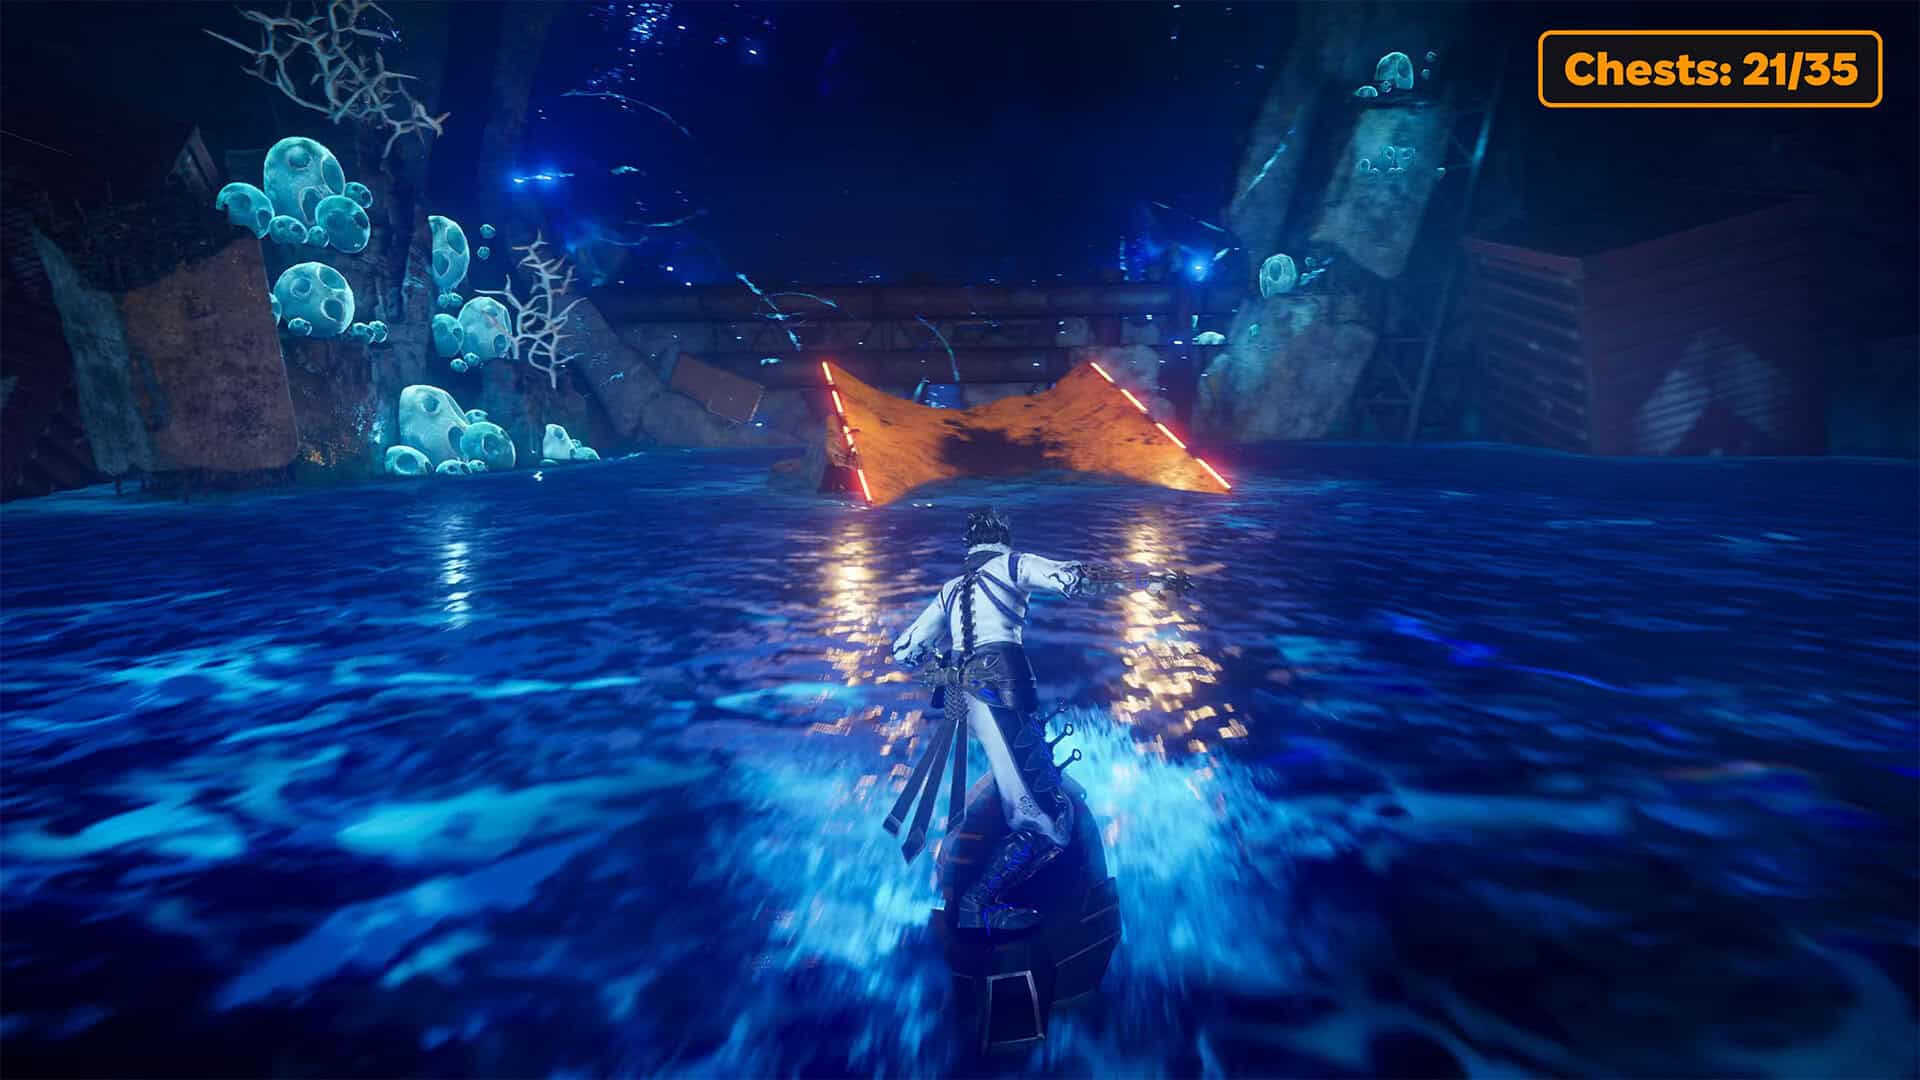
-
- Chest #21 in Realm of Silent Dead
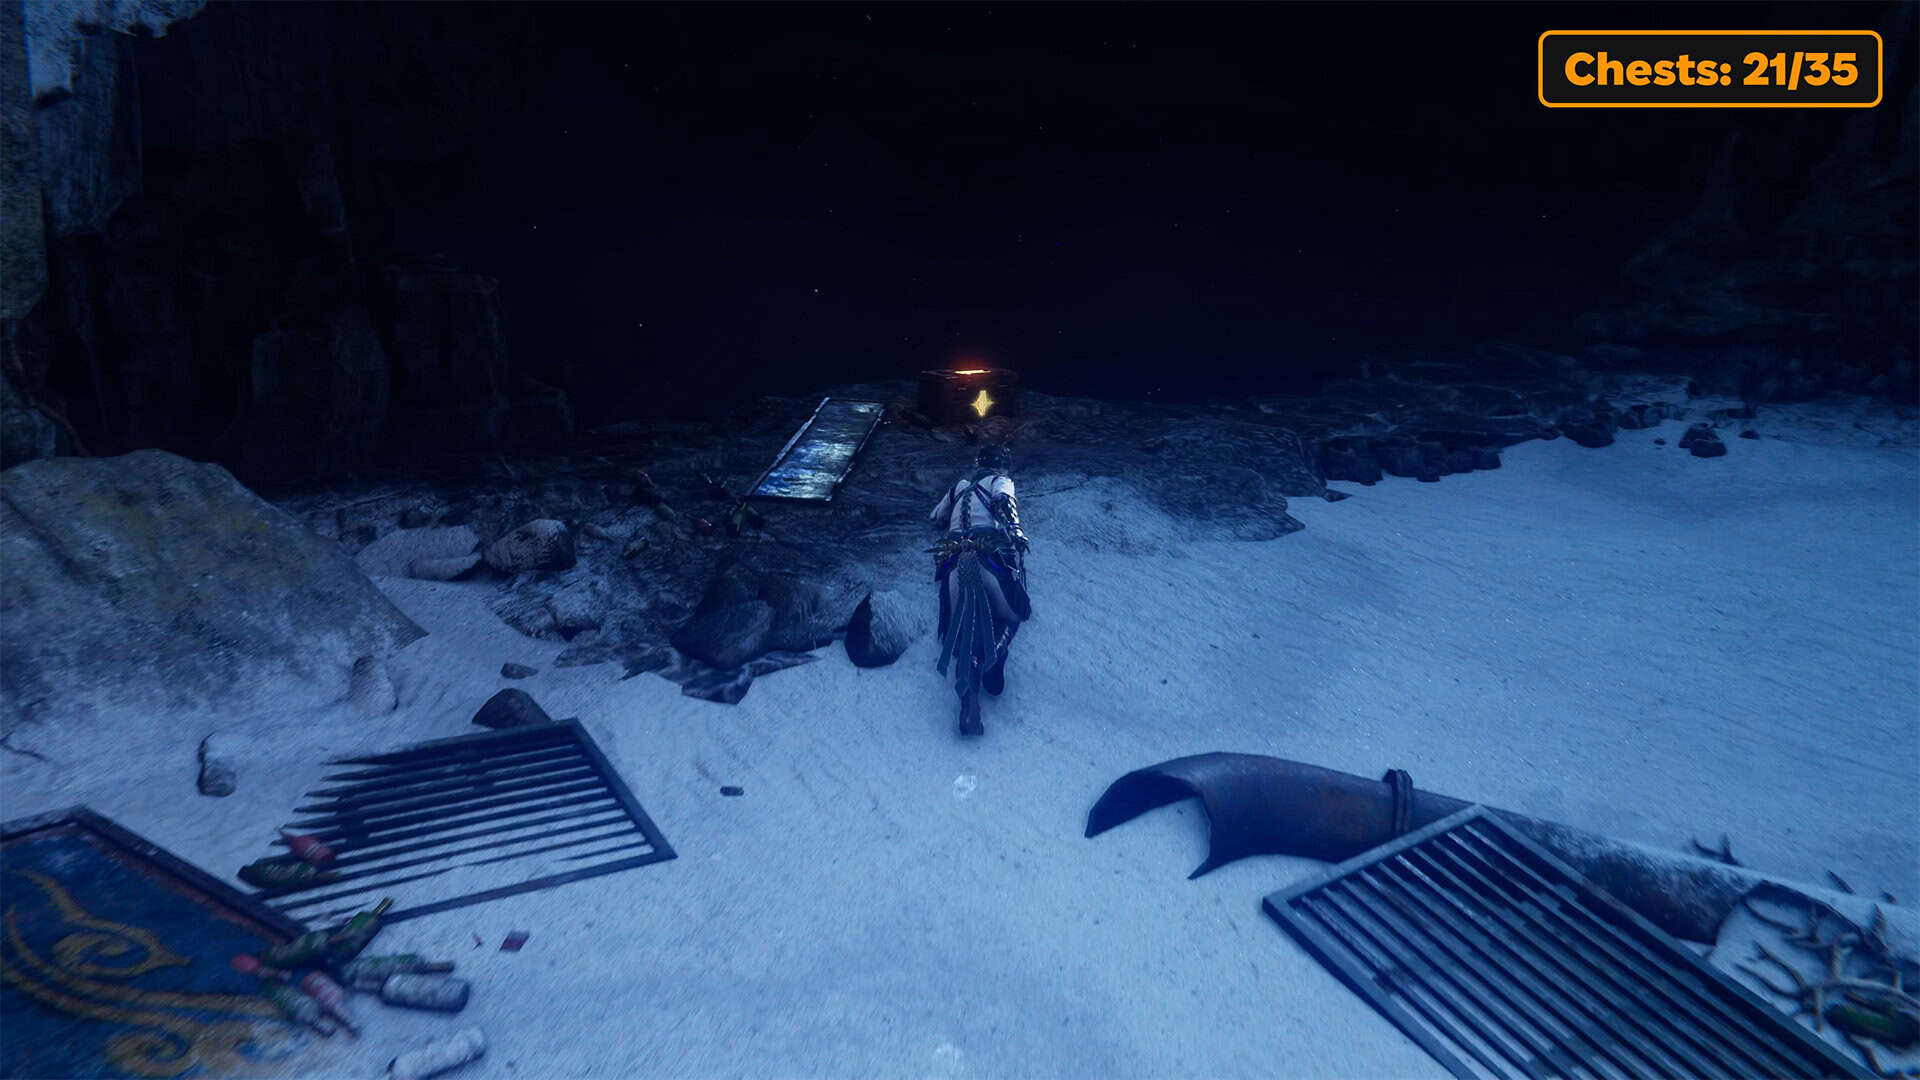
-
- Chest #22-23 in Realm of Silent Dead
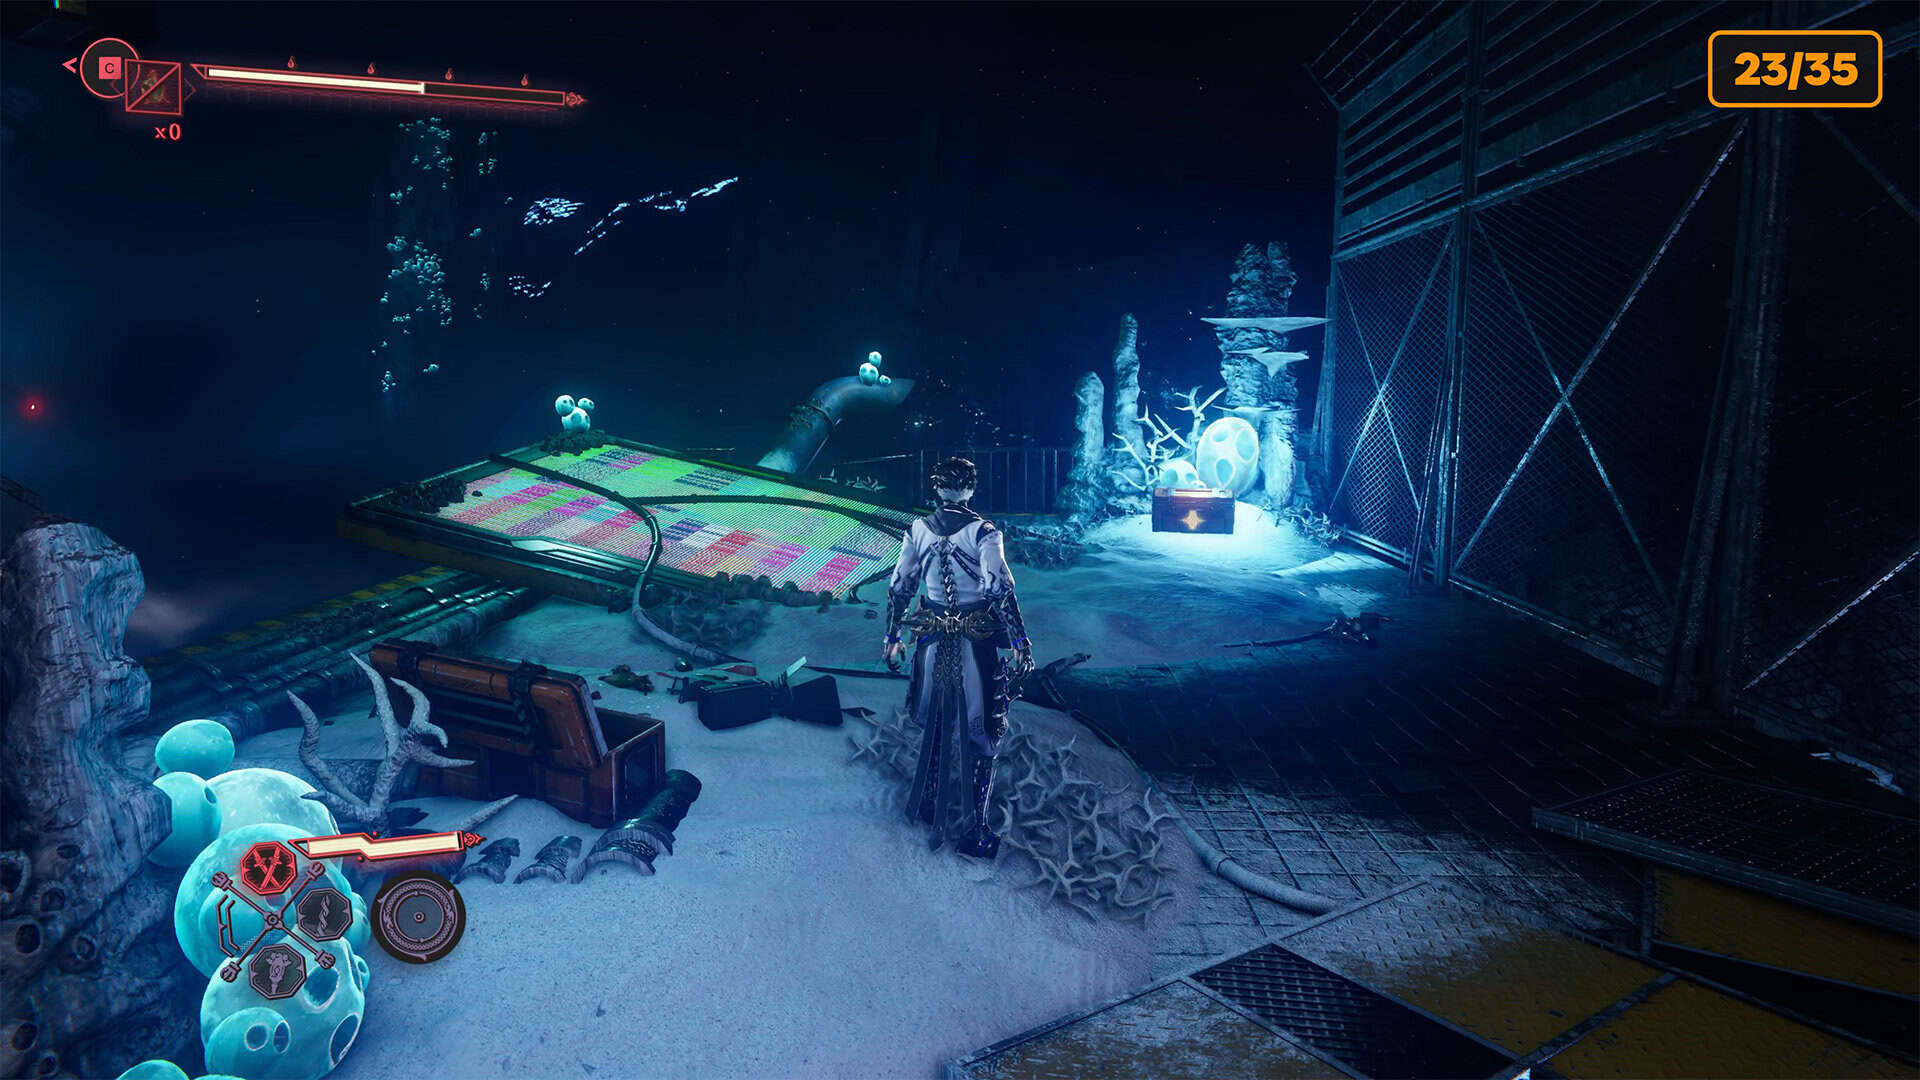
Life Elixir (chest 24)
Next is a place you can’t miss. Jump forward, use the gust of wind to fly and land on the platform. Ahead of you will be a narrow passage and a large group of enemies. But before you go to them, open the twenty-fourth chest to your right. In this chest, you will find Life Elixir.
Life Elixir (chest 25)
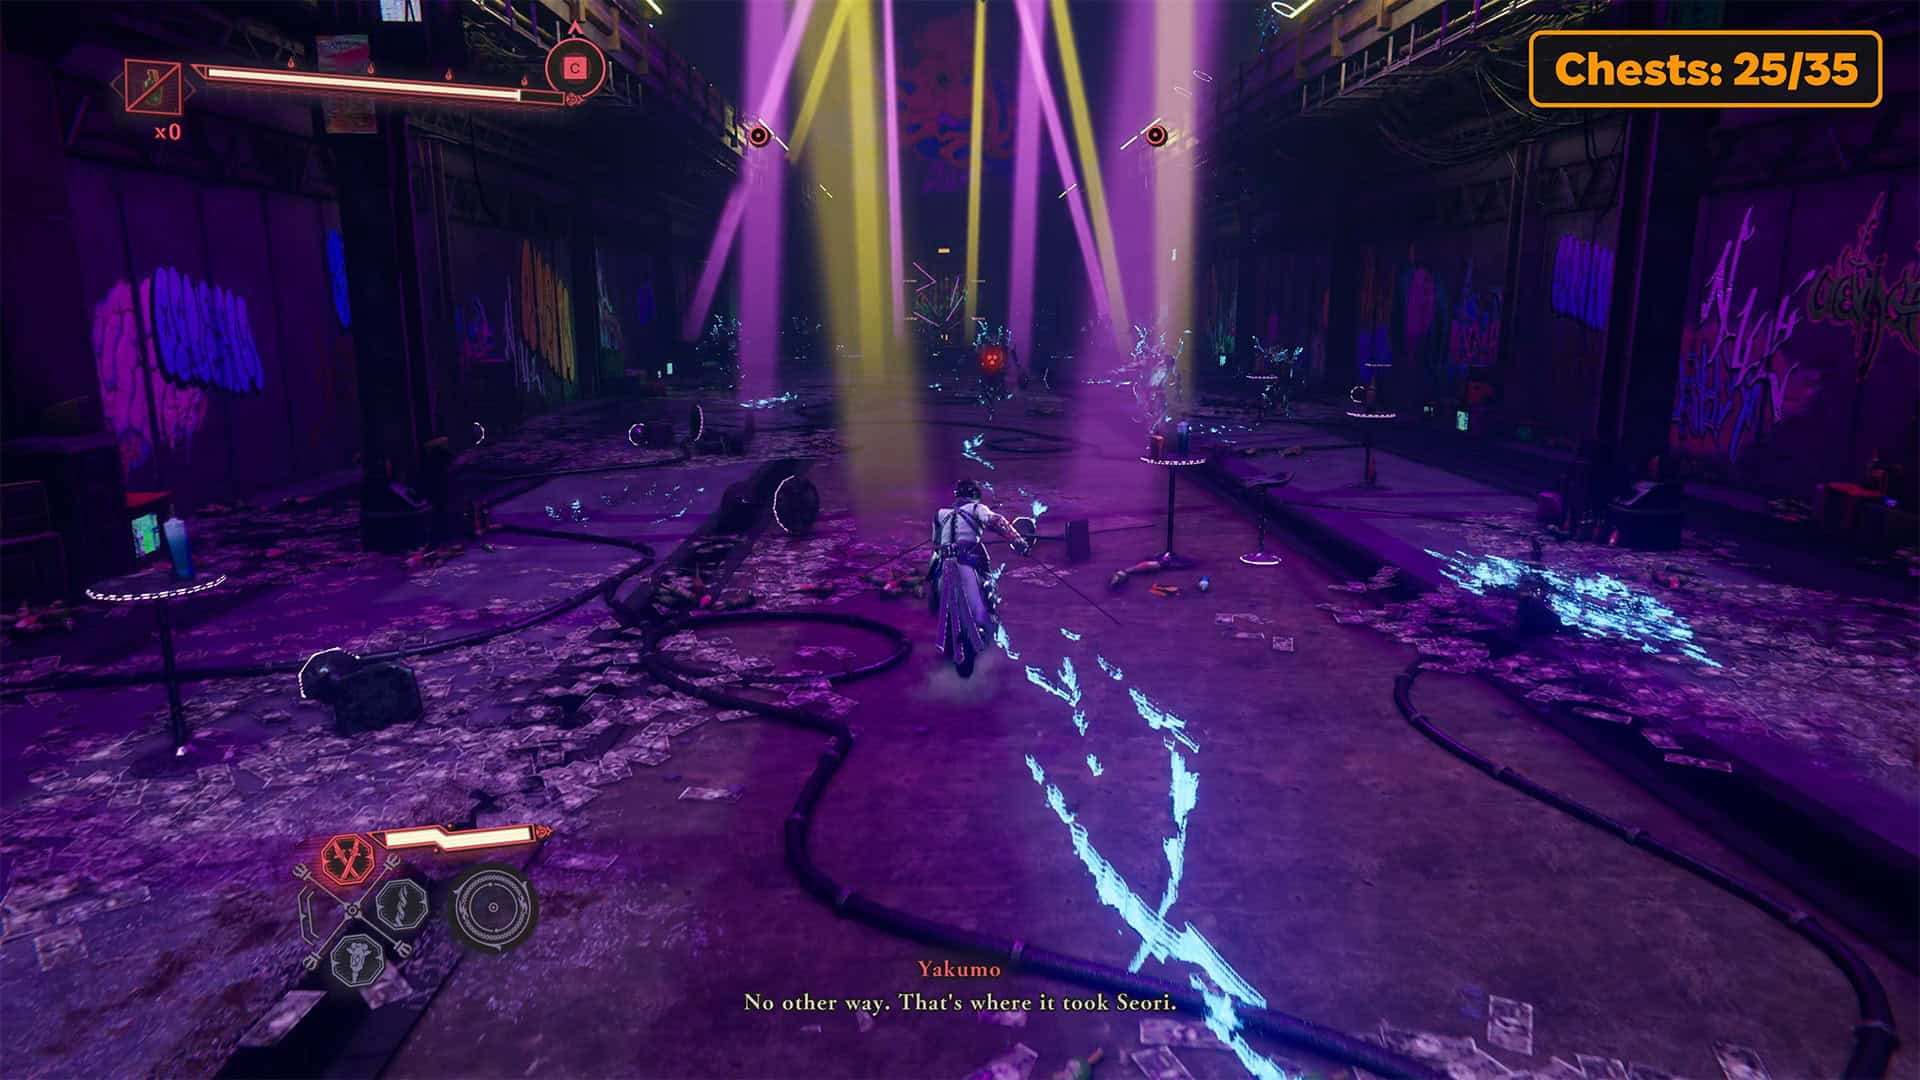
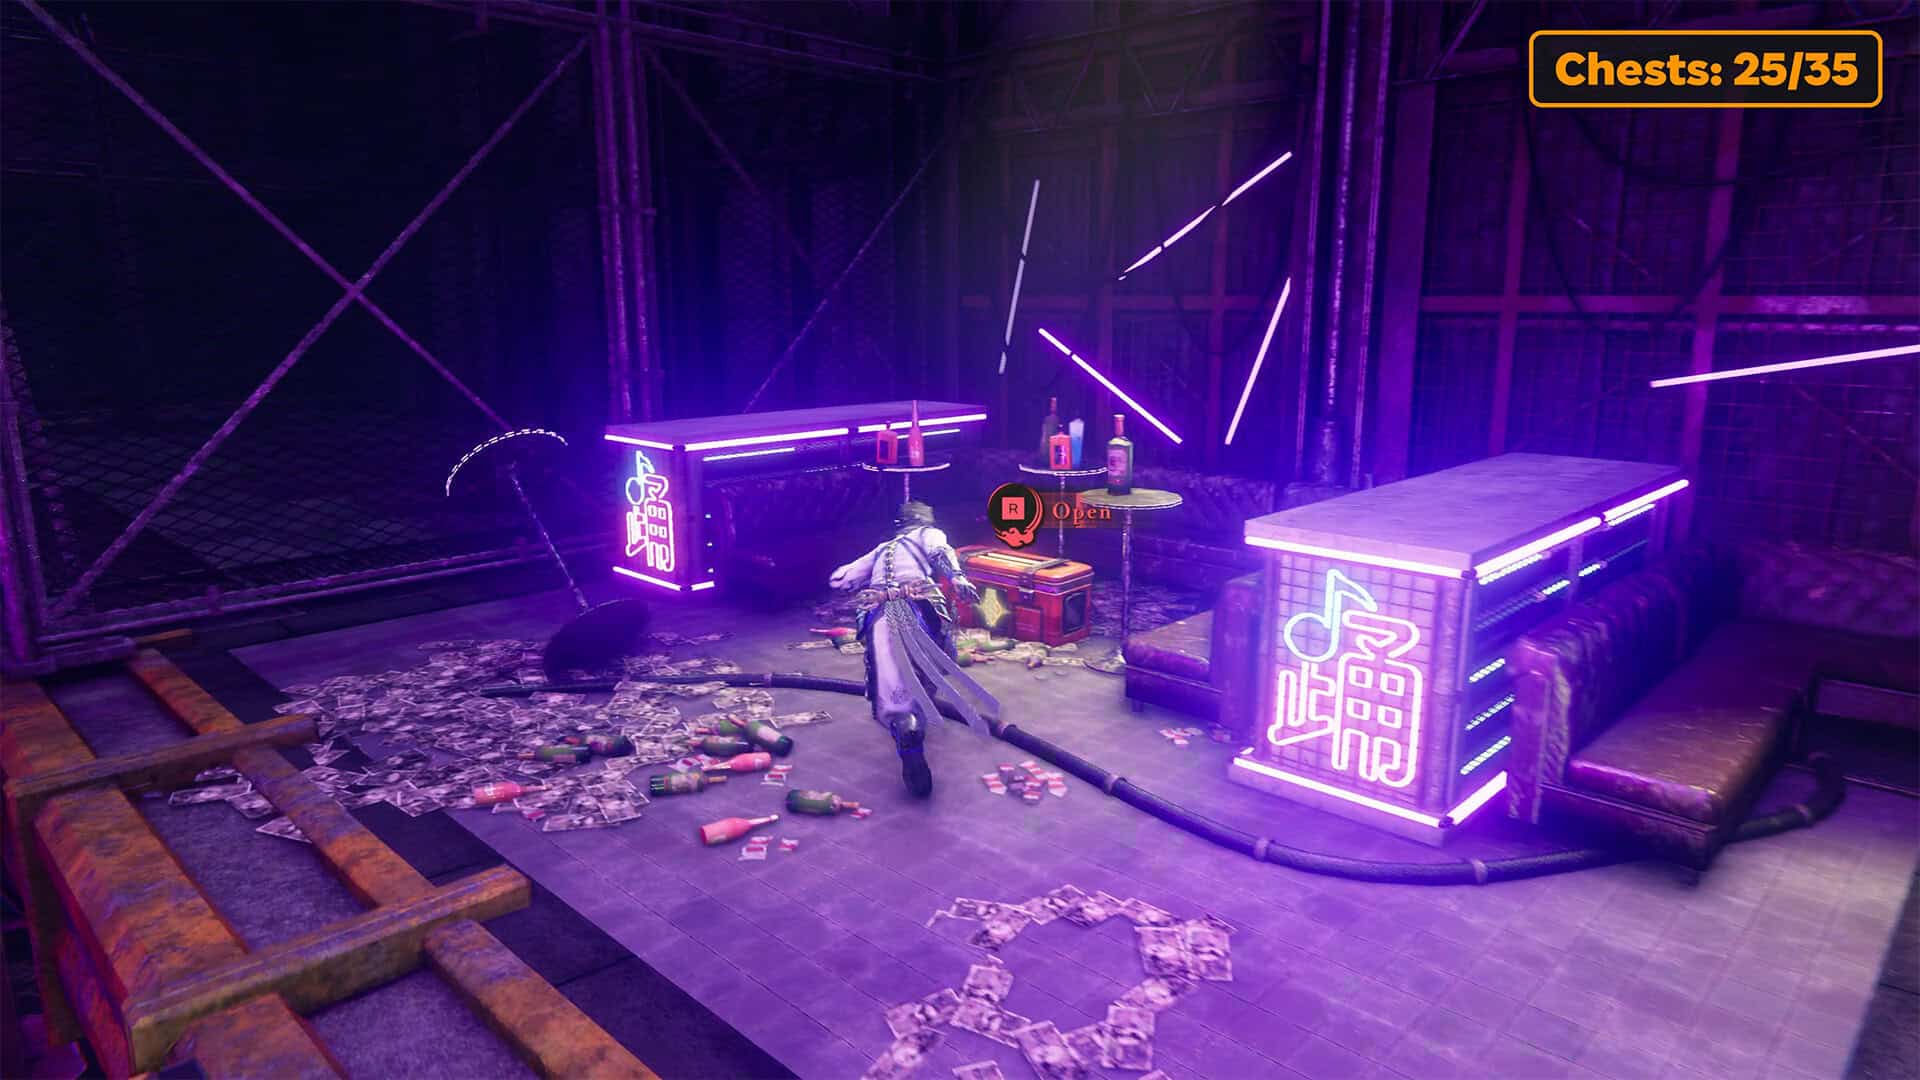
Next, you need to break the glass, and you will mysteriously find yourself back in Tokyo, where you will also reconnect with your friends. Before you find the first DarkNest Terminal, you need to destroy the enemies who are having a disco in front of you. Note that there are balconies on the right and left. There are also enemies on these balconies who attack you with ranged attacks, so it is advisable to jump onto the balcony and destroy the enemies there first. After the victory, don’t miss the chest on the left balcony at the beginning. This is the twenty-fifth chest, inside which you will find a Life Elixir.
-
- Chest #24 in Realm of Silent Dead
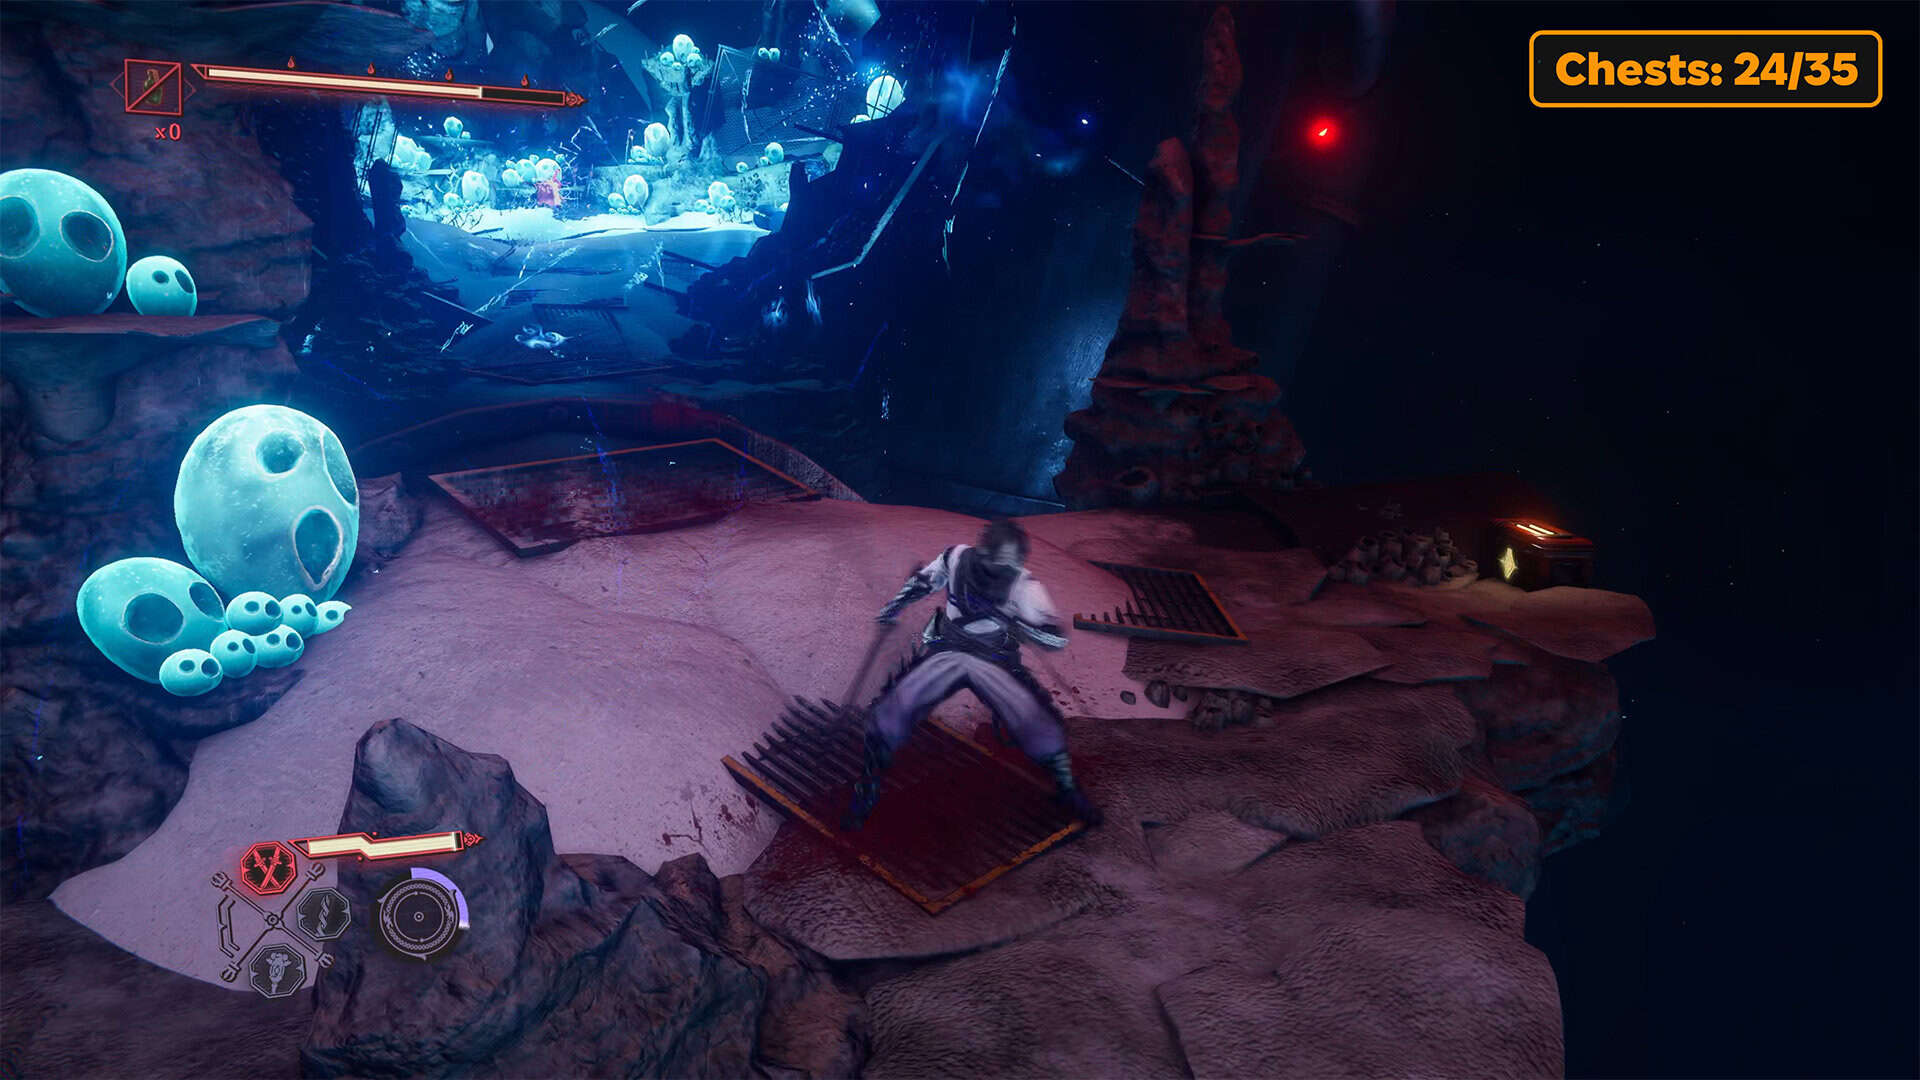
-
- A strange place that looks like an underground disco
-
- Chest #25 on balcony in Realm of Silent Dead
Execute the Miscreant
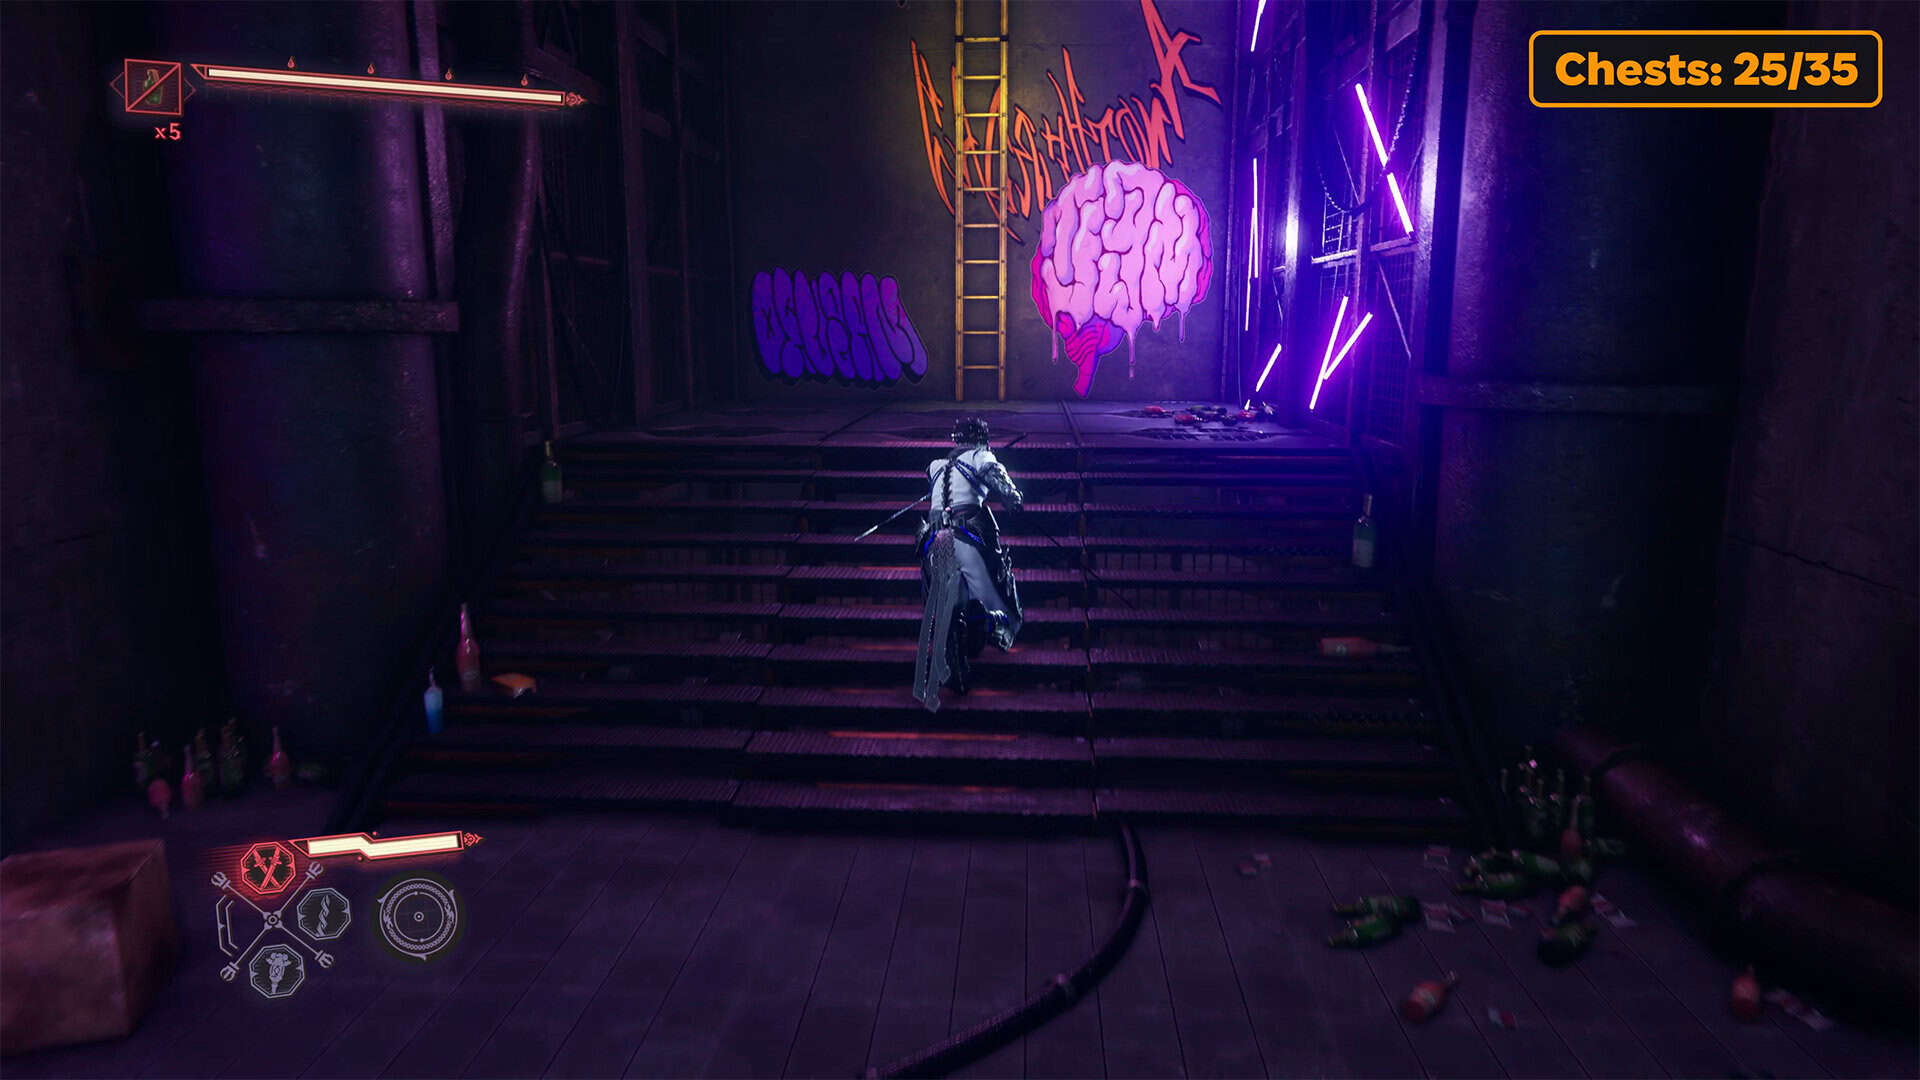
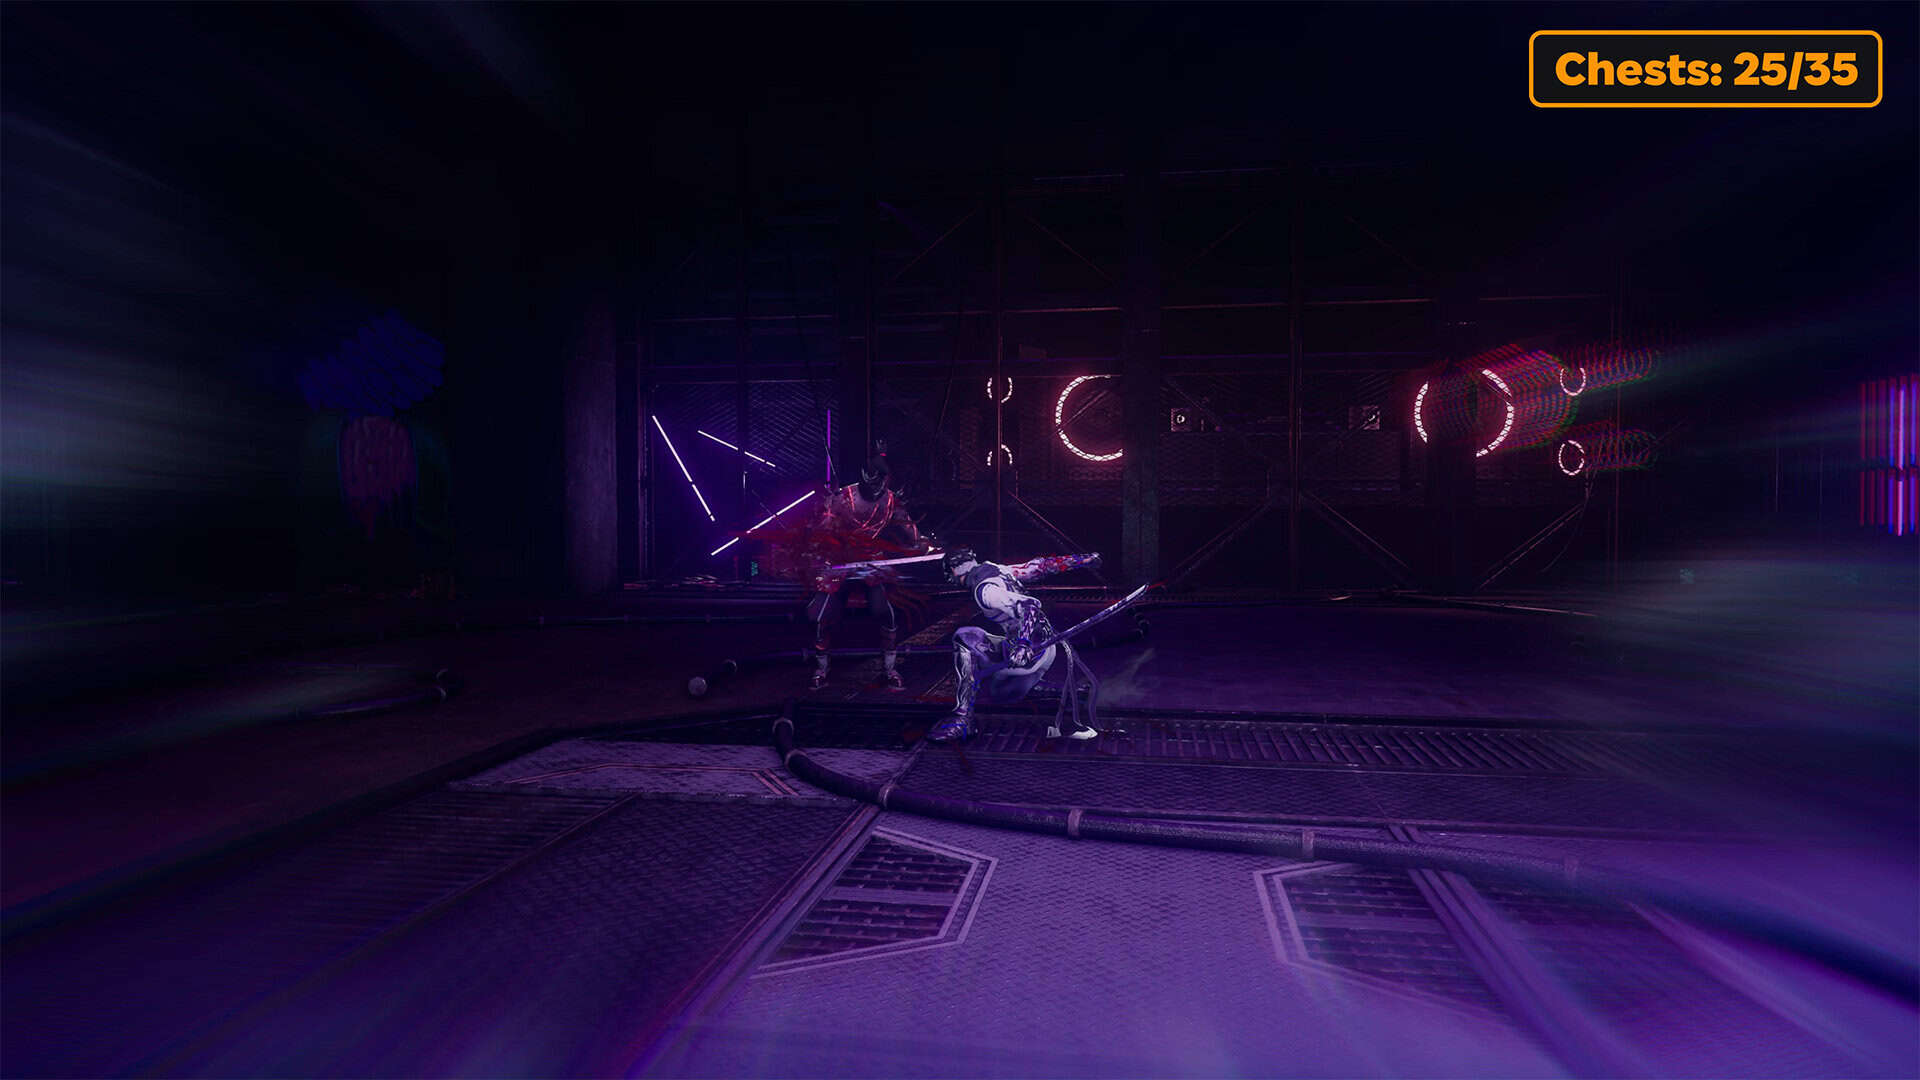
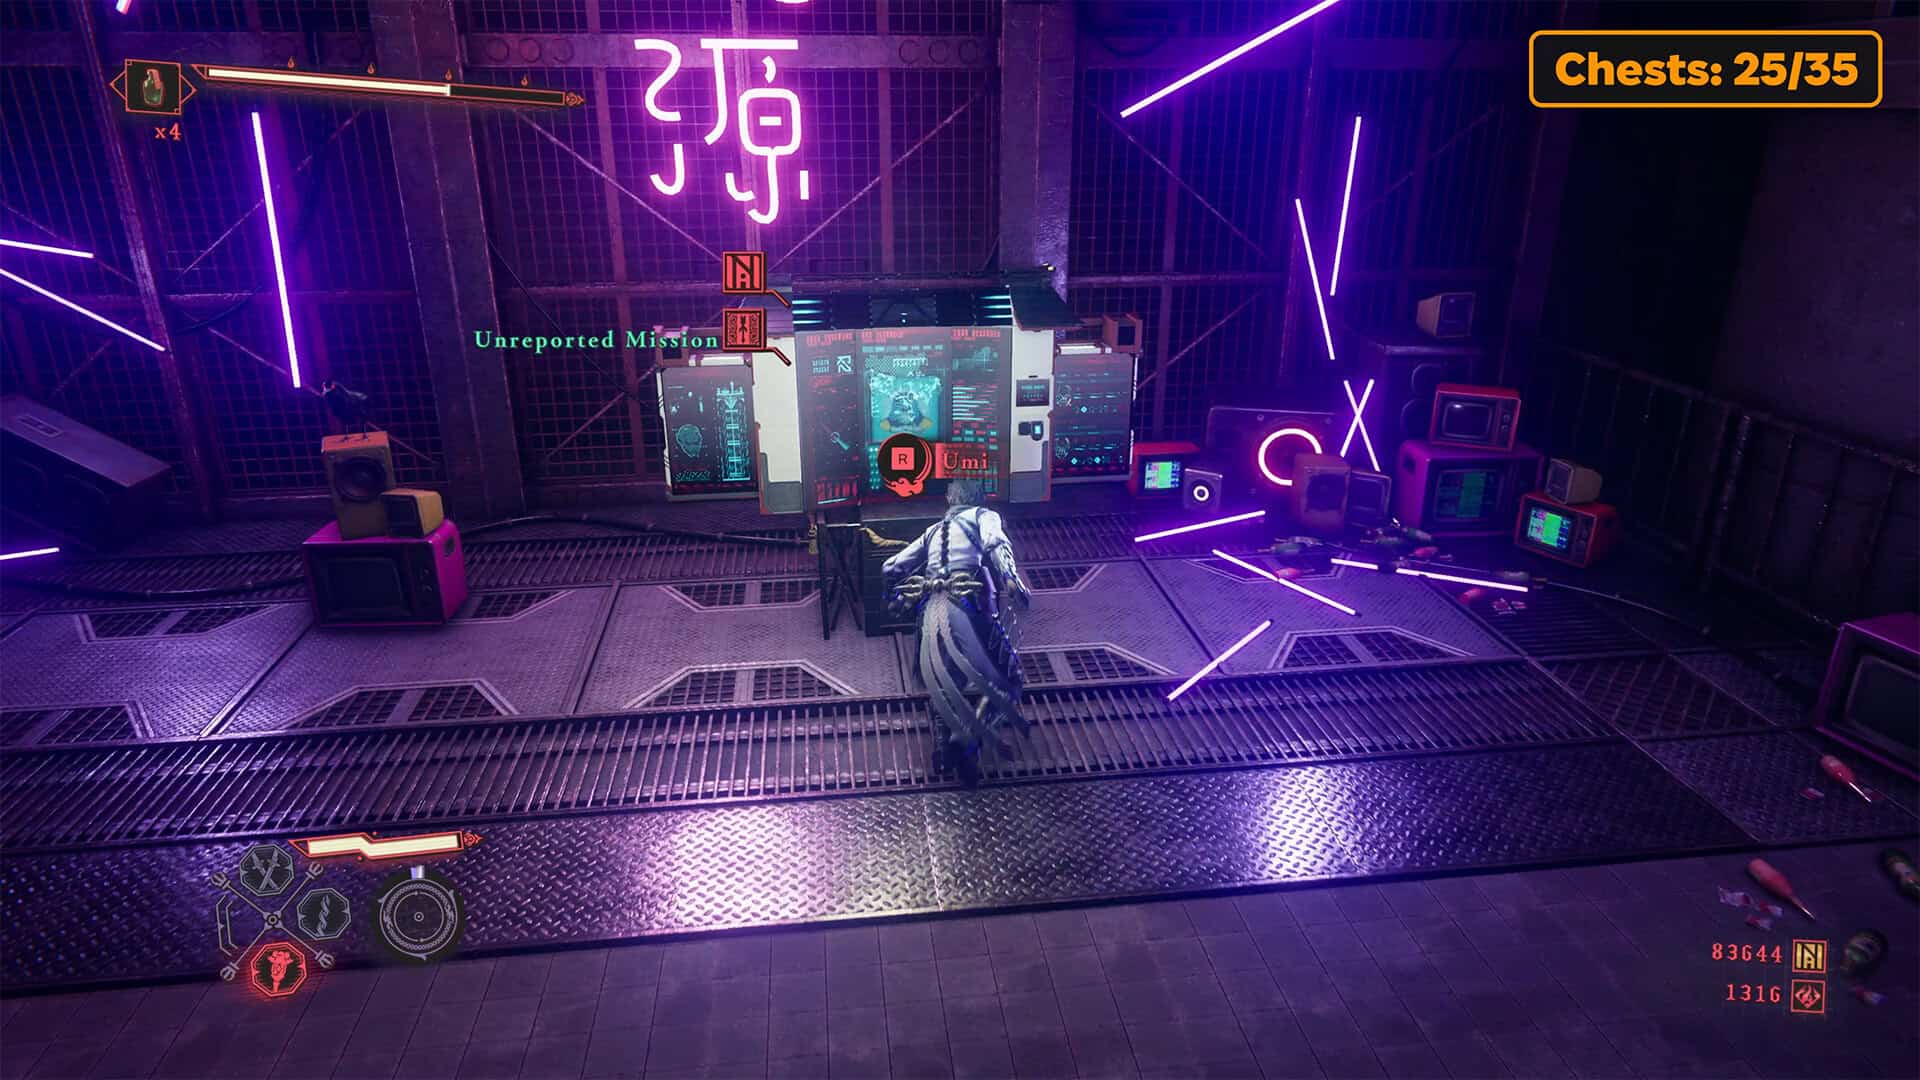
Finally, you will reach the first DarkNest Terminal in this chapter. Here, you must accept all the side quests that are offered. You can also replenish your supplies of auxiliary resources if necessary. After you finish your business at the DarkNest Terminal, you need to turn right. Go through the corridor and climb the yellow ladder to the second floor. You will see a closed door in front of you. This is the entrance to a special room where you will complete a side quest called Execute the Miscreant. In this quest, you need to defeat a single, but powerful enemy.
He has one health bar. You have already completed similar tasks in previous chapters. In this battle, your opponent is a little more difficult than the previous ones. He has new attack capabilities and quite powerful strikes. You need to dodge and block his attacks in time to survive this battle. Use your entire arsenal of abilities and skills to win. It is best to use Yatousen against this opponent. You may need several attempts to win this battle without any obstacles.
First DarkNest Terminal
Now you can return to DarkNest Terminal and complete the quest you just completed. As a reward, you will receive 7,500 NinjaCoin and Senjin War Brew. Now you can proceed to the location where your return to the Realm of Silent Dead takes place.
-
- Yellow ladder to the side quest
-
- Execute the Miscreant
-
- First DarkNest Terminal
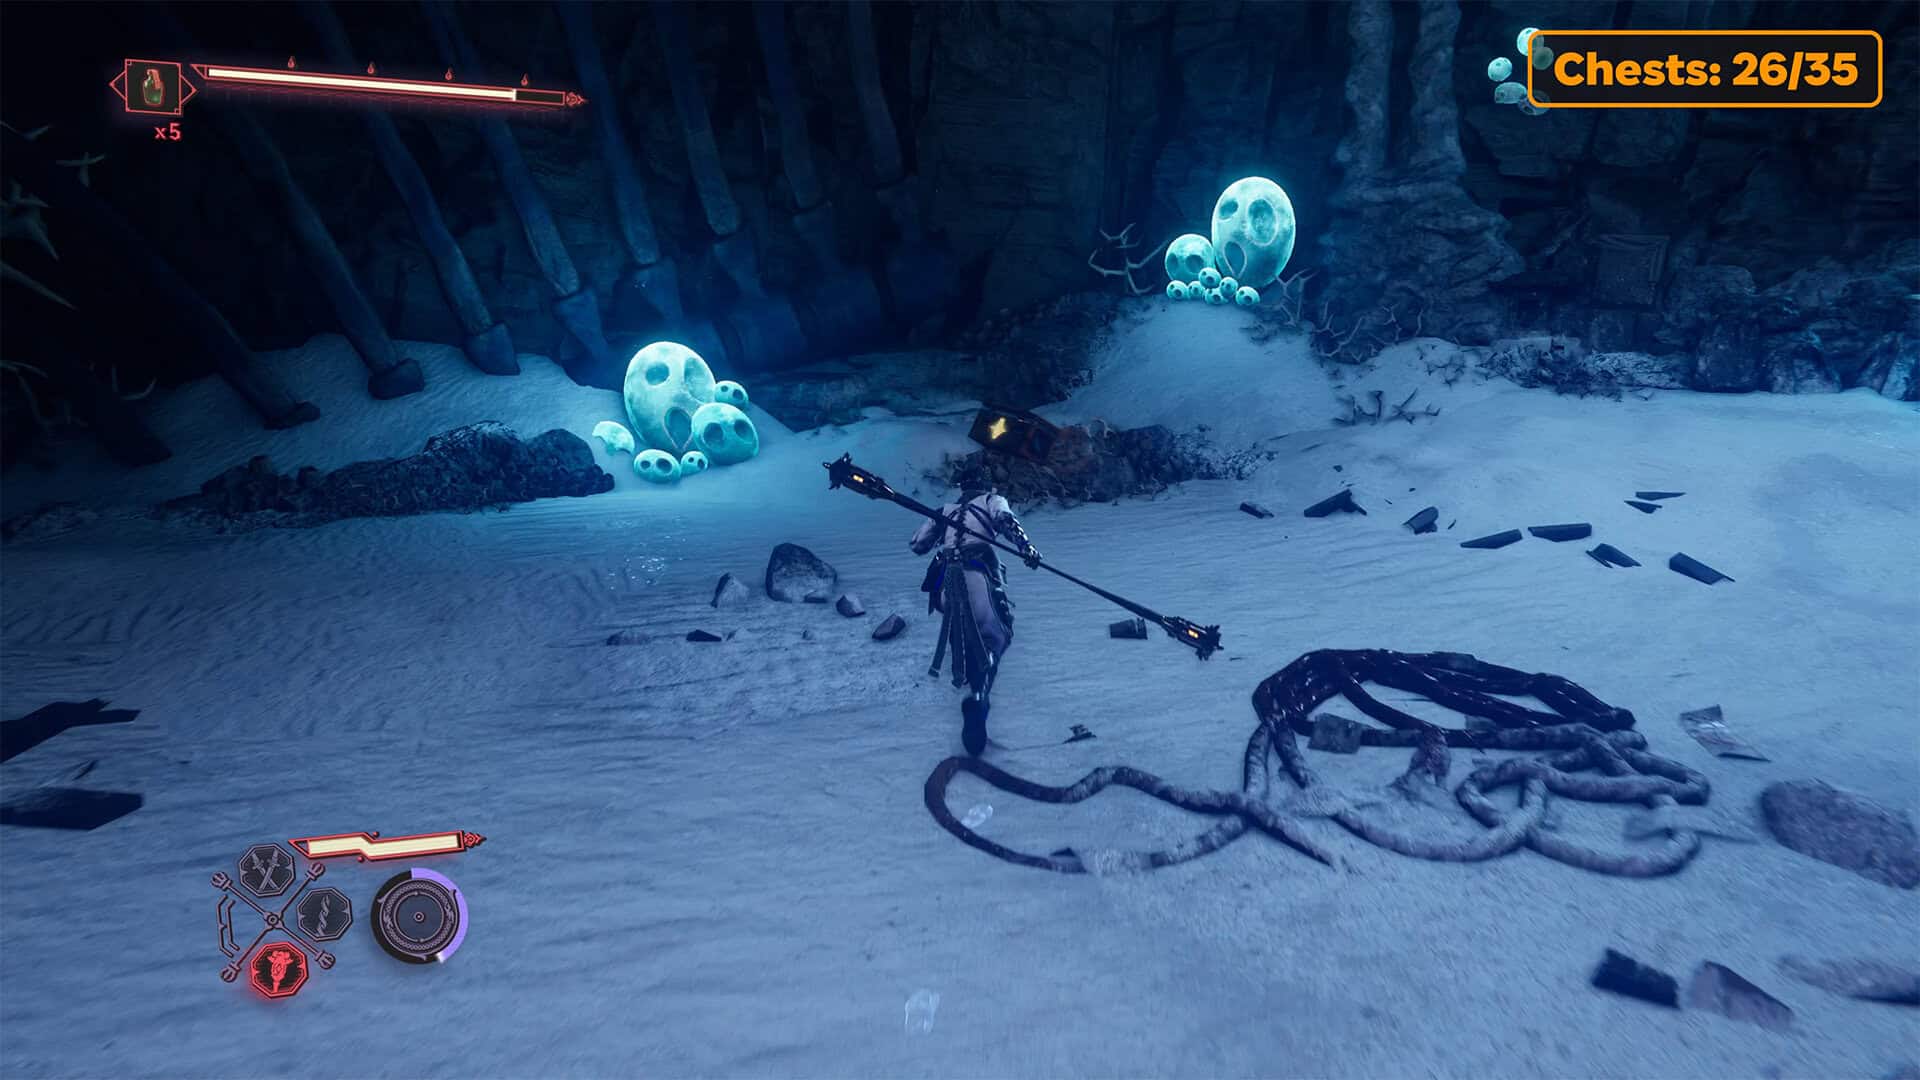
Crimson Blood Pellets (chest 26)
Run forward and use the yellow springboard to jump over the gap in the water. You will find yourself on an island where enemies are walking around. You can assassinate the first one, but you will have to fight the others. After winning in this location, you can open the twenty-sixth chest to get Crimson Blood Pellets.
Divine Life Elixir (chest 27)
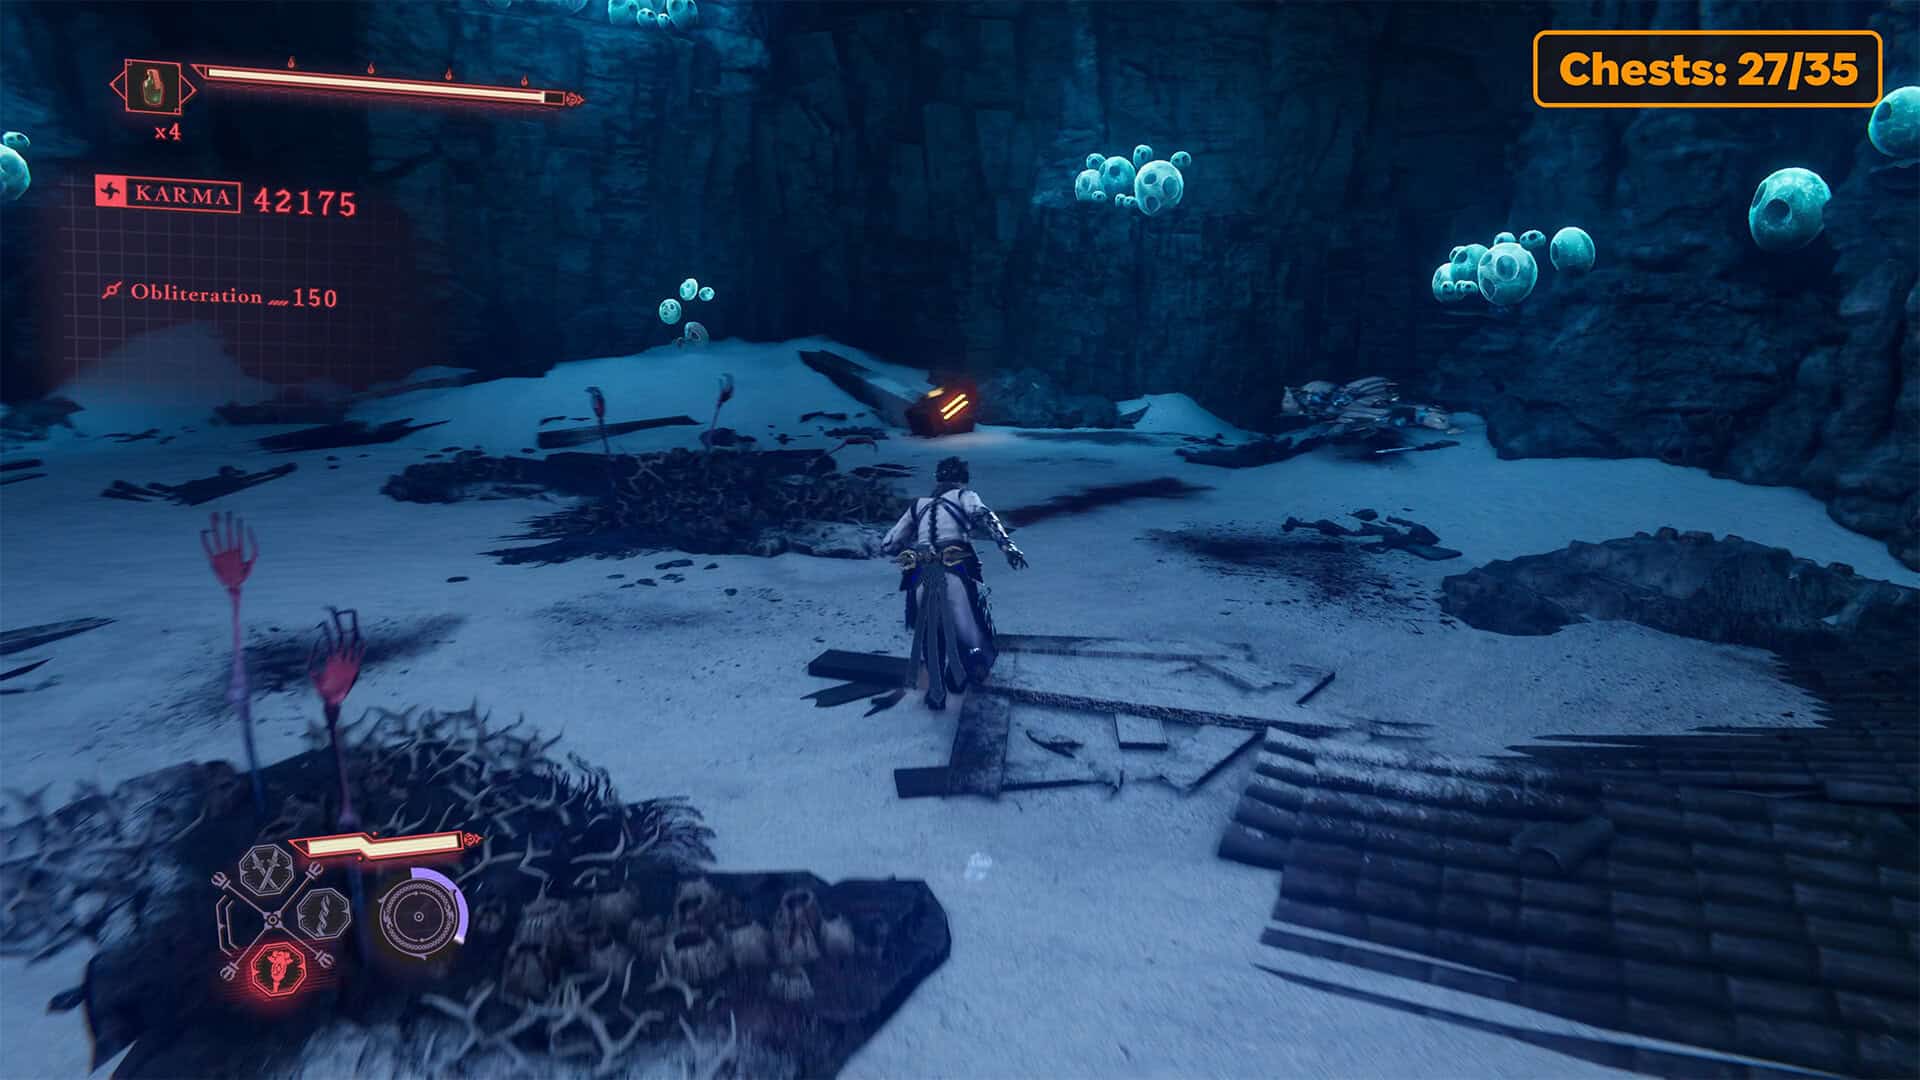
To the left of the chest, you will see another yellow springboard. This is the path you need to take. Jump over the huge gap in the water using the Caddis Wire, and you will see a shark swimming from right to left ahead of you. This time, follow it. You will jump onto the shore, where you will have to defeat all the enemies again. After winning in this area, you will be able to open the twenty-seventh chest and get the Divine Life Elixir.
Second Gourdy
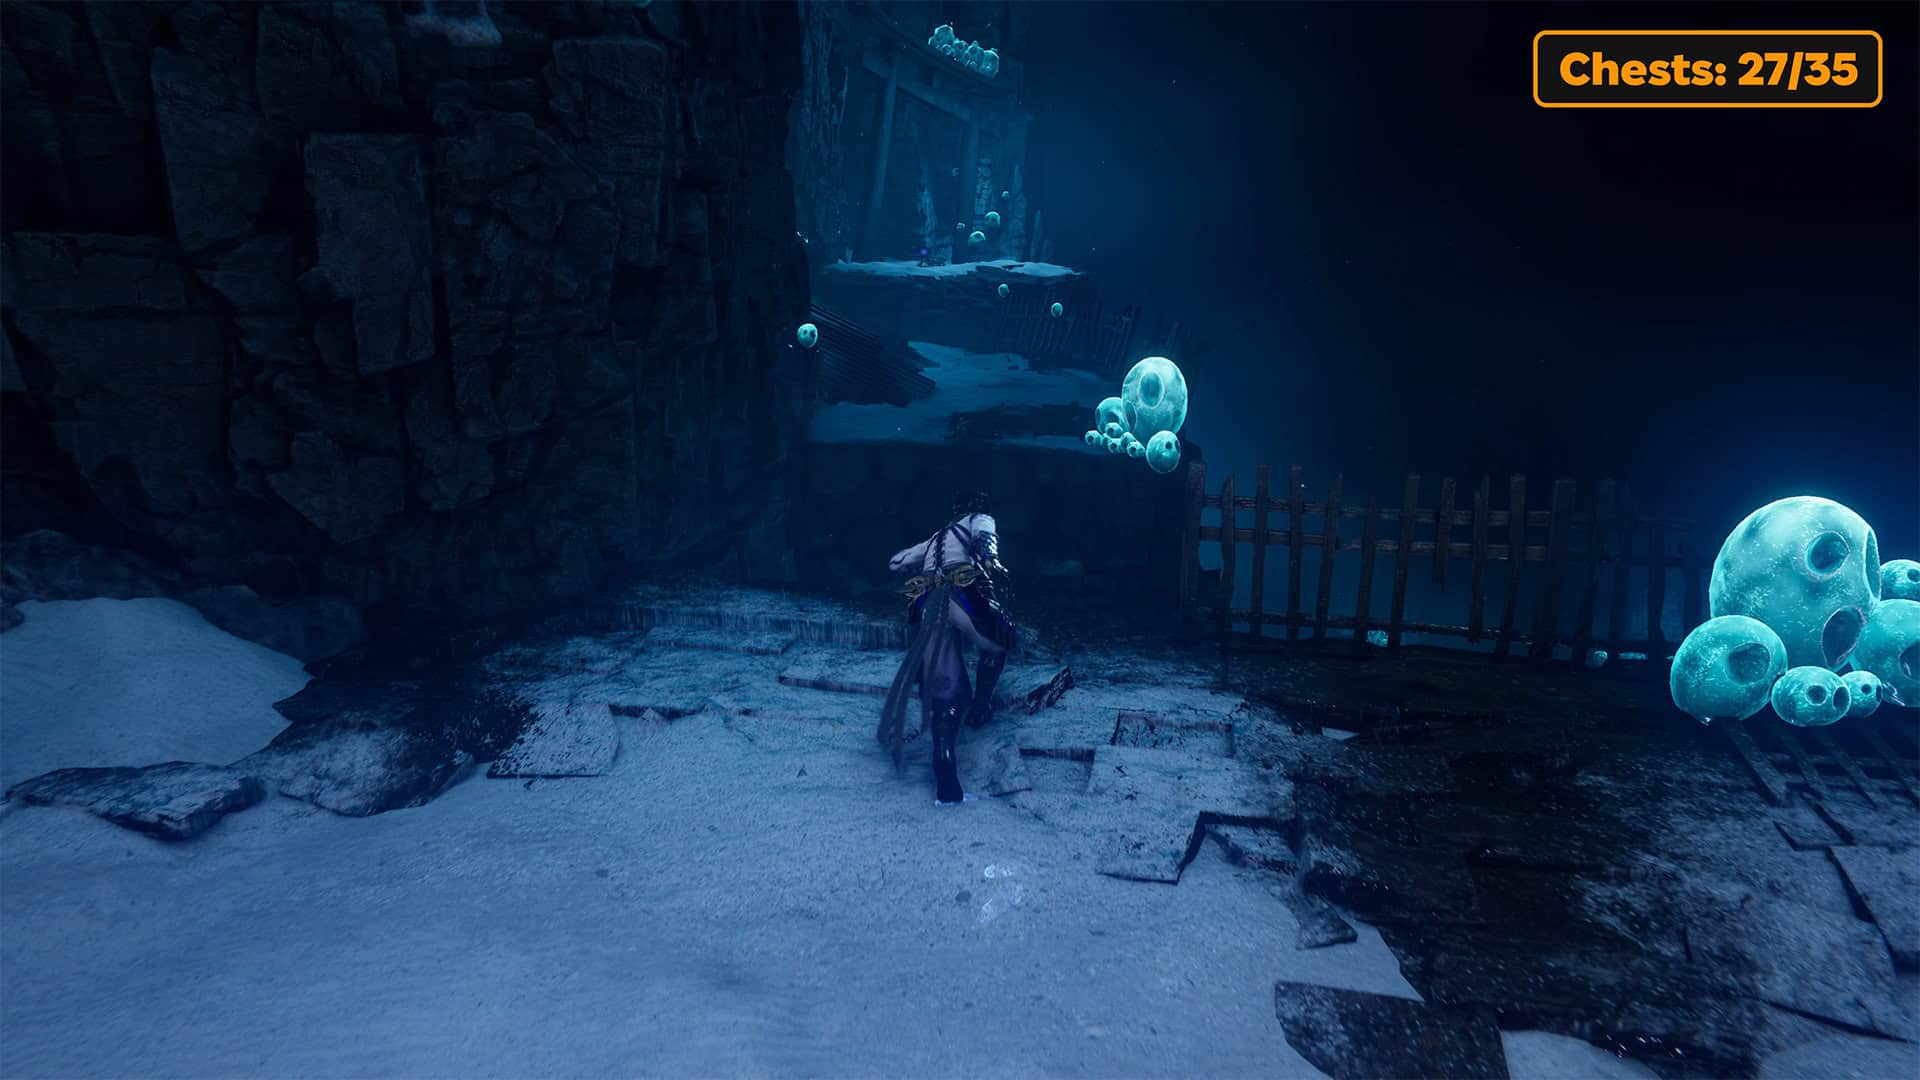
Now you need to climb up the narrow passage using the Flying Bird Flip. Once you’re up, turn around immediately and you’ll see a path along the wall. You need to jump onto the platform towards the Tori gate. There is a blue Gourdy in this location. You need to approach it at the right moment, when it has its back to you, in order to catch it without any obstacles. If you fail, you need to move away a little and come back to try again.
-
- Chest #26 in Realm of Silent Dead
-
- Chest #27 in Realm of Silent Dead
-
- The path to second Gourdy in this chapter
-
- Catching the blue Gourdy is not so easy
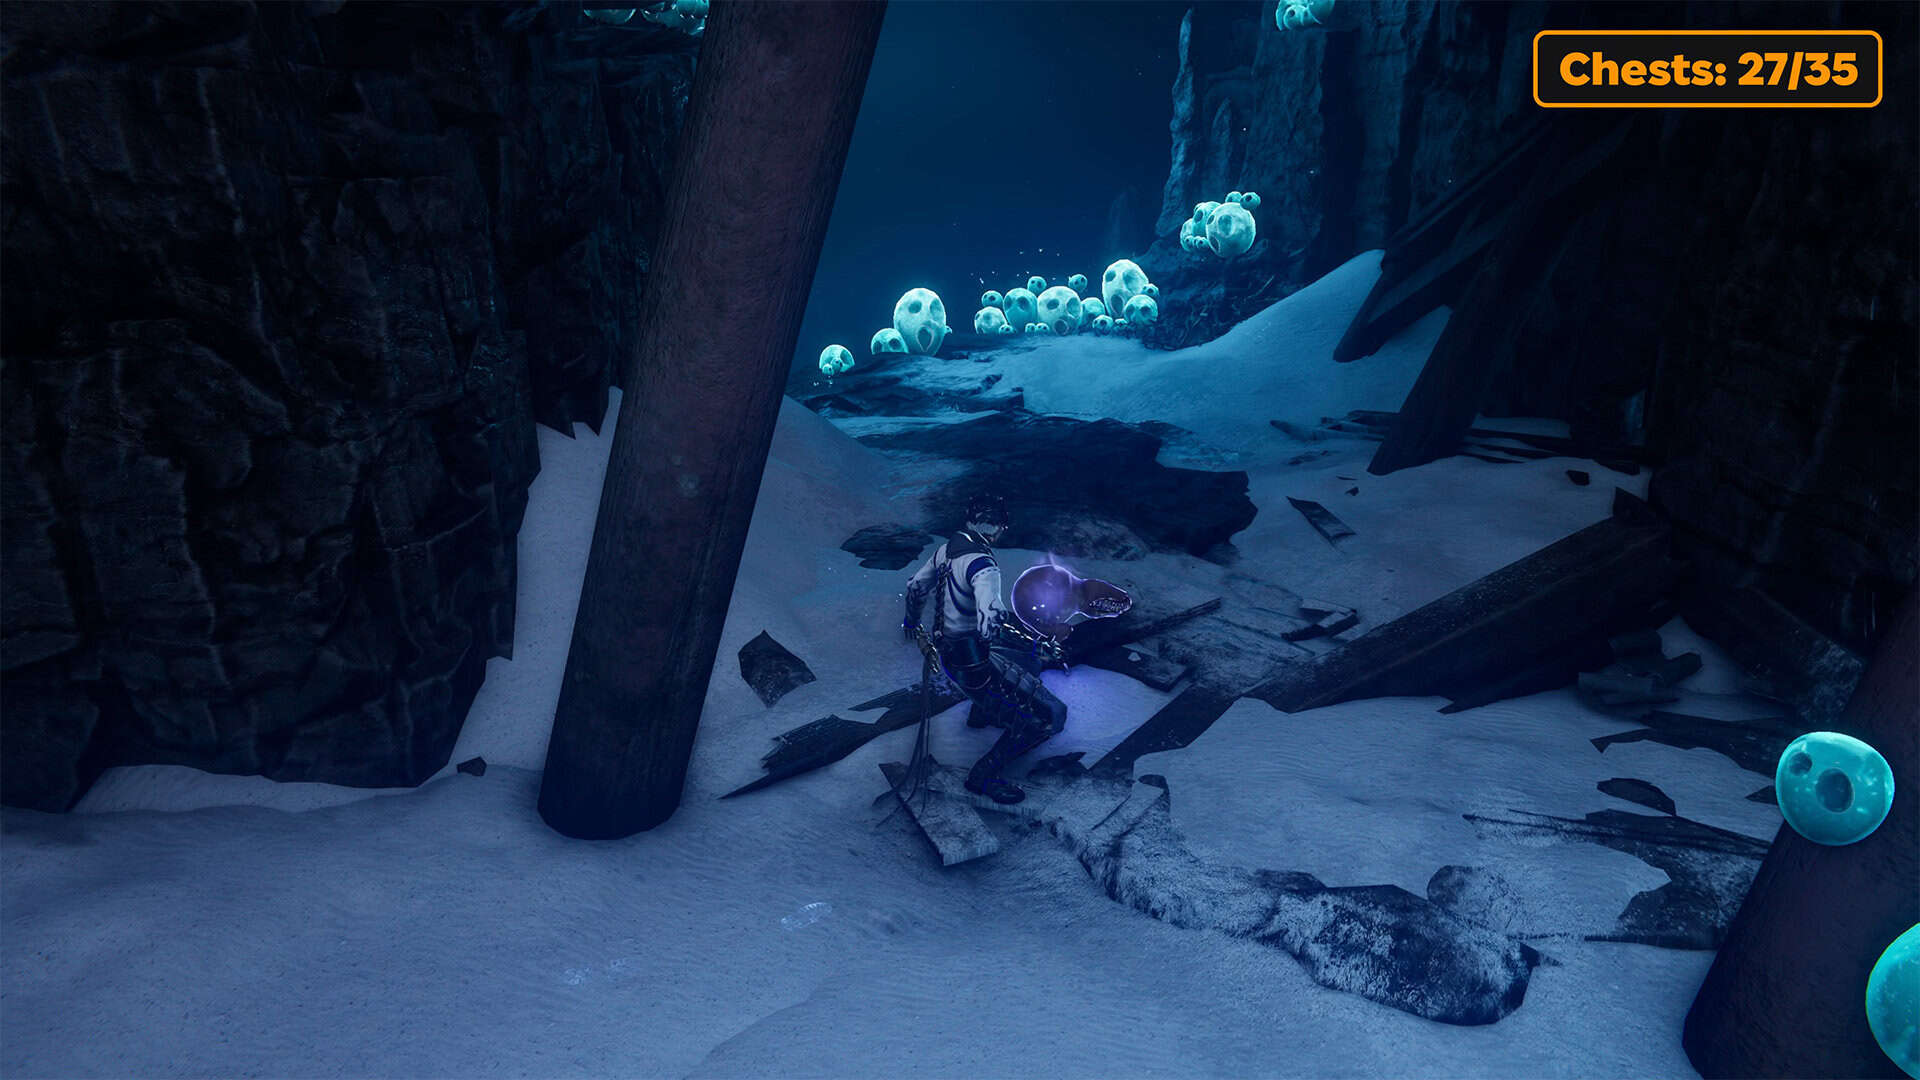
Divine Life Elixir (chest 28)
Move forward. You will jump over a large gap using Caddis Wire and find yourself on a platform where there are no enemies, but there is a twenty-eighth chest. Open the chest and you will receive Divine Life Elixir, which will most likely be converted into NinjaCoin if you already have a full supply of these bottles. Next, climb up the wall and jump down from the platform. You will find yourself in a familiar place.
Life Elixir (chest 29)
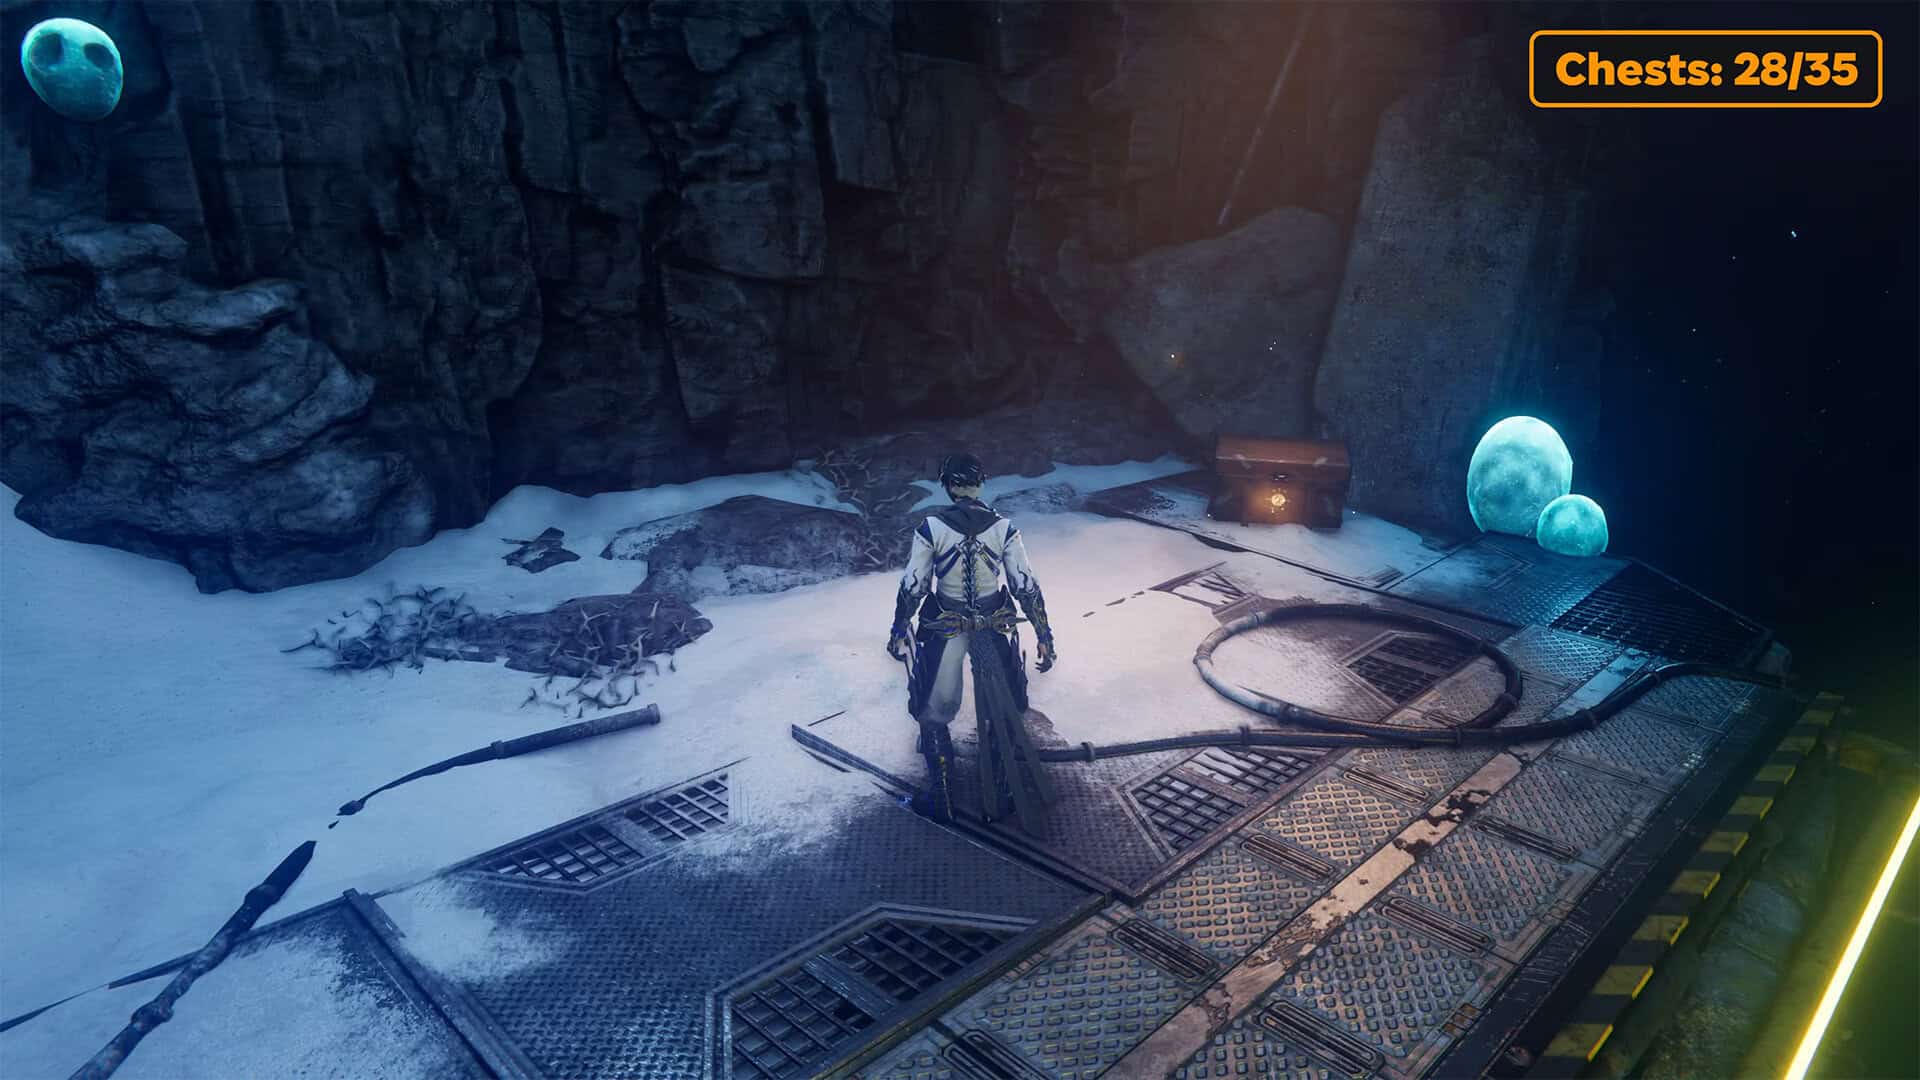
Next, you need to perform some fairly tricky maneuvers to get to the next location. Jump from the water onto the yellow wall on the right, then use the Caddis Wire to jump over the huge gap in the water and land back on the Pond Strider. From this point, go slightly to the left to find yourself on an island with the twenty-ninth chest and a gate illuminated in red. Open the chest to get the Life Elixir.
First beautiful mineral + Kongou Iron Brew (chest 30)
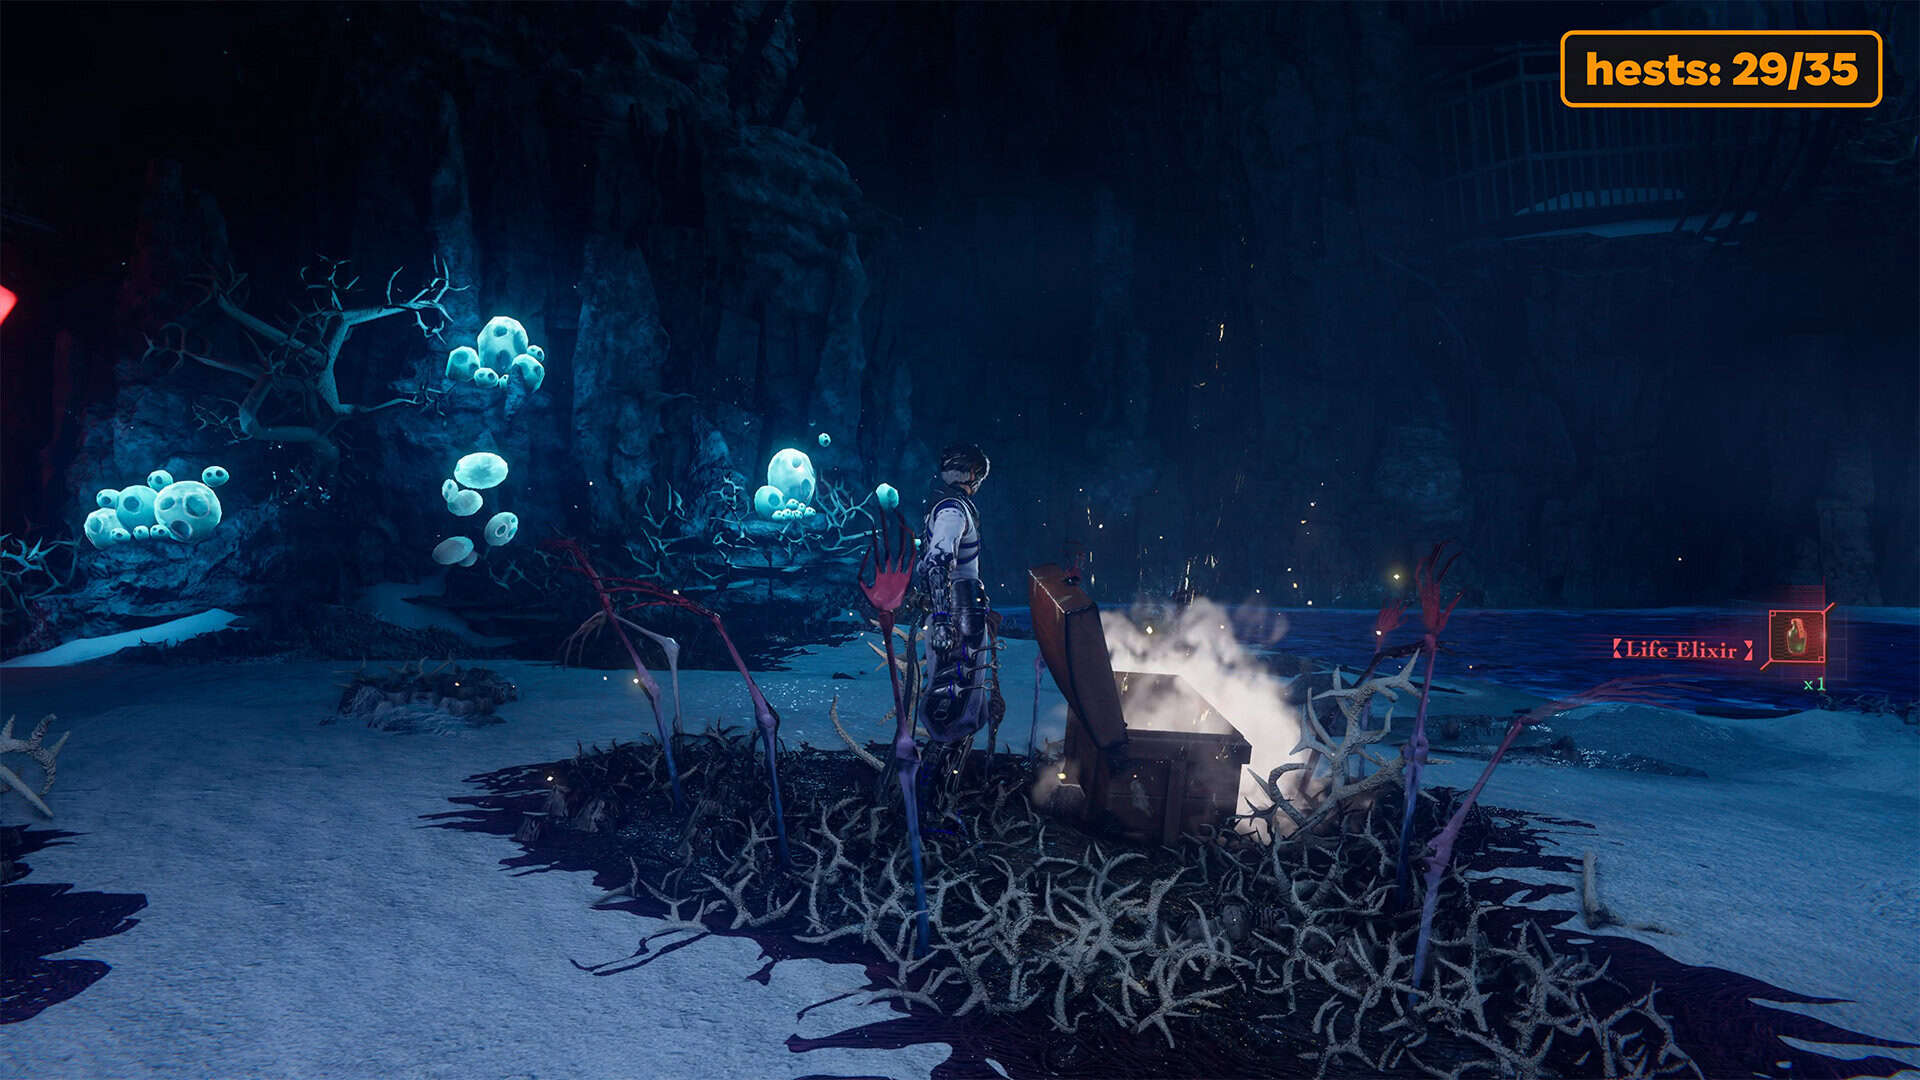
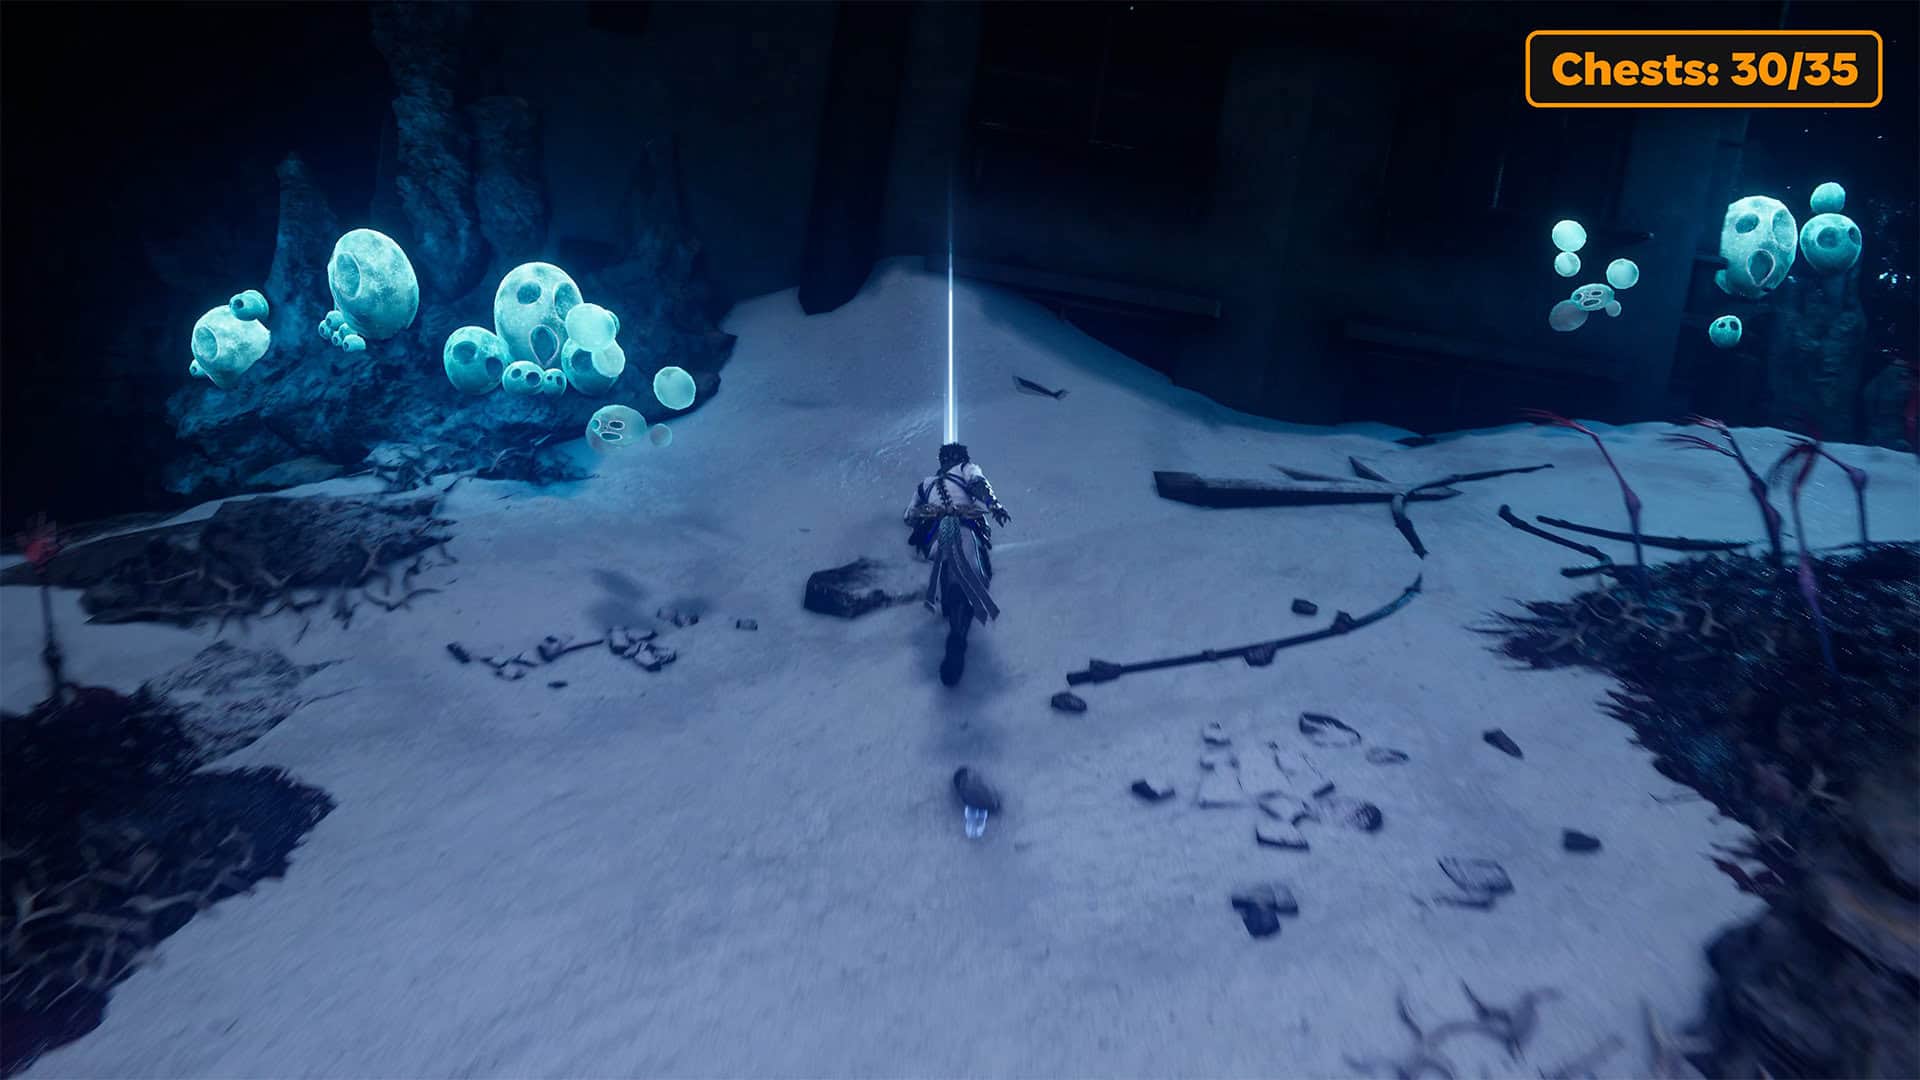
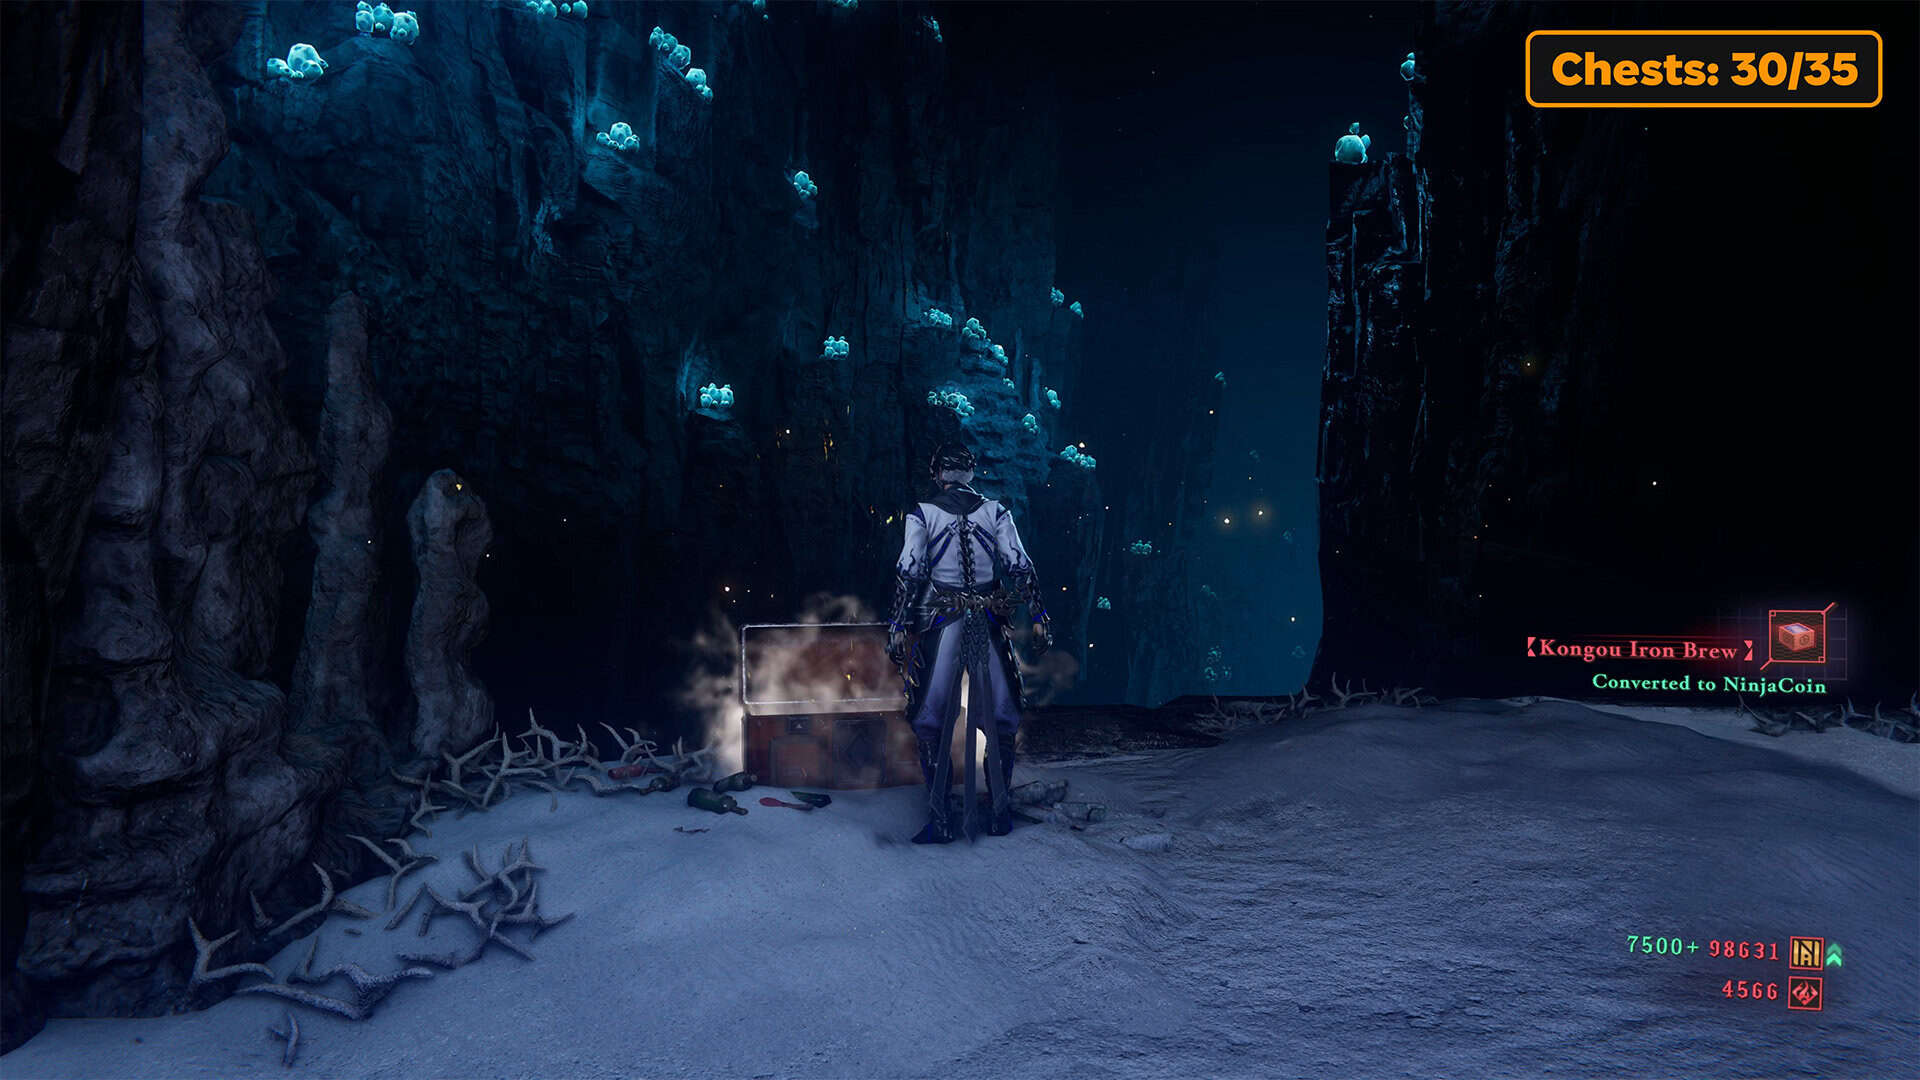
The red-lit gate invites you to jump down. Do so and move slightly to the right. Ahead, you will see a lit object, which is a beautiful mineral that you need to find to complete a very important side quest. There is also a thirtieth chest nearby. Open the chest to obtain Kongou Iron Brew.
-
- Divine Life Elixir in chest #28
-
- Chest #29 in Realm of Silent Dead
-
- First beautiful mineral
-
- Kongou Iron Brew in chest #30
Execute the Enormous Fiends
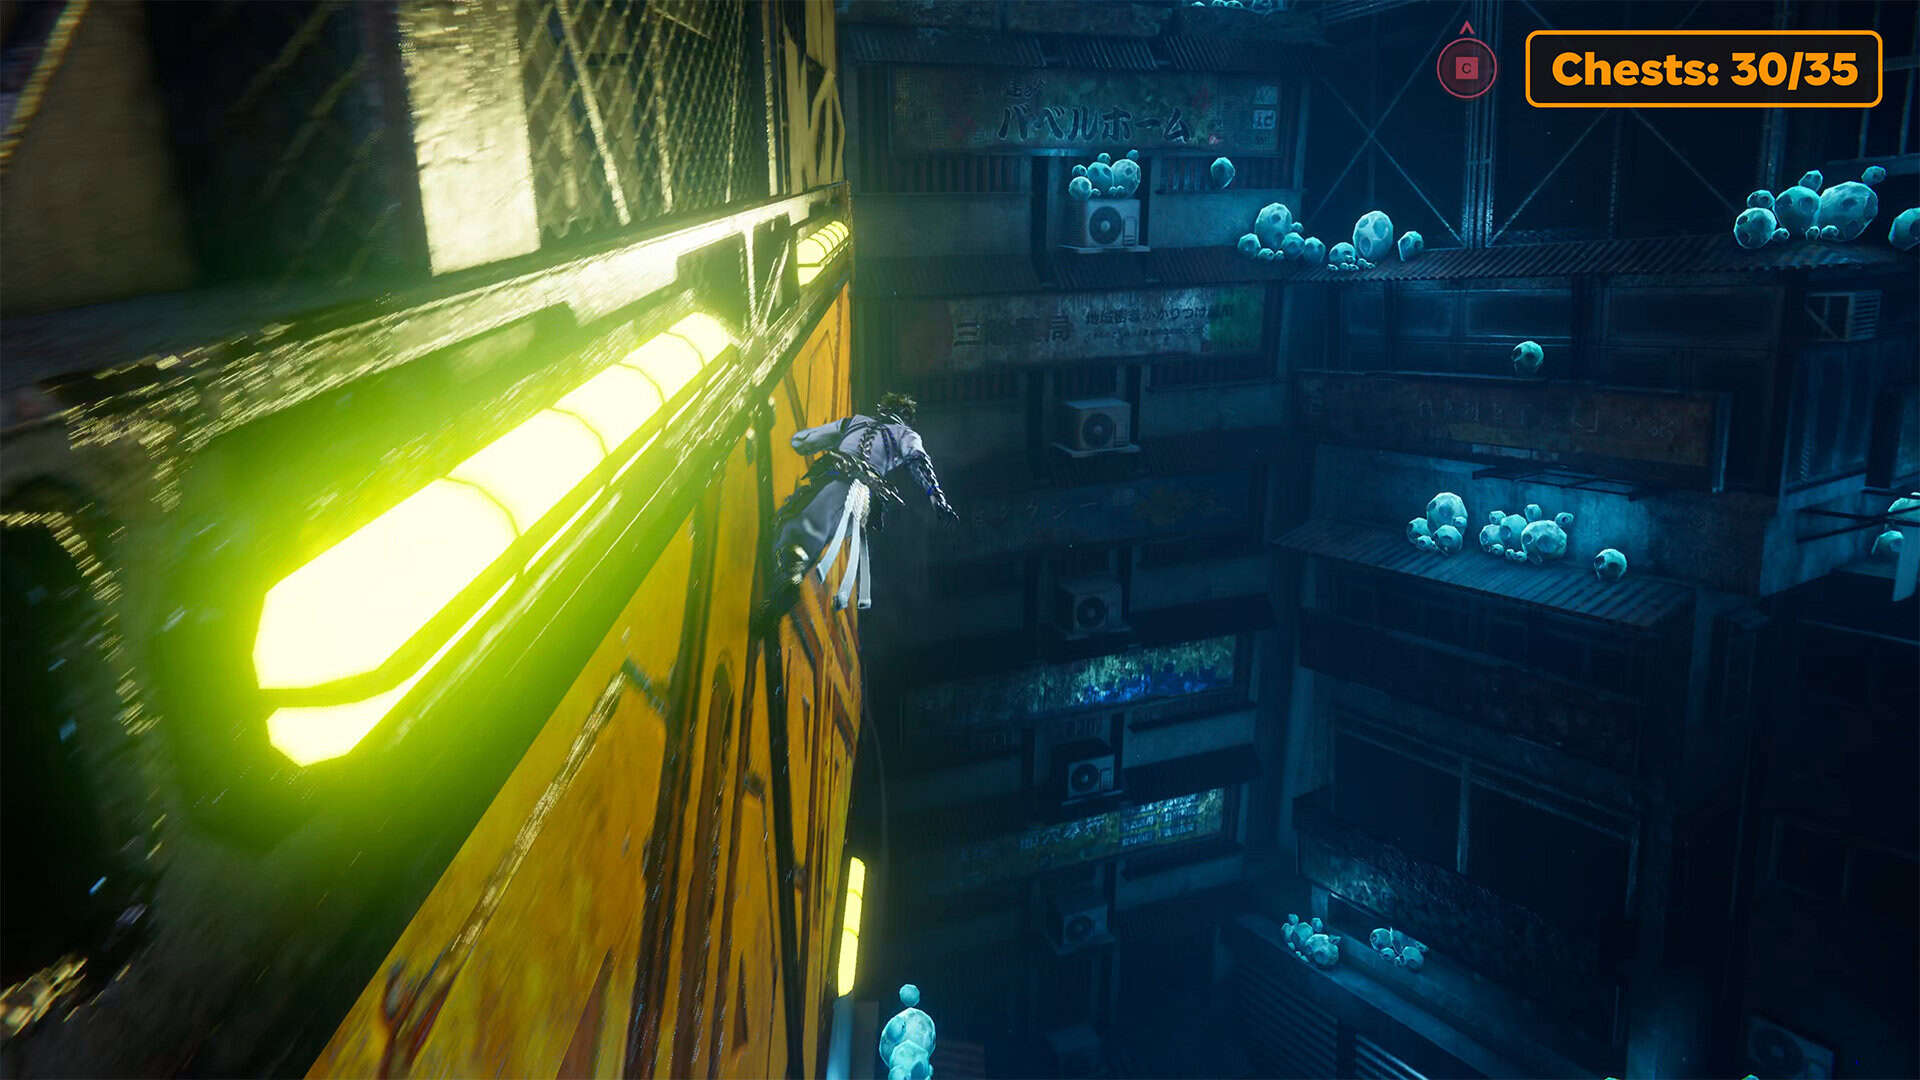
Passing beyond the chest, you will find yourself on a narrow platform. From this platform, you will see a rapid stream of water below; jump down into it. At the end of the stream, jump onto the pillar, and then use Caddis Wire and your wall-running skills to overcome this obstacle. Run to the end, where you need to jump down.
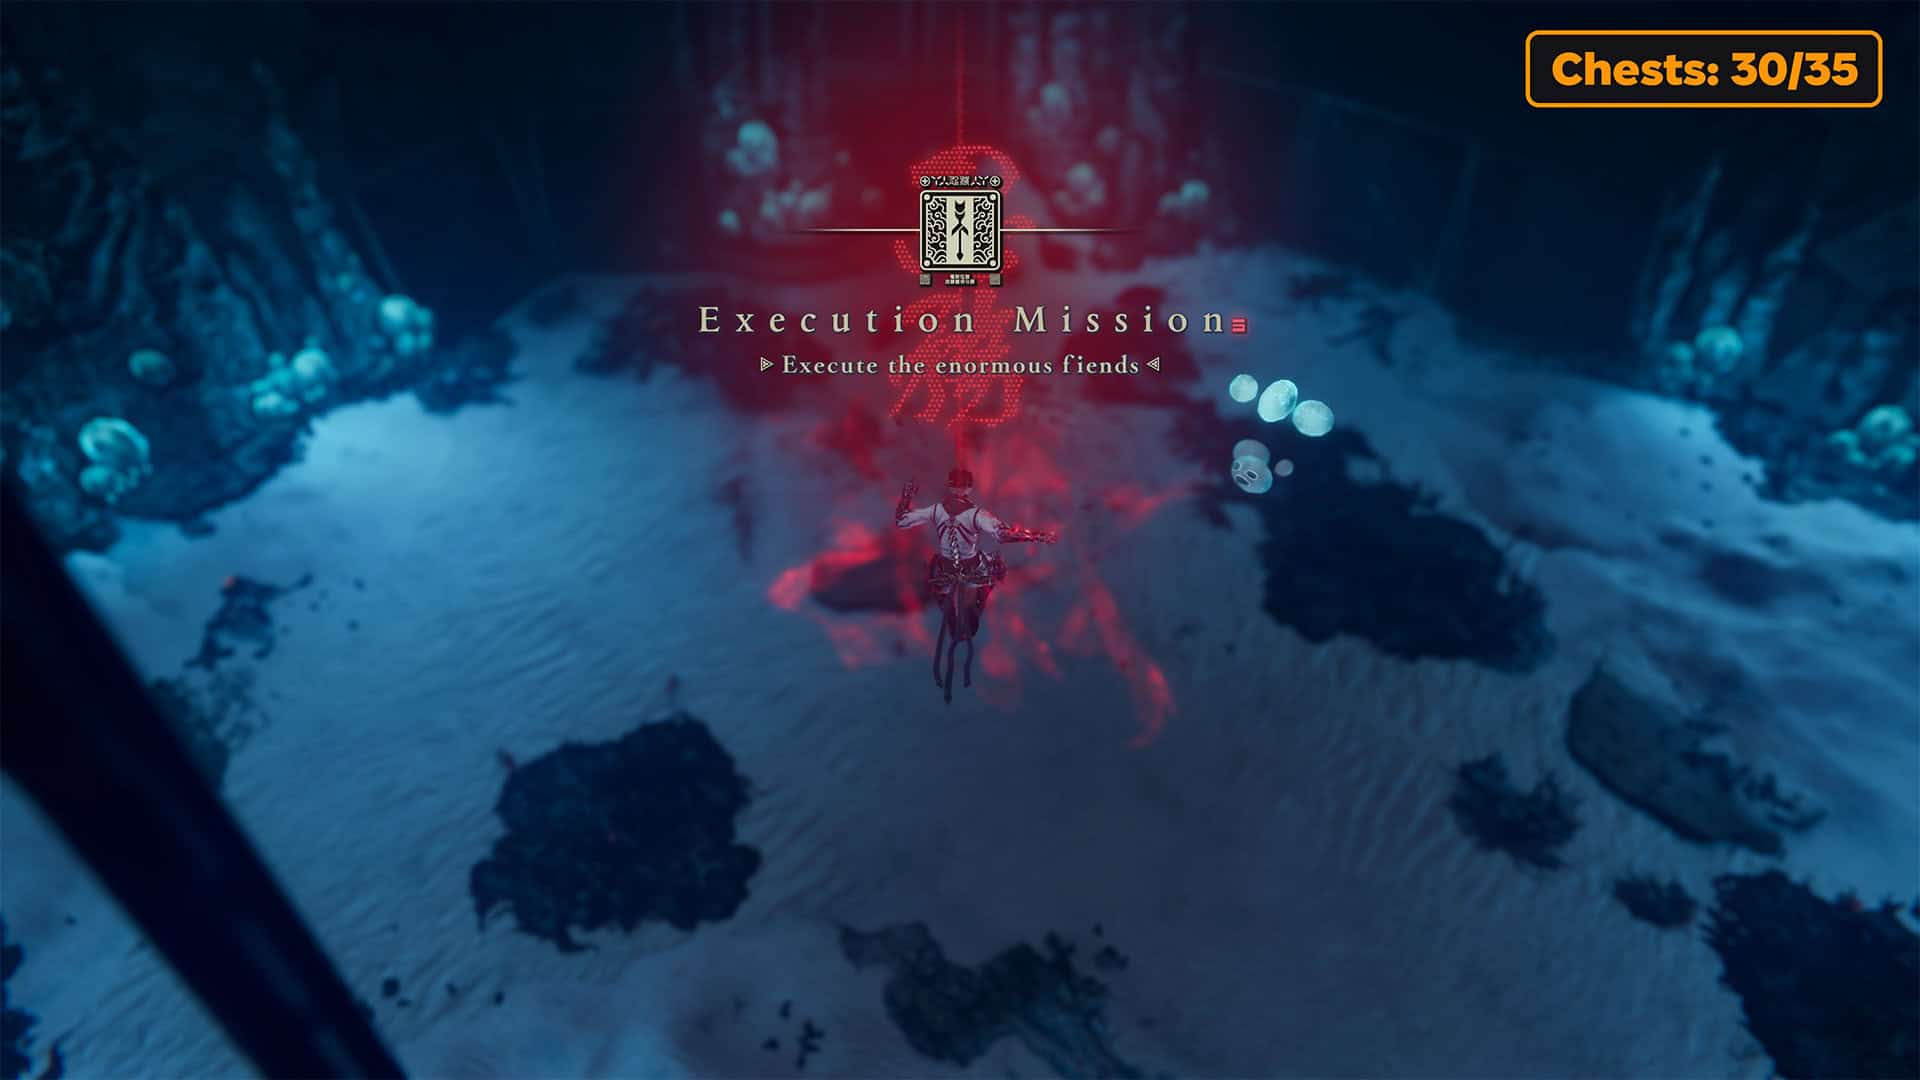
Here you will complete a side quest called Execute the Enormous Fiends. Here you need to defeat two Malhercs. This is quite a difficult task. You need to get used to these enemies’ attacks, dodge them in time, and block their attacks. I’m sure you’ll do better than I did, so write how you defeated them. I would be really interested to read about the best tactics for defeating these opponents. Because I really have problems with them.
-
- Parkour elements to move forward
-
- Execute the Enormous Fiends
Second beautiful mineral + Chests 31-32
Next, jump into the gust of wind and fly forward. You will cover quite a distance before you find yourself on the platform. There is nothing interesting here, but you will see an elevation ahead. Use Caddis Wire to jump up. You will see water again in front of you and a portal with monsters in the distance. Use Pond Strider to swim forward and be sure to jump over the gap. First, as always, you need to destroy the portal that summons enemies, and then destroy everyone who remains. After the victory, climb up the wall.
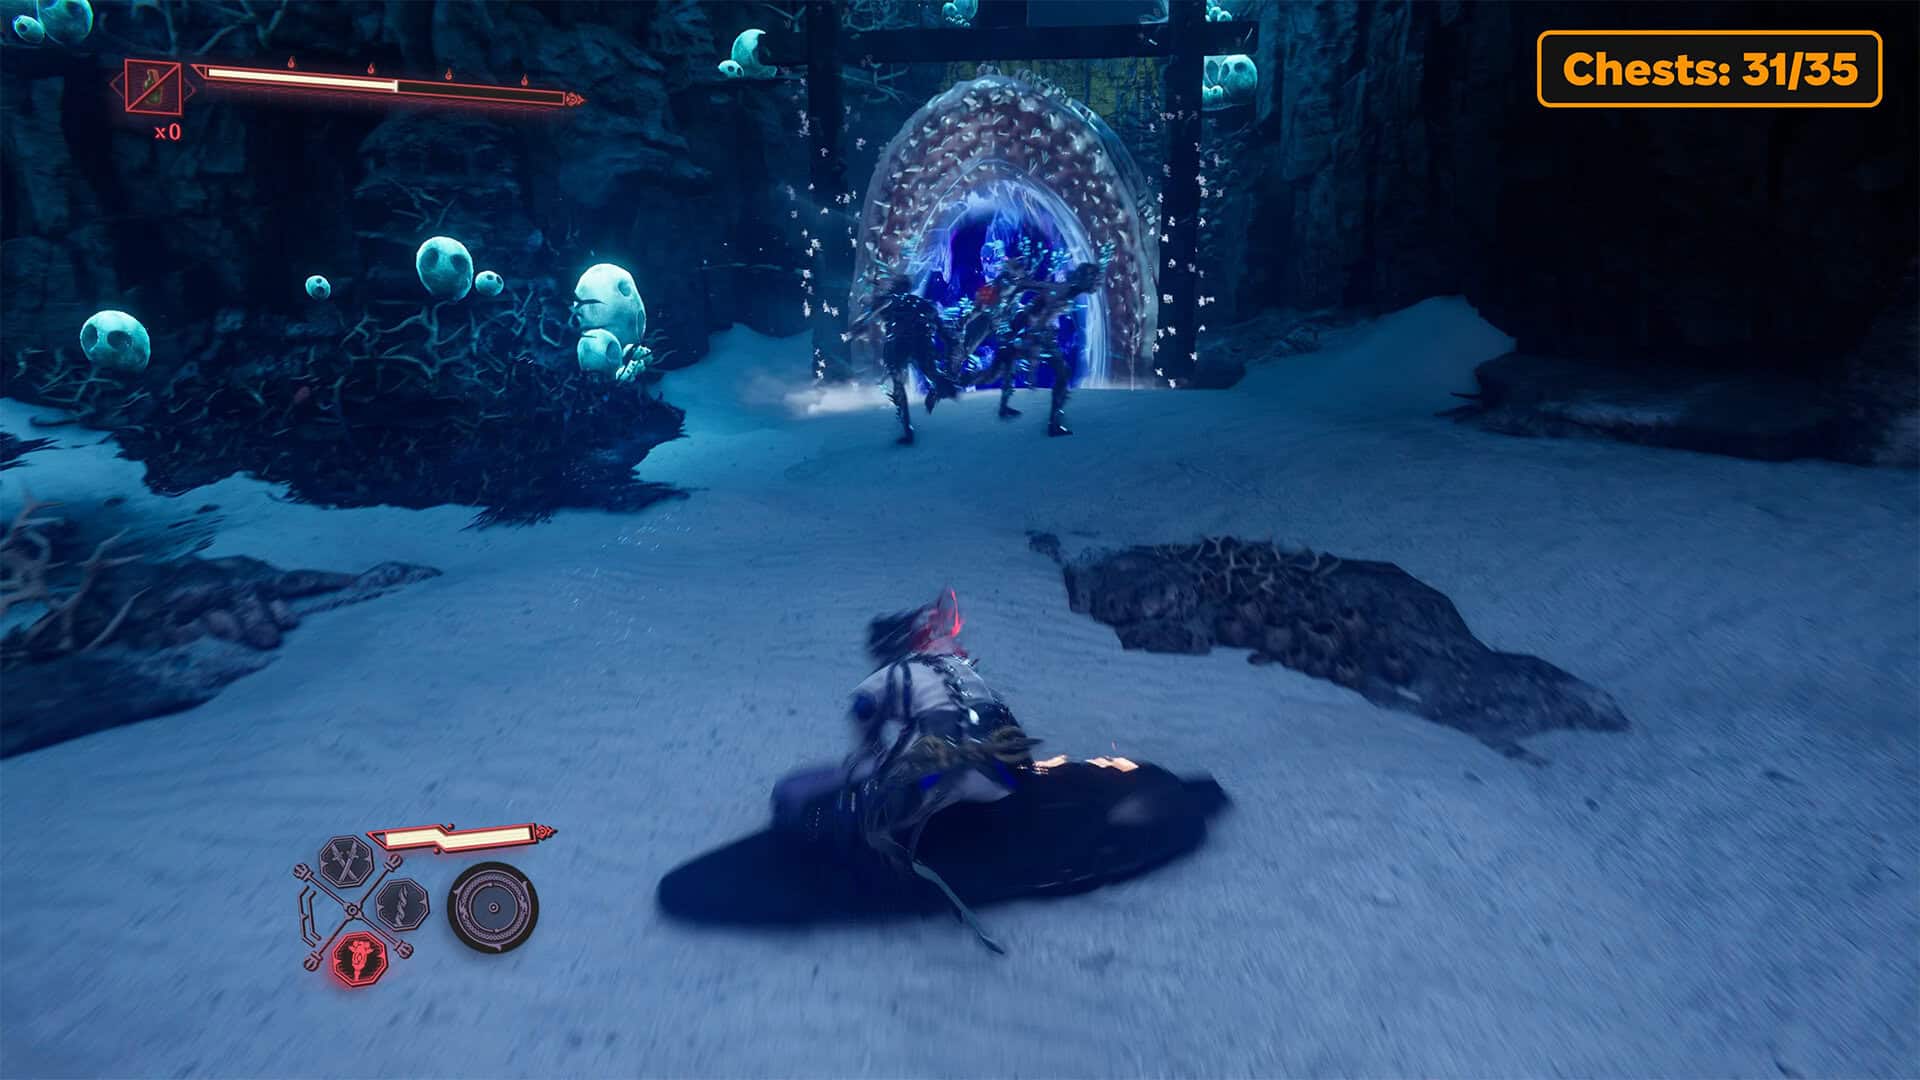
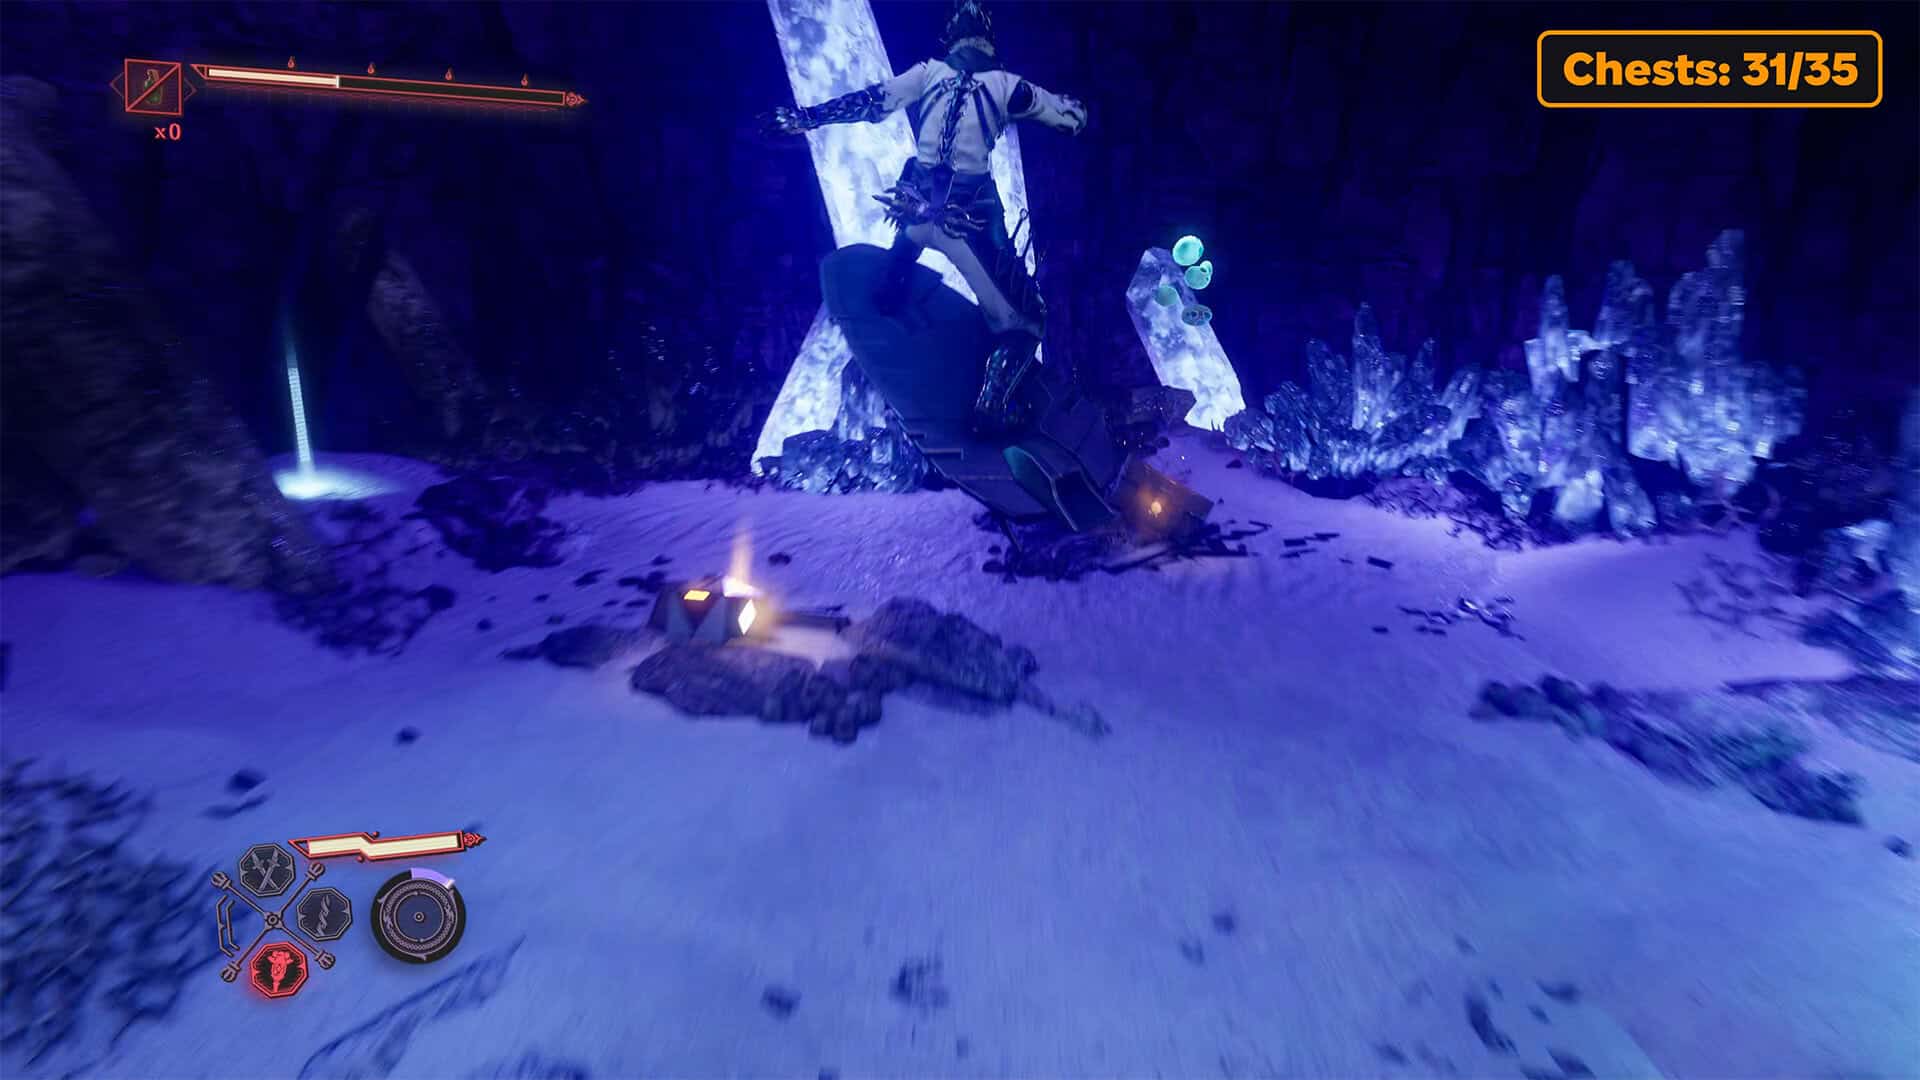
Here you will again have to cover a short distance through the water, and you will find yourself on an island where the treasures are located. First, open the thirty-first chest and you will receive a Life Elixir. In the thirty-second chest, you will find a Rejuvenation Elixir. And be sure not to miss the second beautiful mineral nearby for a very important side quest.
Treacherous portal with enemies
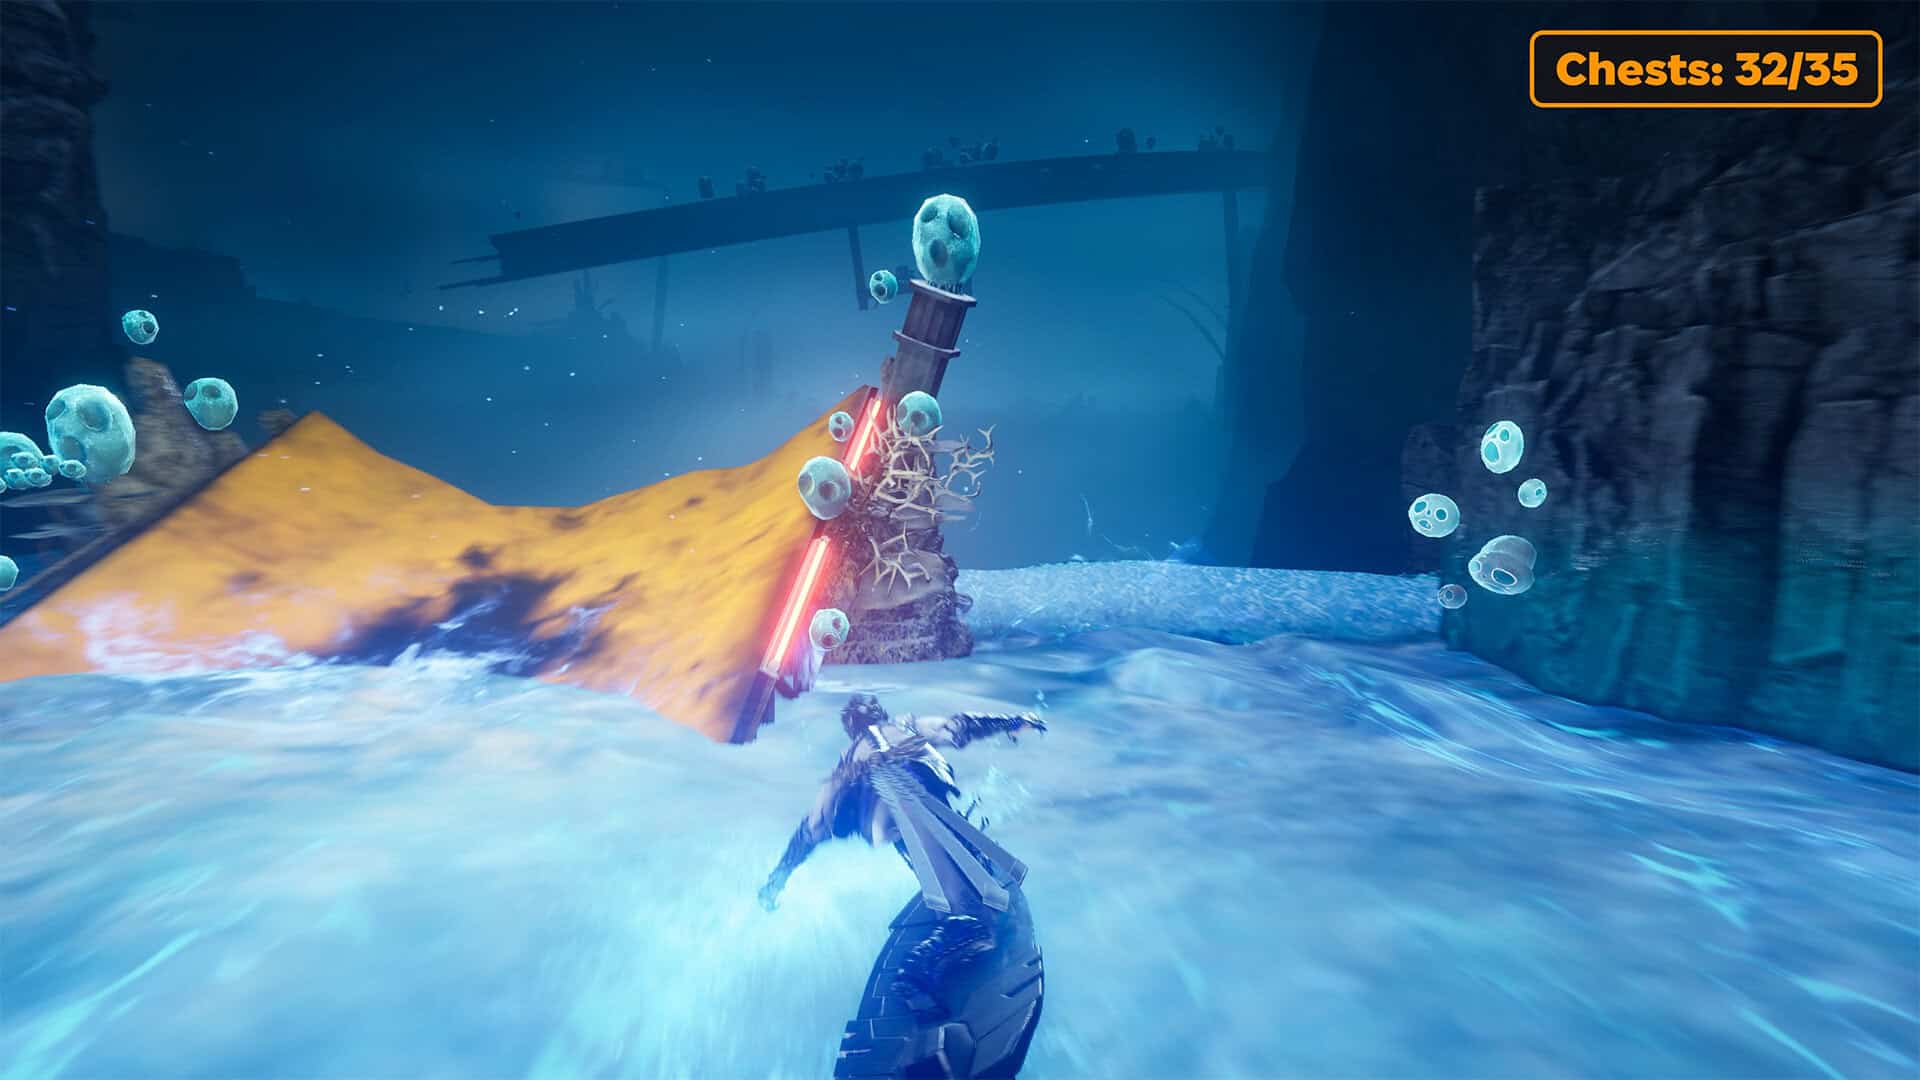
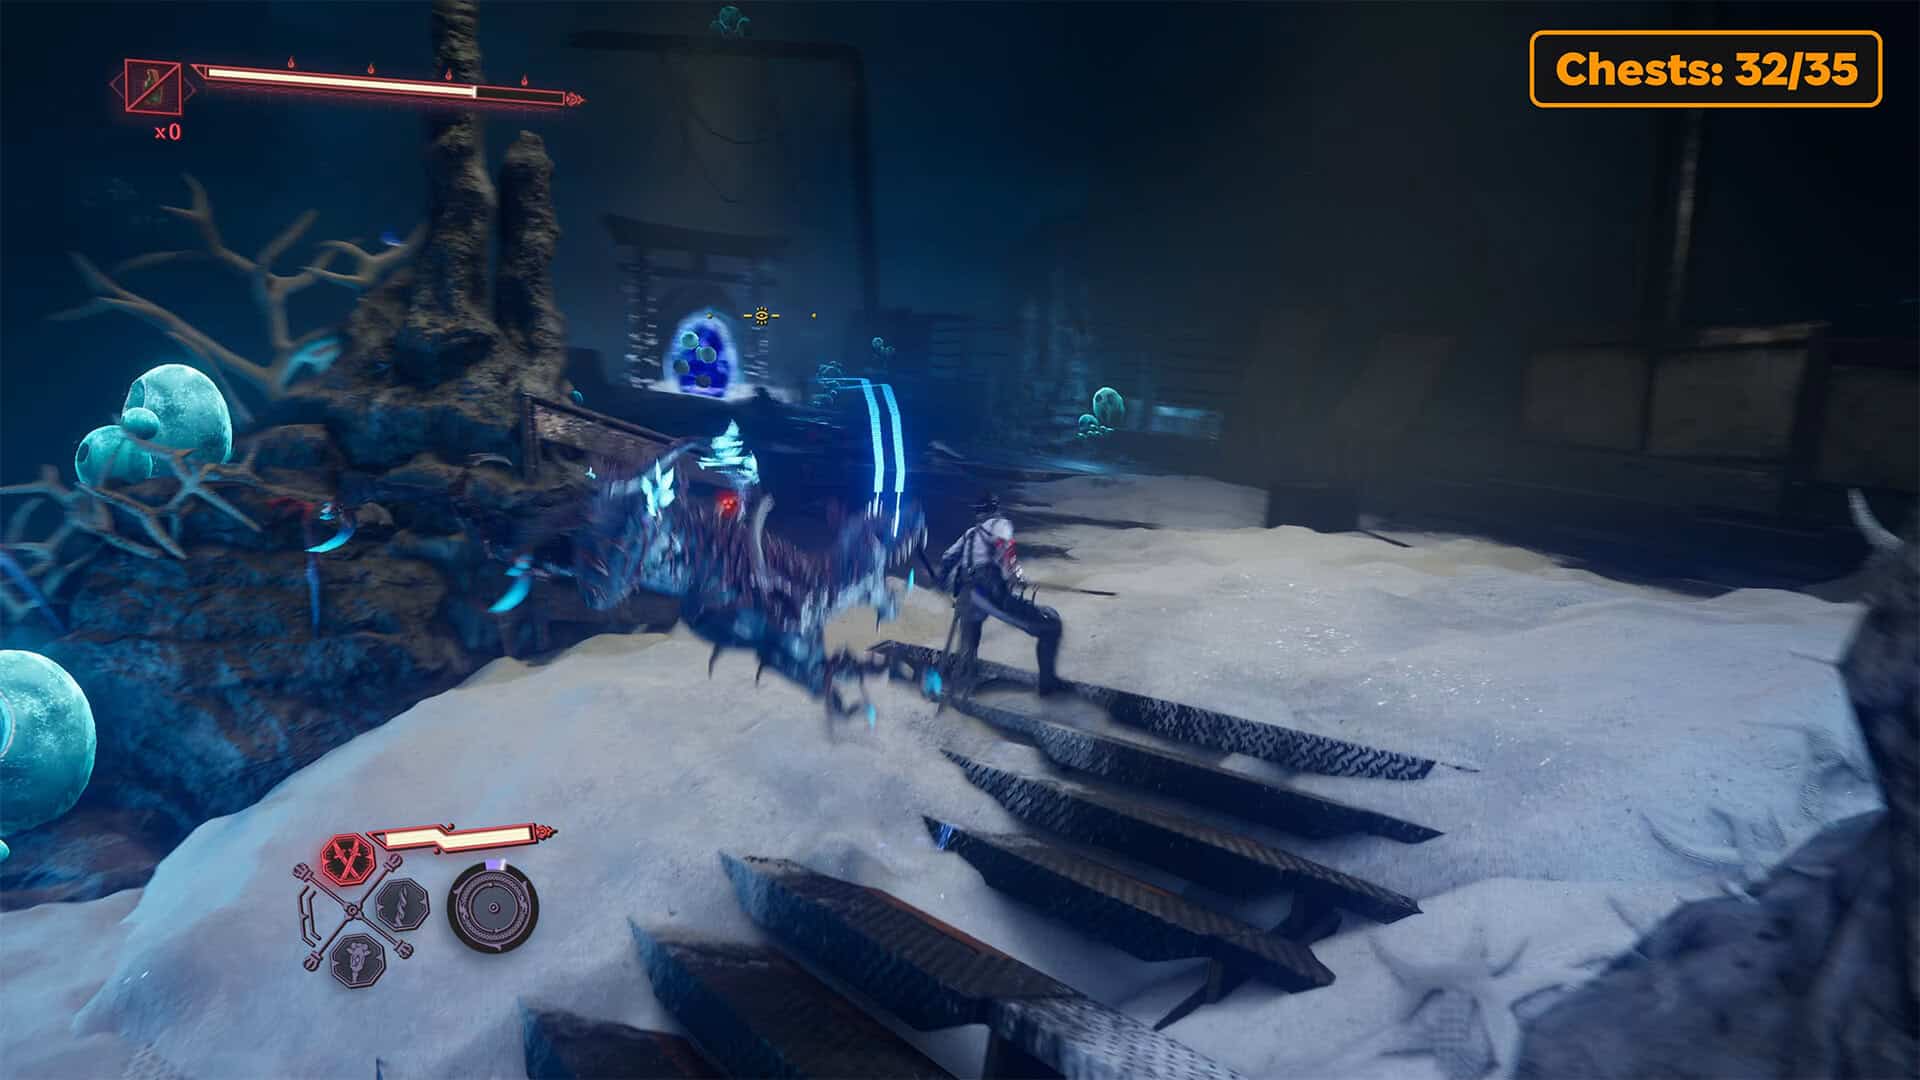
From this point, you need to move backward, but don’t jump over the gap in the water; instead, turn right around it. You will see a blue circle; jump into it and you will find yourself on the water one level below. Next, you need to cover a long distance using the springboard, dodging obstacles and avoiding the rocks in the middle of the water. Finally, you will jump over the springboard again and use Caddis Wire to land on the ground. Here you will see enemies that look like dogs. But don’t rush to fight them. Go forward and to the left, and you will see a portal that summons these enemies. You must first destroy the portal and then all the remaining enemies.
-
- Portal with monsters on the way
-
- Second beautiful mineral and two chests
-
- One of the jumps to the next zone
-
- A treacherous portal in the distance around the bend
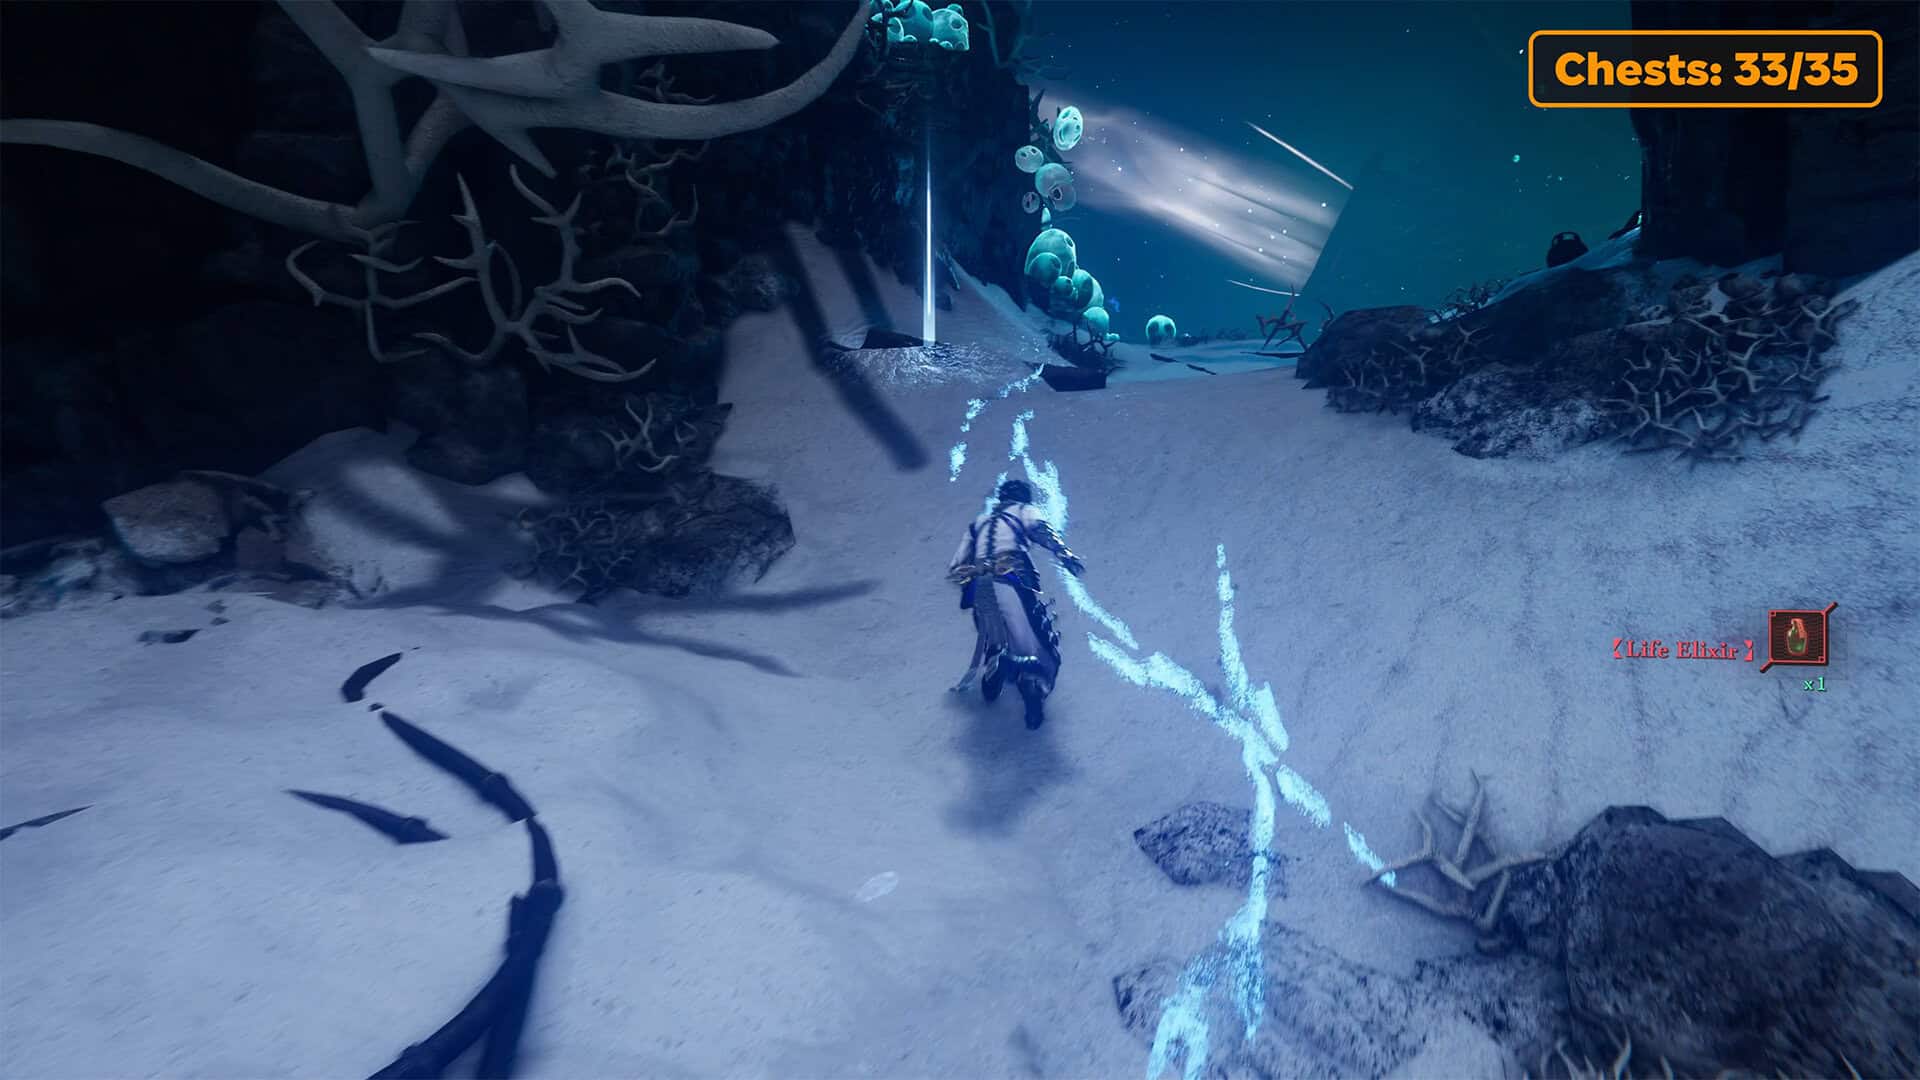
Third beautiful mineral + Life Elixir (chest 33)
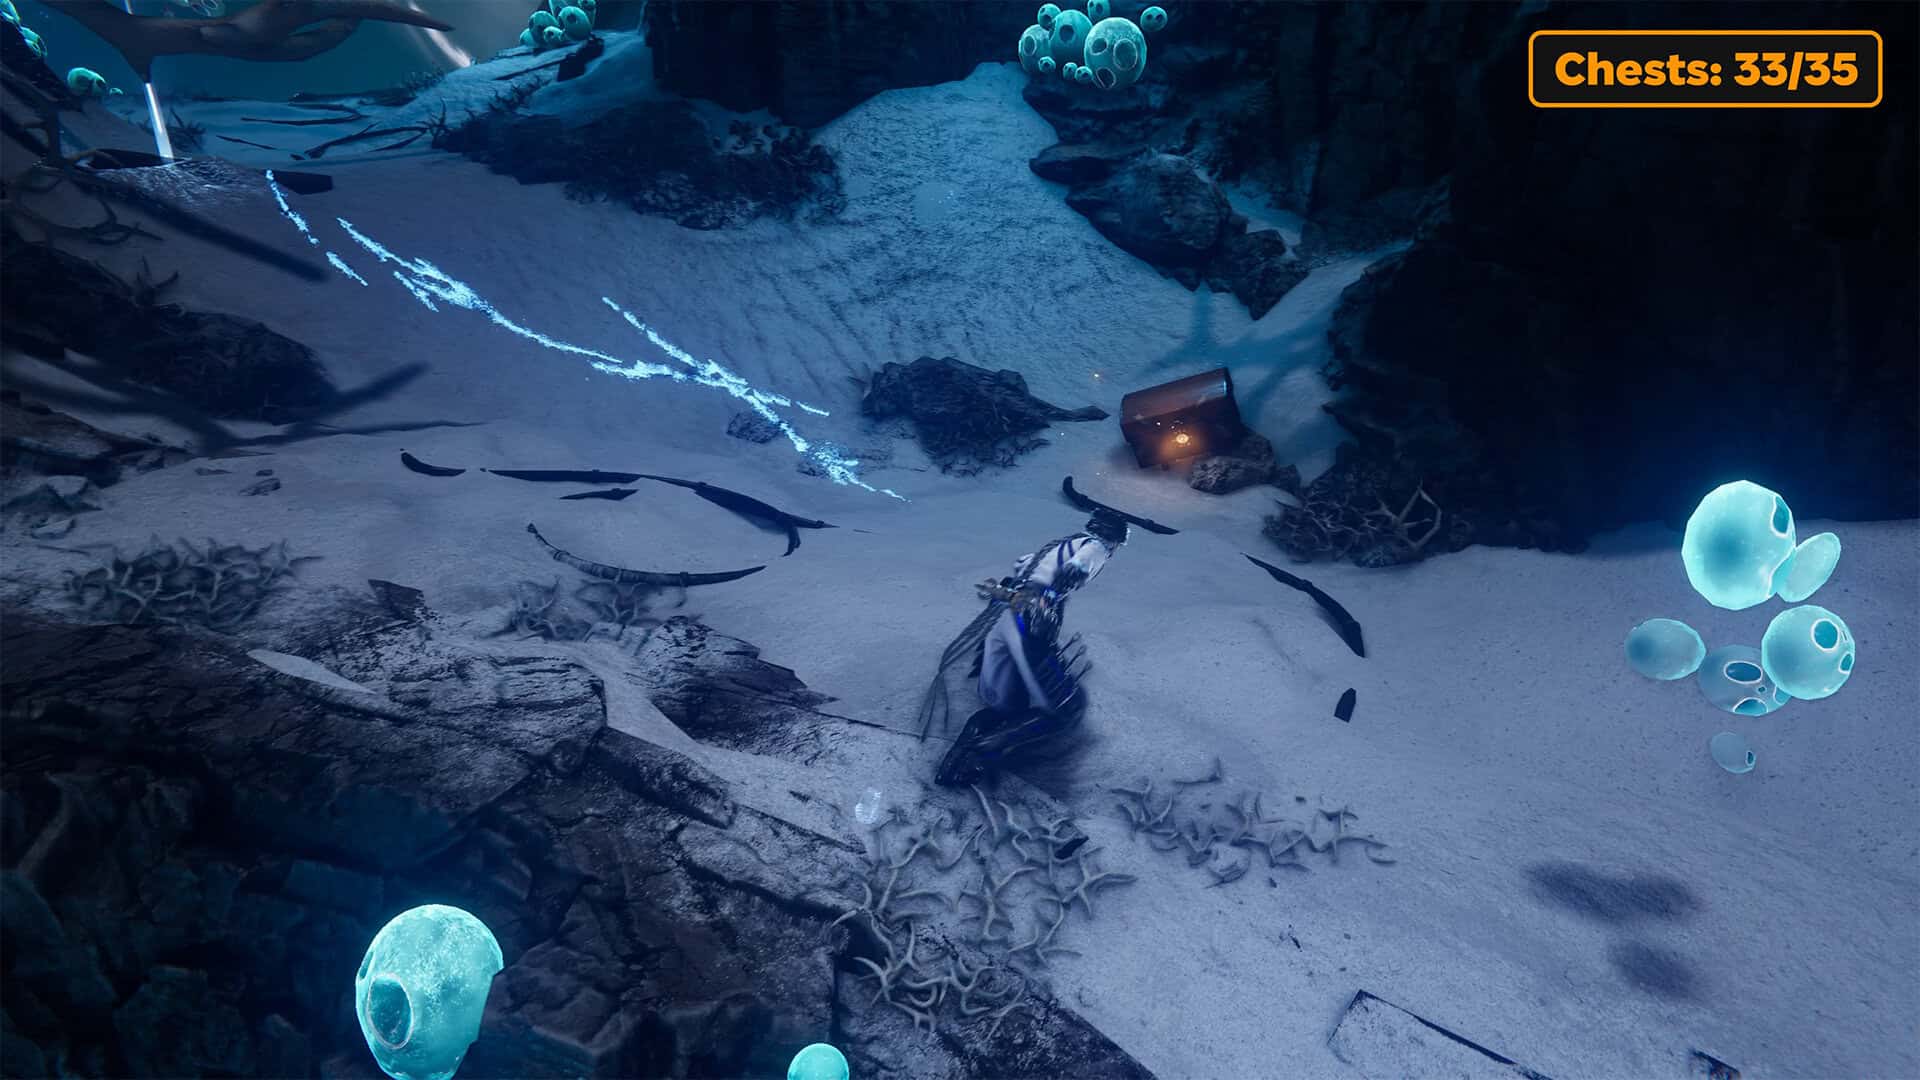
Behind the portal lies the continuation of your journey. Jump onto the pillar, and then use your skills to climb several vertical walls to reach the platform. Here you will immediately see the thirty-third chest. Open it to get the Life Elixir. A little further on, you will find the third beautiful mineral and complete the quest Find 3 Beautiful Minerals in the Drowned District.
Cultivation Omamori (chest 34)
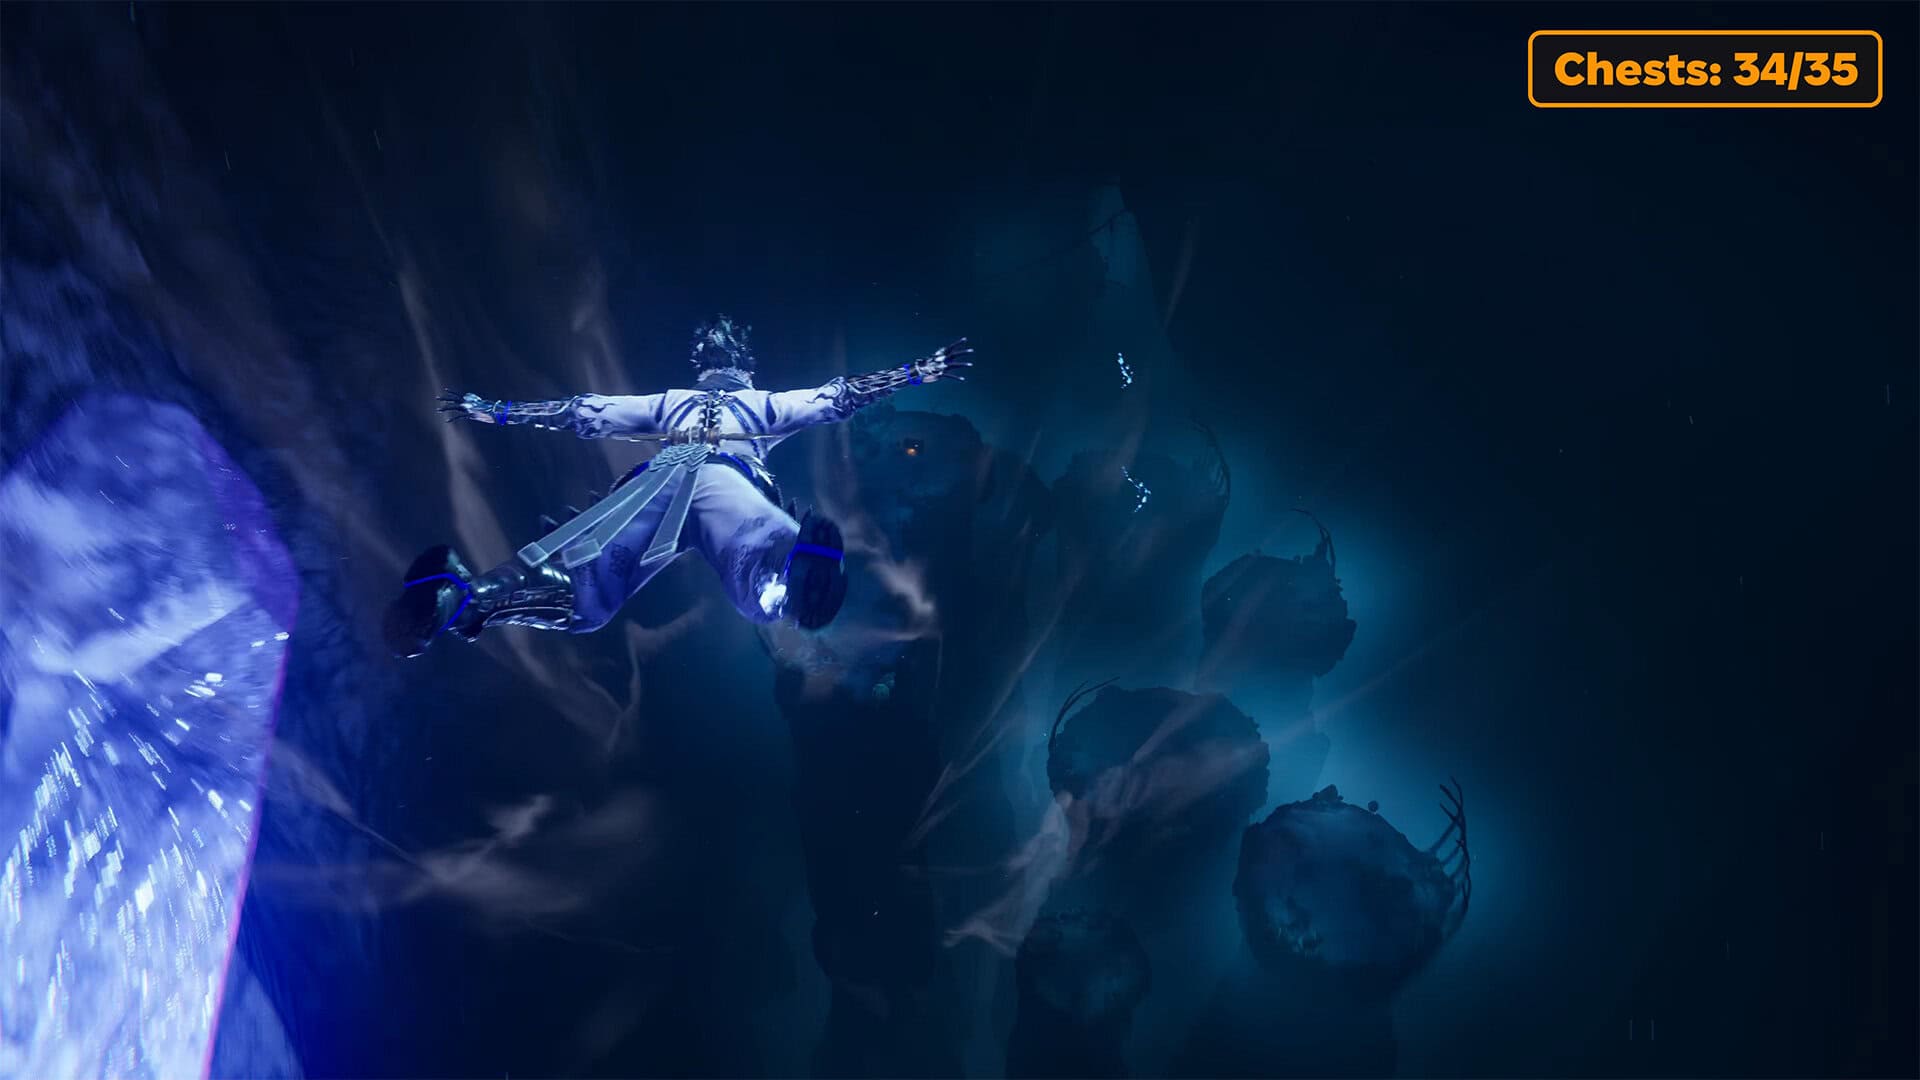
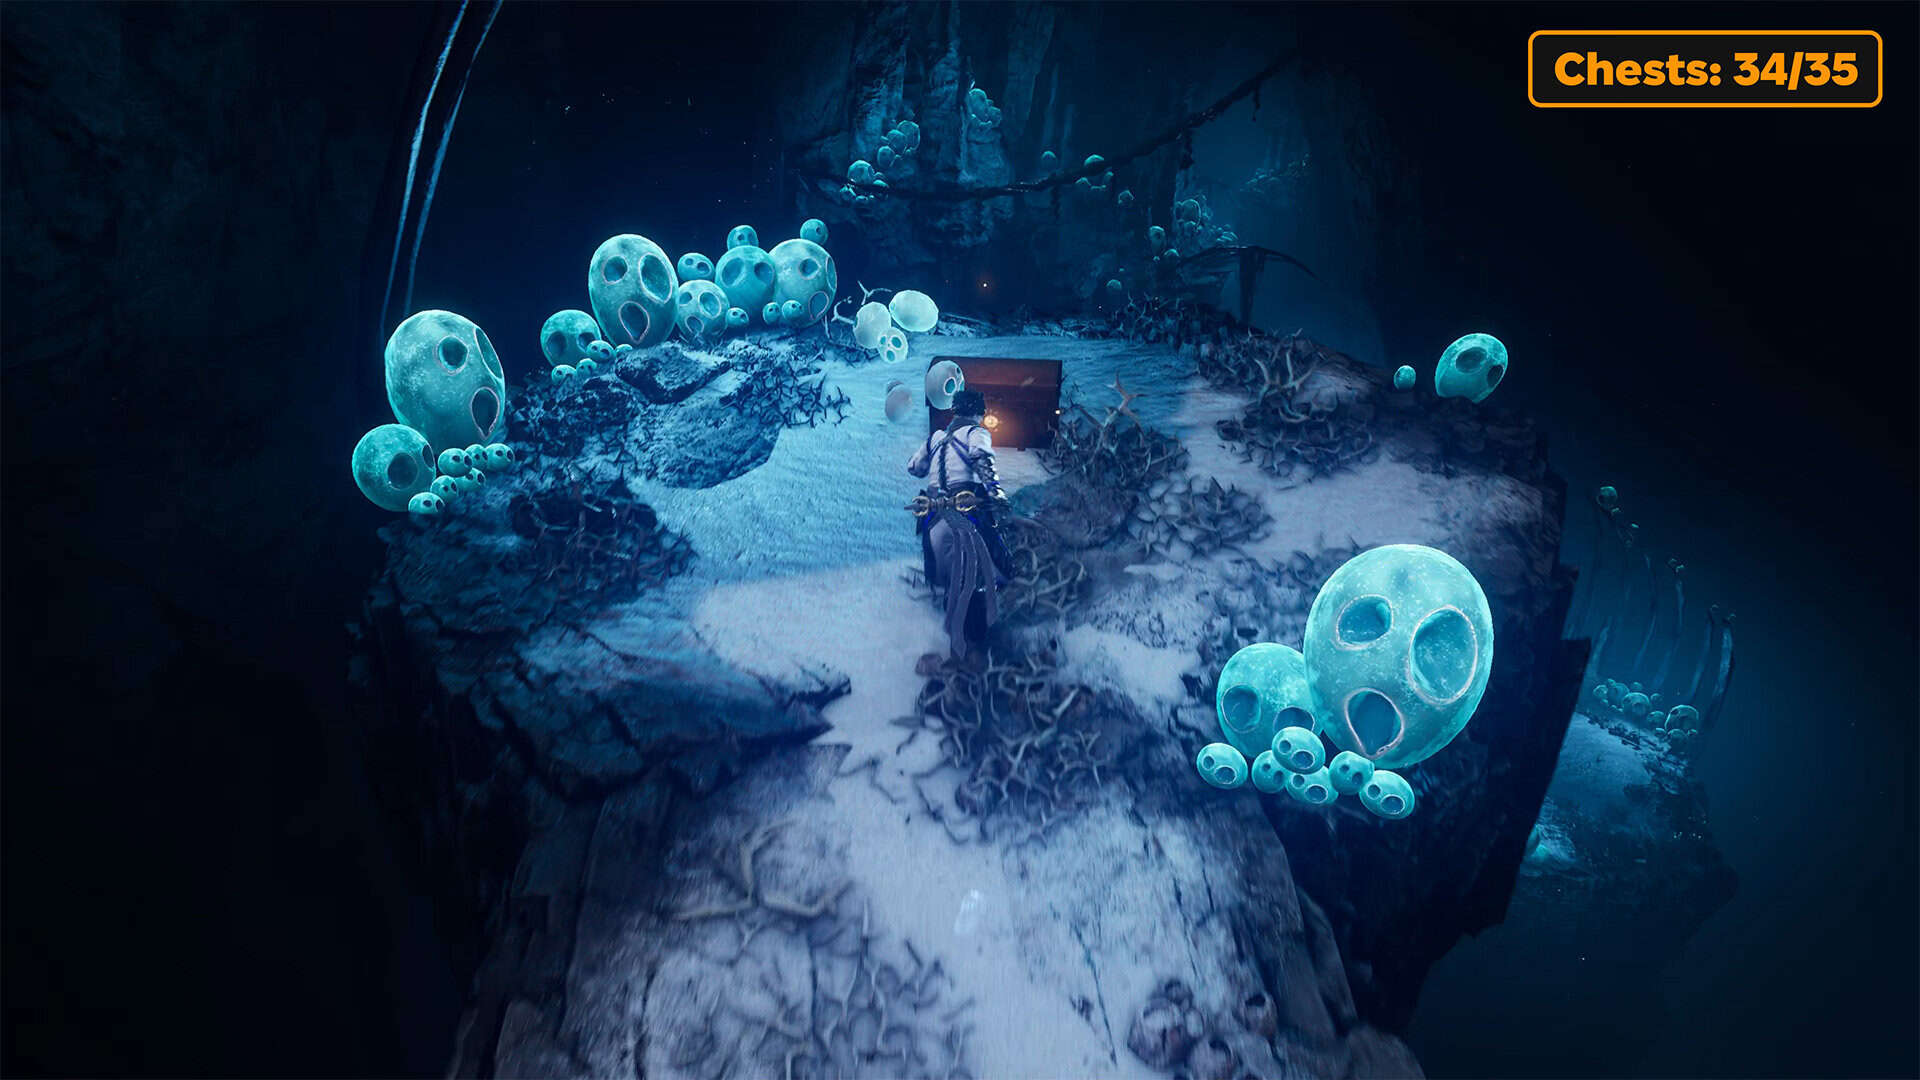
Next, use the gusts of wind to fly forward. When you start to fall, note that there are islands below. You must stay to the left in the air to land on the leftmost island. It is the longest and highest of all. Here you will find the thirty-fourth chest. After you open it, you will receive Cultivation Omamori. Don’t rush to jump down from this island.
Incense of Rebirth (chest 35)
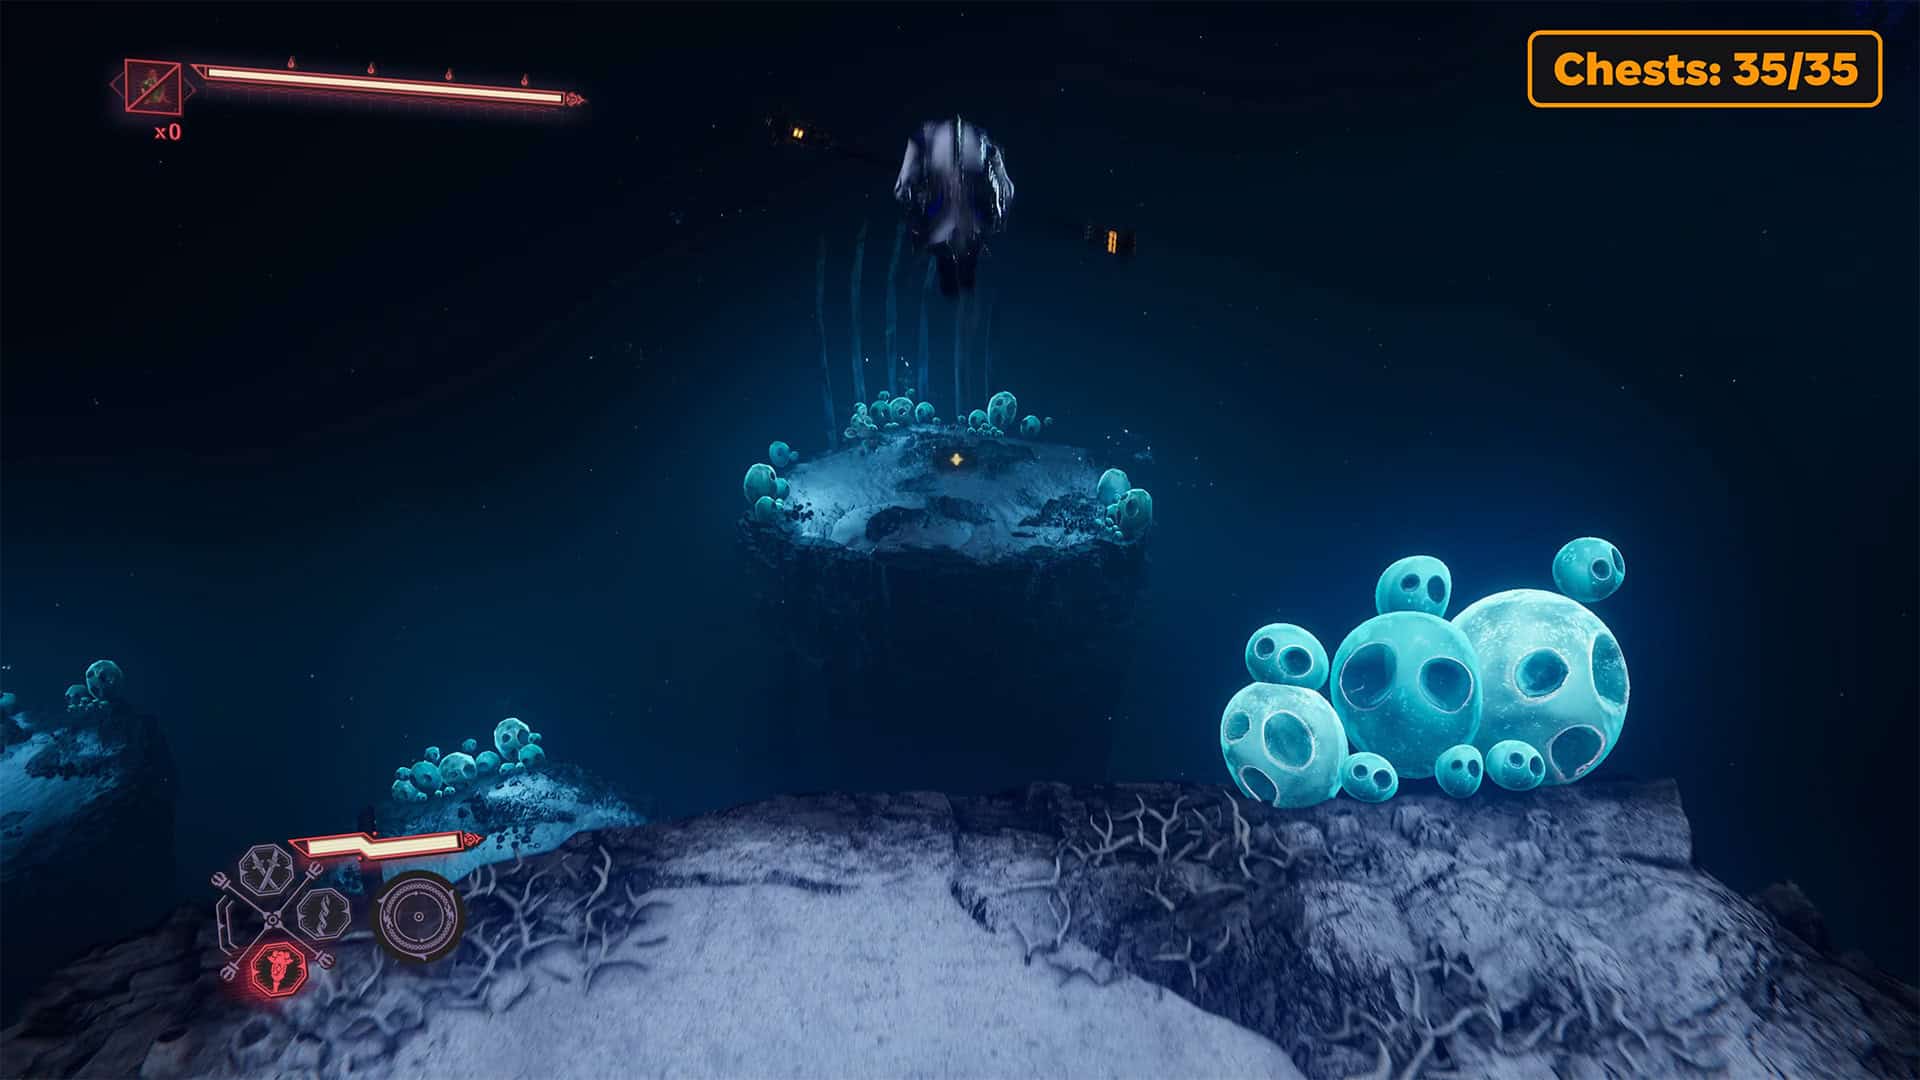
If you look closely at one of the islands, you will see the twenty-fifth chest. To jump there, you need to use the Flying Swallow Barrage skill. Inside the chest, you will find Incense of Rebirth.
The final battle with monsters
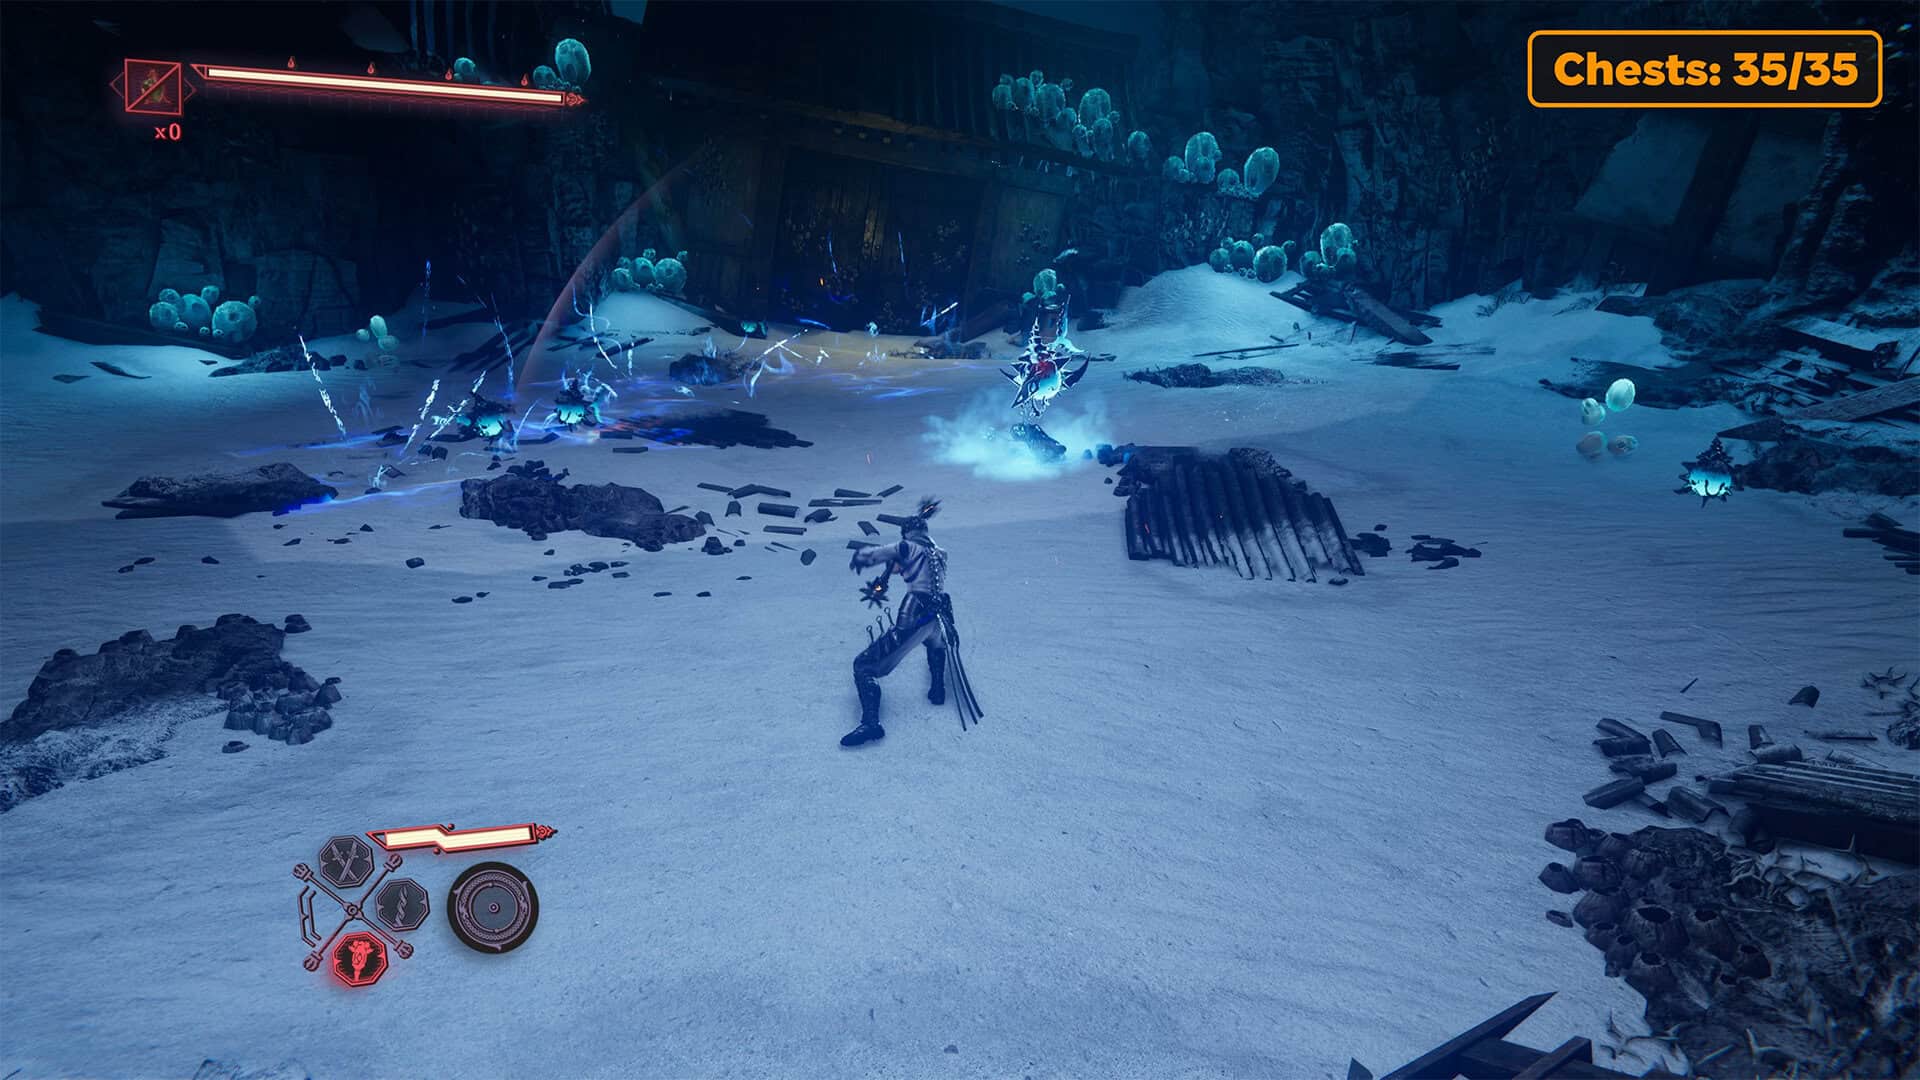
Now you can jump onto smaller islands and move forward. You will need to jump down to a large location where a long battle with many enemies awaits you. This is the final test by your enemies before the final boss. Here you will encounter all the types of enemies you have already seen in this chapter. You need to take this battle seriously, because there are really a lot of enemies and it can be a difficult challenge for you.
-
- Chest #33 in Realm of Silent Dead
-
- Third beautiful mineral
-
- Fly keeping to the left towards the large island
-
- Cultivation Omamori in chest #34
-
- Flying Swallow Barrage to chest #35
-
- The final battle with monsters
Second DarkNest Terminal
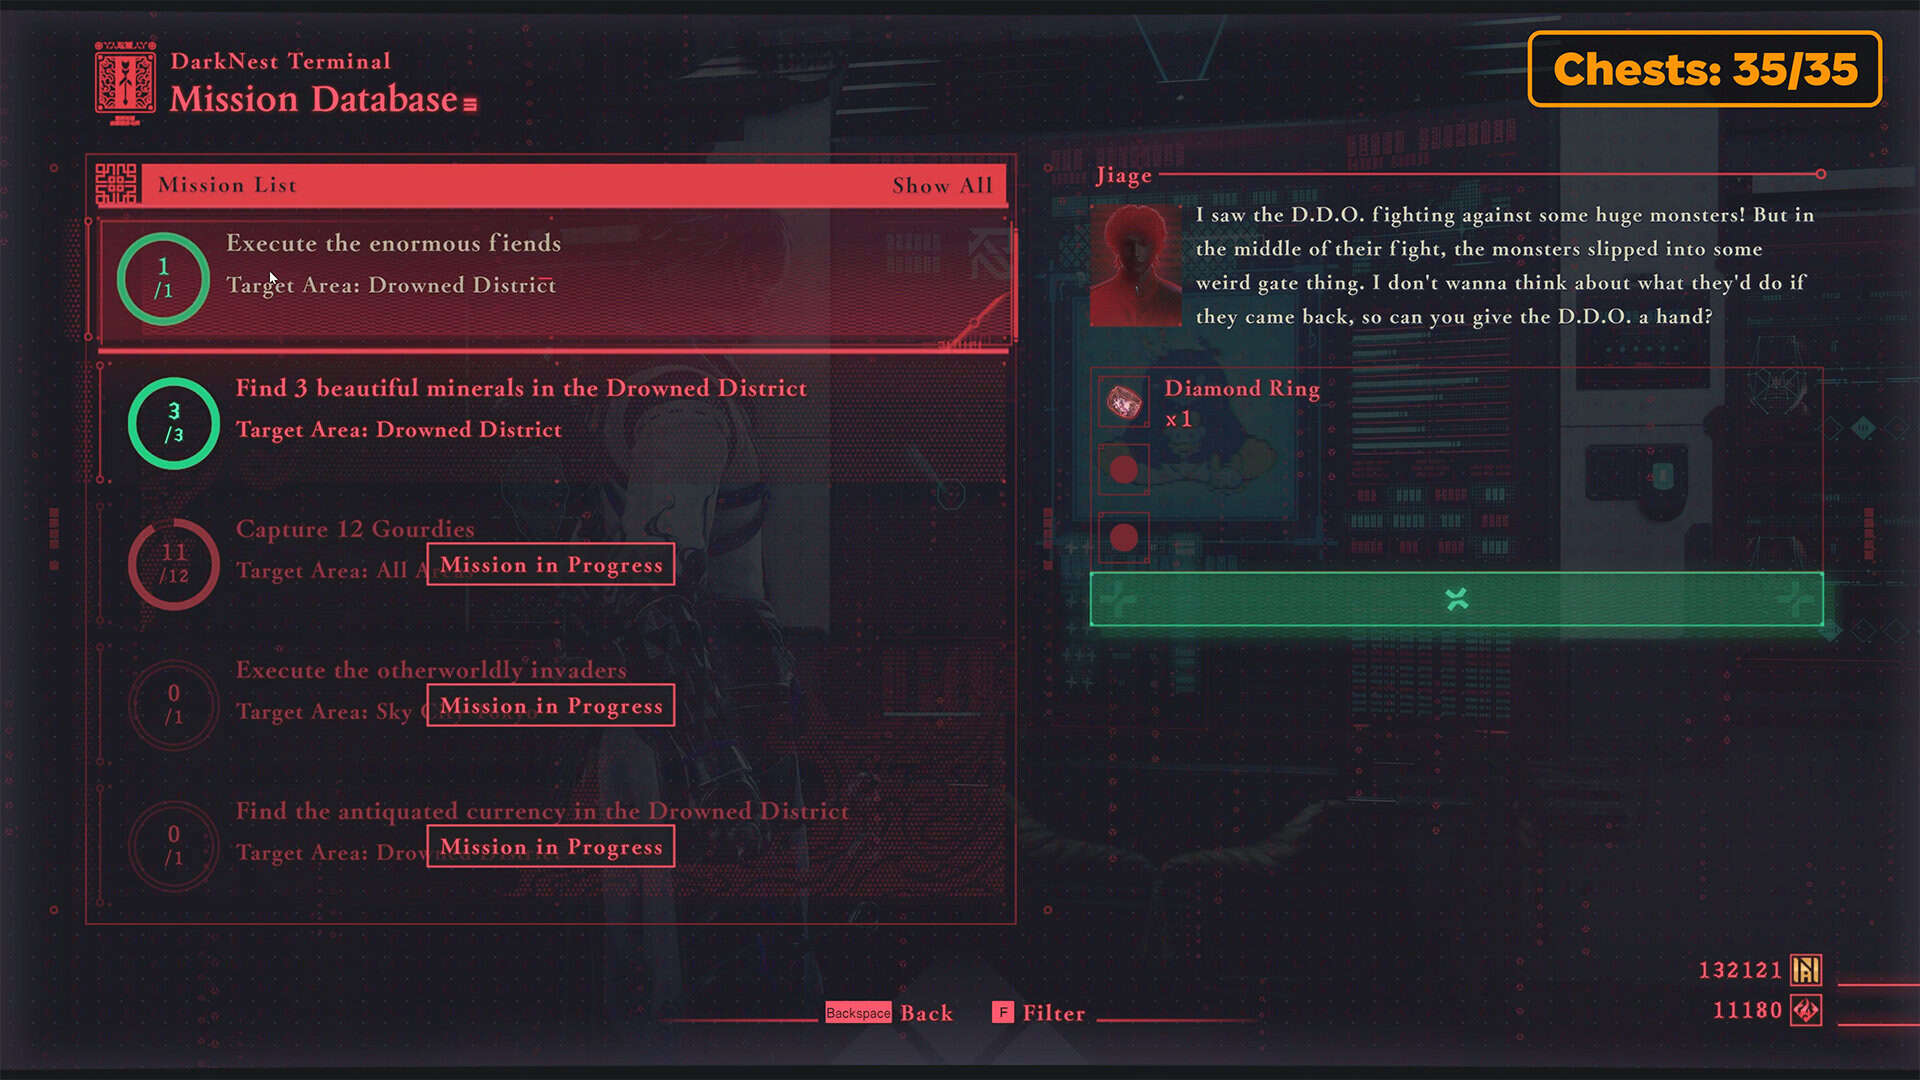
After the battle, open the large gate and you will find yourself in a location where you can proceed to the second DarkNest Terminal in this chapter. This is your last key point, and here you need to prepare as much as possible for the battle with the boss of this chapter. First, you need to complete all the quests you have already completed. For one of them, you will receive a Diamond Ring, which significantly strengthens your defense.
This ring requires three slots to wear. I recommend using this item, as it will protect you quite well in the upcoming final boss battle. To get three slots, you need to unlock the next level of Art of Adornment, if you haven’t already done so. You also need to replenish all the resources you may need in battle.
-
- Passage to Second DarkNest Terminal
-
- Complete quests, replenish jar supplies
Final boss fight – Veilotl
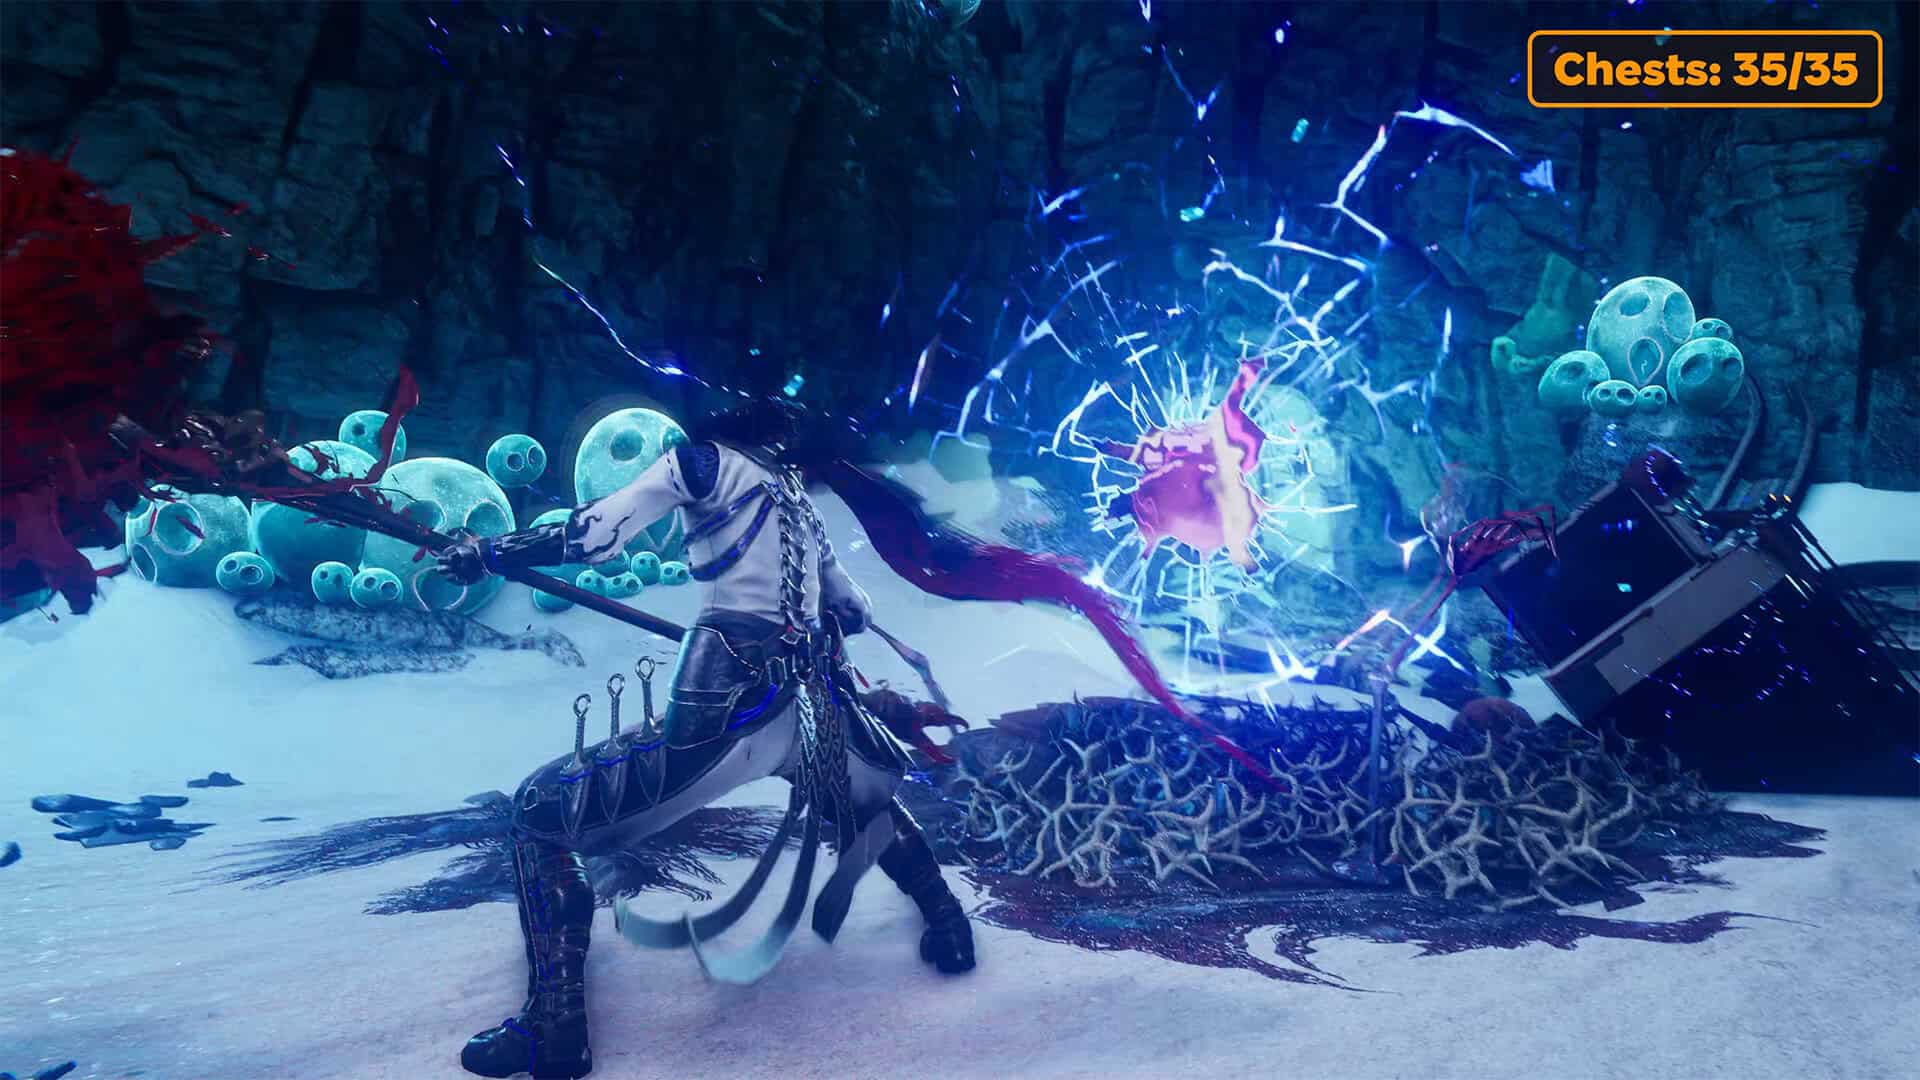
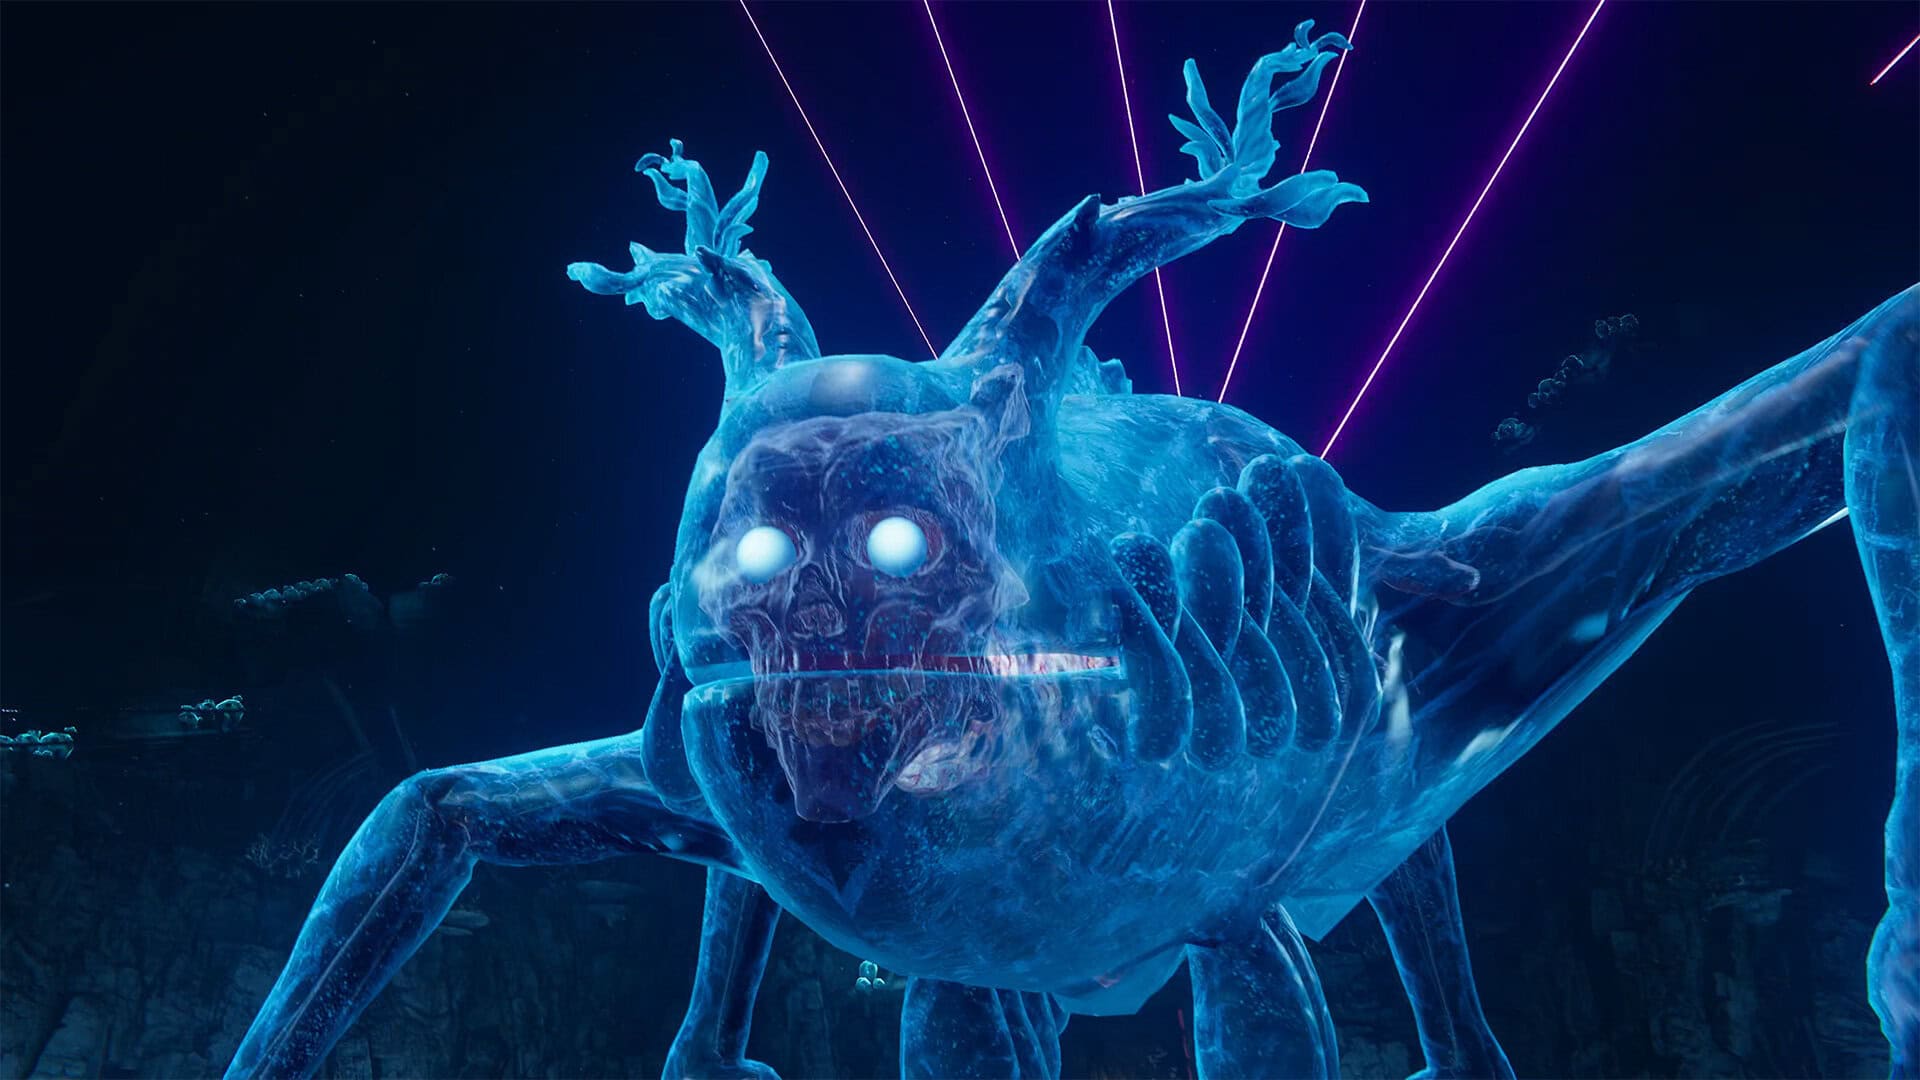
In the final battle, you must defeat the boss Veilotl. It is a strange creature, difficult to describe in terms of appearance. It is a huge blue monster. To battle this boss, I recommend using Yatousen to strike it. I have concluded that the best tactic for this boss is to use simple strikes or small combinations. Veilotl pauses quite a long time between attacks, and during this time, you need to inflict maximum damage on him.
But when you are inflicting damage, be careful, you need to notice when the boss starts his attack. It is better to dodge his attacks, but in extreme cases, you can block simple attacks. When the boss jumps up, it is better to run as far away as possible so as not to get hit by his massive body and take damage. Most often, you will need to dodge his front paw attacks. You will see when he starts to swing his paw to strike. That’s the time to run away.
The second phase of the battle begins with the boss summoning several simple enemies to the arena. At this point, it is best to pick up Magatsuhi and destroy most of these enemies. You don’t need to defeat them all. The boss also damages them and will destroy some of them himself, but you definitely need to eliminate a certain number of enemies in order to move more freely around the arena. You can also build up your berserk mode on simple enemies and use your powerful ultimate attack on the boss. I recommend using Magatsuhi’s ultimate attack on him, so you need to switch to this weapon in time before the attack.
The boss’s attacks become more powerful, so when he flies up or runs forward, falls to the ground, and pounds the ground with his paws, it is better to stay as far away from the boss as possible. As soon as he calms down, approach and attack the enemy. With a little attention and patience, you can easily deal with this enemy.
After winning, you can enjoy watching the monster get destroyed. It’s pretty cool and fun to watch. That’s it for Chapter 9 of Realm of Silent Dead. It is a really difficult and long chapter, but no less interesting and intense than all the others. In this chapter, we have significantly enriched our resources and replenished our NinjaCoin balance, which is very pleasing.
-
- Your opponent is Final Boss Veilotl
-
- Use normal attacks
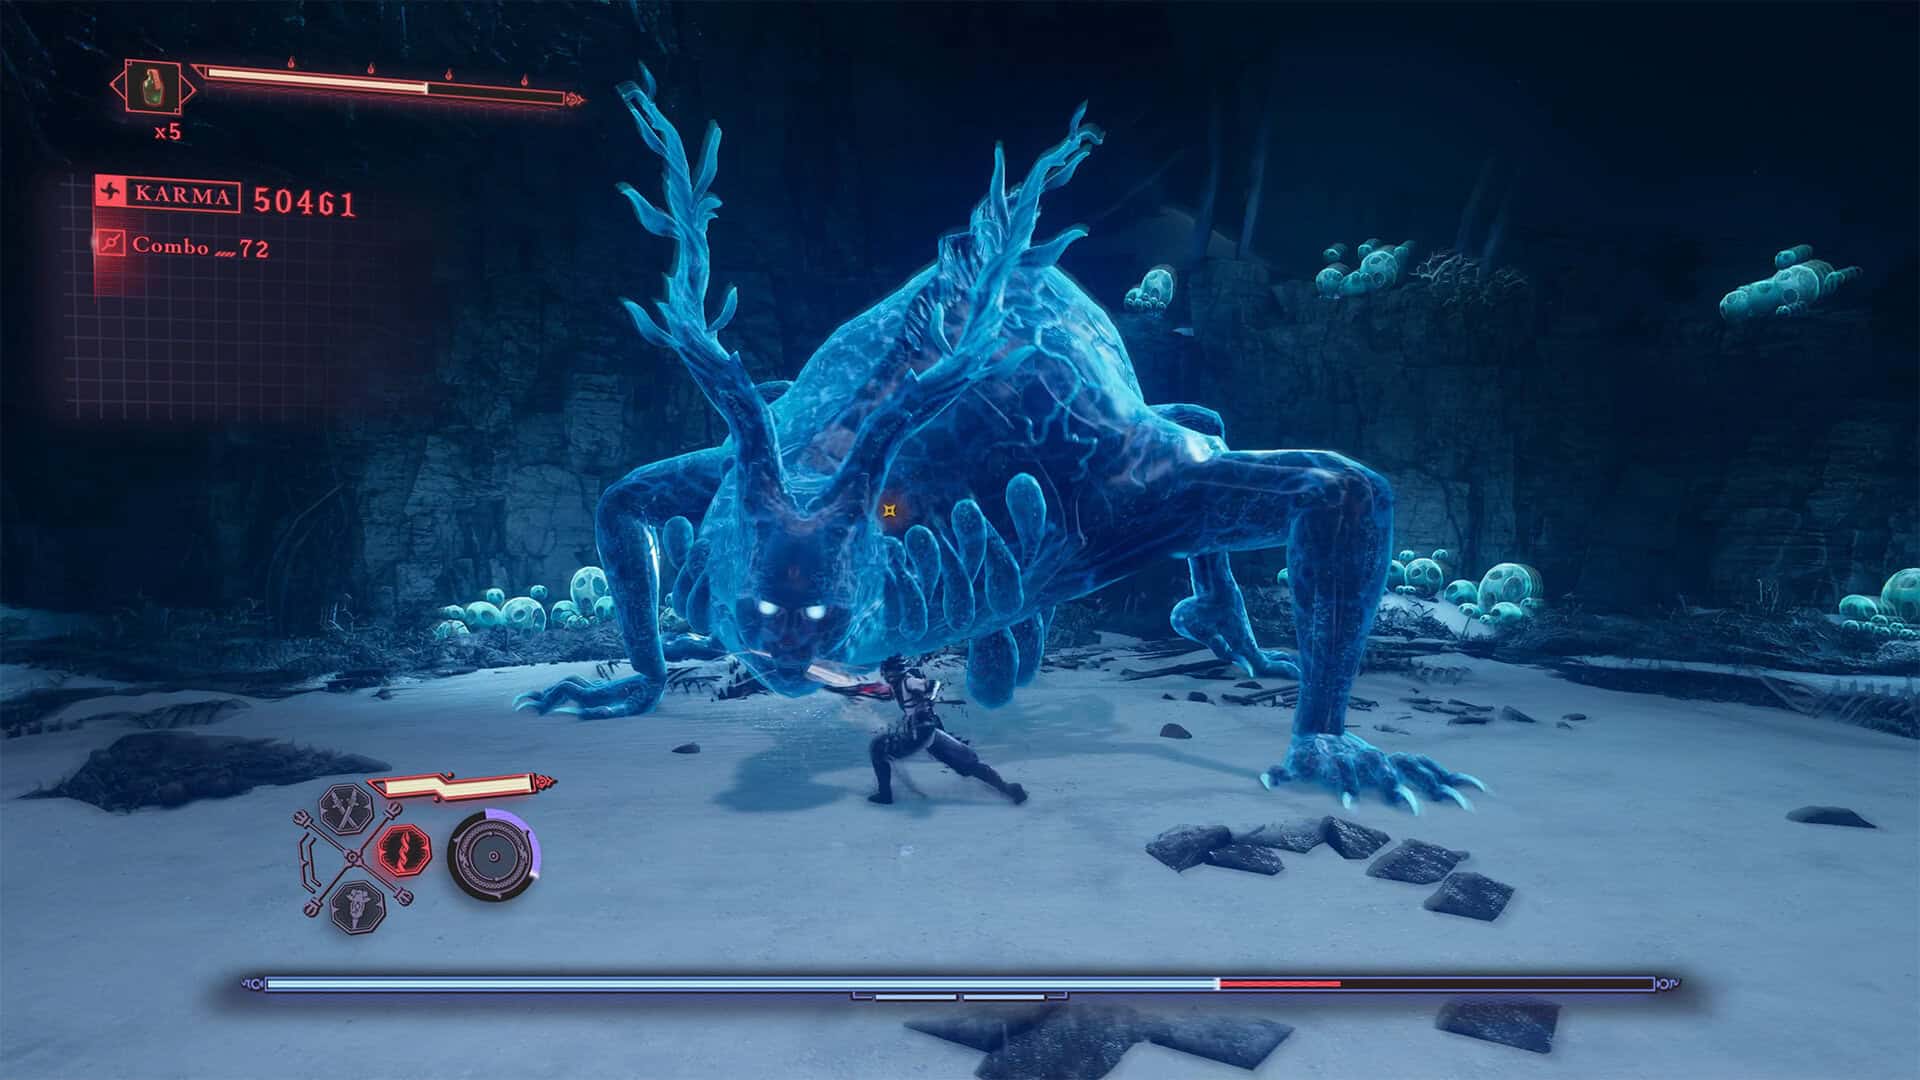
-
- Veilotl summons many monsters
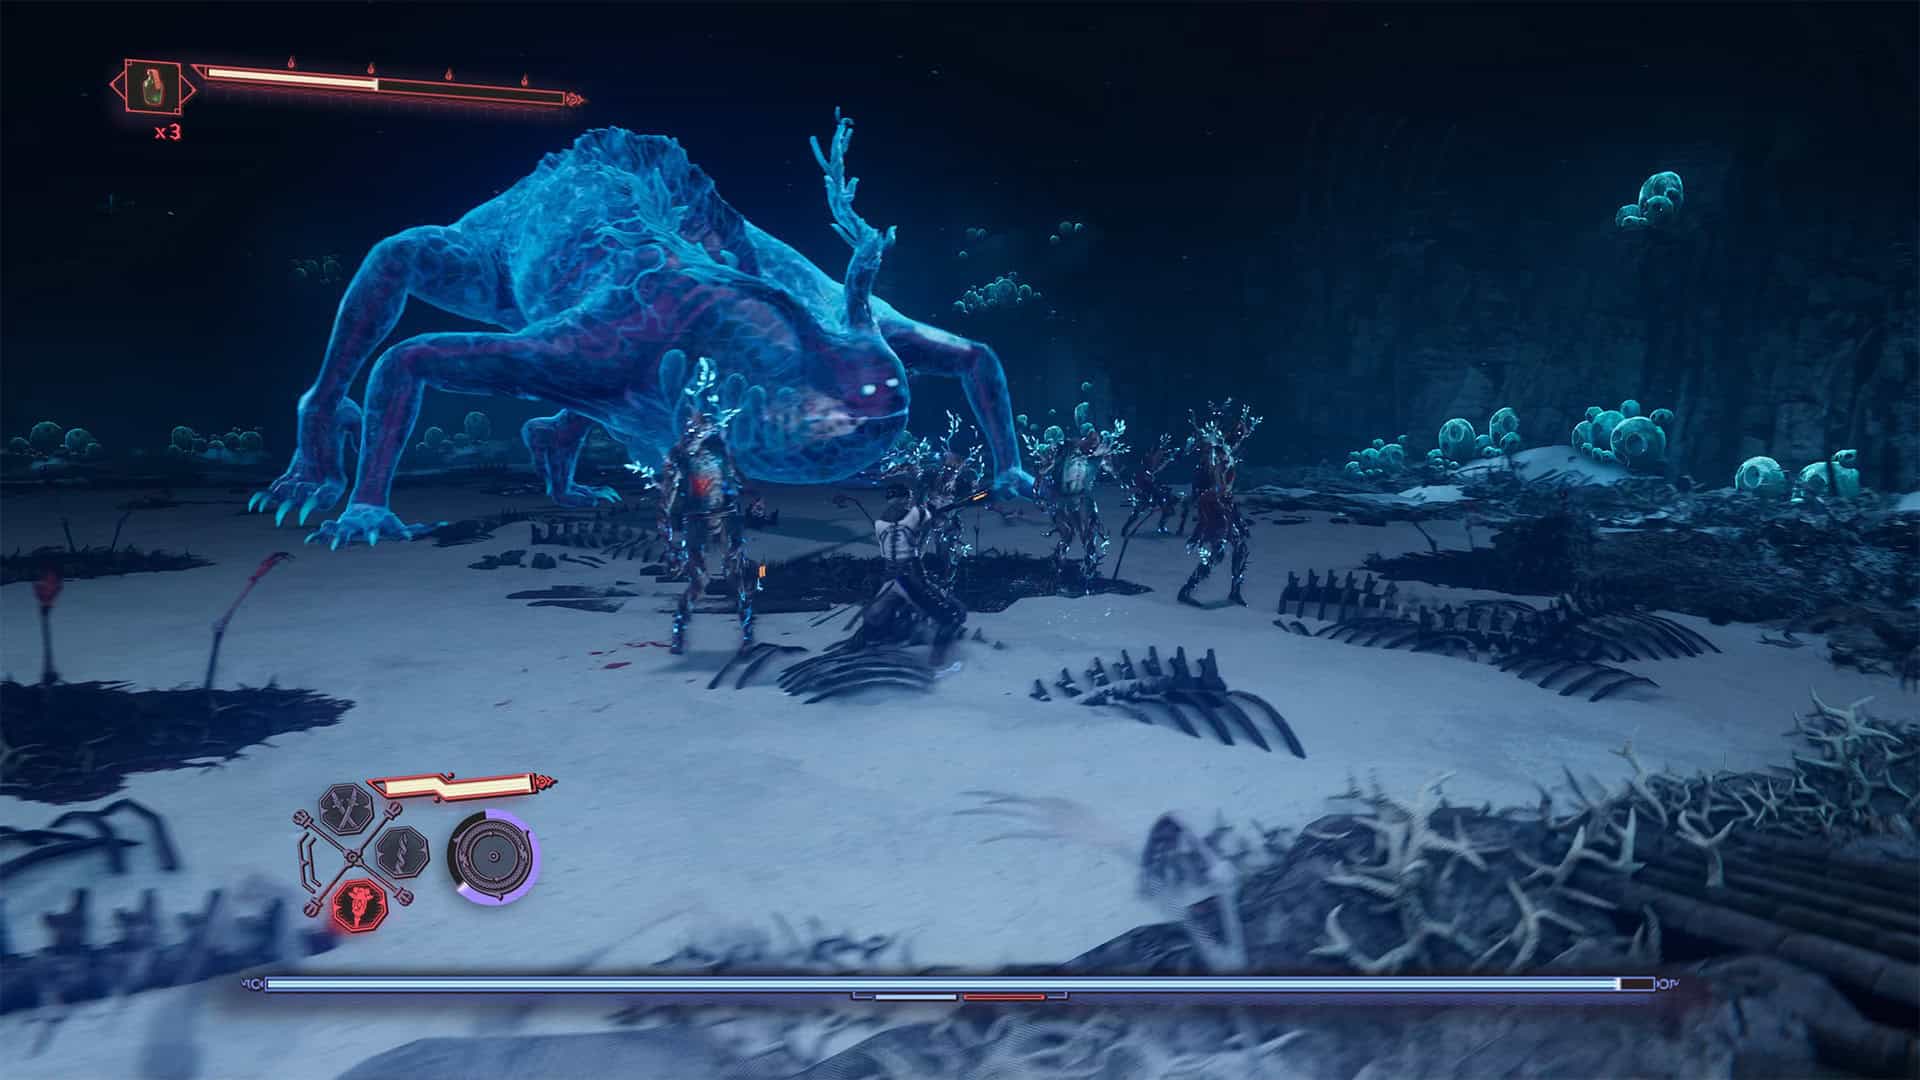
-
- Powerful attack in berserk mode
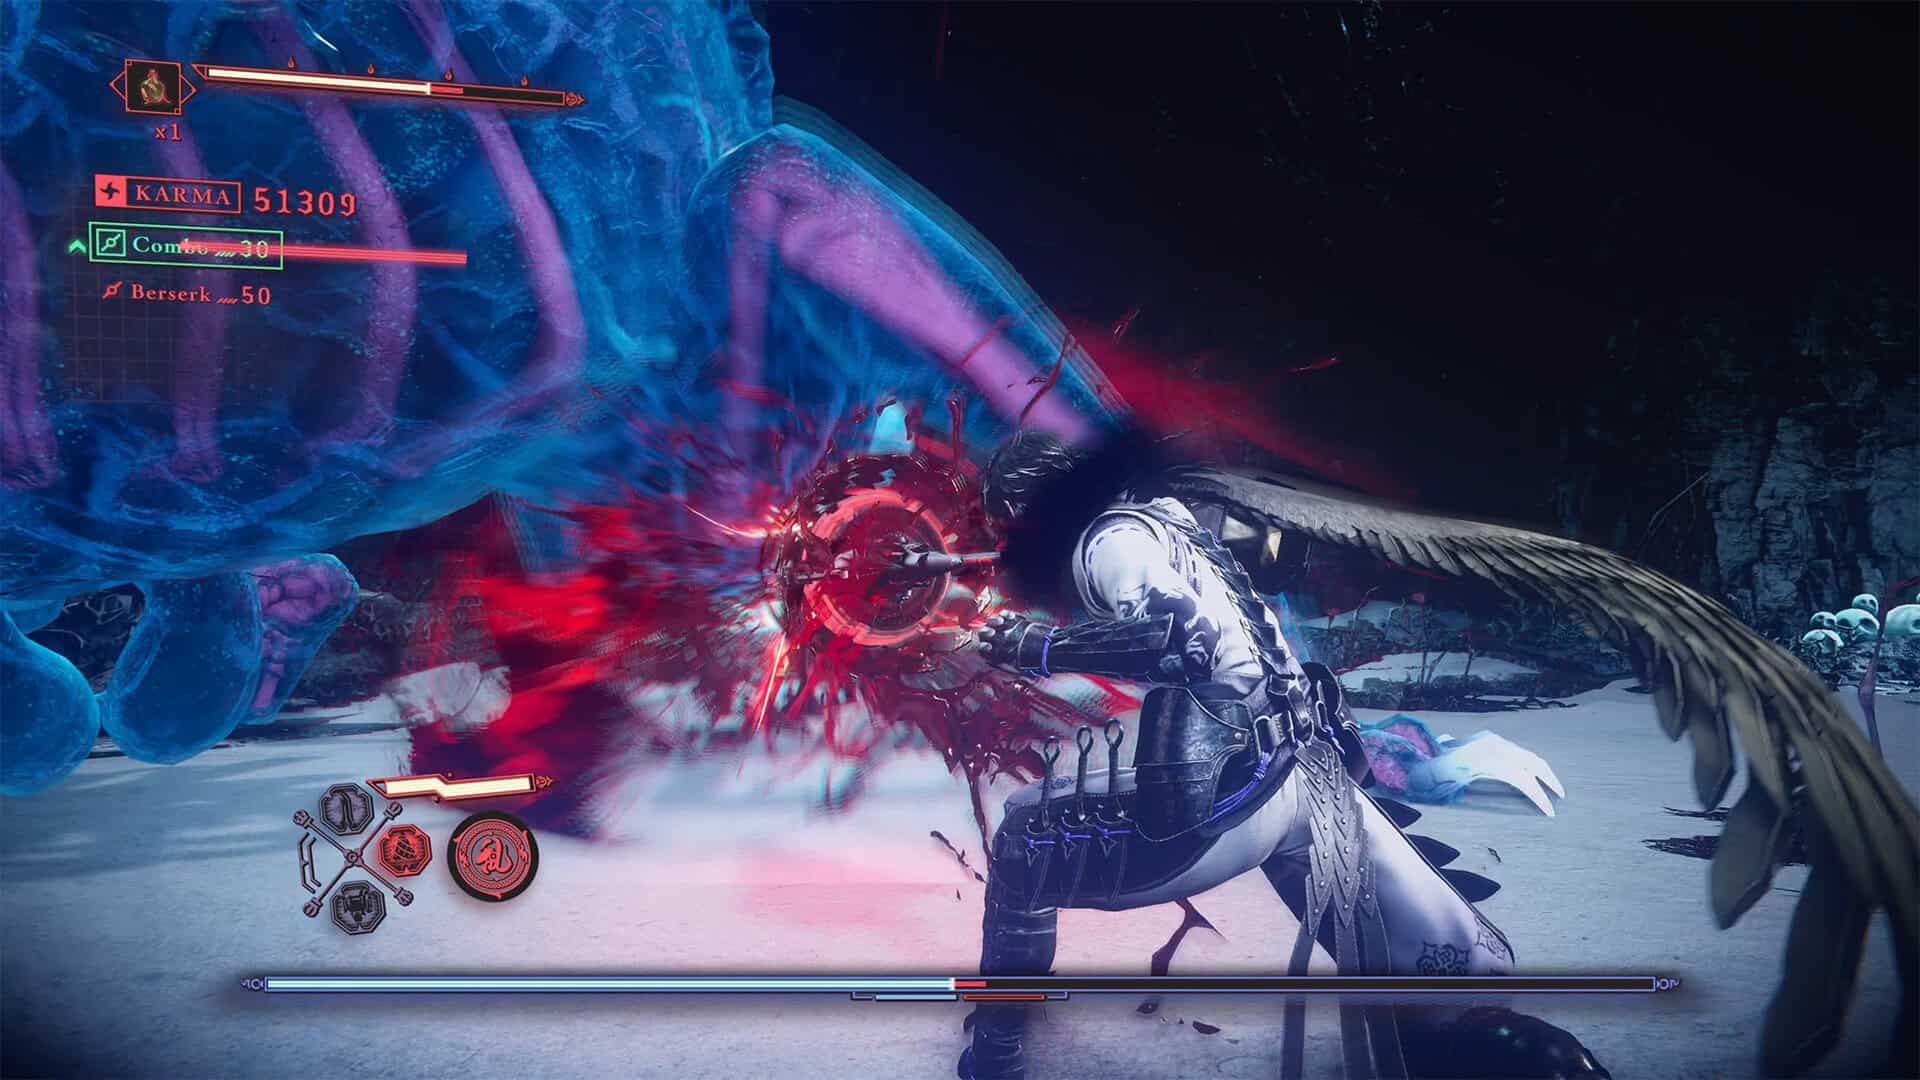
-
- Time to retreat from this attack, Veilotl
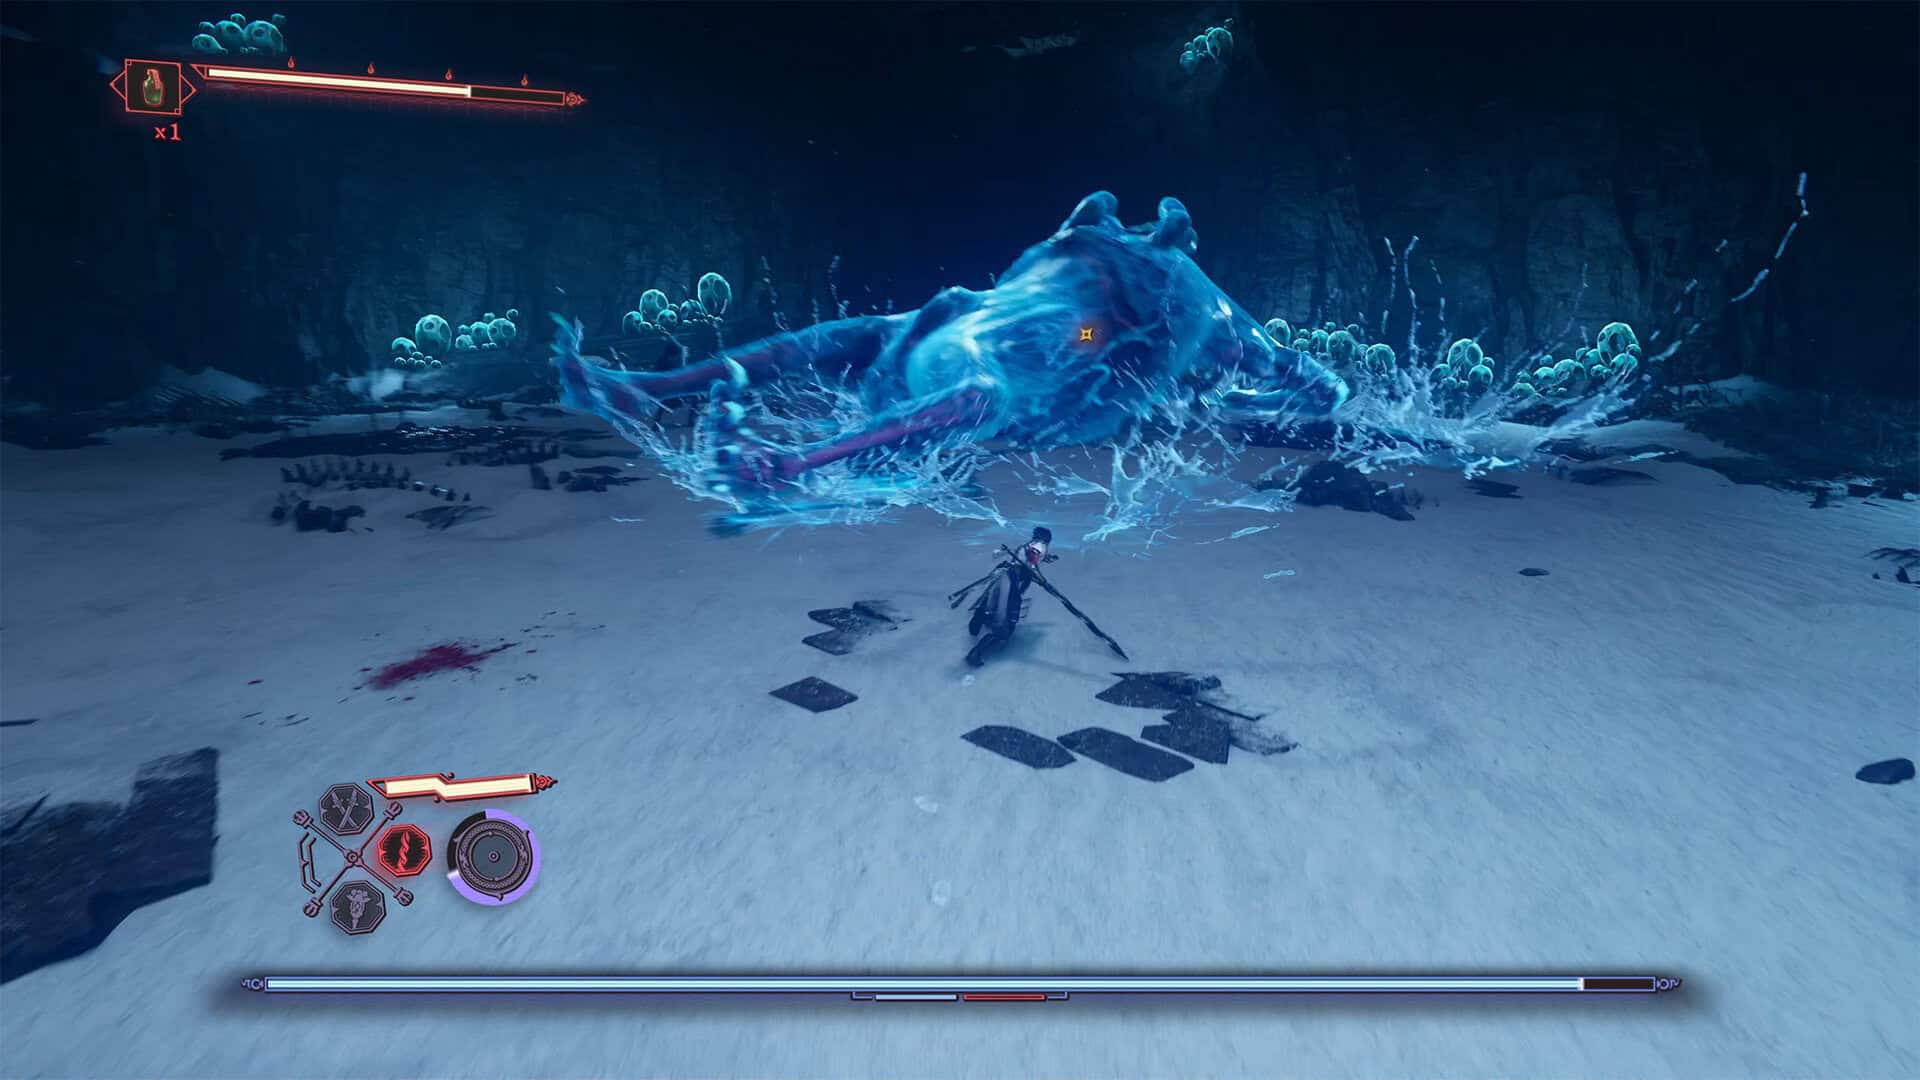
-
- Veilotl is defeated and the chapter is complete