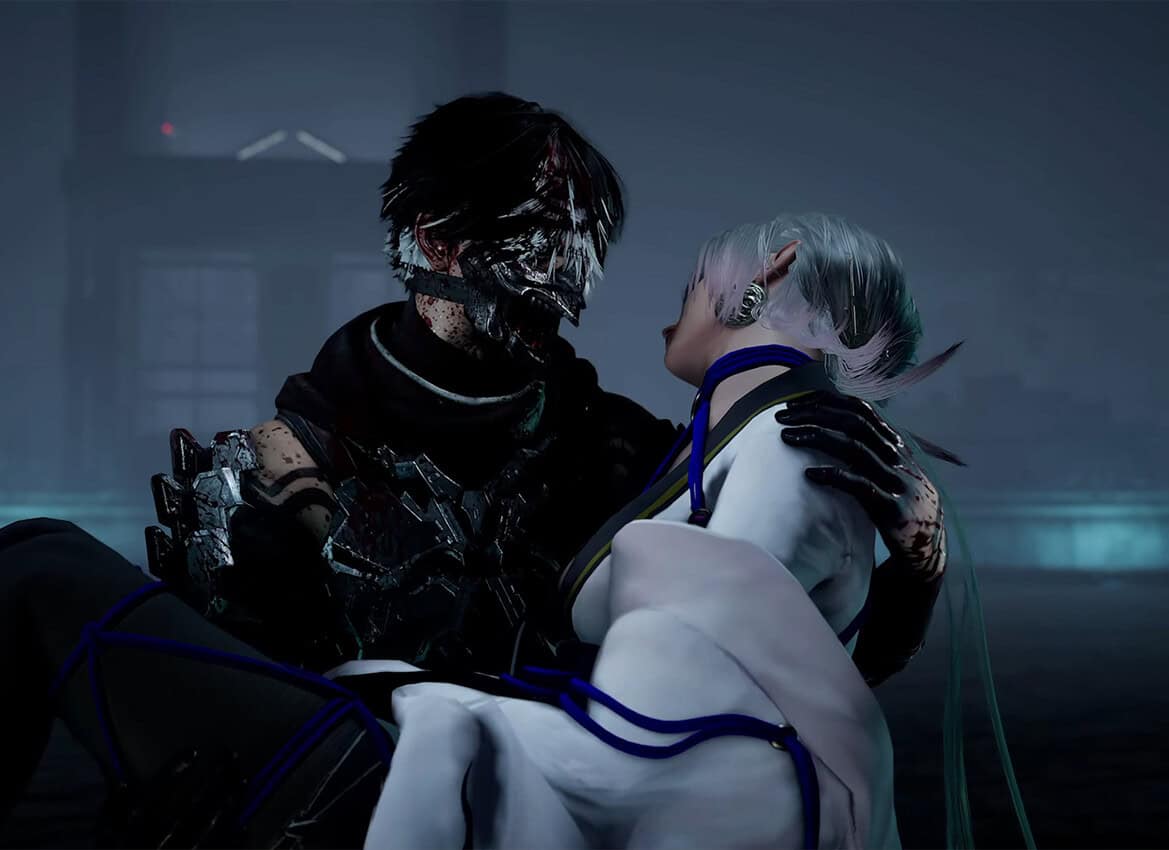
The tenth chapter, called Bounding Spirits, has a beautiful beginning. There’s a lot to see here, I agree. But you’re more interested in ninja stuff than all this beauty, so I’ll skip straight to the game. If you are looking for the previous chapter, Realm of Silent Dead, it is also available on this site.. So in this chapter, you will learn:
- Chests – 16
- Gourdy – 2
- Purgatory Gate – 1
- New weapon – Kage-Hiruko
- Final boss fight – Cetus
Chest 1 in Bounding Spirits
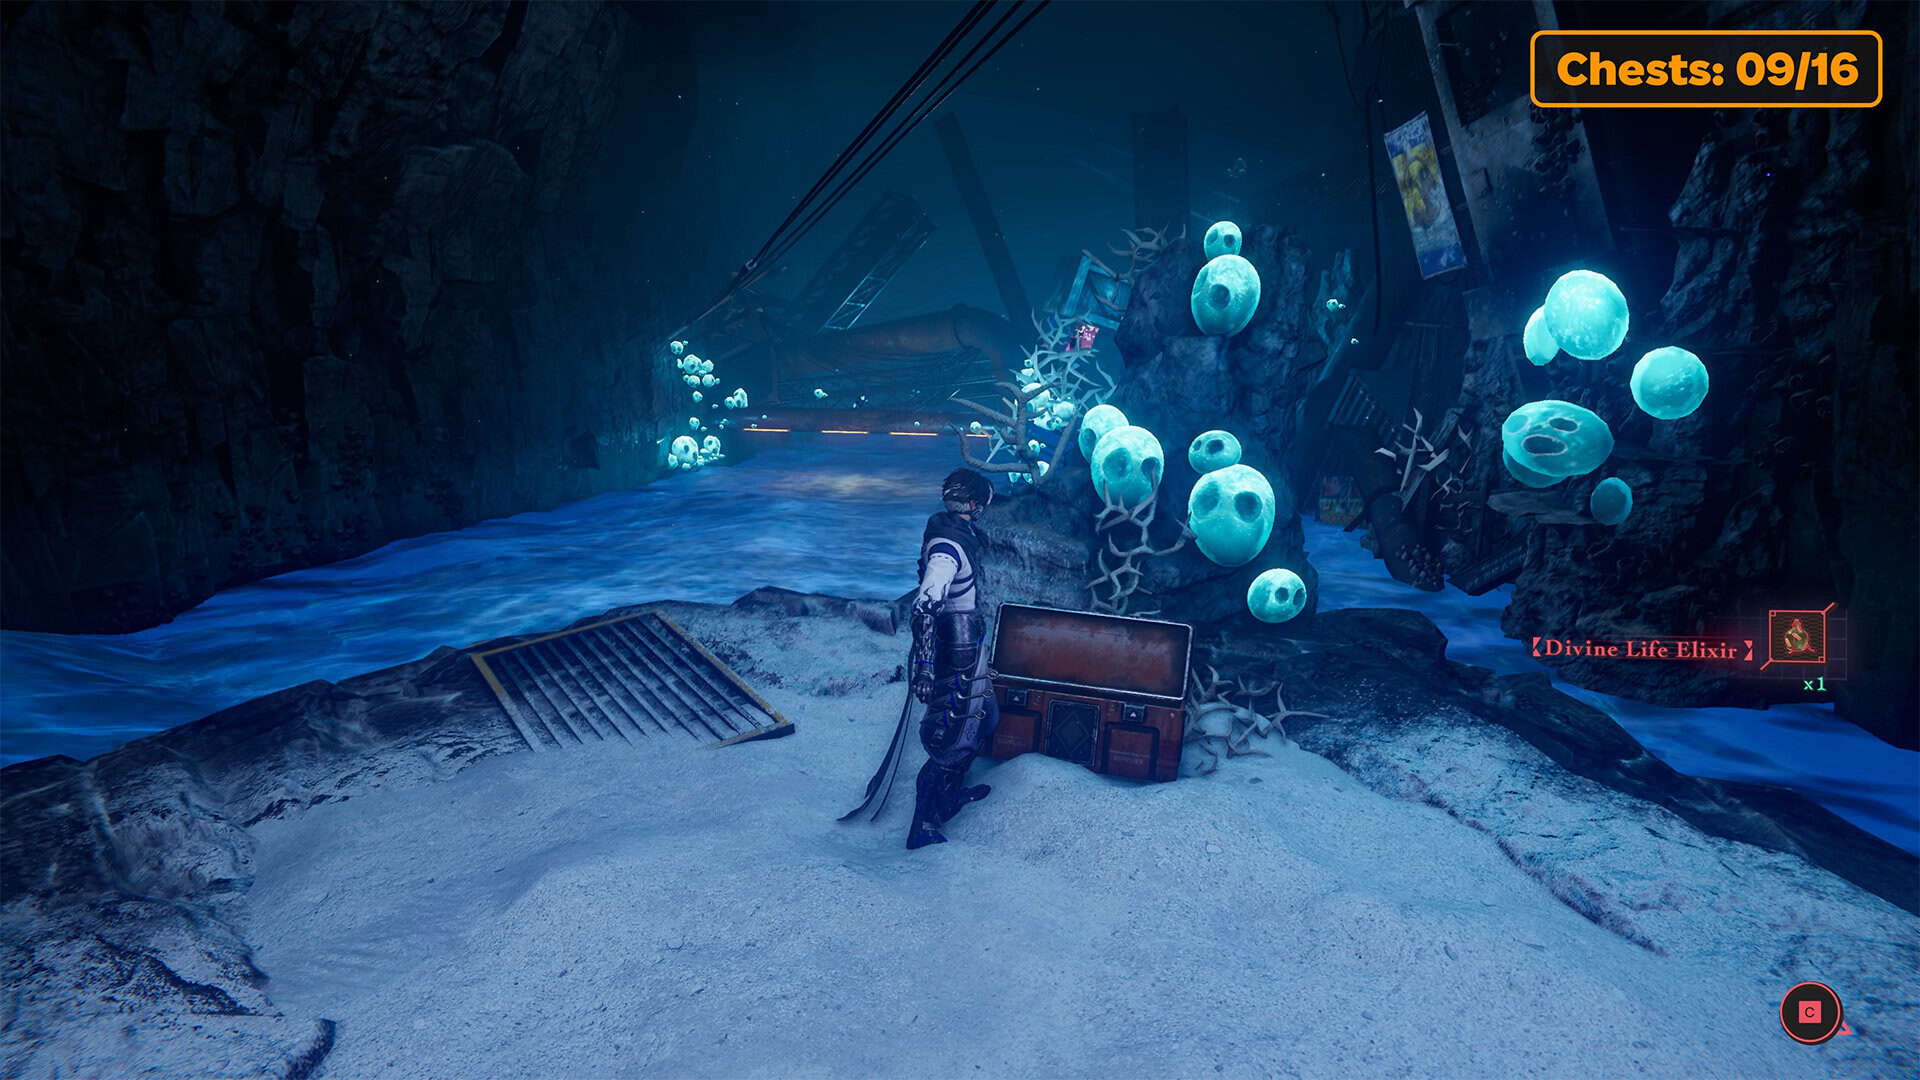
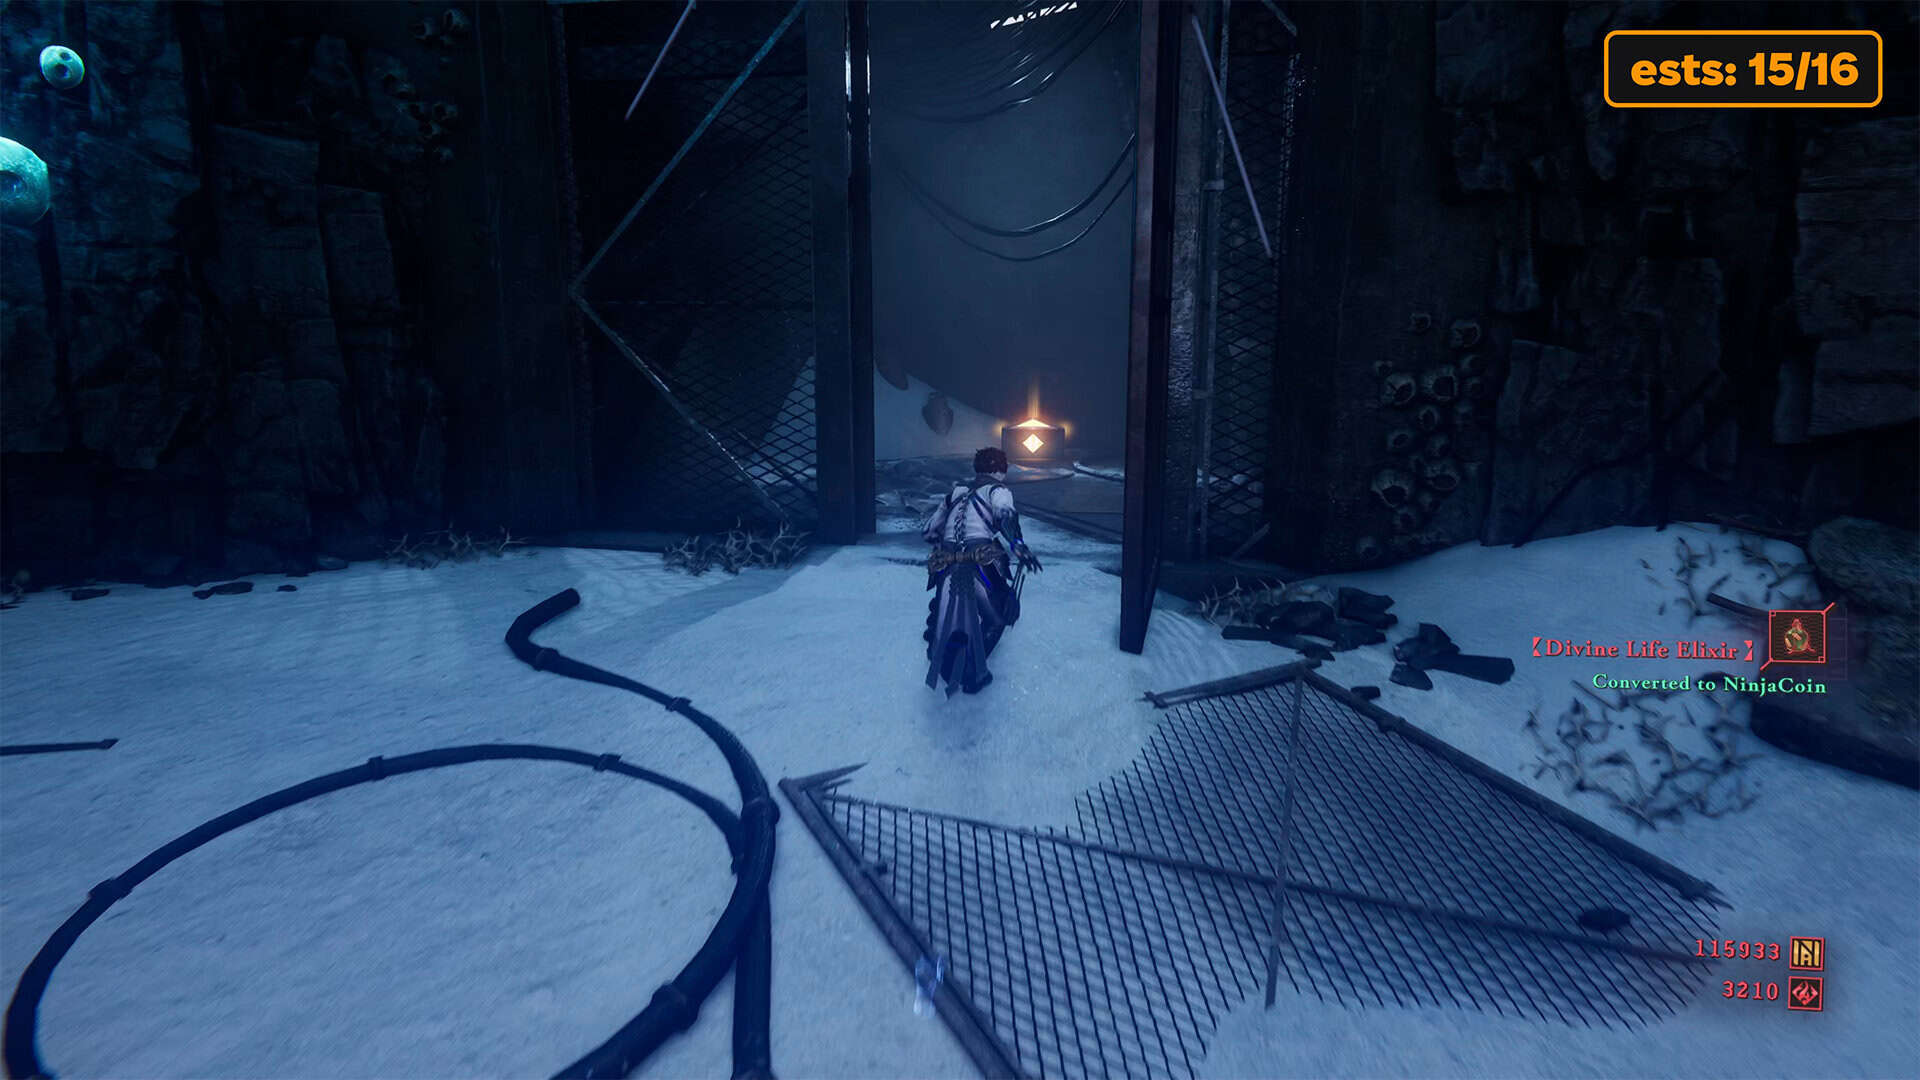
As soon as the chapter begins, move forward. There will be enemies and the first chest ahead. After defeating them, you can open the chest to get the Divine Life Elixir.
-

- A beautiful beginning to the chapter Bounding Spirits

-
- Chest #1 in Bounding Spirits
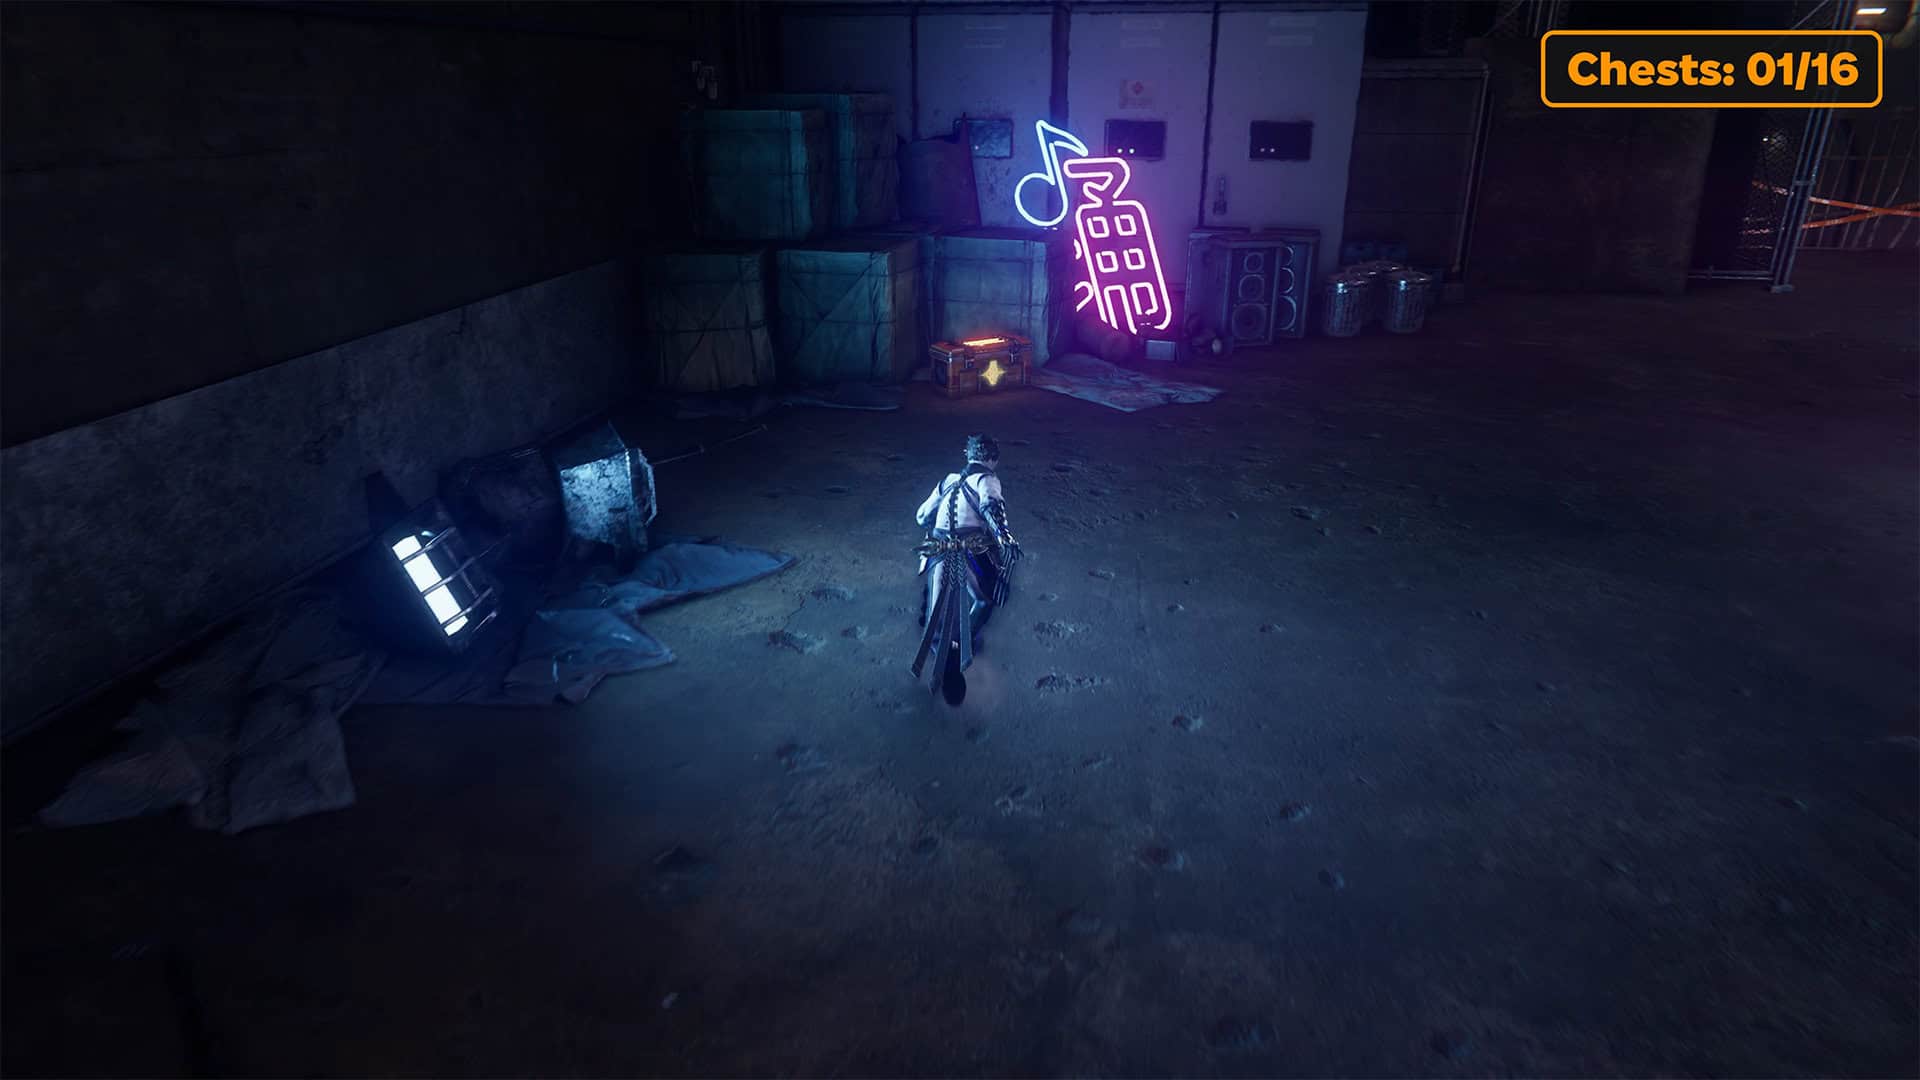
Purgatory Gate Bounding Spirits
Move right from the chest and you will see the first DarkNest Terminal. Surprisingly, there are no additional quests in this chapter, so you can only replenish your supplies here. Move right from the DarkNest Terminal. You will see a tunnel, and after a few turns, you will find yourself in front of a closed door. Open this door and you will see a room ahead with the Purgatory Gate.
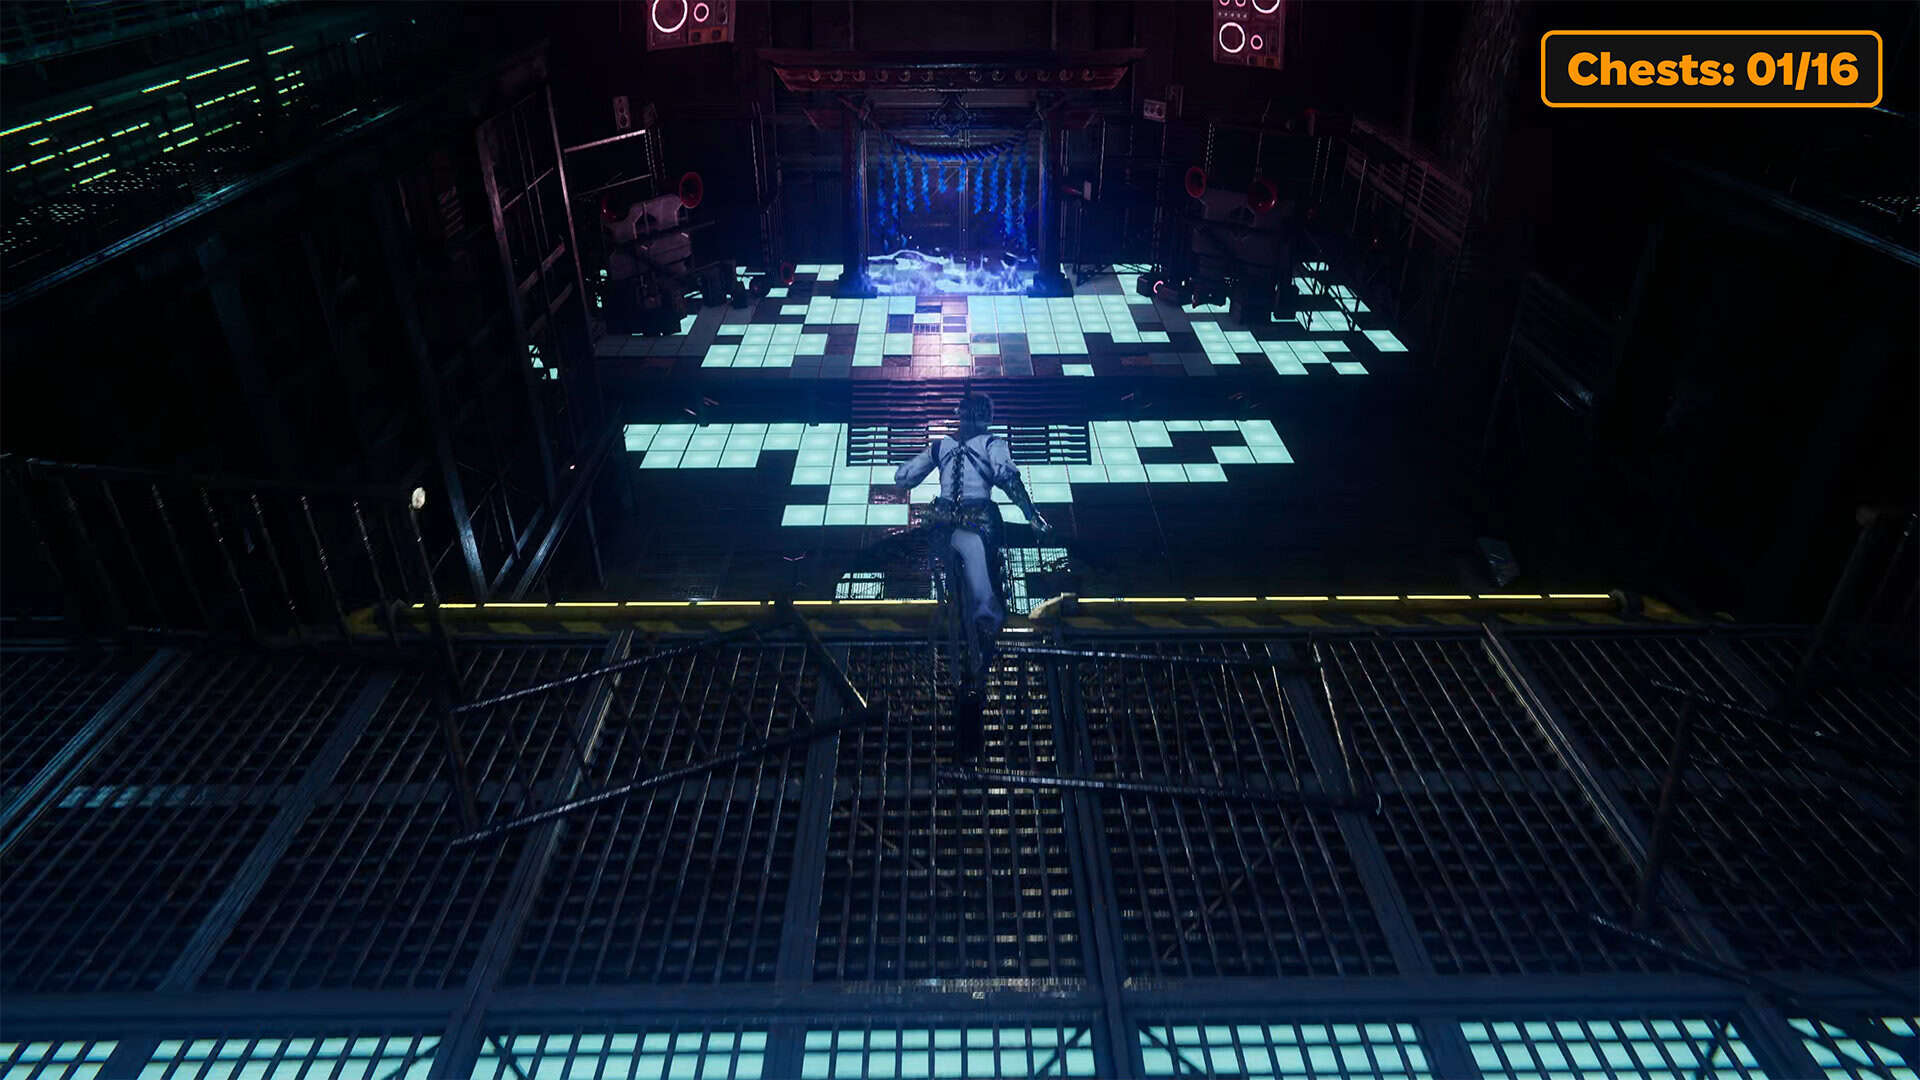
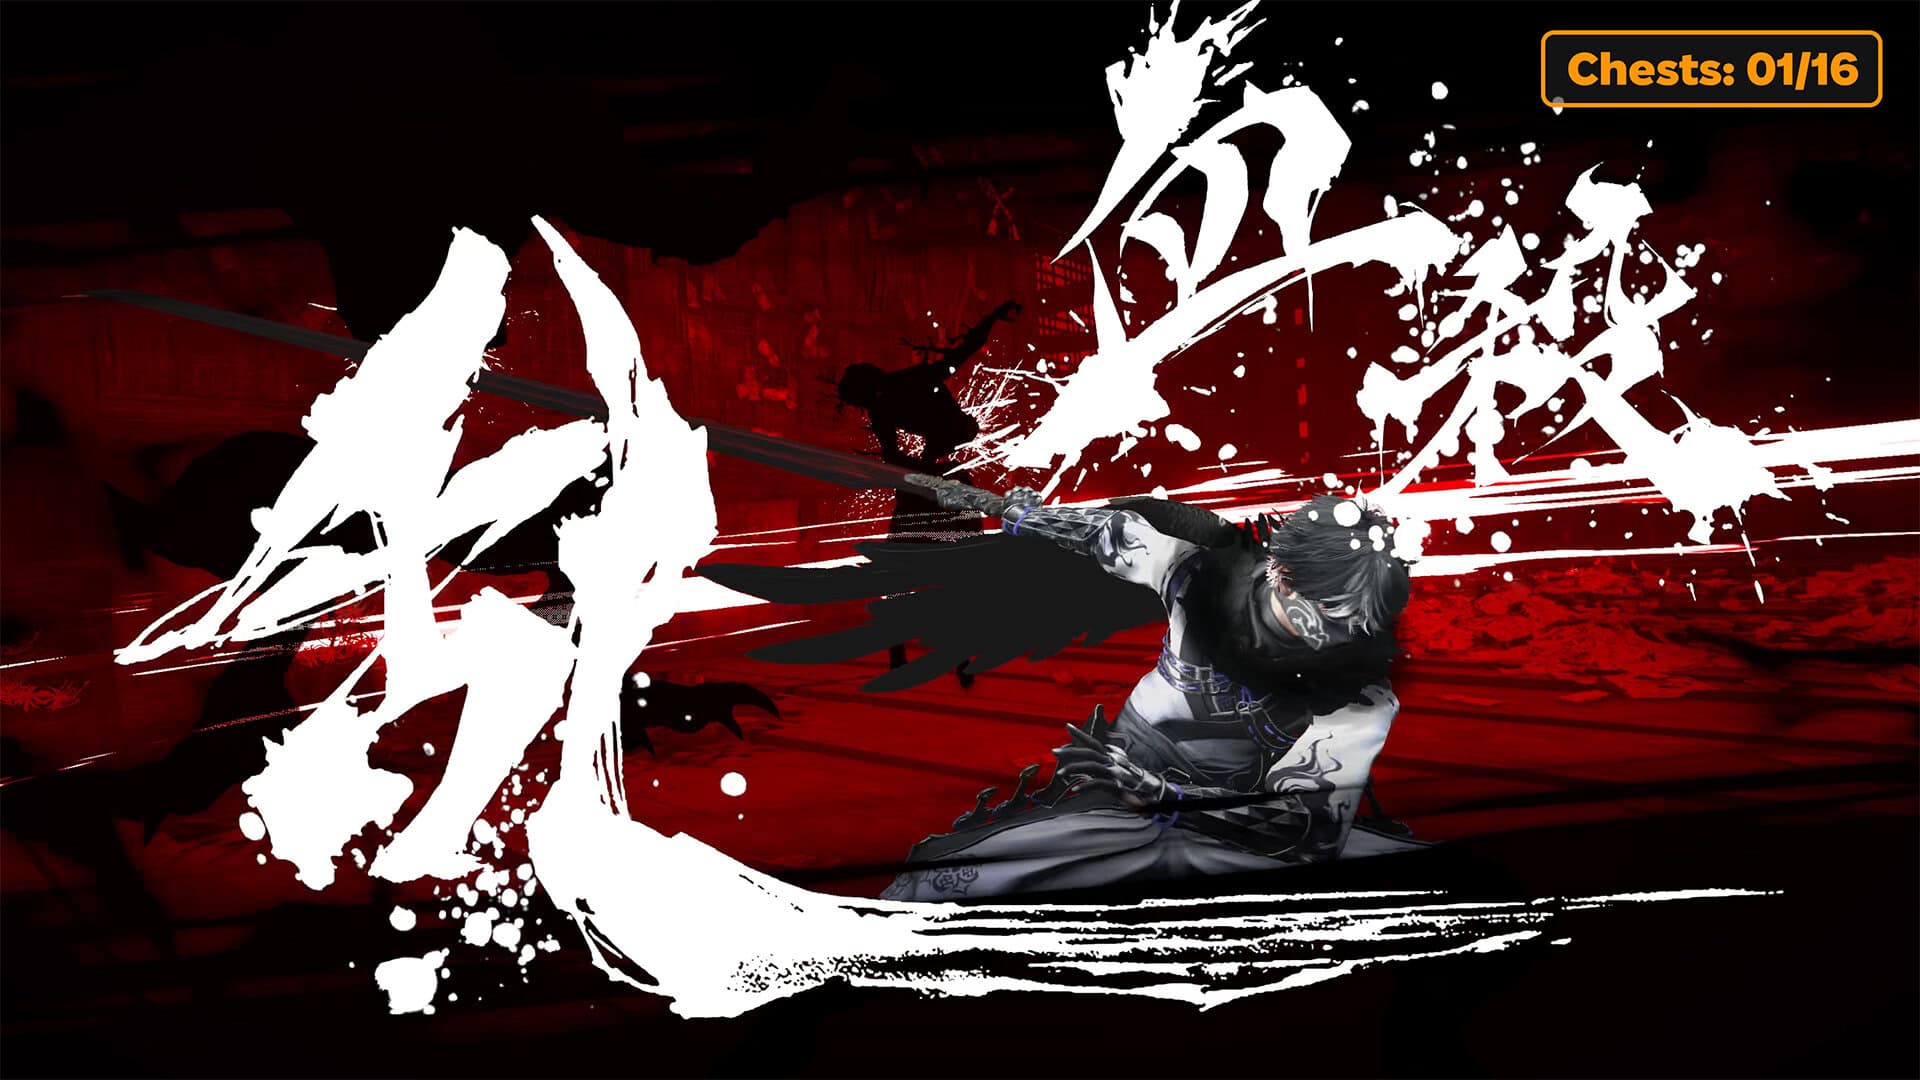
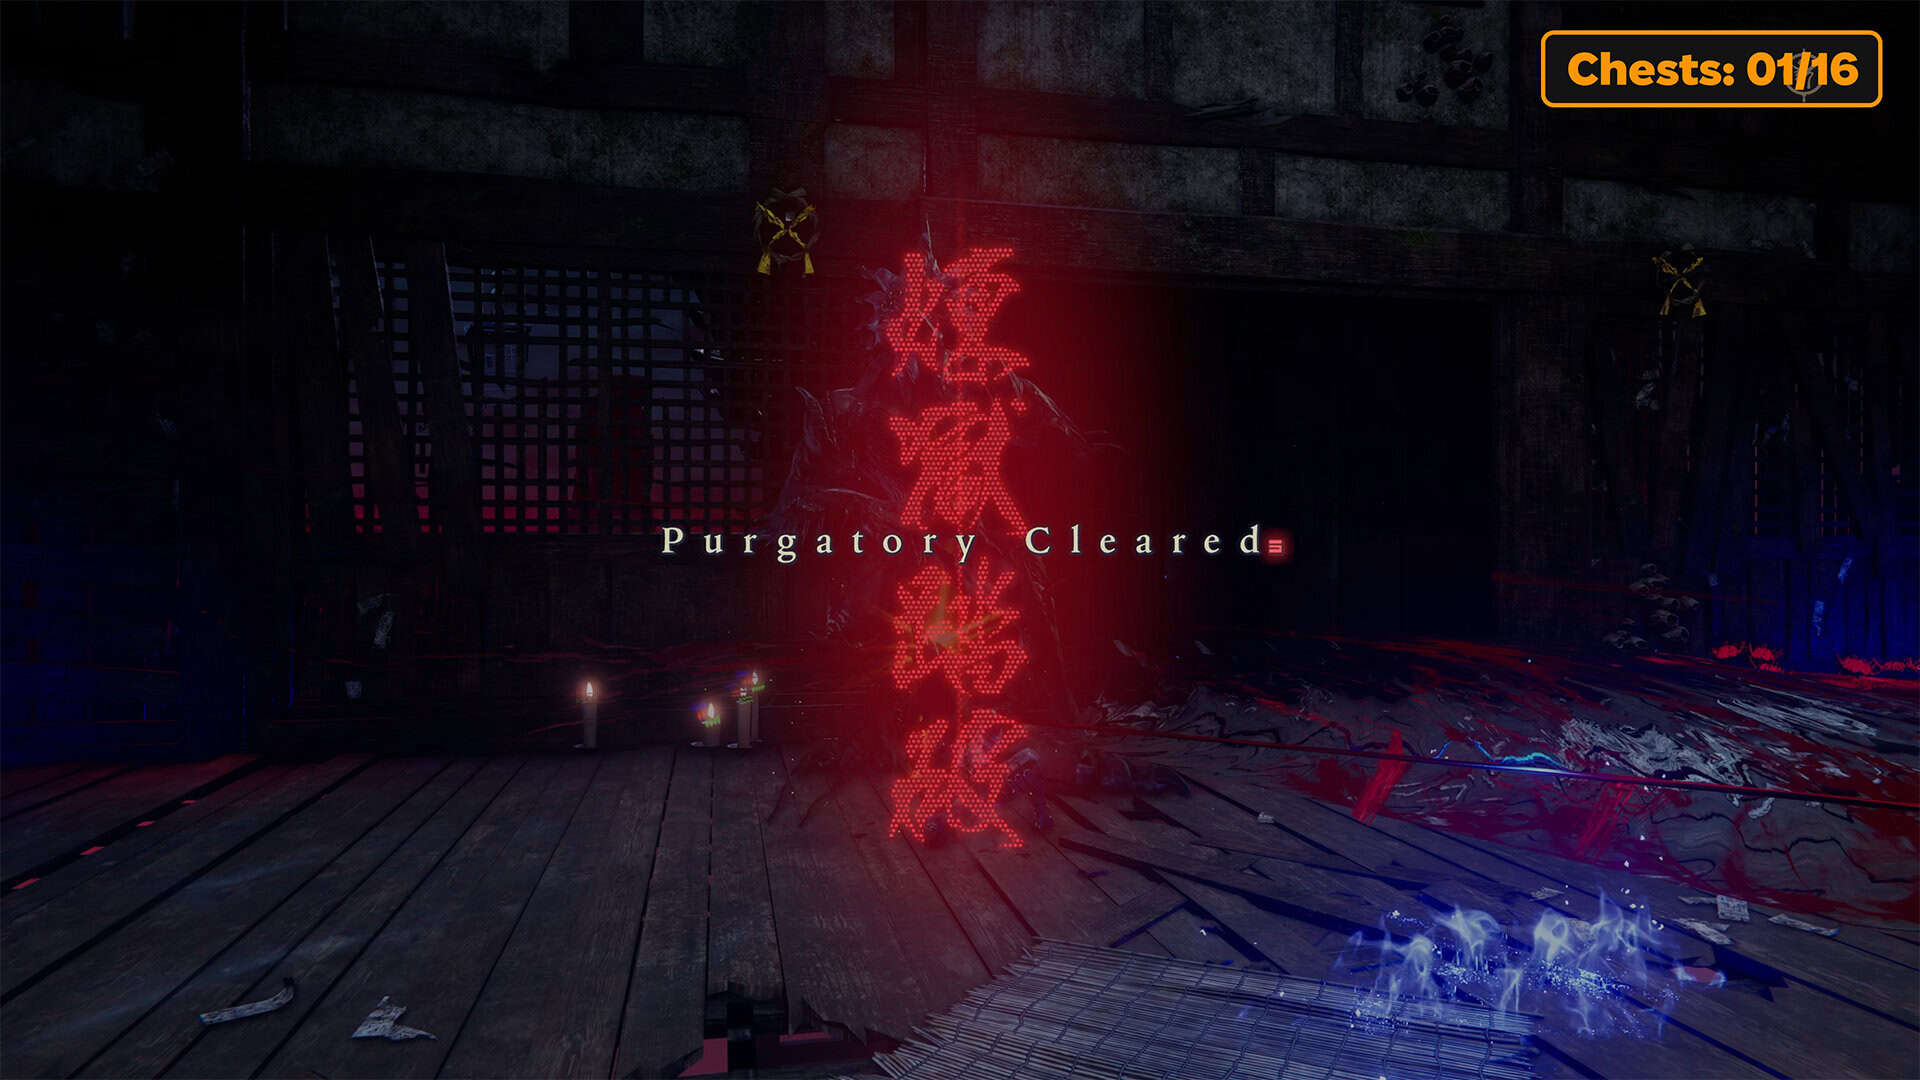
Next, I will tell you what awaits you inside this trial. When you enter and select the difficulty level, you will need to defeat three waves of enemies to get your reward. This trial is quite difficult, so if you don’t feel you have enough strength and skill, don’t choose a path that is too difficult. The first wave consists mainly of simple enemies. Sometimes there are single difficult enemies such as Malherc. Try to use as few resources as possible here and get through the first wave without taking damage. This is the easiest level. The second wave is of medium difficulty. The difficulty lies in the number of enemies.
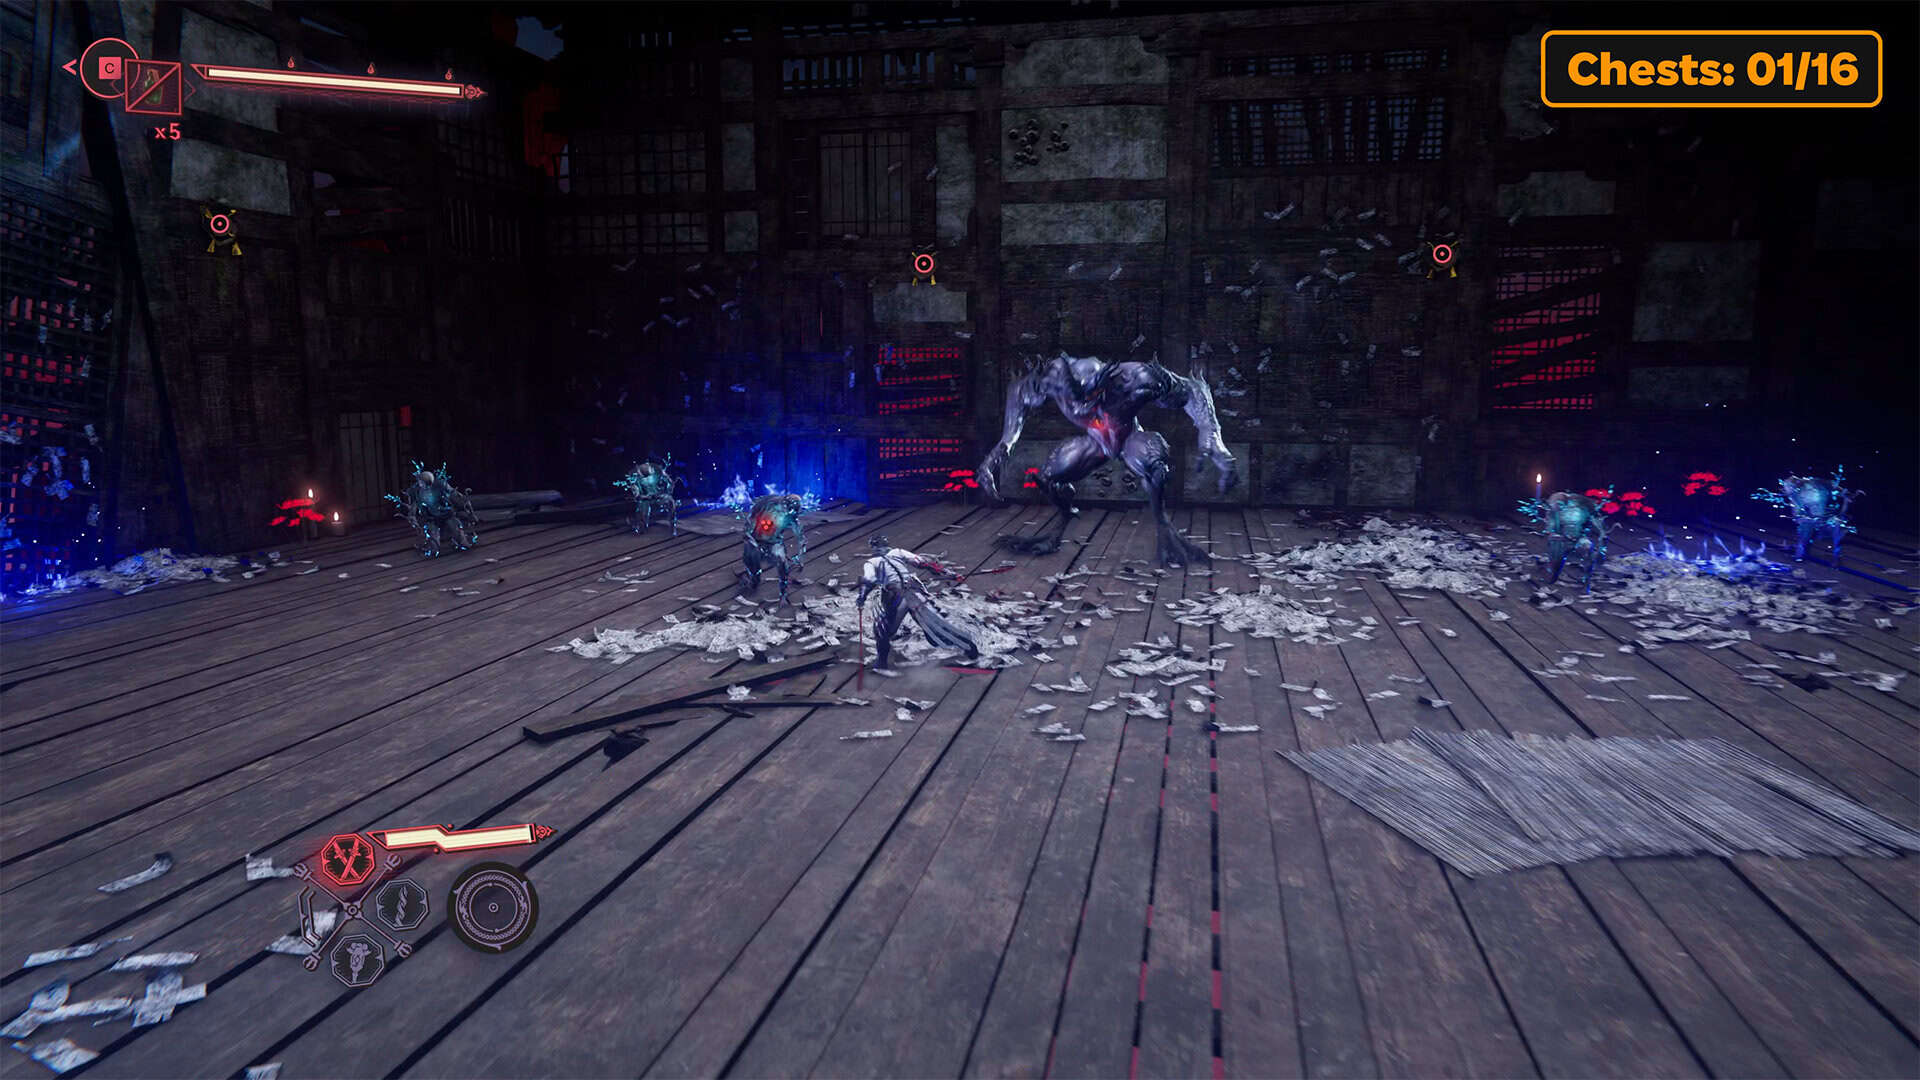
And the third wave is the most difficult. There are quite a few difficult enemies here. I recommend using Takeminakata’s ultimate ability to destroy a large number of enemies at once. Overall, this is a fairly long battle where you need to show maximum skill, reaction, and attention to get the final reward. You may need additional buffs in the third round to withstand such a large number of enemies.
-
- Entrance to Purgatory Gate
-
- Quite challenging opponents
-
- Using the ultimate ability
-
- Purgatory Gate cleared – mission accomplished
Chest 2 in Bounding Spirits
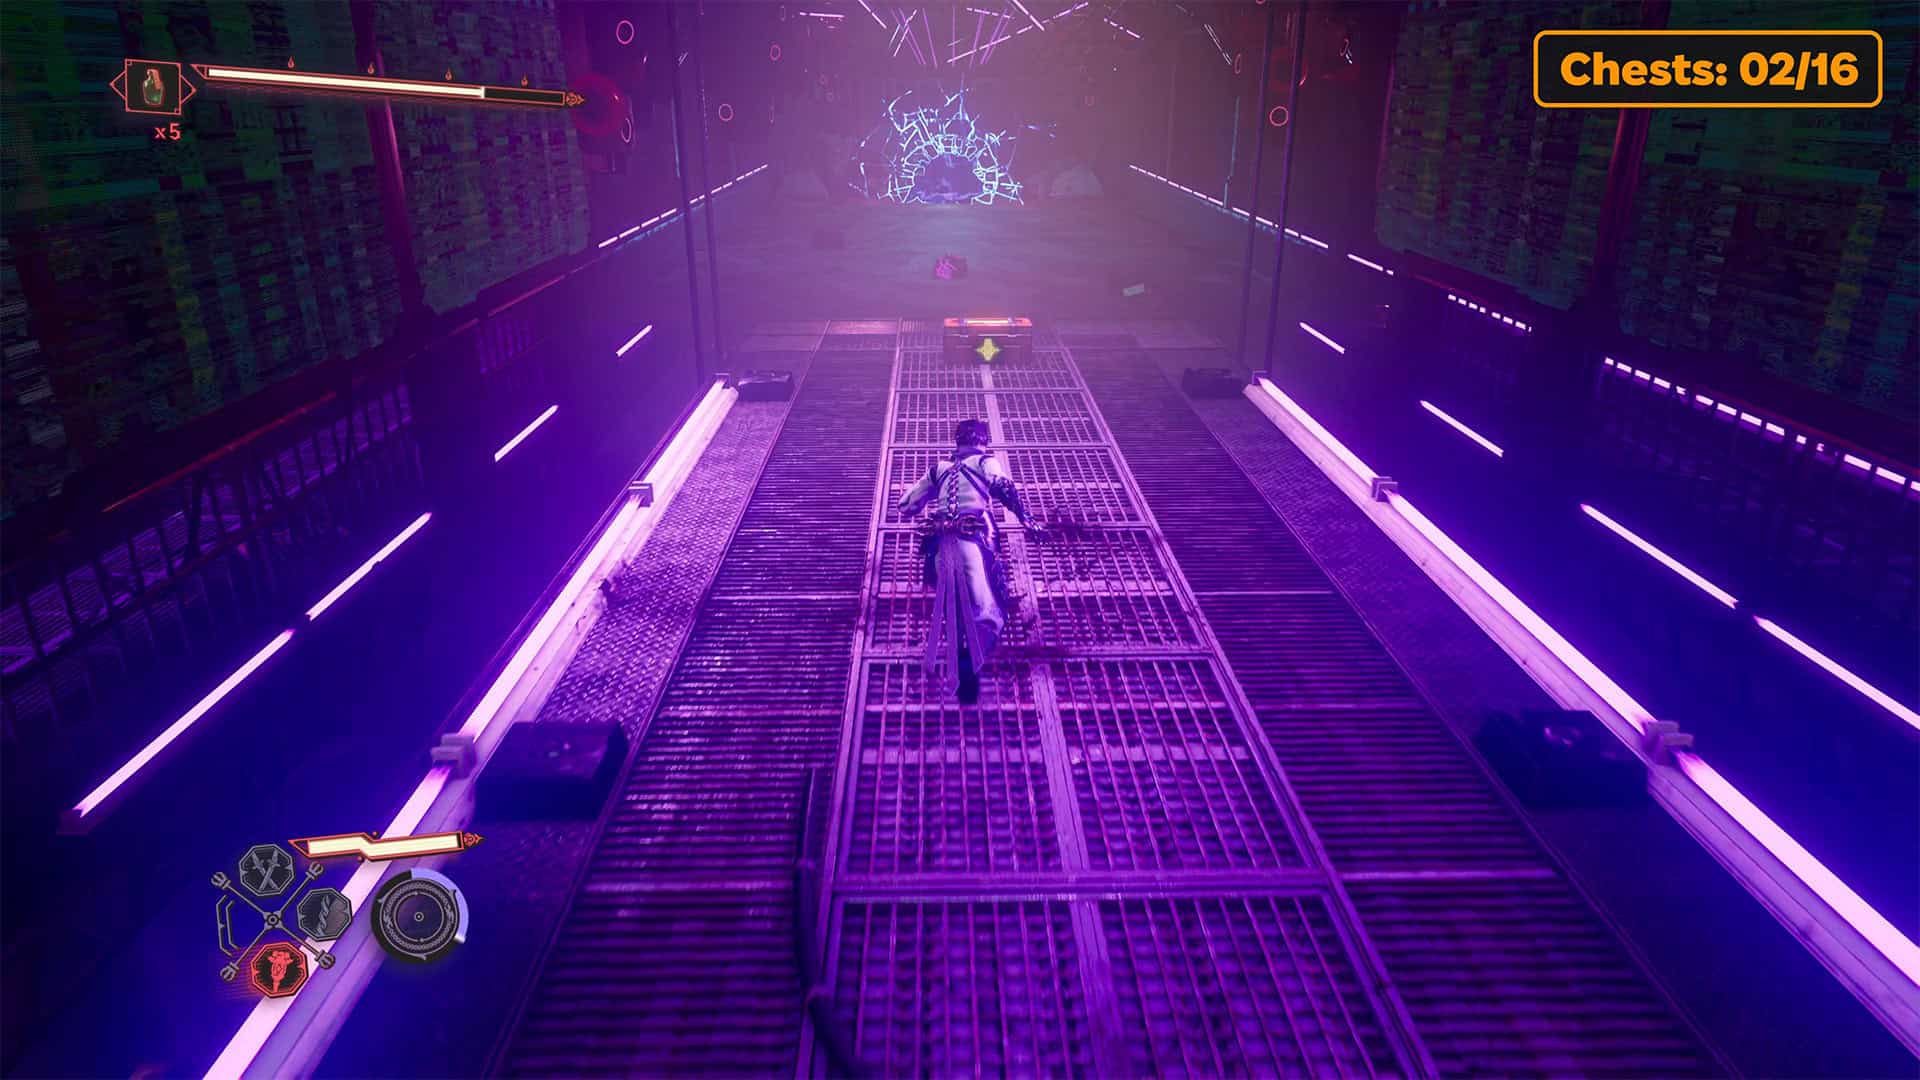
After Purgatory Gate, you will return to DarkNest Terminal. Restock your supplies here and then move to the left of DarkNest Terminal. Here you will see a stream of water with a shark fin swimming in it. Use your Pond Strider and move along this stream of water. Avoiding obstacles sticking out of the water, you will jump over the abyss and find yourself on a platform. At the end of the platform, a portal will appear from which enemies will emerge. You must destroy the portal and all enemies, and then open the second chest behind the portal. Inside the chest, you will find the Divine Life Elixir.
Chest 3 in Bounding Spirits
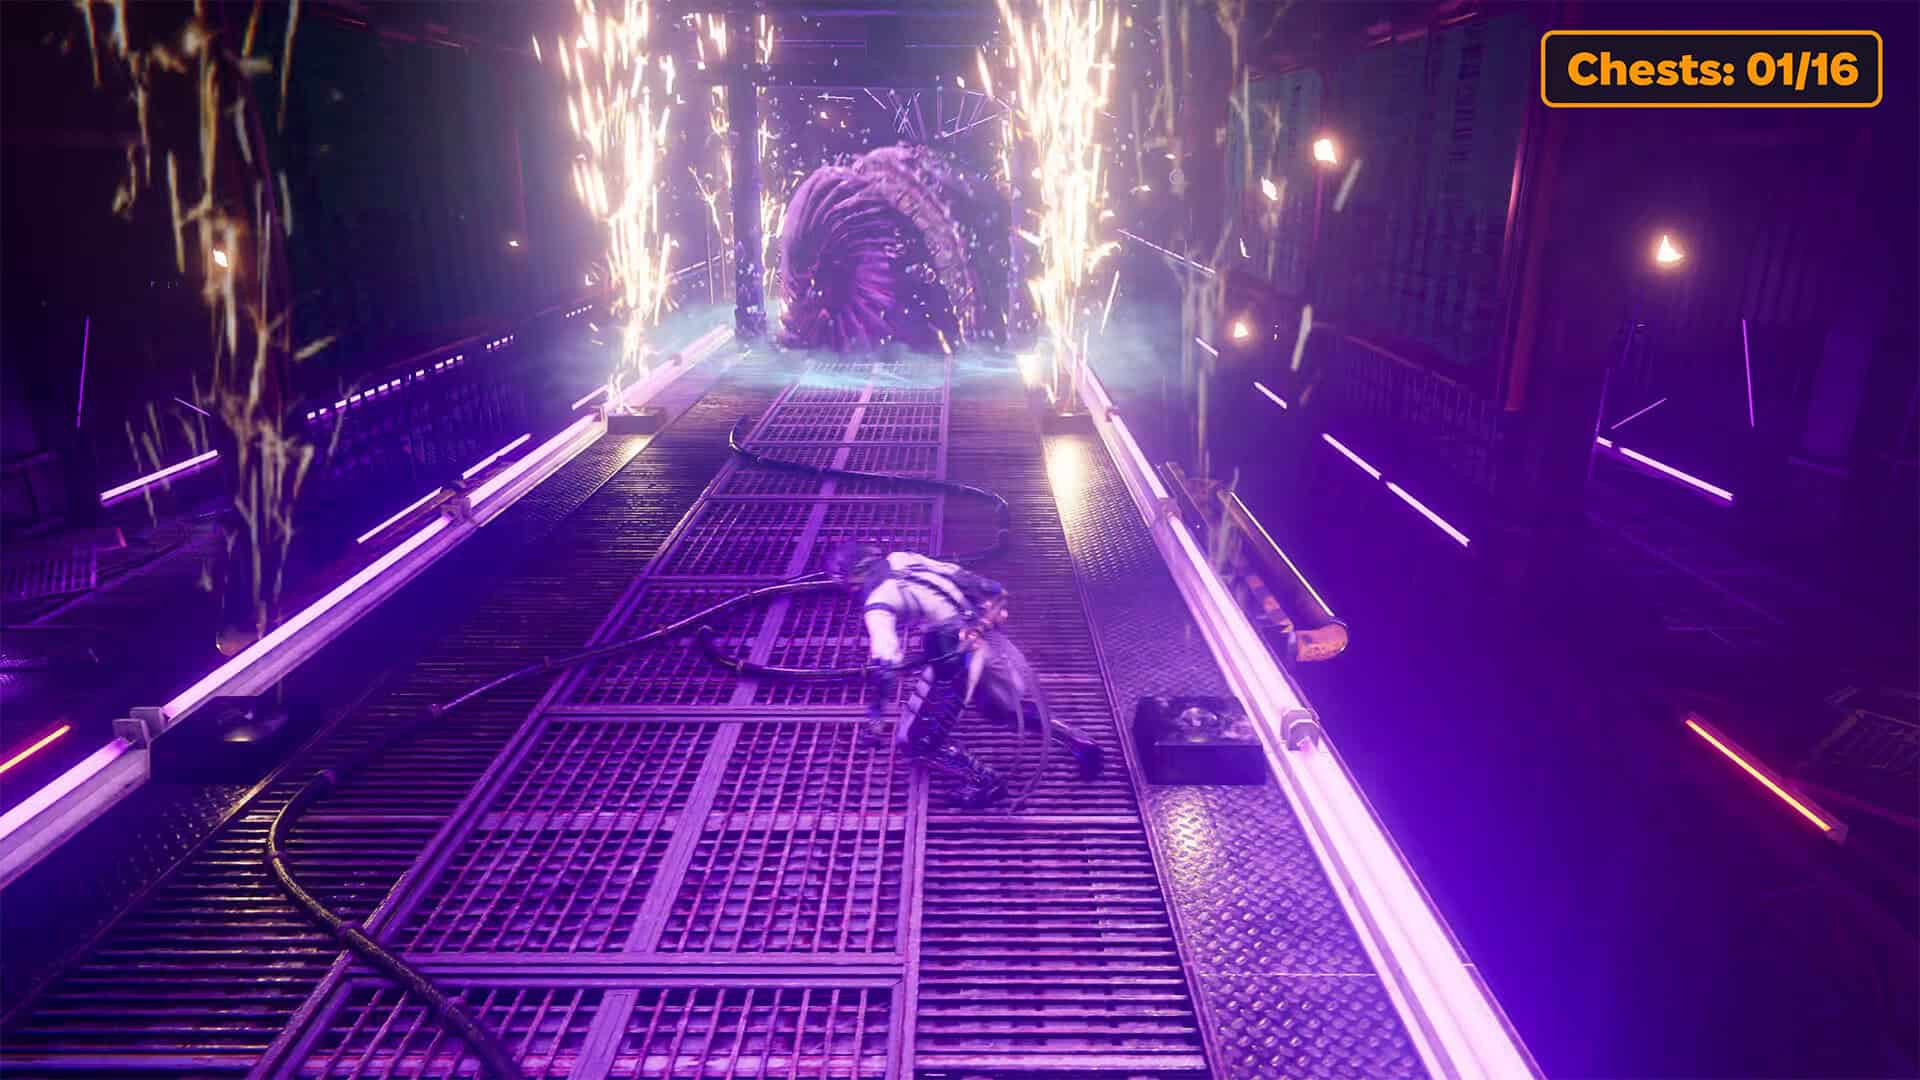
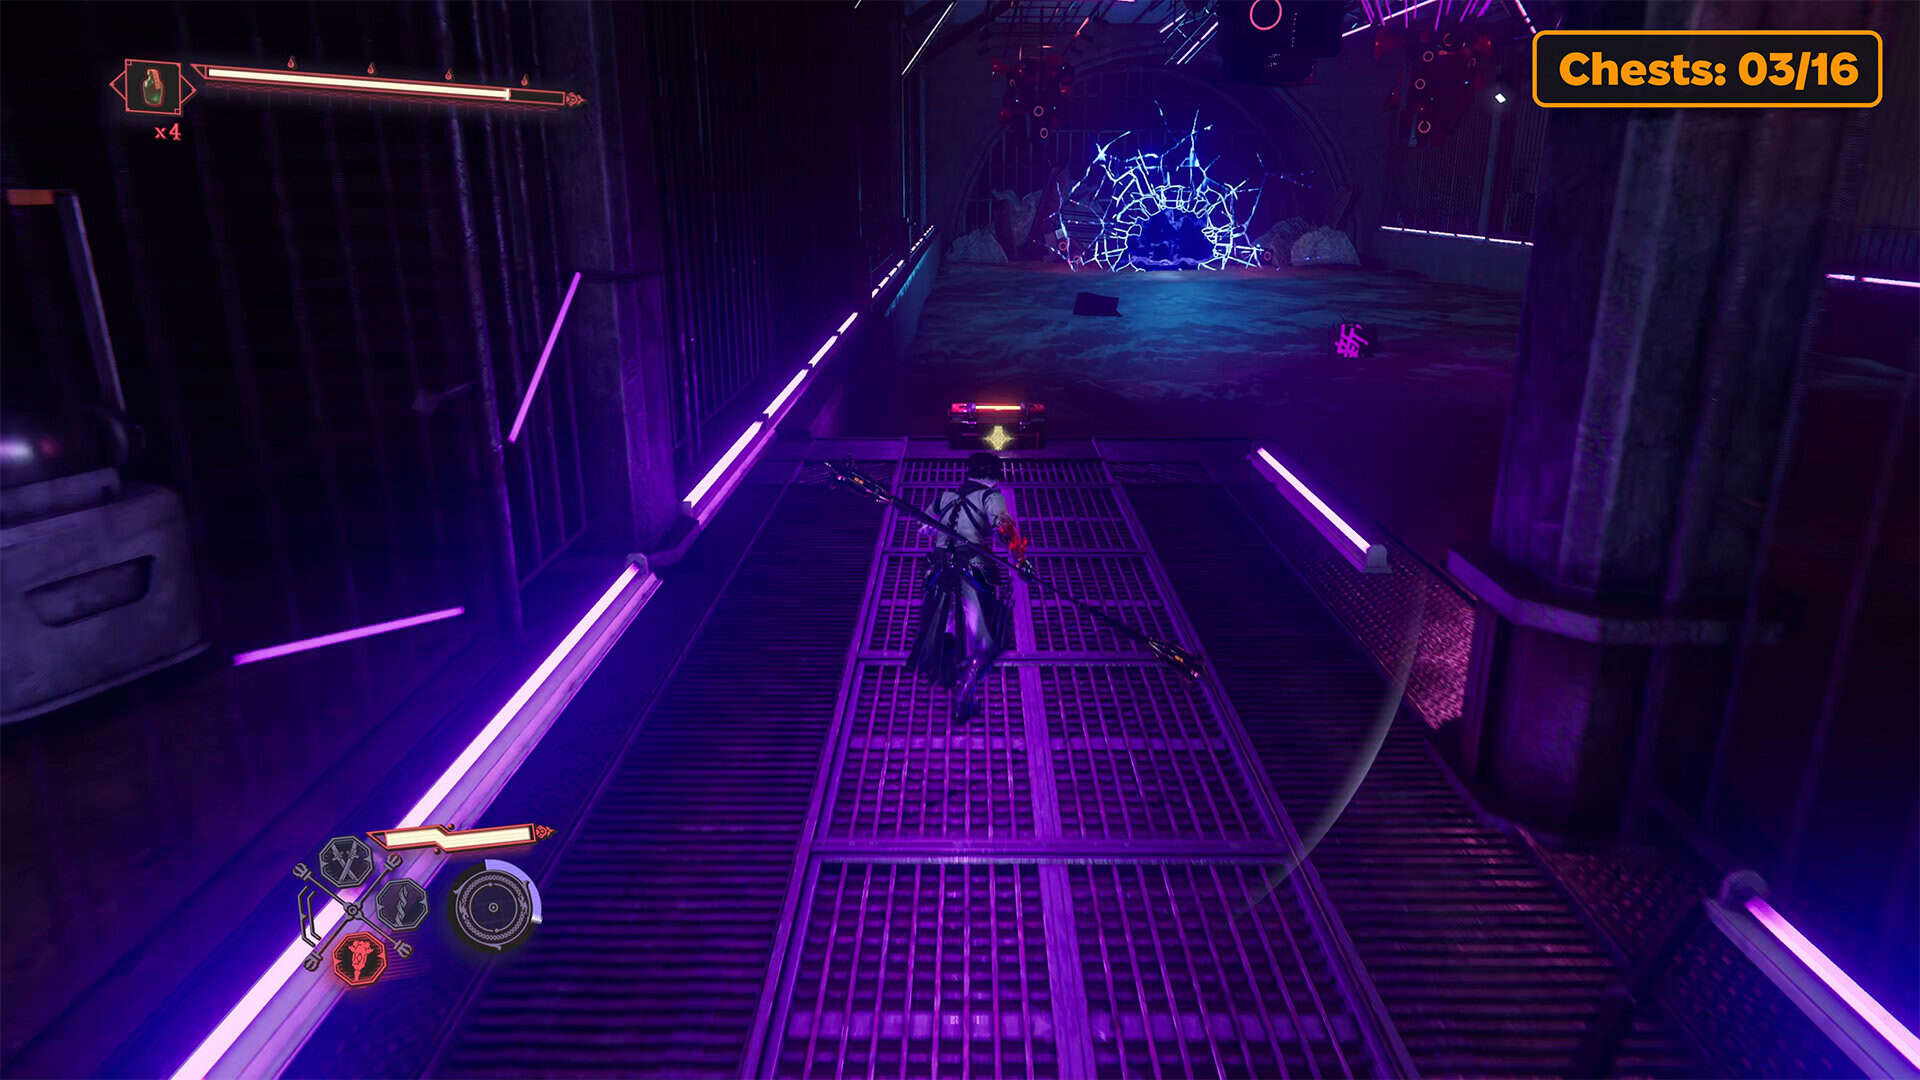
Now go back to the beginning of the platform and jump left onto the other platform. Here, you also need to defeat the portal at the end of the platform and open the third chest behind it. This chest contains the Divine Life Elixir. Be careful, a new enemy has appeared on the central platform, so go back there.
Chest 4 in Bounding Spirits
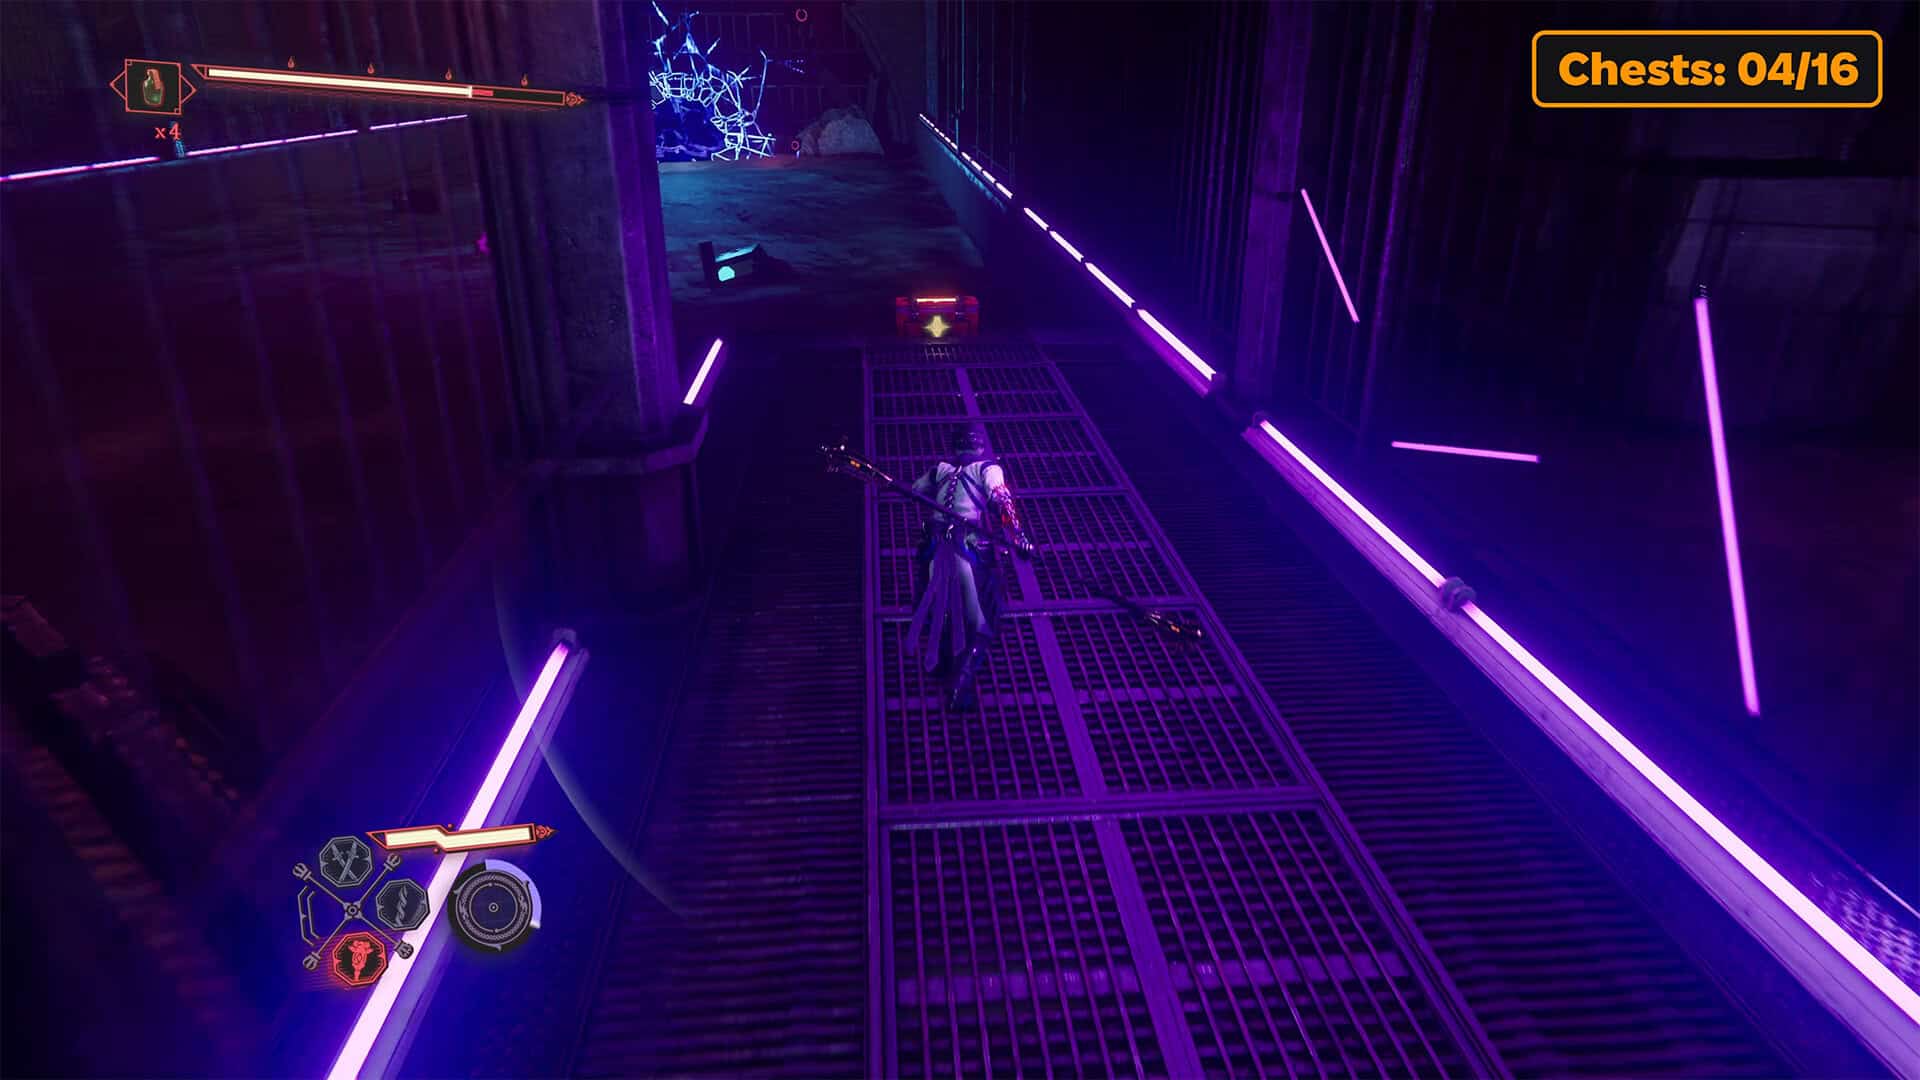
After winning, find another platform to the right of the central platform. Here, everything is the same as you did on the left. First, you must destroy the portal and all enemies, and then you can open the fourth chest and get the Divine Life Elixir.
-
- Portal with opponents in the center
-
- Chest #2 in Bounding Spirits
-
- Chest #3 in the left corridor
-
- Chest #4 in the right corridor
Chest 5 in Bounding Spirits
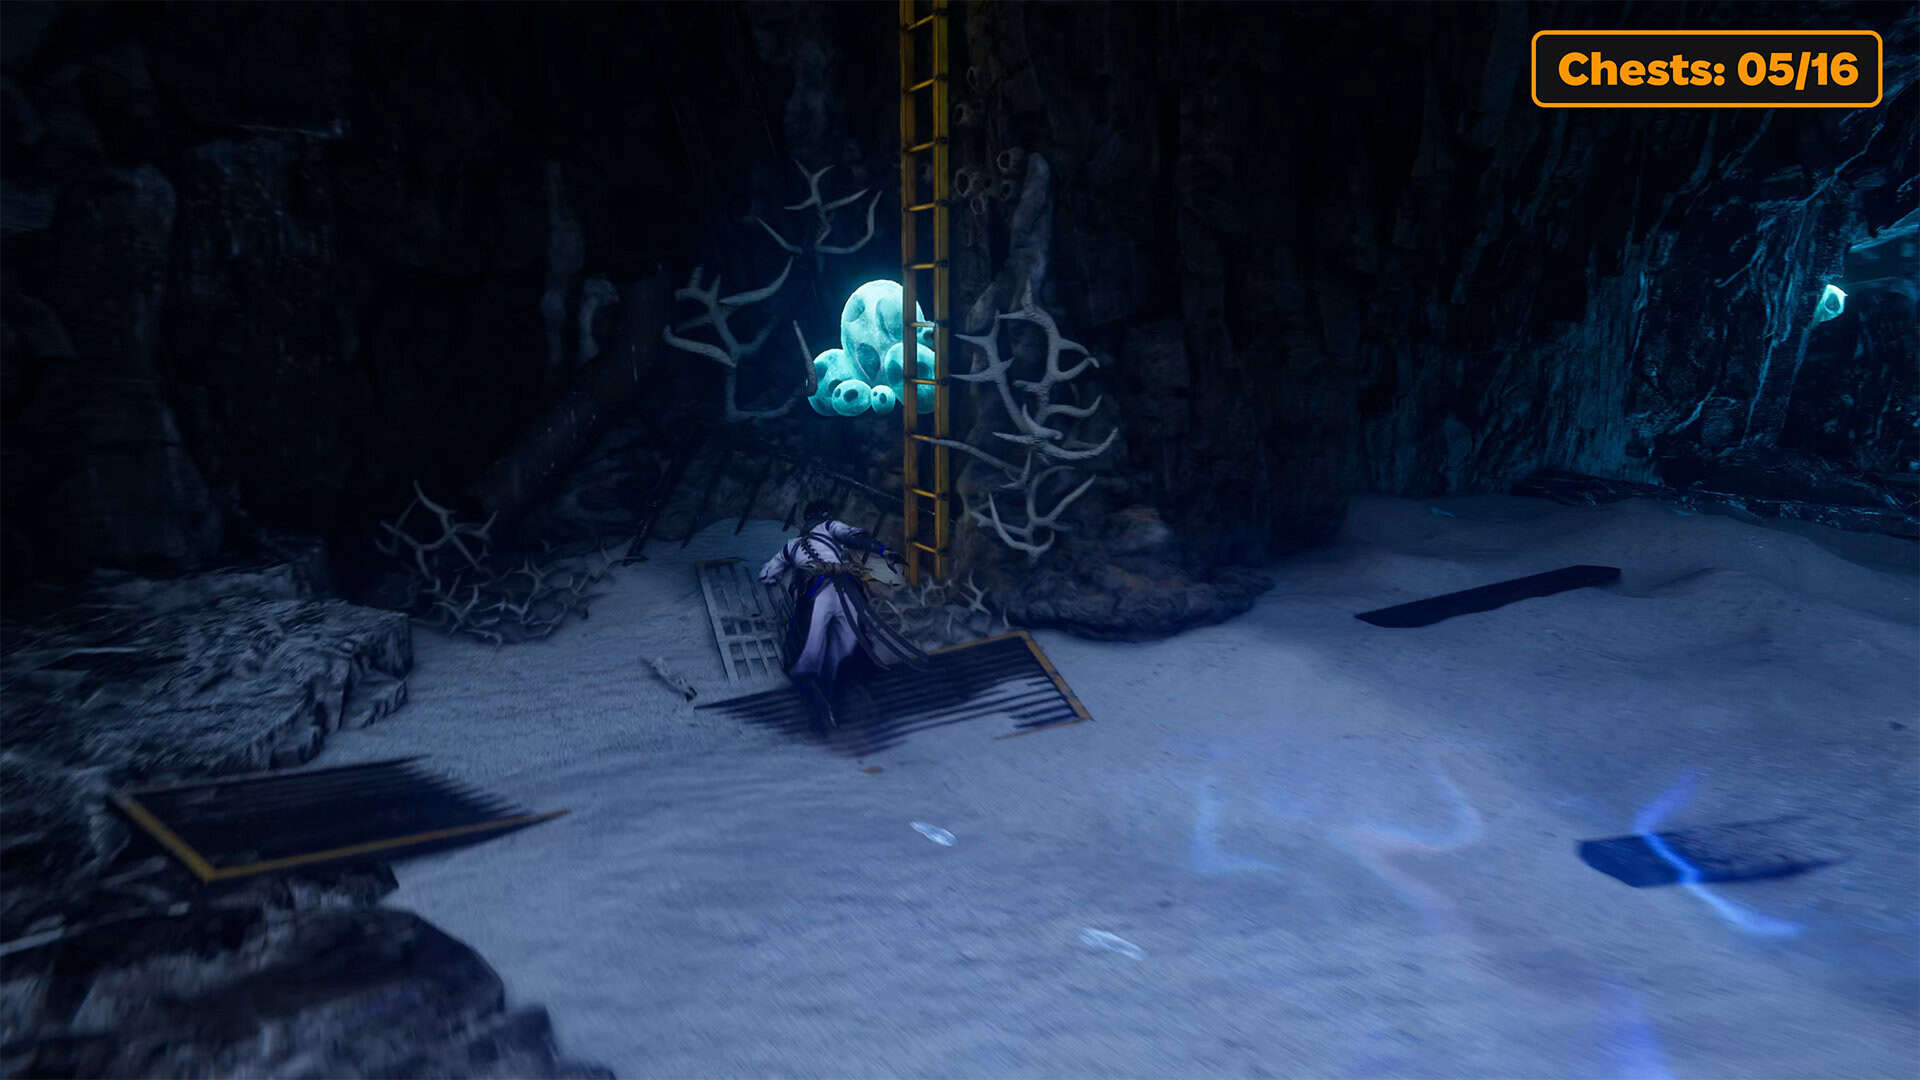
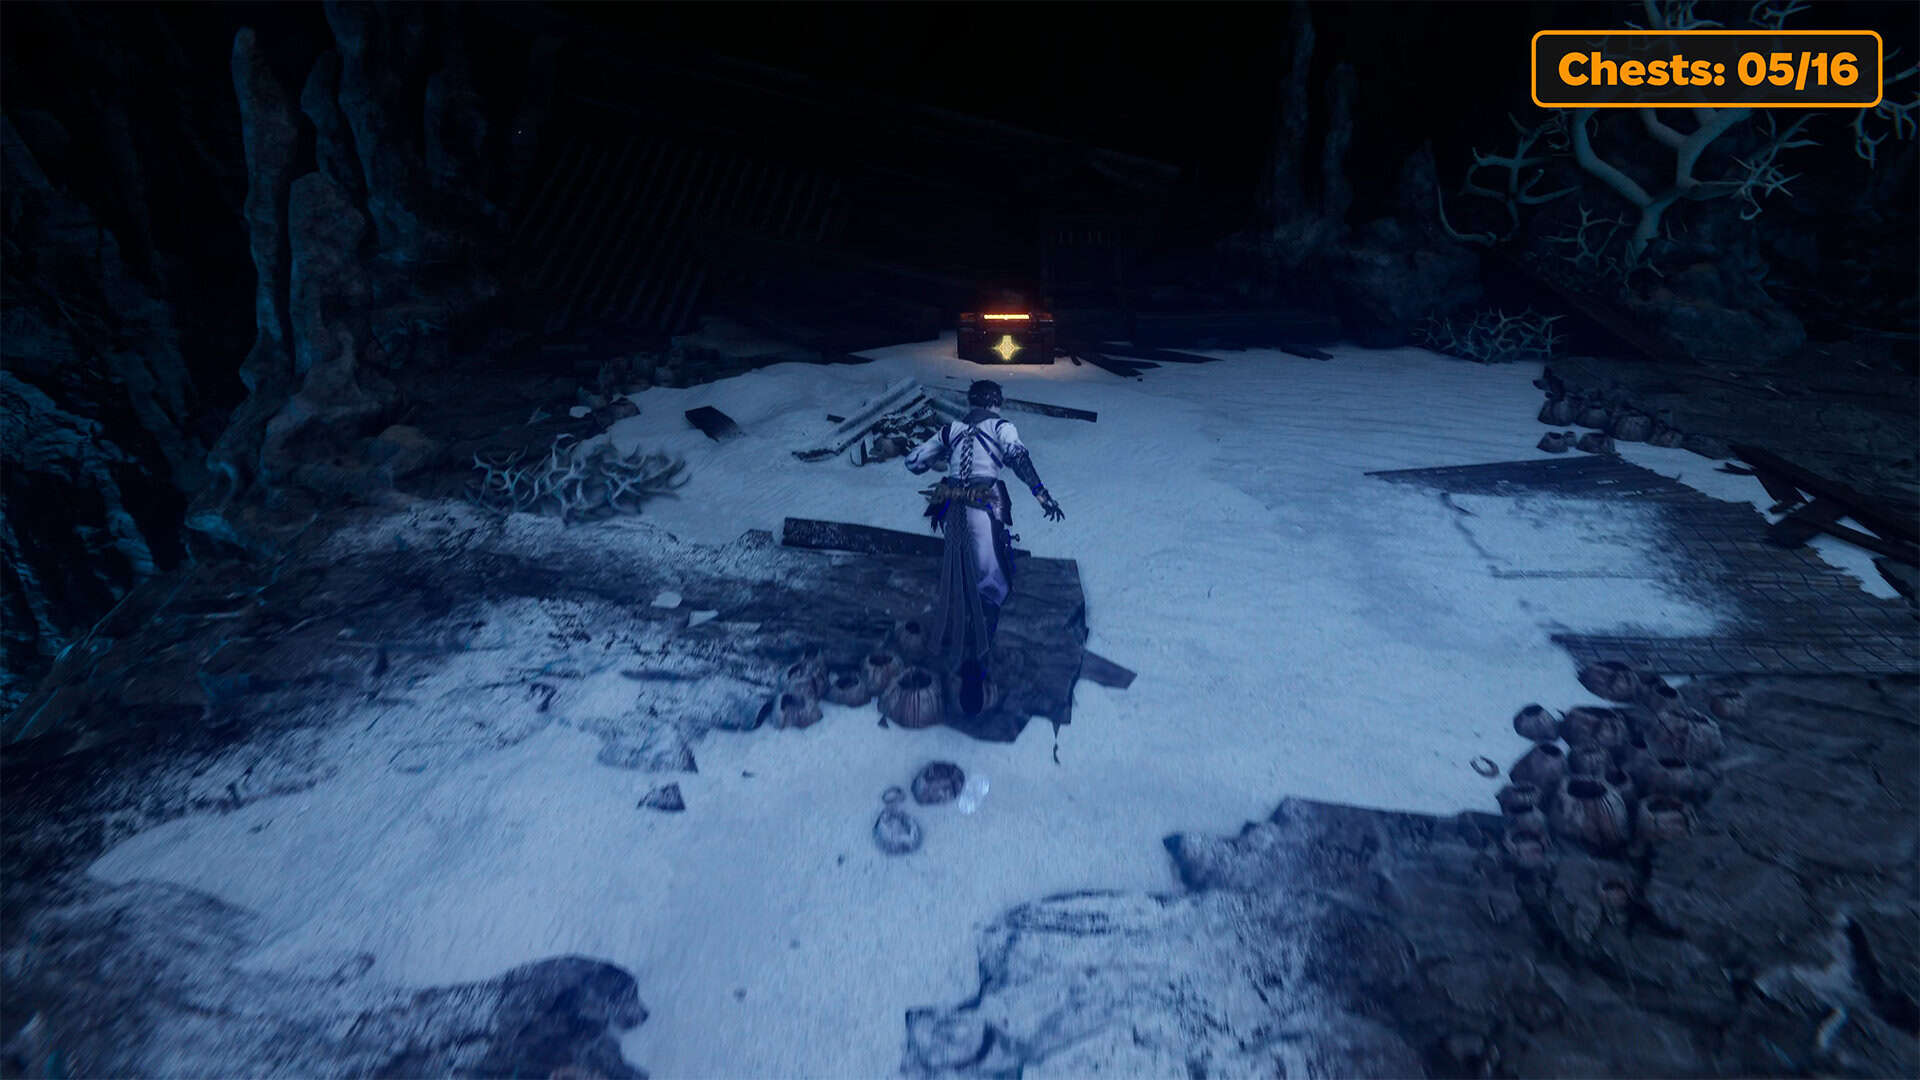
Keep going forward, you won’t get lost here, your path will be limited. But when you get to the place I’m showing you, be careful. There is a yellow ladder to the left of your path. It’s easy to miss, but if you want to open the fifth chest, you need to find this ladder. Climb the ladder and you will see a chest containing the Divine Life Elixir.
Chests 6-7 in Bounding Spirits
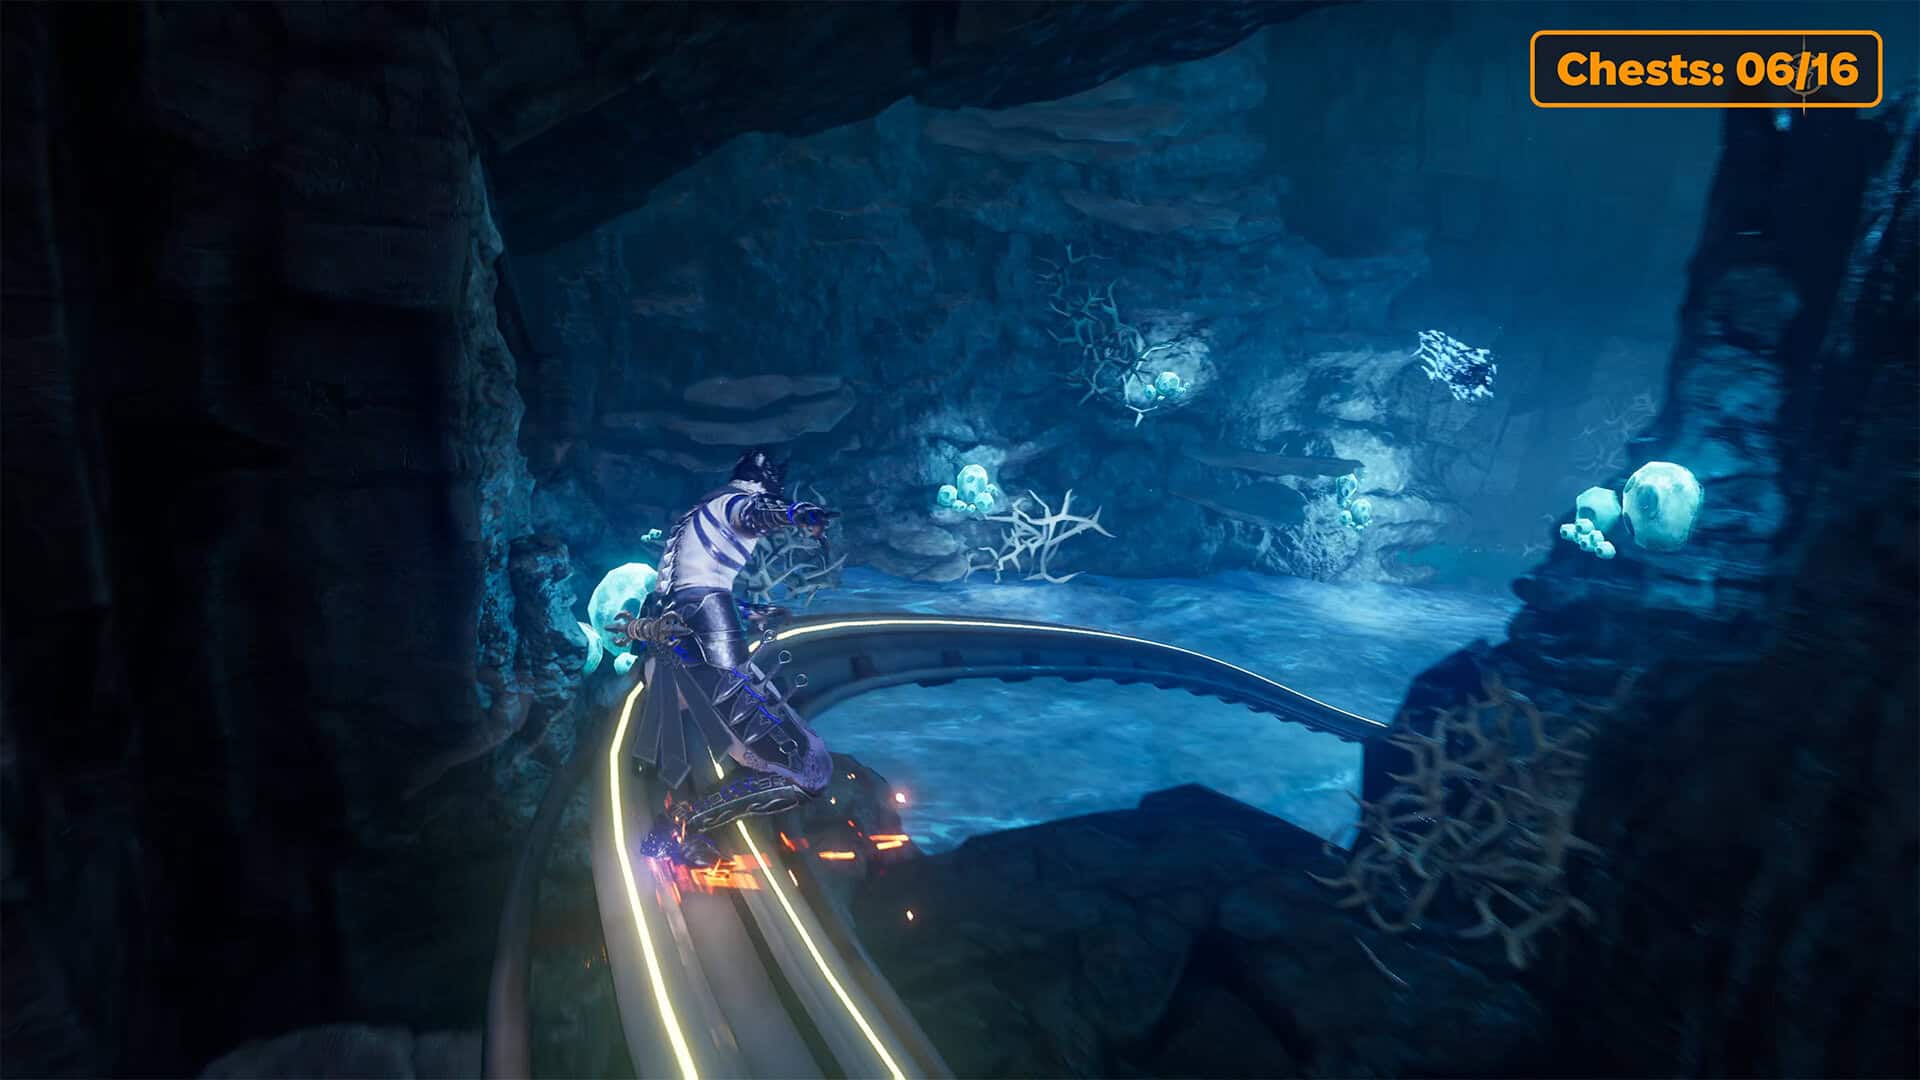
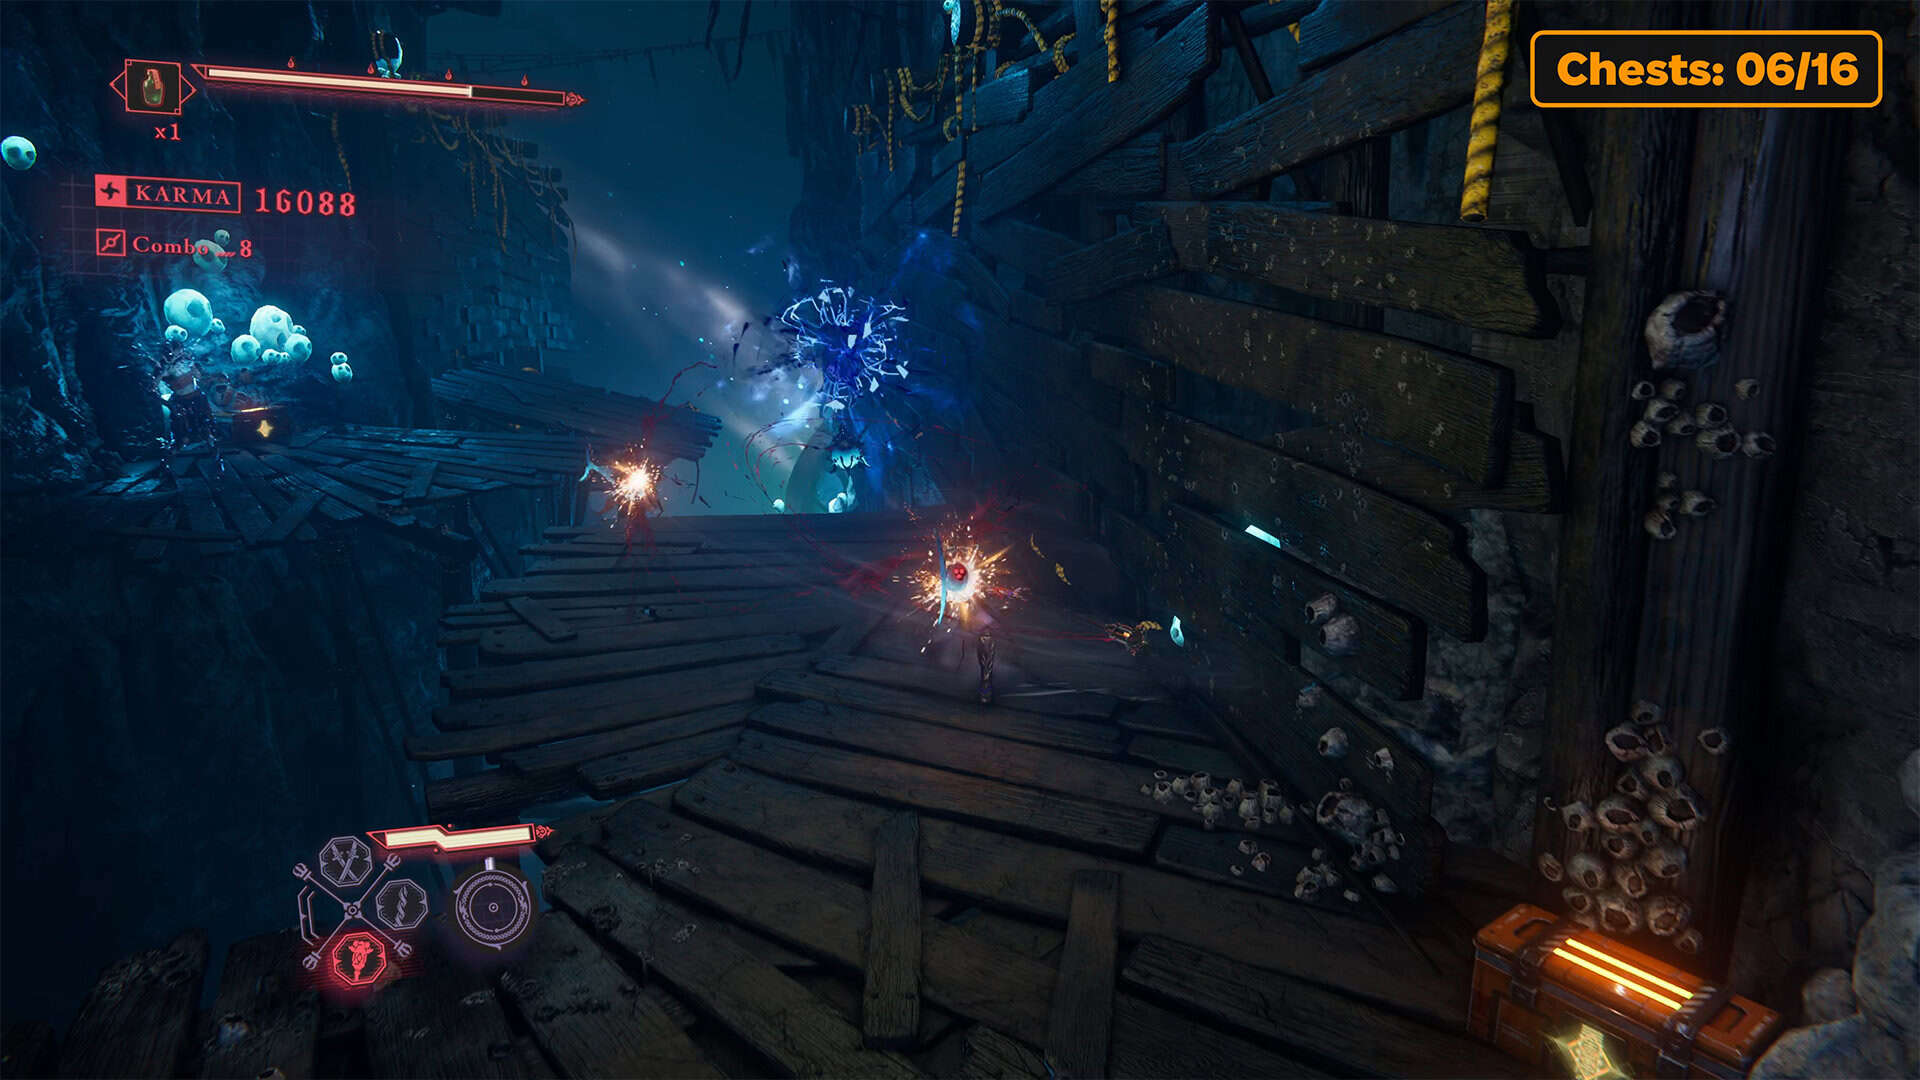
Move forward. You will use Caddis Wire and start sliding along the rail. Soon you will encounter water and you will need to get Pond Strider to continue moving. Avoiding obstacles in the water, you will swim to the yellow springboard. Jump on the springboard and you will find yourself on a platform where the sixth chest is located. A little further to the left, you will see the seventh chest. But before you open them, you need to defeat the enemies that will attack you. Once you get rid of the enemies, open the chests to get the Divine Life Elixir and Life Elixir.
-
- Yellow ladder to the fifth chest
-
- Chest #5 in Bounding Spirits
-
- Monorail to the next zone
-
- Chests #6-7 in Bounding Spirits
Chest 8 in Bounding Spirits
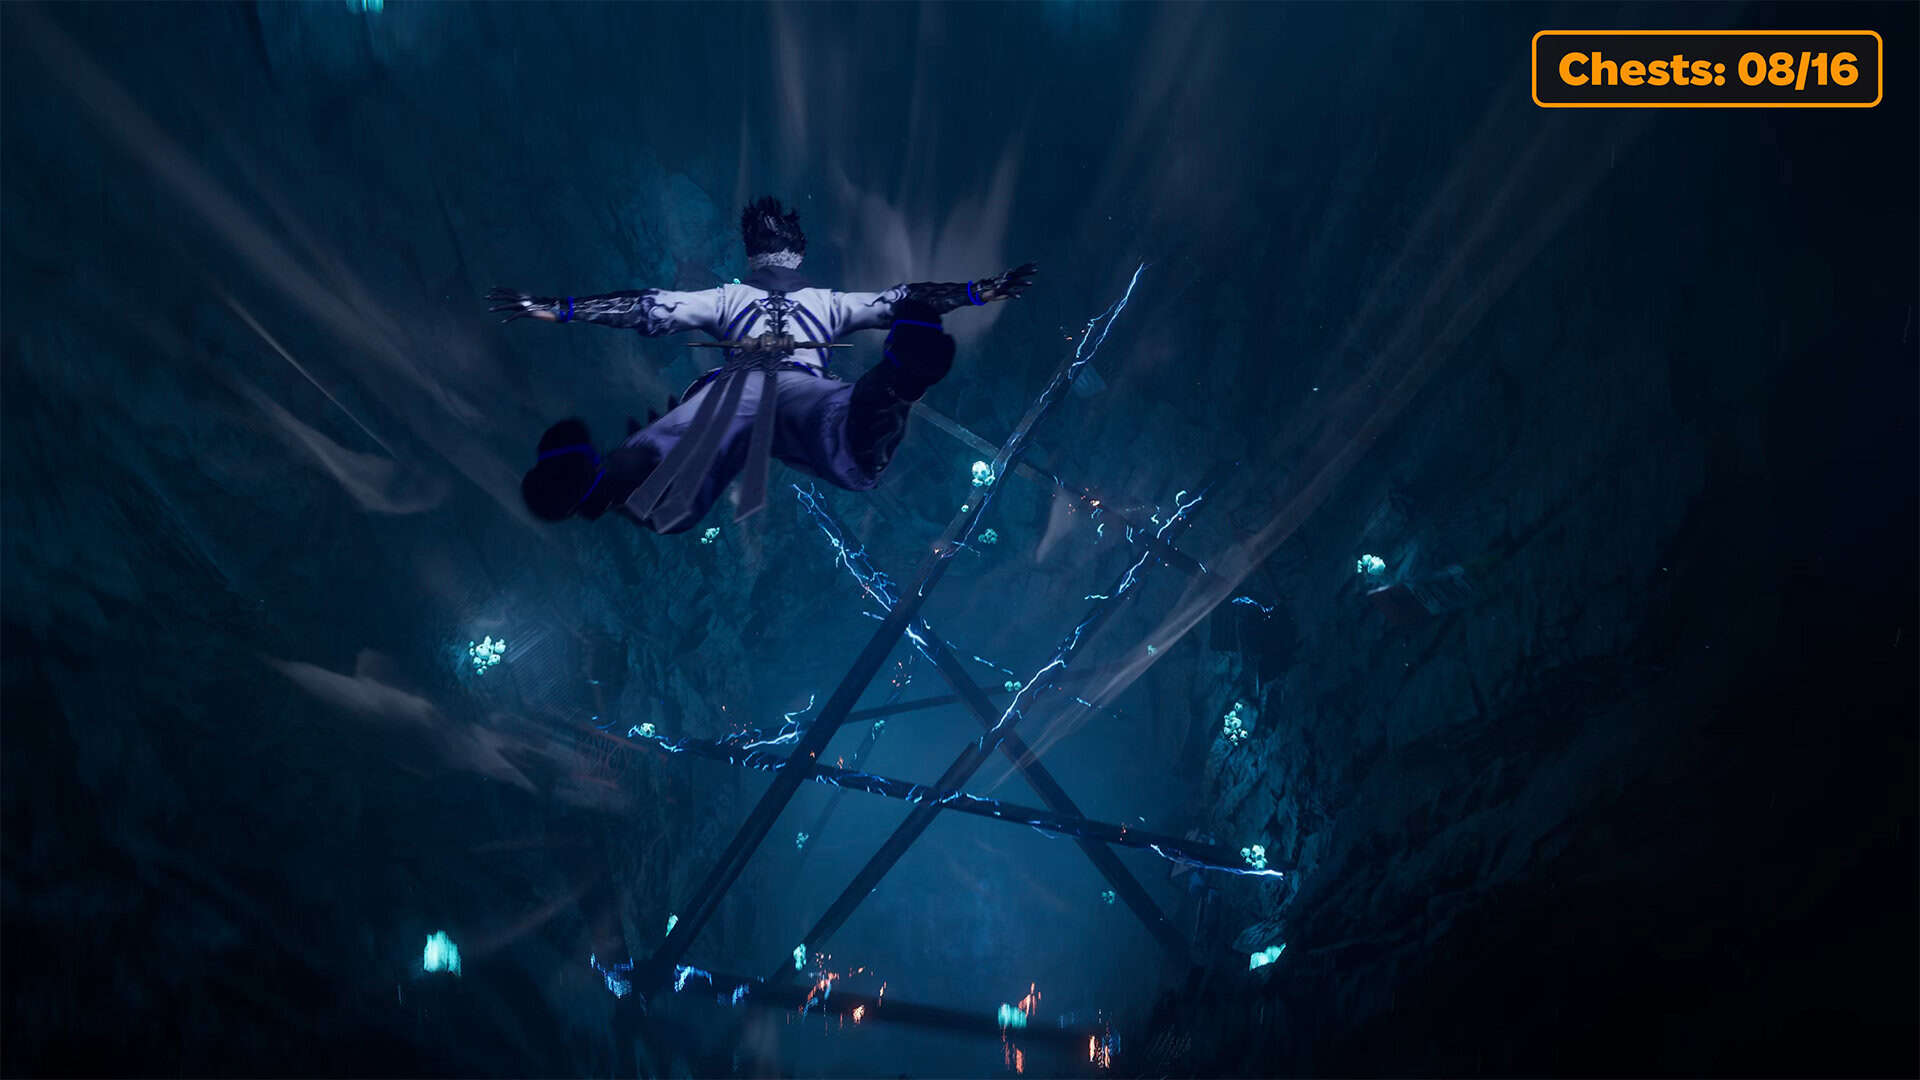
Next, you will use the Dragonfly Glider. As you fall, carefully move to the right or left to avoid hitting the electrified beams. At the bottom, you will encounter a stream of water again, and using the Pond Strider, you will move forward. Then you will jump onto the shore, where enemies will be standing. You will need to defeat them all again in order to open the eighth chest. Inside the chest is the Divine Life Elixir.
Chest 9 in Bounding Spirits
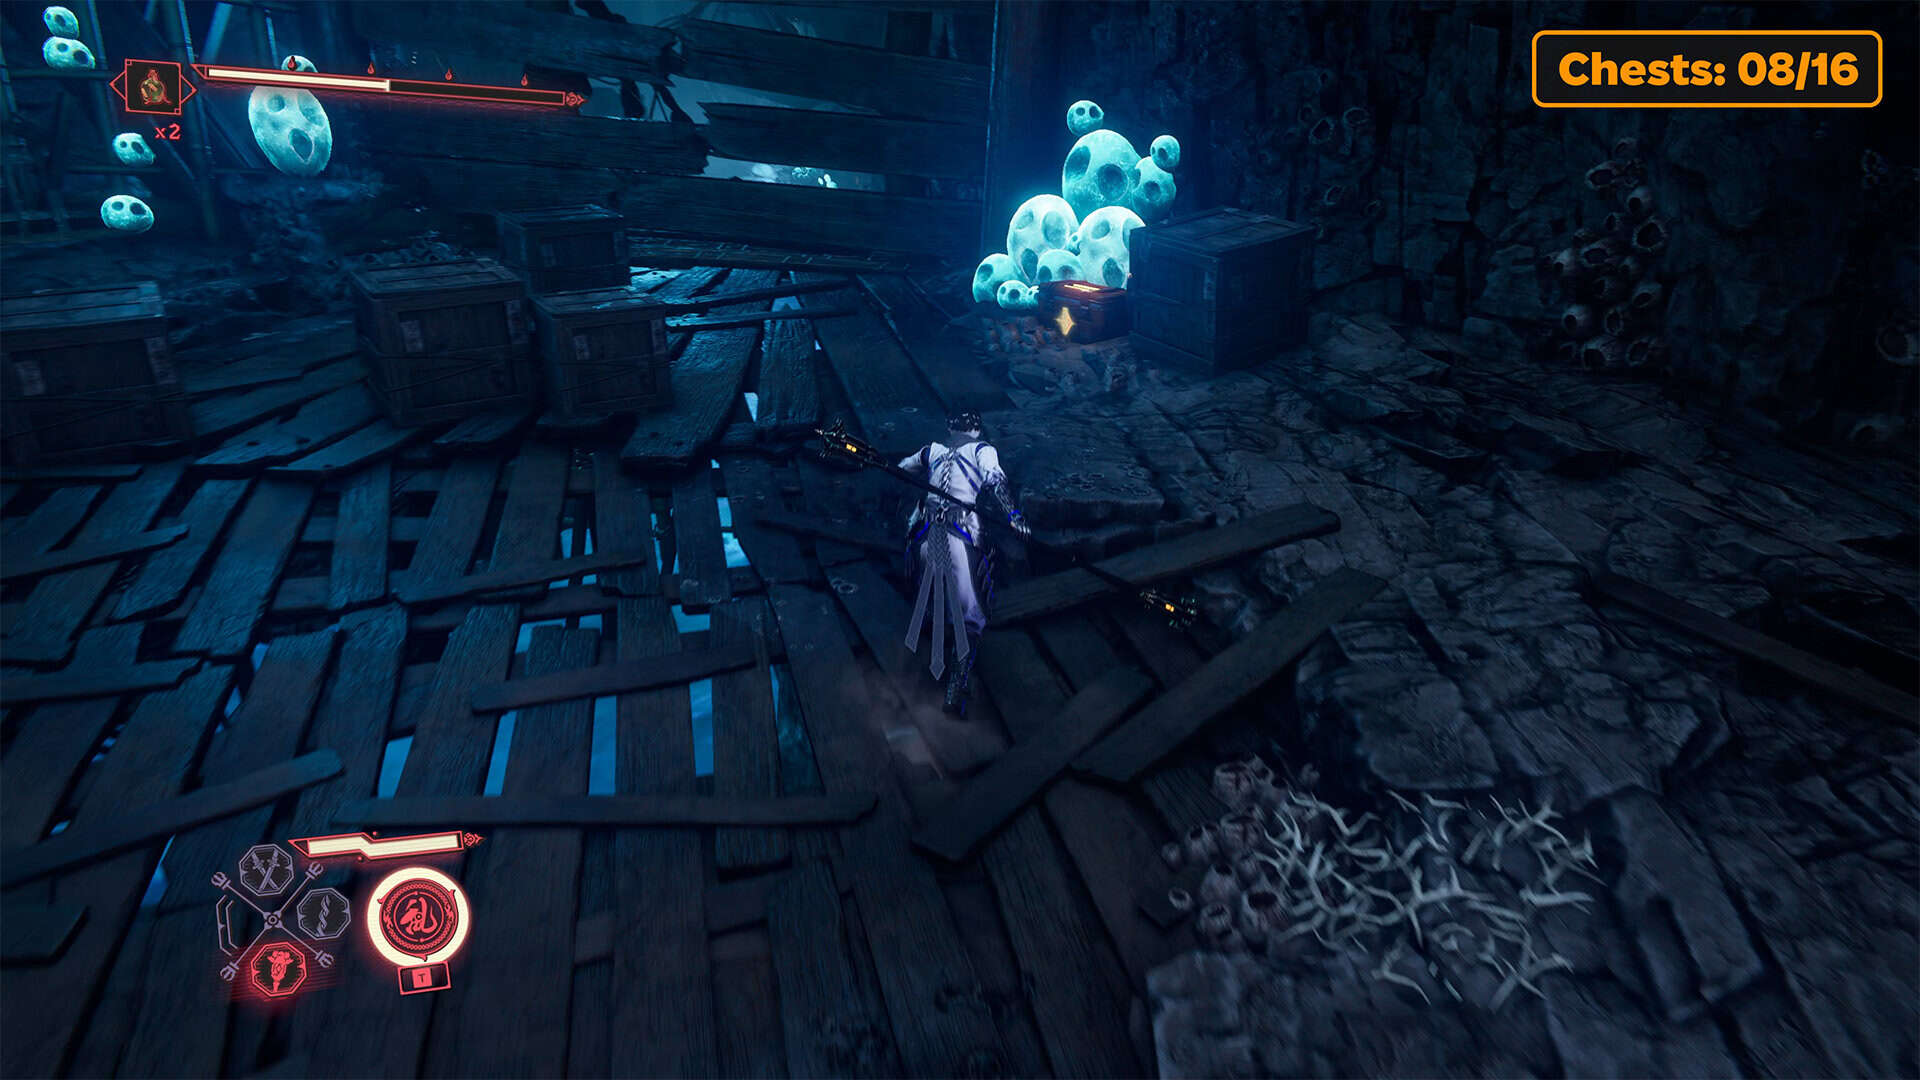
Next, you need to break down the wooden barrier that is still blocking the road. Jump into the water using Pond Strider. Almost immediately, jump onto the shore, where enemies are already waiting for you. There are quite a few of them here, so get ready for an active battle. Next, on the left, you will see a platform with a group of enemies that you must defeat. Only then jump to the next platform, where the ninth chest is located. Deal with the enemies and get the Divine Life Elixir here.
DarkNest Terminal in Bounding Spirits
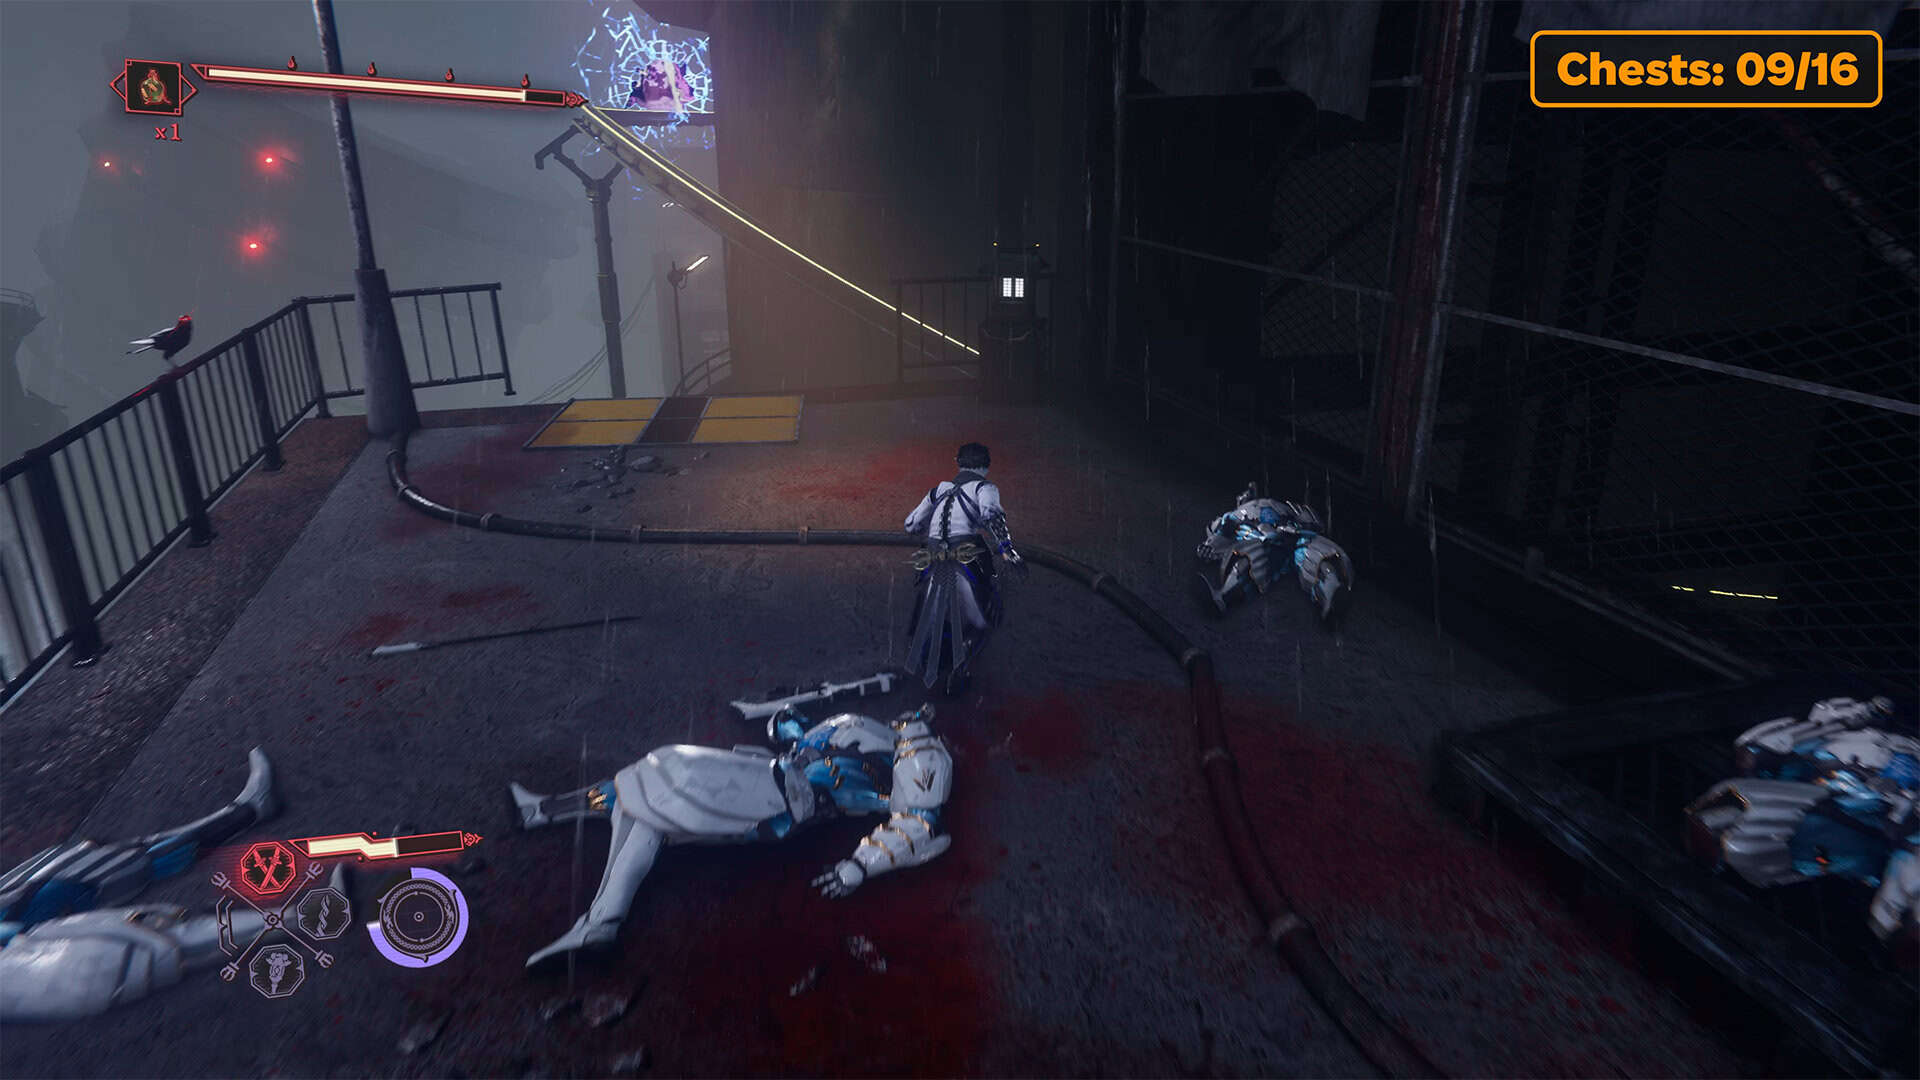
A rather dynamic part of this chapter awaits you ahead. You will float on water, duck and dodge obstacles in this area. Then, through the portal, you will jump into the city on a monorail. Here you also need to jump over obstacles and dodge them. At the end of the monorail, there will be another portal that will take you to a platform with enemies. A space vehicle will appear on the left, which will add enemies to you. After victory, you can approach the second DarkNest Terminal to restore your health and replenish your supplies.
-
- A tricky fall that must be done carefully
-
- Chest #8 in Bounding Spirits
-
- Chest #9 in Bounding Spirits
-
- DarkNest Terminal in Bounding Spirits
Hidden chests 10-12 in Bounding Spirits
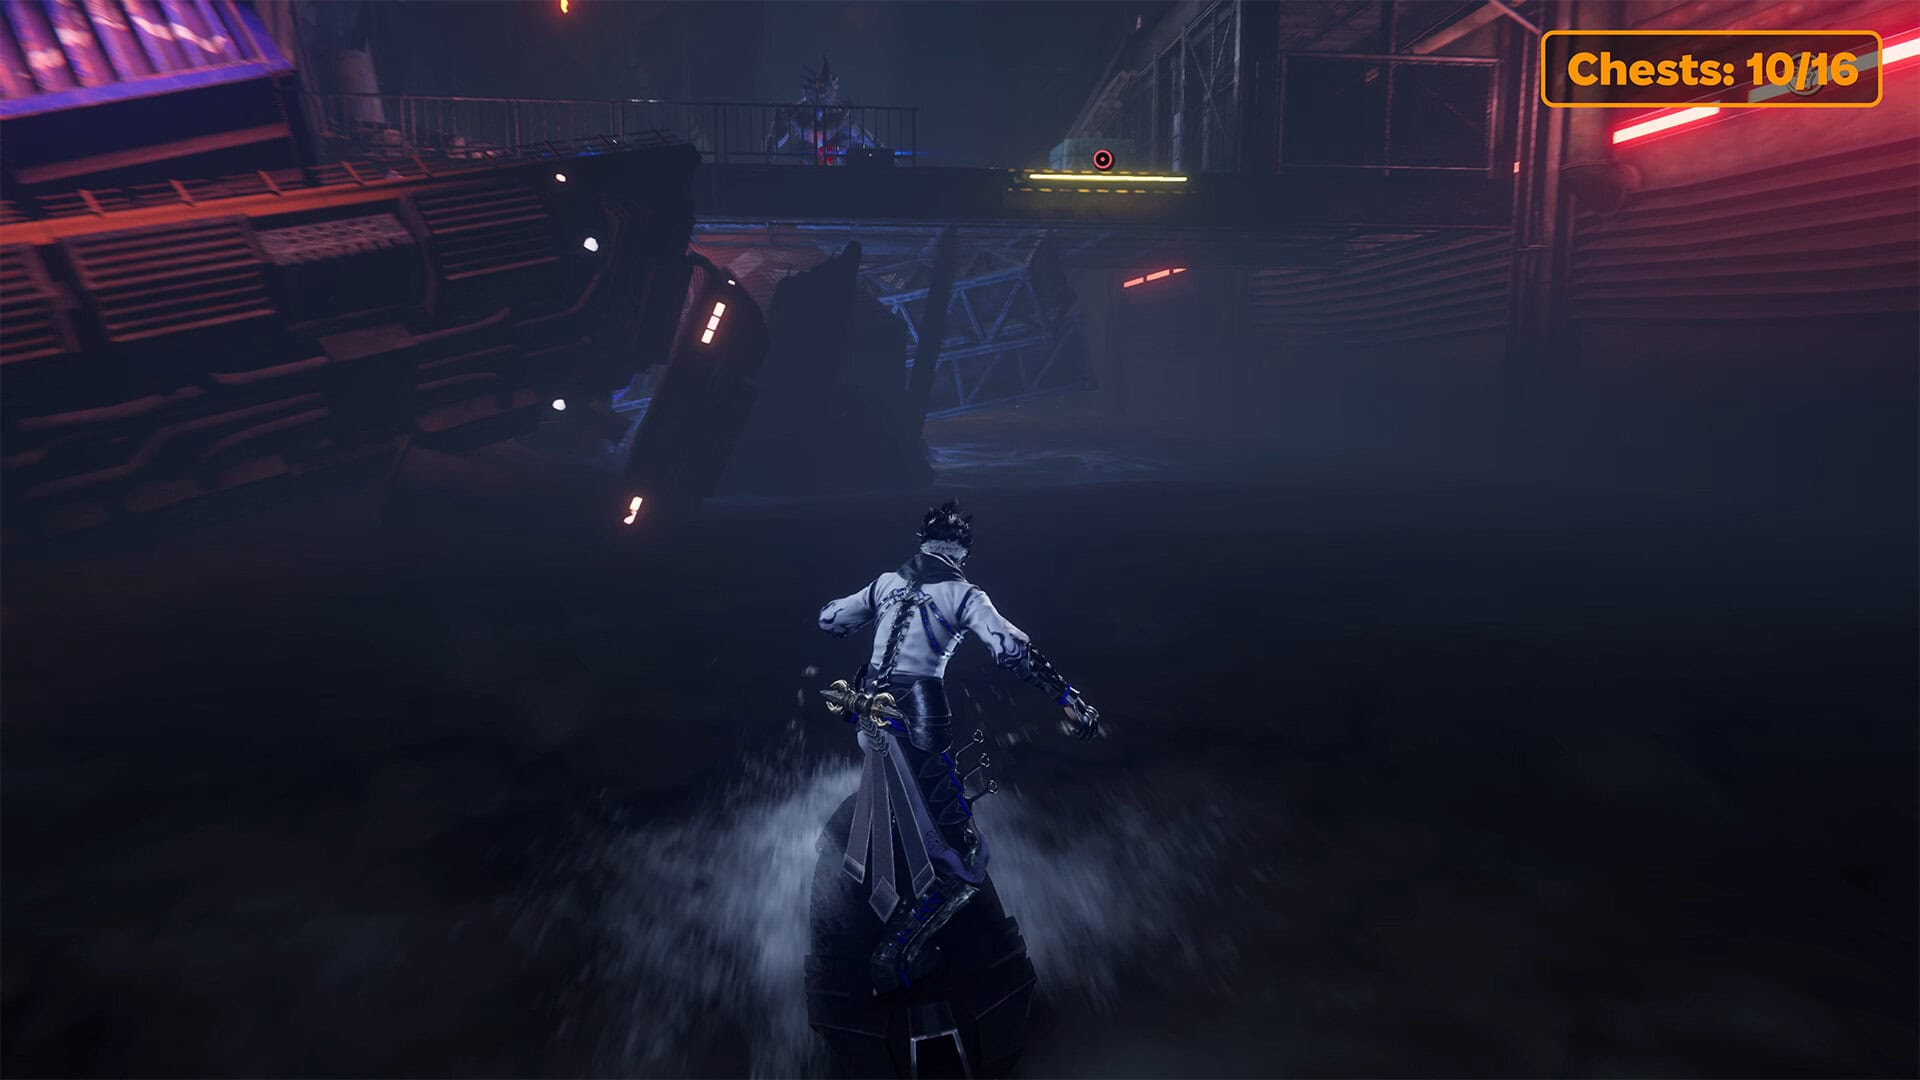
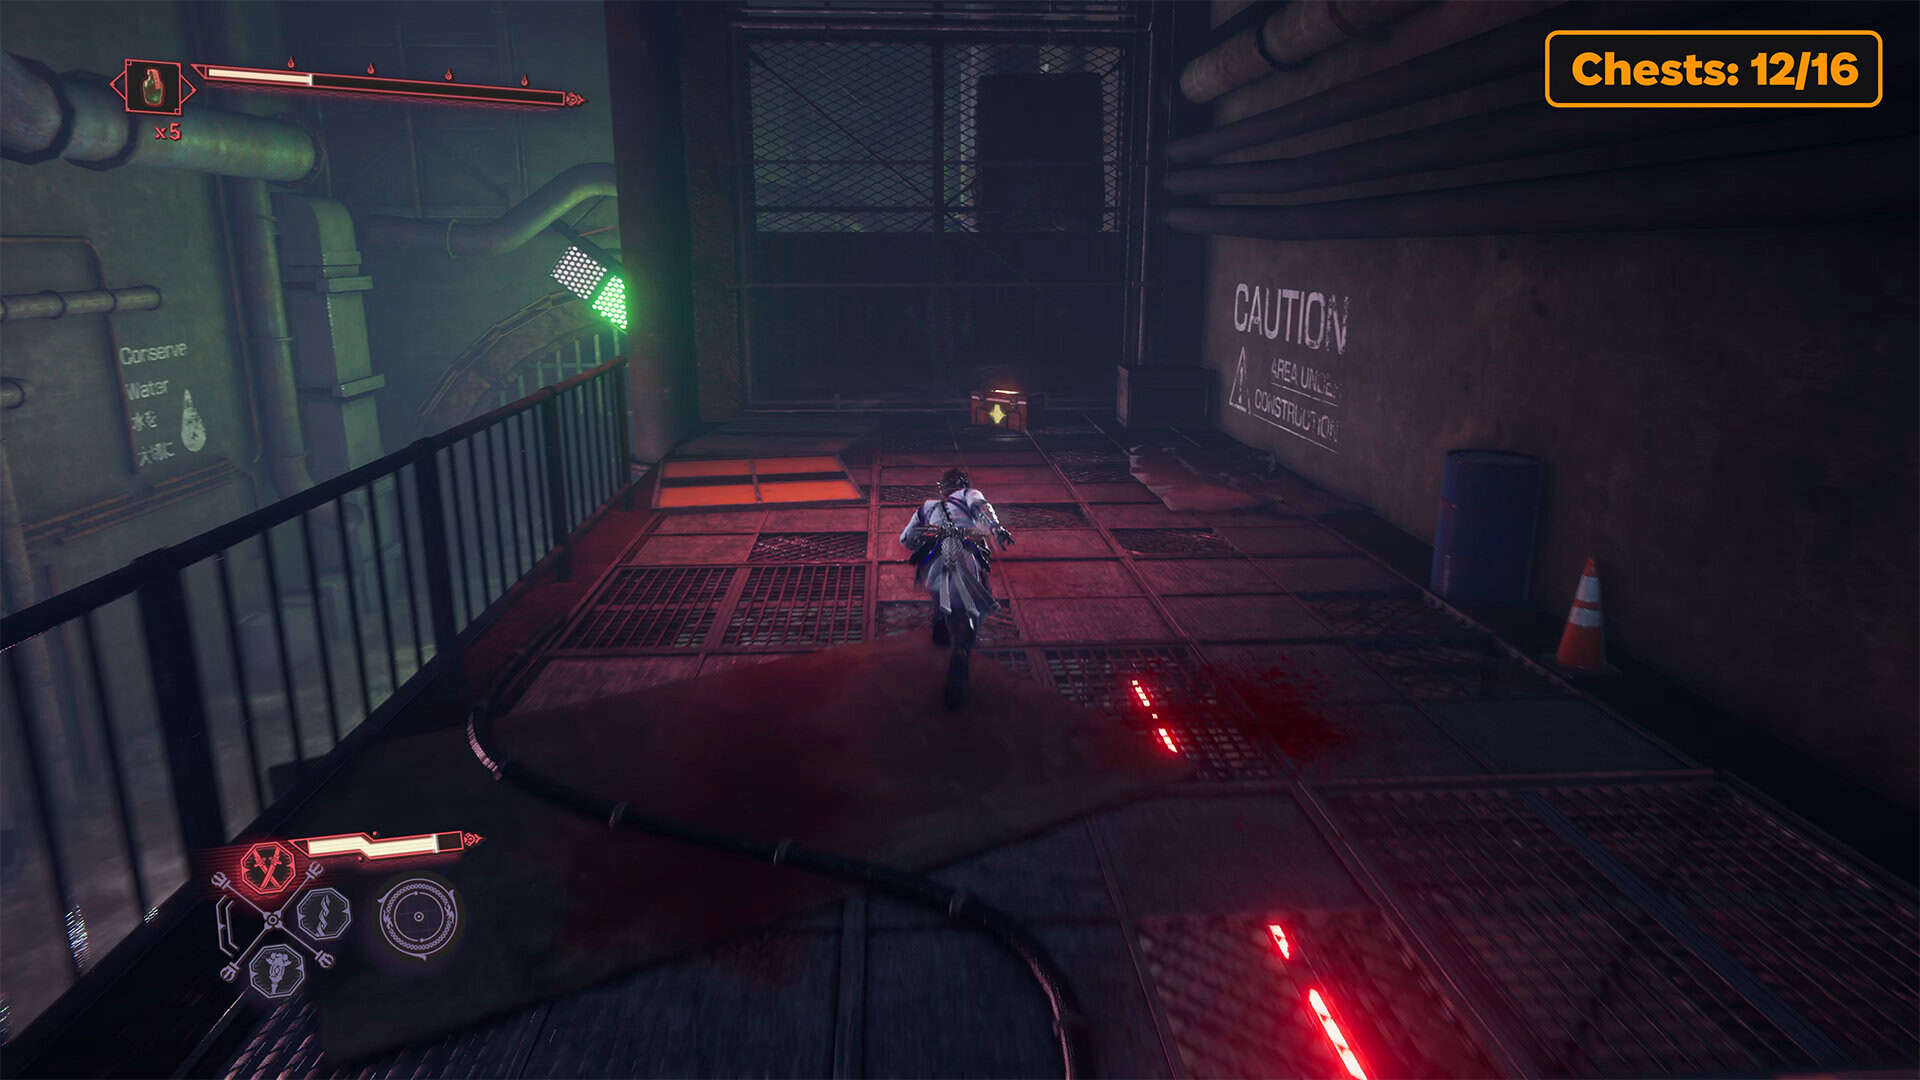
Ahead lies another dynamic path across water and monorail, which you will handle without any problems. But watch this section carefully. At the end of the long monorail, you will jump onto the water, and there is a spot here that is easy to miss. Ahead, you will see a large obstacle on the left and the opportunity to bypass it on the right. But you need to use the Caddis Wire and jump onto the bridge above. Some pretty tough enemies are waiting for you here. In addition to the usual monsters, you’ll have to defeat Malherc.
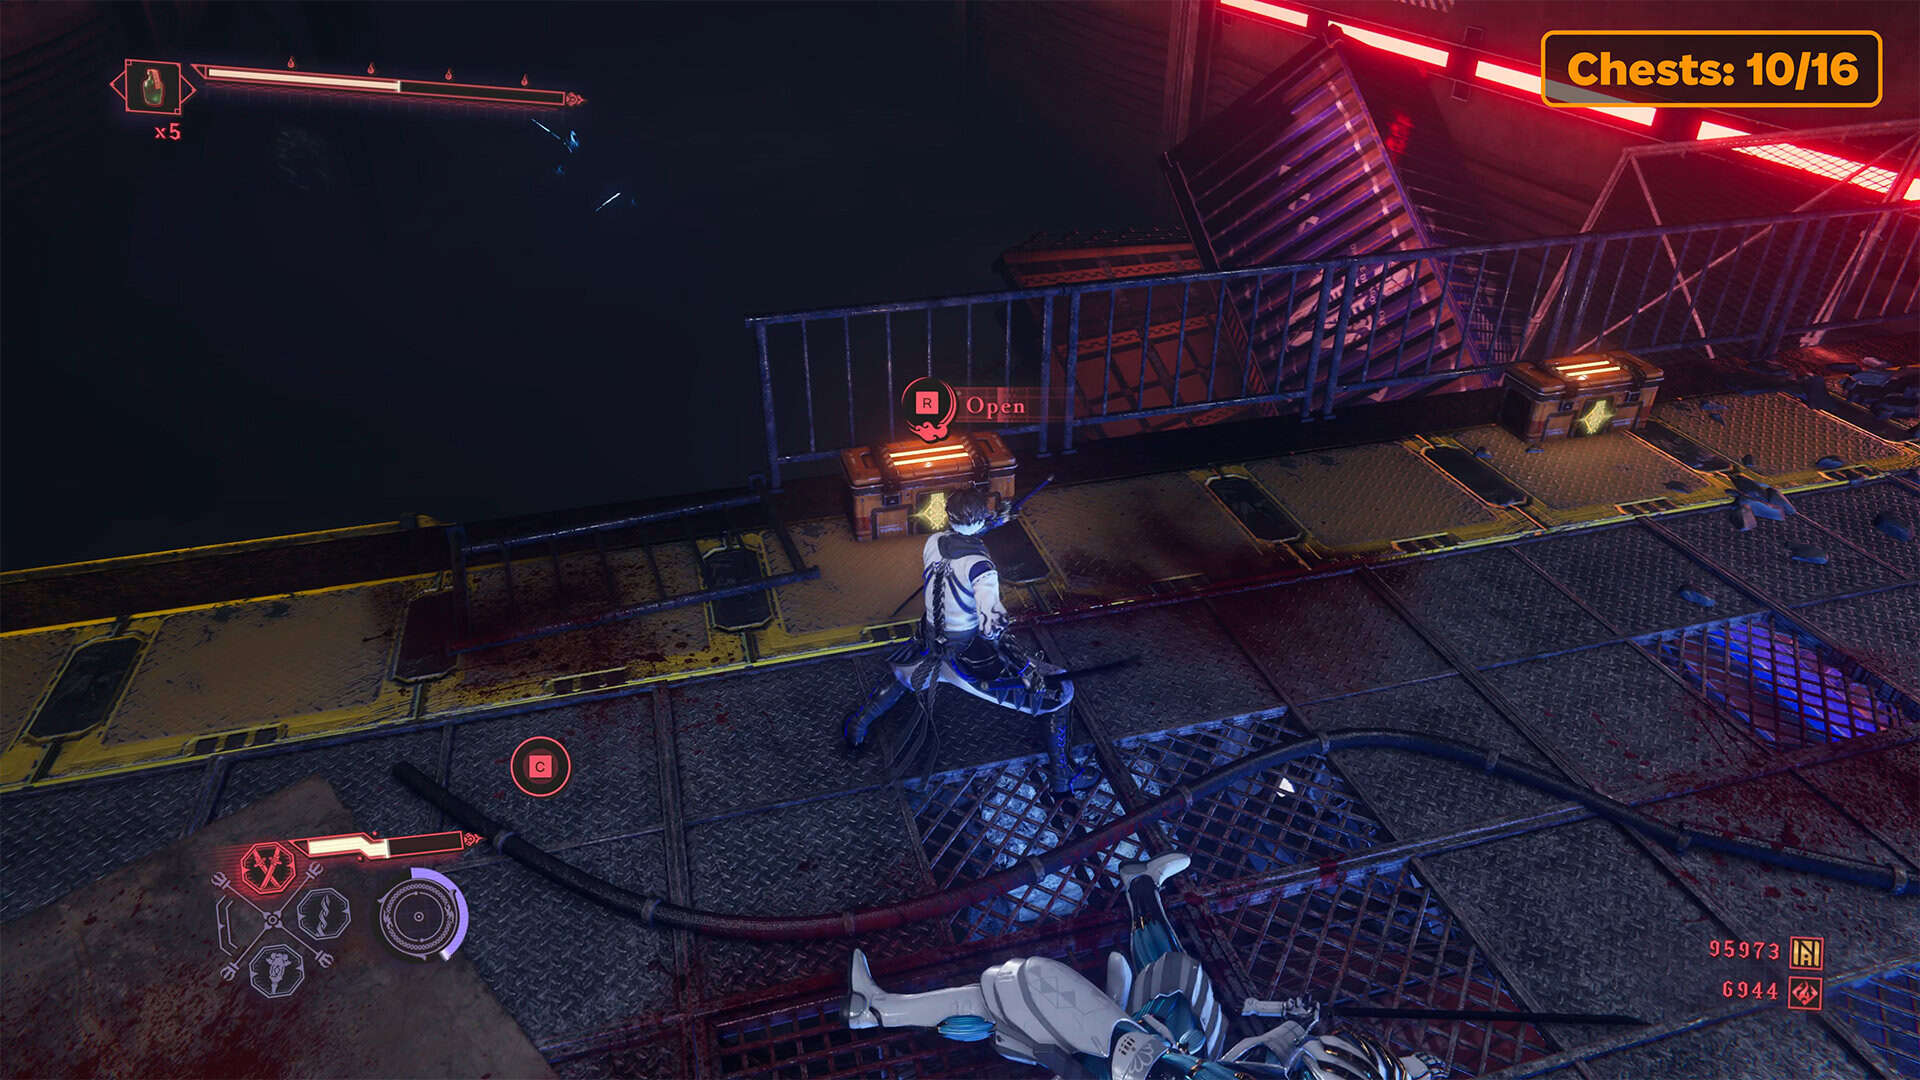
As a reward for this battle, you can open the tenth chest to get the Divine Life Elixir and the eleventh chest nearby to get another Divine Life Elixir. But that’s not all. Don’t rush to jump off the bridge into the water again. There is a platform on the bridge where you can jump to the second floor. Here you will face another difficult battle with Malherc, and then you will open the twelfth chest and receive a Divine Life Elixir. Decide for yourself if these battles are worth such rewards.
-
- An important place that is easy to miss
-
- Chests #10-11 in Bounding Spirits
-
- Chest #12 in Bounding Spirits
Chests 13-16 in Bounding Spirits
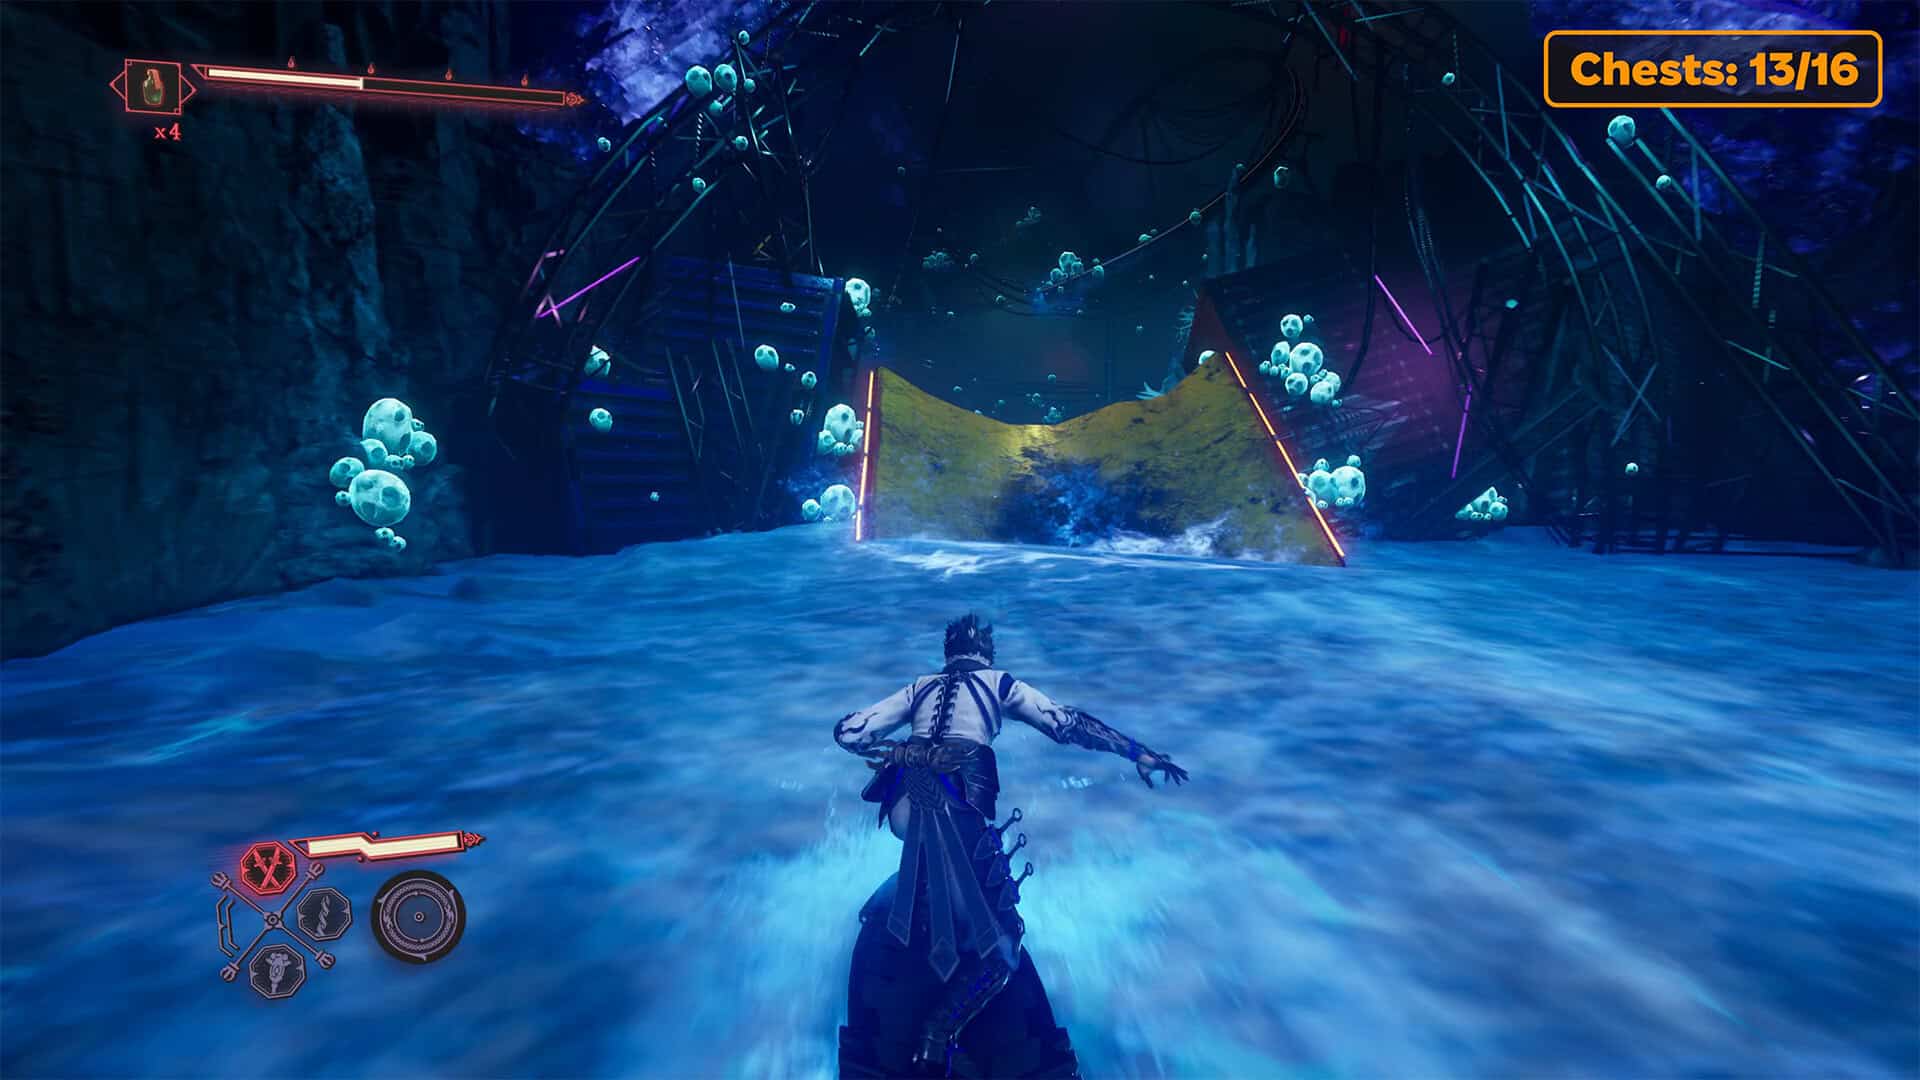
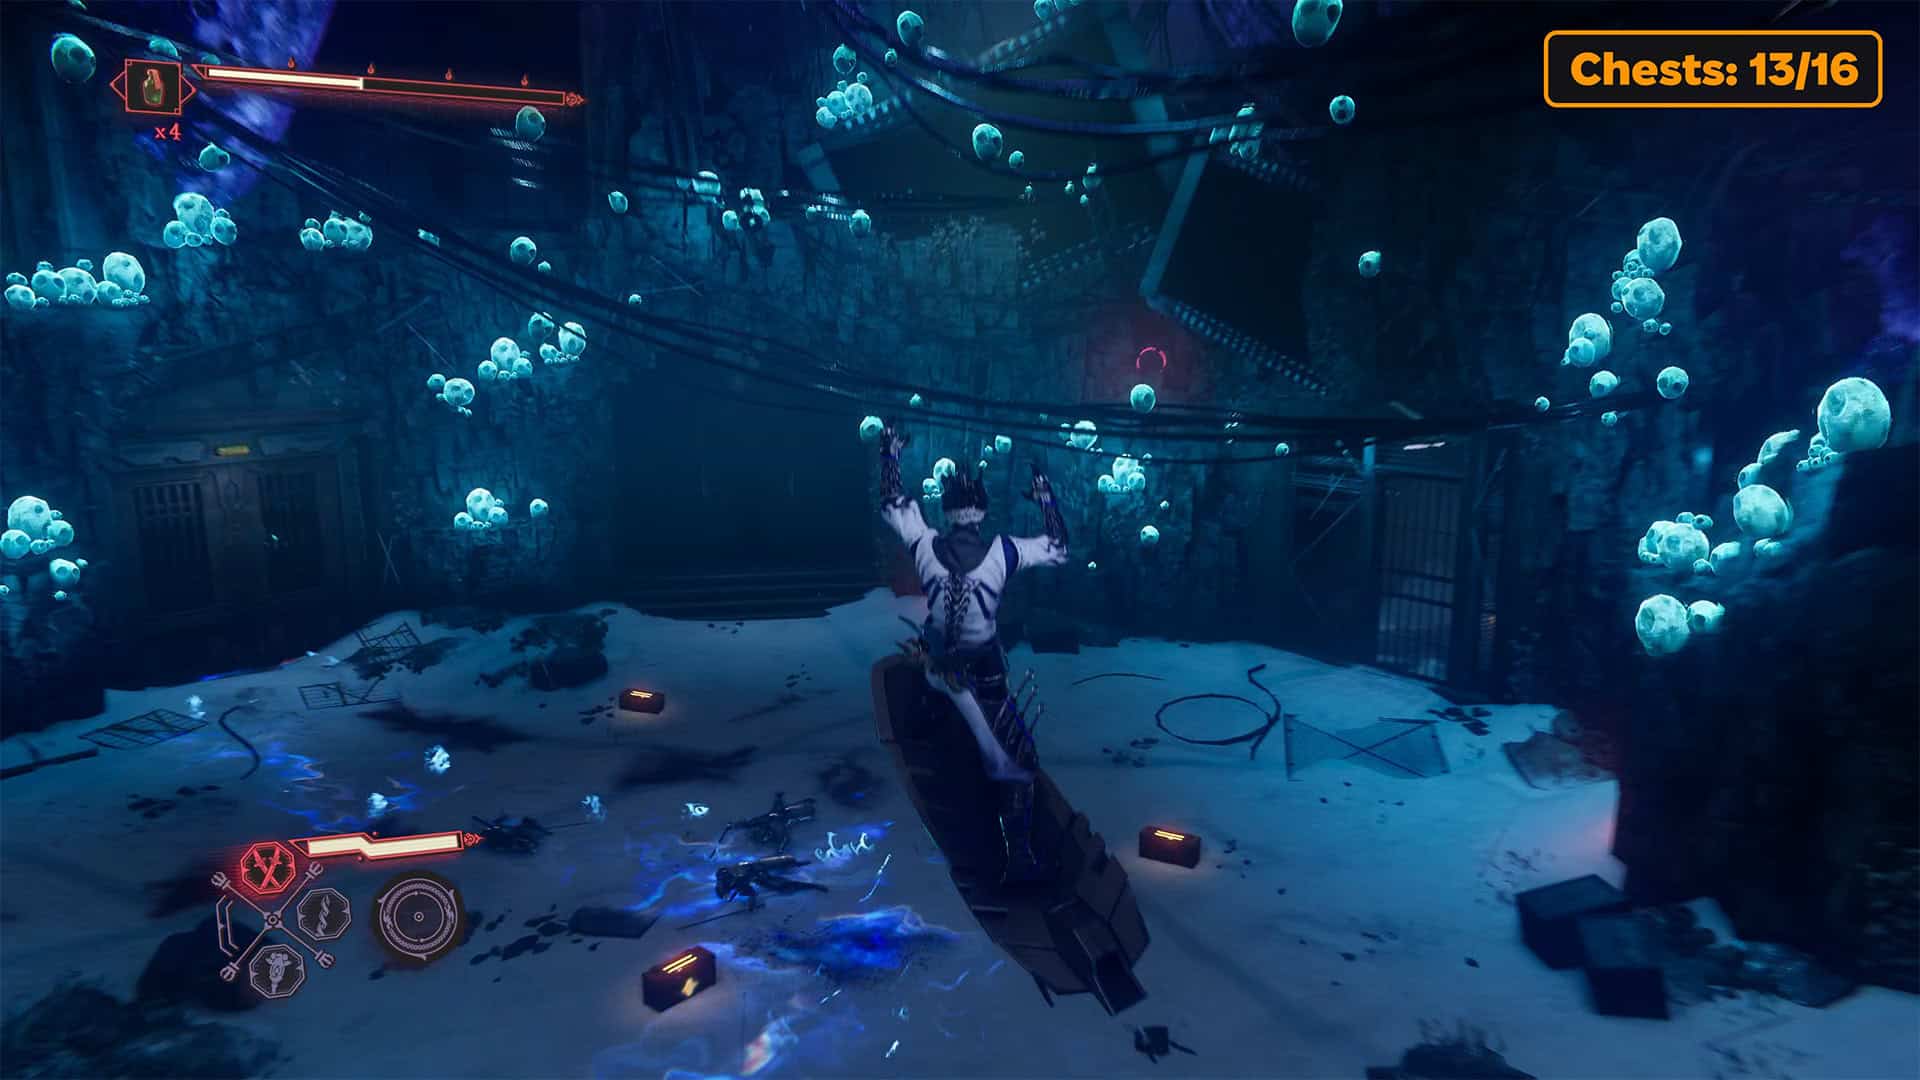
Next, you will face a very difficult and long battle. First, you need to get to this place. Using Pond Strider, you will cover a fairly long distance. There will be various tunnels and water streams. At the end, you will see a yellow springboard. Jumping on this springboard will take you to a large platform. There are three chests in the center and another chest a little further away, hidden from view. But before you open these chests, you have to defeat your enemies. There will be a lot of them here, I didn’t even count how many waves.
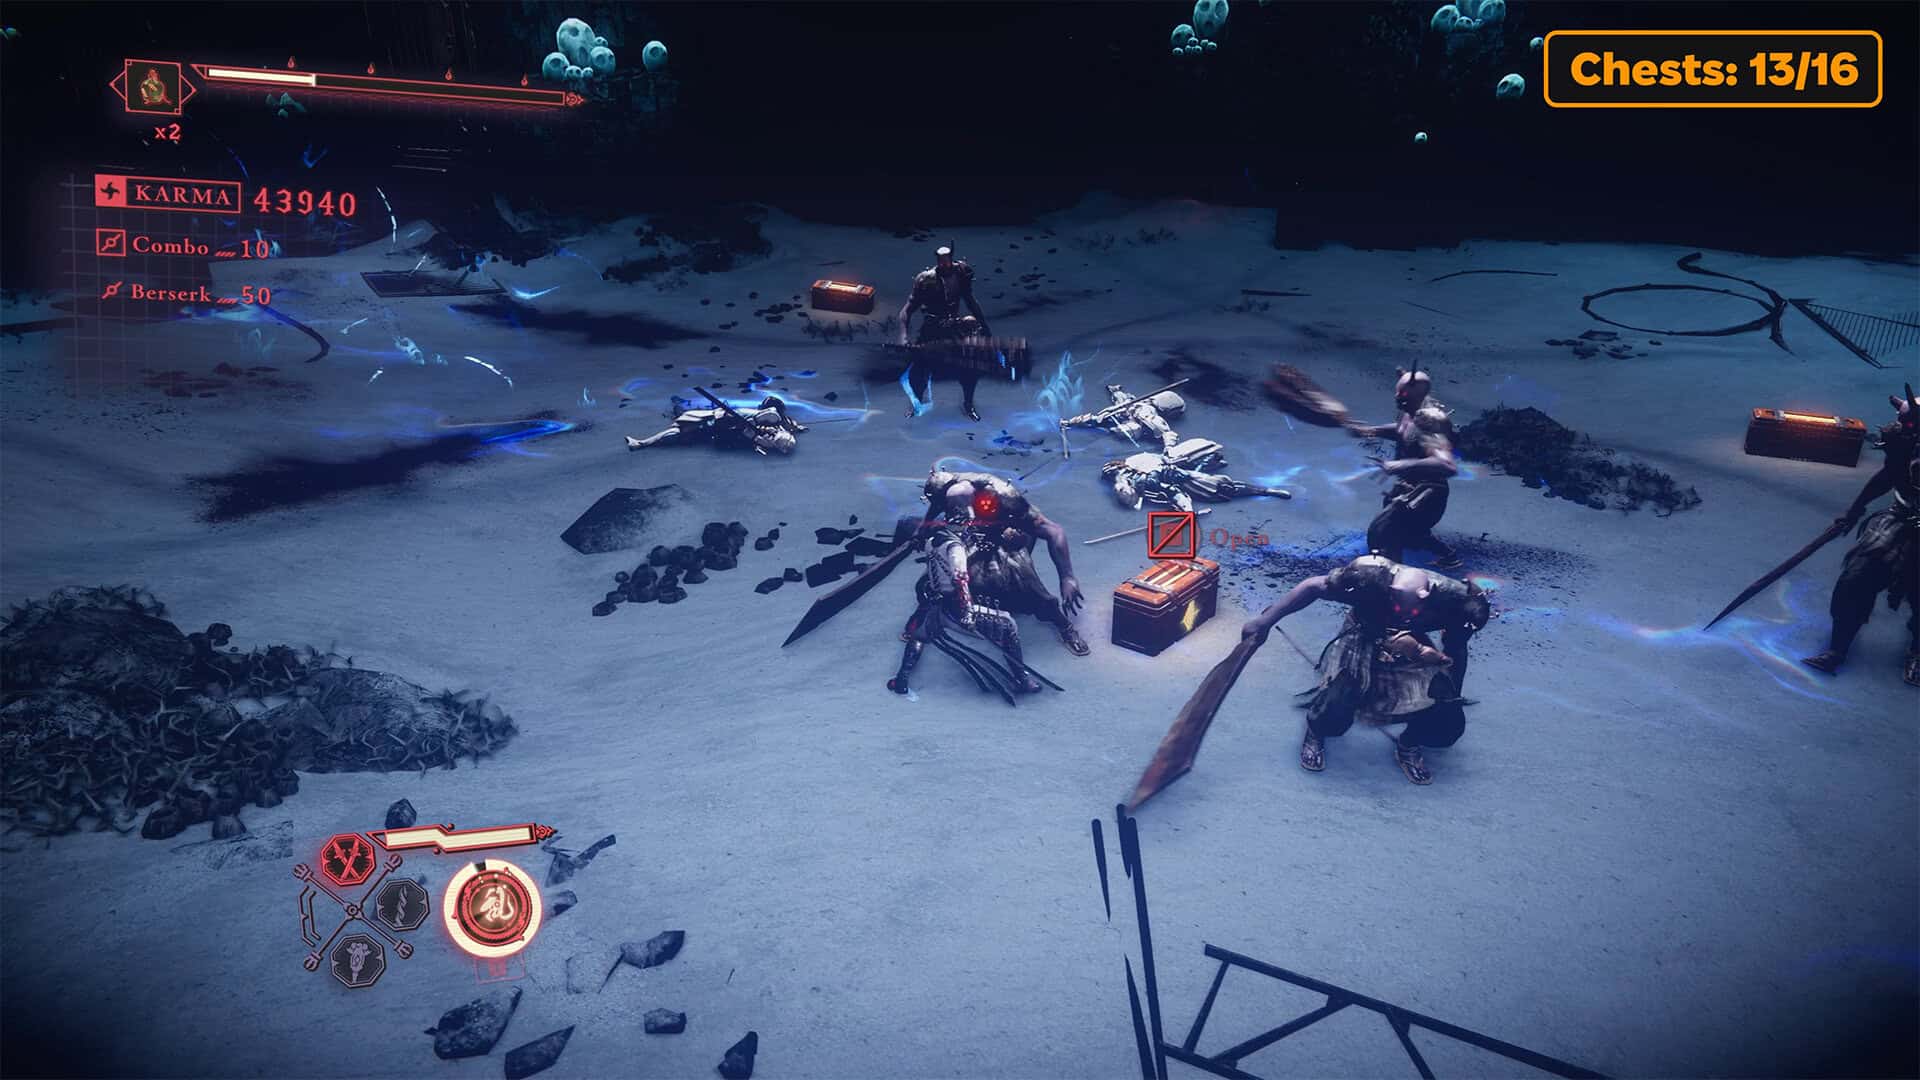
During the battle, I even thought that this was some kind of glitch in the game, because the enemies didn’t end for a long time. The further you go, the more there are. The difficulty of the battle gradually increases. At the end, you have to defeat a large number of difficult enemies, so I advise you to save your ultimate ability for the end of the battle in order to use it in berserk mode with maximum benefit. After the victory, open the thirteenth chest to get the Divine Life Elixir. In the fourteenth chest, you will also find the Divine Life Elixir. The fifteenth chest hides the Divine Life Elixir again. And finally, in the sixteenth chest, there will be the same Divine Life Elixir.
-
- The yellow ski jump leads to adventure
-
- Chests #13-15 in Bounding Spirits
-
- A great battle and a large number of enemies
-
- The last chest #16 is hidden nearby
The Way to the Boss
Next, take a short break and move along dynamic monorails and water. Eventually, you will see an interesting scene where a shark almost eats your character, but only an acrobatic stunt will help Yakumo escape. Next, there will be a small platform with enemies that will not cause you any particular problems.
Difficult portals at the end
Ahead lies the final path to the boss of this chapter. I’ll say right away that this path may prove to be quite difficult, even though you won’t have any enemies ahead of you. To begin with, you need to cover a certain distance in the already familiar acrobat mode. You will slide along a monorail, run along walls, and fly in a stream of air. But at the end of this route, a difficult free fall awaits you.
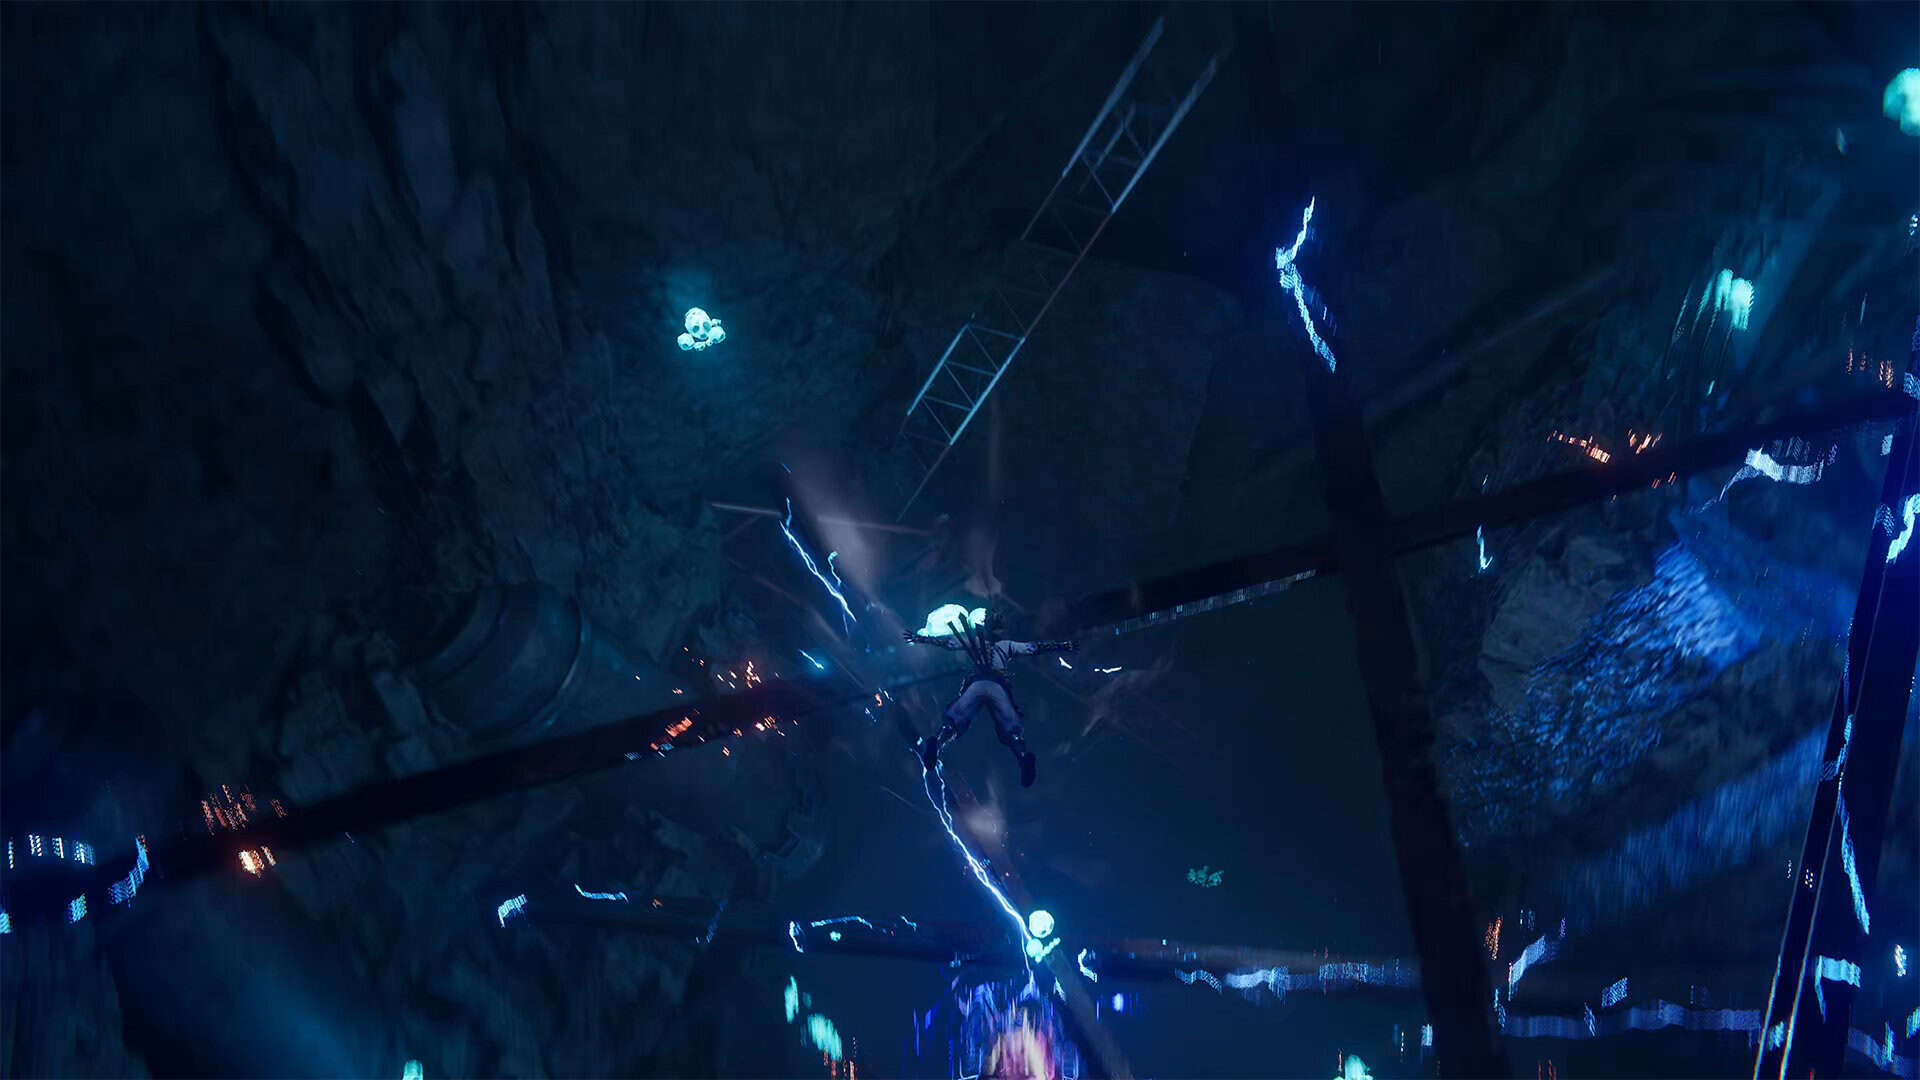
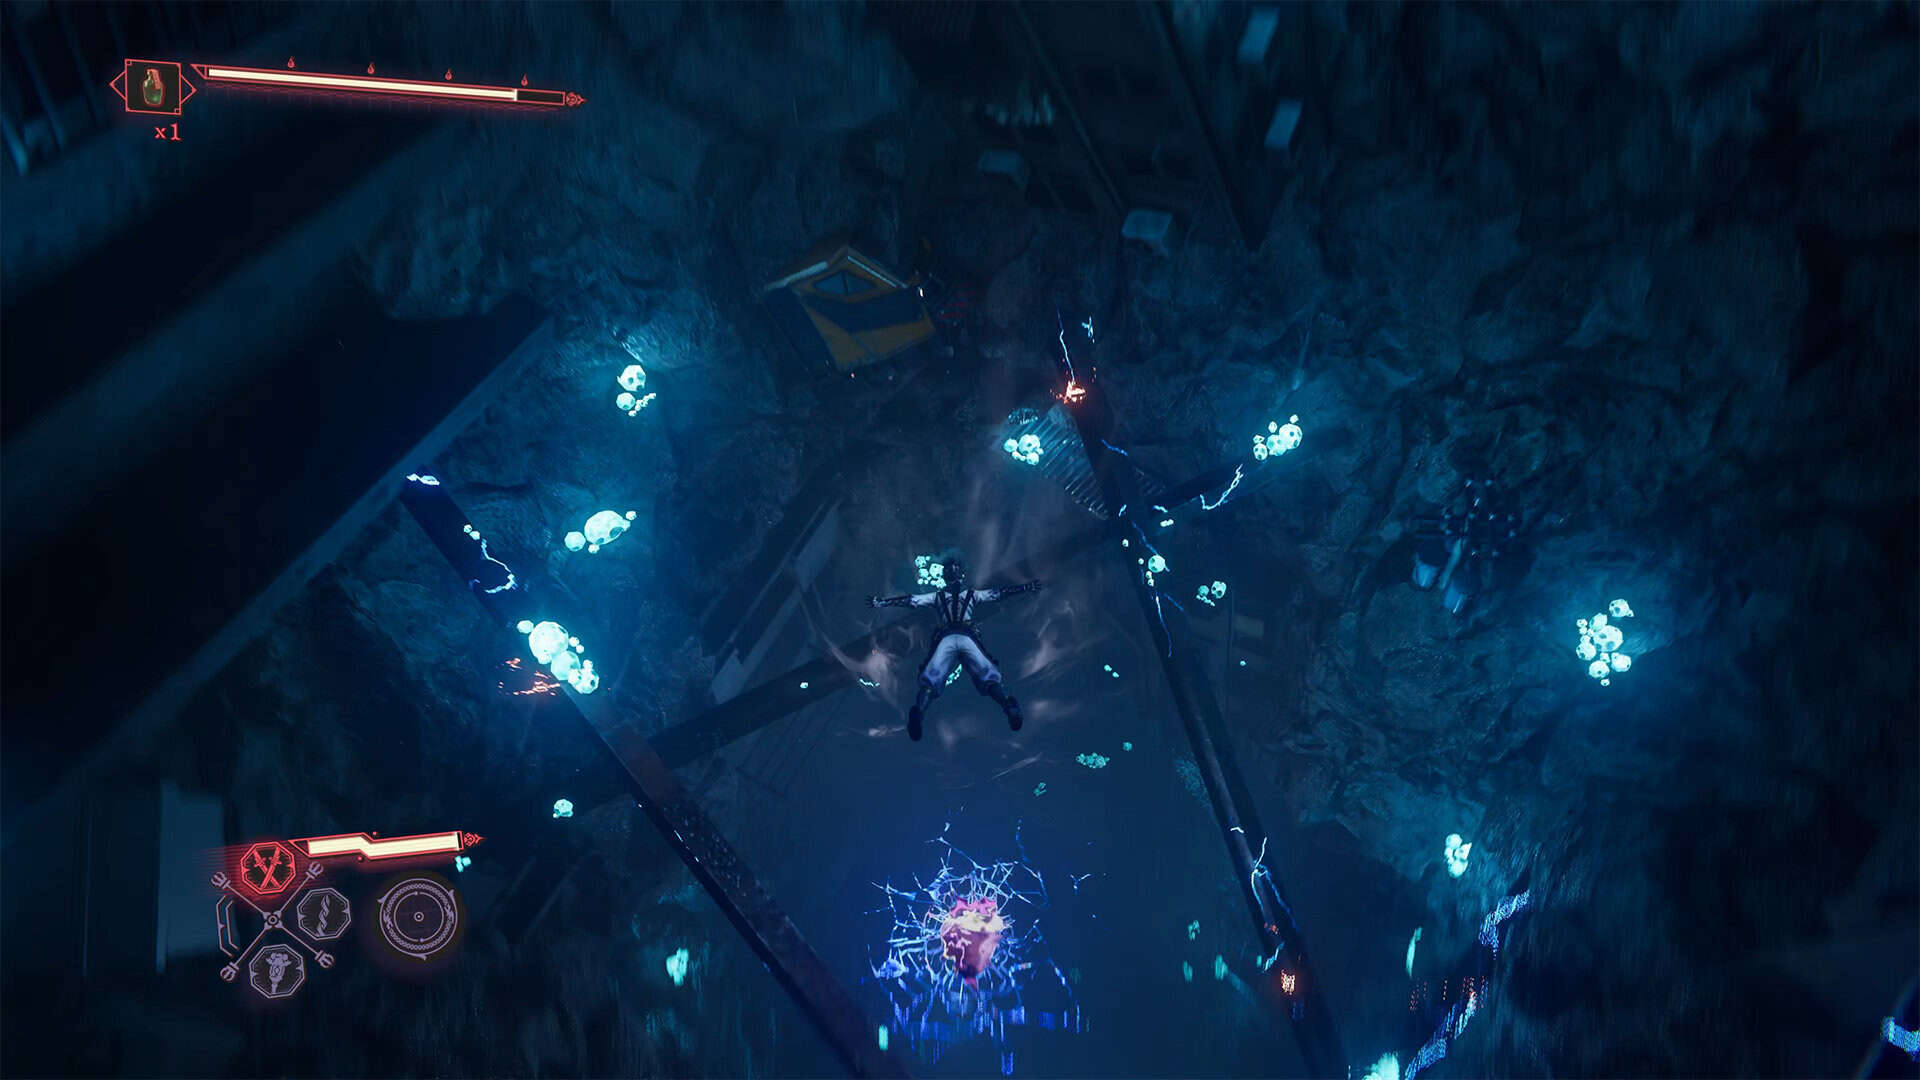
The main difficulty here is to move correctly while falling down so as not to get damaged and get into the portal. If you miss the portal, you will take damage and have to start all over again. Before the boss fight, don’t lose any health in this area. When you start falling, move forward first. The next portal will be slightly to the left. To get to the third portal, you need to move forward again. The last portal will be almost in the center. You’re there. This is where the boss fight will take place.
-
- First portal on the way to the boss

-
- Second portal on the way to the boss
-
- Third portal on the way to the boss

-
- Fourth portal on the way to the boss
The final battle with Cetus
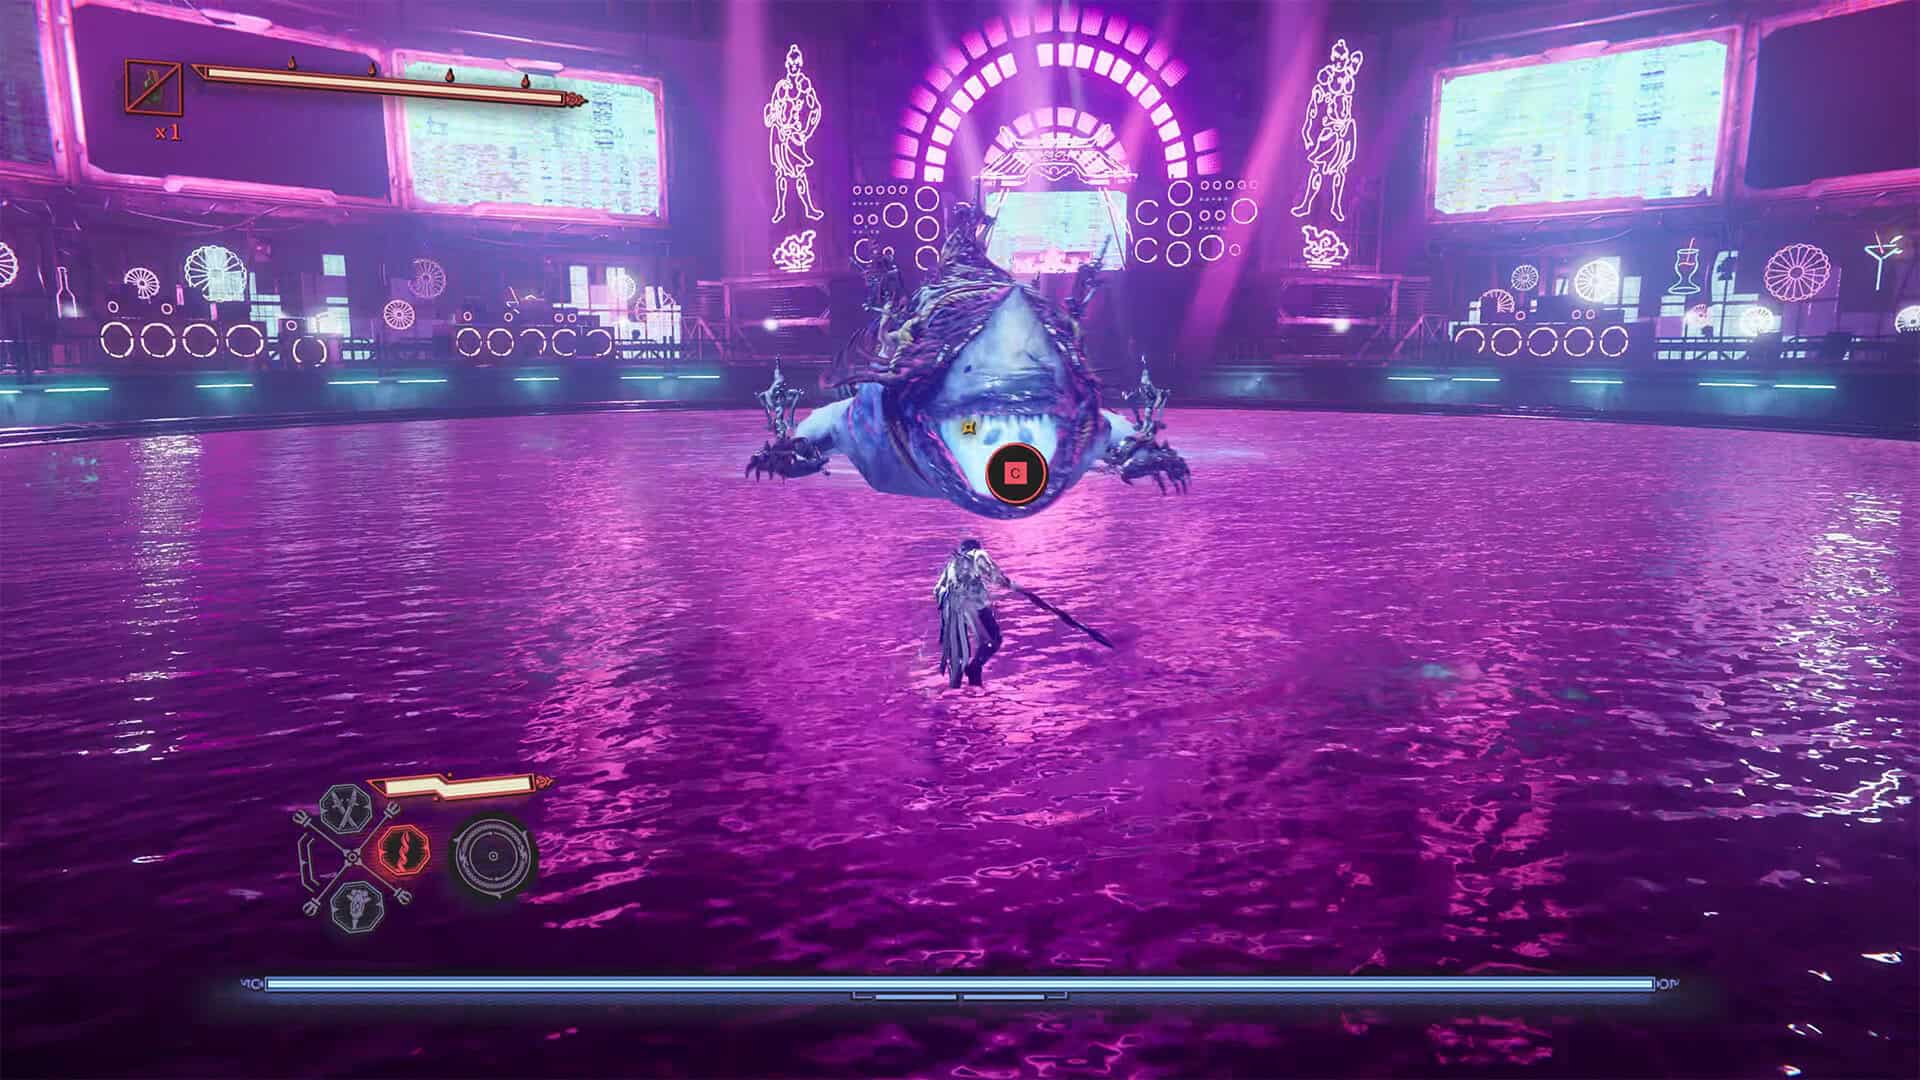
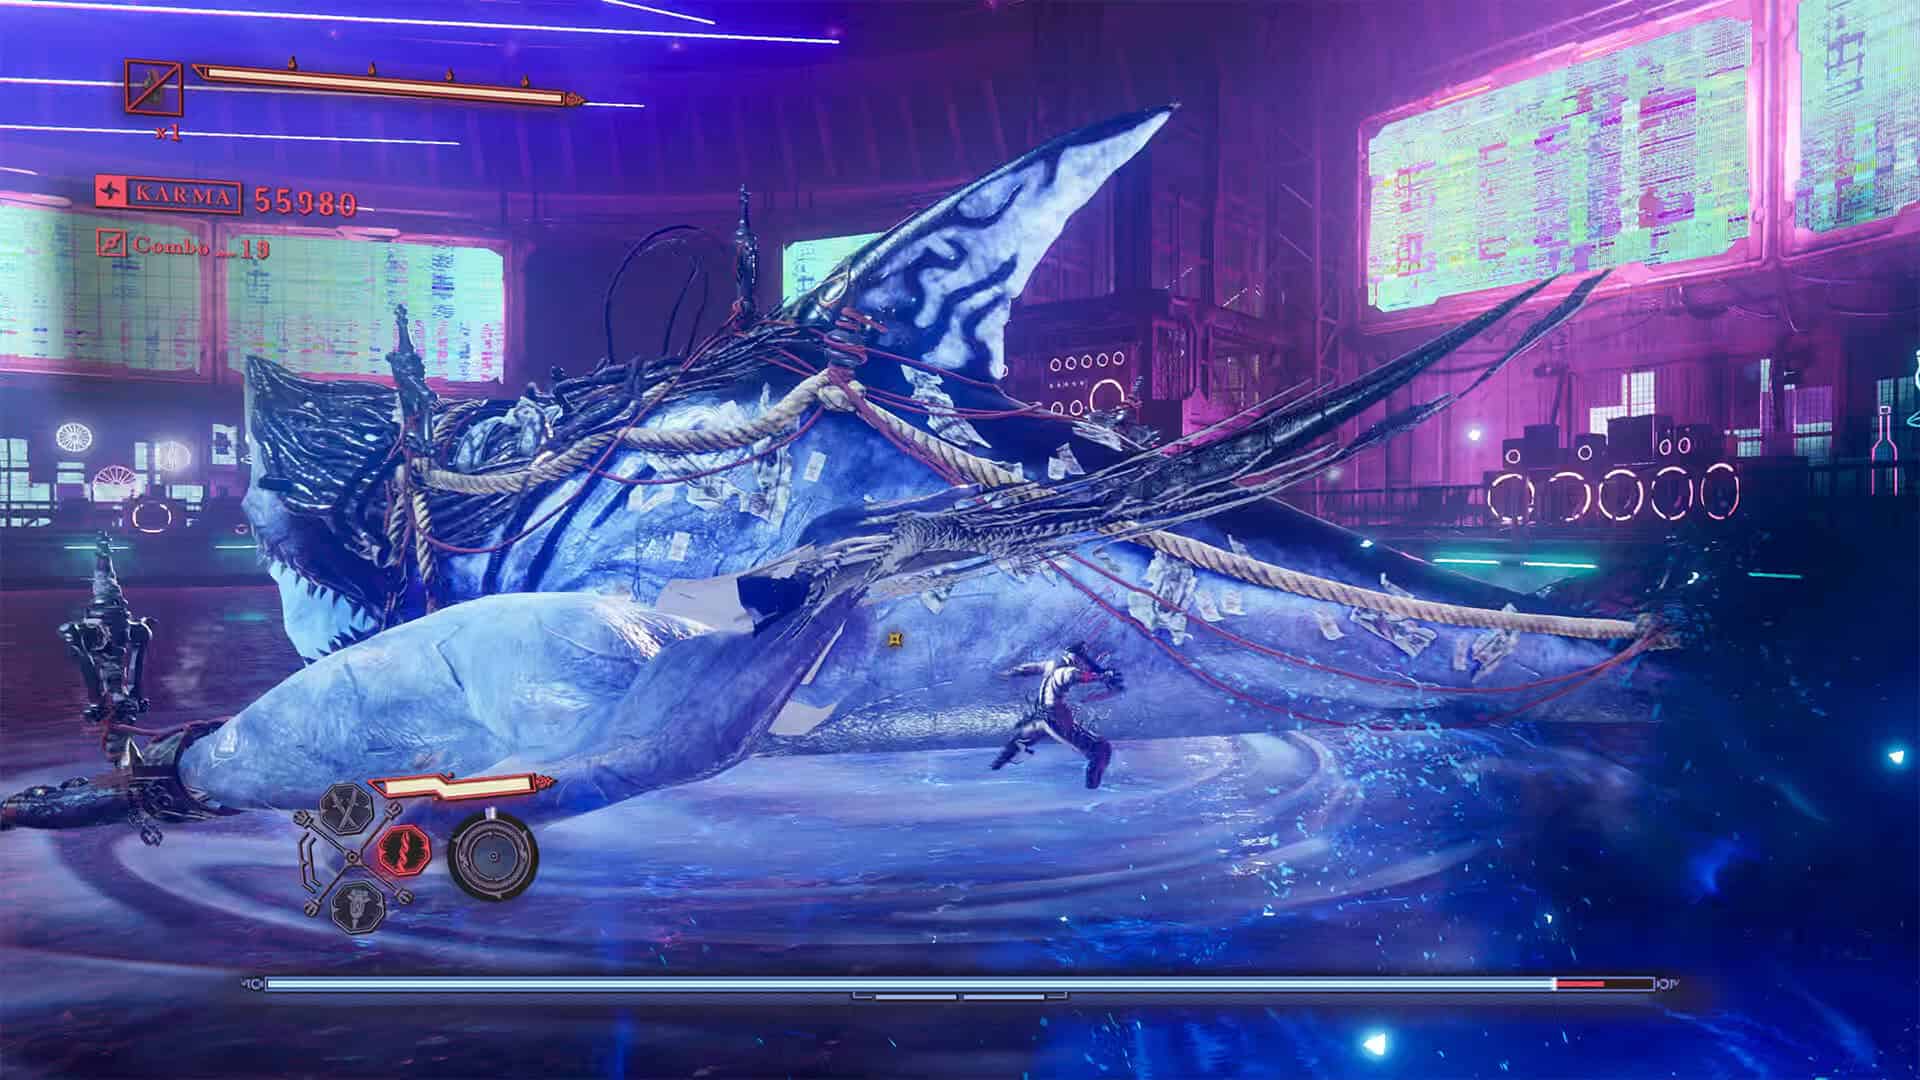
Let’s move on to the tactics for fighting this boss. I’ll say right away that I didn’t find the fight difficult. Perhaps because I’m already used to the bosses in this game. Your opponent, Cetus, moves a lot, but those movements are of little use. Try to always stay to the side of this shark. He cannot inflict damage with his fins. However, if you stand in front of his head, you risk being constantly attacked, which you will need to dodge.
In general, these attacks are easy to predict, and if you notice them, you can easily dodge them. In general, I used simple attacks on the boss, just delivering them quickly and hardly using any skills so as not to waste time on combo animations. In my opinion, in this fight, it is better to deal less damage per hit, but to deliver as many hits as possible. When Cetus summons small fish and other monsters, it is better to switch to Magatsuhi to quickly neutralize them.
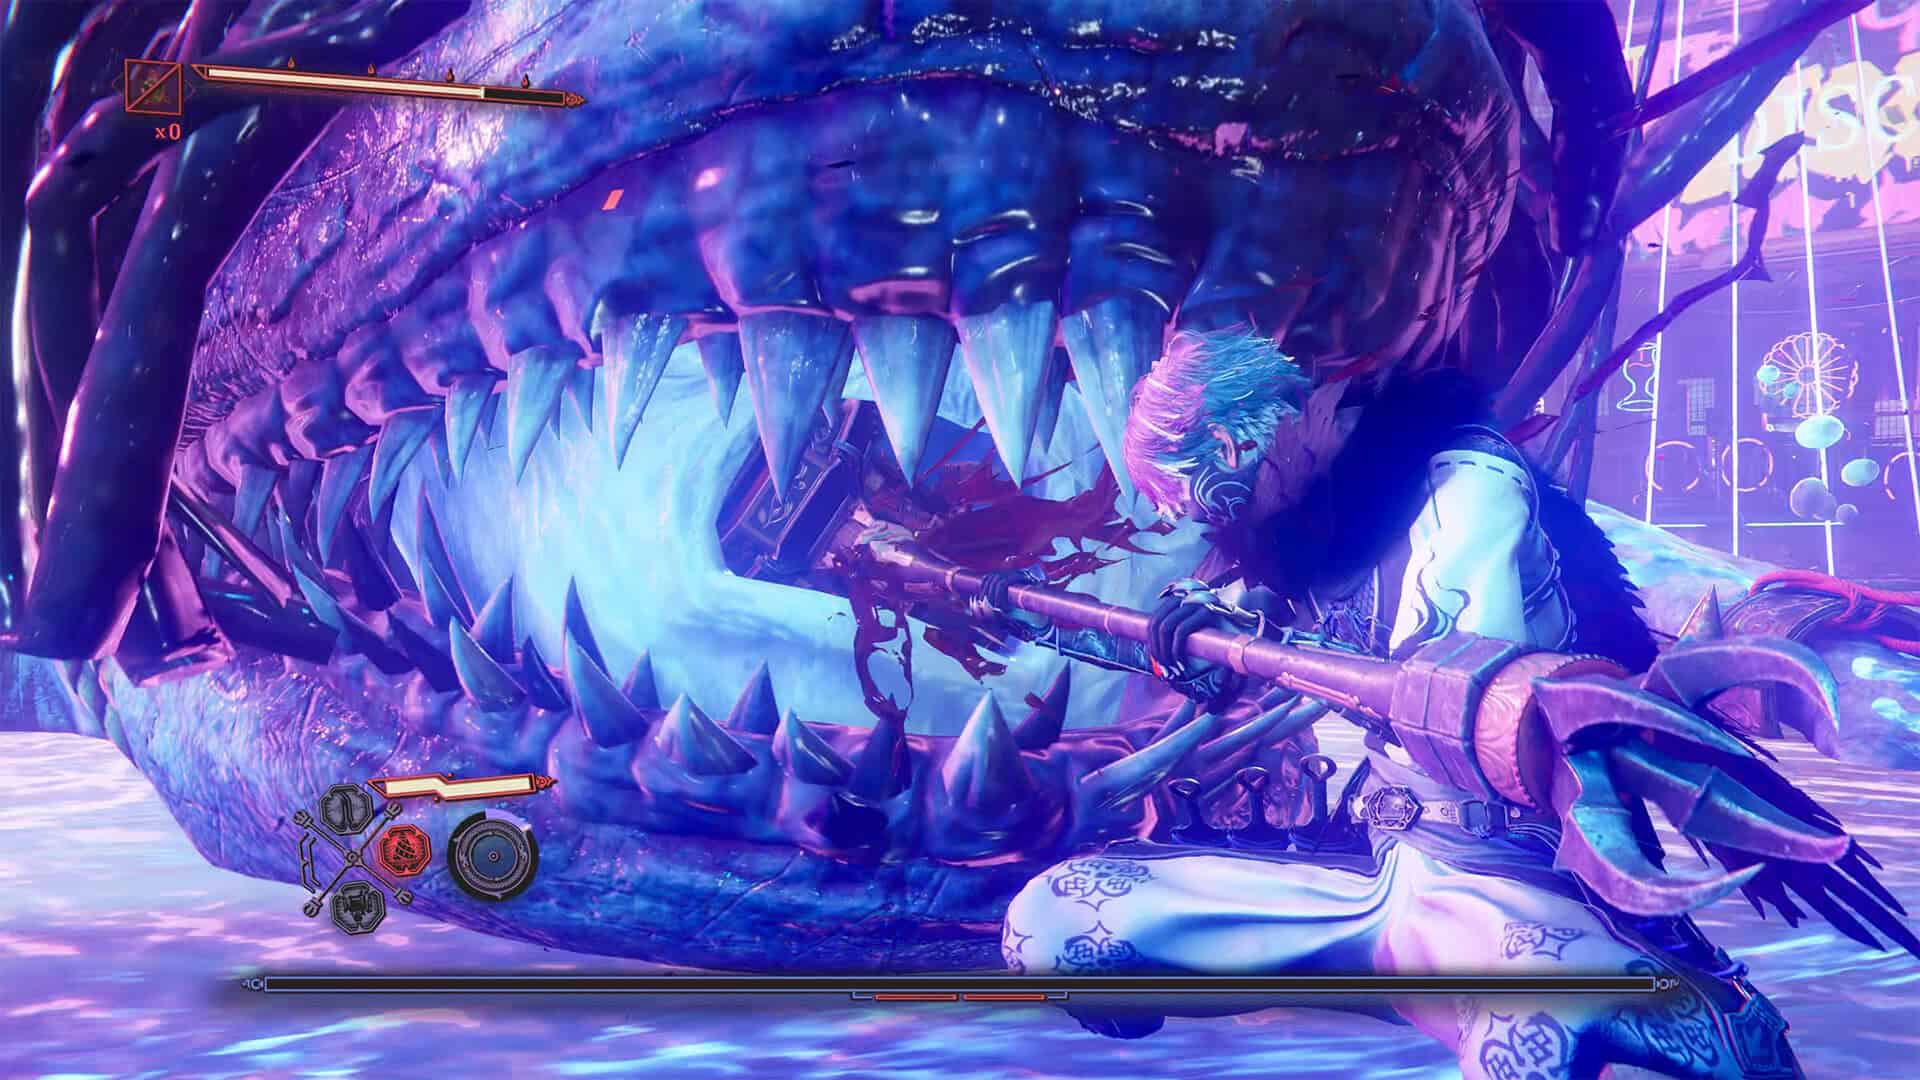
When Cetus dives underwater, you will see a circle of a different color on the surface of the water. At this time, you need to keep moving and avoid the enemy’s attacks from underwater. In general, Cetus has two phases that are as similar as possible. The second phase was expected to be more difficult, but this is not the case. The small attacks that Cetus receives in the second phase are avoided in the same way as all of his attacks in the first phase. When the berserk mode reaches its maximum level, I recommend switching to Yatousen and using the ultimate ability to deal maximum damage. I am sure you will be able to handle this opponent without any particular problems. Although it is large and formidable, it is not as difficult as it seems.
-
- Your opponent is the final boss, Cetus
-
- Try to attack the boss from the side
-
- A resounding victory over Cetus
-
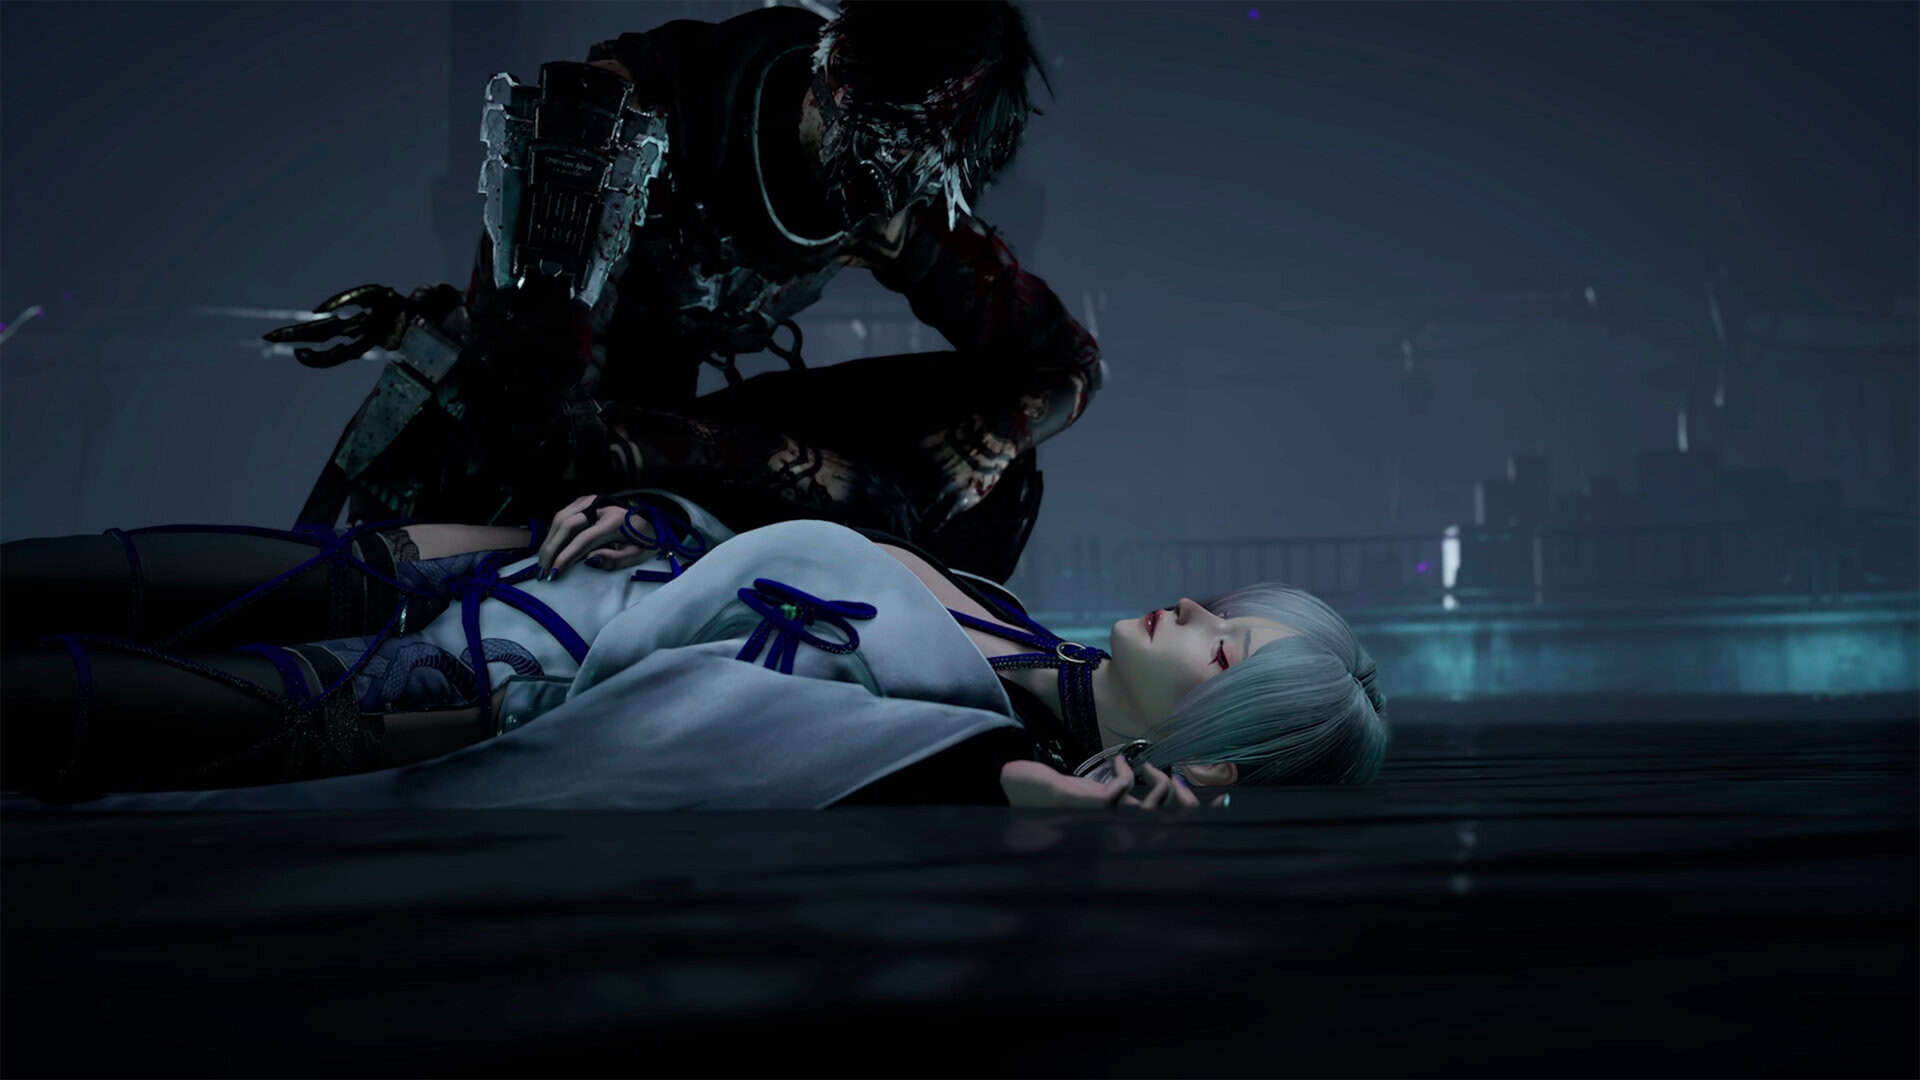
- Seori and her hero, Yakumo, are saved
New weapon – Kage-Hiruko
Of course, after winning, you will save Seori and receive a new weapon as a reward. This is a very necessary and useful weapon that you will use quite often in the future. This concludes Chapter 10 of Bounding Spirits, and all that remains is for me to congratulate you on completing it.
-
- Approaching new weapons

-
- New weapon – Kage-Hiruko