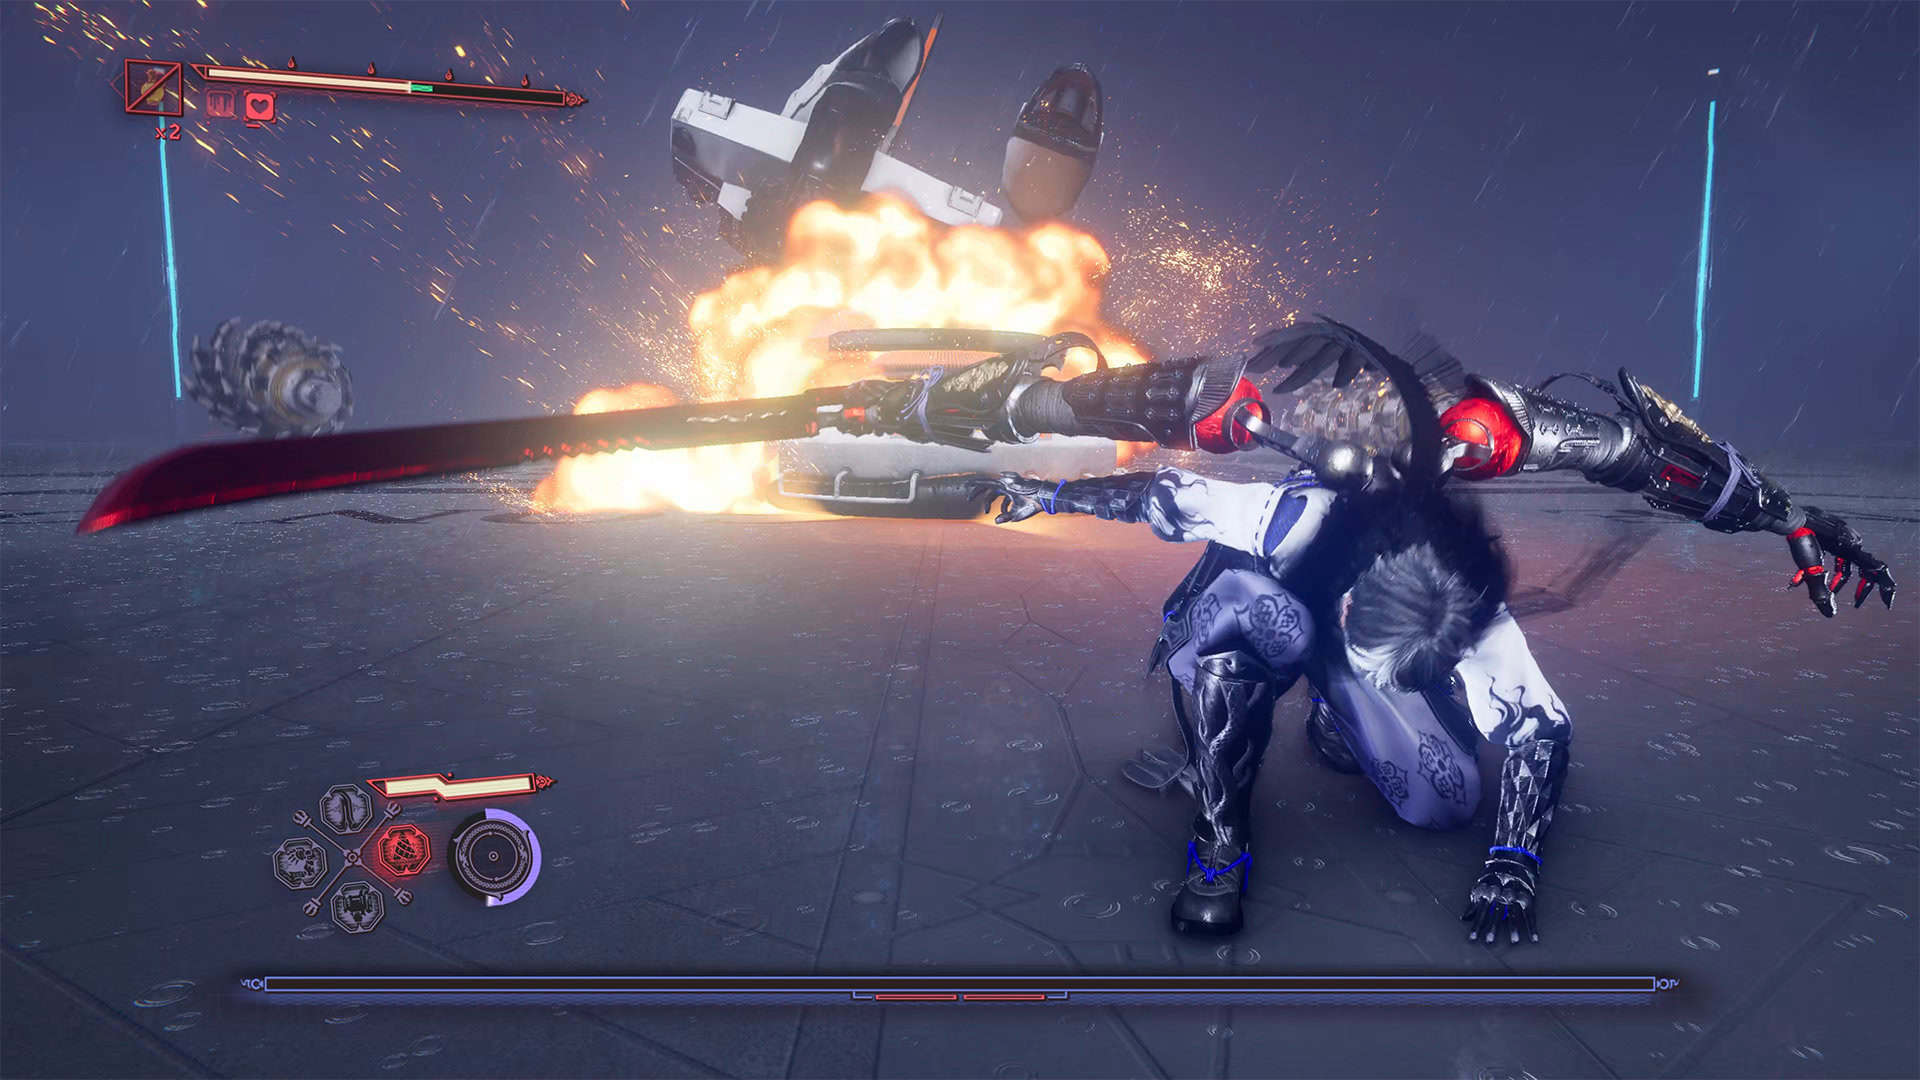
Infiltration is Chapter 11 of Ninja Gaiden 4, and I’m going to tell you all the main secrets of this chapter so you don’t miss anything important. In this chapter, you’ll be sliding a lot on the monorail, and often this experience won’t be too easy for you, so be prepared for the challenges of quick reactions. Here is the previous chapter, Bounding Spirits.
At the beginning, go to the DarkNest Terminal and activate all available quests.
Ninja Gaiden 4 chapter 11 Gourdy location
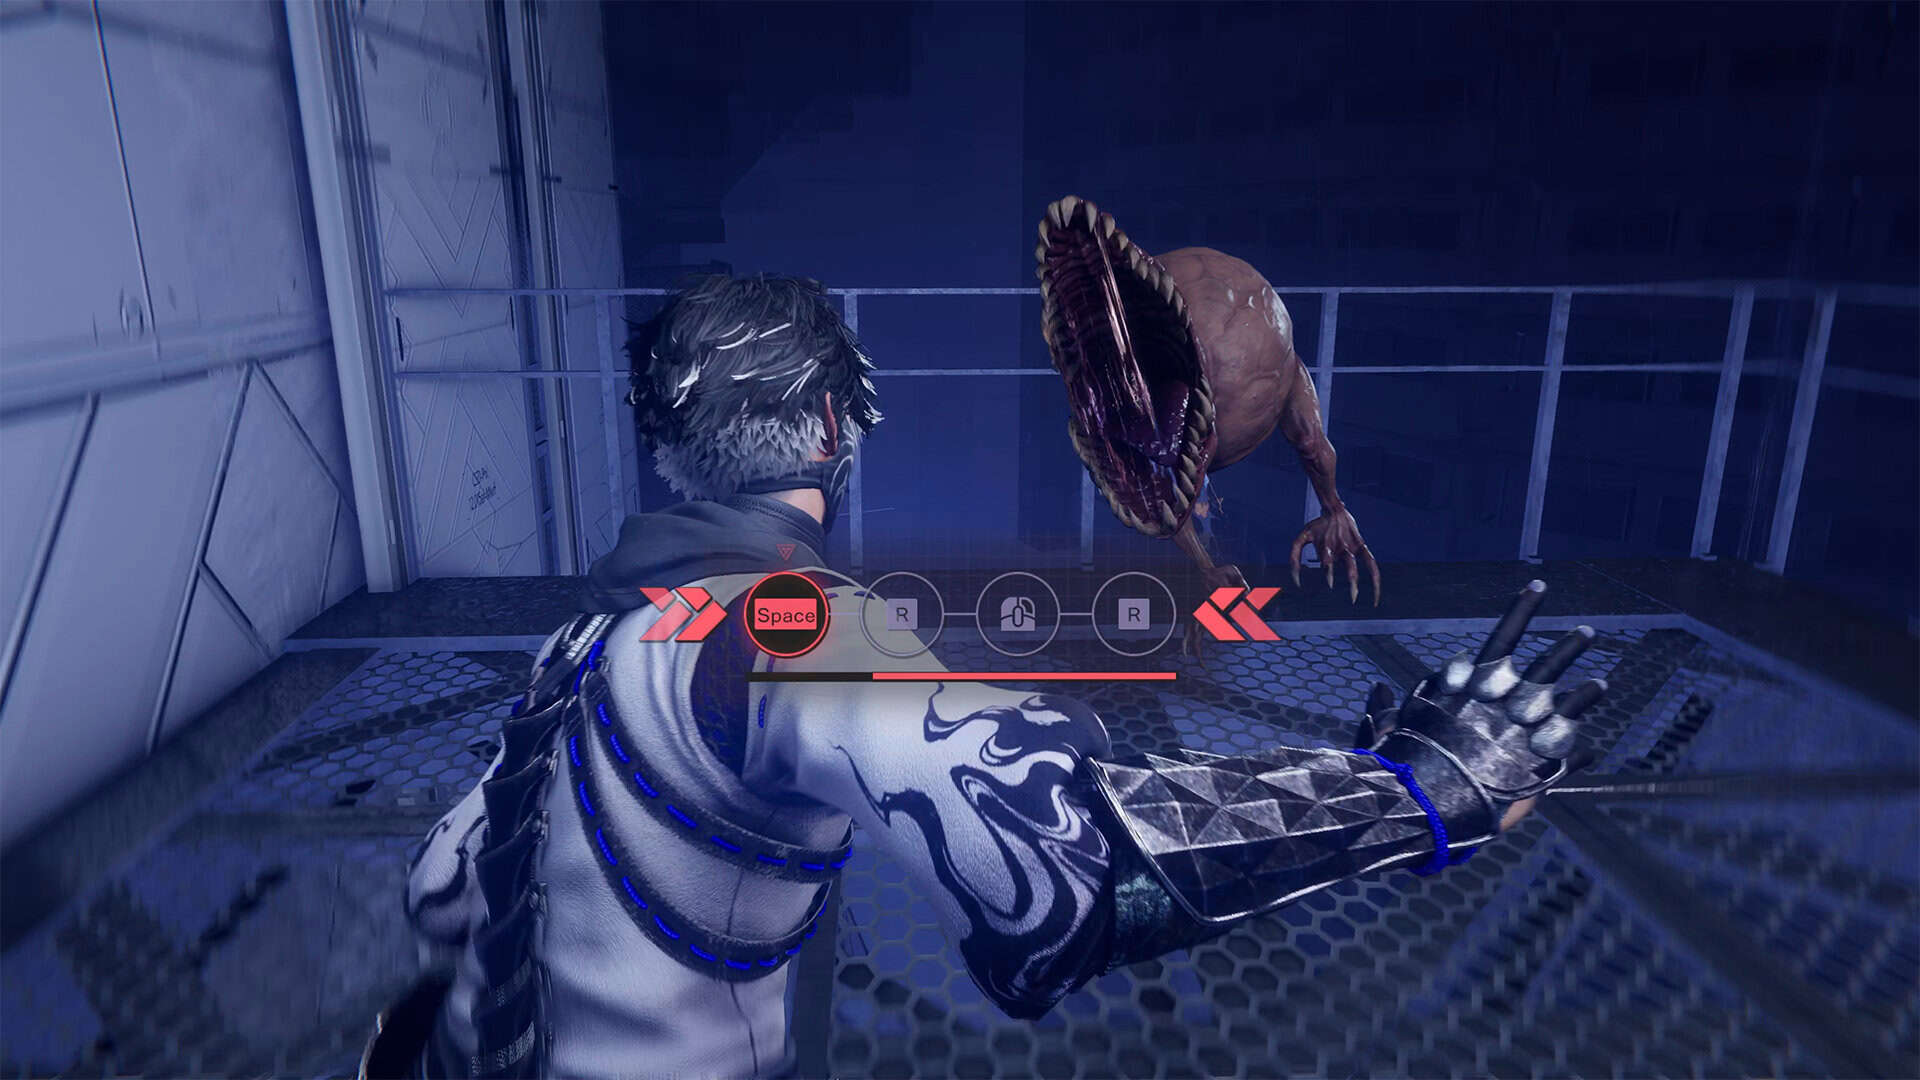
After several battles with enemies, you will reach the place I am showing you. Here, after you defeat all the enemies, do not rush to jump on the monorail to move on. At the end of the room, you need to go behind the container. Next, you will see stairs. Climb them, and you will see Gourdy standing on the platform, whom you need to catch. There is only one task here. Press all the necessary buttons in time, and you will catch this one.
-

- Ninja Gaiden 4 chapter 11 Gourdy location
-
- The task is to catch Gourdy
Ninja Gaiden 4 rail section
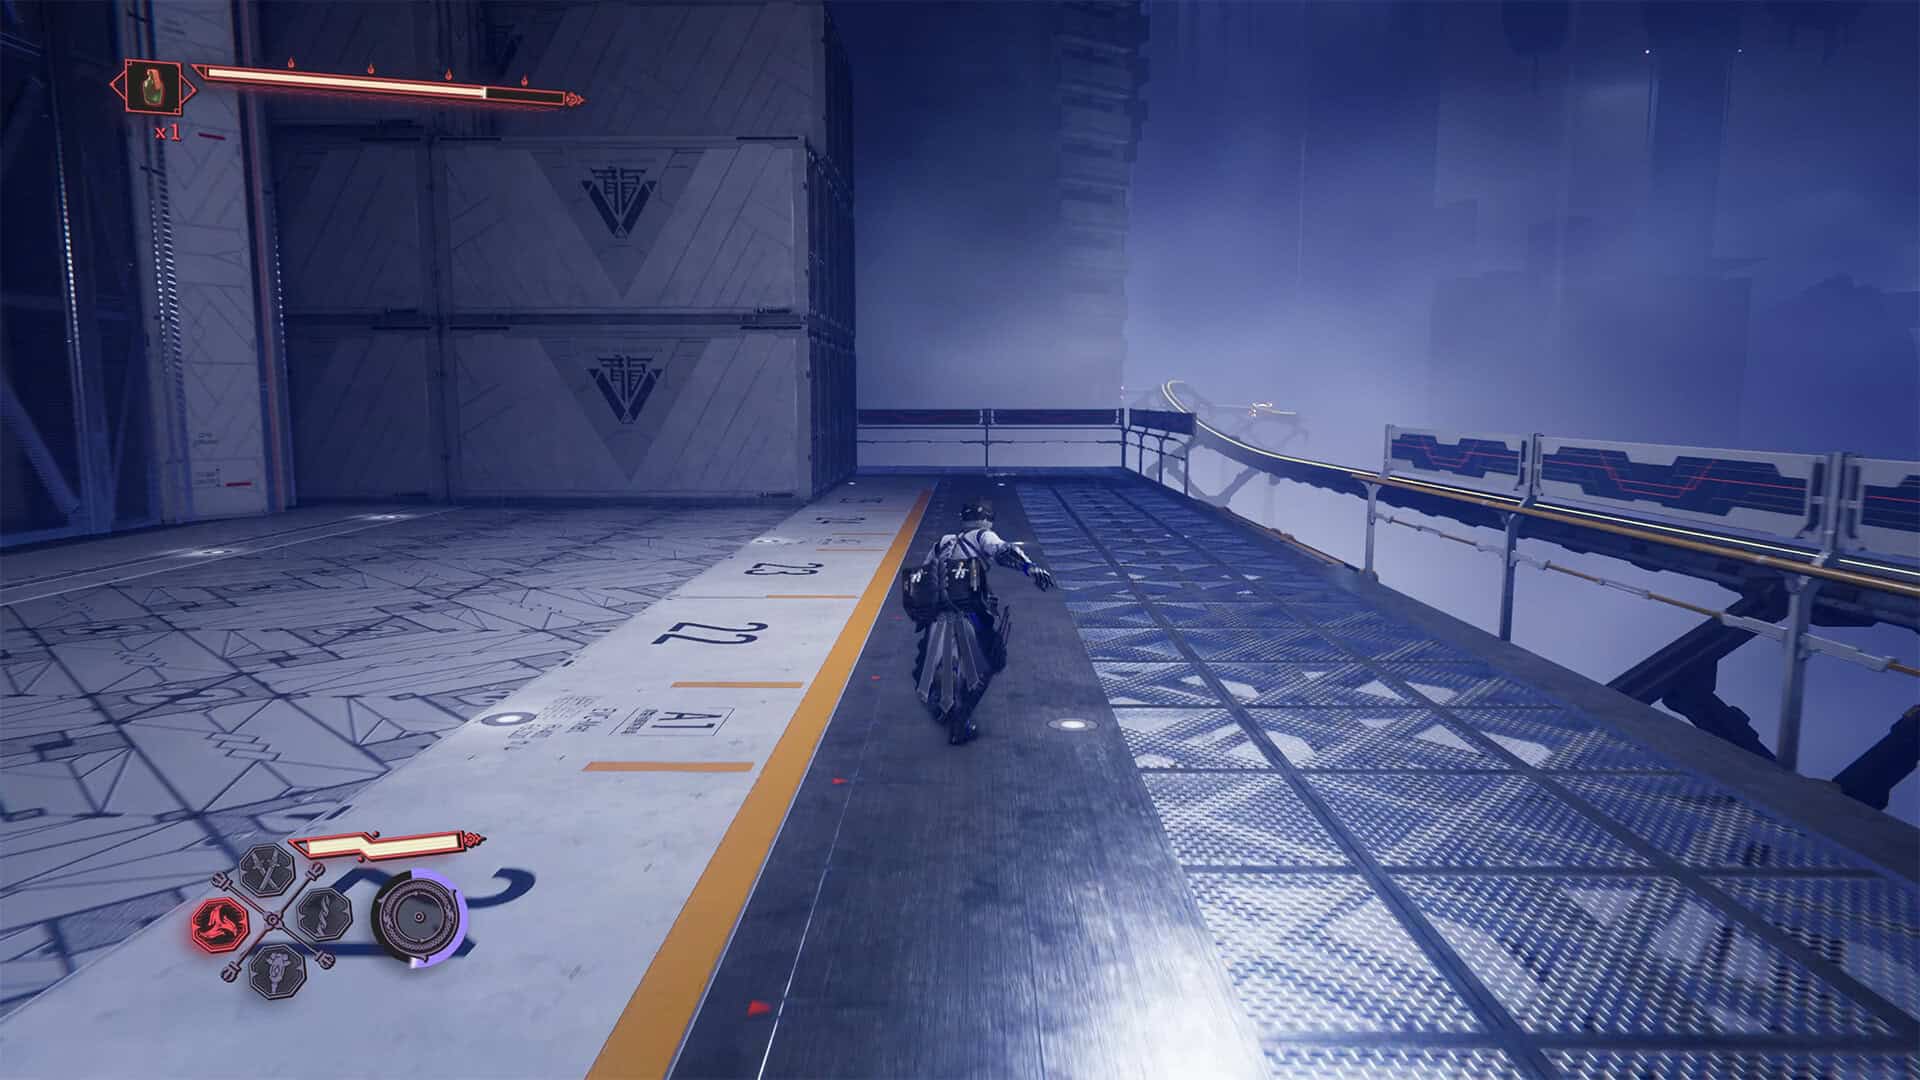
Next, you will embark on your first long monorail journey. Here, you need to prepare yourself for what will be the most difficult stage of the entire chapter. At first, everything is quite easy; you will glide and jump over obstacles. The difficulties will come later, and you need to be ready for them. Therefore, get used to the monorail movement and learn all the necessary buttons to perform the required actions in time. At the end of this path, you will fly with the air flow and then land on the platform through a grid of pipes. Move carefully in the air to minimize damage. A small fight awaits you on the platform.
After winning, move forward and climb up the narrow tunnel. Here, enemies will attack you from another platform, so use Kage-Hiruko to quickly neutralize them. After winning, jump onto this platform and climb up the narrow tunnel again. A ship will fly in and bring a new batch of soldiers that you must defeat to reach the DarkNest Terminal, where you can complete one quest and replenish all your necessary supplies.
-
- Ninja Gaiden 4 rail section

-
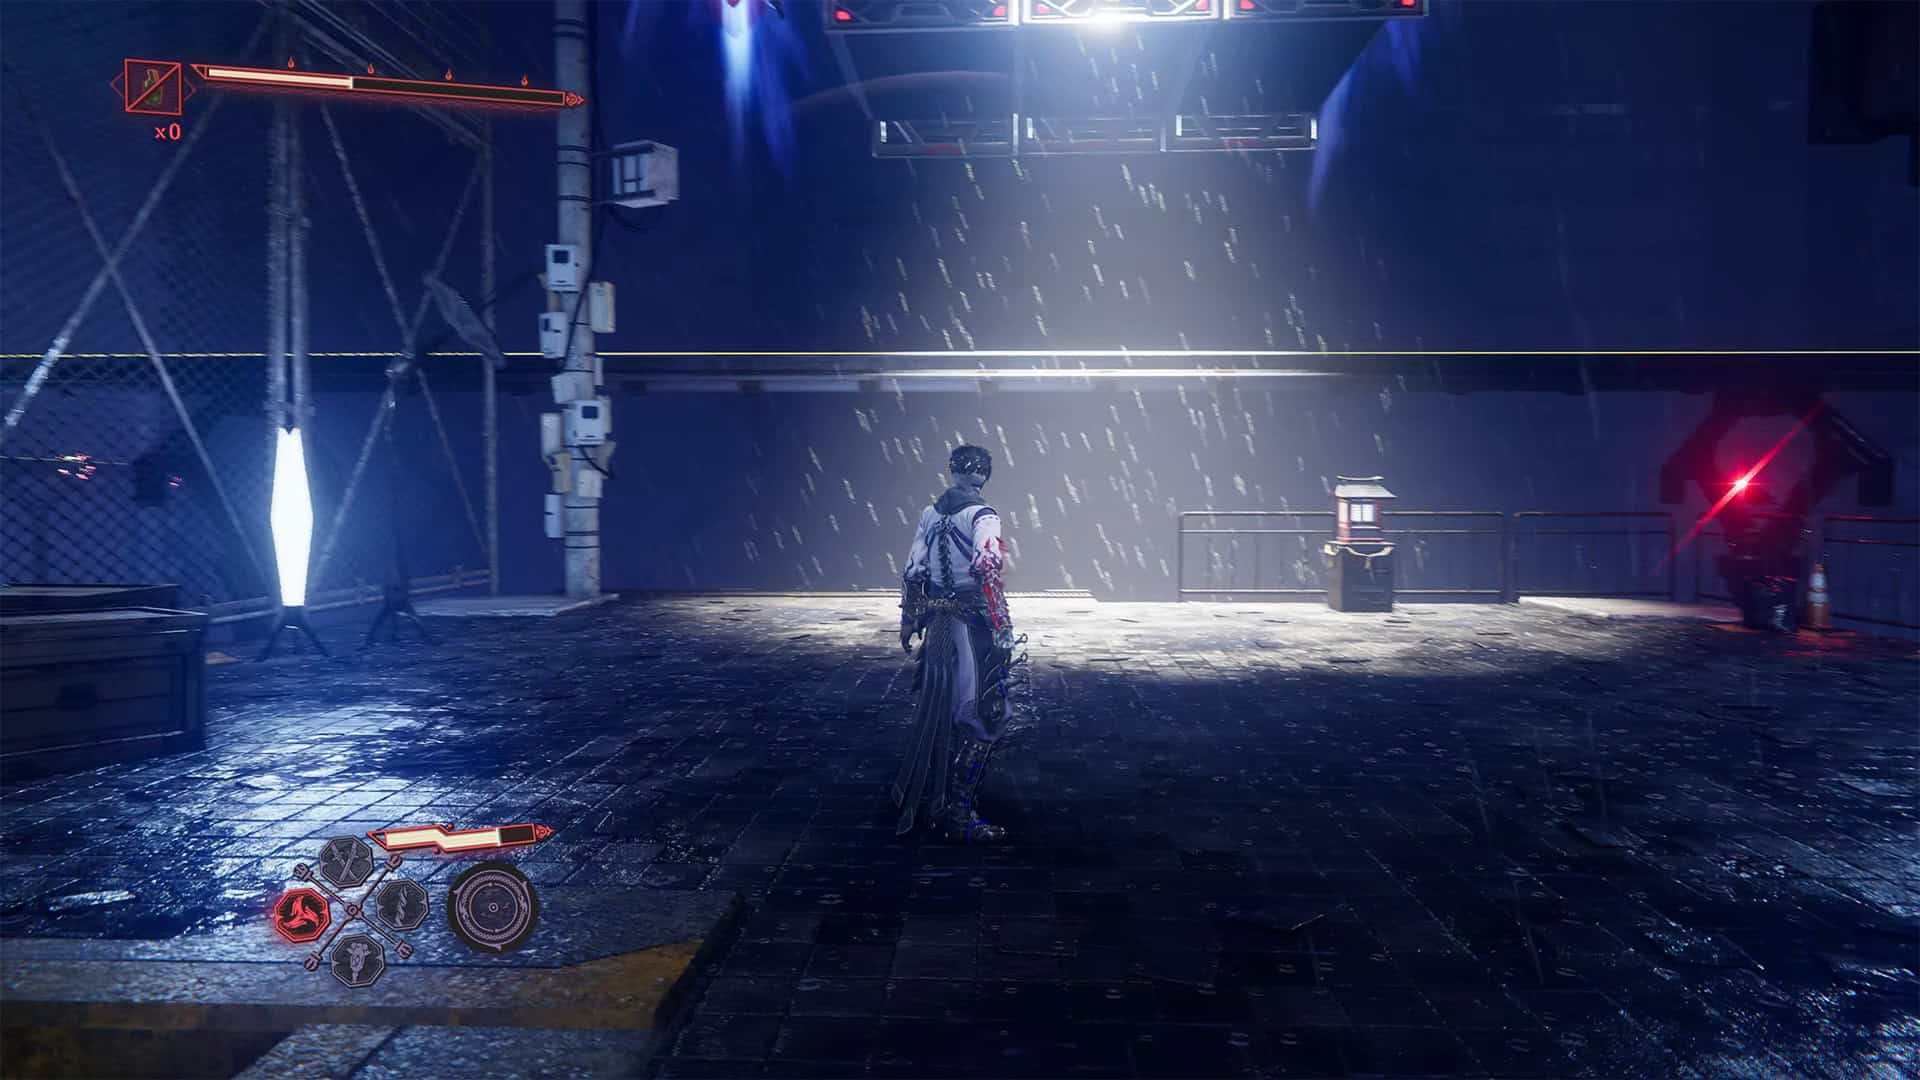
- The second DarkNest Terminal in Infiltration
How to destroy drones on rails
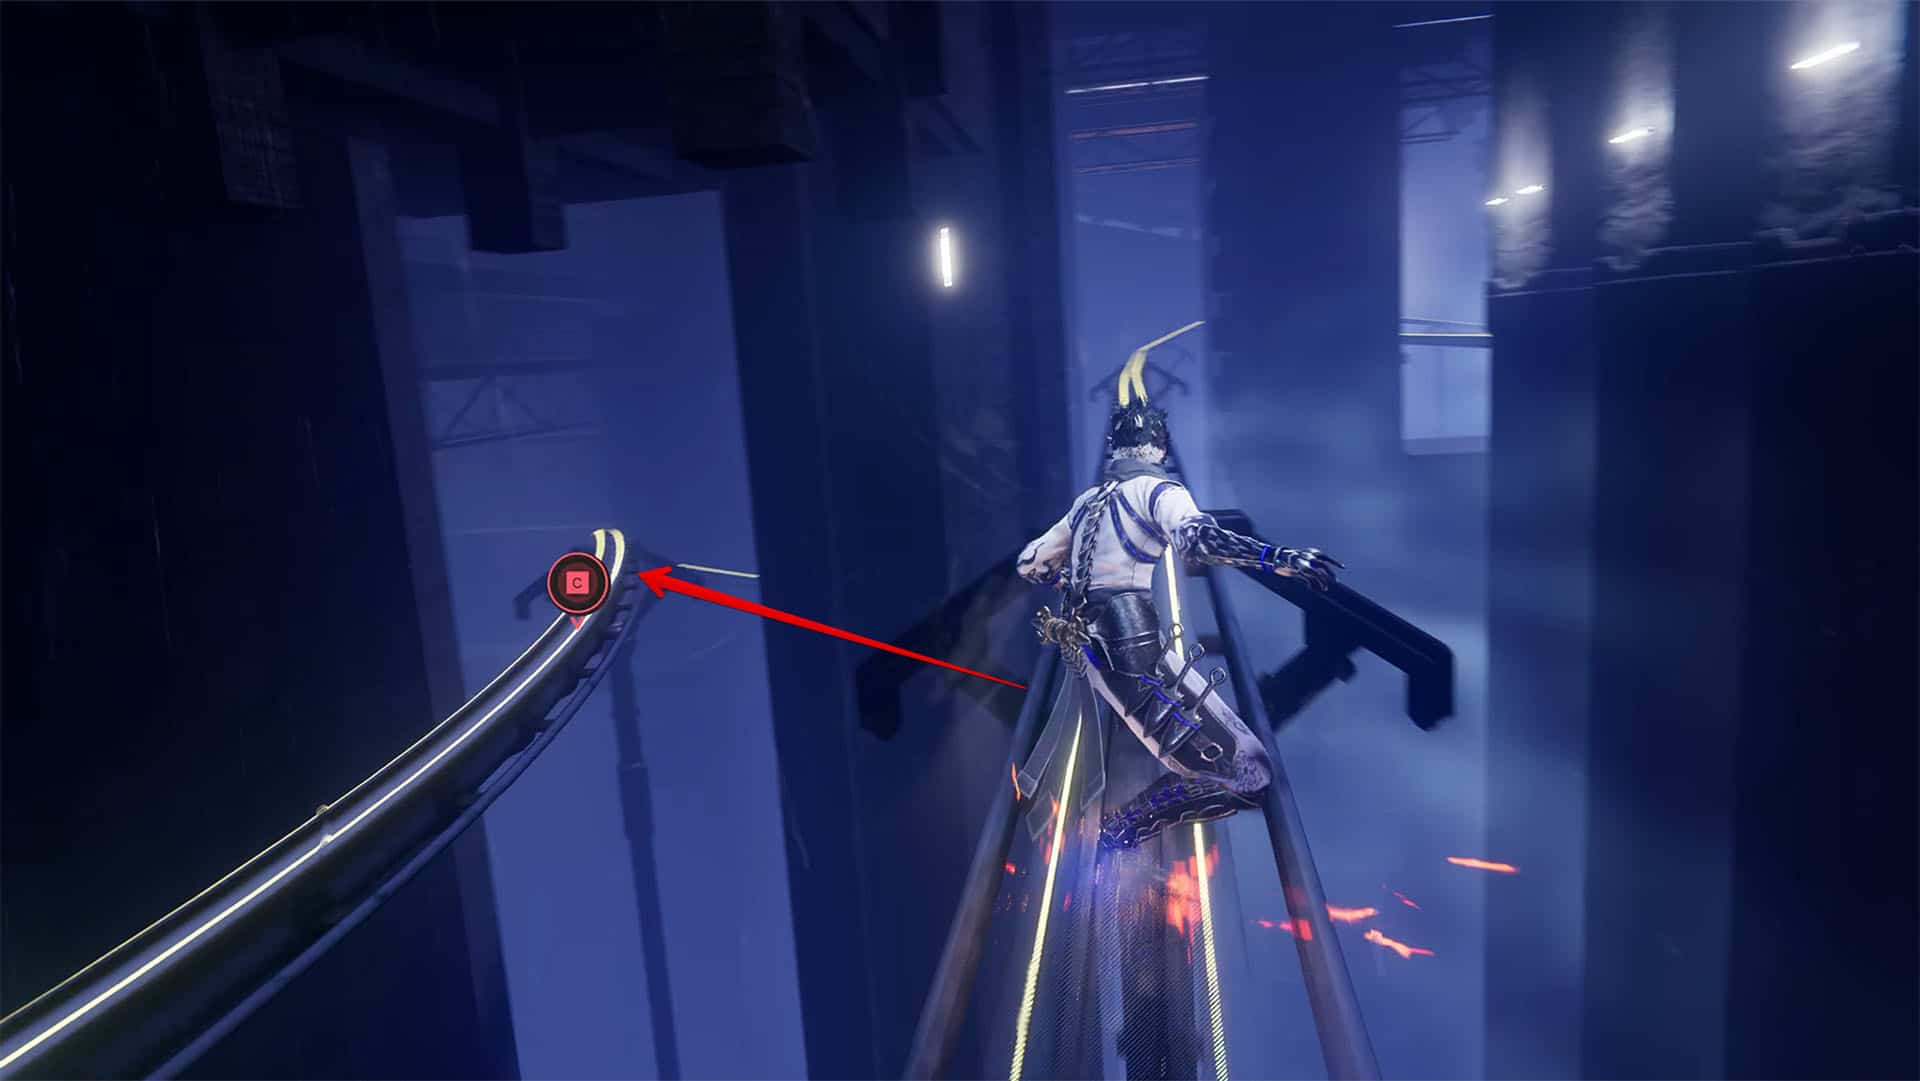
Next, you will face an extremely difficult journey on the monorail, which I did not conquer on my first try. At first, it’s easy: jump over and duck. Then run to the neighboring left rail. After jumping over the obstacle, run to the left rail again. There are several obstacles here again, then crouch and run to the center rail, as the train will be moving on the right and left. After the obstacle, run to the left again.
There will be an accelerator here that will speed up your slide. After accelerating, you need to jump three times to the right onto the outer rail. Crouch, jump over the obstacle, and now run twice to the left. Ahead, you will see a yellow wall on the left; you will need it to pass the section where there is no rail. After you jump off the wall, be very careful. You need to move to the left, to the leftmost rail.
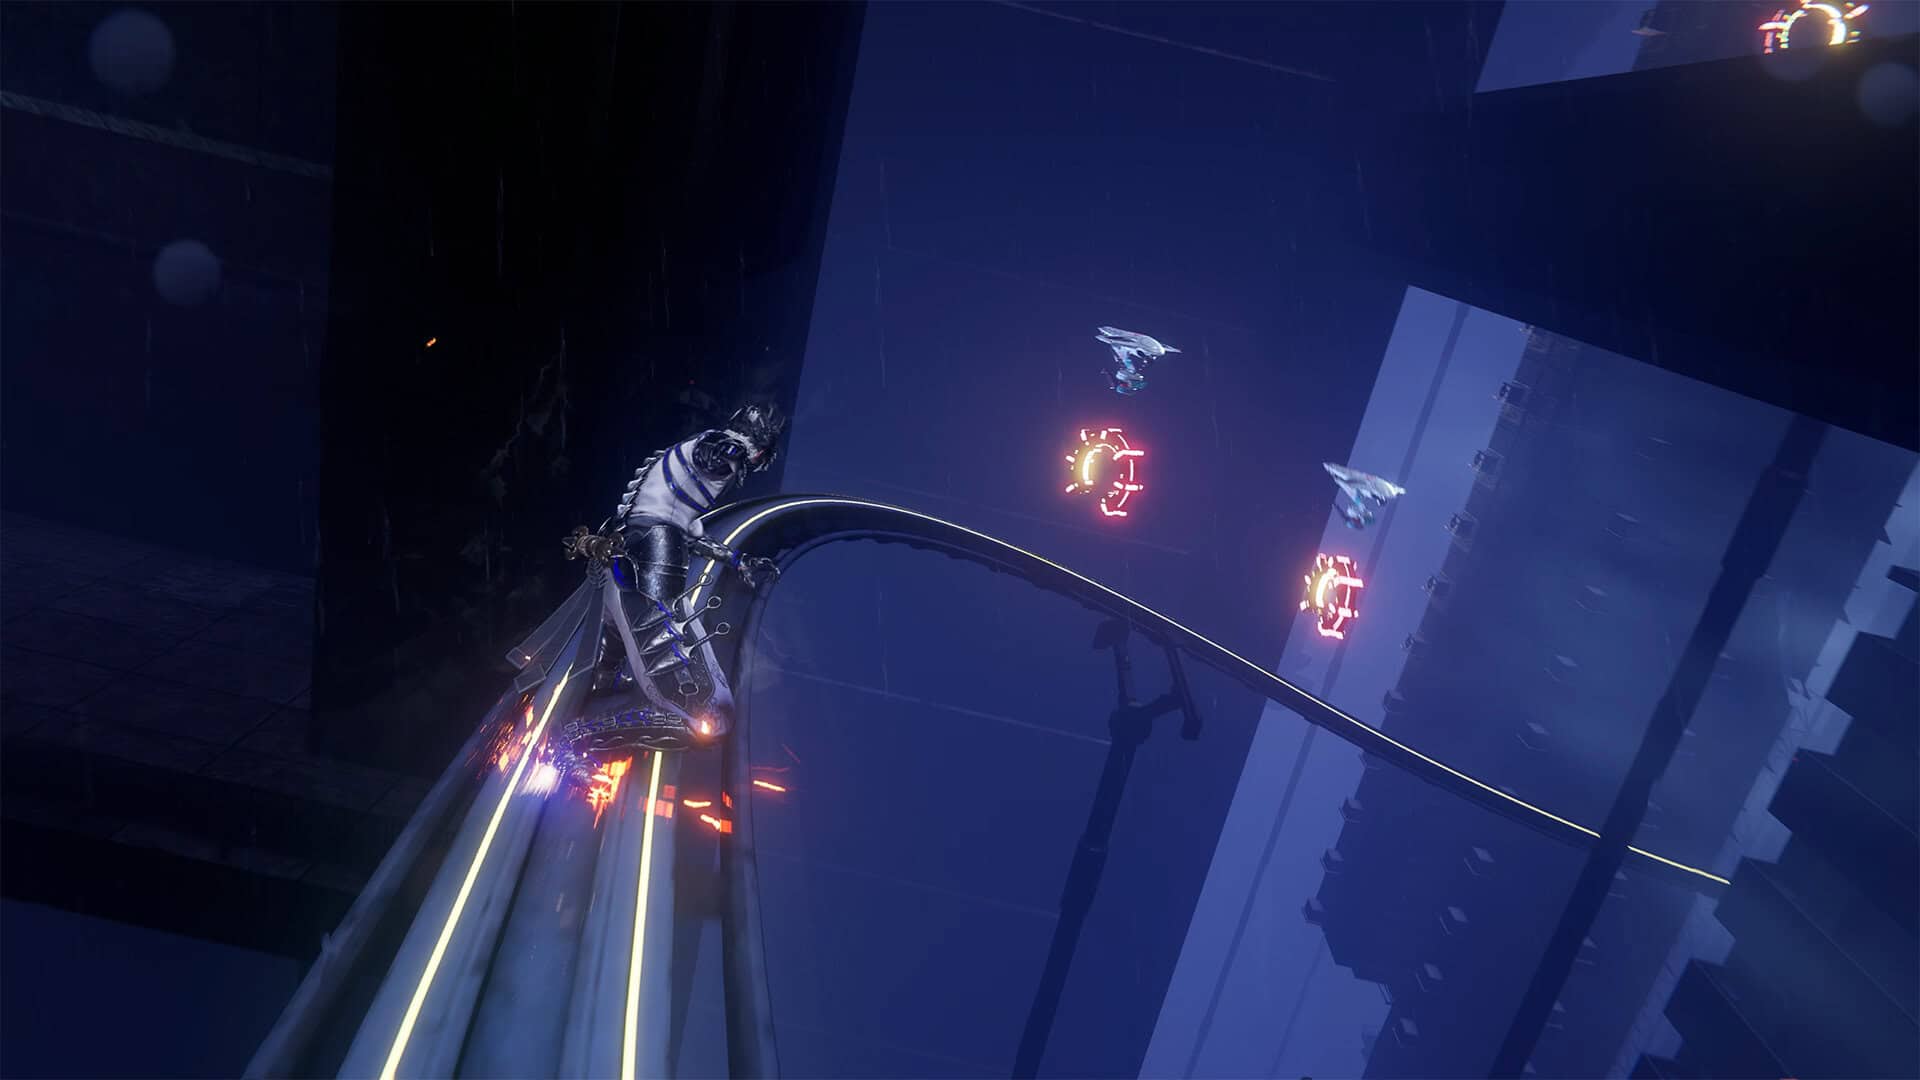
This rail will take you to a place where you can complete a side quest. If you don’t jump, you will simply pass this place and won’t be able to return to it. When you jump onto the correct rail, you will be attacked by flying drones. Shoot down as many as possible, as you need them to complete the side quest. By the way, I couldn’t complete this quest on my first playthrough, only on my second.
-
- The path to an additional quest
-
- Destroy drones on rails
Execute the DDO’s Special Defense Forces
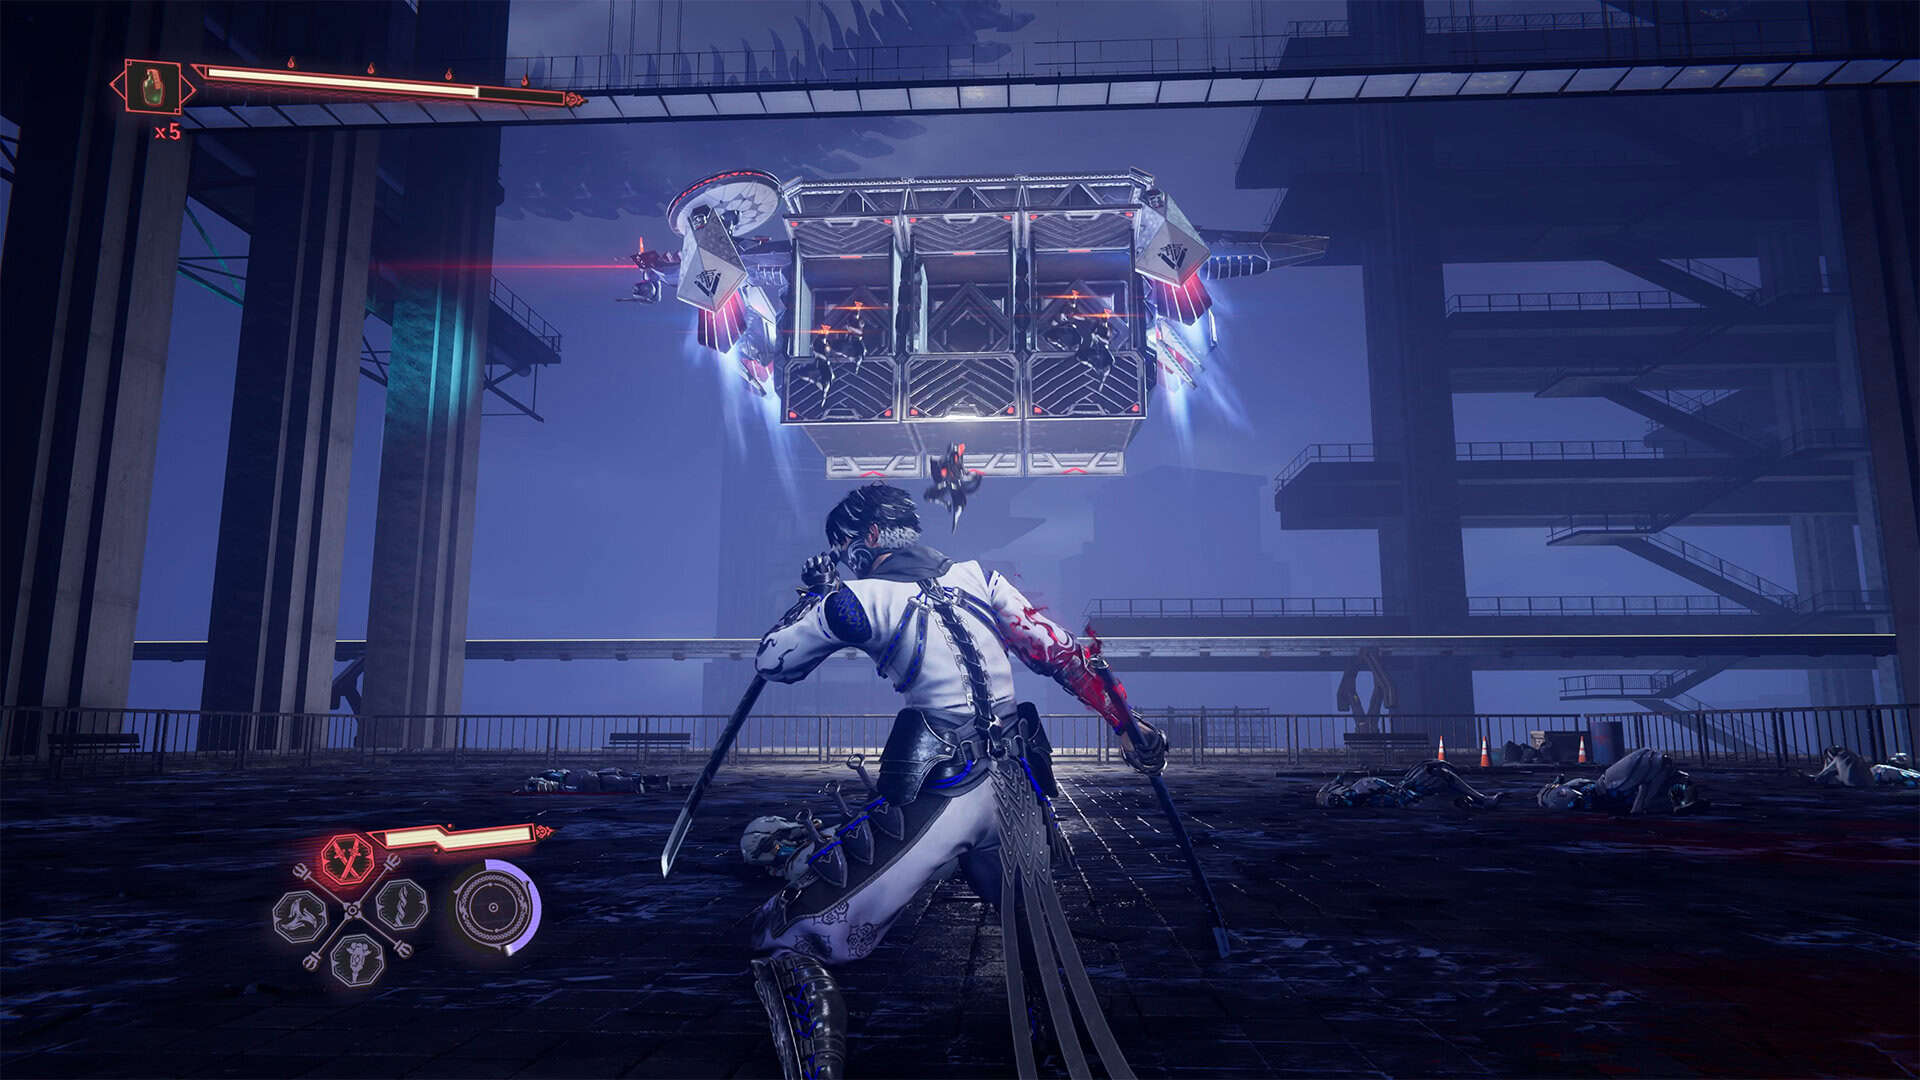
At the end of the rail, you will jump into a room where there will be a large number of soldiers. After you defeat them, a space shuttle will fly in and drop off a group of enemies. This is your additional task called Execute the DDO’s Special Defense Forces. After defeating all enemies, the task will be completed.
-
- New opponents have arrived for the quest
-
- Execute the DDO’s Special Defense Forces

Ninja Gaiden 4 Phantasmal Herb location
After completing the task, jump onto the monorail to move on. It is short and simple. You will find yourself in a room where you need to defeat a large number of enemies. Please note that there are also soldiers on the second floor of this room who are shooting at you. At a certain stage of the battle, you need to jump up there to deal with them. Overall, this battle is not difficult, there are no tough opponents here, and you will easily cope. After winning, turn around to open the first chest in this chapter and get the Life Elixir.
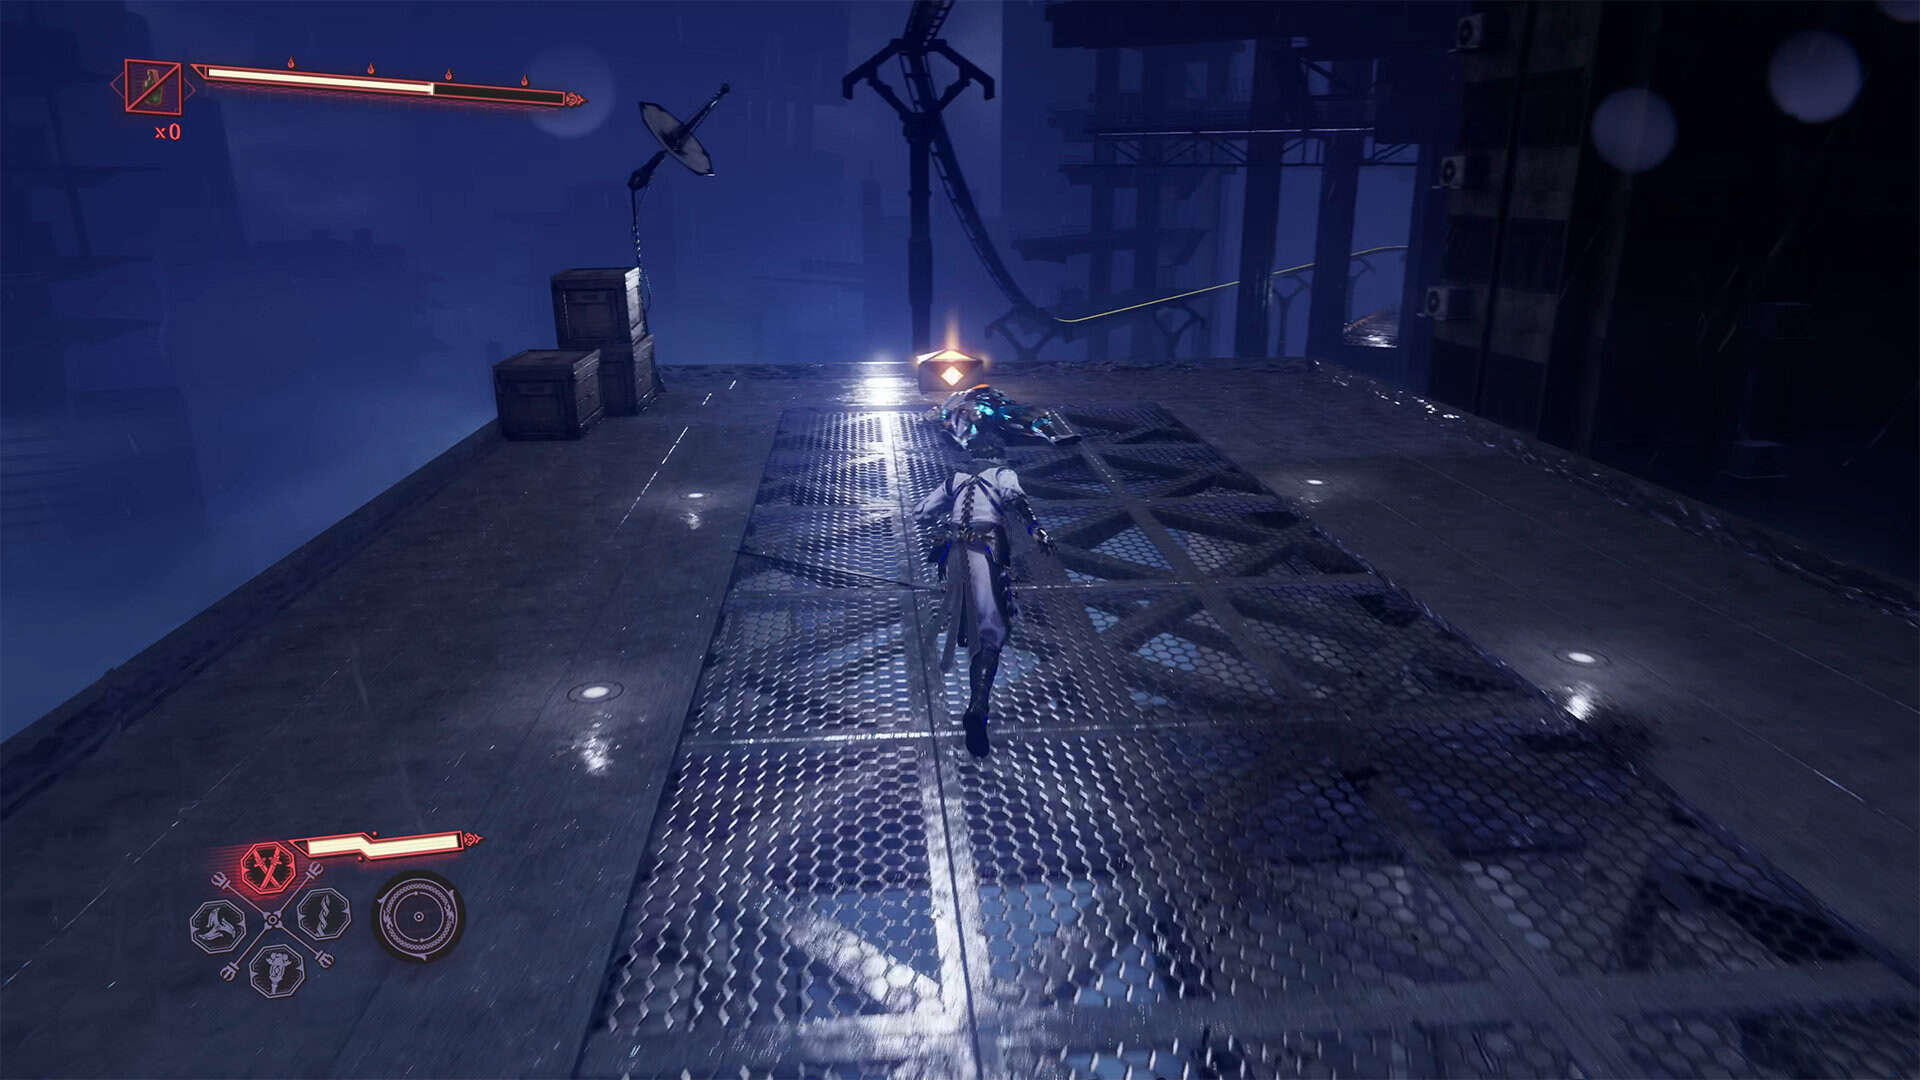
Keep moving. There are no branches here, so you can easily find where to go. Once you jump onto the monorail, be careful. After traveling a short distance, you will see a platform on the left with four chests on it. To get to this platform, you need to jump off the monorail. If you don’t, your character will simply pass by and you won’t be able to return here. On the platform, you need to defeat a small group of enemies, after which you will be able to open all the chests and get the Divine Life Elixir, Life Elixir, Phantasmal Herb, and Incense of Rebirth. Don’t miss this place.
-
- First chest in the Infiltration chapter
-
- Area with four chests (Phantasmal Herb)
Ninja Gaiden 4 chapter 11 Purgatory Gate
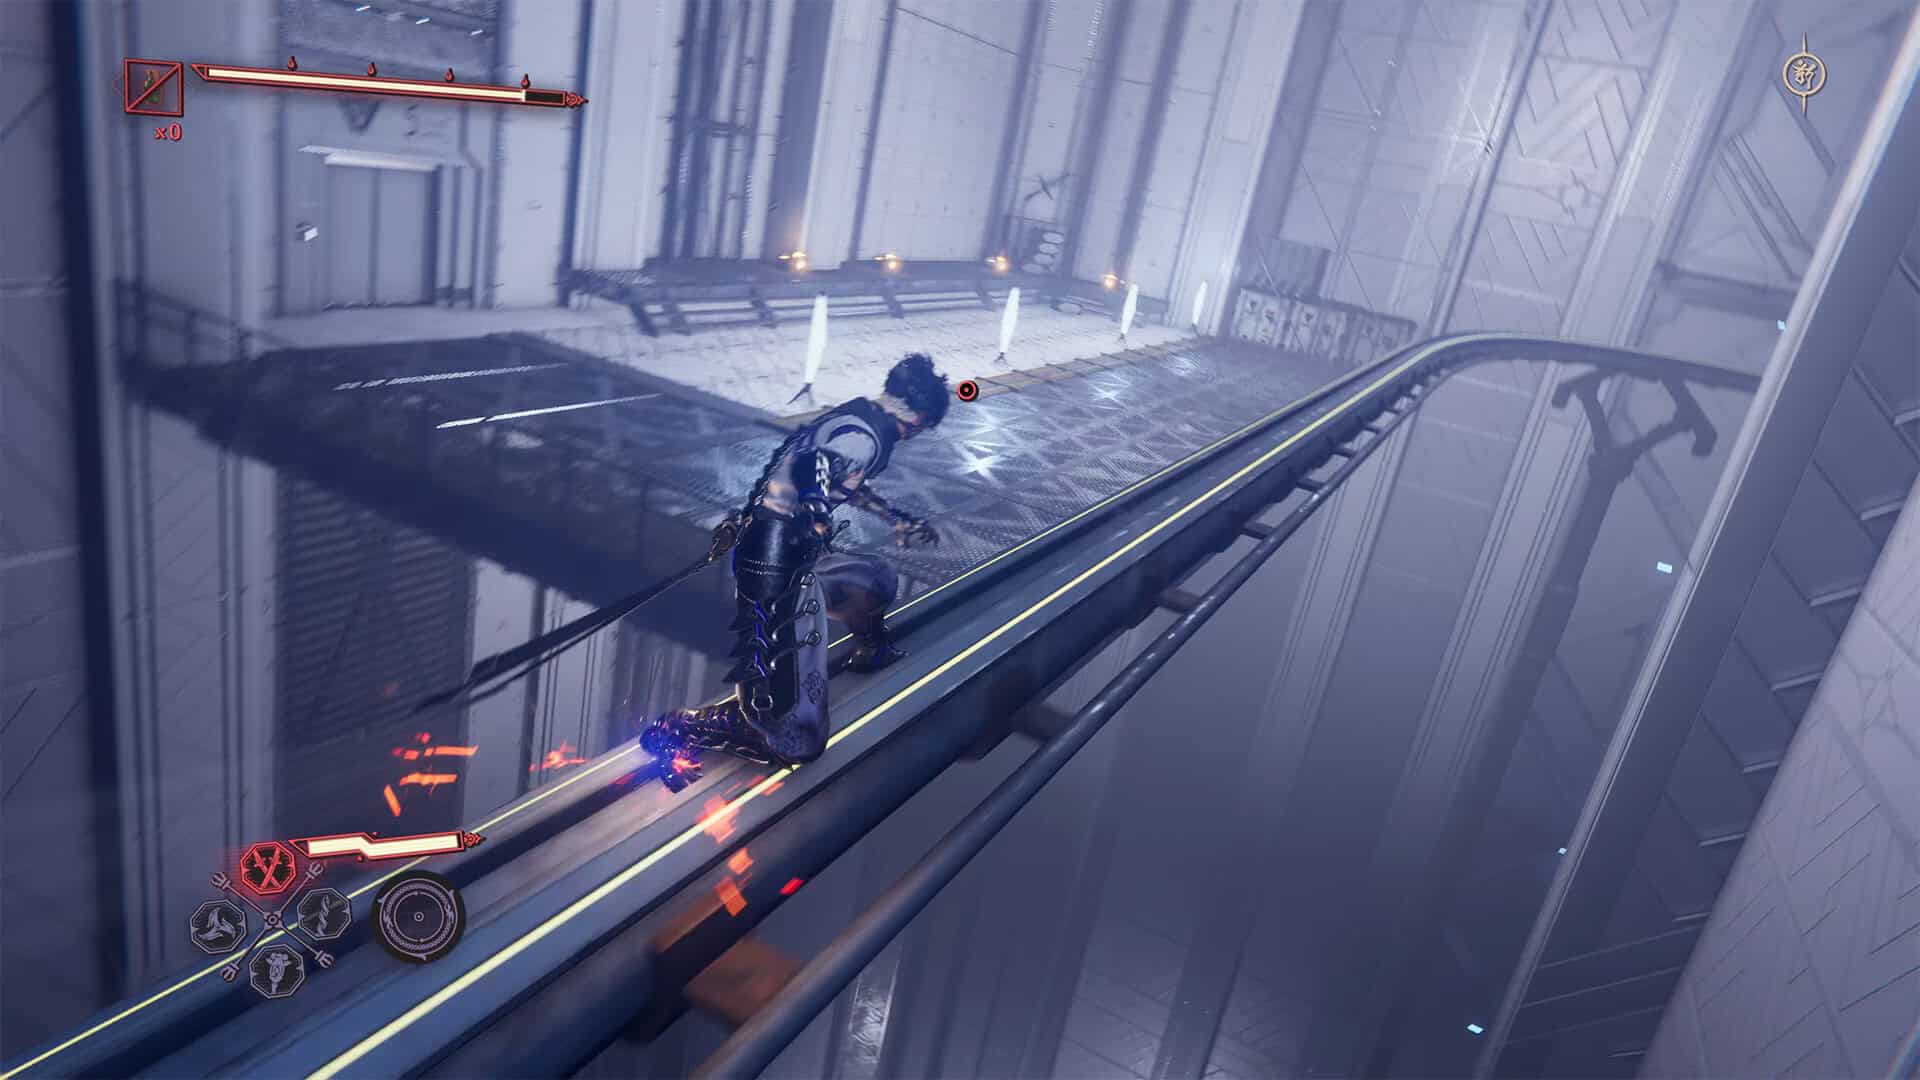
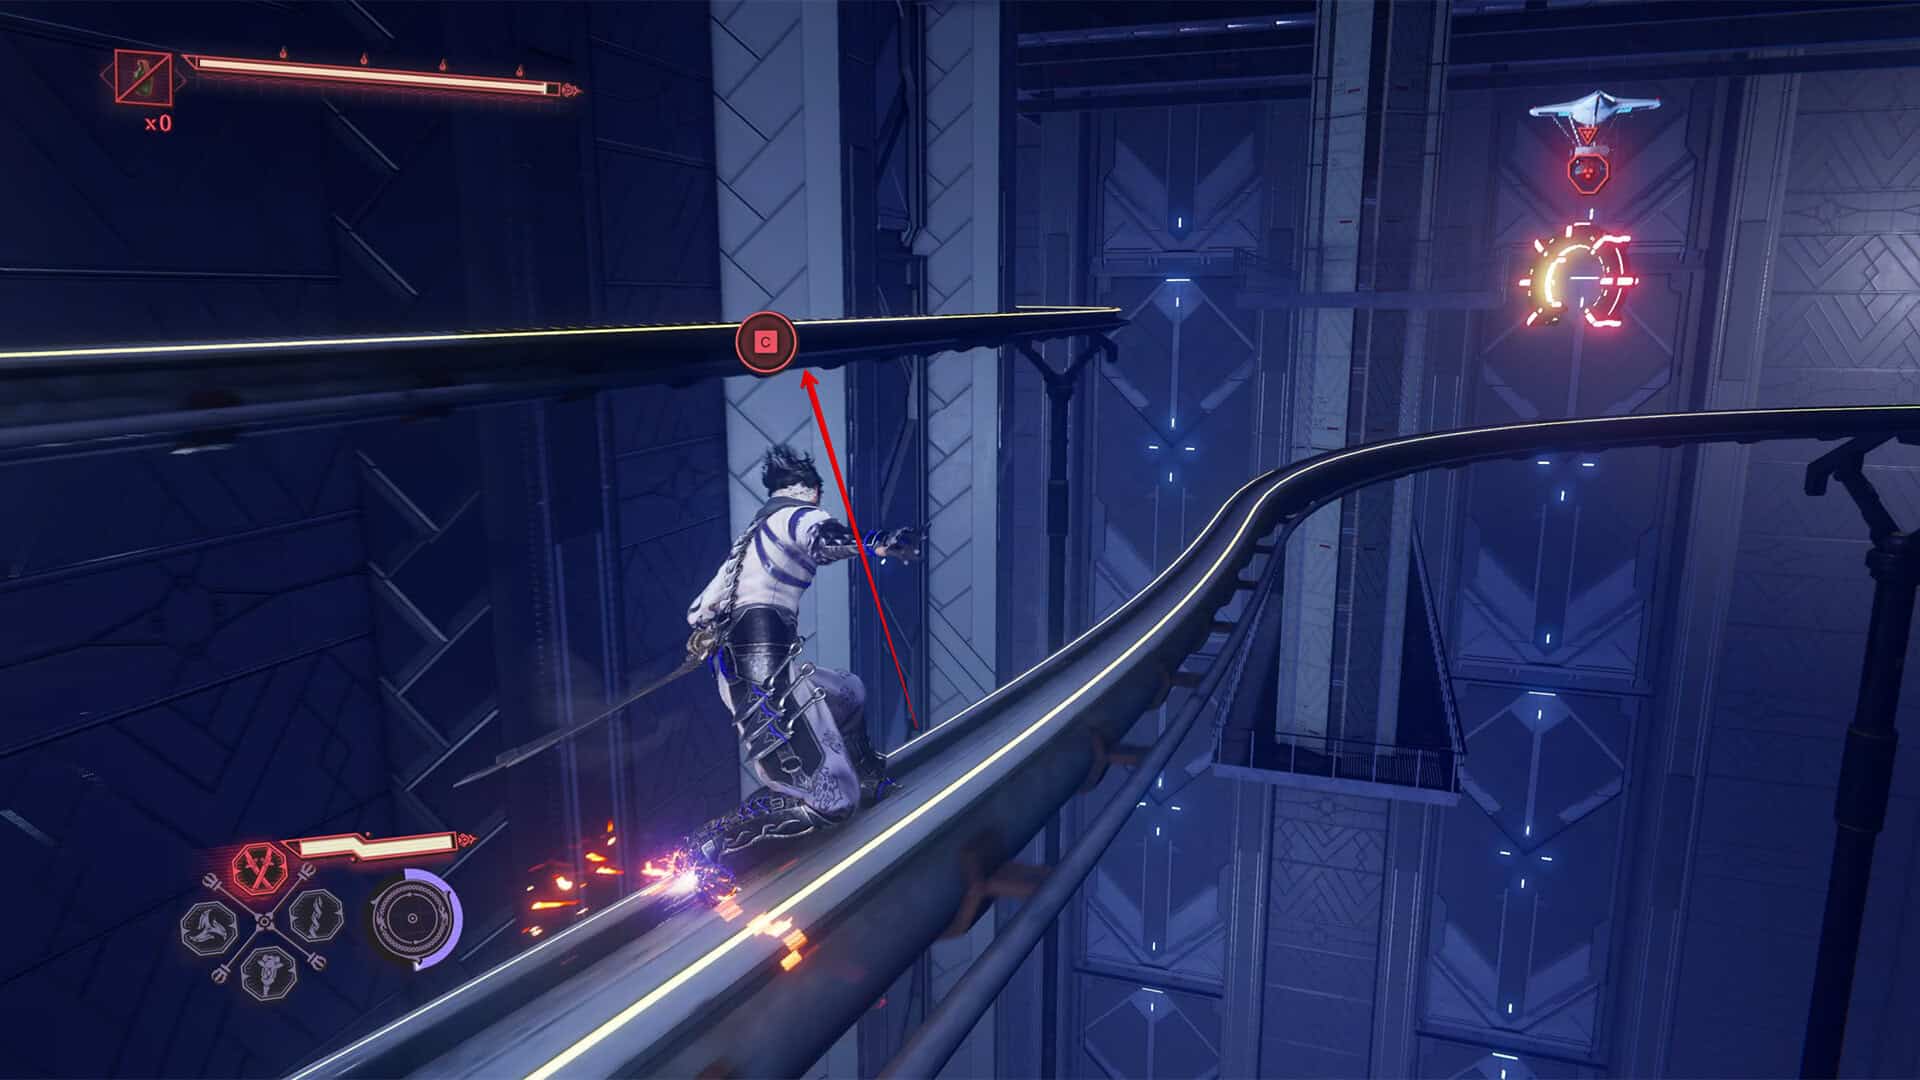
Next, your path forward again goes through a monorail. This is a simple section of the route where you need to jump over to the adjacent rail several times. Along the way, you will see flying drones, so be sure to shoot them down with shurikens to progress through the additional quest. After jumping over several obstacles, you will find yourself in the room where the Purgatory Gate is located.
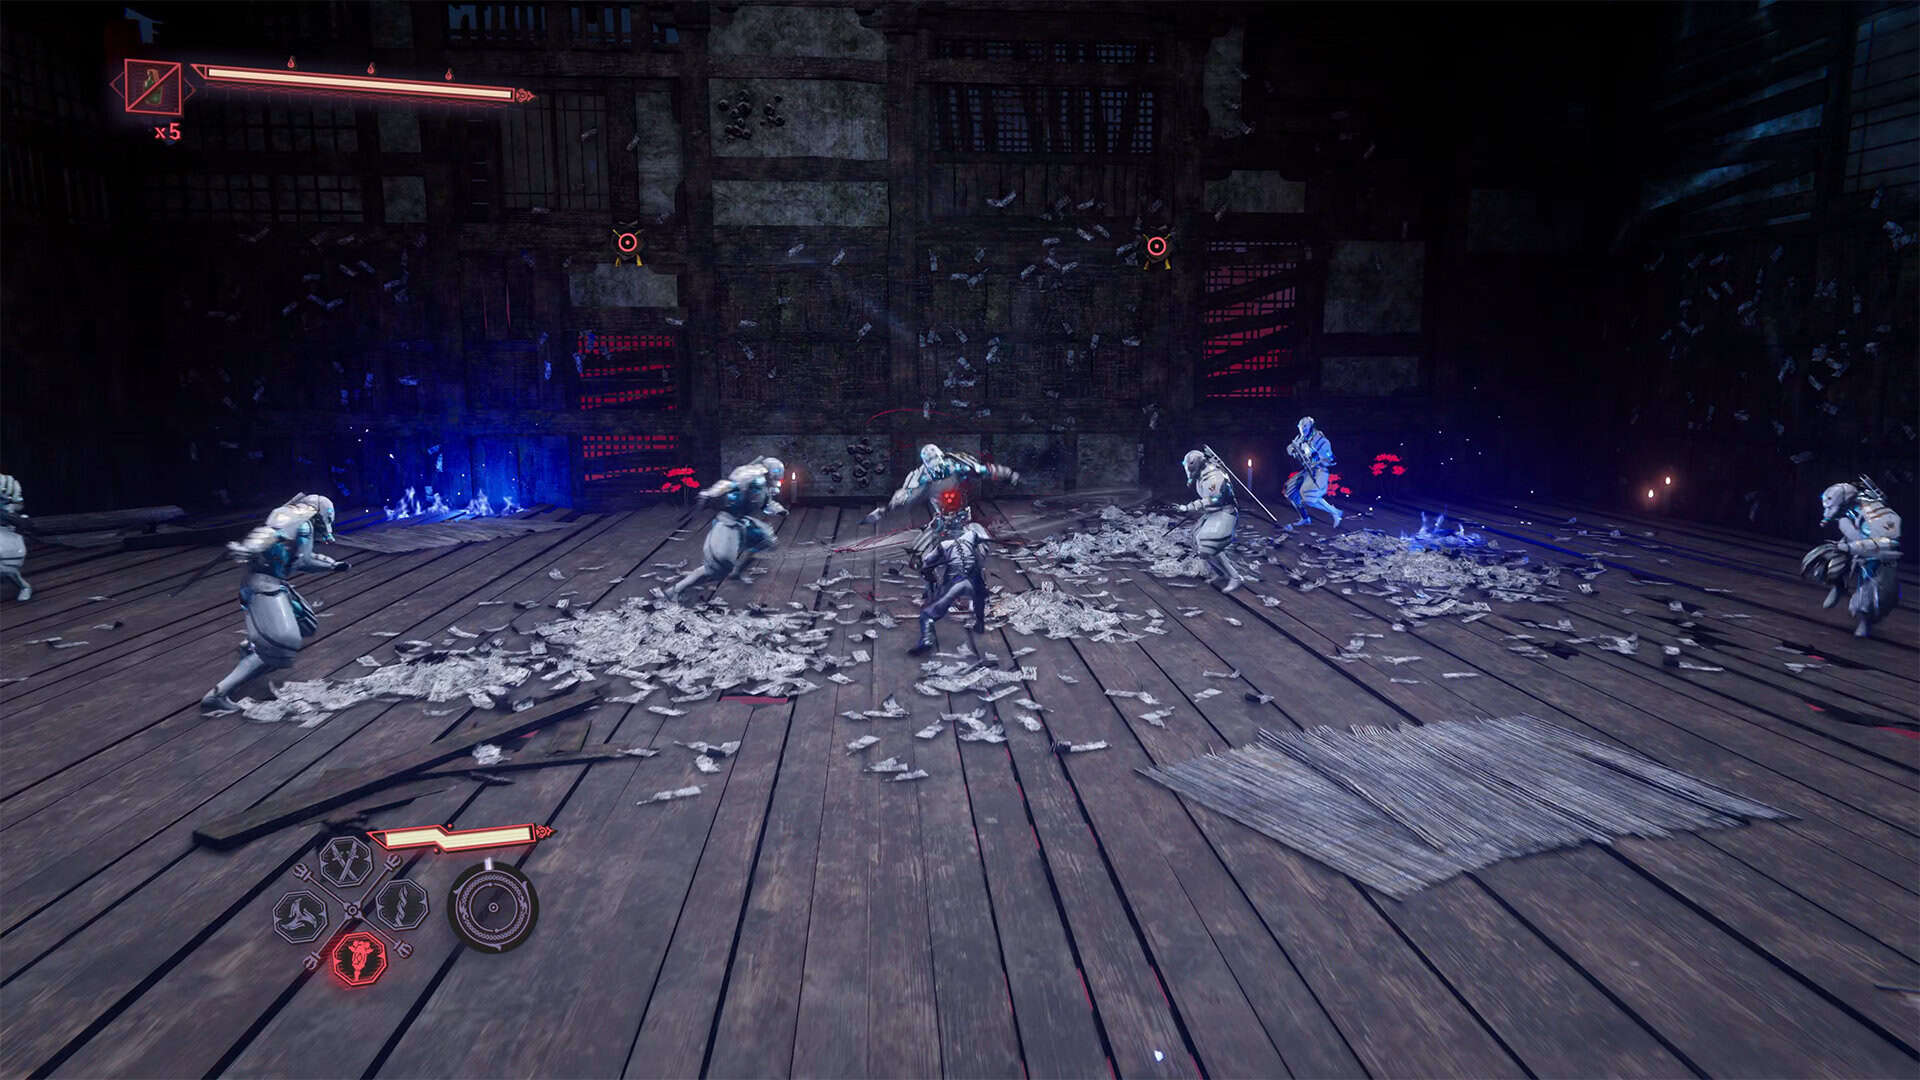
I am sure you have already thoroughly studied the game and know that a rather difficult test awaits you, where you choose the level of difficulty yourself. Inside the Purgatory Gate, waves of soldiers of varying difficulty await you. In general, this can be considered a single stream of enemies that appear gradually. The further you advance, the more difficult the enemies will be and the more of them there will be. You will have to make every effort to pass this test. The battle here takes place with constant movement. You cannot stop for a second.
You have to jump, dodge, attack, and use the maximum arsenal of skills that you have learned and adapted to use. Focus on defense and dodging, gradually destroying soldiers one by one to reach the final part of this trial. At the end of the battle, two Proto-Goliaths will be waiting for you. It’s best to save your ultimate ability for this stage so you can destroy the first Proto-Goliath with a single Takeminakata strike. The second Proto-Goliath has its own health bar, which immediately makes it equivalent to a boss. It only has one health bar, but you’ll have to put in maximum effort to defeat this opponent after such a long and exhausting battle. After victory, you will receive a well-deserved reward for completing this task.
-
- The path to Purgatory Gate in Infiltration
-
- Your enemies in this trial
-
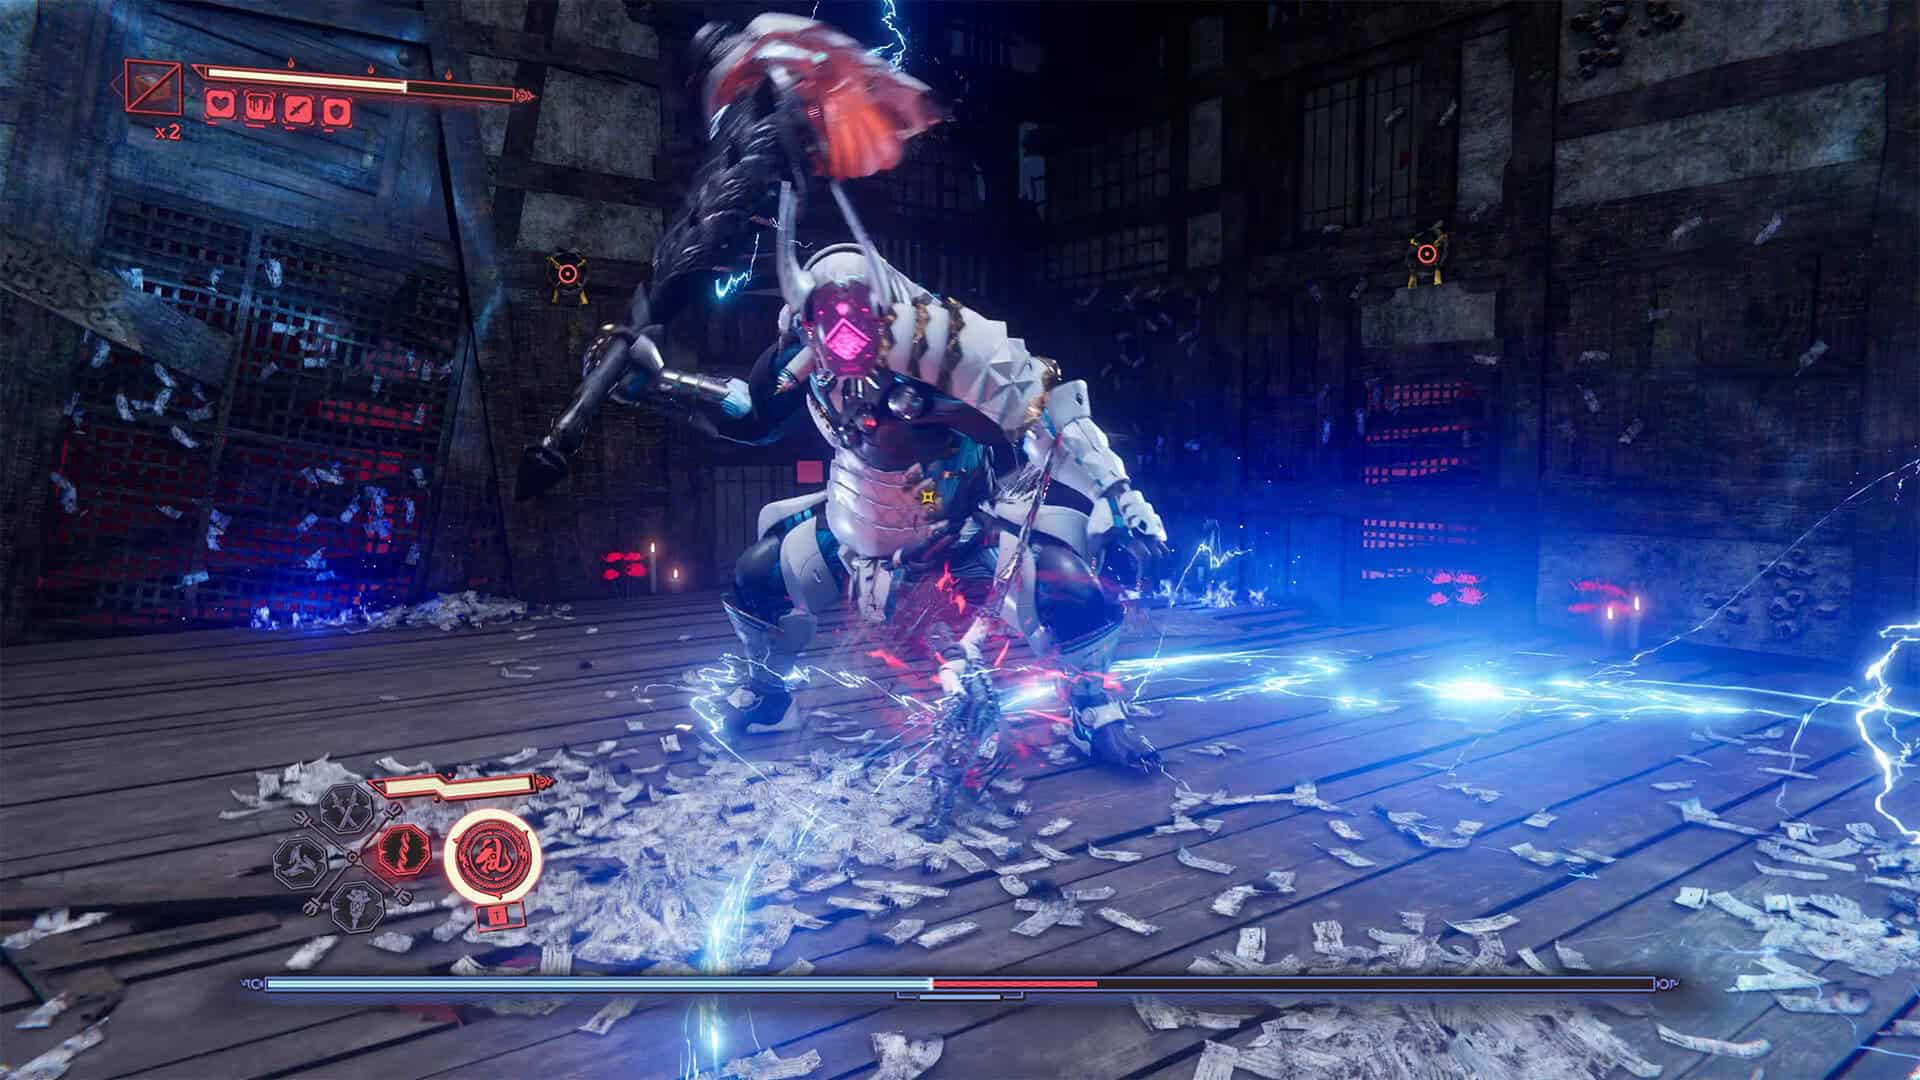
- The final Proto-Goliaths in Purgatory Gate
Infiltration path to last boss
Next, you will face the final section of sliding and jumping along the rails. This is a moderately difficult section, which you should be able to pass easily, given your experience from the previous difficult challenges. I won’t describe everything step by step here; I think you’ll figure it out, as all the movements are intuitive. The main thing is to perform them in time.
This is your path to the final boss of this chapter. So be prepared for an unusual battle. Before that, you will have a small platform where you will need to deal with the last enemies, and then you will find yourself back on the tracks. Here you will have to use the wall to avoid the train, and then jump to the other side of the tracks in time. Then the rails beneath you will begin to crumble, and eventually you will start falling to the location where D-1018 Chariot awaits you.
-
- Infiltration path to last boss

-
- Your final battle with D-1018 Chariot
Ninja Gaiden 4 D-1018 Chariot boss strategy
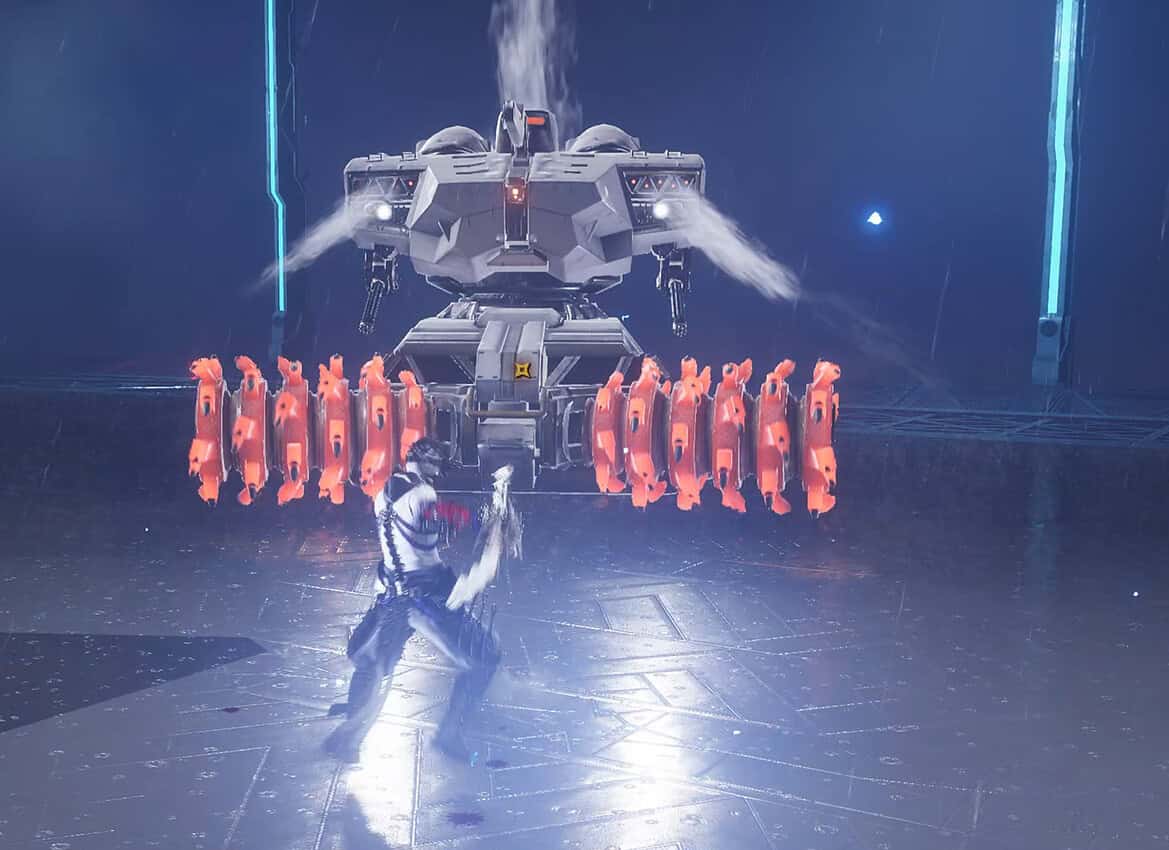
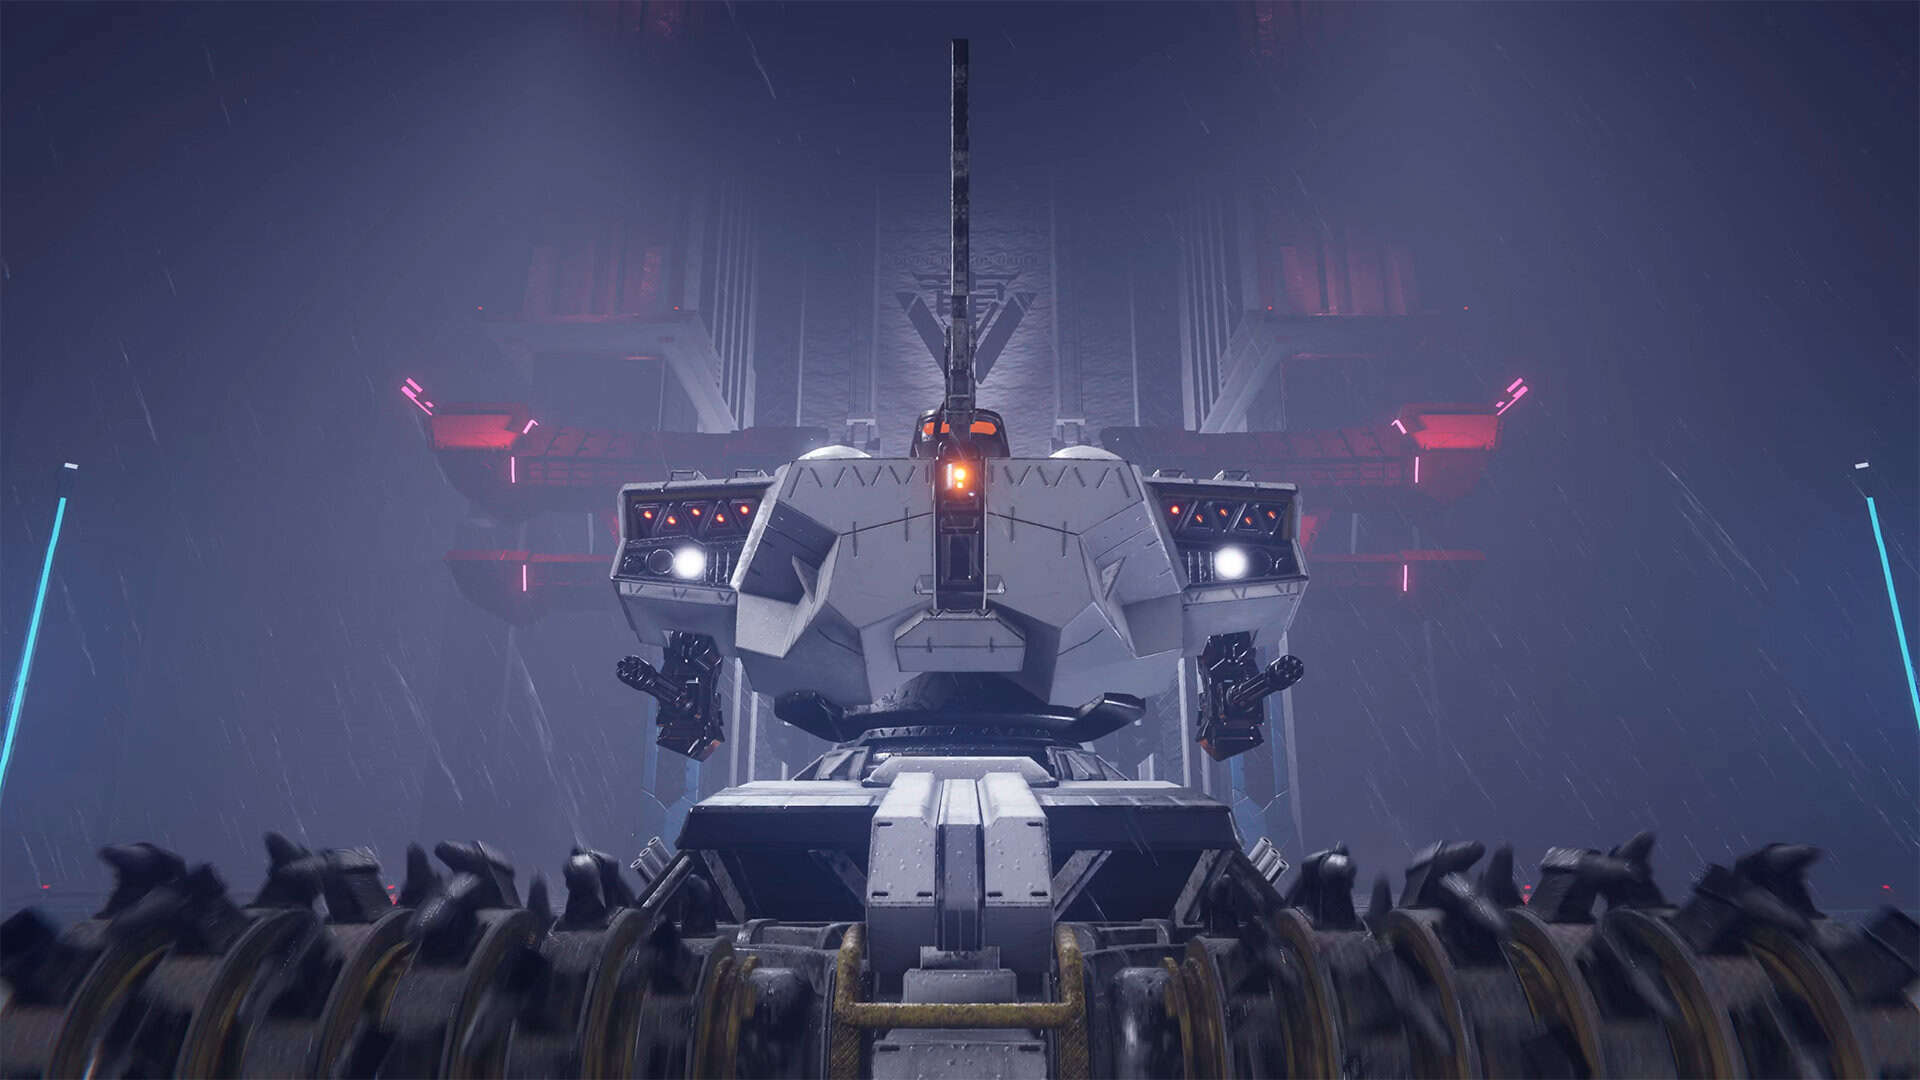
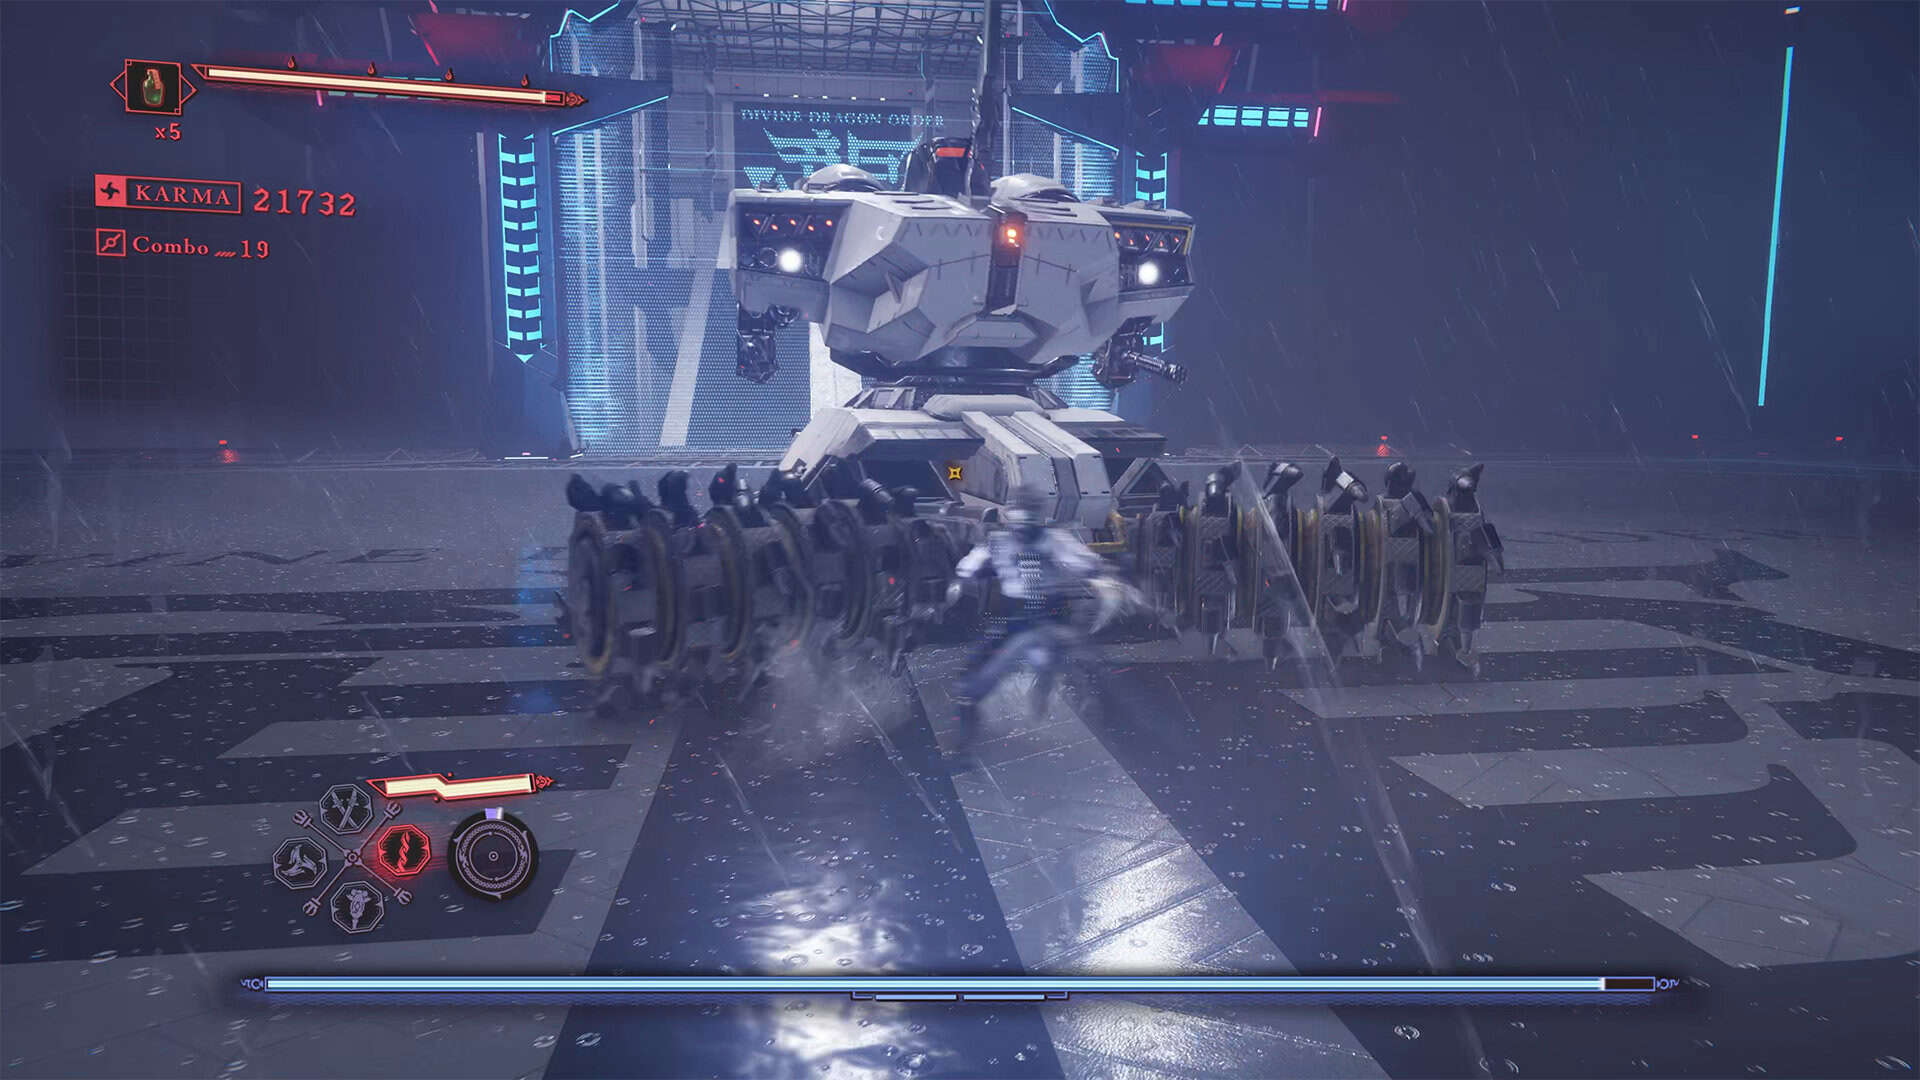
At first, you may think that this boss is too difficult and powerful, but in reality, you just need to get used to its movements and attacks. This boss resembles a huge military machine with scary wheels in the front that can grab you and crush you into dust. In reality, you will see that you can easily block these rotating wheels. And if you press the block button at the right time, you can shock this machine for a while to inflict maximum damage. In general, you need to move very quickly. You can choose two tactics for this battle.
If you use Kage-Hiruko and attack your opponent from a distance, this battle will be safer for you, but it will take a long time. Accordingly, if you make mistakes during this period, the entire advantage of attacking from a long distance will disappear. If you choose a close combat position, your fight will be more difficult and nerve-wracking, but it will go much faster if you successfully perform all the necessary maneuvers. During close combat, you need to focus on blocking simple attacks and dodging your opponent in a timely manner. You can ignore regular shots, as they cause almost no damage.
You need to watch out for your opponent’s physical attacks. During combat, try to approach the boss from the side, out of reach of its rotating front elements. This will give you more time to inflict damage before the boss starts moving and rotating again. When the boss is continuously rotating around itself, it is best not to approach it at close range. Move to a safe distance and attack the enemy with heavy blows from afar. If you get caught in the enemy’s rotating front elements while it is moving, don’t panic. This is not the biggest threat this boss poses. Just block their attack, and when the opportunity arises, you can safely attack the boss directly from this position.
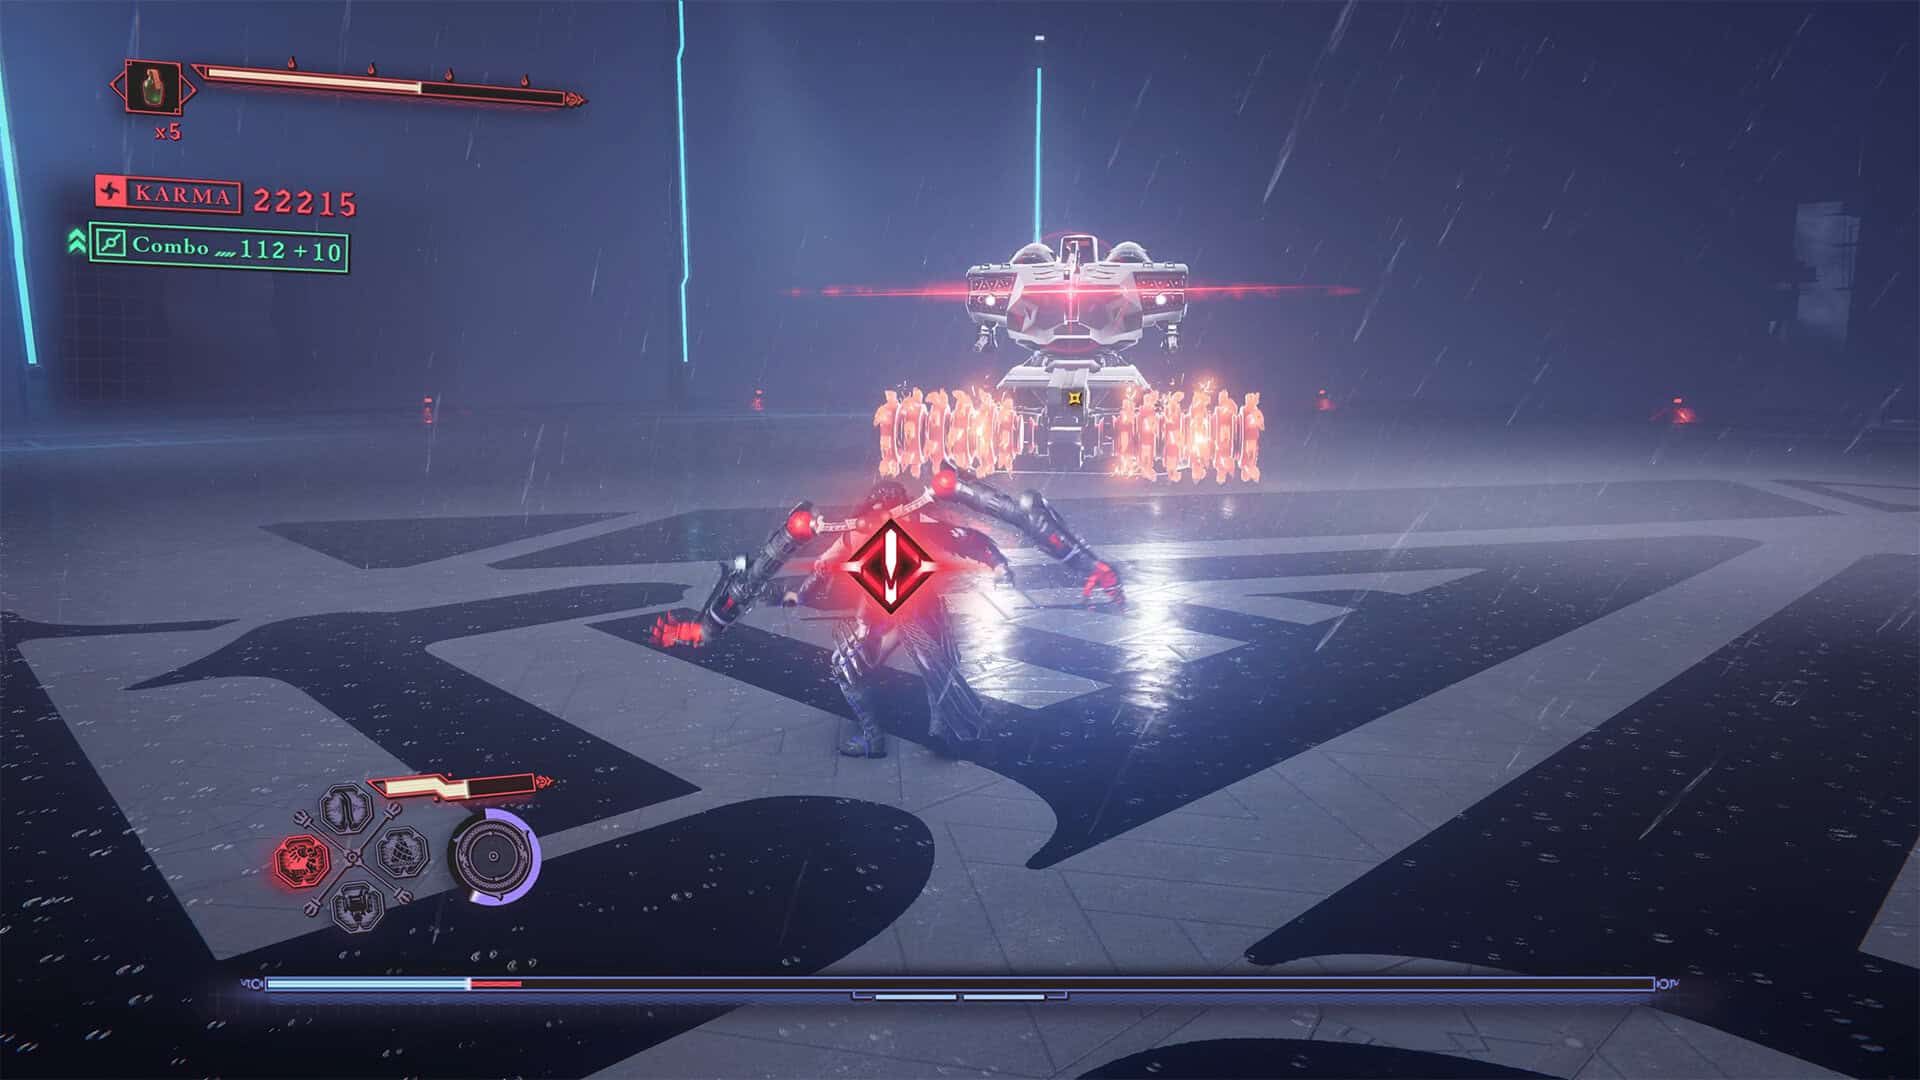
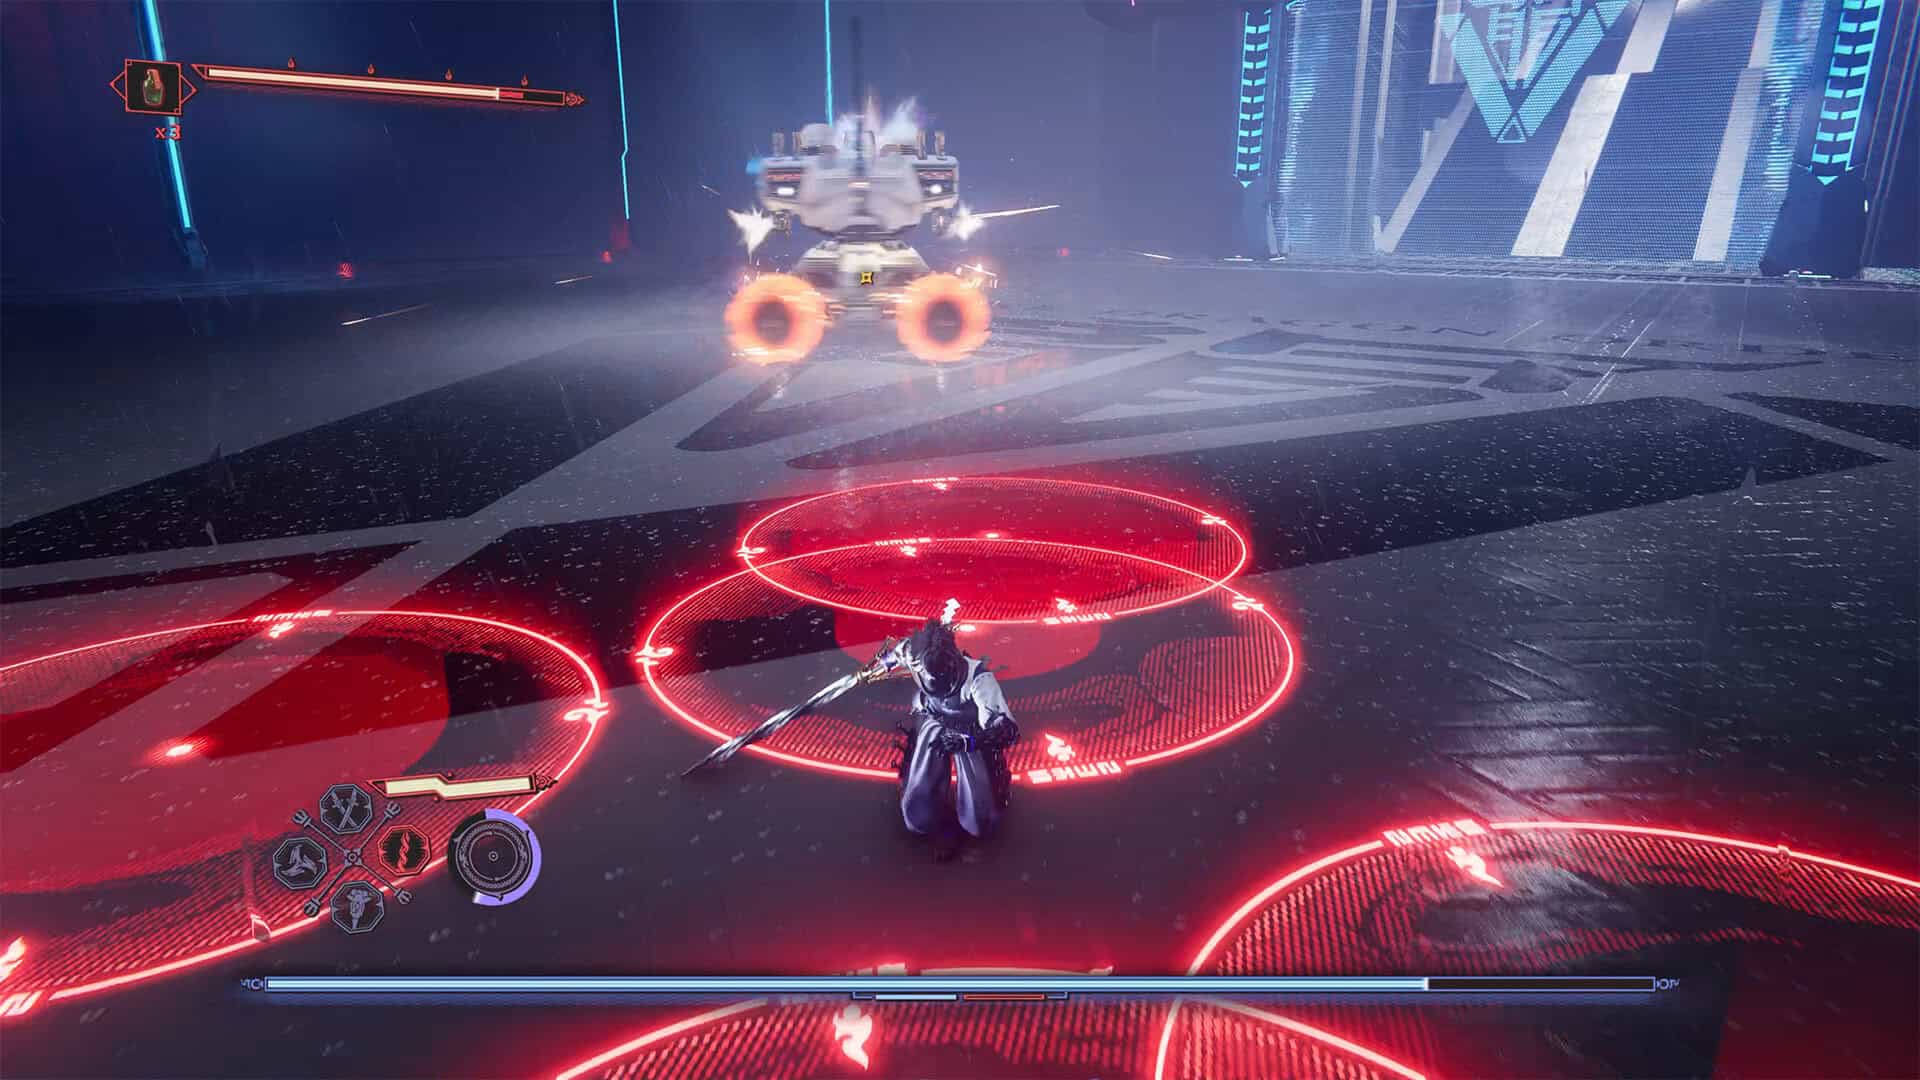
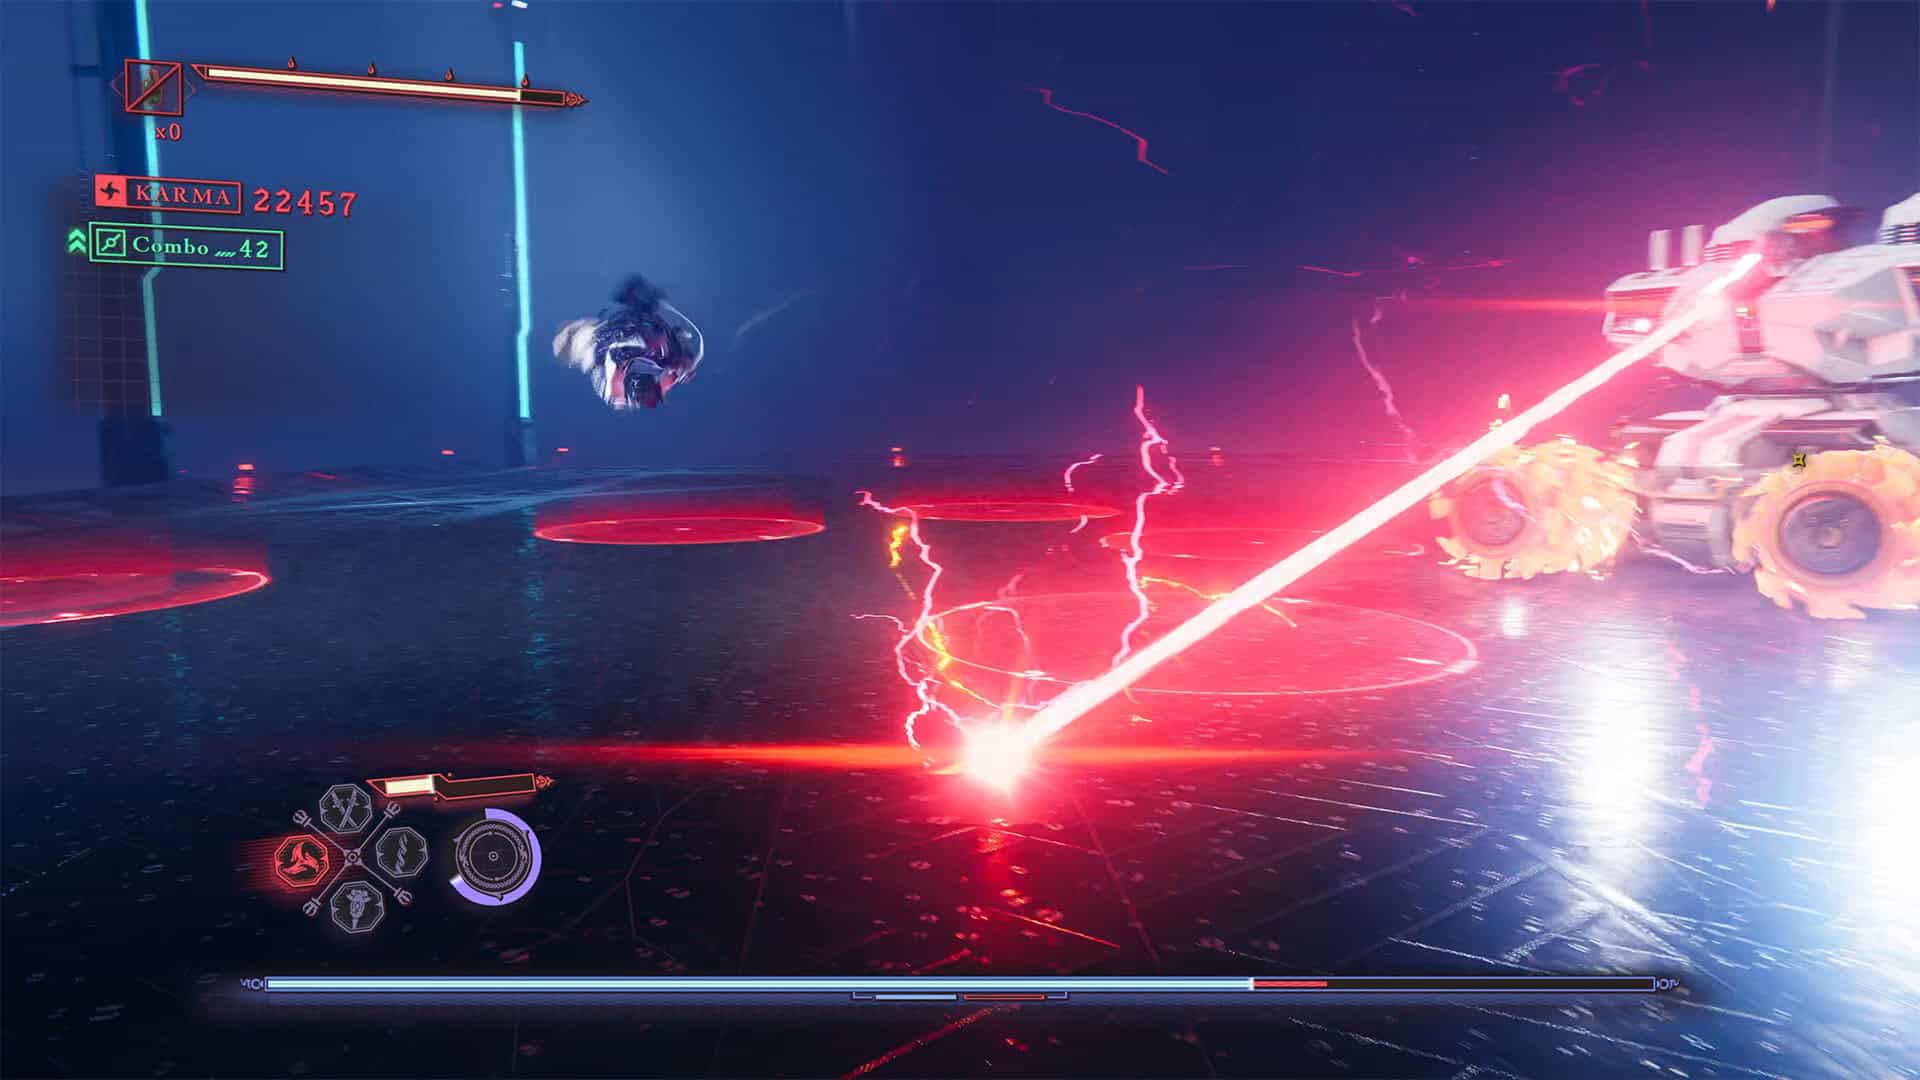
There are gaps that allow you to damage the enemy before you start dodging its new attacks. In the second stage of the battle, frontal laser beam shots are dangerous and must be dodged. Also, watch carefully for missile launches; there are several of them, and you will need to dodge several times in a row. At this stage, the boss most often attacks with massive attacks. You will see red spots on the floor, these are dangerous areas that you need to run away from. Here you must be as mobile and agile as possible. Most of the boss’s attacks can be interrupted in the early stages, especially with long-range shots. The main thing is to switch weapons in time. With a little practice, you will defeat this opponent without much difficulty.
-
- The start of the battle with the D-1018 Chariot
-
- Timely parrying and stunning the boss

-
- Using Kage-Hiruko for long-range attacks
-
- A dangerous stage when you have to run away
-
- A laser beam that we dodge
-
- A spectacular victory over D-1018 Chariot