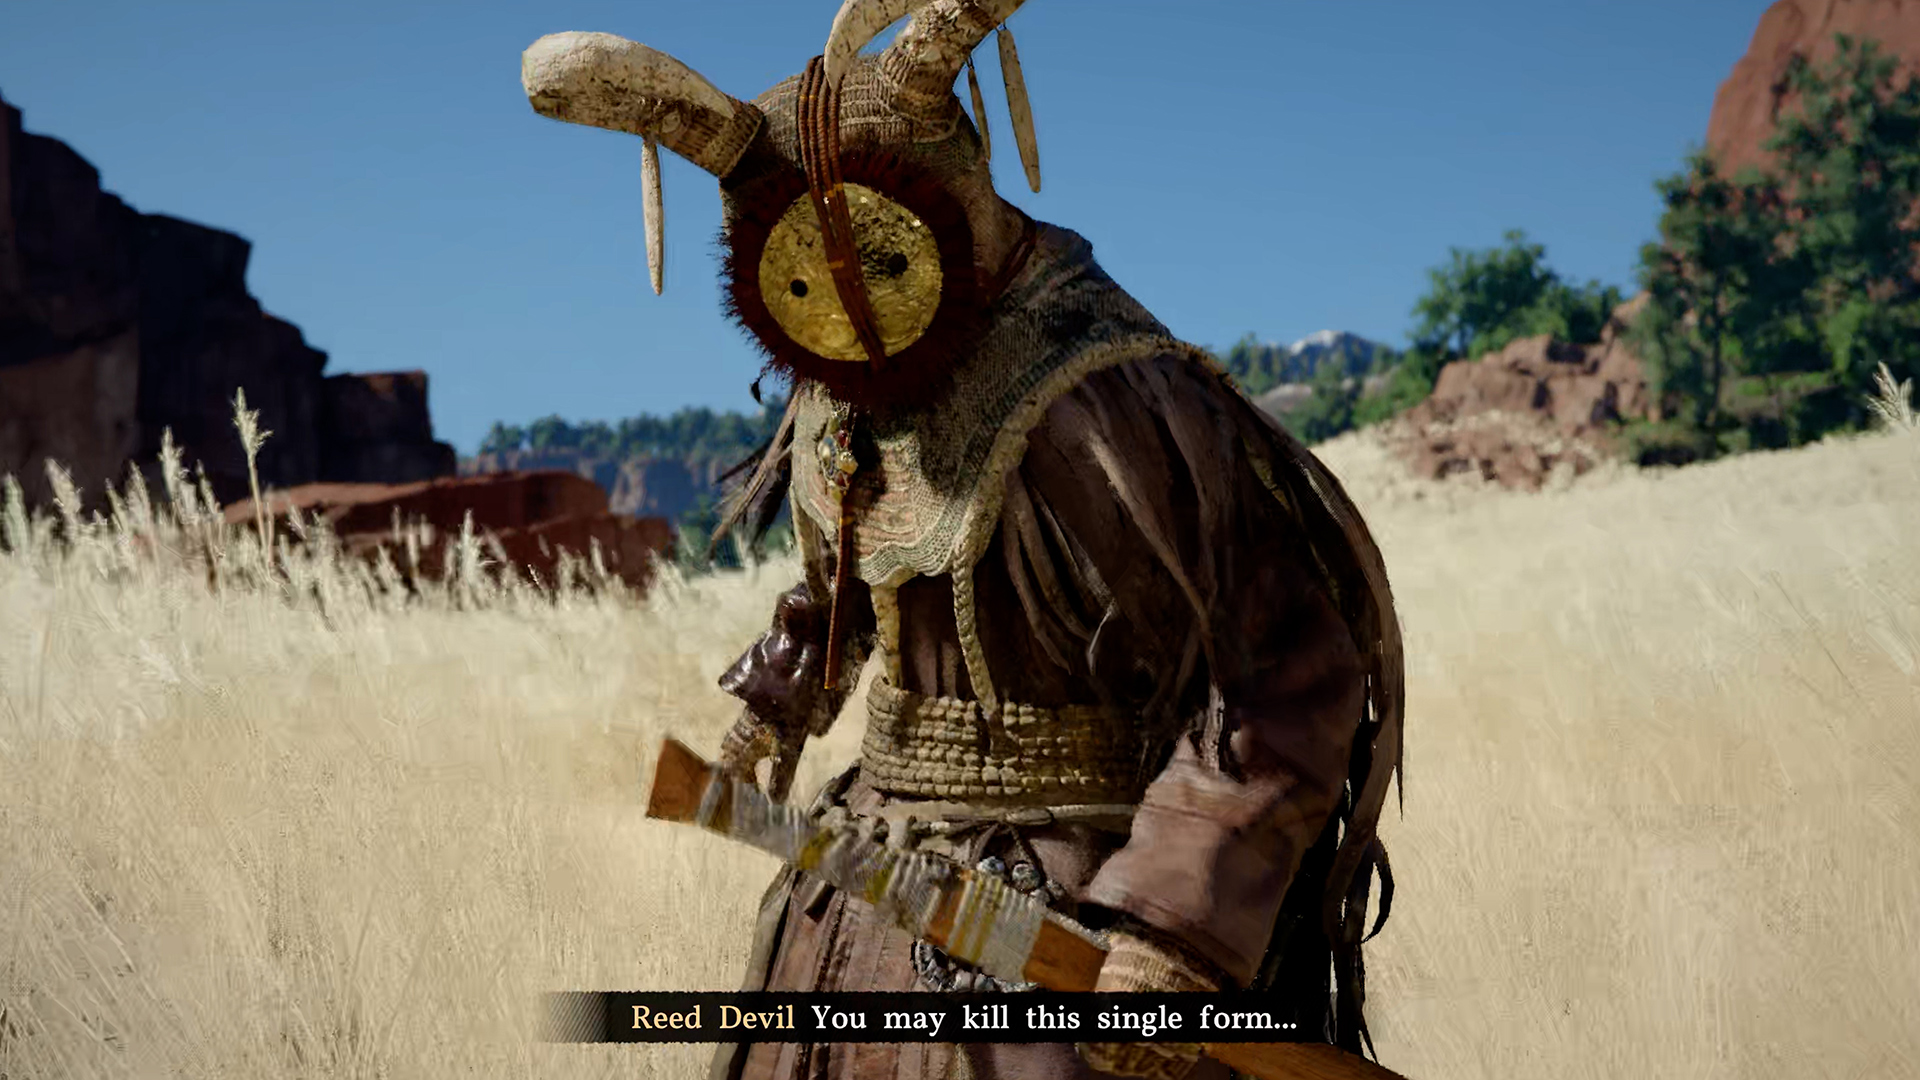
Reed Devil is a story boss you definitely won’t want to miss. I’ll show you how easy it is to defeat him. Before we begin, here’s a quick tip. As you walk along the mountain path and defeat enemies along the way, you’ll gain experience.
Reed Devil 1st phase in Crimson Desert
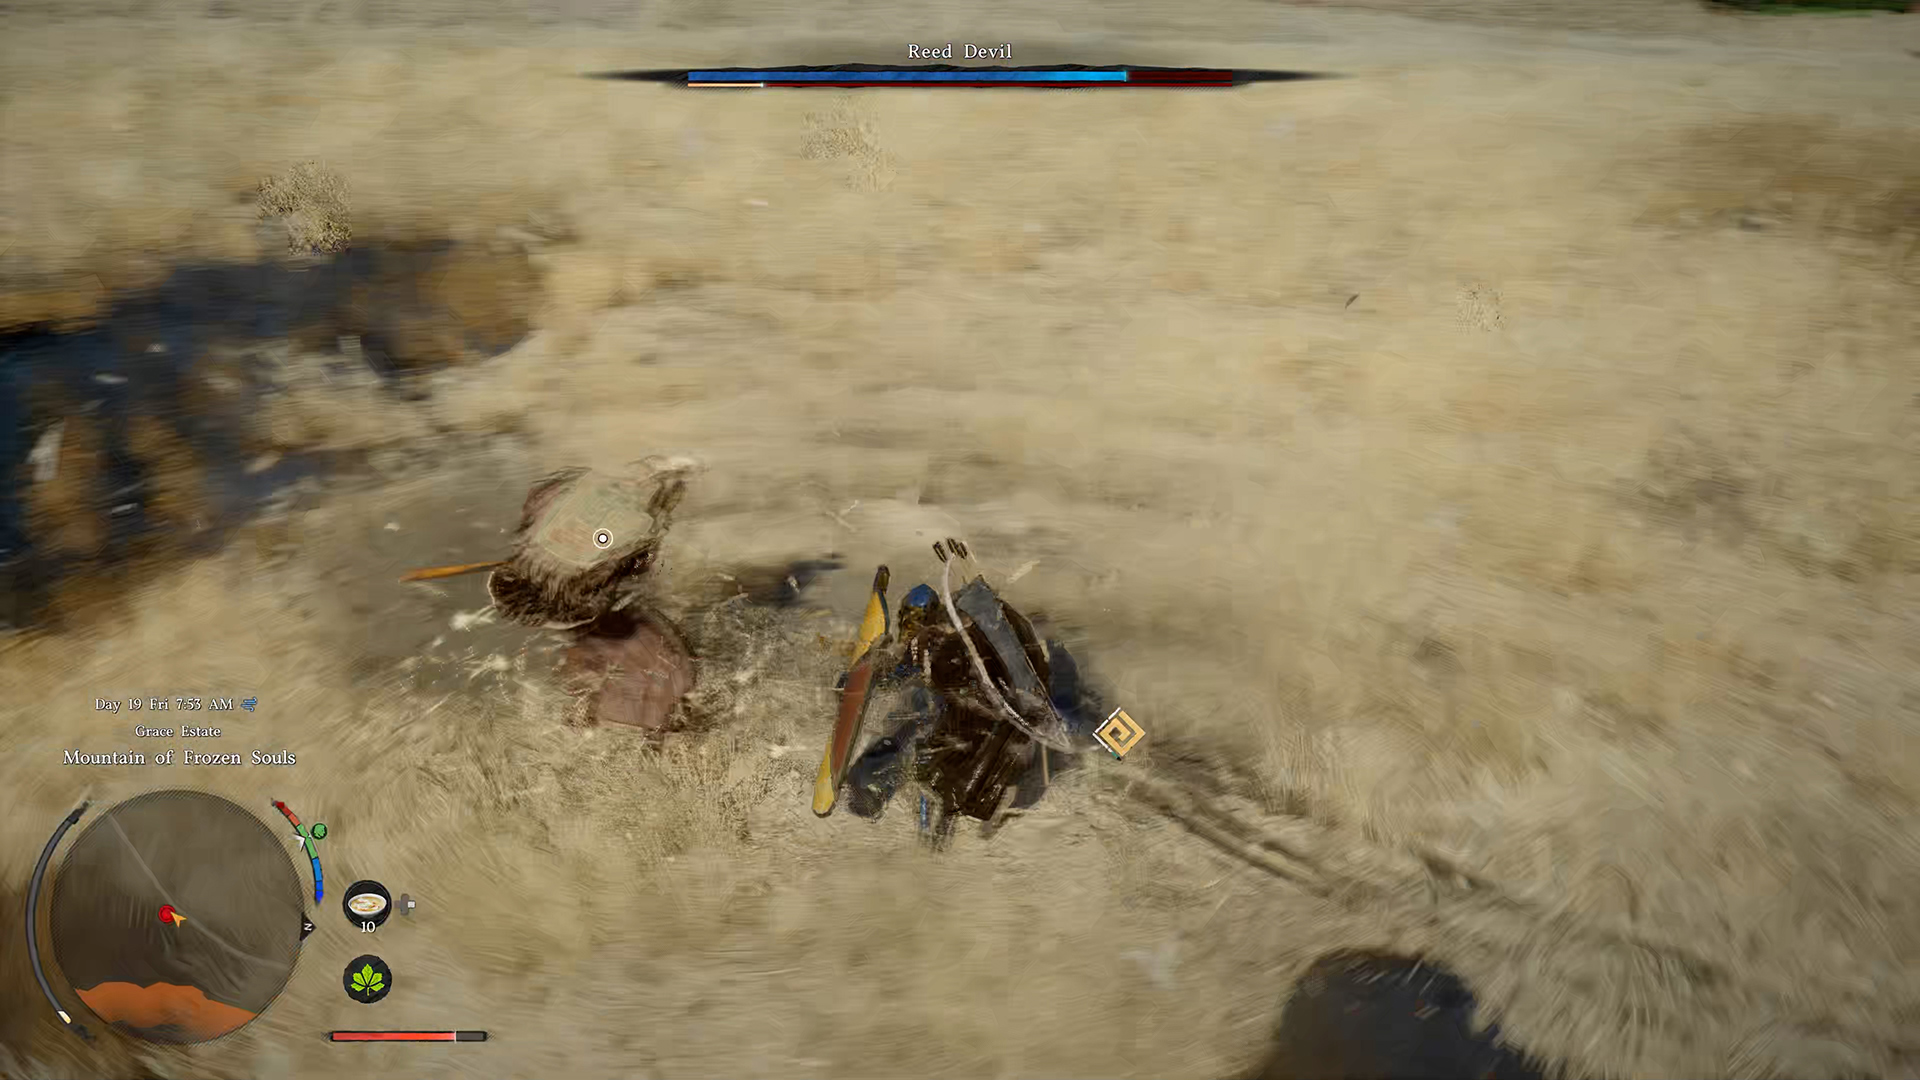
This is the best spot for quick XP. So, if you’d like, you can repeat this path to collect plenty of Abyss Artifacts. For some reason, these enemies in particular grant a lot of experience. Now let’s move on to the boss battle. Here’s just one tip: use your shield. You can block almost all of the Reed Devil’s attacks with your shield. Block his attacks and just wait for an opportunity to strike him.
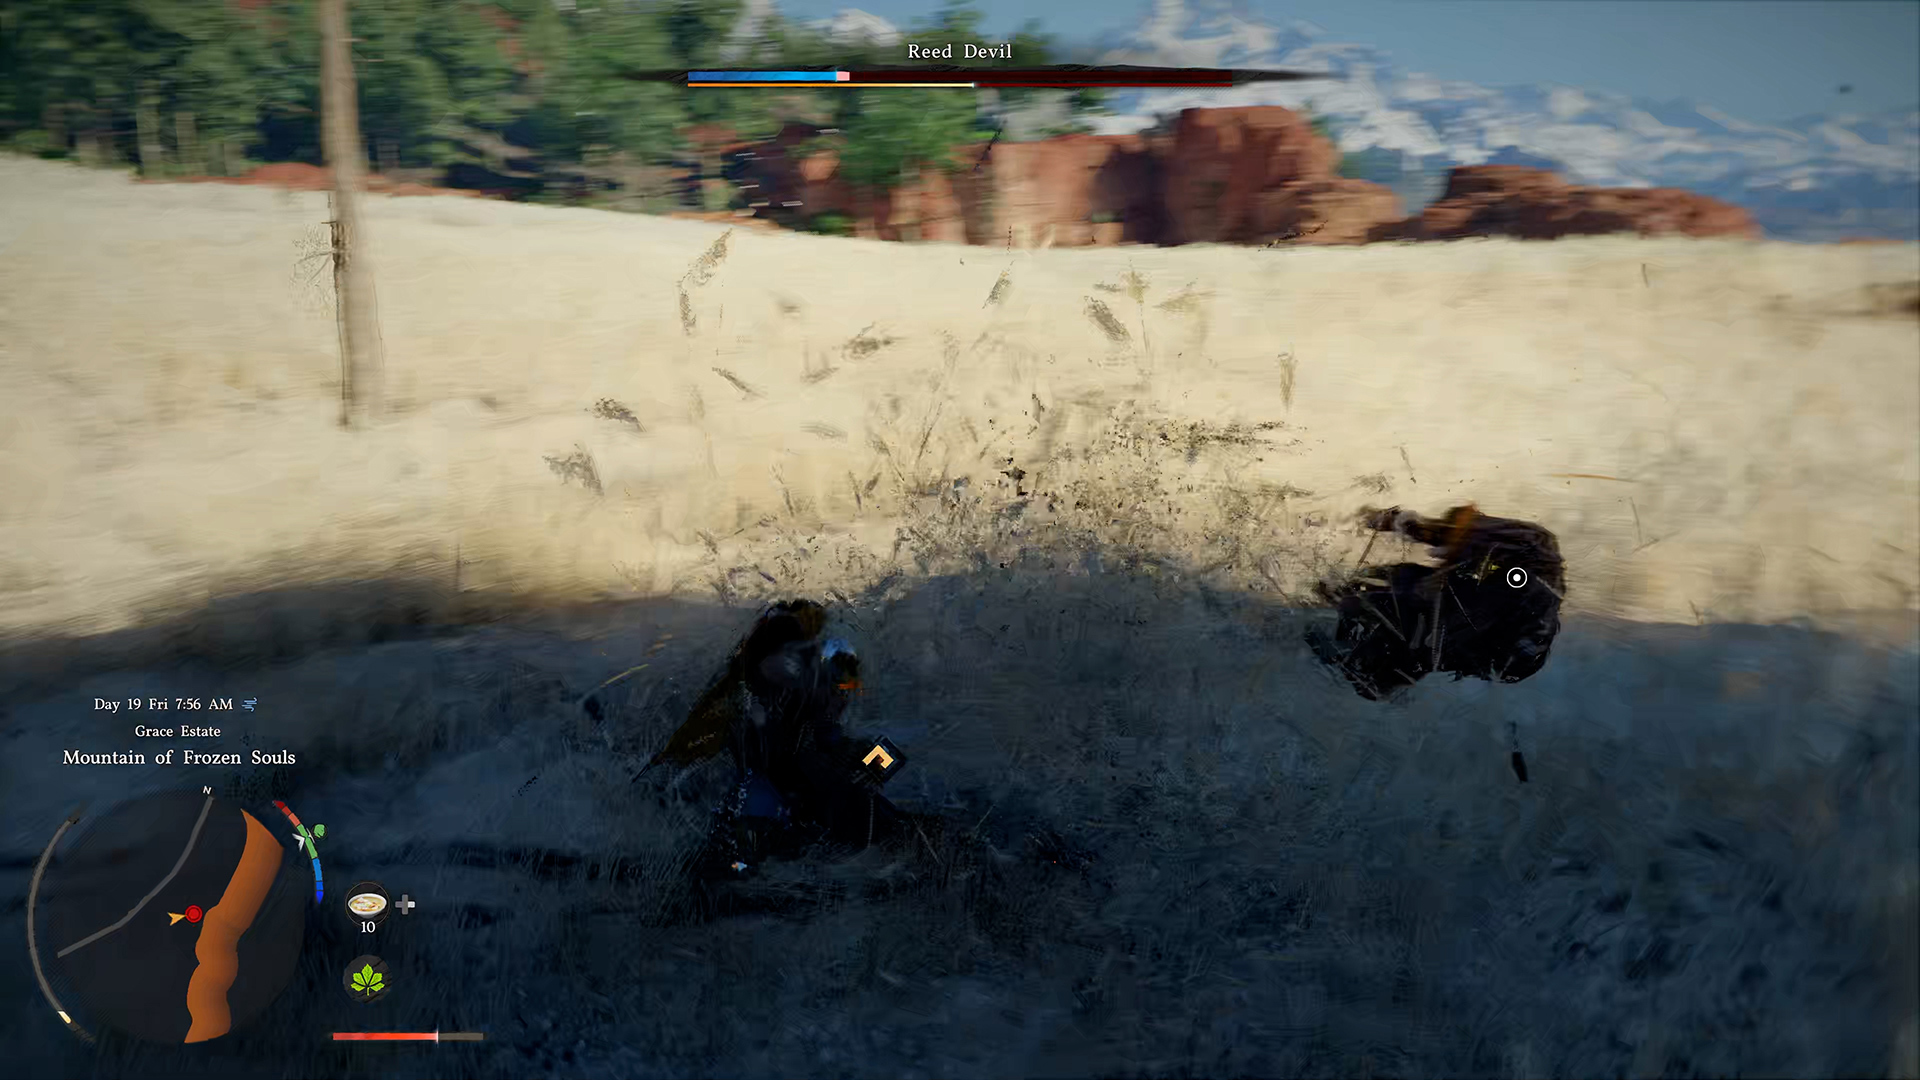
He’ll run around, disappear and reappear, and attack you, but it will do almost no damage to you. So, to start with, just practice blocking his attacks. Keep an eye on him as much as possible and just keep your shield up, and you’ll see that all his attacks miss their mark. Now you just need to wait for the right moment to strike. Don’t try to attack too much. Land two or three hits, then hide behind your shield again until the next opportunity. This way, you’ll easily get through the first phase of the battle.
-

- Block all of Reed Devil’s attacks with your shield
-
- Reed Devil goes down from surprise attacks
Reed Devil 2nd phase in Crimson Desert
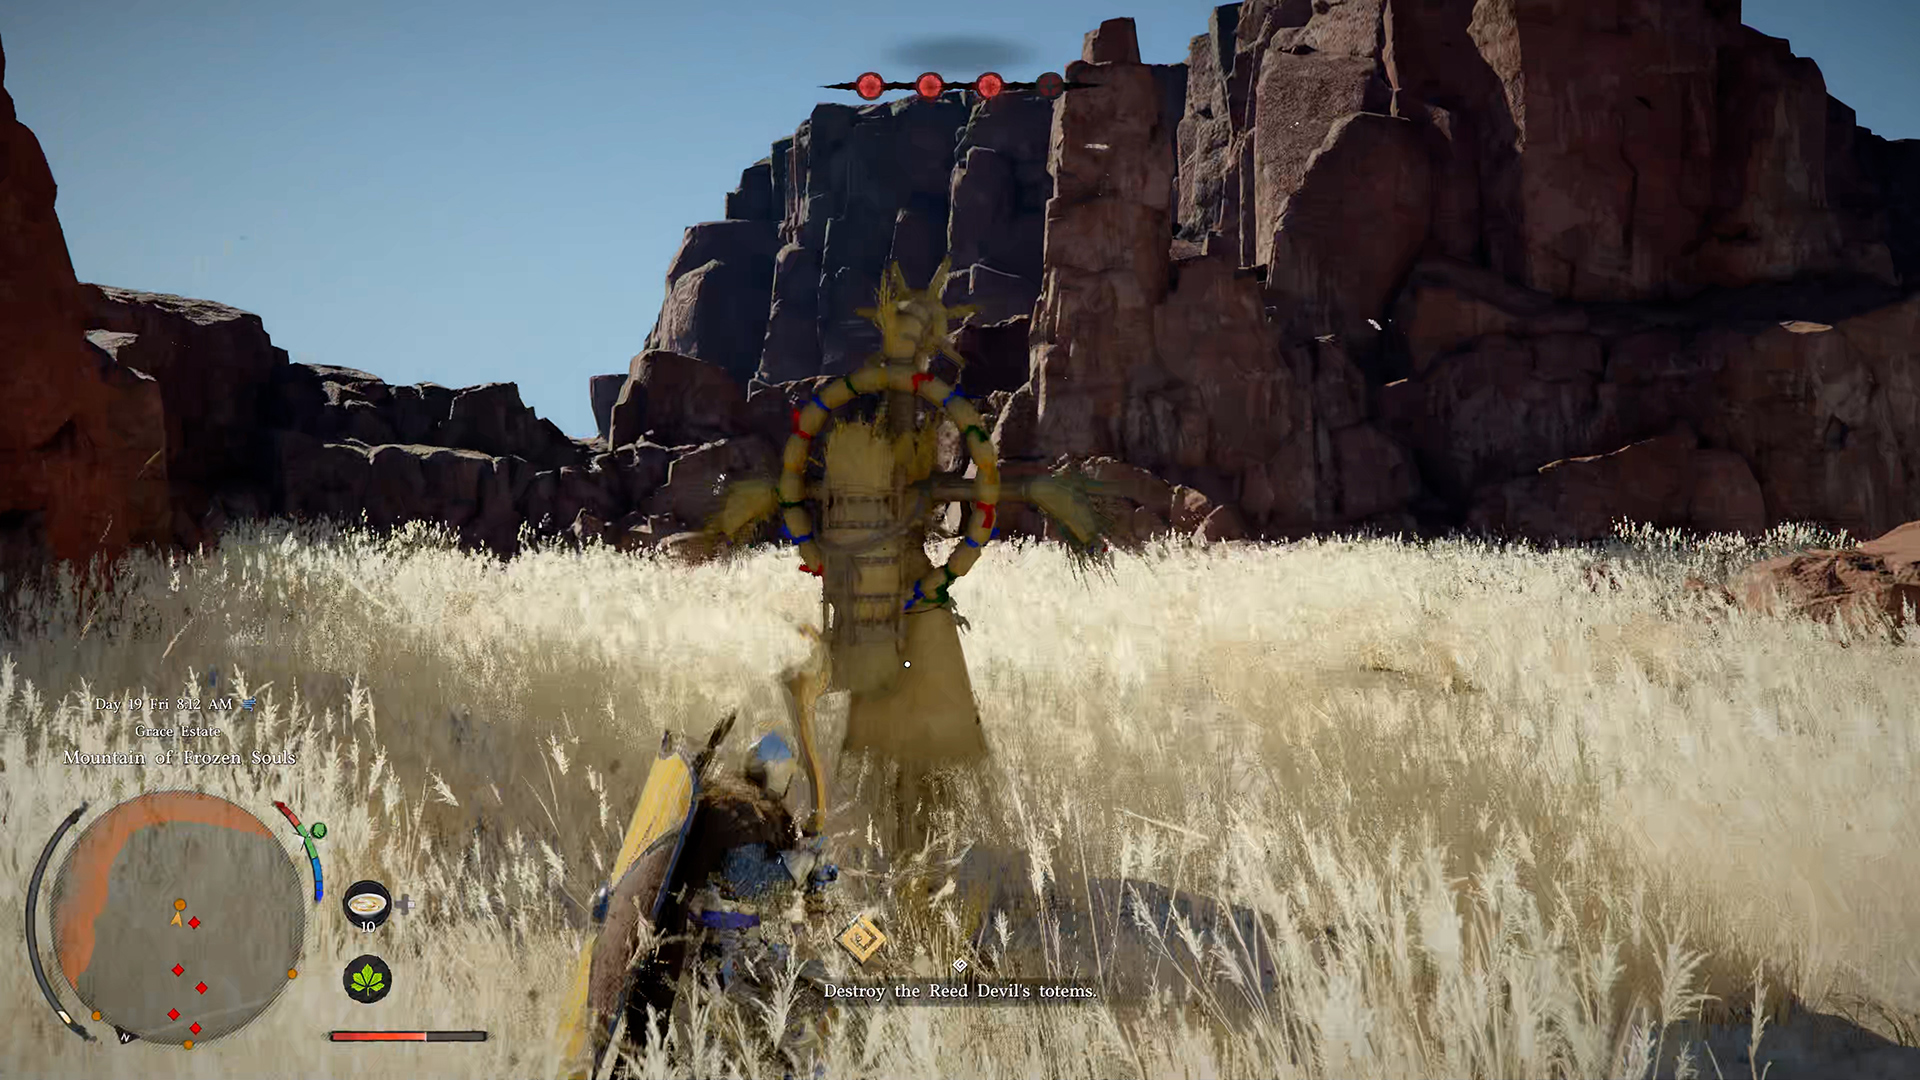
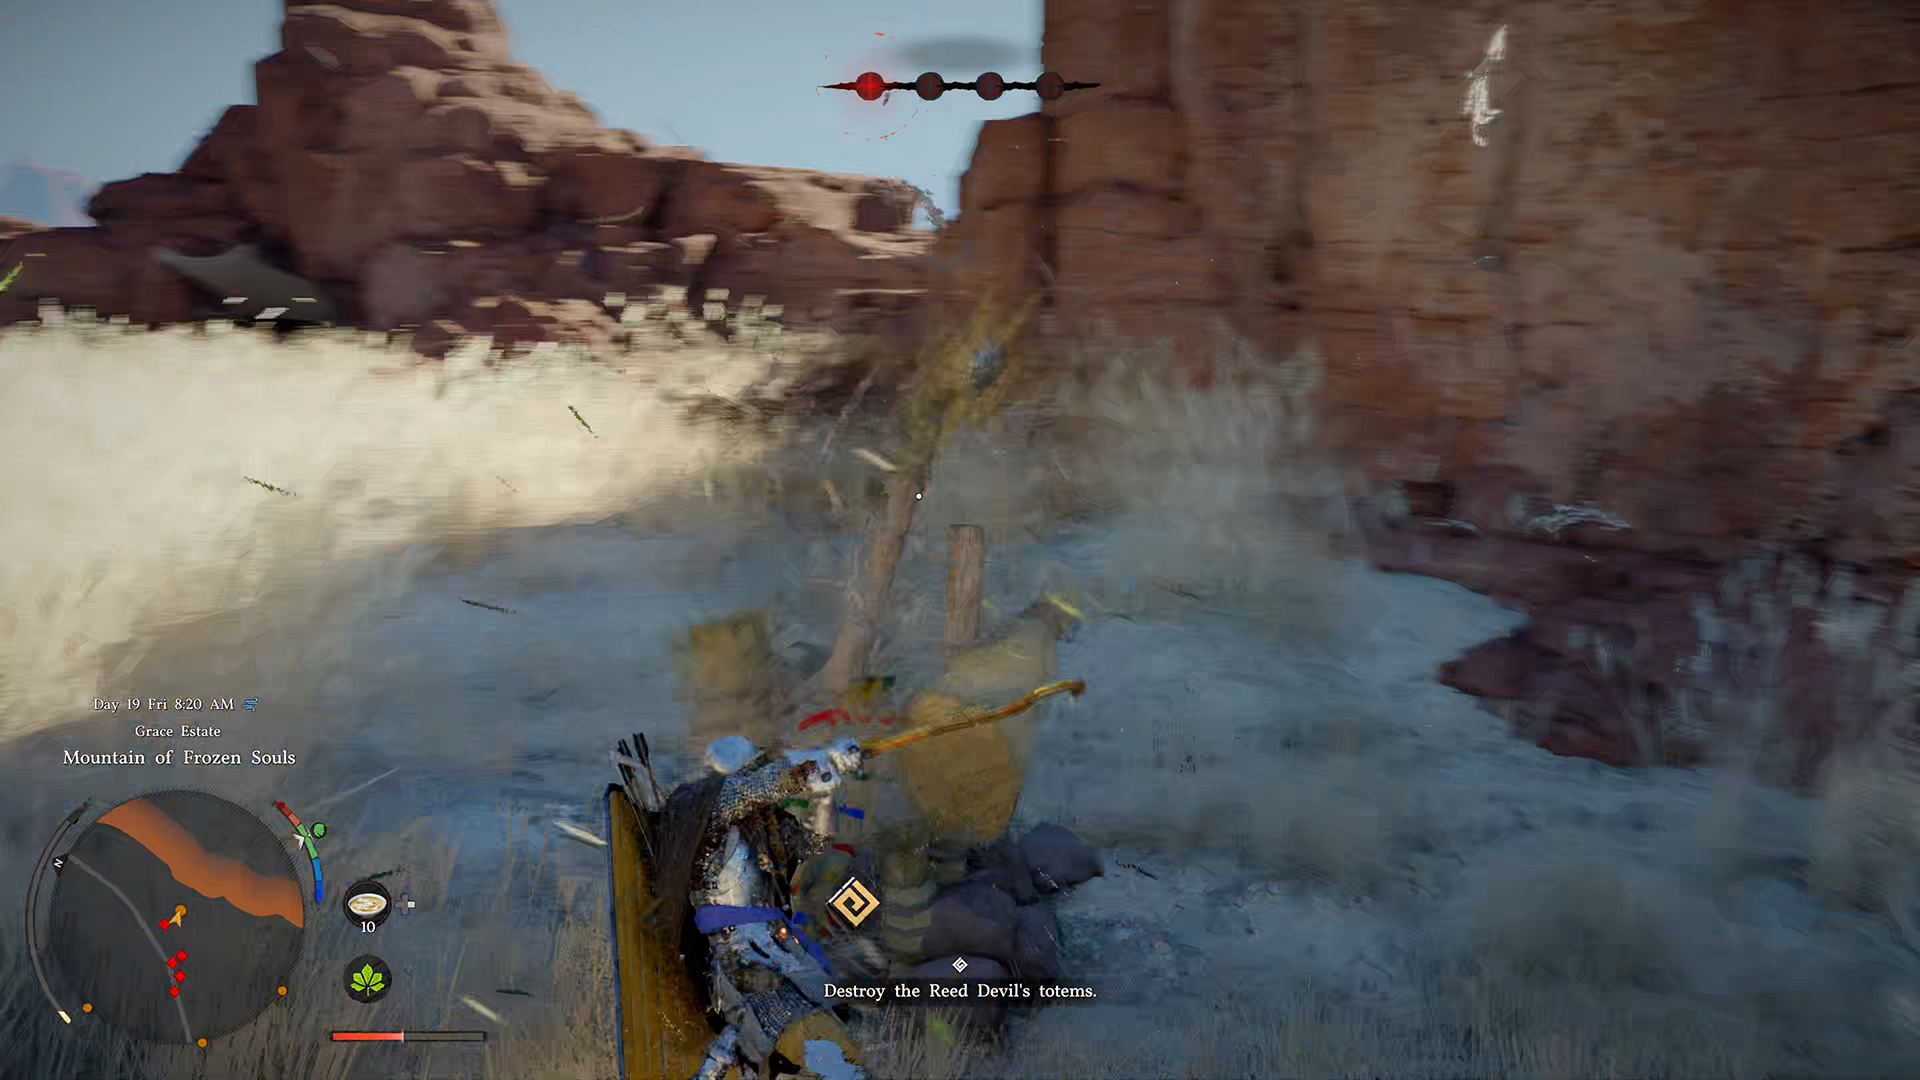
In the next phase, you need to shift your focus to the totems that grant the Reed Devil power. You must destroy all four totems. During this phase, you can simply run toward a totem without paying attention to the boss. He will try to damage you, but if you keep running toward the totem, he will miss.
If the enemy is too close, use a forward dodge to create some distance. It’s important to destroy all the totems as quickly as possible, so avoid fighting the boss and focus solely on the totems. If you can’t see where the next totem is, raise your shield, block the boss’s attacks, and look for the totem so you can run to it.
-
- Destroy the four Reed Devil totems
-
- The last Reed Devil totem has been destroyed
Reed Devil 3rd phase in Crimson Desert
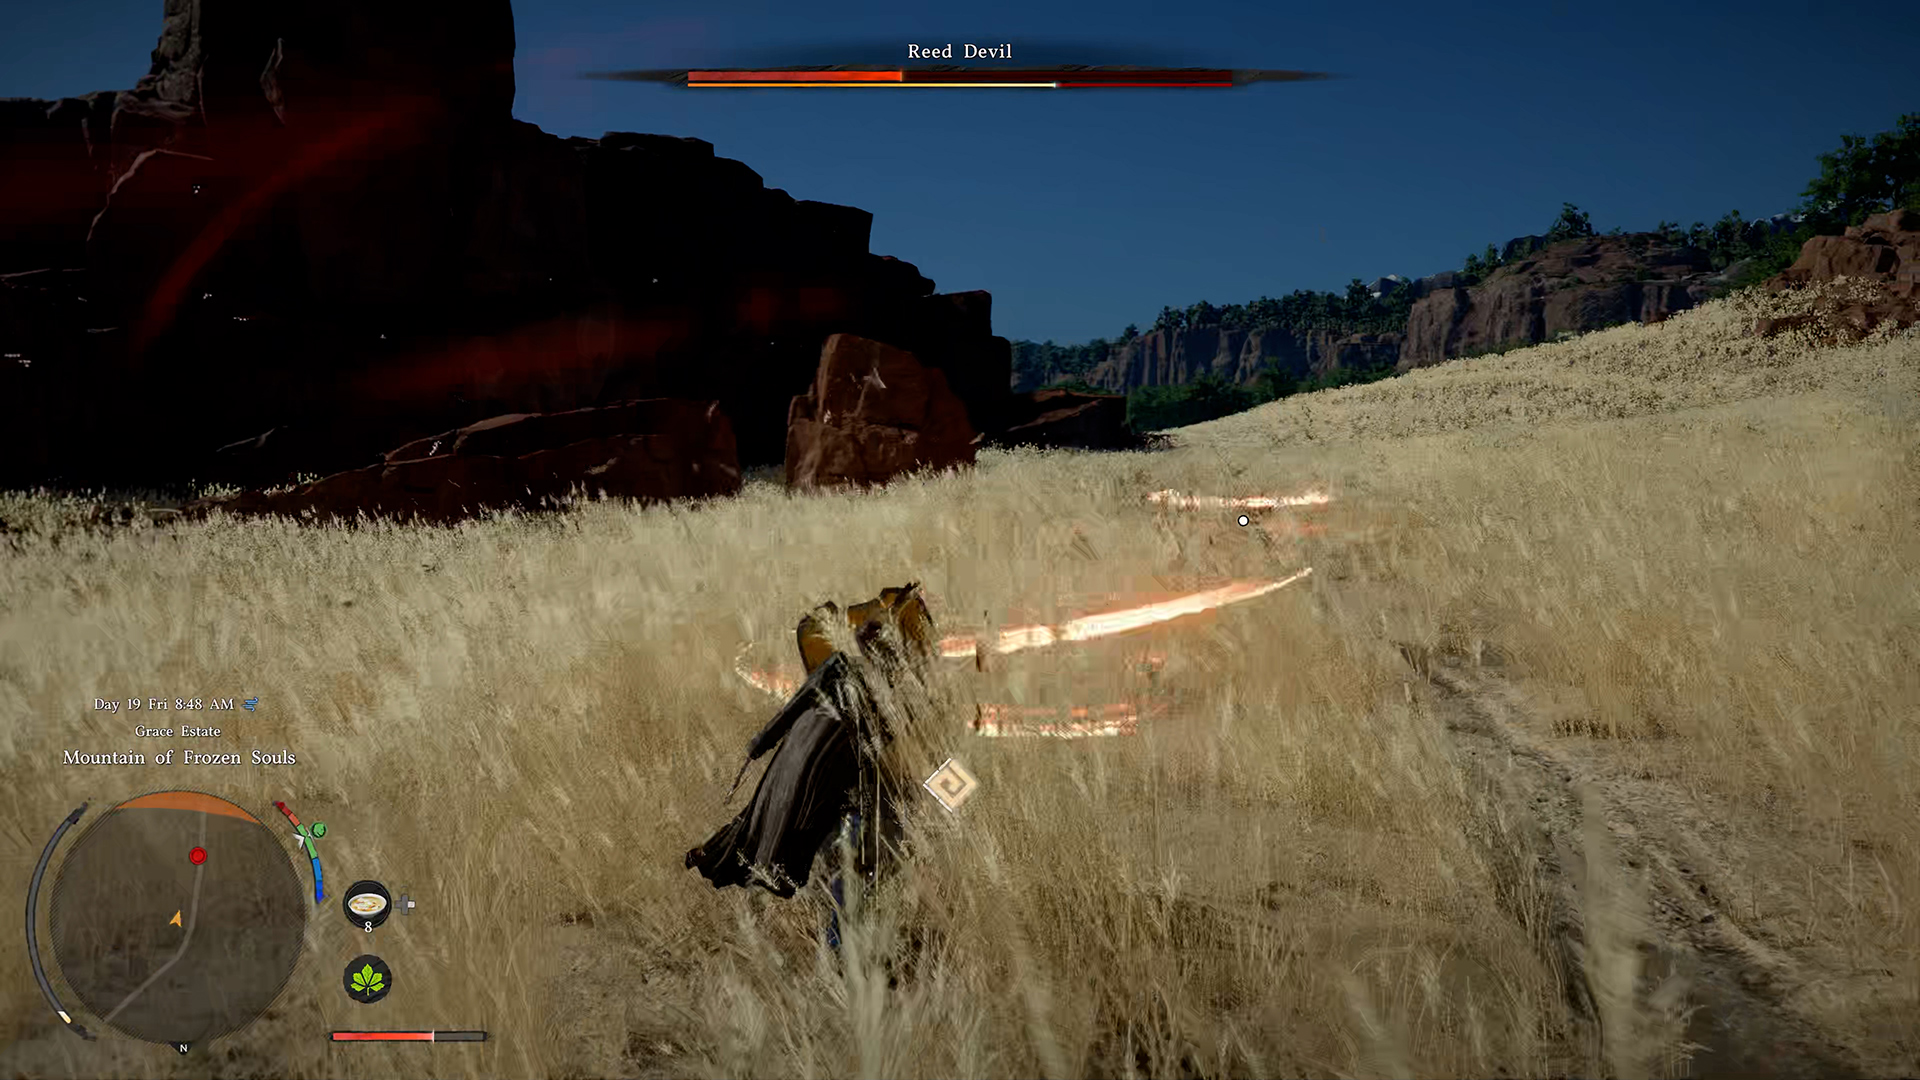
The third phase of the battle against the Reed Devil is a bit more challenging. The boss gains new attacks. At the start of this phase, you’ll learn about the dash attack by observing the enemy use it. In my case, I don’t have enough stamina to block this attack. There are two options: either level up your stamina, or try to dodge this attack. When the boss freezes and slowly swings his sword, the next moment he’ll rush toward you with this attack. I try to step aside. All other attacks are blocked with a shield. The boss’s new attack, where he launches red shockwaves, is also blocked with a shield.
Therefore, for everything else, your tactics will be similar to the first phase. Always keep your shield up, blocking all of the enemy’s attacks, and when the Reed Devil is close and not attacking, you can land two or three hits on him. Proceed similarly to the first phase. If you take some hits, as I did, use food at a convenient moment to restore your health. Overall, I used heavy armor for this fight because it provides a lot of protection and my character doesn’t die from a single hit. Since movement speed isn’t important in this fight, heavy armor is ideal. It’s your extra protection and your chance to bring the battle to a victorious conclusion.
Just be patient, hide behind your shield, and wait for the right moment. If you do this, you’re sure to defeat the boss without any trouble. All you need to do is wait out all of the boss’s attacks and strike at the right moment. Reed Devil has a fairly low health bar, so your hits will really hurt him. Despite all his speed and magical abilities, you’ll win this fight through patience and discipline.
In terms of combat style, this fight is similar to the battle against Kailok, but slightly more difficult due to Reed Devil’s more powerful attacks. If you approach the fight even more cautiously than I did, you can defeat this opponent with minimal losses or even without taking any damage at all, simply by constantly blocking his attacks.
-
- Reed Devil’s new attack is blocked as well
-
- Reed Devil has been defeated, but not destroyed