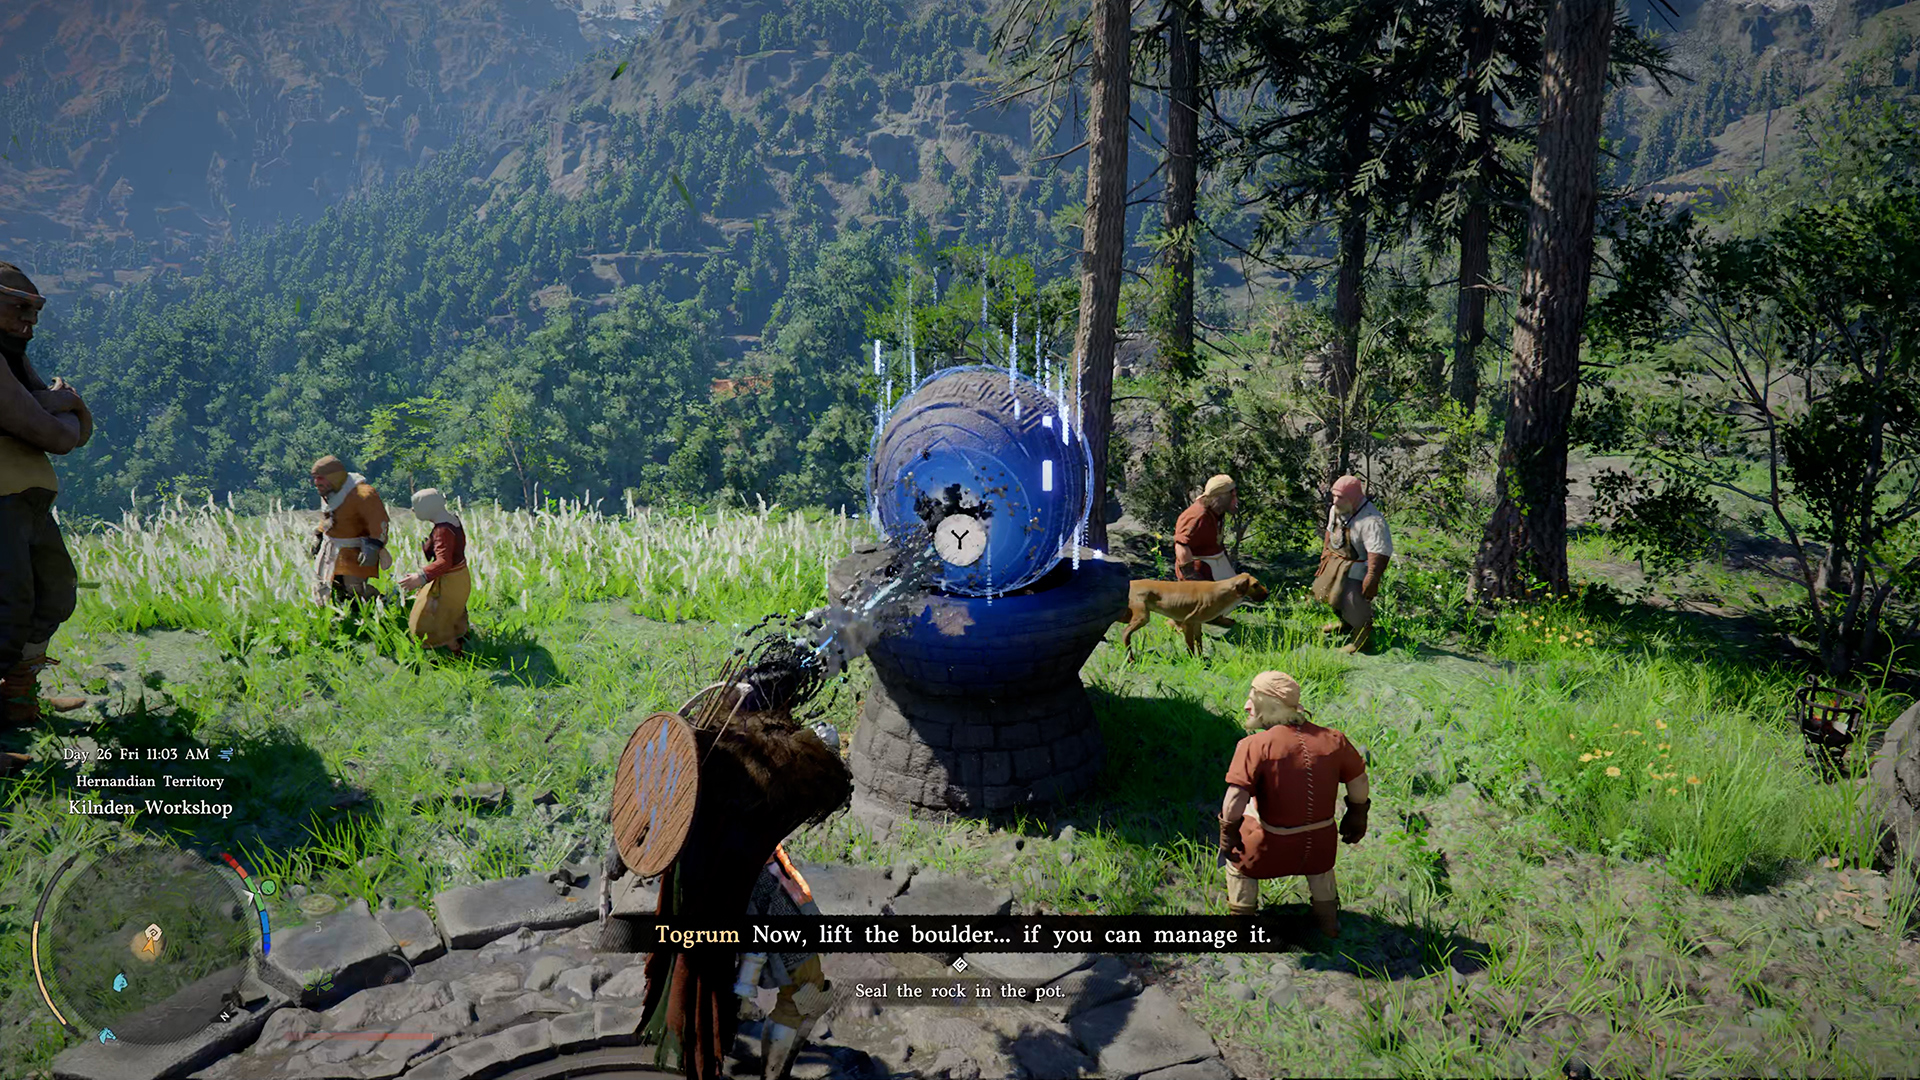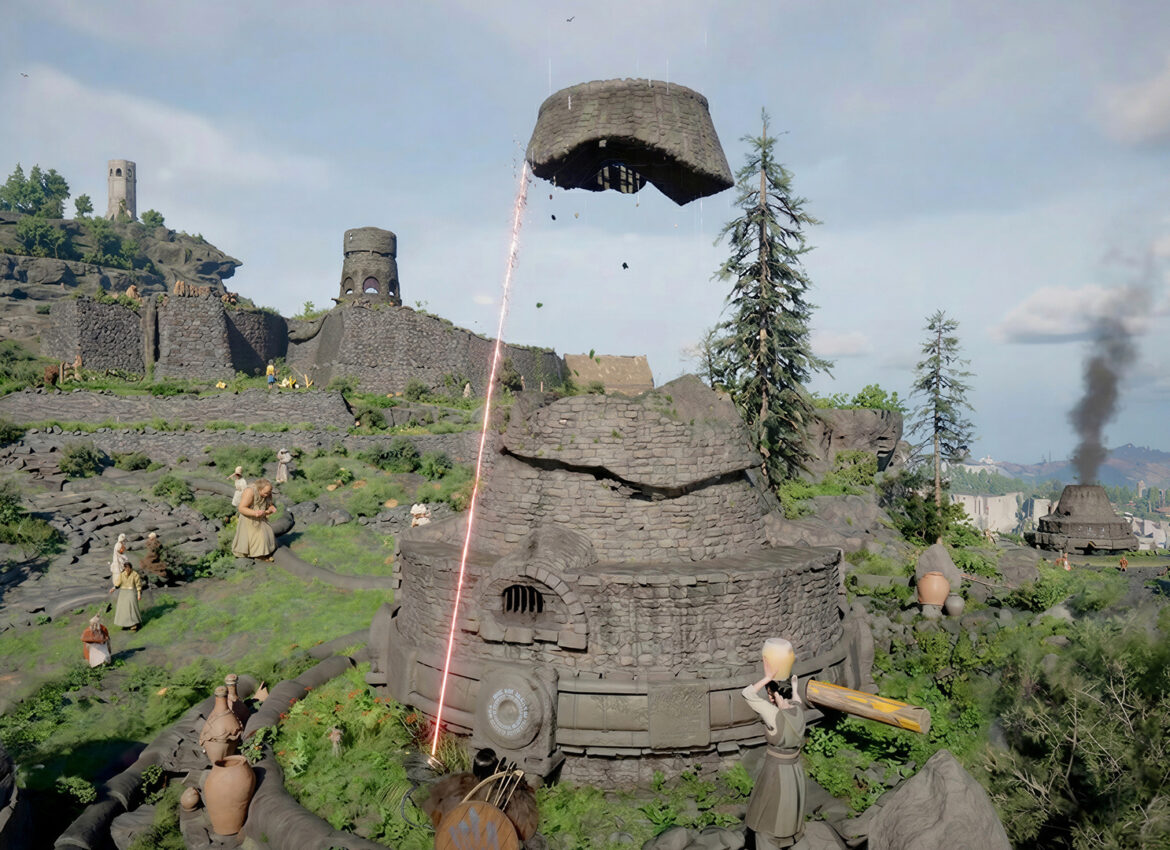
Solving the Kiln Repair puzzle at the Kilnden Workshop. This is a puzzle you need to solve. If you’re having trouble with this puzzle, I’ll walk you through the steps to solve it quickly. It’s all pretty straightforward and doesn’t involve any complicated moves, so let’s work through all the steps one by one.
Сrimson Вesert use the crank to activate the ancient generator
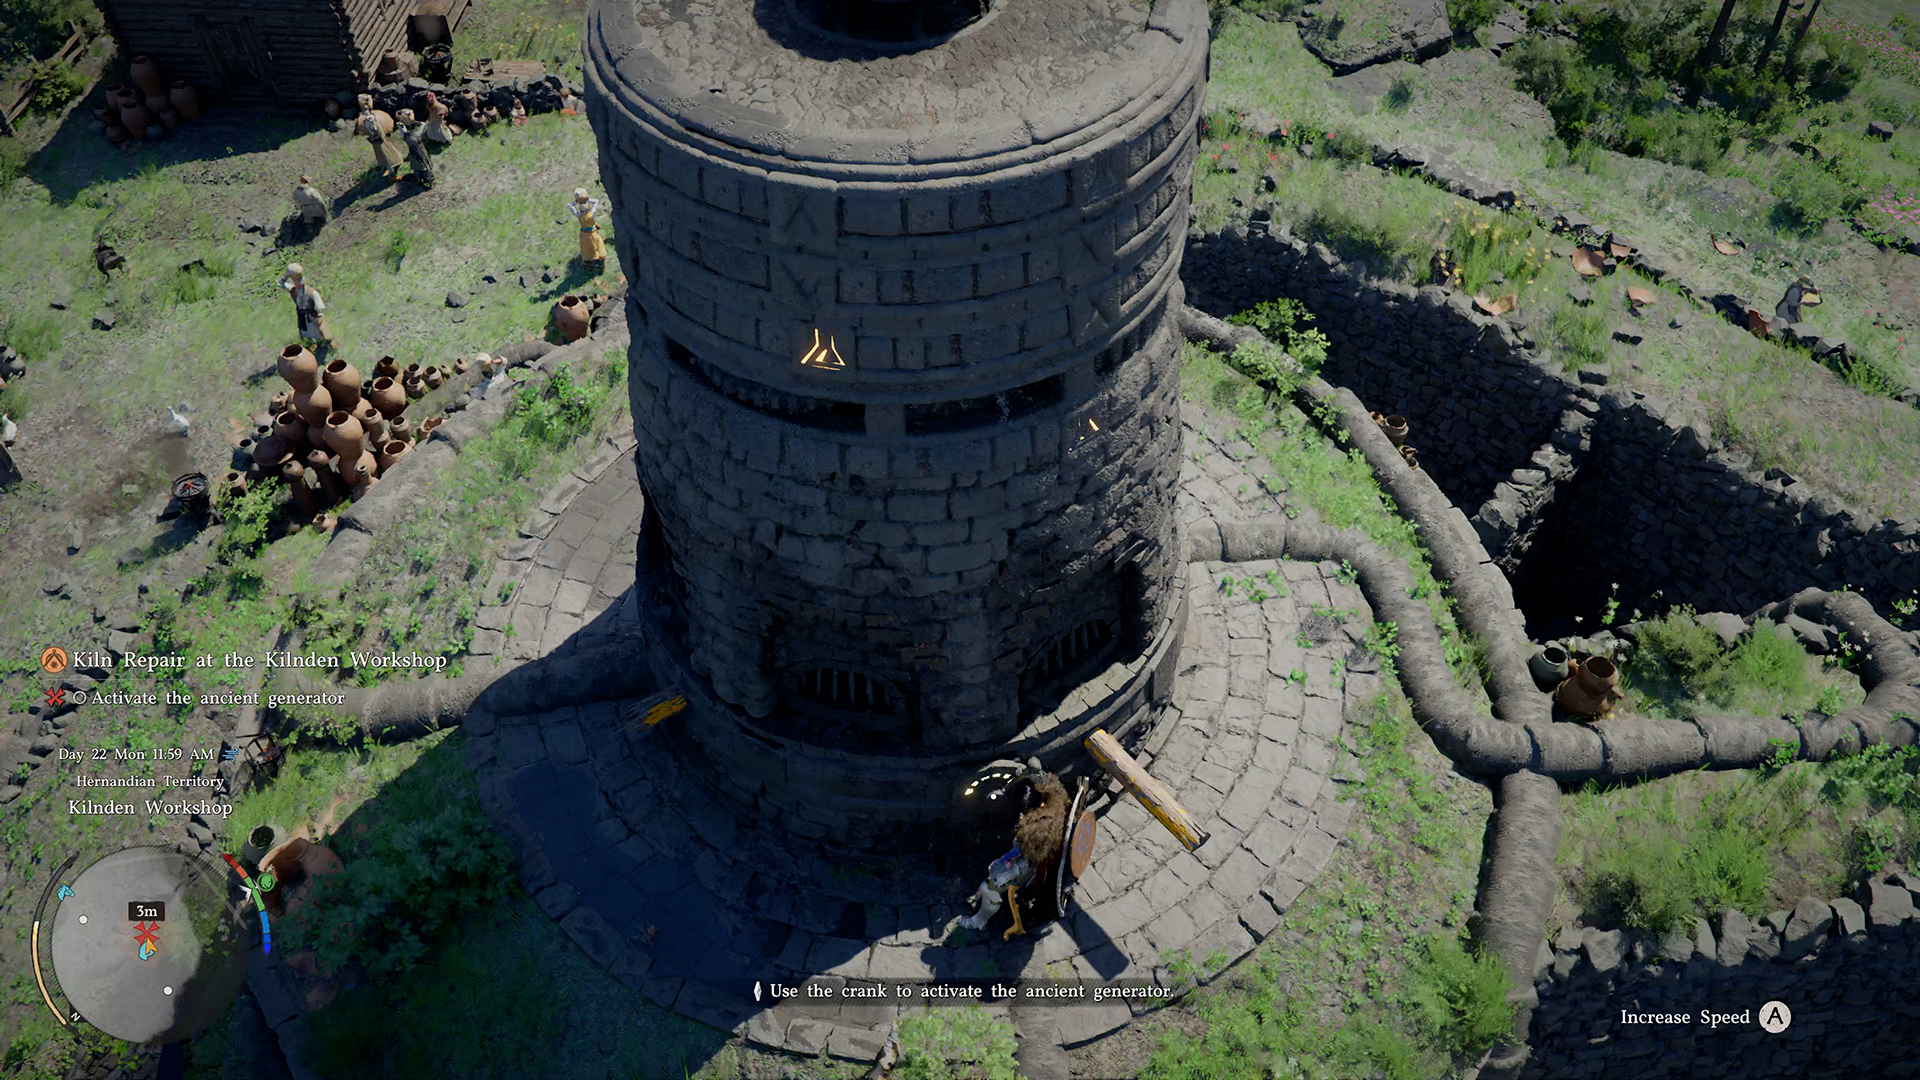
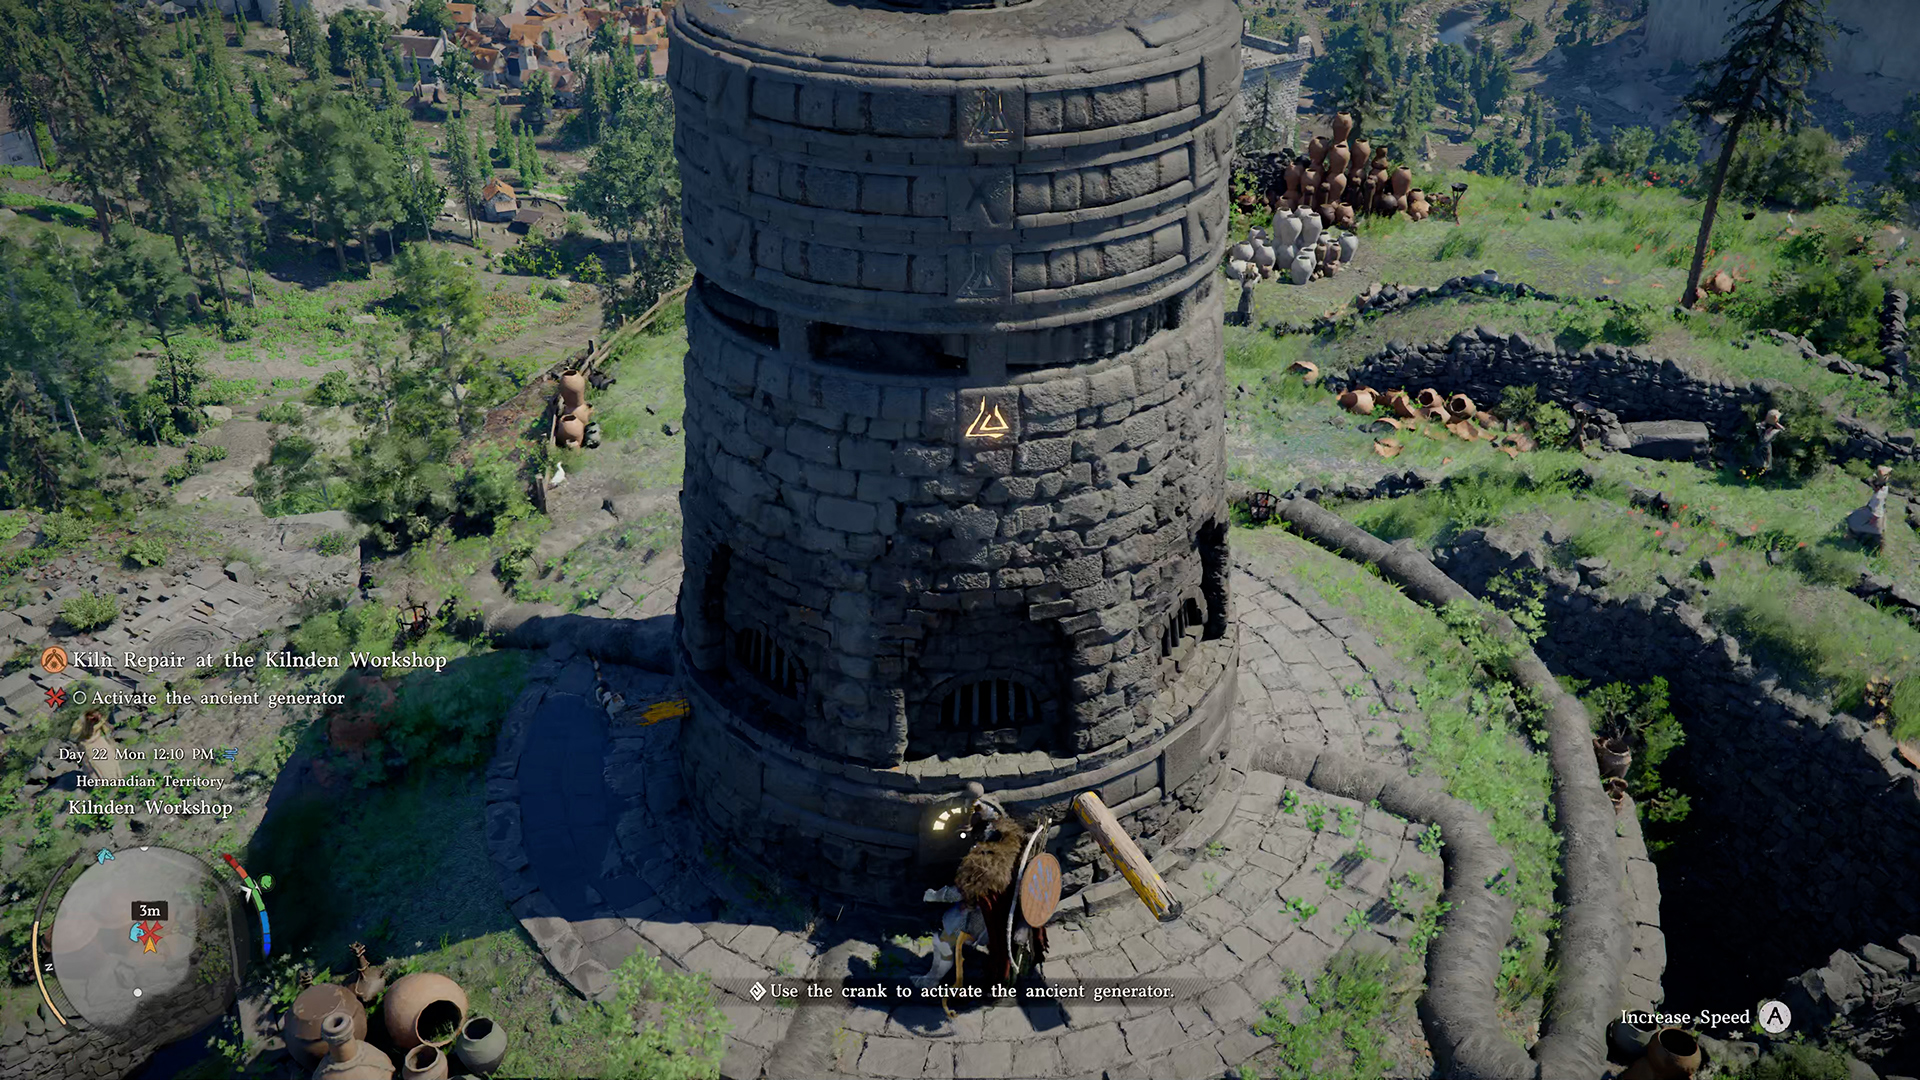
Your first task is to activate the ancient generator. As you approach the tower, you’ll see a lever in front of you and a horizontal lever. First, turn the lever all the way to the right and push the horizontal lever to the right as well. One of the elements at the top of the tower will rotate and settle into the correct position.
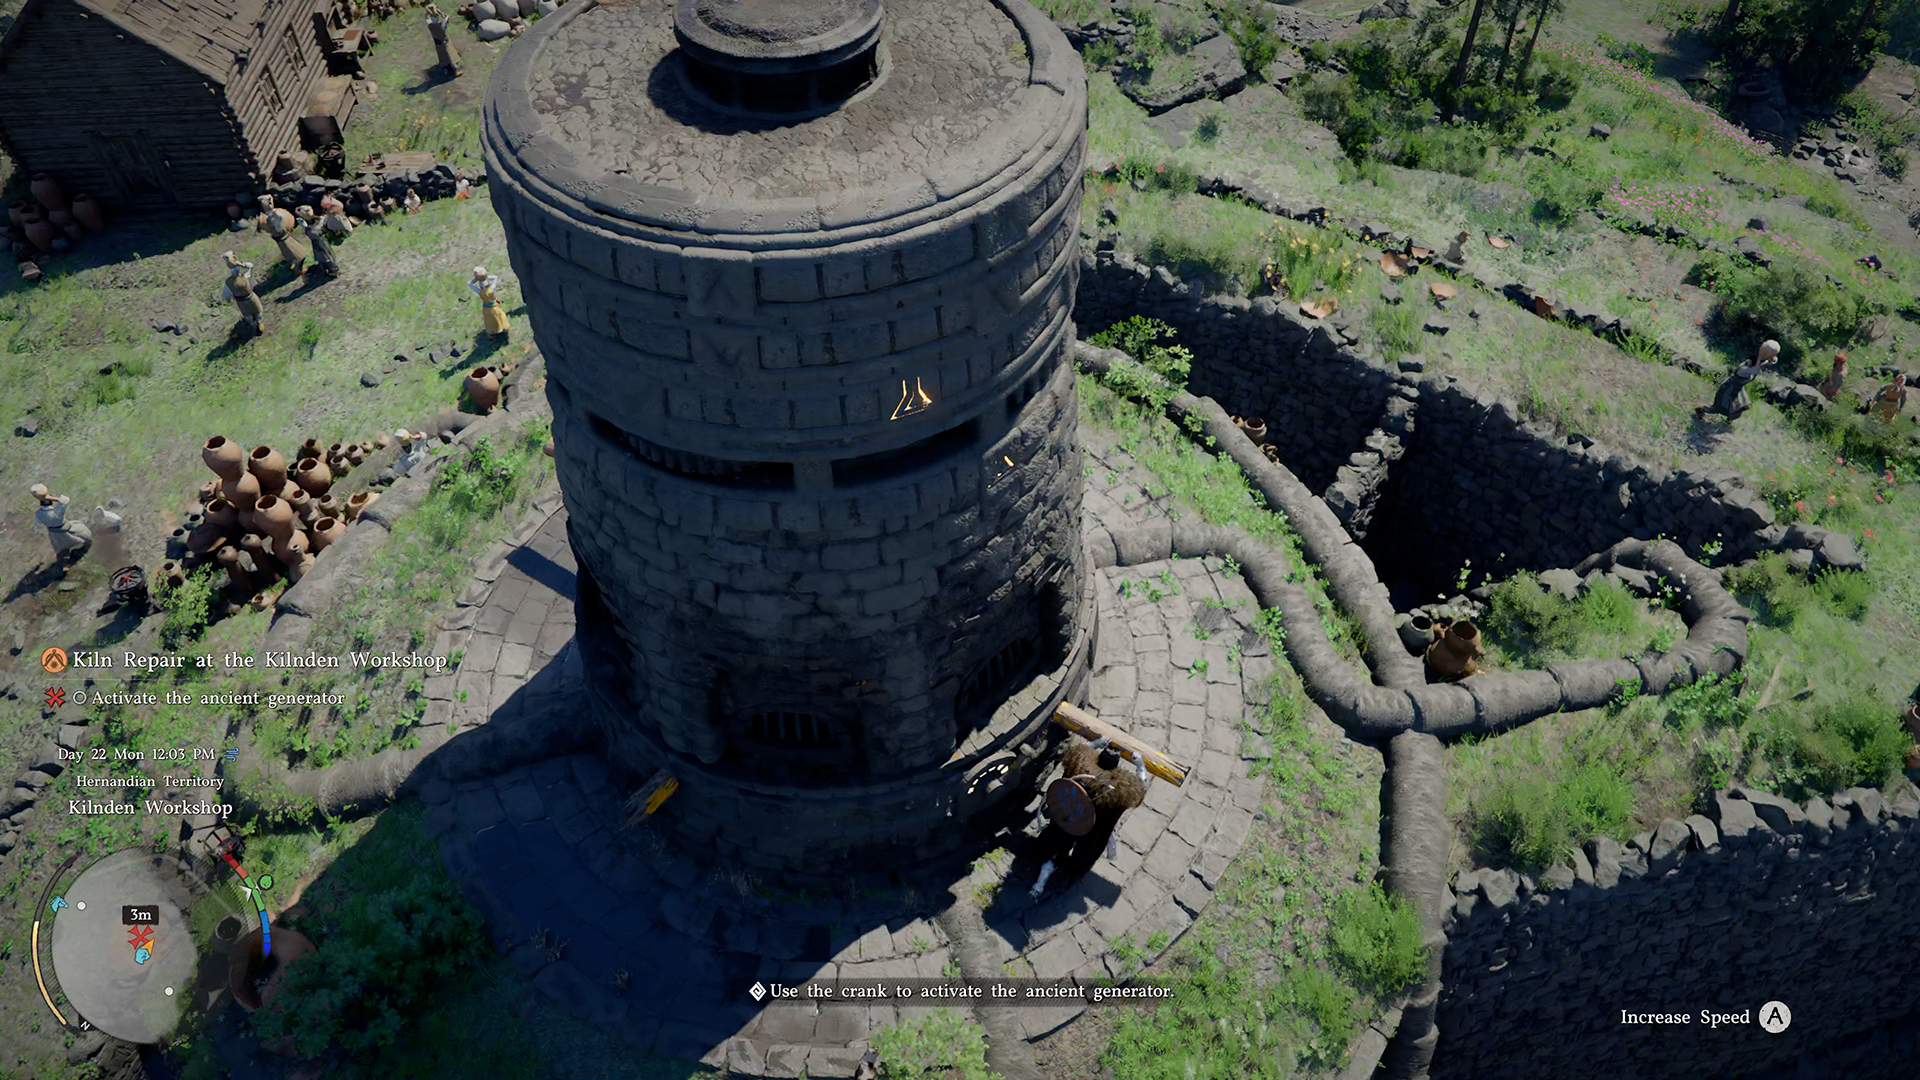
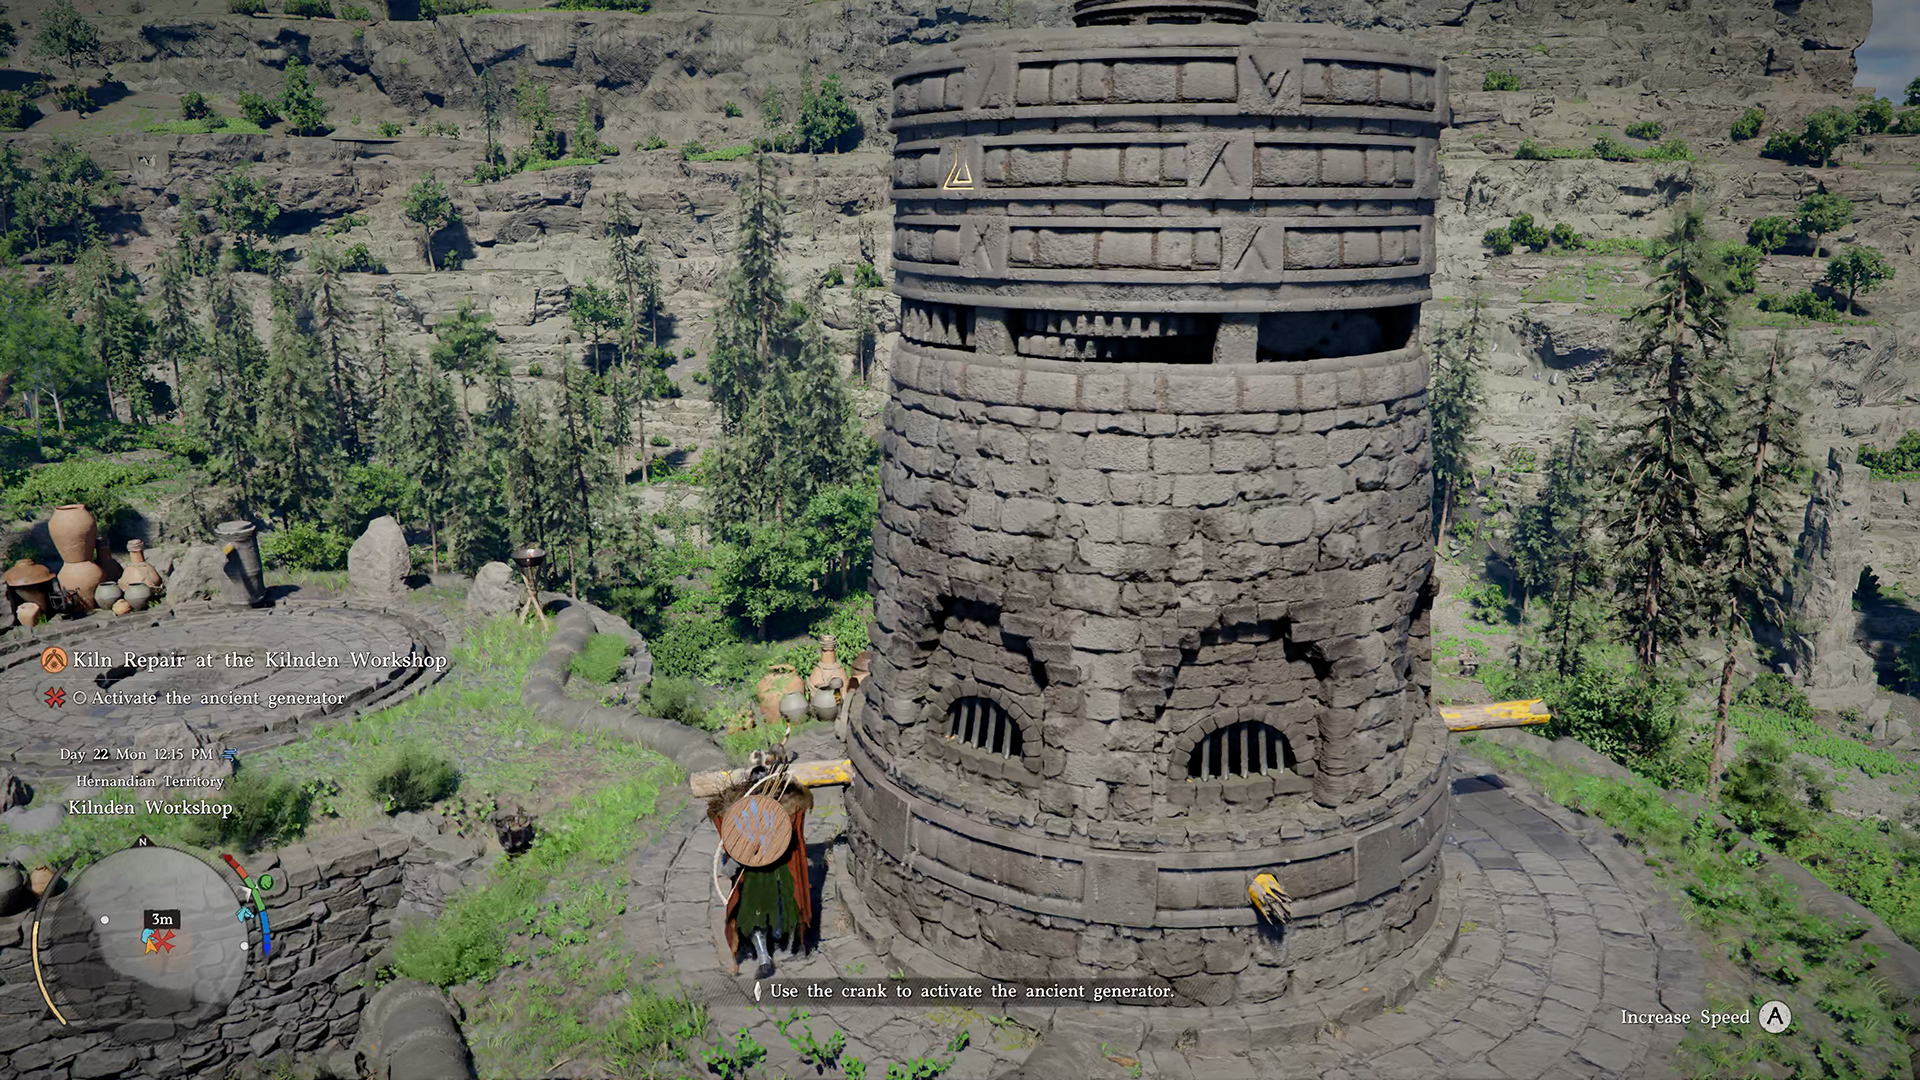
Now set the lever to the vertical position and push the horizontal lever in the other direction. You’ll see the symbols at the top of the tower align in a single pattern, which is their correct position. After that, the ancient generator will be activated, and you’ll be credited with completing the first task.
-

- Move the lever into the correct position
-
- Push the horizontal lever to the side
-
- Now set the pointer to the middle position
-
- And push the horizontal lever in the other direction
Сrimson Вesert fix the disconnected kiln operation
Now you can move on to the next task: “Fix the disconnected kiln.” You’ll see that the location where you need to do this is marked on your map. Get there however you like. I decided to just fly there in a straight line, since the distance isn’t that great.
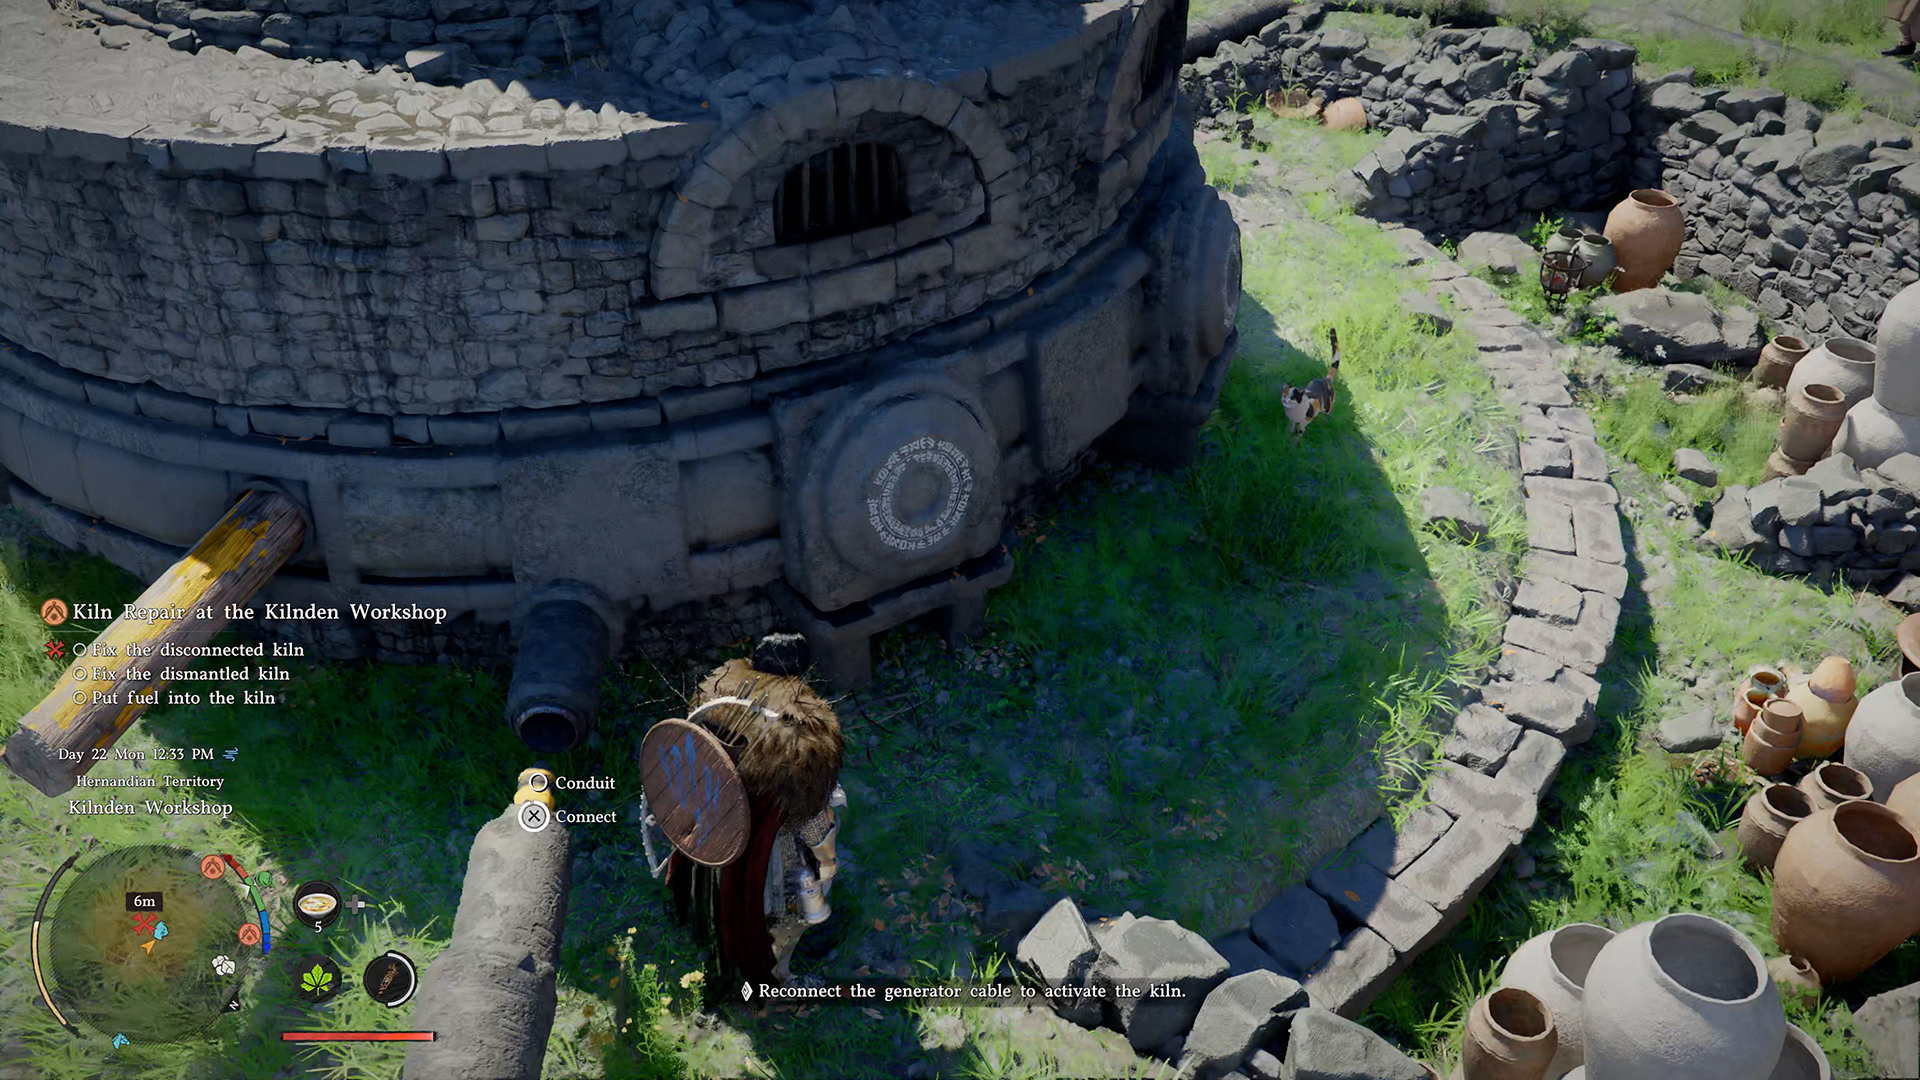
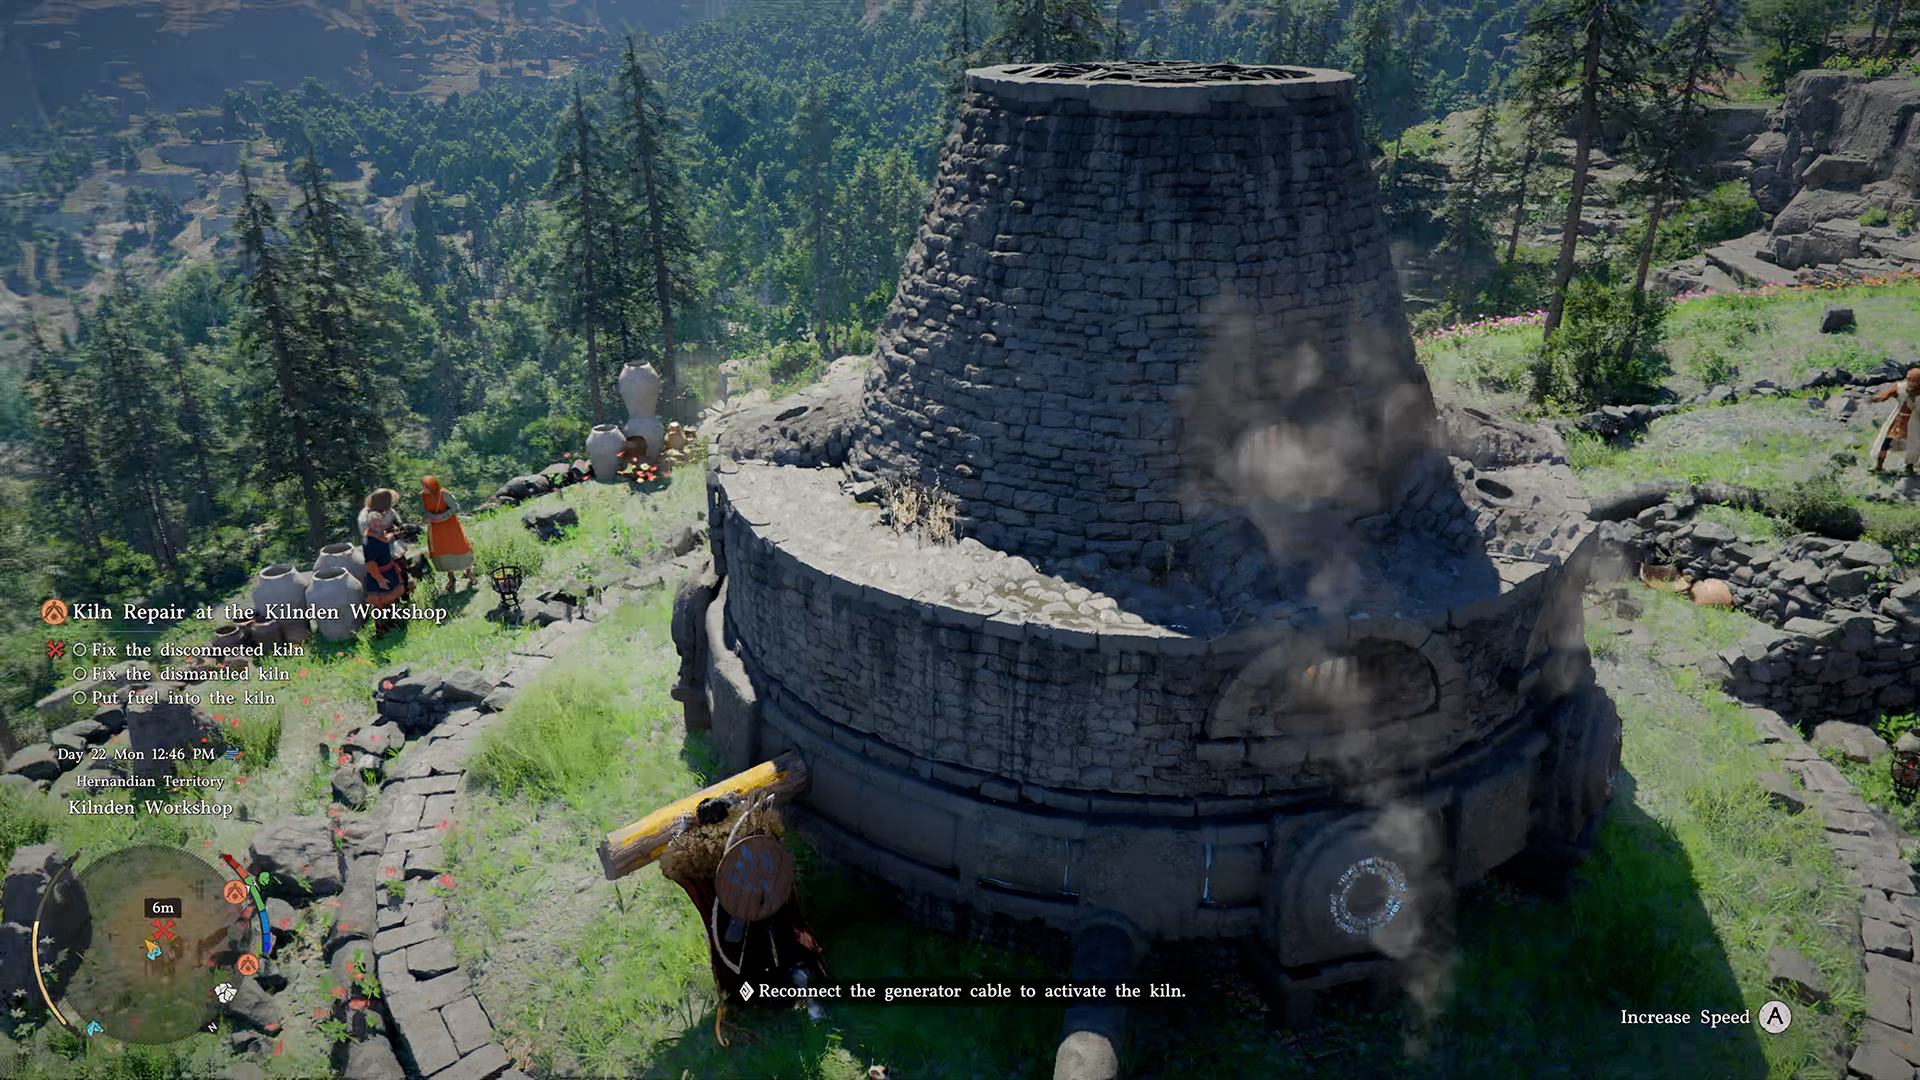
It’s as simple as it gets. Move to the left along the structure until you see a disconnected pipe. Connect it, then push the horizontal lever until the kiln starts working. Next, locate the next task it’s marked on the mini-map. The next mission is called “Fix the Dismantled Kiln.” I’m flying straight to the destination again, and this mission will be a little more challenging, so pay close attention.
-
- Connect the pipe sections together
-
- Push the horizontal lever again
Сrimson Вesert fix the disconnected kiln puzzle
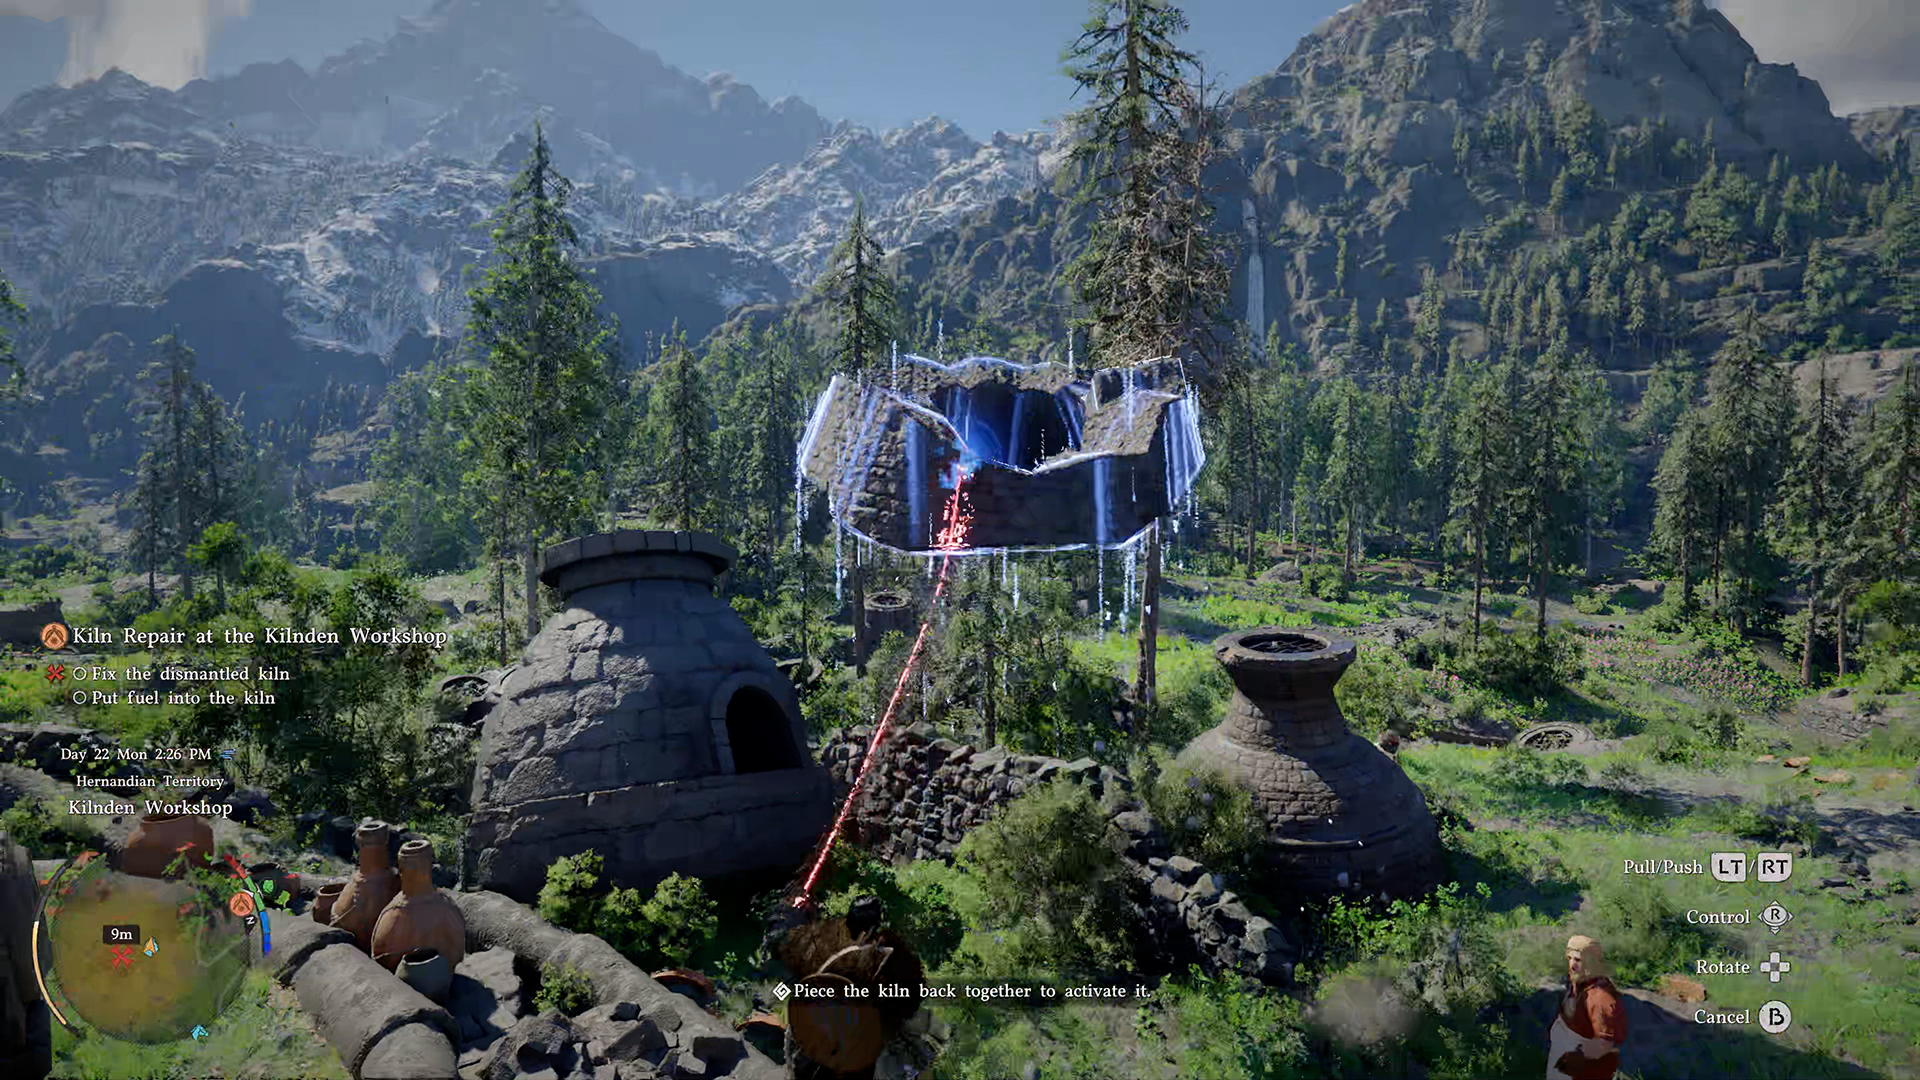
Right now, you can see the top part of the structure in front of you. So for now, let’s skip it and move on. On the other side, you’ll find the piece that needs to be placed first. It’s located on the opposite side. Use Axiom Force to move the first element onto the broken kiln. You need to position this element so that it roughly matches the outline, but don’t worry if it isn’t perfectly aligned. Then move on to the element I showed you at the beginning.
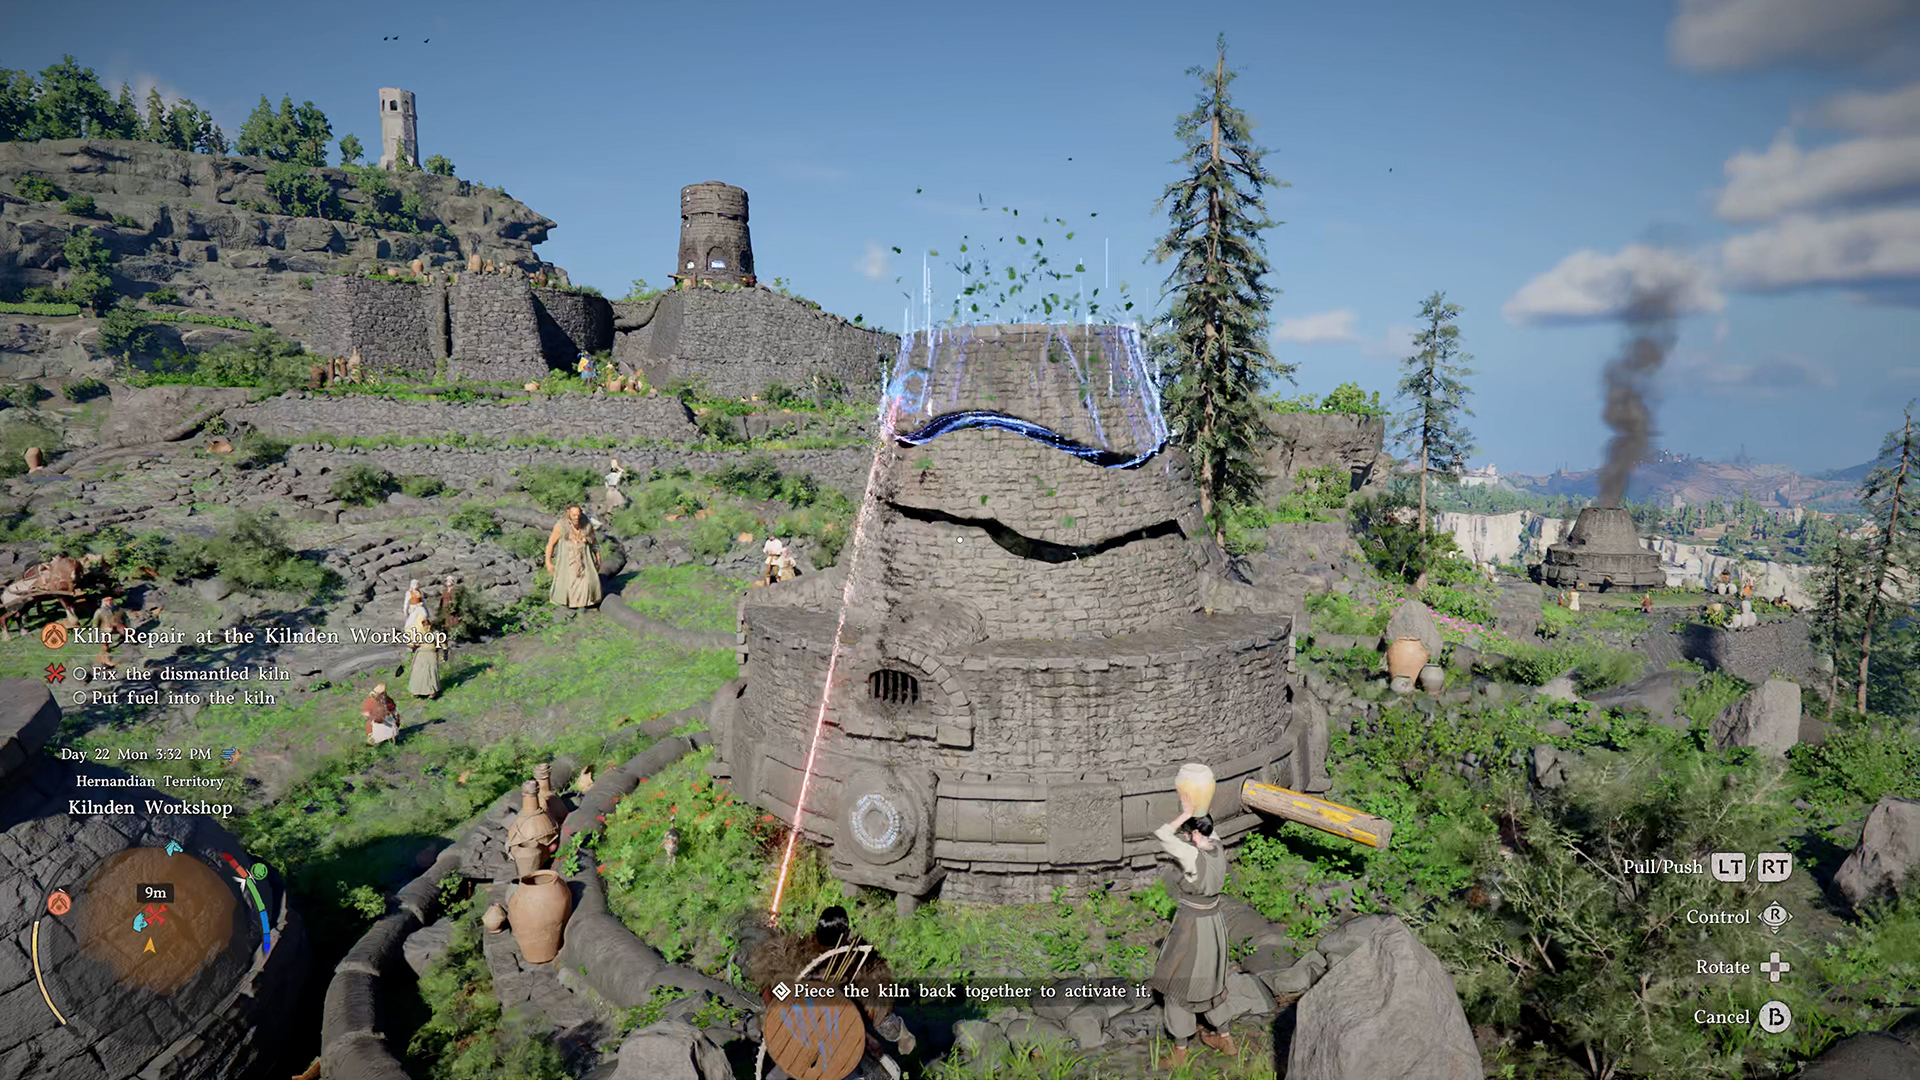
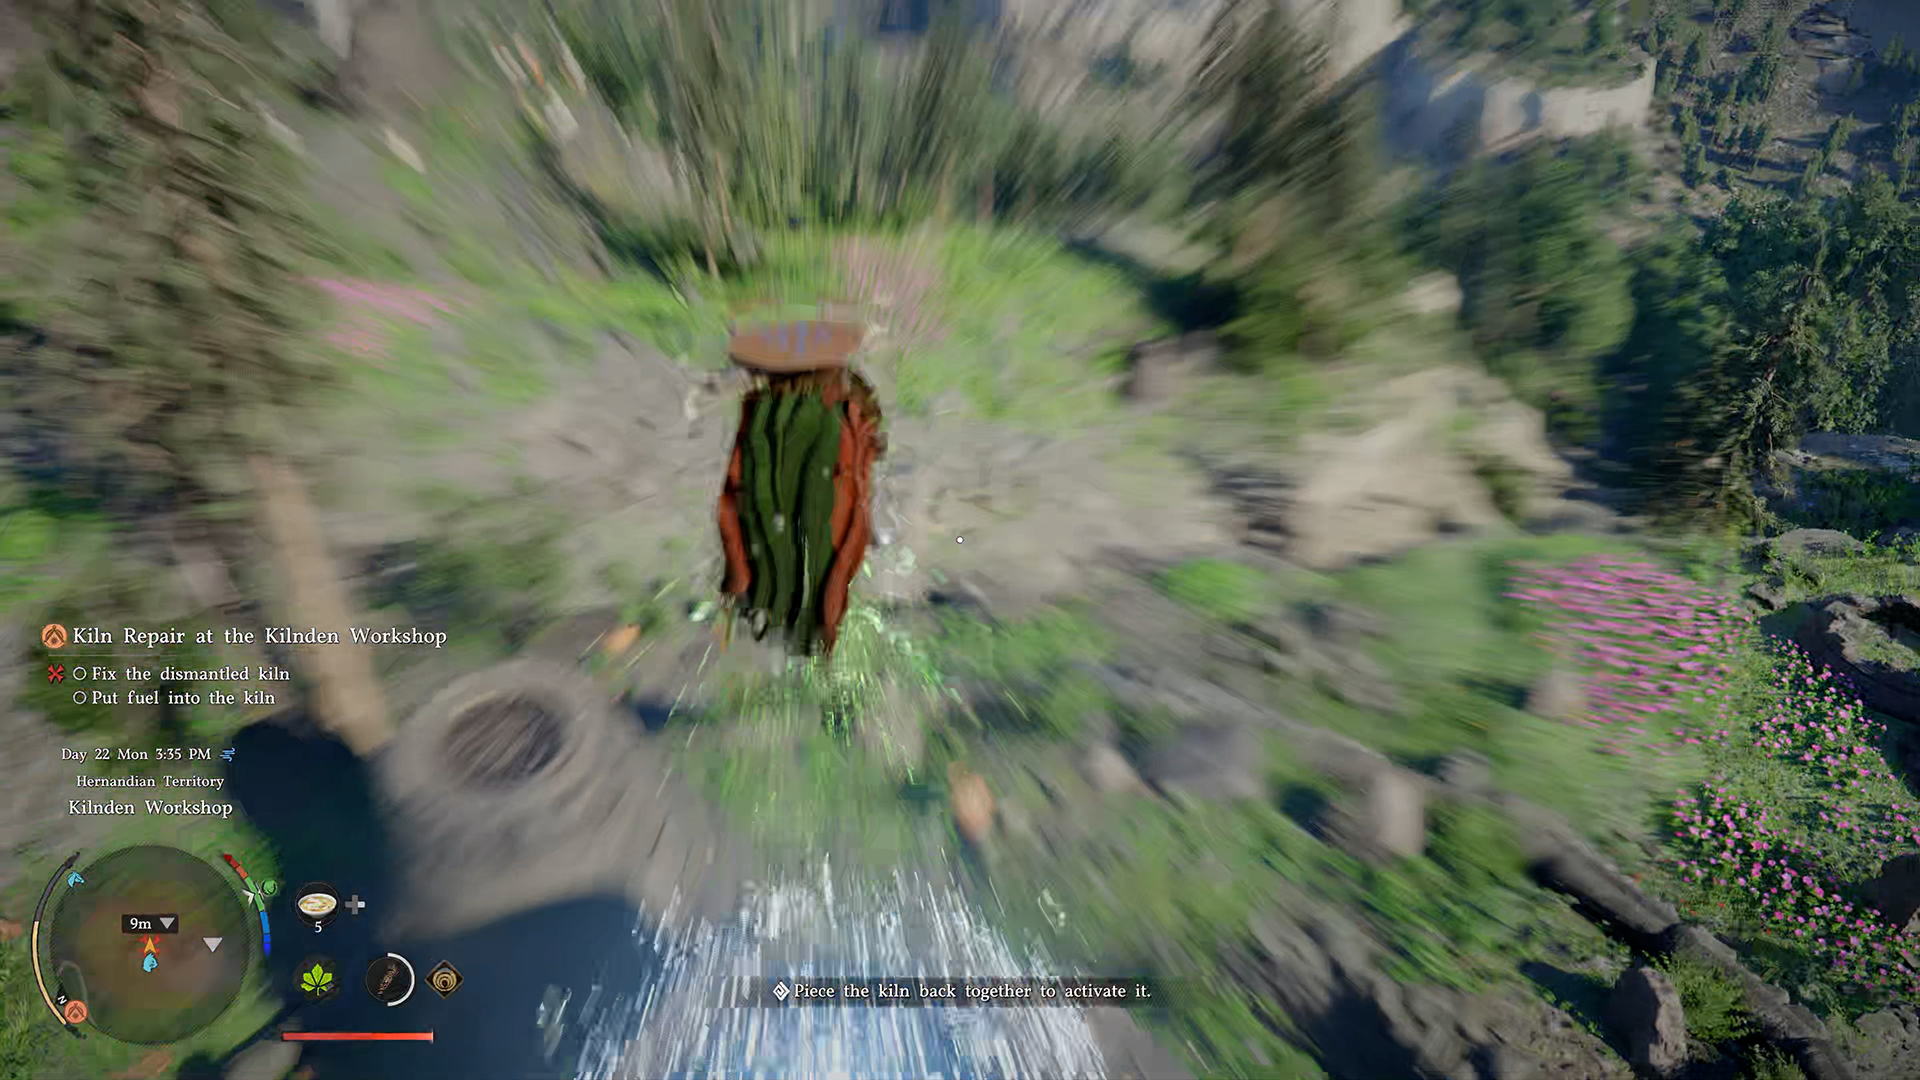
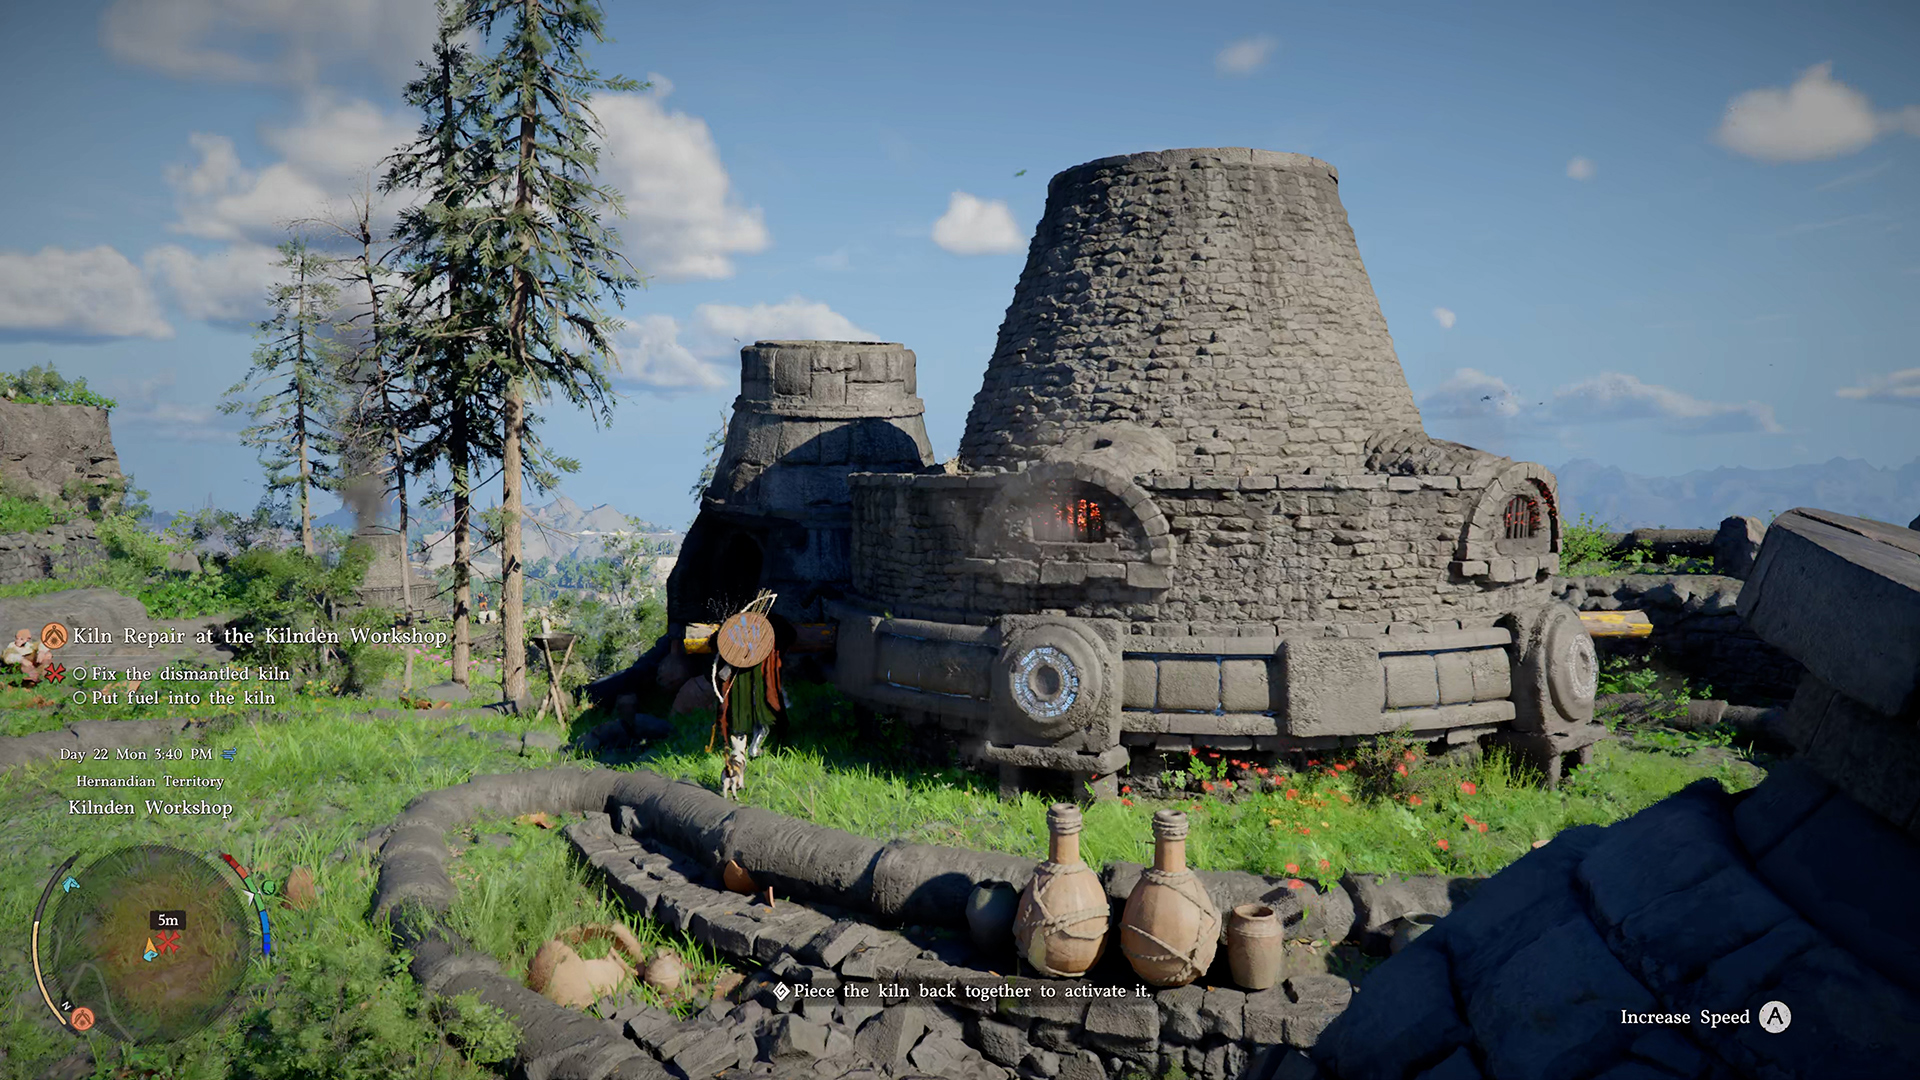
Use Axiom Force again to move this element to the top of the structure. Of course, the element also needs to align with the contours of the break line. After that, you need to climb to the top of the structure you’ve assembled, jump up, and use Force Palm in mid-air so that your character strikes downward with a blast and sets all the structure’s elements into the correct position. Now climb down, find the horizontal lever, and push it until the kiln starts working and you receive a notification that the mission is complete.
-
- Install the first kiln component
-
- Install the second kiln component
-
- Use Force Palm in the air at the top
-
- Push the horizontal lever to start
Сrimson Вesert fix the dismantled kiln guide
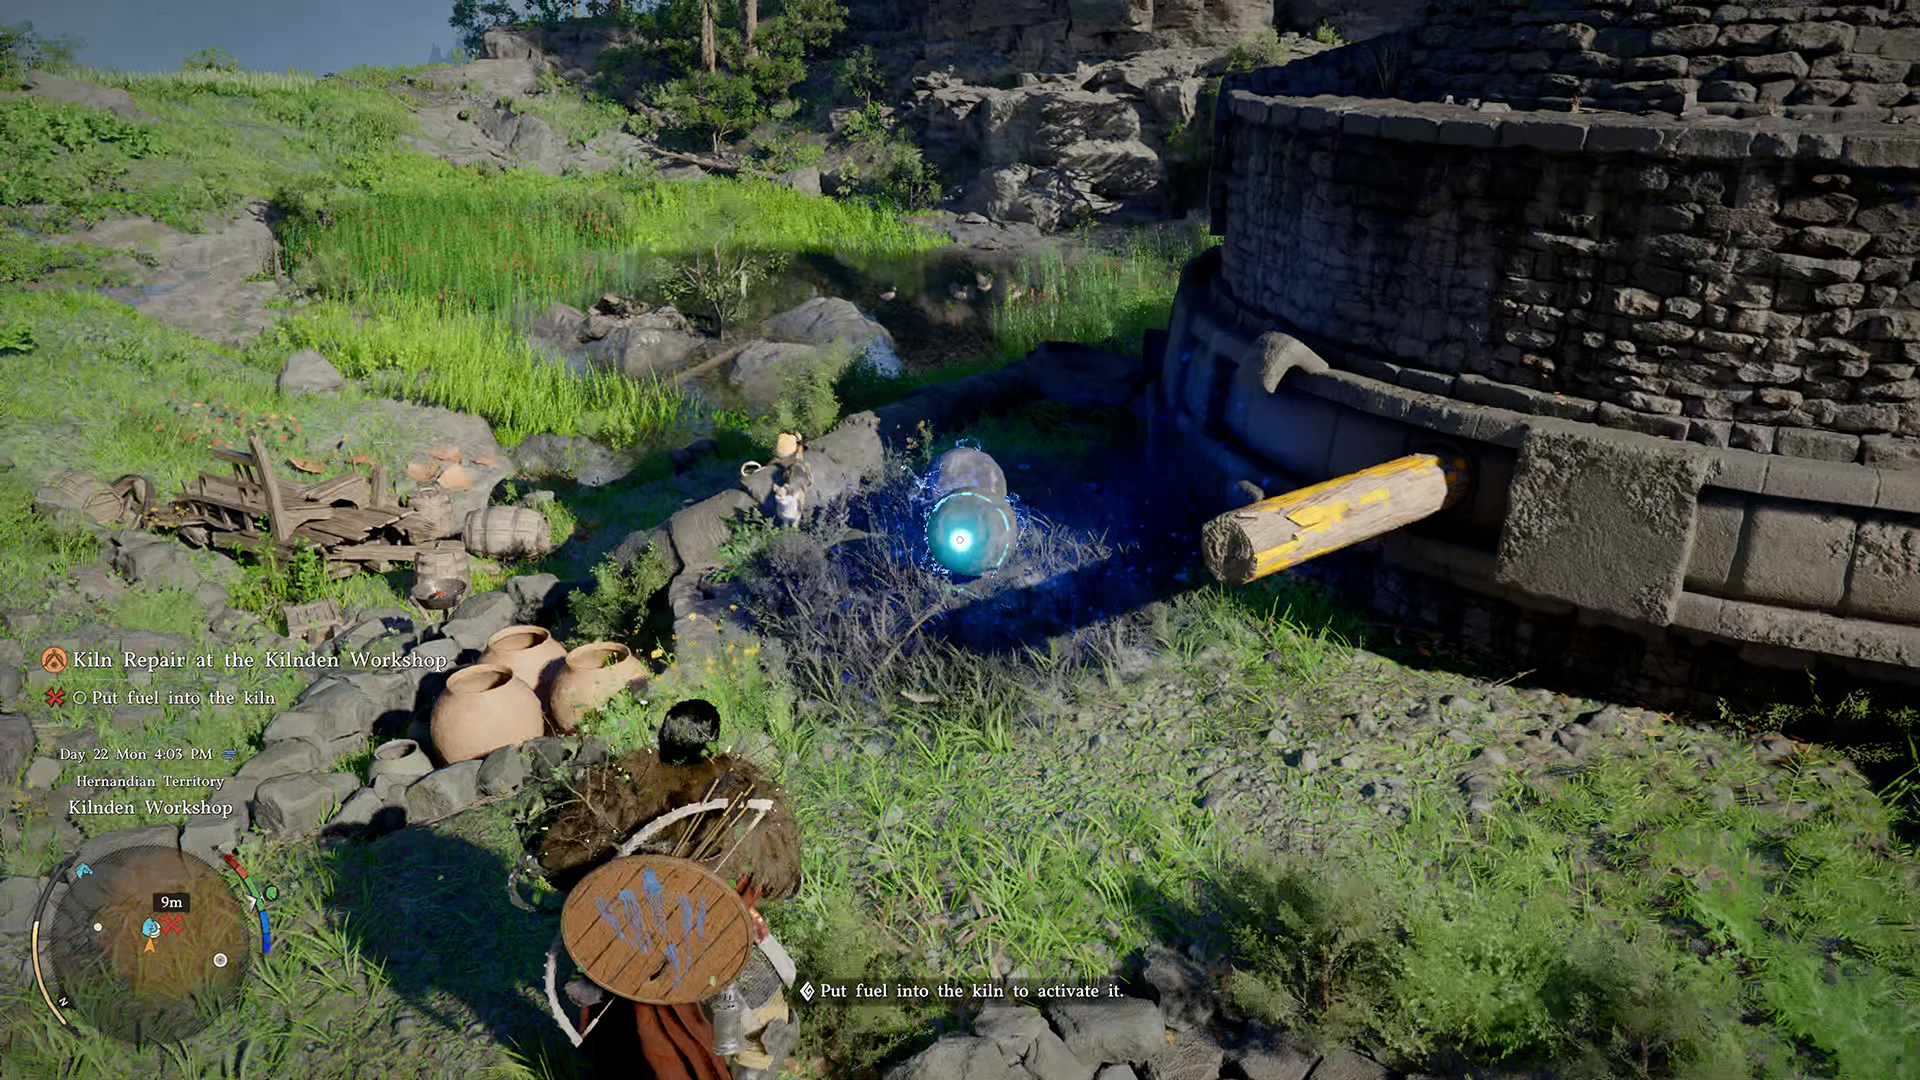
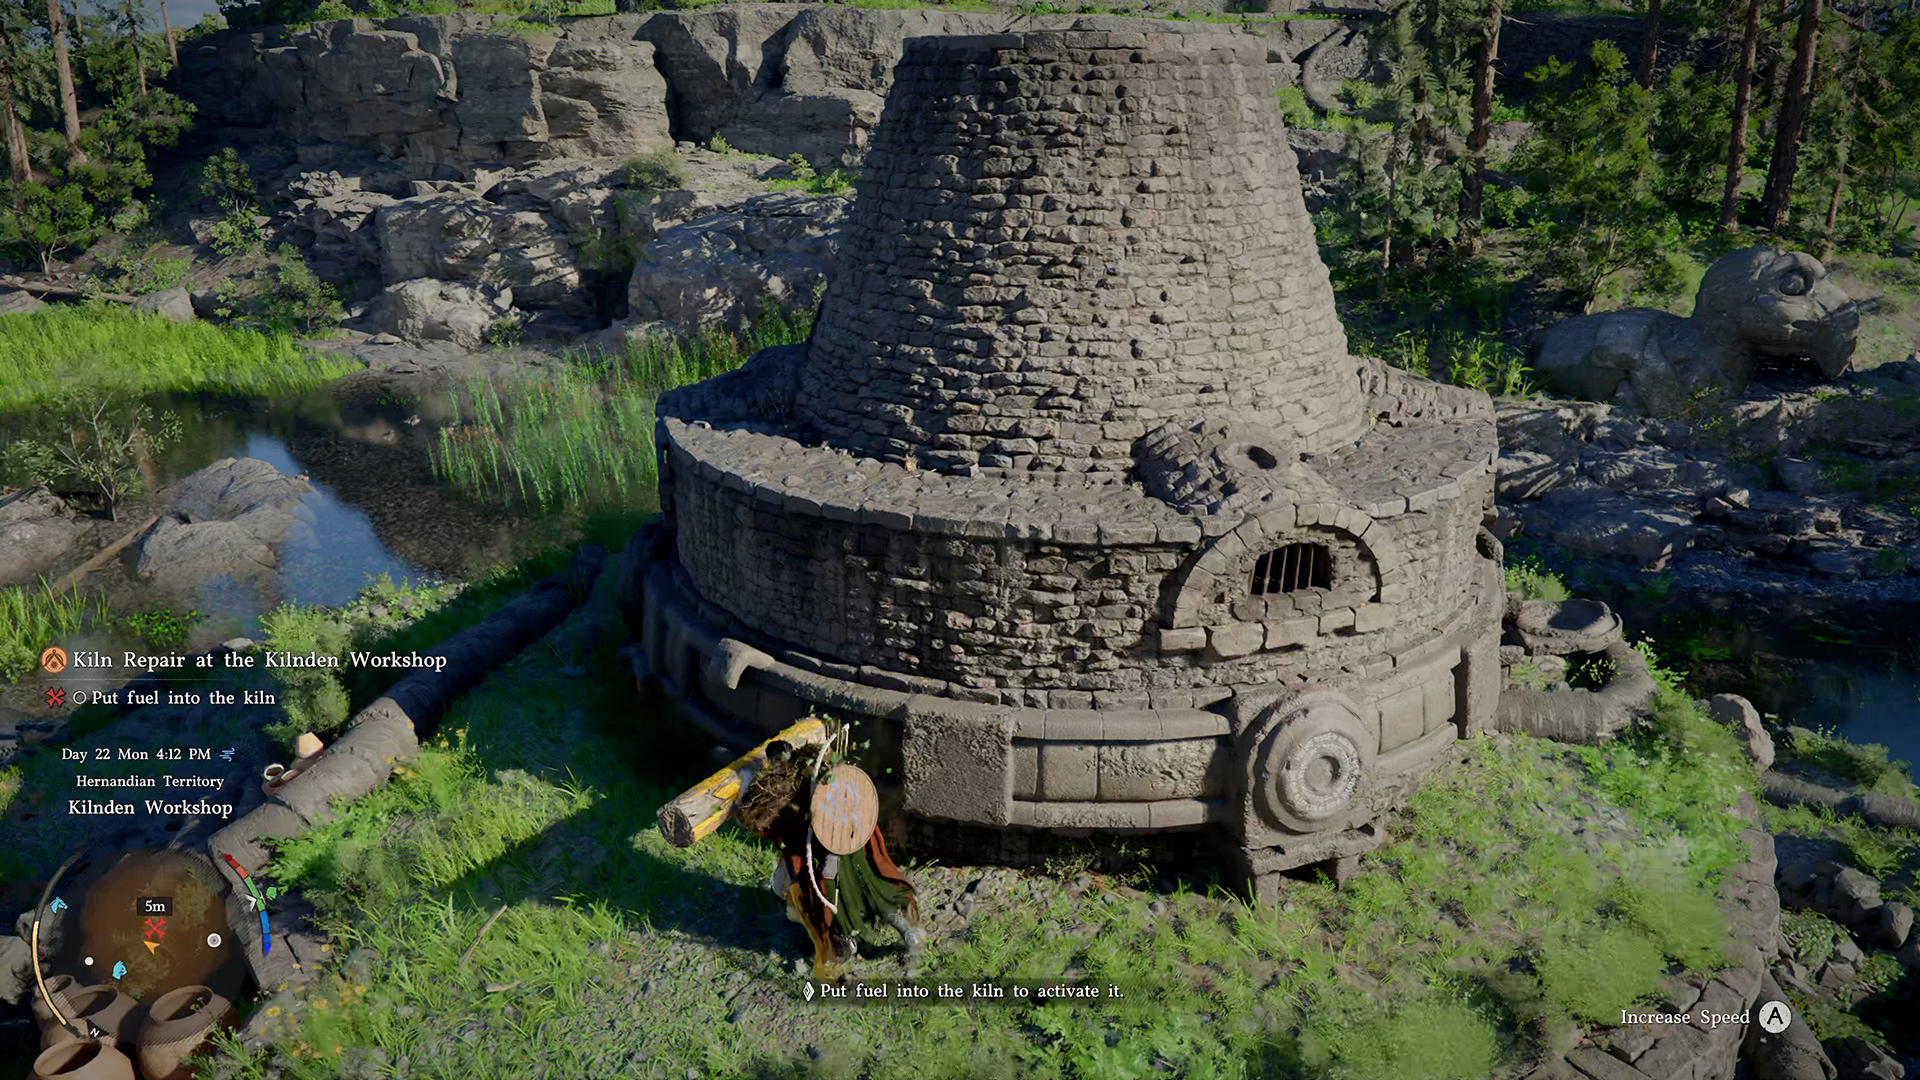
Now it’s time to move on to the next task, called “Put fuel into the kiln.” Head to the marker on the map, and I’ll tell you what to do here. Basically, you need to place five spheres into the openings located around the perimeter of the structure. You’ll find the first two spheres right next to the kiln. It doesn’t matter which openings you place these spheres in. Use Axiom Force to grab a sphere and then lift it up to the opening. Then do the same with the second sphere. Here, you also need to flip the horizontal lever to start the kiln. And it doesn’t really matter whether you do this after placing all the spheres or at any other time. You can see that I flipped the lever after placing two spheres.
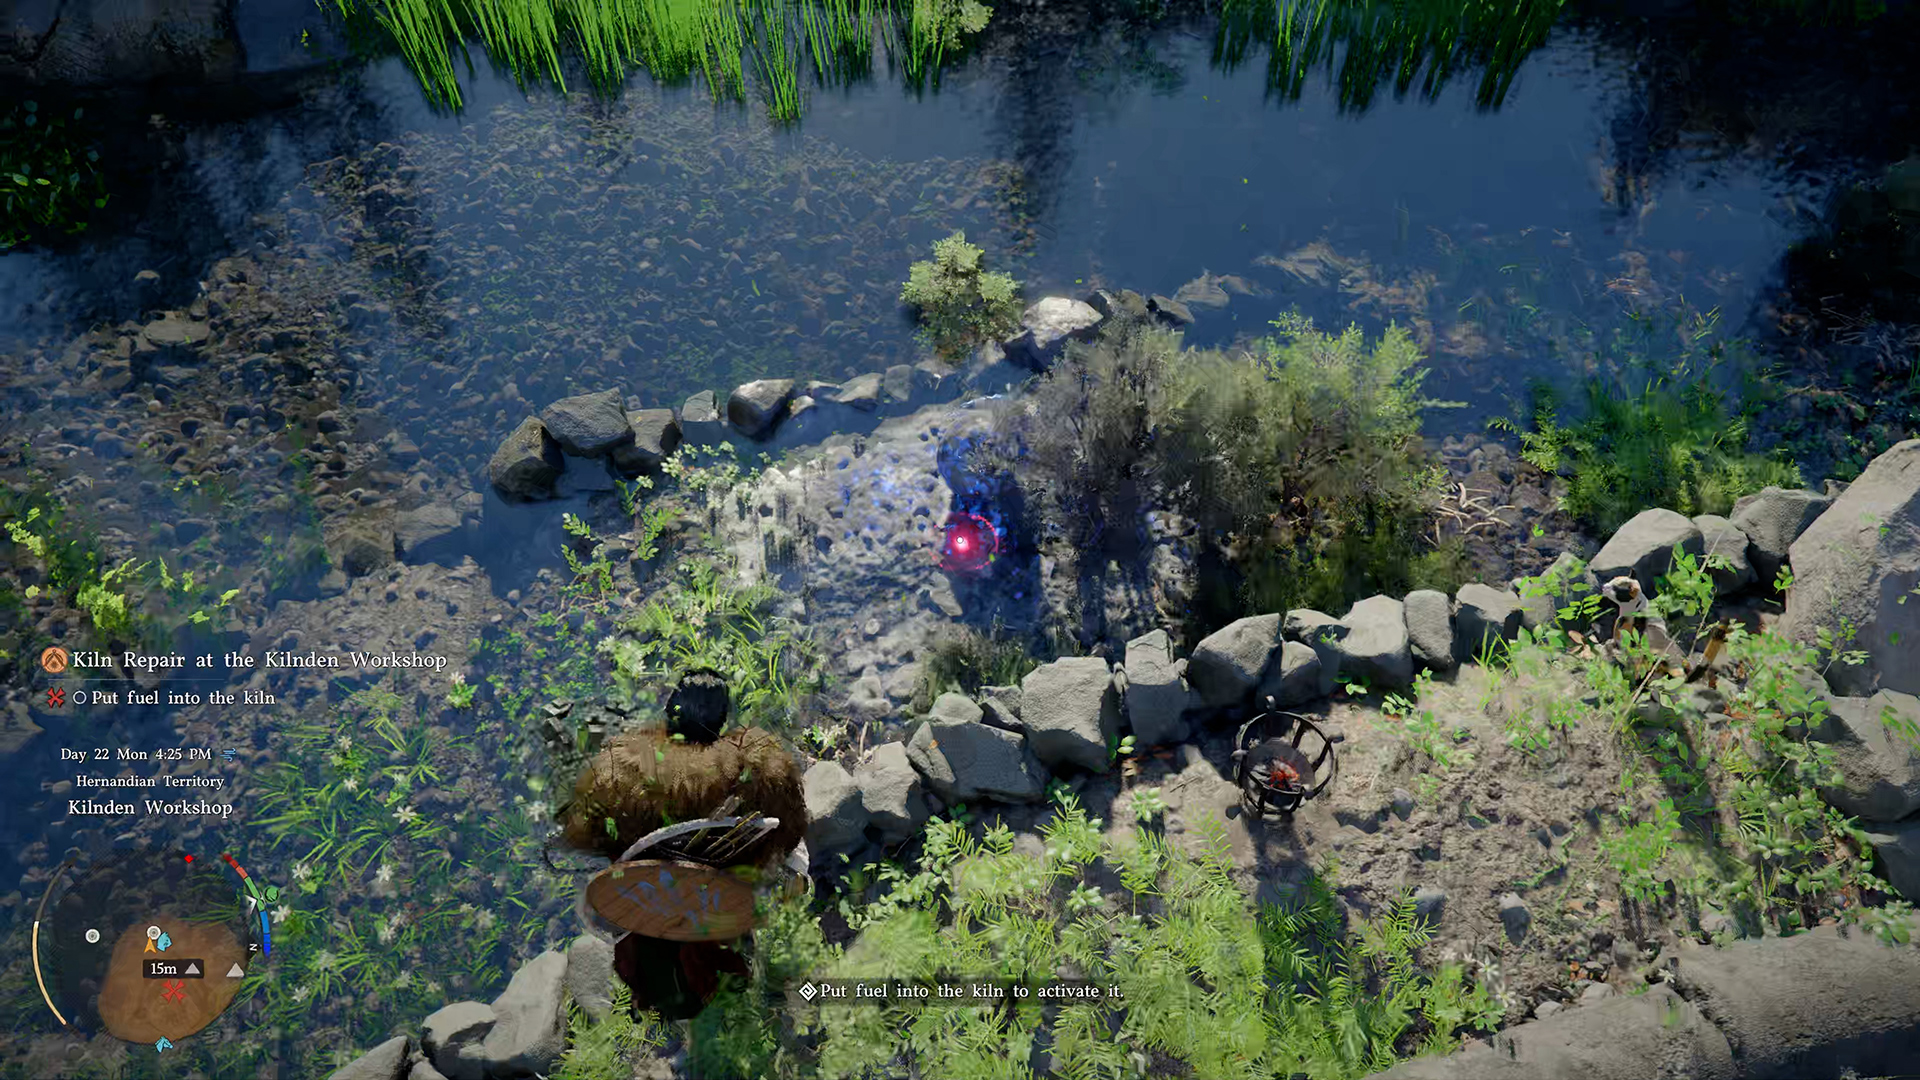
You’ll find the third sphere a little further on. On the shore of the reservoir, there is a small area hidden from view by bushes. This is where the third sphere is located; you need to take it from here and place it in the kiln opening. Use Axiom Force. If it’s not convenient, you can always drop the spheres and move to a more convenient spot to pick up the sphere and bring it to the appropriate opening.
-
- Two spheres are lying near the kiln
-
- You can push the horizontal lever
-
- The third sphere is on the shore of the lake
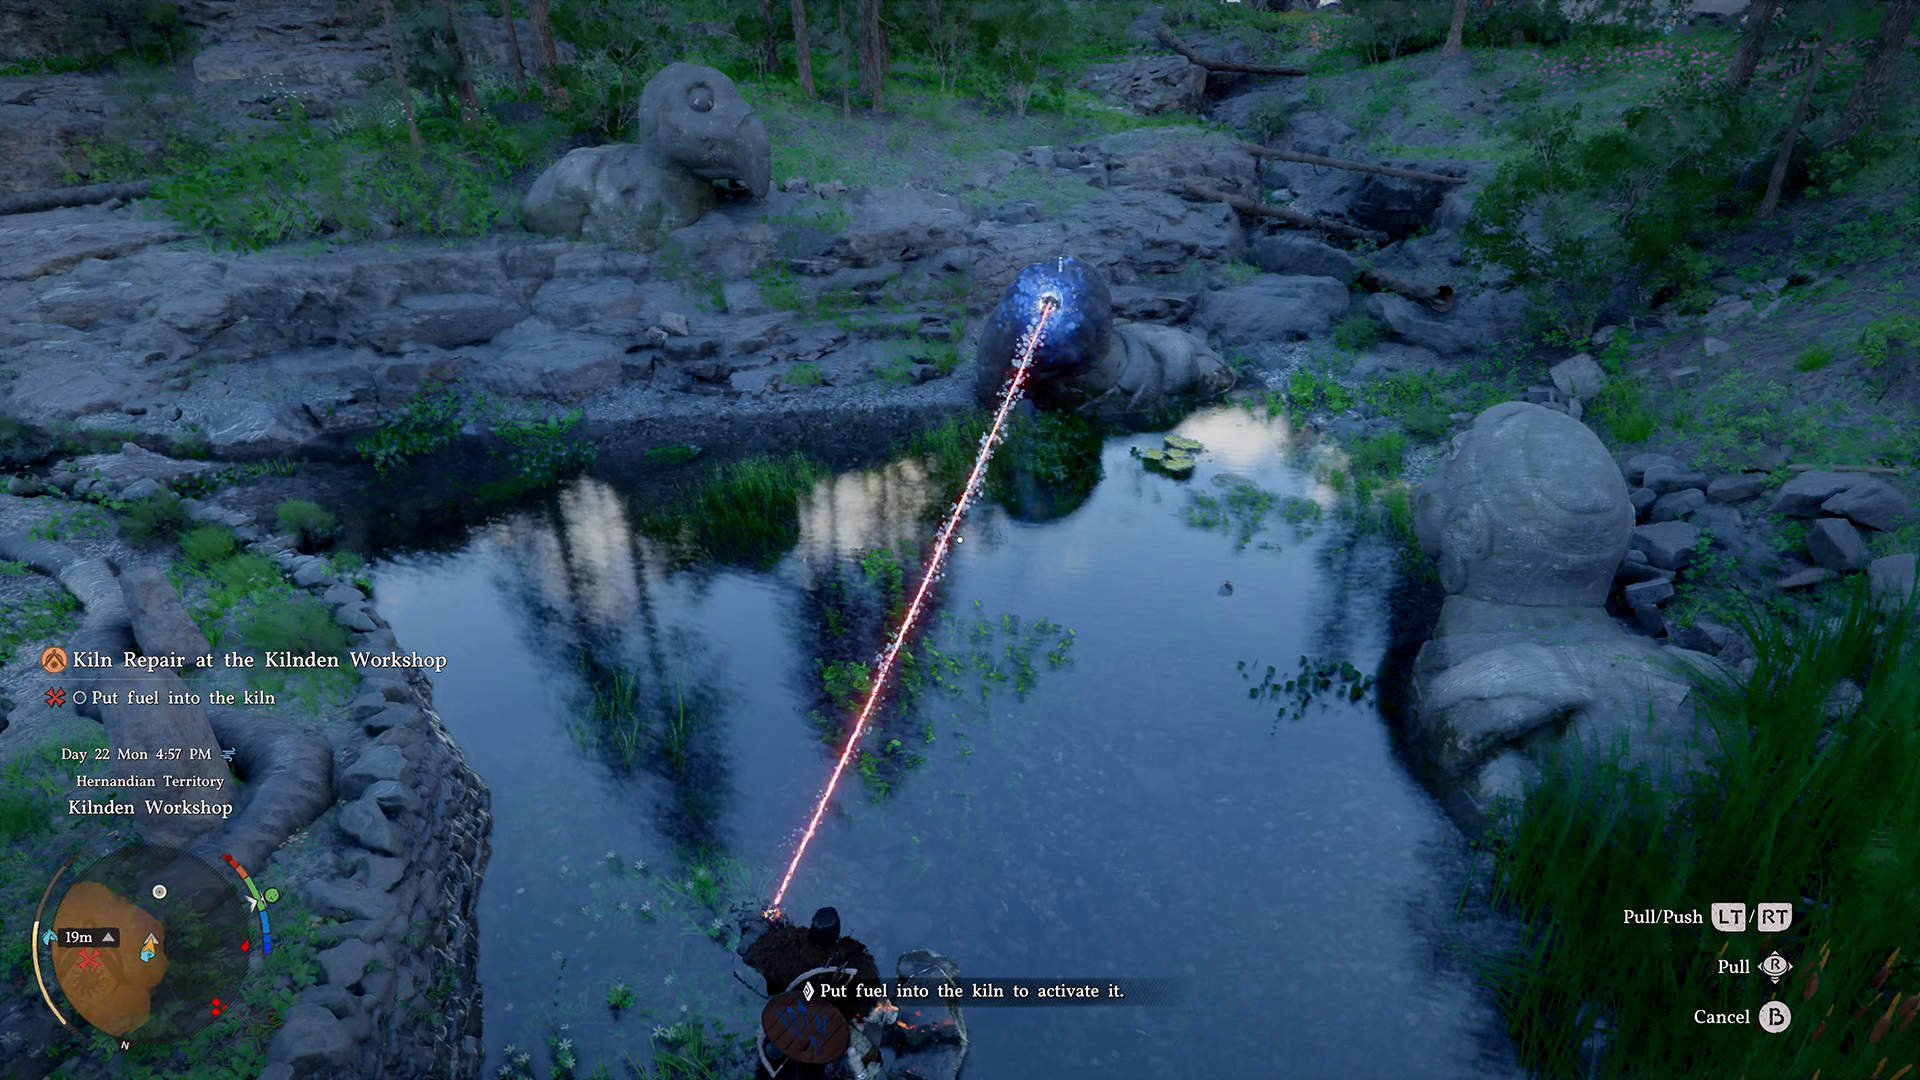
The next sphere is hidden from you. On the other side of the lake, where you retrieved the third sphere, you can see large statues of birds sitting in the water. One of these birds has the sphere you need in place of its eye. To retrieve this sphere from where it is, you need to use Axiom Force accurately and then press the button that will pull the sphere out. Since I’m playing on a gamepad, for me it’s the LT button. On a computer, I’m not sure just follow the prompts in your interface. You know what to do next. Move the sphere into one of the furnace openings.
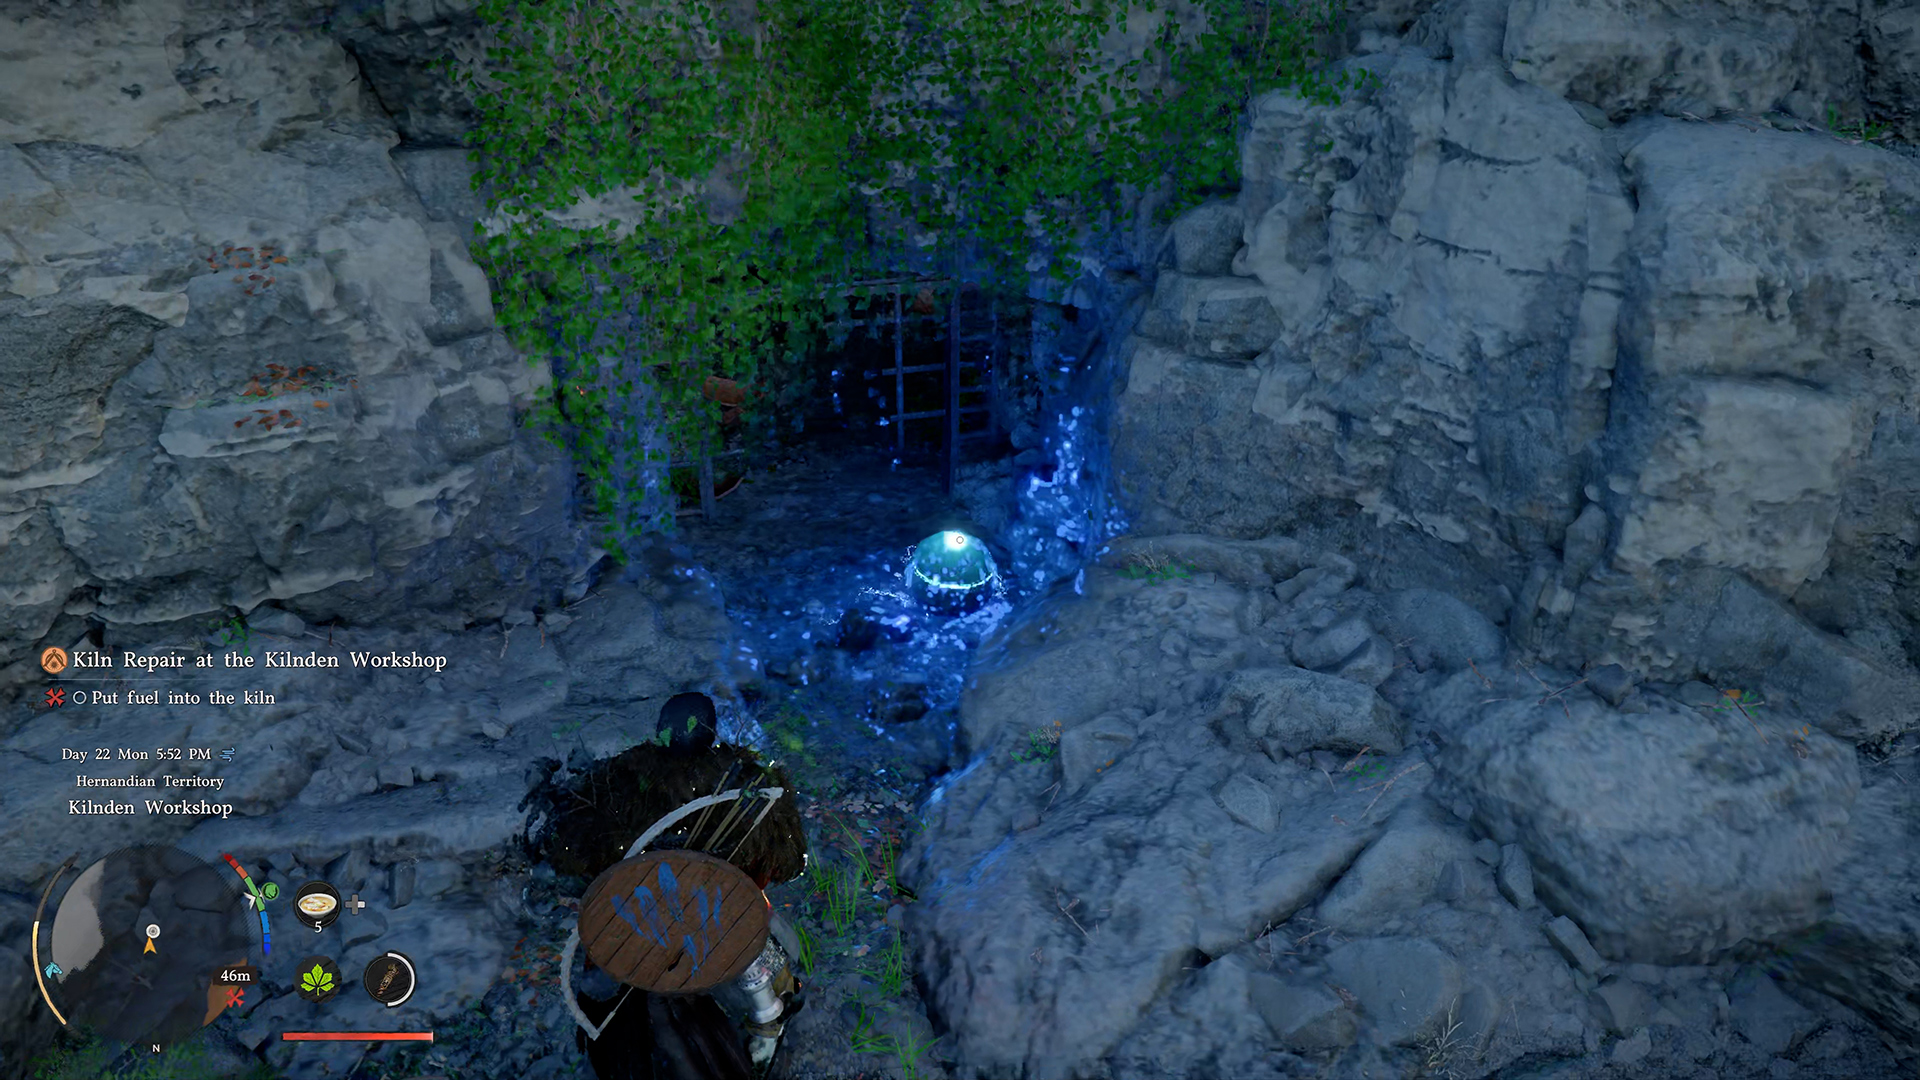
There’s one last sphere left. You’ll find it on the other side of the furnace. There’s also a small lake here. On that side is the entrance to the cave. It’s hidden from view by a large boulder, so you might not notice it right away. Come closer, as I’m showing you, and you’ll see the sphere you’re looking for. By the way, if you go into the cave, you’ll find a rich copper ore deposit where you can collect a little more ore than in the deposits near the rocks.
Let’s get back to solving our puzzle. Use Axiom Force to pick up the sphere and move it to the kiln, placing it in the last empty slot. After that, since you’ve already flipped the horizontal lever, a cutscene will play, informing you that the system is working and the task is complete.
-
- Pull the fourth orb out of the statue’s eye
-
- Find the fifth orb near the cave by the lake
Obtain the mysterious pot
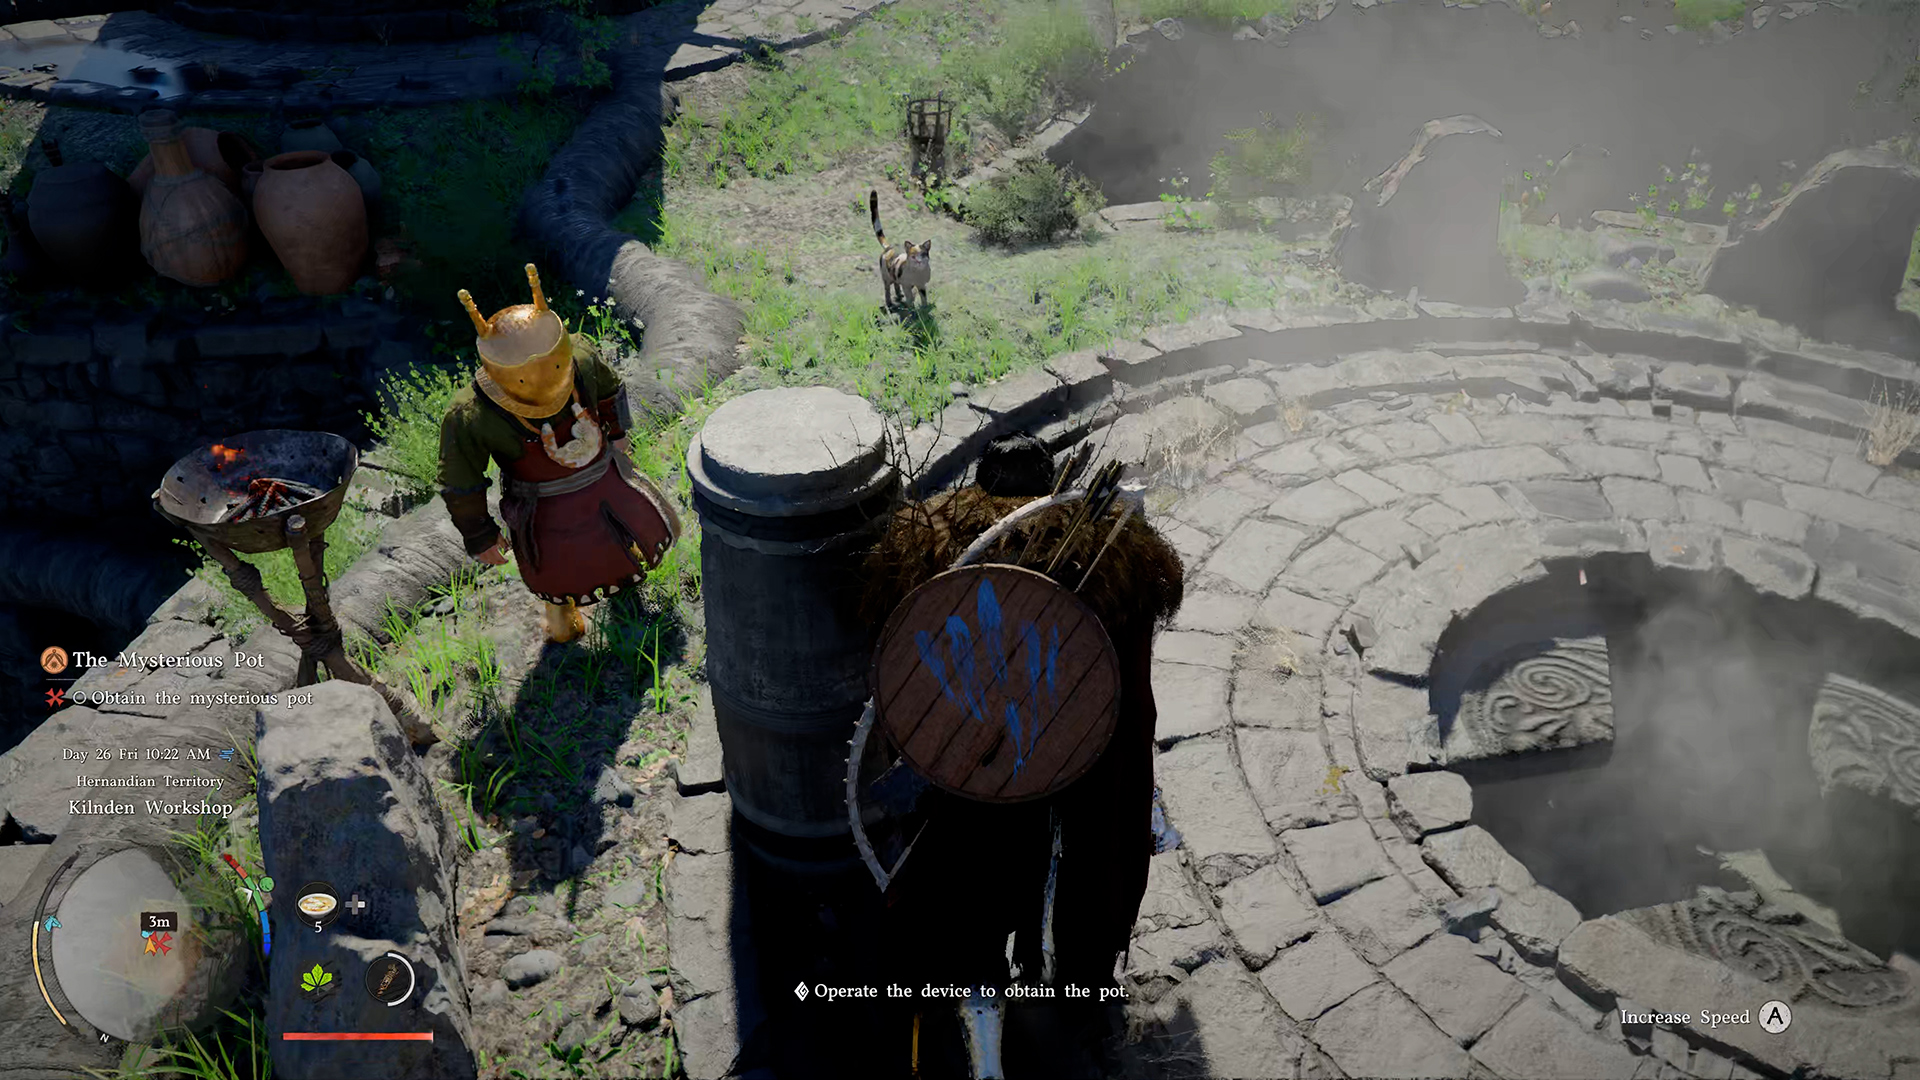
The main task is complete, but your trials in this quest aren’t over yet. You need to return to Grimnir. He’ll be incredibly grateful to you for the repairs. Then you need to wait while this character crafts a gift for you. Use the on-screen prompts to speed up the wait. After that, to claim your prize, you need to grab the handle of the nearby pole and start pushing it. When you turn the wheel, you’ll be credited with completing the “Obtain the mysterious pot” task.
Learn how to use the iron pot
Once you’ve picked up the item that fell at your feet, you need to move to a new location. There, you’ll complete the final task, called “Learn how to use the iron pot.” You’ll see a marker on the minimap. Head to that spot. After a short dialogue, you’ll obtain the Magnetic Power Core.
-
- Obtain the mysterious pot
-
- Learn how to use the iron pot