In the game Crimson Desert, near The Witchwoods, you can find a cave. It’s obvious that there’s some kind of secret here. But the thing is, this cave is an exit, not an entrance. So, I’m going to tell you absolutely everything you need to know about solving the Azure Moon Labyrinth puzzle.
Azure Moon Labyrinth entrance
You need to exit the cave and find an abandoned settlement nearby. In a small wooden gazebo, you’ll see a ladder leading down. This is where this amazing mystery begins.
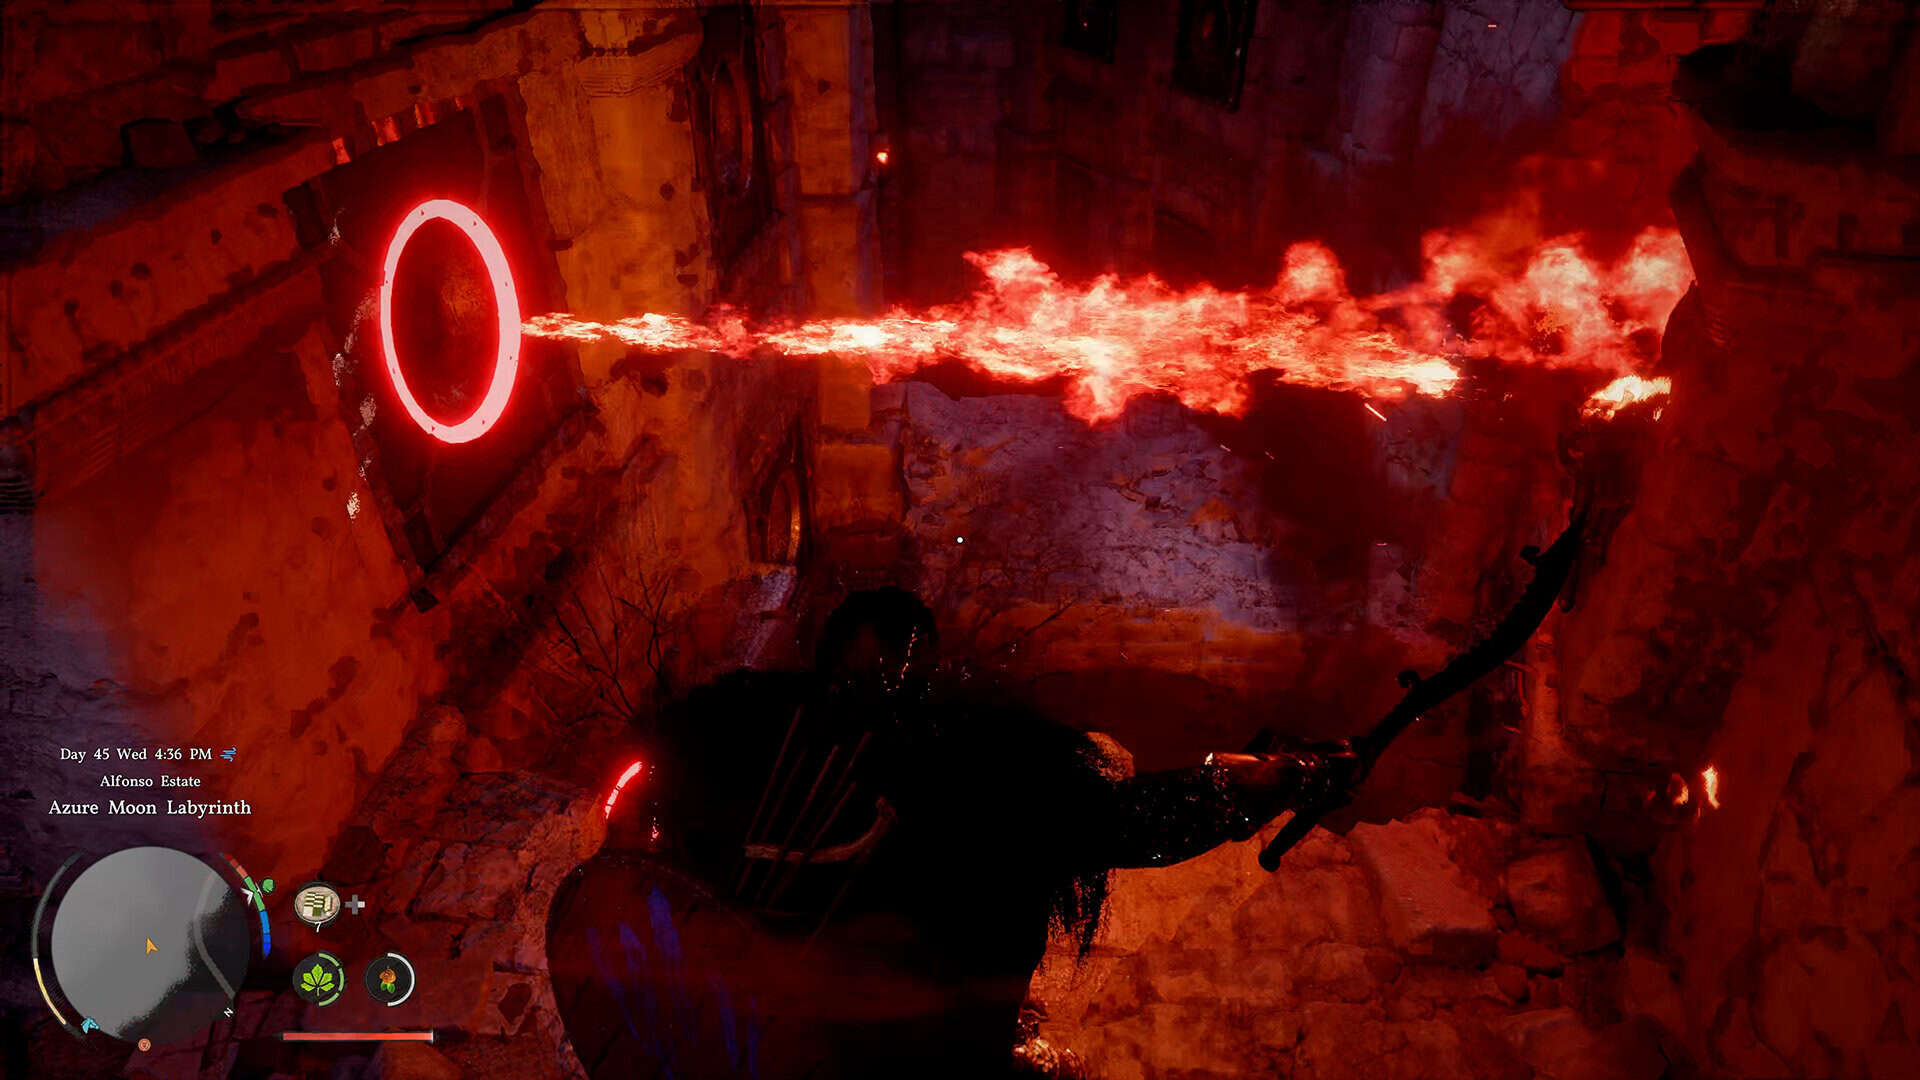
Fire traps at the entrance
Once you climb down the ladder, you’ll see a stone corridor. I suggest you proceed forward, but be careful. Around the corner are traps that could end your journey. You’ll see a chasm and beams of fire on either side. You can navigate them carefully by descending to the middle level and crawling between the traps, or you can do it aggressively, like I did. Once on the intermediate platform, we see that another fire trap awaits us ahead. So here I just jump up and fly right over the whole thing without any health issues.
-

- Azure Moon Labyrinth entrance

-
- Fire traps at the entrance
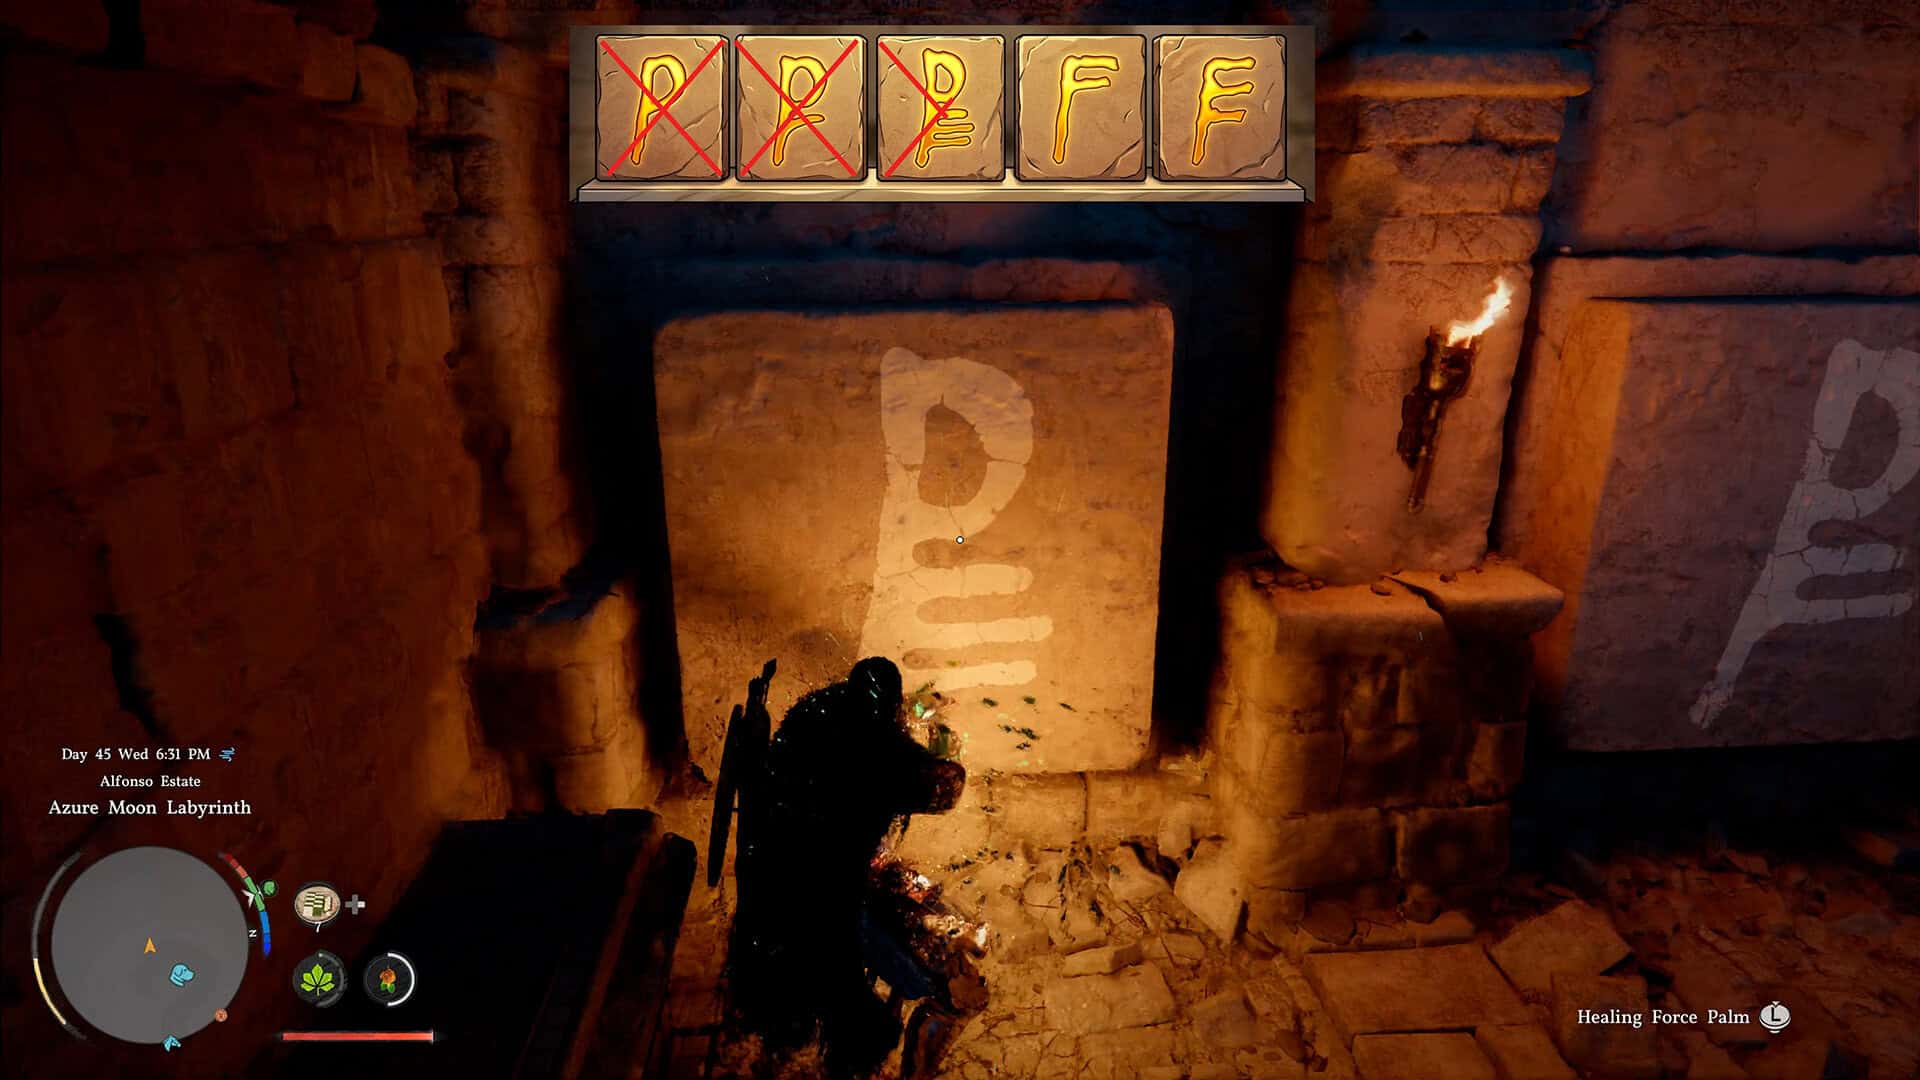
Quick solution Azure Moon Labyrinth Puzzle
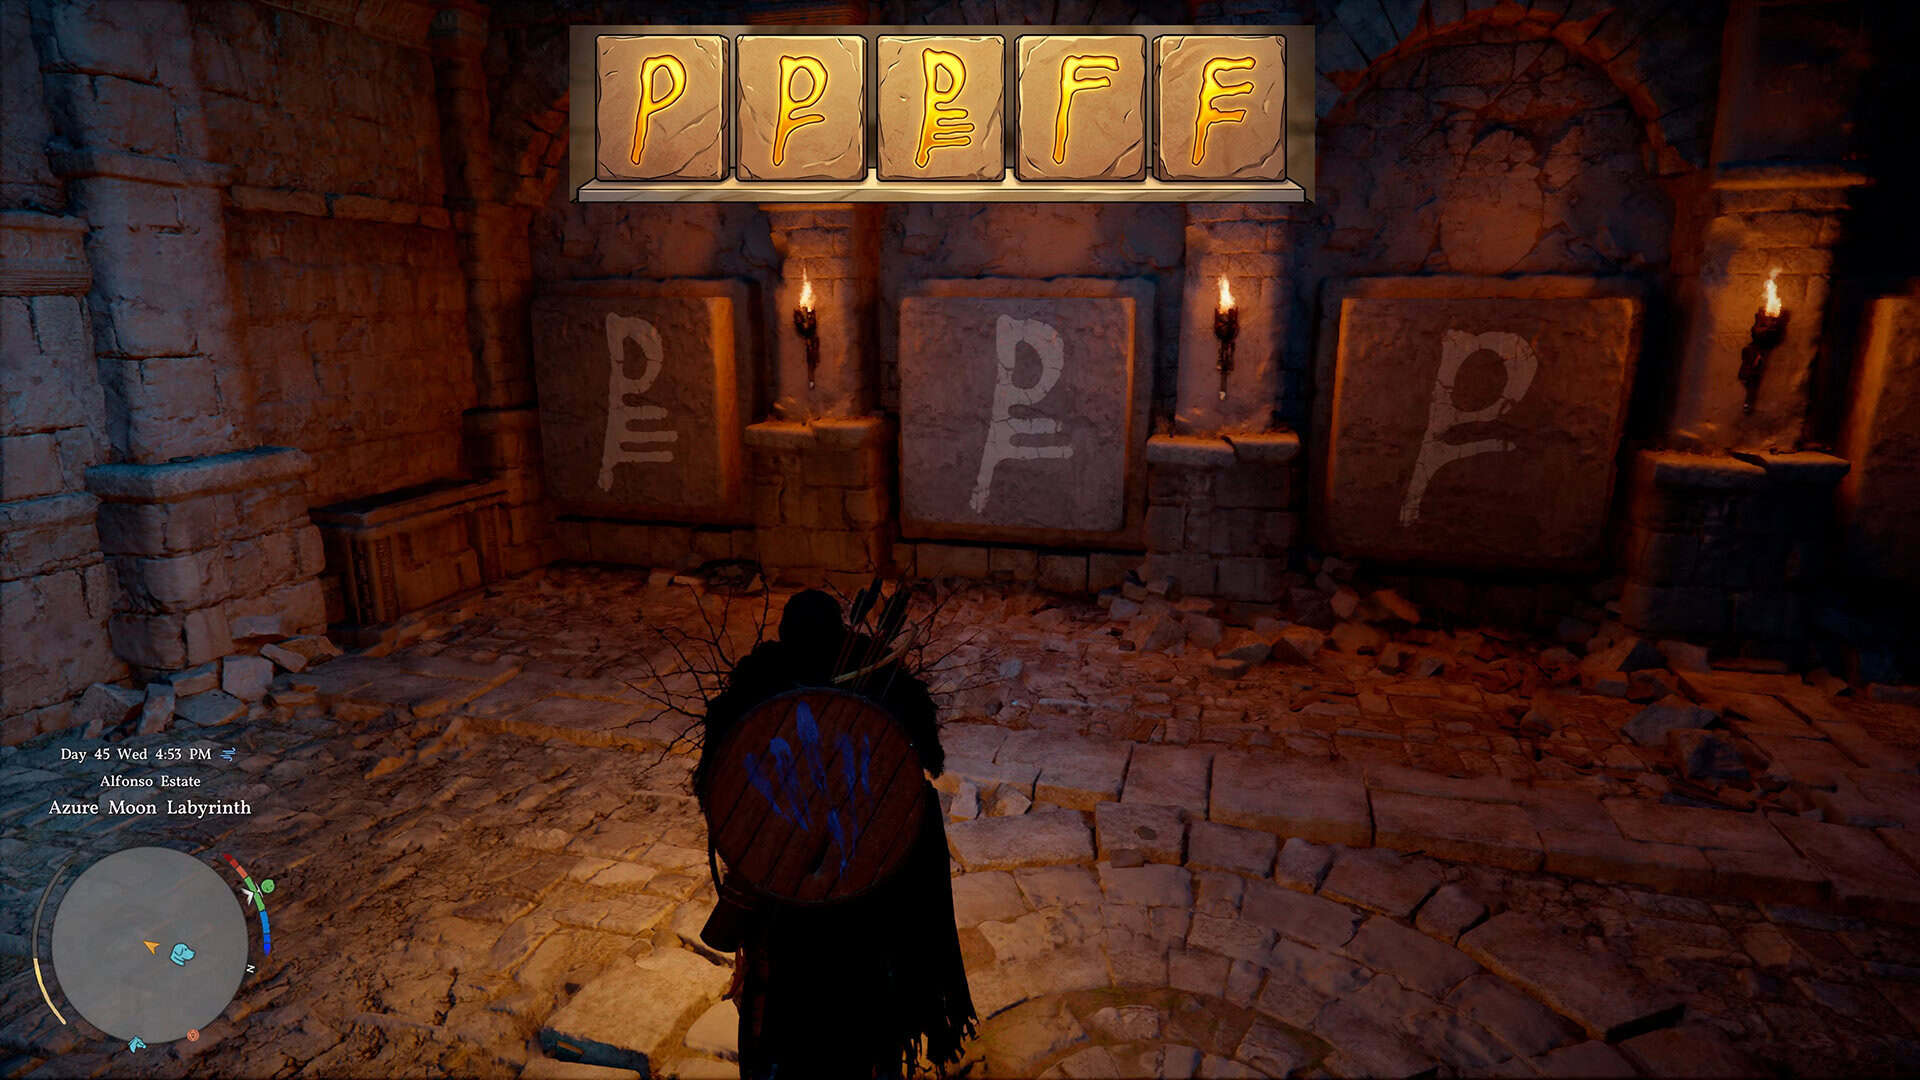
Up ahead, you’ll see an arch covered by a metal grate. It’s simple enough. When you get closer, you’ll see a lever on the wall. Press it, and the grate will open. You’ll have immediate access to the final part of this puzzle. But things aren’t quite as simple as they seem at first glance. There are square plates in the room, and to open the passage to the reward, you need to press the correct plates.
For those who need a quick solution, I’ll show you the plates with the symbols you need to press you can do this right now. But I plan to show you later how to find these symbols in the game. And that’s a very interesting part of this puzzle.
Explanation Azure Moon Labyrinth secret
If you’ve noticed, there’s another small room just before the entrance to this one. We need to go there. On the wall there, you’ll see a drawing that looks a lot like a map. And that’s the main clue. Secret locations are marked with red crosses on the map. For better visibility, I’ve highlighted these red crosses. You’ll also see a map that aligns with the lines drawn on the wall. Yes, it’s tricky, but that’s the solution to this puzzle. You need to go explore the locations marked by these crosses on the map.
-
- Quick solution Azure Moon Labyrinth Puzzle
-
- Explanation Azure Moon Labyrinth secret

The Unreachable Village
But even here, it’s not that simple. As soon as you arrive at any location marked with a red cross, you’ll have very little time to spot the symbol drawn on the tree. In the blink of an eye, the little creatures will fire a single shot, and your character will lose consciousness. You wonder what this means. In reality, it’s a hidden settlement that you can’t just walk into without special permission.
You see the little troublemakers dragging the unconscious Cliff to a camp outside the settlement. In reality, you’ll need to make two or three attempts to reach the required marker for the quest “The Unreachable Village” to appear on your map. After completing this quest, you’ll have free access to the hidden village and all locations marked with a red cross on the map.
How to get to The Unreachable Village
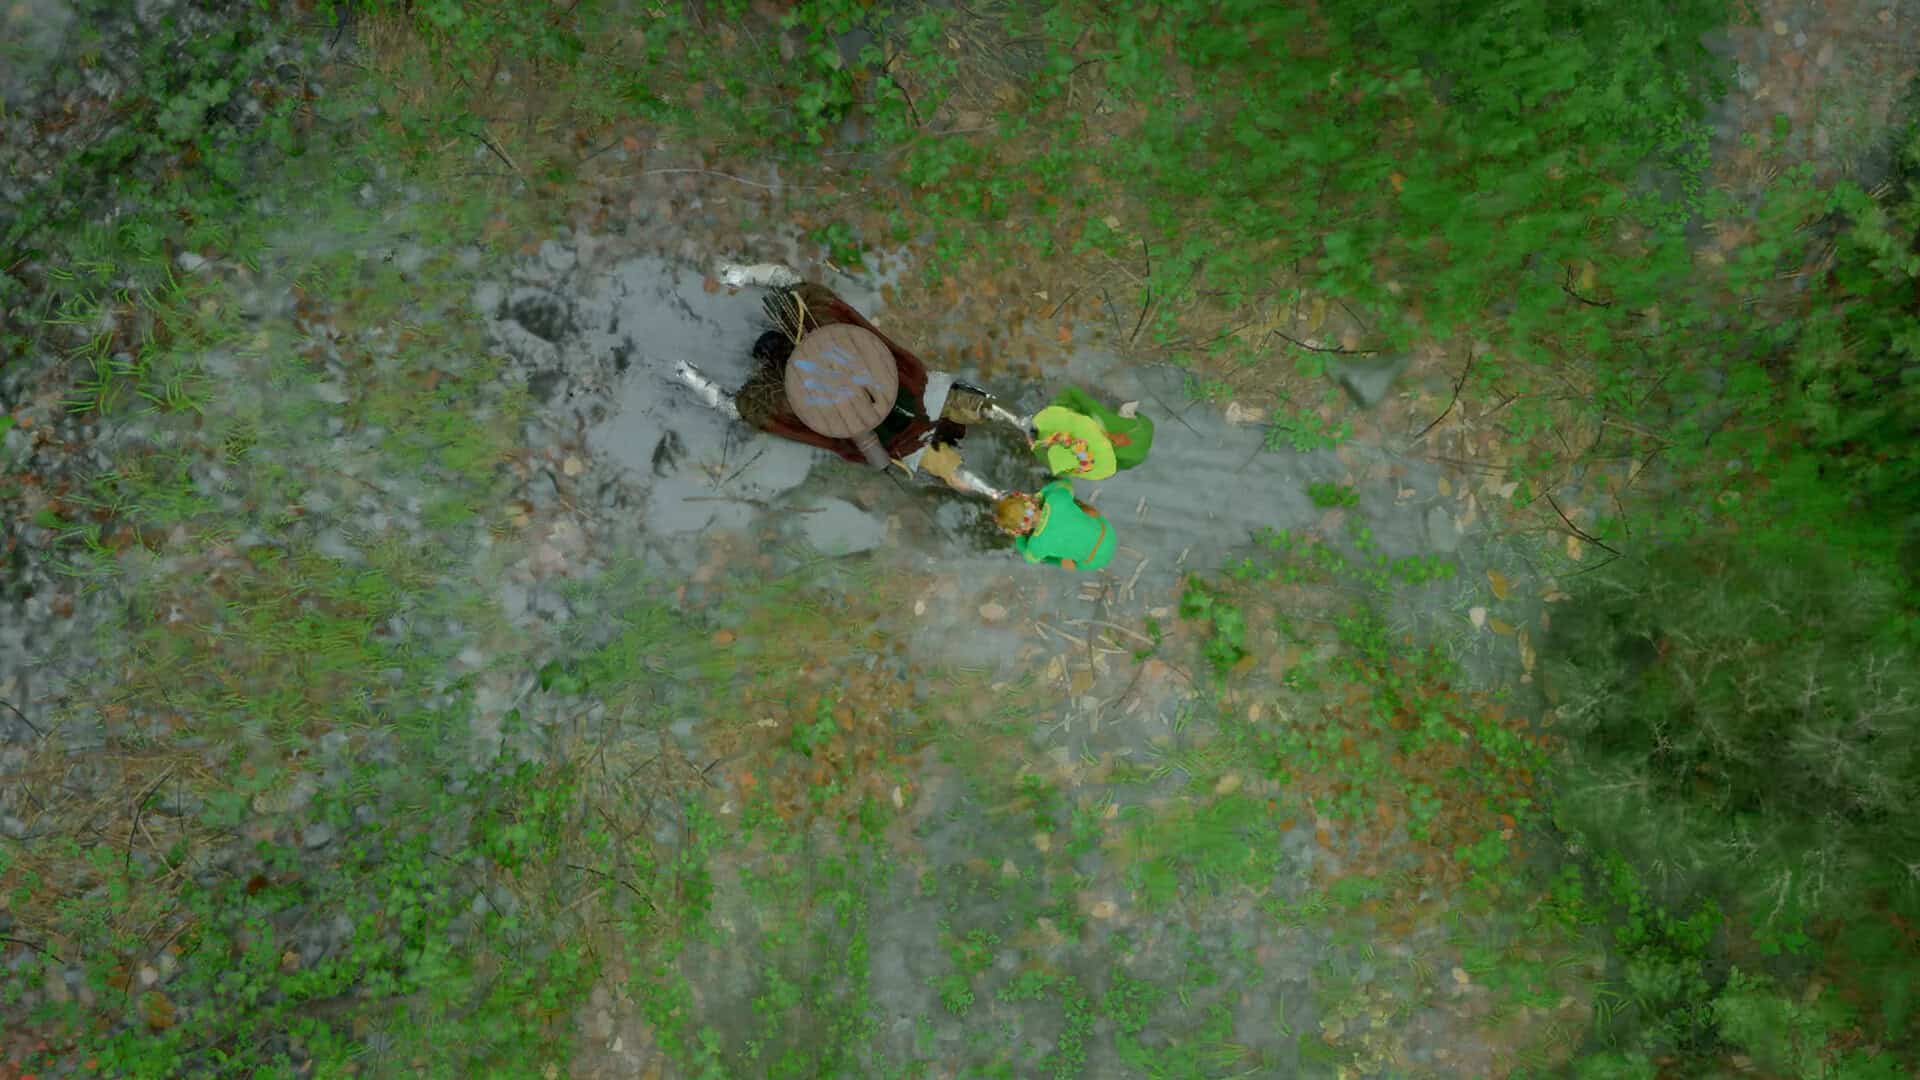
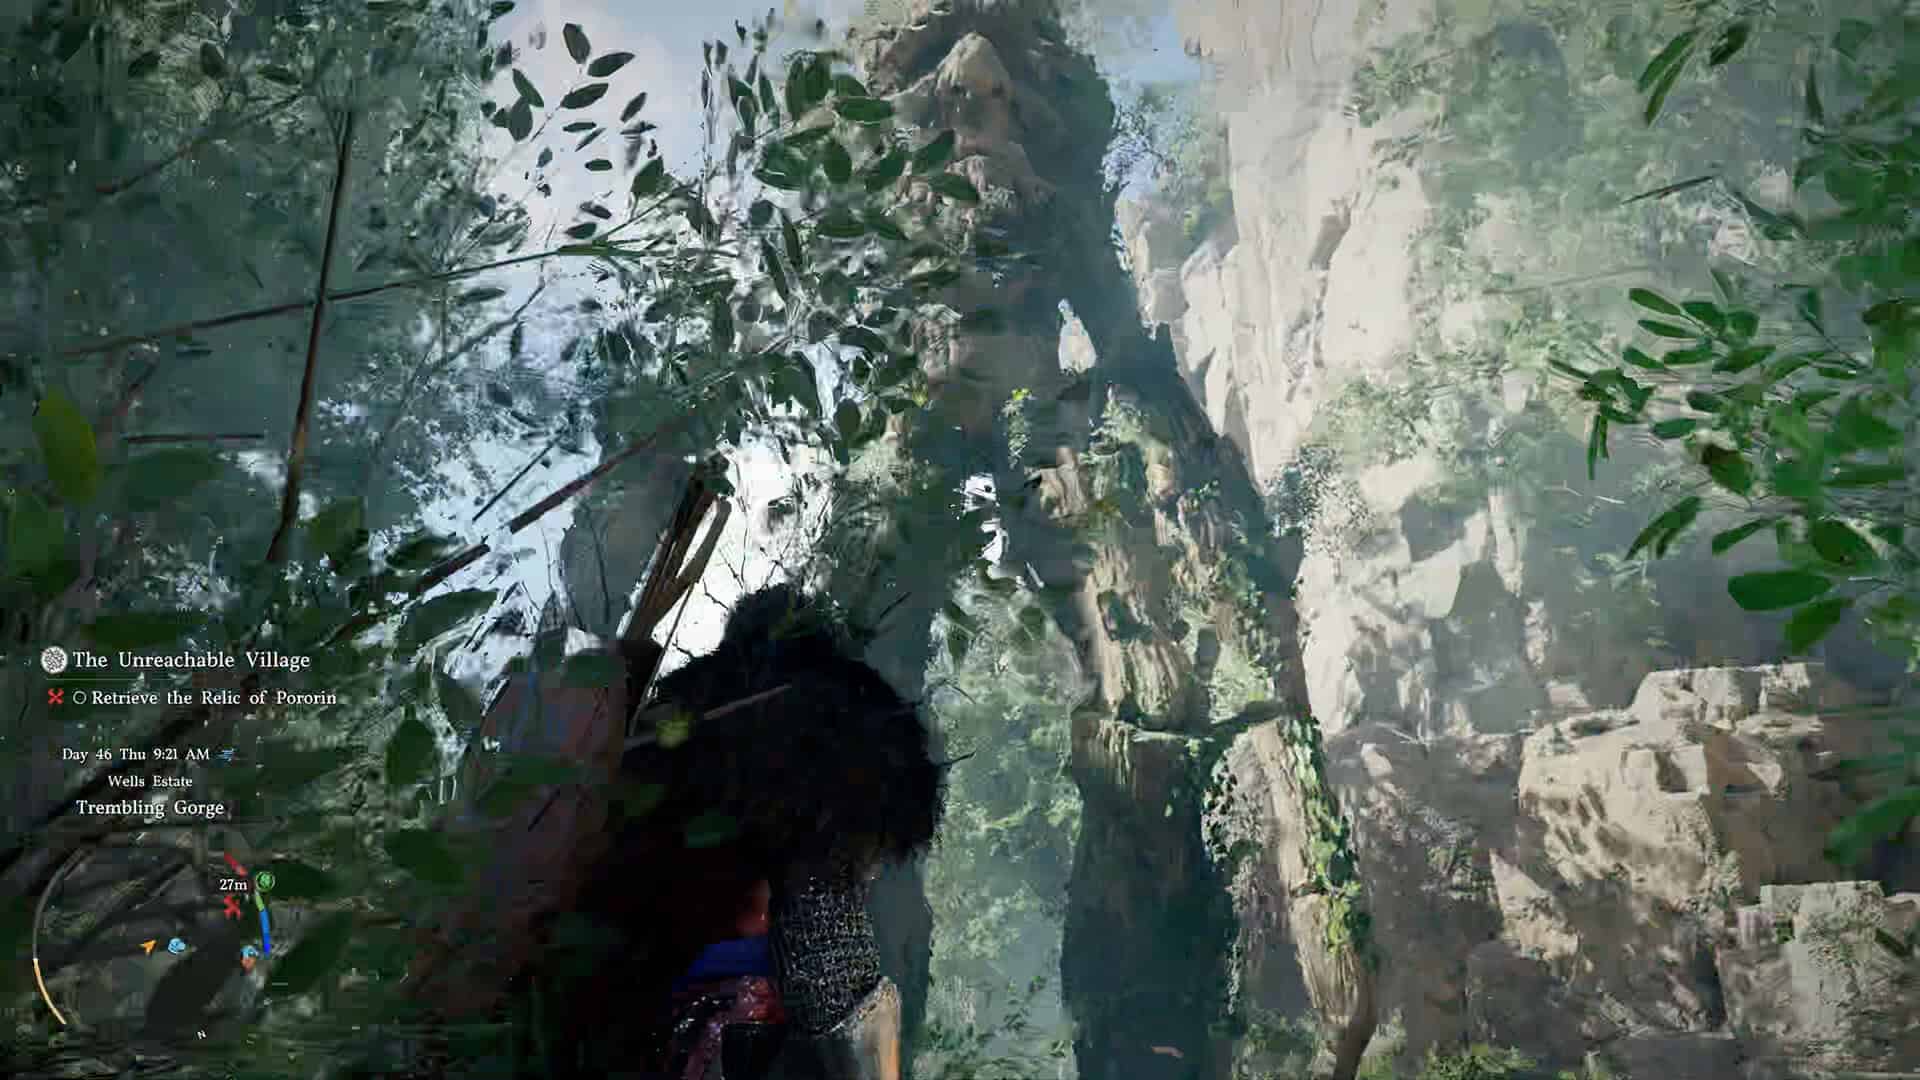
You’ll easily complete the first task, where you need to talk to Arkin, who will tell you to follow her. But things might get tricky from there. In fact, you need to travel quite a distance, not just follow Arkin, who will simply disappear after the dialogue. To see where you’ll meet her again, you need to mark the corresponding quest in your journal. I’ve shown you where this quest is located in the journal, so you’ll find it. When you arrive at the meeting spot, you’ll find Arkin with her friends at the top. Here, she’ll tell you about the Tall Spirit of the Forest. Your next task is to retrieve the Relic of Pororin, which lies on the head of this Tall Spirit.
And here, miracles happen again. The Tall Spirit of the Forest doesn’t always appear. If you haven’t found it where the in-game marker indicates, you need to refresh the location. To do this, use any teleport and then return to that spot. In most cases, this trick resolves many glitches related to the appearance of characters or items in Crimson Desert.
-
- The Unreachable Village
-
- How to get to The Unreachable Village
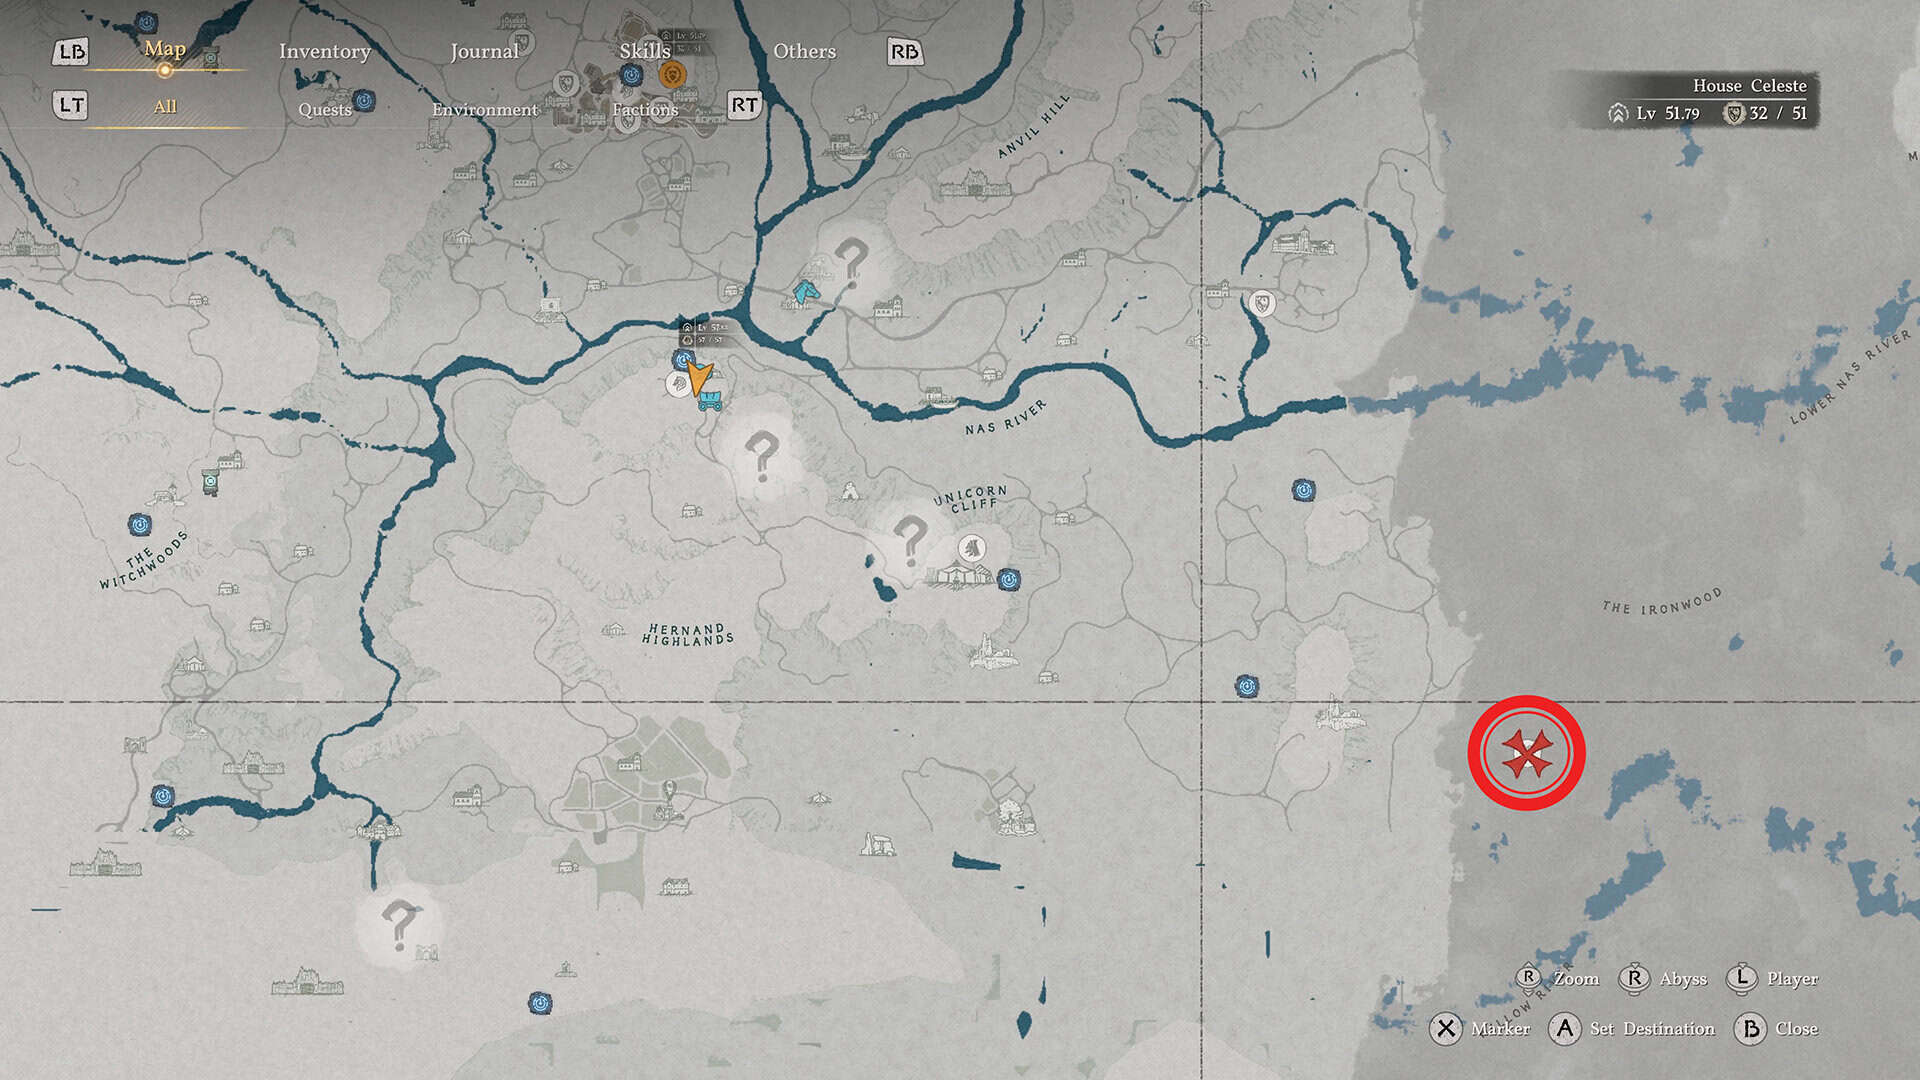
Retrieve Relic of Pororin location – How to Obtain the Relic of Pororin
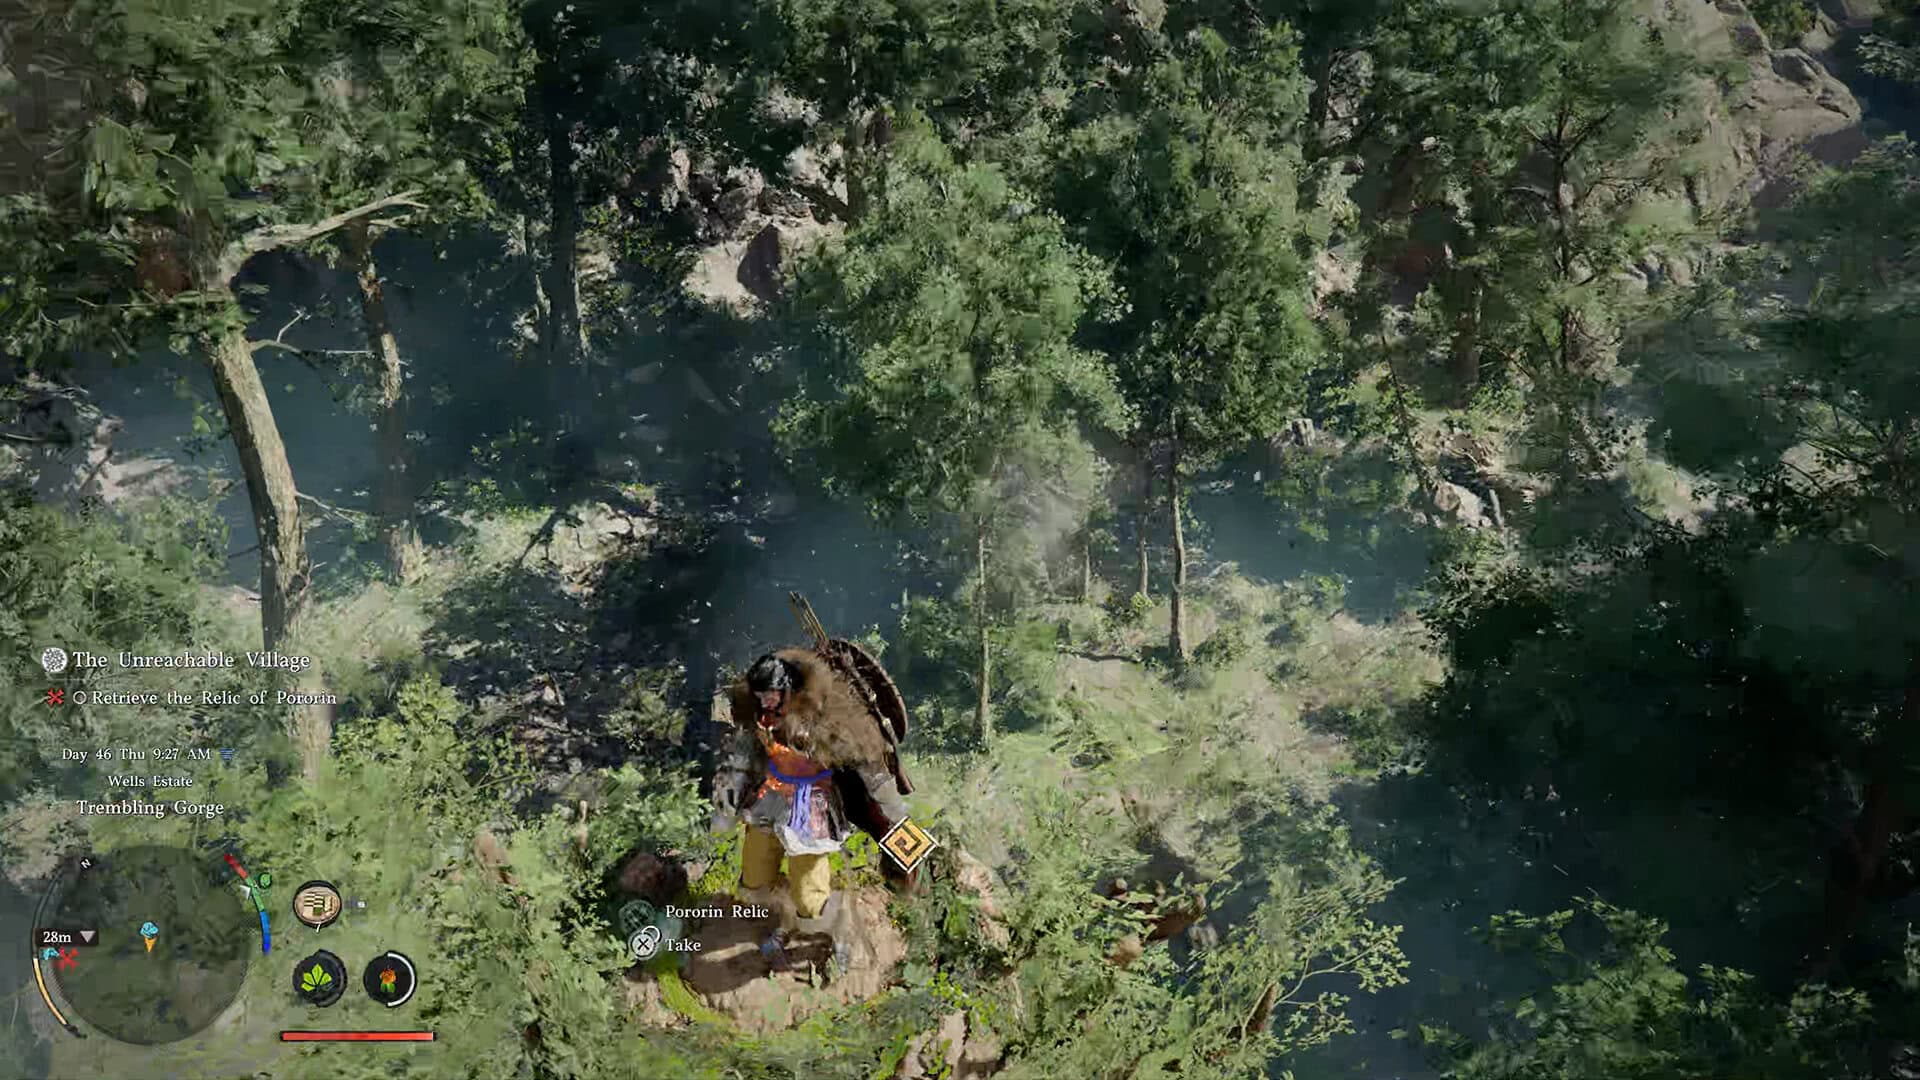
So, when you turn back, you see this giant, and it’s truly an impressive sight. That’s why I recommend not skipping quests and exploring the game instead. There are many amazing things hidden here. You need to climb onto the head of this forest spirit. You can simply scramble up it while it’s walking slowly. I decided to jump up and land on his head. Here you’ll find the Relic of Pororin. Don’t rush to finish the quest.
Enjoy this interesting and unusual moment; look around. When else will you get to stand on the head of a giant walking through the forest? It’s incredibly beautiful. It’s time to hand over the Relic of Pororin. Arkin is already waiting for you on the mountain where you met. She’ll thank you for your help, and as a reward, you’ll gain access to the secret village. Now you can freely explore this area, and the little defenders won’t bother you. So it’s time to explore all five locations marked with crosses on the map.
-
- Retrieve Relic of Pororin location
-
- How to Obtain the Relic of Pororin
Solution Azure Moon Labyrinth Puzzle
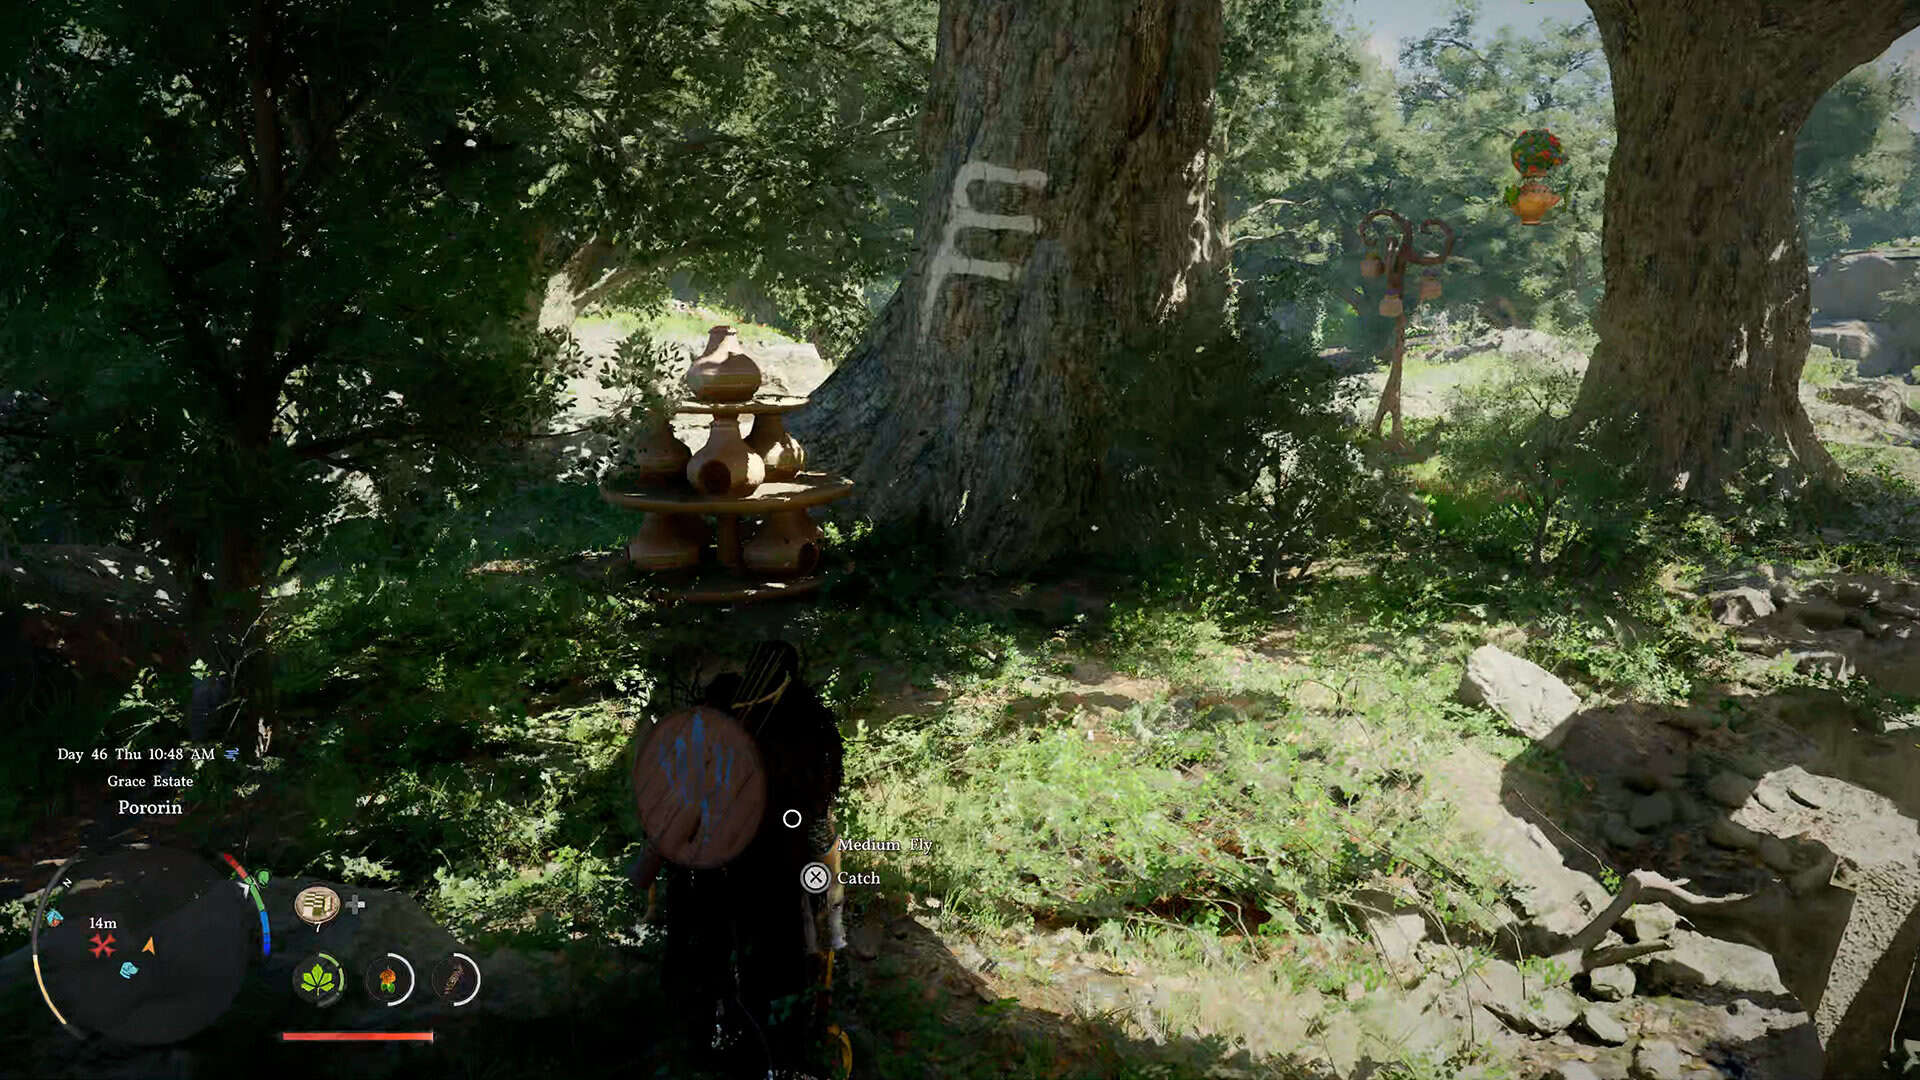
I’ll quickly show you the area I’m exploring on the map, followed by a short final segment where I’m standing next to the tree in question. I doubt you’ll go looking for these markers on your own, but at the very least, it should be interesting for you to see what they look like and where they’re located. The marks are clearly visible on the trees and aren’t hard to find if you know what to look for.
You’ll be able to spot most of the marks without doing the quest “The Unreachable Village,” but one of them is definitely located in the middle of a settlement that you can’t reach without completing the quest. While you don’t have to look for the marks on the tree yourself, I recommend that everyone complete the quest.
Azure Moon Labyrinth unlock
Now we know all five symbols that let us solve the Azure Moon Labyrinth puzzle. I’ve marked its location on the map in case you’ve forgotten. Head down, navigate past the fire traps, and once you’re in the room with the slabs bearing the symbols, you’ll know which ones to press. The order in which you press them doesn’t matter. I use Force Palm to strike the necessary slab.
You can simply tap the wall, and the segment will activate as well. If you make a mistake even once, all segments will return to their initial positions. After you press all the elements, access to the room where you’ll obtain the Abyss Artifact will open.
-
- Solution Azure Moon Labyrinth Puzzle
-
- Azure Moon Labyrinth unlock