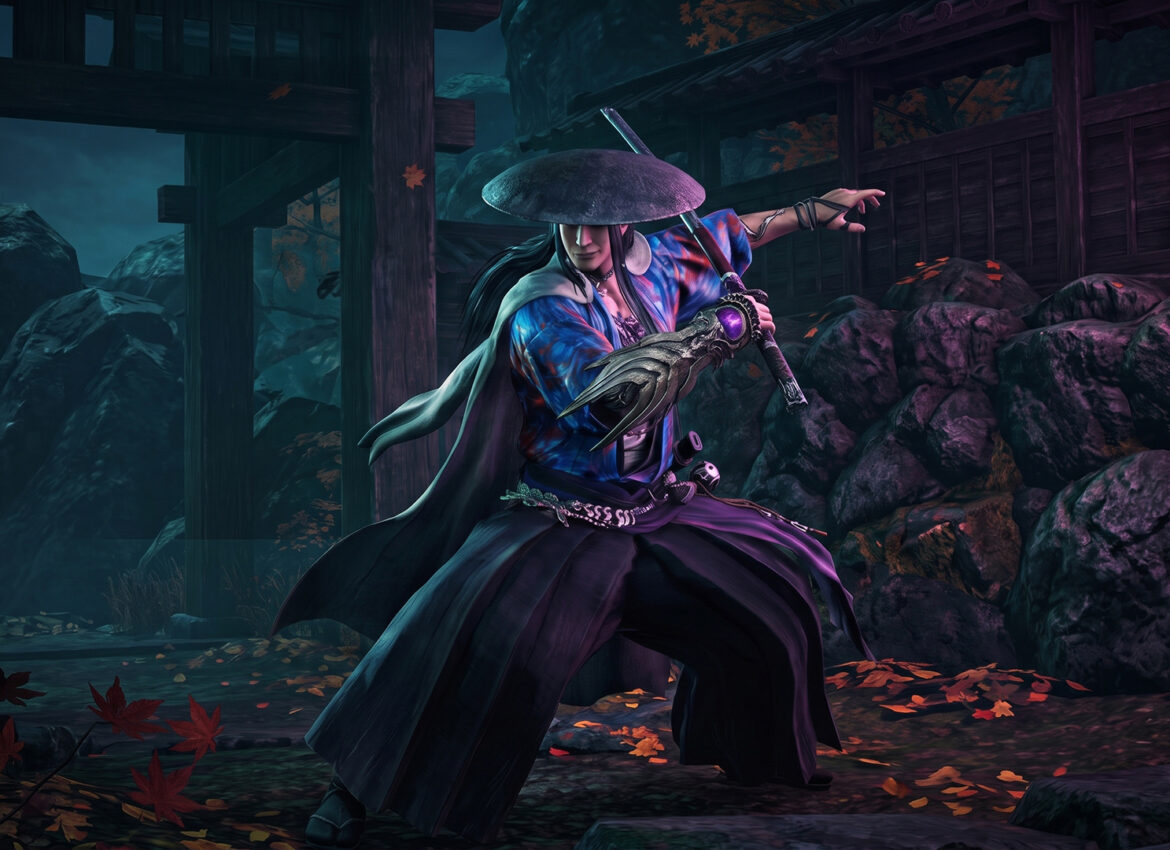
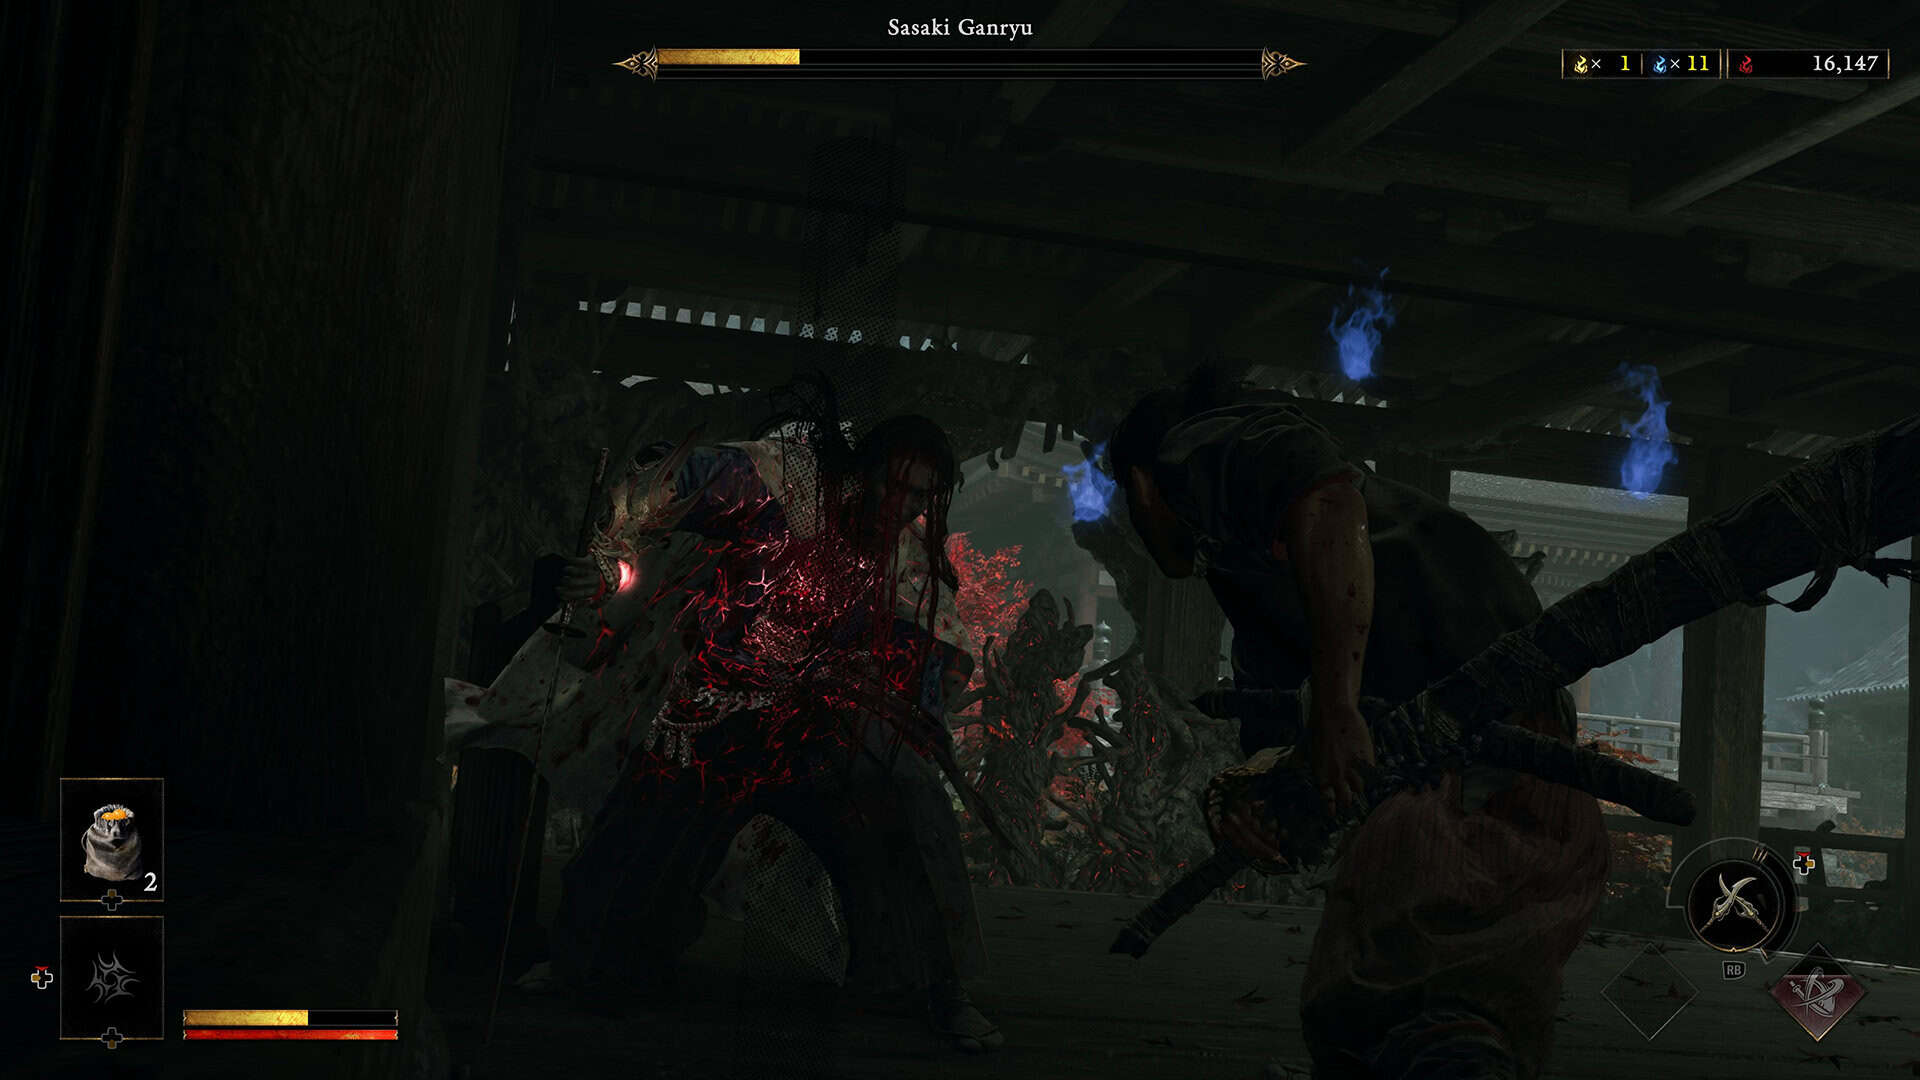
Sasaki Ganryu is the fighter who decides whether you actually understand Onimusha: Way of the Sword’s combat, and the Sasaki Ganryu hard mode duel is where that lesson gets serious. He’s the game’s first real one on one sword fight, staged on a wooden bridge near Kiyomizu, and he punishes anyone who tries to button mash through him.
The good news is his moveset isn’t secretly random. Every sword swing, kick, and grab gives you a tell, and once you learn to read those tells instead of guessing at them, the fight becomes almost mechanical. I’ll walk you through his attacks phase by phase, show you exactly when to parry and when to dodge, and explain how to use his stamina bar against him, so the Sasaki Ganryu hard mode fight stops feeling unfair and starts feeling fair, just demanding.
Bookmark this guide before you load back in, because you’ll want the timing notes handy once his hat comes off and the pace picks up.
Who Sasaki Ganryu Really Is Before You Fight Him on Hard Mode
Sasaki Ganryu isn’t just a random swordsman blocking your path. The name is a direct nod to Sasaki Kojiro, the real historical rival of Miyamoto Musashi, who died in a famous 1612 duel that gave the island of Ganryujima its name. In that duel, the historical Sasaki fought with an unusually long nodachi nicknamed Monohoshizao, or the laundry drying pole, and his signature move was a technique called Tsubame Gaeshi, the swallow cut.
Onimusha: Way of the Sword borrows that rivalry and twists it, so in game Ganryu also wields an Oni Gauntlet and has clearly been touched by the same Genma corruption you’ve already seen if you’ve fought your way through Daidara at Kiyomizu. Knowing this backstory doesn’t change your inputs, but it does explain why the animations feel so deliberate. Capcom built this fight as a proper duel, not a monster brawl, and that’s exactly why the Sasaki Ganryu hard mode version rewards patience over aggression.
Reading Sasaki Ganryu’s Phase One Attacks
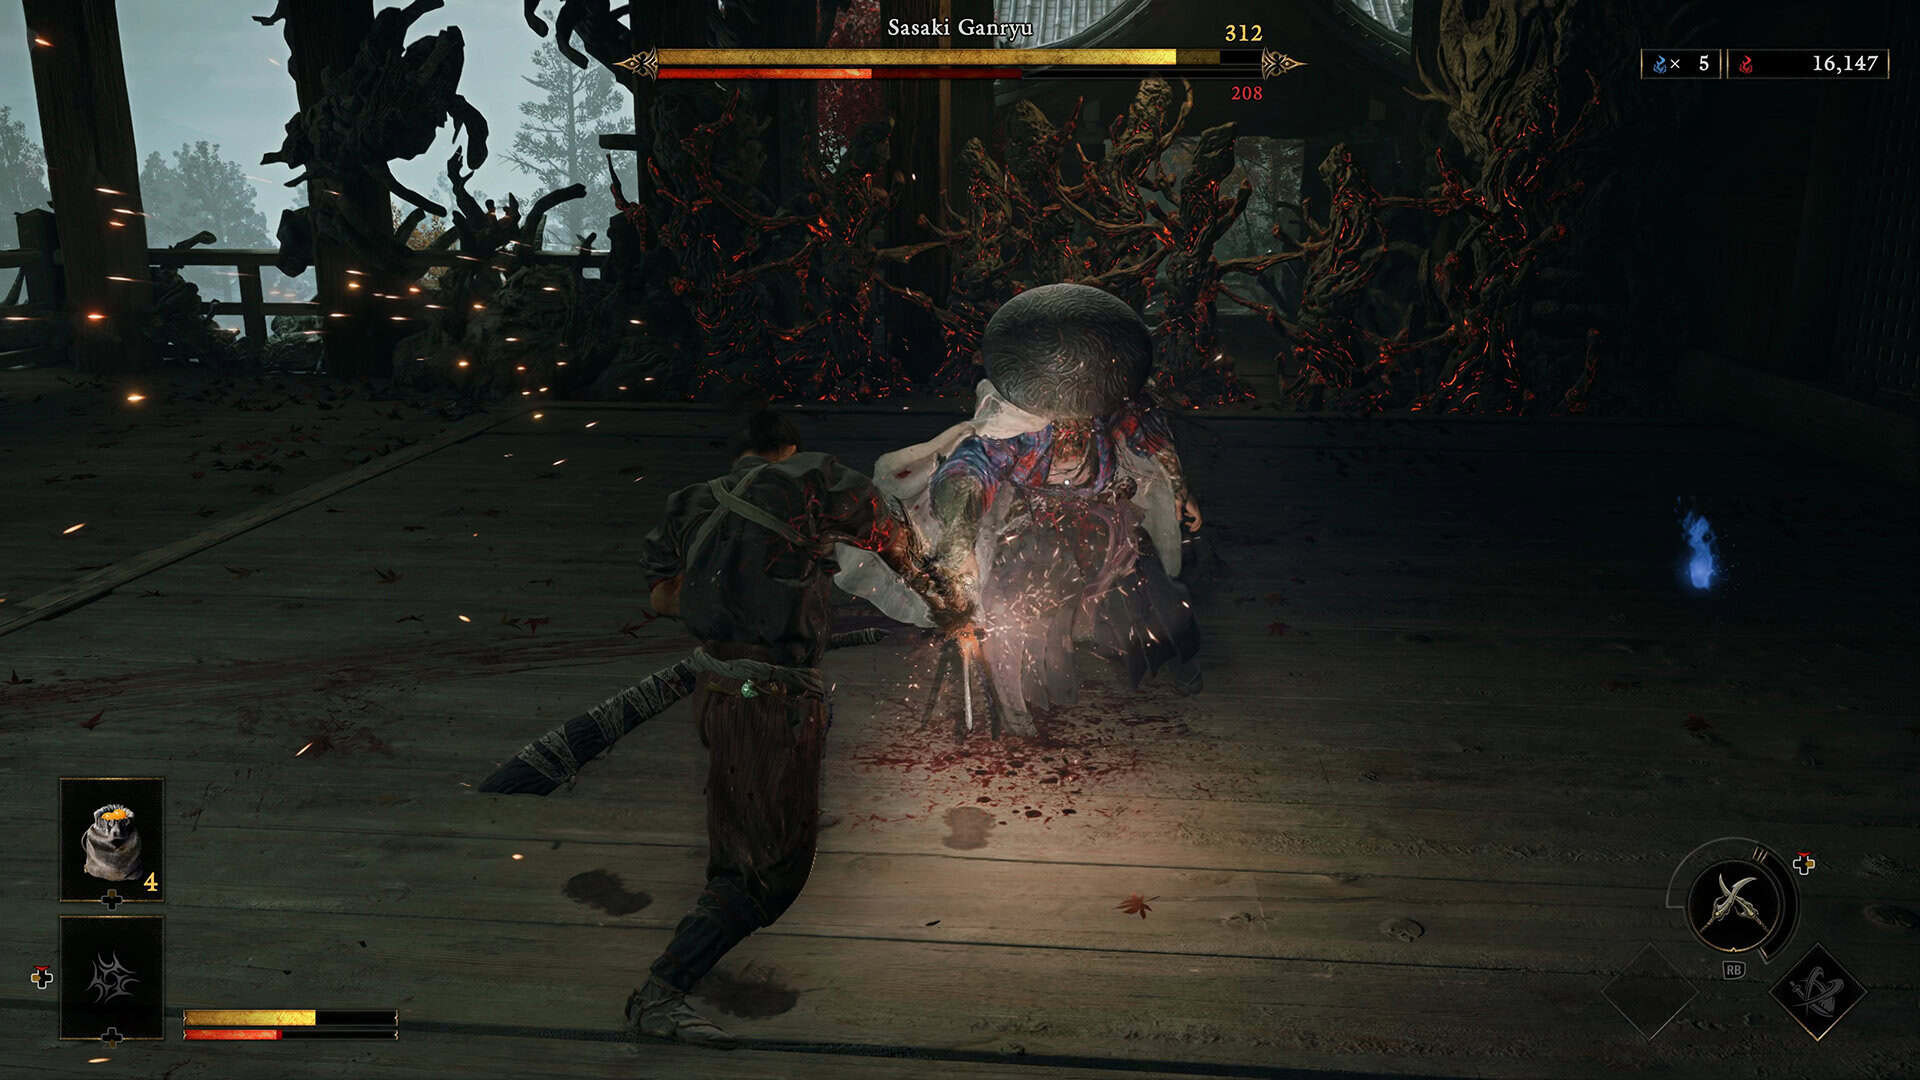
Phase one is Ganryu at his most honest, and it’s designed to teach you his rhythm before hard mode punishes you for missing it. He opens with a step back to create space, then mixes in a sliding slash that closes distance fast, a straight lunge, direct horizontal and diagonal slashes, a stomp and slash combo, a wide spinning slash, and occasionally an aerial slash that comes down from above.
He’ll throw in a triple stab that looks like three separate openings but is really one continuous attack, and every so often he’ll fake out with a half swing that never actually lands, just to bait you into swinging early. Hold your guard through the first few exchanges and you’ll notice his wind ups travel a long way before the blade actually commits, which gives you a genuinely wide parry window here.
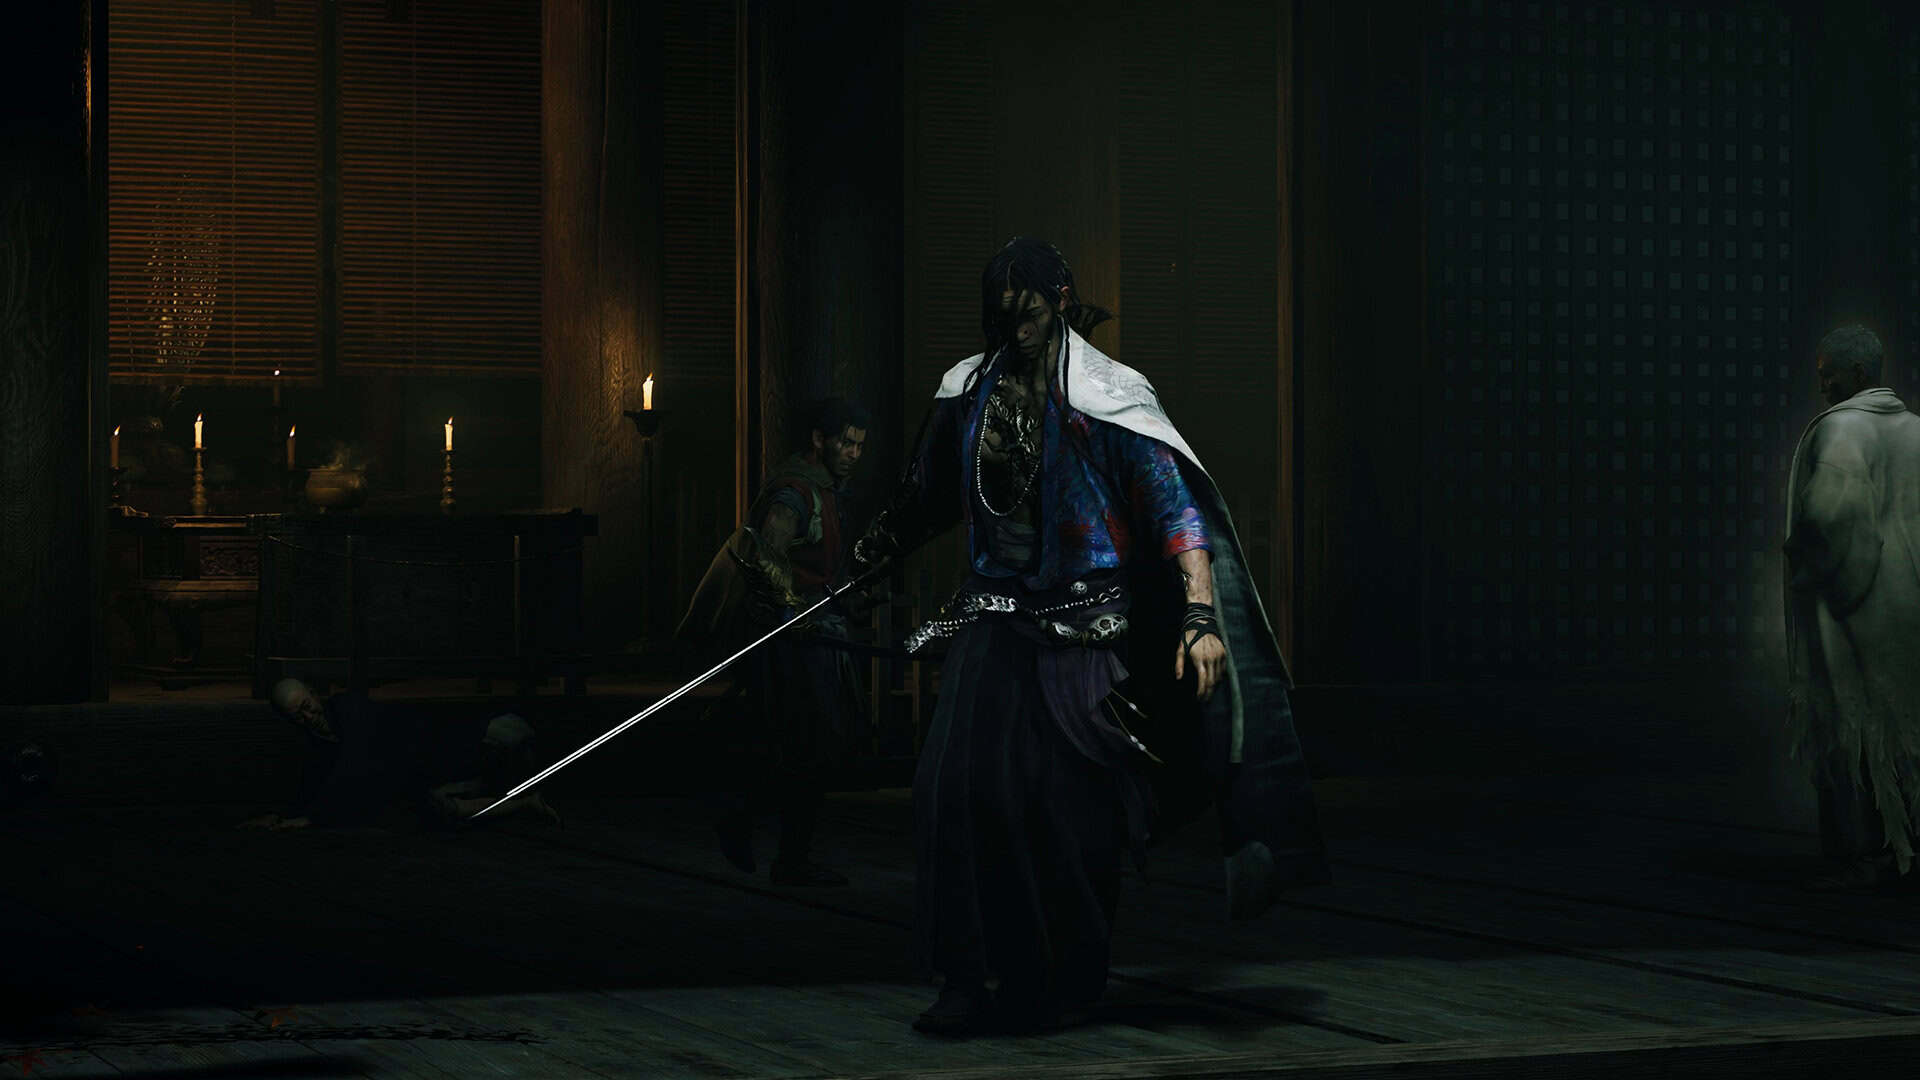
About a third of the way through his first health bar, his metal hat gets knocked clean off, his face is revealed, and the pace of the fight noticeably tightens from that point on. That moment is your cue to stop coasting and start paying closer attention, because phase two isn’t far behind.
-

- Sasaki Ganryu in Onimusha: Way of the Sword
-
- Reading Sasaki Ganryu’s Attacks
Surviving Phase Two: Kicks, Grabs, and the Grab You Have to Perfect Dodge
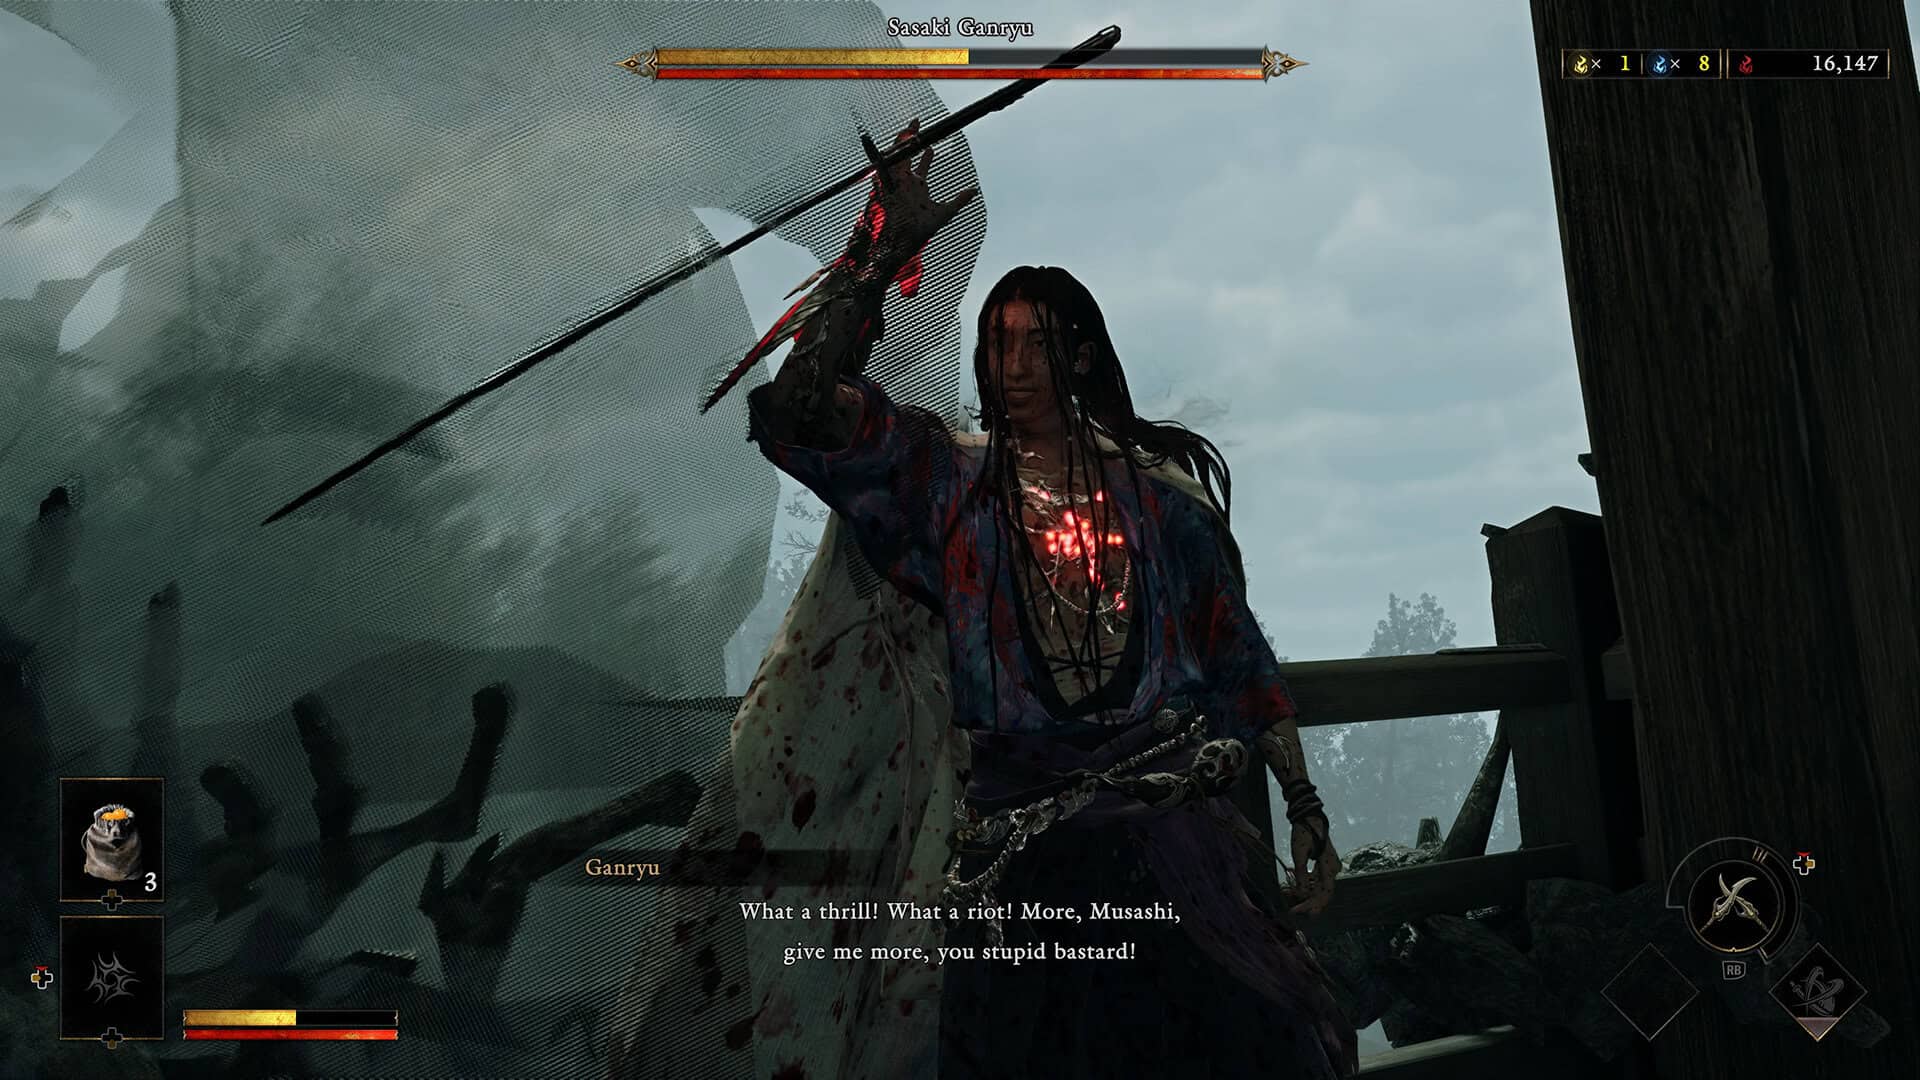
Once Ganryu drops below roughly fifty percent health, he turns nasty and starts mixing kicks and grabs into his sword combos, and this is where most people lose their first few attempts. His High Overhead Kick has him jump into the air and stomp straight down, and you should not try to parry it, since it isn’t a sword strike. Sidestep or use a Reflex Dodge instead, and you’ll get a clean punish window while he recovers from the landing.
The attack that actually ends runs is his grab. His left hand flashes white right before he lunges for your throat, and on hard mode a normal dodge simply will not get you clear of it. You need a Perfect Dodge, timed right before his hand makes contact rather than the instant you see the tell, and landing it stuns him long enough for a free hit or two. Don’t forget this part, because it’s the single biggest difference between struggling with the Sasaki Ganryu hard mode fight and clearing it cleanly.
Stamina, Break Issen, and Making the Sasaki Ganryu Hard Mode Fight Click
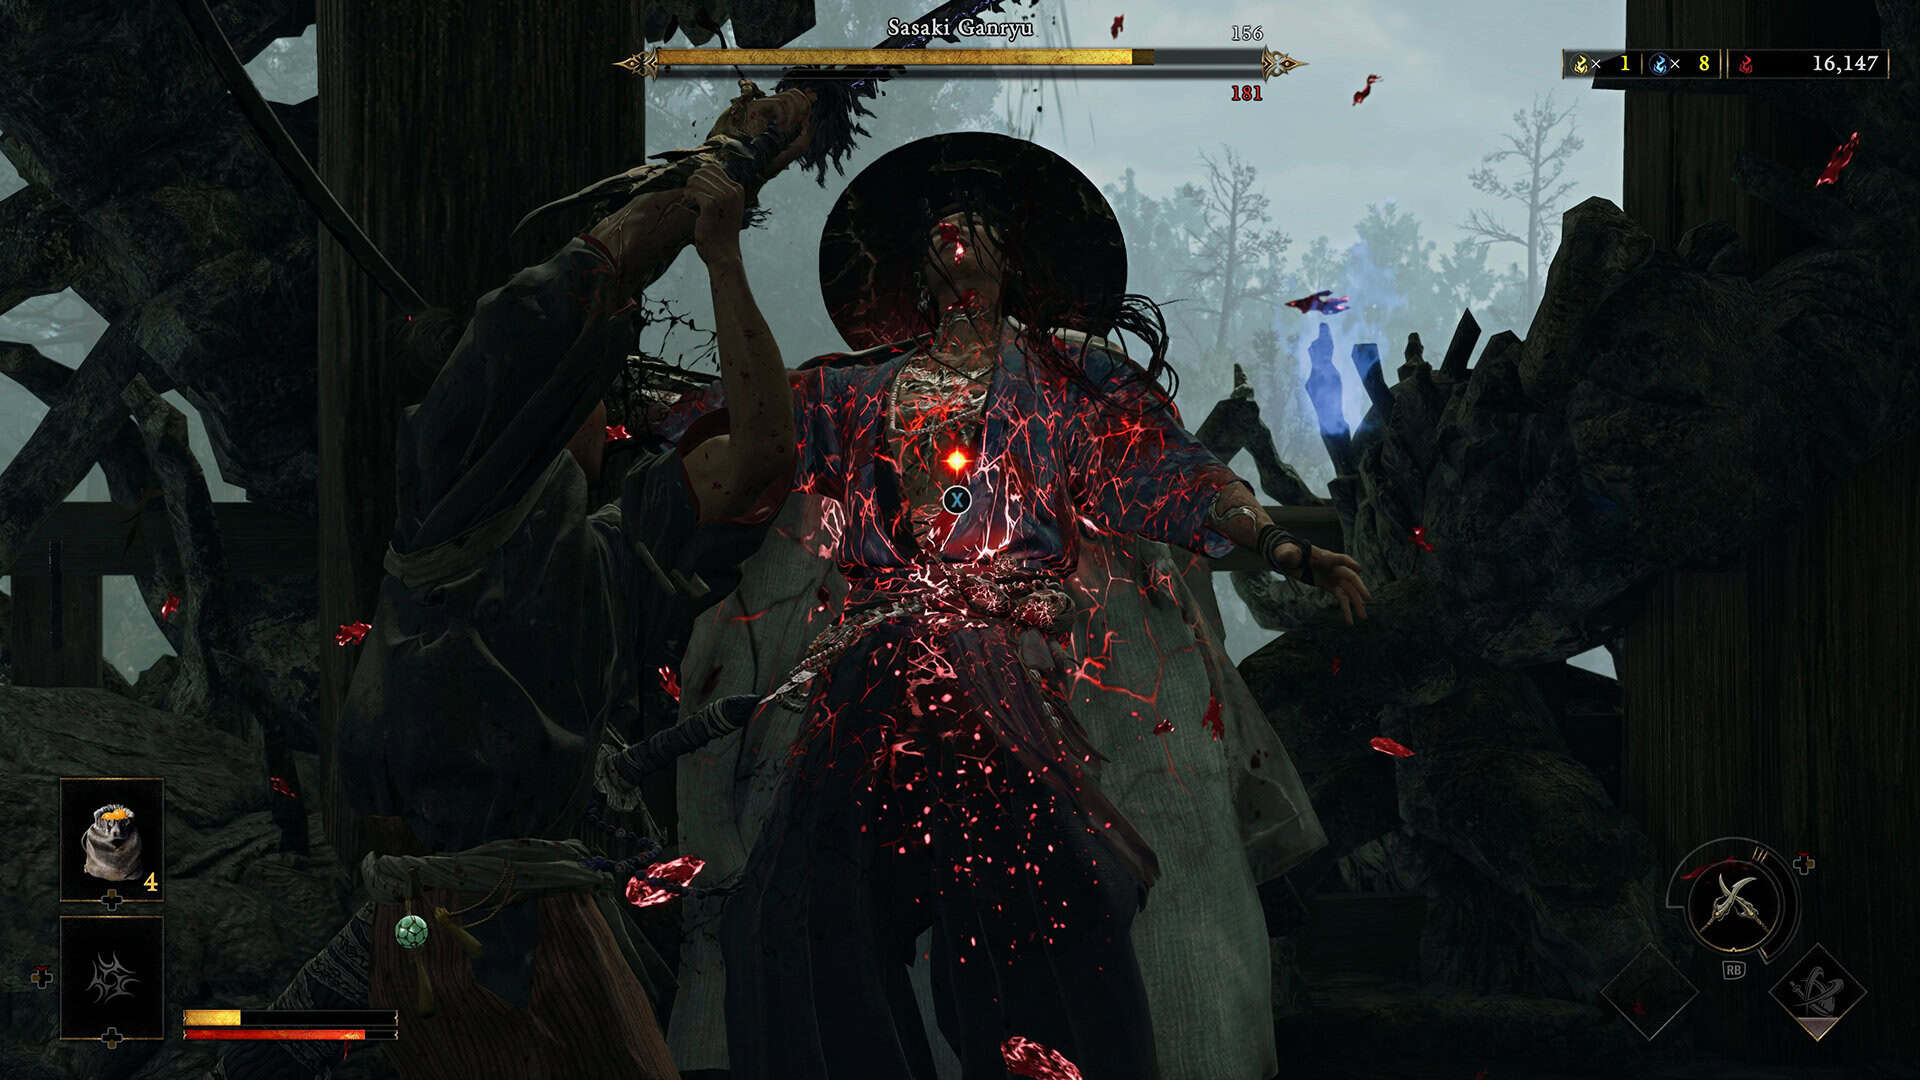
Health matters, but stamina is what actually decides this duel. Every clean parry or deflect chips away at Ganryu’s stamina bar and fills his stagger meter at the same time, and when that meter breaks, you get a prompt for a Break Issen.
That’s your biggest damage window in the entire fight, and you get to choose between a straightforward damage strike or an option that steals souls and restores some of your own health instead, depending on how the run is going. Here’s a little tip: pick one defensive tool and commit to it instead of juggling all three. Parrying is the most aggressive option and boosts your damage on a clean read, deflecting is safer and works well against his stabs, and dodge and clash is the calmer choice if you’re still building up your timing.
Issen counters are the flashiest option and carry a tighter window than a normal parry, but they’re optional. Plenty of people clear the Sasaki Ganryu hard mode duel without ever landing one, so don’t force it if the read isn’t there.
Here’s a real example of how this plays out. Say you’re on your third hard mode attempt and Ganryu opens with his usual step back into a sliding slash. You hold guard, let the blade commit, and land a clean parry, which chips his stamina and buys you one free hit before he resets. He answers with the triple stab, so you deflect the first two hits and dodge the third since it’s slightly delayed and tends to catch people who parry on reflex. His hat comes off around here, the pace jumps, and a few exchanges later his left hand flashes white.
You wait, almost a beat longer than feels comfortable, then hit dodge right as his hand reaches you. That Perfect Dodge stuns him, you land two hits, and his stagger meter finally breaks, handing you a Break Issen. Take the damage option here instead of the soul option, since his health is already low enough that the extra hit closes out the fight. That’s the whole loop, over and over, until his health bar empties.
-
- Surviving Phase Two
-
- Stamina, Break Issen Sasaki Ganryu
Blade Lock, Soul Timing, and Small Habits That Win the Duel
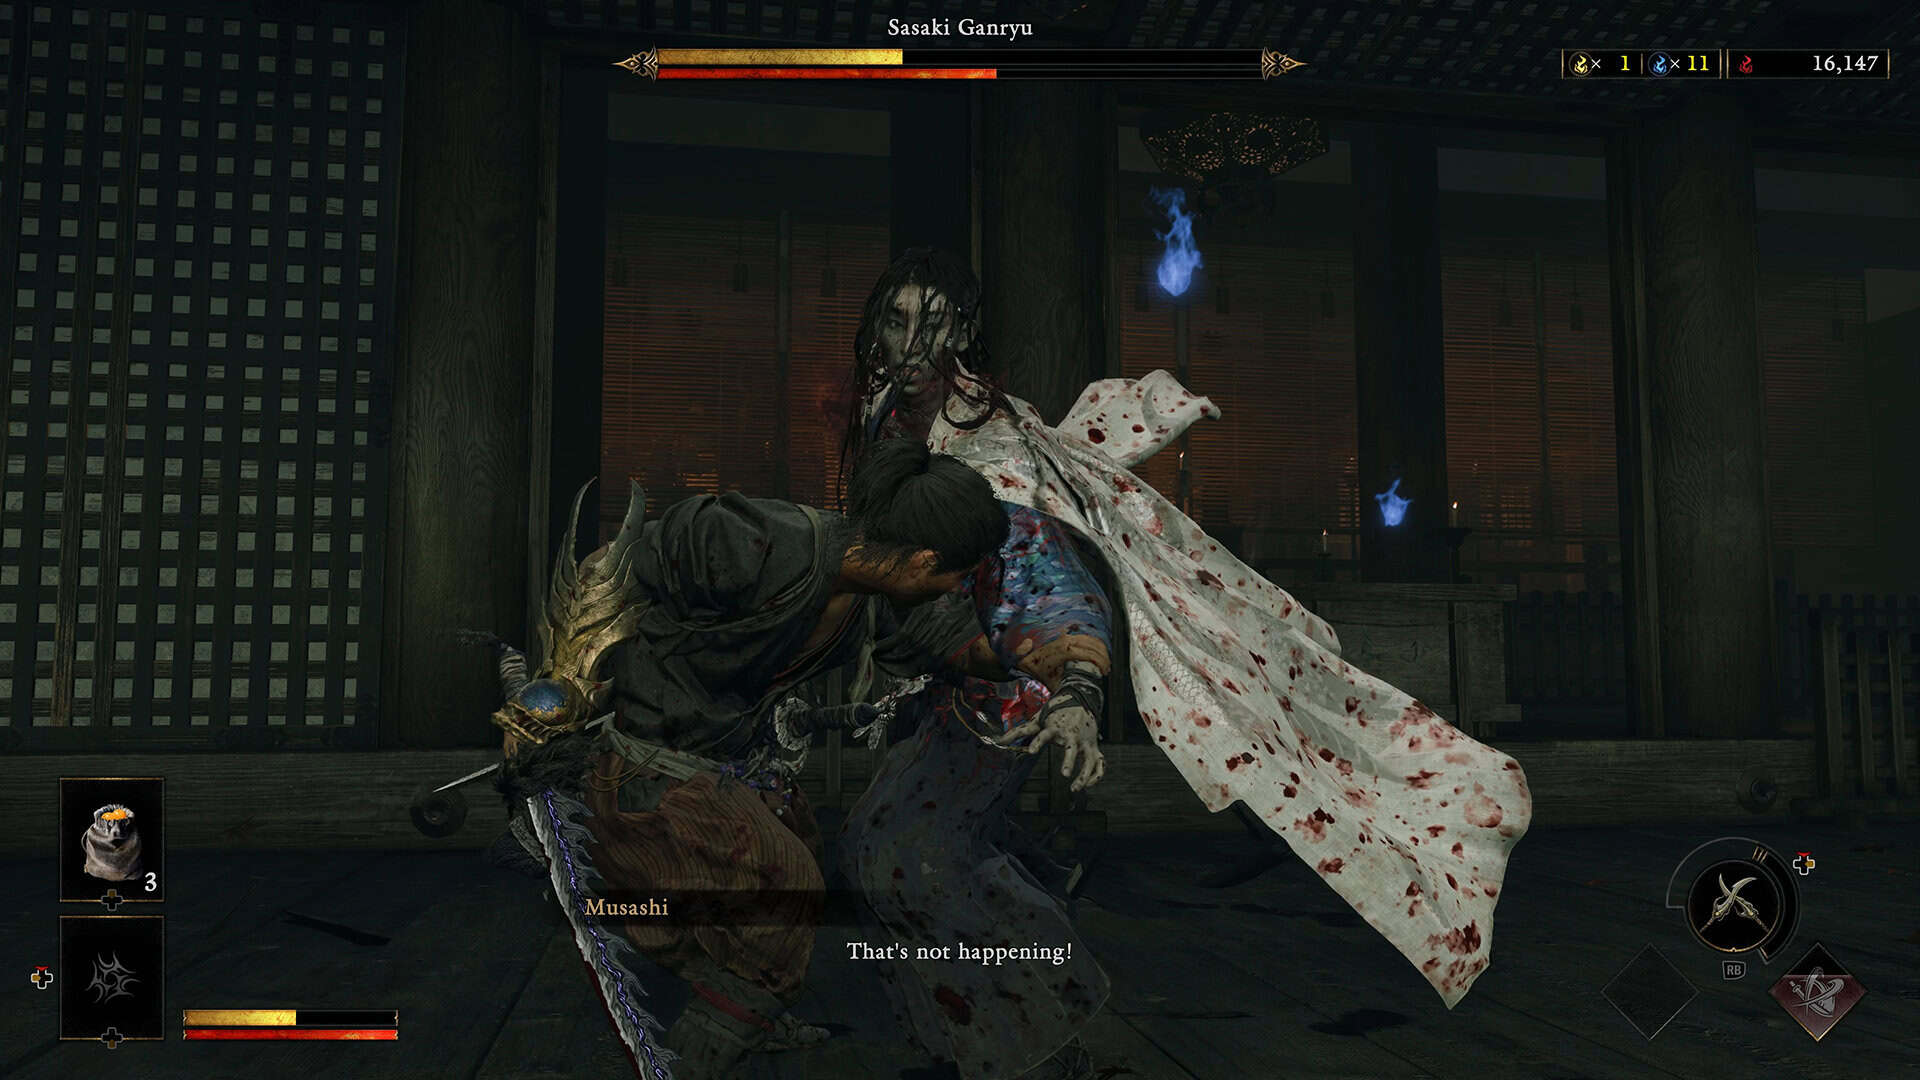
When you and Ganryu swing at each other with matching attack types, you’ll end up in a Blade Lock, and winning it means feeding in the opposite attack type to break the clash. Win that struggle and he gets shoved back with a chunk of stamina drained on top of it, which is a free bit of pressure a lot of players forget to use.
Soul essences will also drop during the fight, and you should collect them between his combos rather than mid flurry, since diving for a soul while he’s mid swing is how careless deaths happen. Save your Oni Armament for the moments he over commits to defense, the same discipline that pays off in domain style encounters like the Eamon Hathaway fight in AC Shadows, where patience with your secondary tools beats forcing damage. Small habits like these add up fast once you’re consistently landing parries.
Why Clearing Sasaki Ganryu on Hard Mode Pays Off Later
I know hard mode is tempting to skip, especially this early, but Sasaki Ganryu is genuinely one of the best teaching bosses in the game. His attacks are repetitive enough that you can defend against them while actively practicing a perfect parry, and you’ll see a distinct flash the moment you land one, with Ganryu’s momentum broken just long enough for you to land one or two free strikes.
Everything you learn here, reading tells, committing to a single defensive tool, and watching that red stamina bar instead of just his health, carries directly into tougher encounters, the same way the timing you’d sharpen against Yuki no Kata and Marume Nagayoshi in the Whiteout Domain makes every later fight in that game easier too. Once you’ve beaten the Sasaki Ganryu hard mode version of this duel, the rest of the game’s bosses stop feeling like reaction tests you’re failing and start feeling like puzzles you already know how to solve.
-
- Blade Lock, Soul Timing
-
- Clearing Sasaki Ganryu on Hard Mode
Frequently Asked Questions About the Sasaki Ganryu Hard Mode Fight
What health percentage triggers Sasaki Ganryu’s second phase?
His second phase kicks in once his health drops to roughly fifty percent, which is when he starts adding kicks and the grab into his sword combos.
Do I need to land an Issen to beat Sasaki Ganryu on hard mode?
No. Issen counters deal great damage, but they’re optional, and plenty of players clear this fight using parries, deflects, and Break Issen windows without ever landing one.
Is a normal dodge enough for Sasaki Ganryu’s grab attack?
Not on hard mode. You need a Perfect Dodge timed right before his hand makes contact, since a regular dodge will still get you caught.
What’s the fastest way to drain Sasaki Ganryu’s stamina?
Consistent parries and deflects drain his stamina bar the quickest and fill his stagger meter, which opens up a Break Issen for your biggest damage window.
Is Sasaki Ganryu the hardest boss this early in Onimusha: Way of the Sword?
He’s the hardest fight up to that point, mainly because of the tighter grab timing and faster combos in his second phase, but he’s also intentionally built to teach you skills every later boss expects you to already have.
Check out our other guides on ingametor.com for more boss breakdowns like this one.