
Daidara is one of the first real boss fights in Onimusha: Way of the Sword, and the fastest way through him comes down to three things: dodge his slow, heavily telegraphed swings, grab every soul that drops before he does, and unload on him the moment his stamina bar hits zero. He’s the giant armored Genma waiting at the end of the fight at Kiyomizu, and however big and mean he looks, he’s built to be read, not reacted to in a panic. If you’re specifically trying to figure out how to beat Daidara on Carnage difficulty, the core rhythm below stays exactly the same, it’s just the margin for error that shrinks a lot.
Before we get into the details, bookmark this guide, because Daidara isn’t the last Genma who plays this same souls-and-stamina game, and once you’ve got the rhythm down here you’ll recognize it for the rest of the boss roster.
Onimusha: Way of the Sword launched on September 4, 2026 for PS5, Xbox Series X|S, Switch 2, and PC, and reviewers have generally praised its reaction-based combat and boss design, with the game sitting around an 86 on OpenCritic. Daidara is part of why: it’s the first fight in the game that really forces you to slow down and read instead of button-mash, and the same soul-and-stamina rhythm you learn here carries through most of the boss roster that follows.
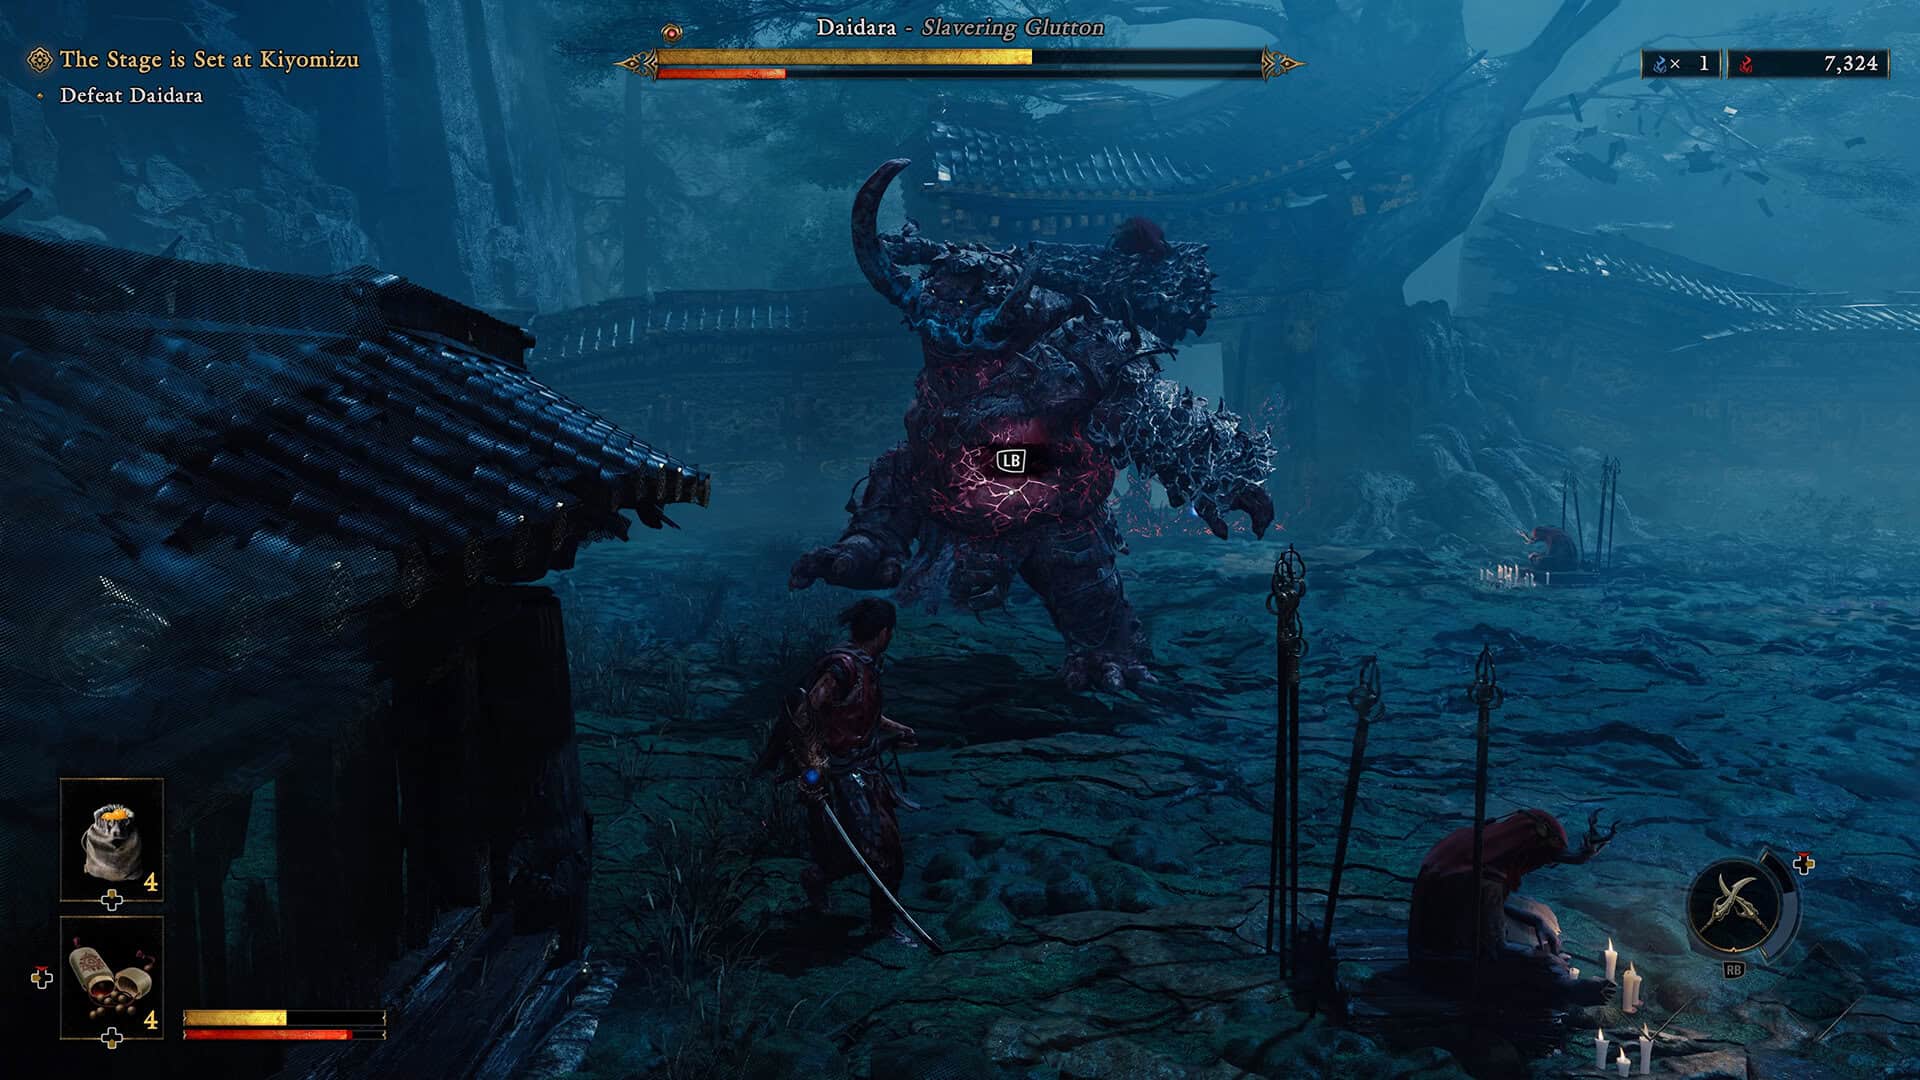
Reading Daidara’s Attack Patterns Before You Try to Beat Him
Daidara is slow and clumsy, and every single one of his attacks is predictable once you’ve seen it a couple of times. You can tell right away when he’s just standing there and when he’s winding up something bigger, so use that time to position yourself instead of guessing. His moveset includes a straightforward Stomp, a Jump Back he uses to reset distance, a multi-hit Running Combo, a Four Hit Combo, a Grab, a wide Long Sweep, and a trio of overhead strikes (Overhead Combo, Overhead Slam, and Overhead Leap), plus a Rock Throw at range.
Most of these come in strings of several hits in a row, so dodge through the string and wait for the pause at the end before you swing back. Your own attack window is limited too, so land your hits and back off again rather than trying to force one more swing. Early on, Daidara’s damage output is low enough that eating a hit while you learn the timing won’t end your run, so don’t be afraid to get a little greedy while you figure out his rhythm.
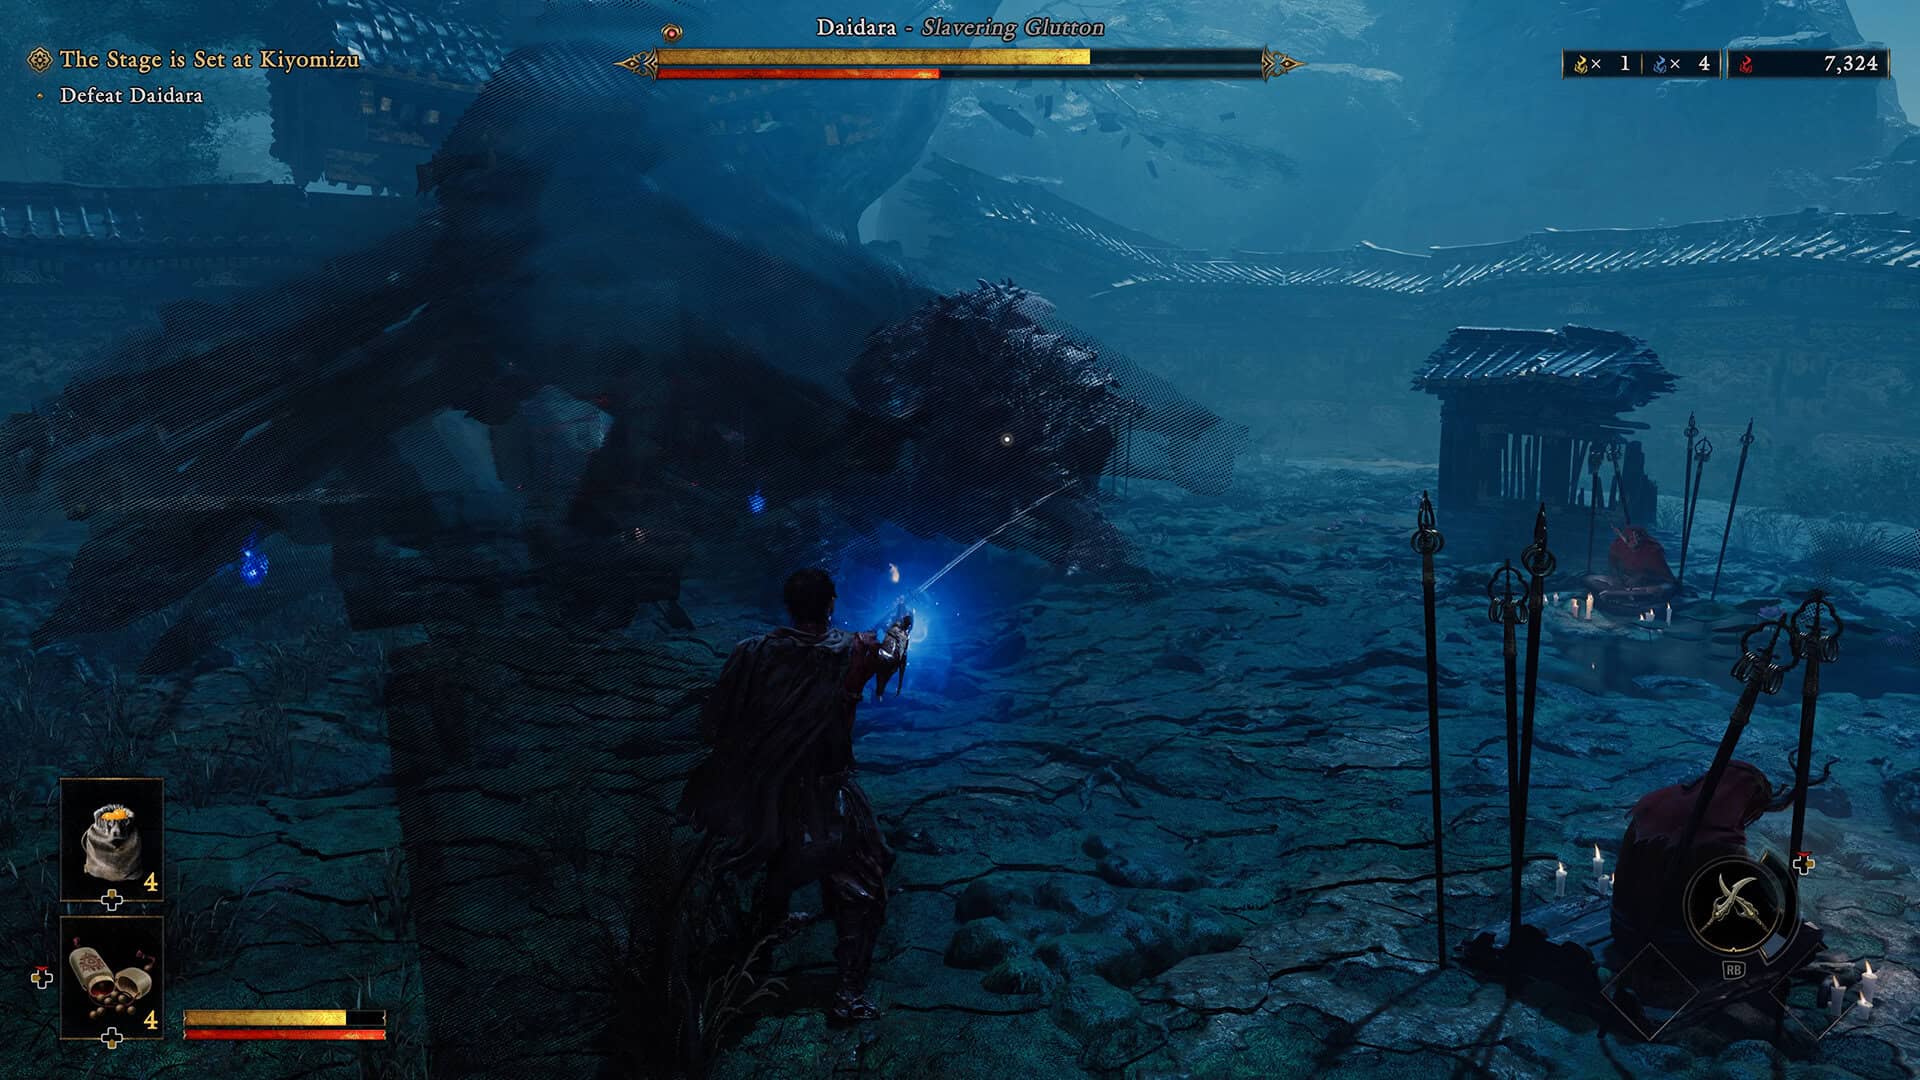
Why You Need to Grab Every Soul During the Daidara Fight
Daidara is one of the most recognizable Genma in the Onimusha series, and he’s canonically described as a picky eater who devours souls whenever he gets the chance. That’s not just flavor text, it’s the fight’s core mechanic. Yellow, blue, and red essences drop throughout the battle, and in the gaps between his attacks, when you’ve got some space, you need to go grab them. Yellow essence restores your health, which matters a lot in the longer second phase.
Blue essence fills your ultimate attack gauge, which you’ll want charged before a stamina break. If you leave any of these sitting on the ground, Daidara absorbs them himself and buffs his own attack and defense, which makes an already long fight noticeably harder. So treat every essence drop as urgent, not optional.
-

- Reading Daidara’s Attack Patterns
-
- Grab Every Soul During the Daidara Fight
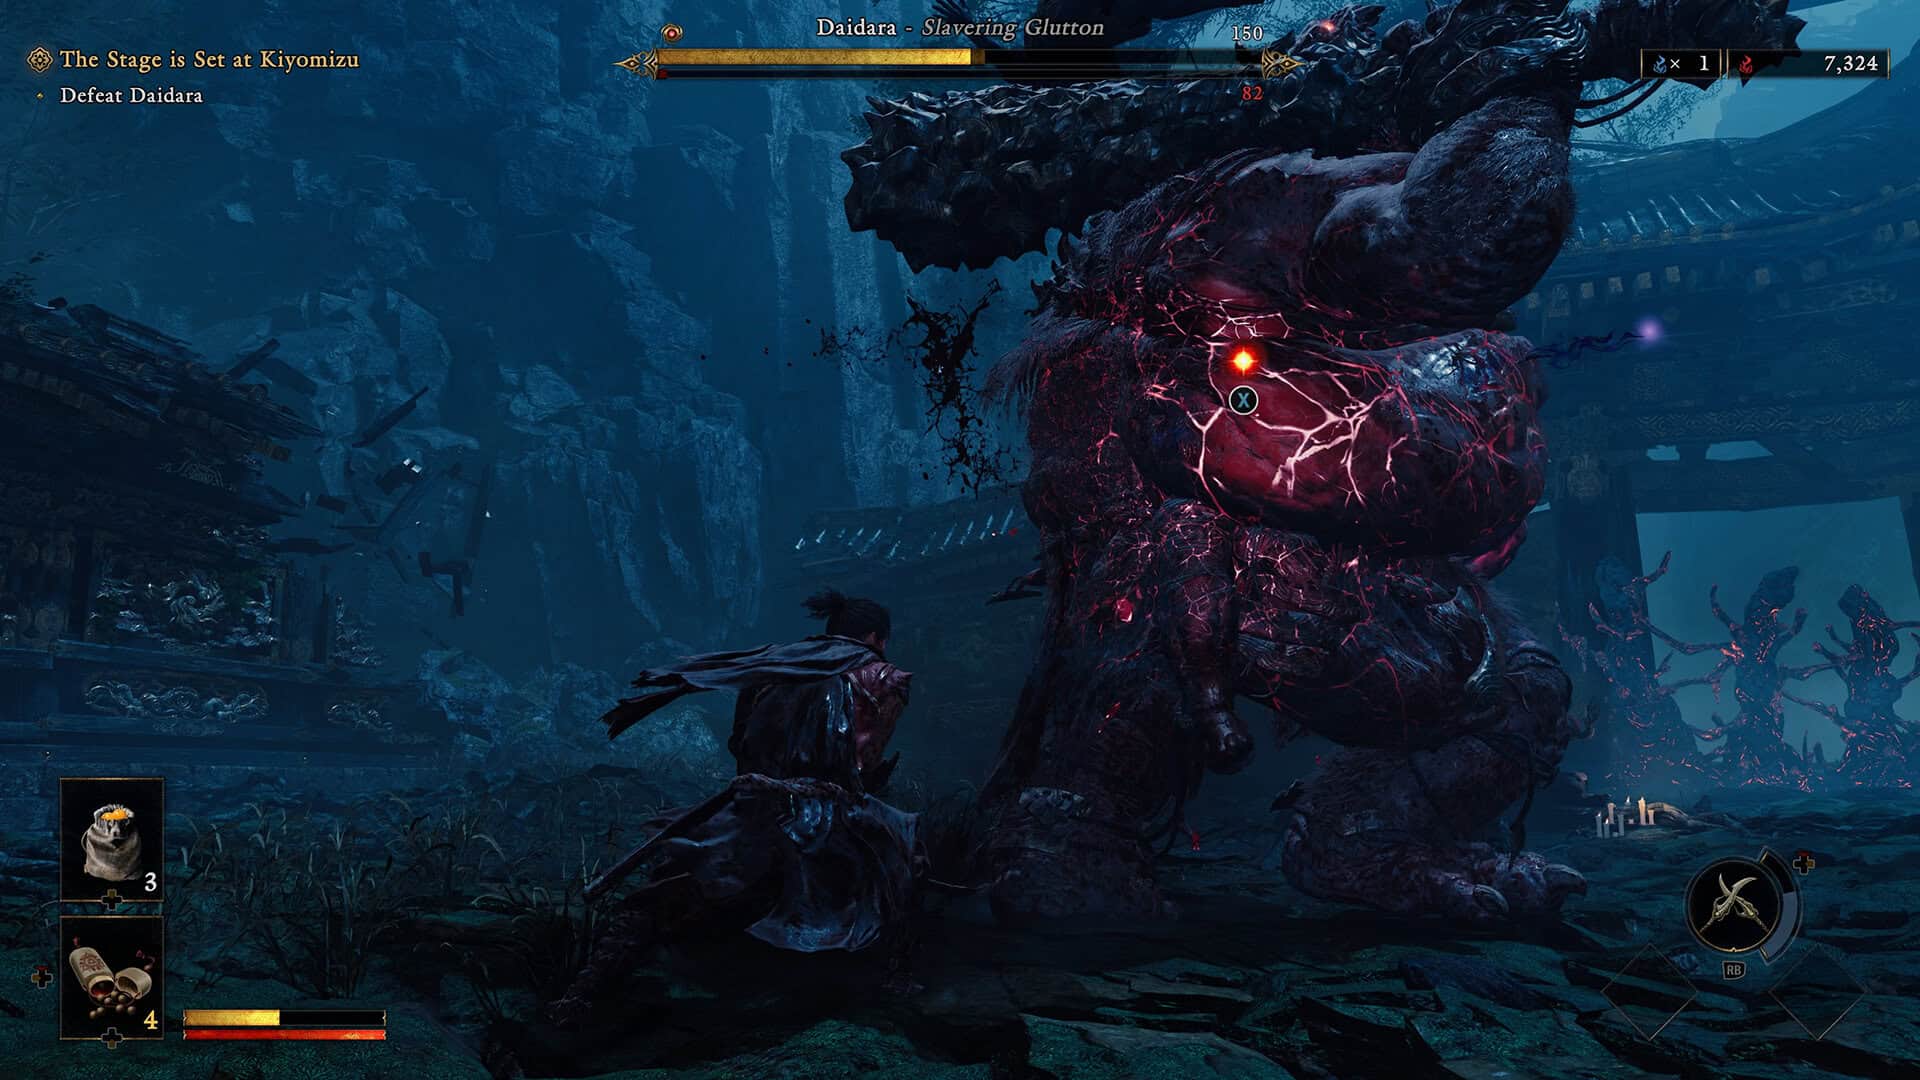
Breaking Daidara’s Stamina Bar for the Finisher
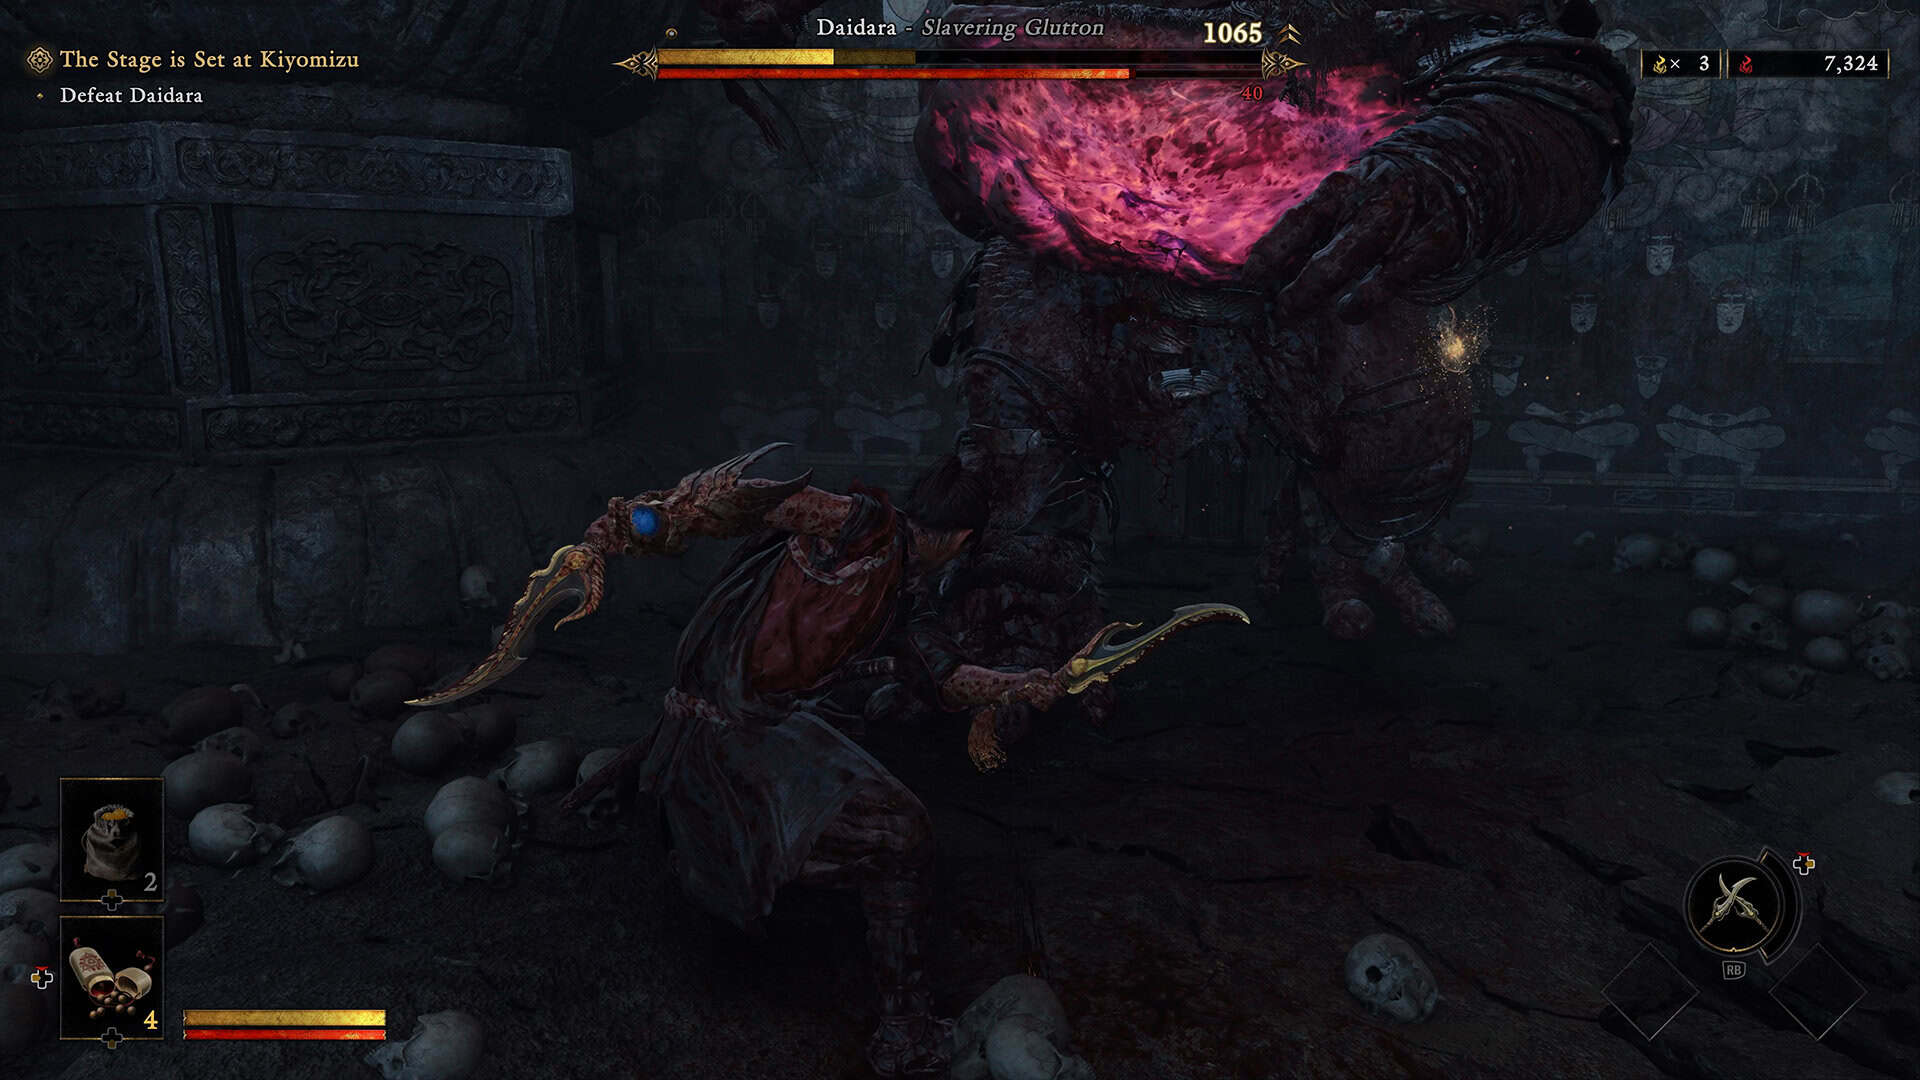
Watch both of his bars during the fight: the yellow bar is his health, and the red bar underneath it is his stamina. Chip away at his stamina with regular hits, and once it drops to zero, the game will flash a prompt for a special finishing combo that strips off a big chunk of his health bar in one go. One specific detail worth knowing: the fourth hit of his Running Combo opens up a window of five seconds or more if you parry it cleanly, which is one of the most reliable stamina-break opportunities in the whole fight. Look for that string specifically if your reads on his other attacks aren’t quite there yet.
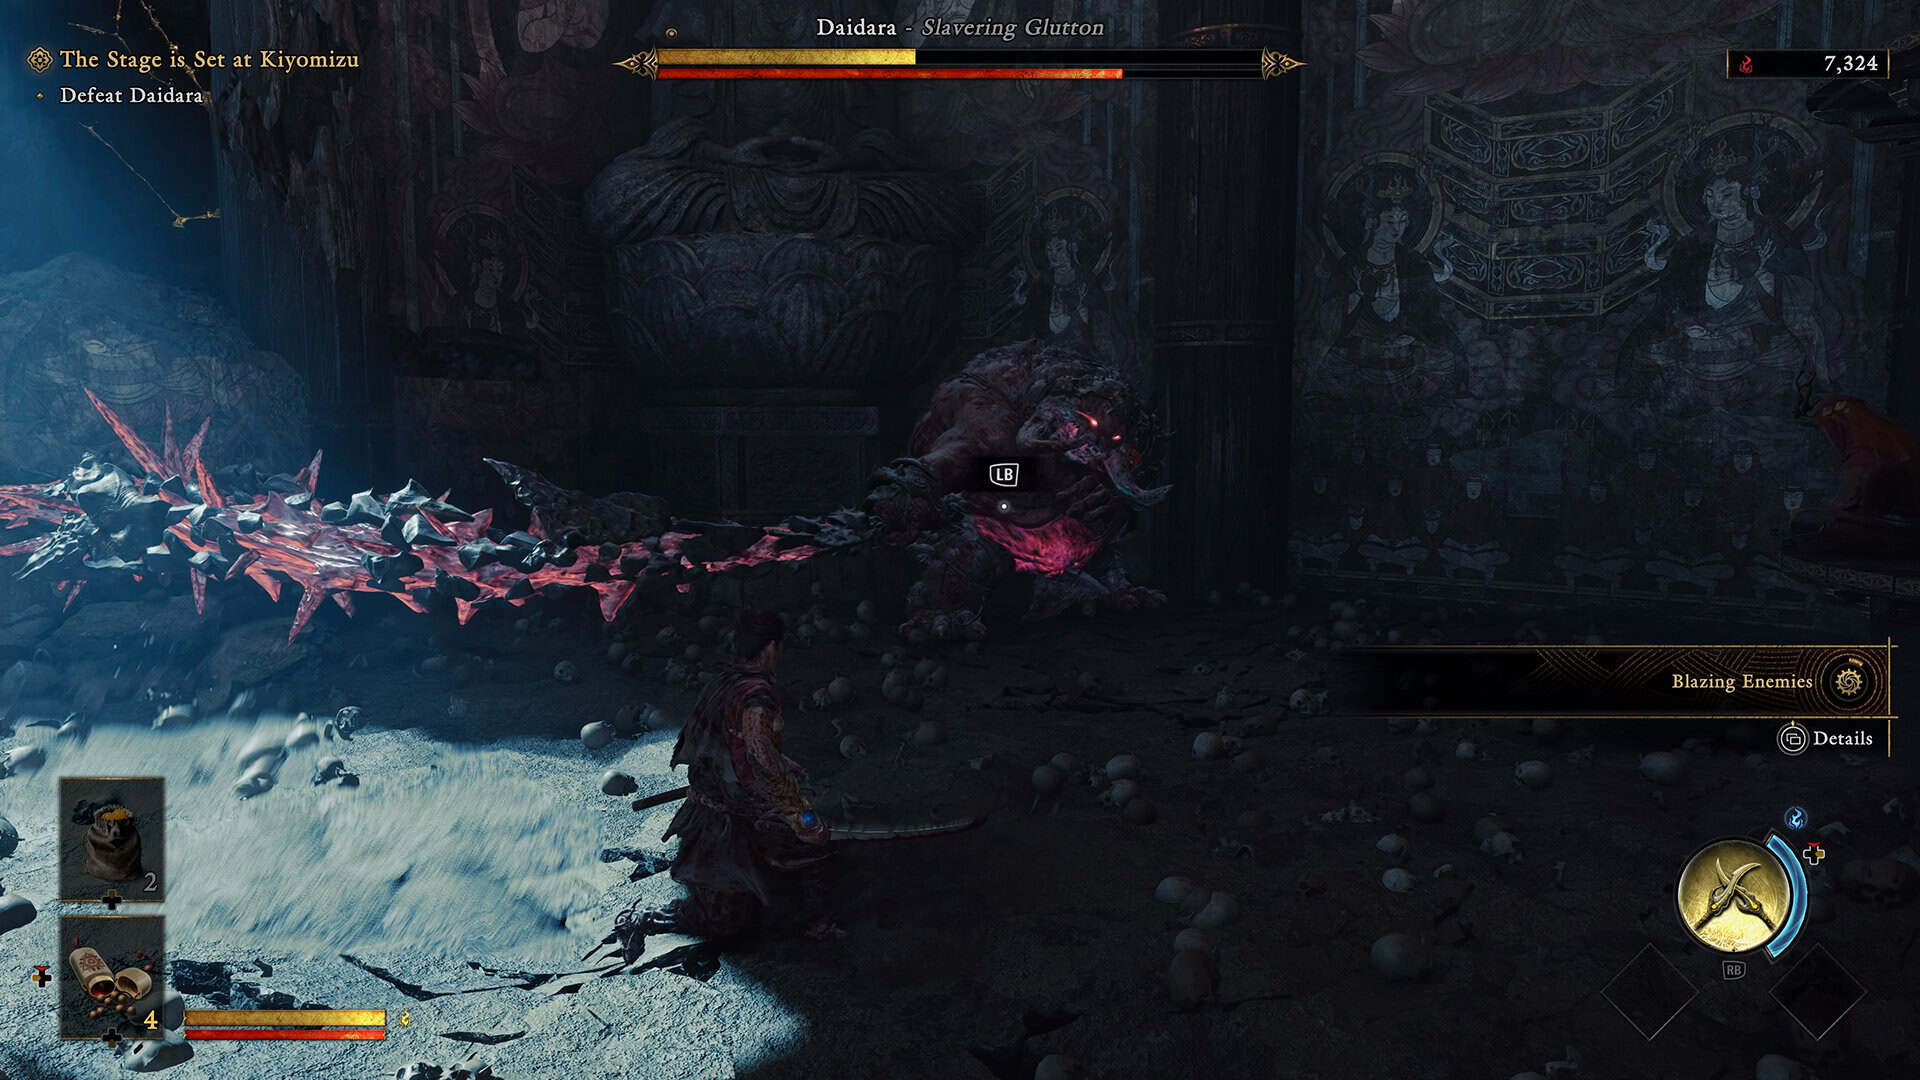
Surviving Daidara’s Second Phase and His New Dash Attack
Once you drain Daidara’s health bar the first time, you’ll get a short cutscene of the two of you falling from the arena. It looks like the end of the fight, but it isn’t, it’s just a breather before round two. When the fight resumes, Daidara comes back with a full health bar and a full stamina bar, recovered somehow during the fall, and the arena itself gets tighter, with pillars and geometry that can trap you in a corner if you’re not paying attention to your positioning.
The good news is that phase two plays almost identically to phase one: dodge, absorb souls, attack, and watch for the stamina-break prompt. His new Dash attack is phase-two exclusive, so expect it to catch you off guard the first time. His Long Sweep can be avoided almost entirely if you rotate to his left instead of just backpedaling. He also adds a blue hand Grab in this phase that you should never try to block, since blocking doesn’t stop the soul drain from a successful grab, only a Perfect Dodge or a Deflect actually gets you out of it clean.
If you time the Deflect, you get a solid counter window on a boss who otherwise doesn’t give up many. If reading these kinds of tells is what you’re after, our guide to a no-hit fight against Master Sawamura Yasusuke in Nioh 3 is built around the same principle of punishing recovery frames instead of trading hits.
-
- Breaking Daidara’s Stamina Bar
-
- Daidara’s Second Phase and His New Attack
How to Beat Daidara on Carnage Difficulty
If you’re going in on the hardest setting, the fight itself doesn’t really change, but your margin for soul mismanagement basically disappears. Two consecutive hits from Daidara can end your run once he’s in his enhanced state, so soul economy matters more than raw reflexes here. Before you commit to melee, back off and put arrows into his head, arms, and legs with the Oni Bow, since armor removal is the single biggest damage swing available in this fight. Every blue soul on the ground has to be collected before he grabs it, because on Carnage he powers up faster the more souls he eats.
The Two Celestials Oni Armament is worth equipping specifically for this fight, since it breaks the momentum of both his grab and his charge, turning two of his scariest attacks into counter opportunities instead. When you land a stamina break, target his exposed purple core and move to absorb the soul burst immediately, before he has a chance to feed on it himself. That’s really the whole difference between a clean Carnage clear and a frustrating one.
What You Get for Beating Daidara at Kiyomizu
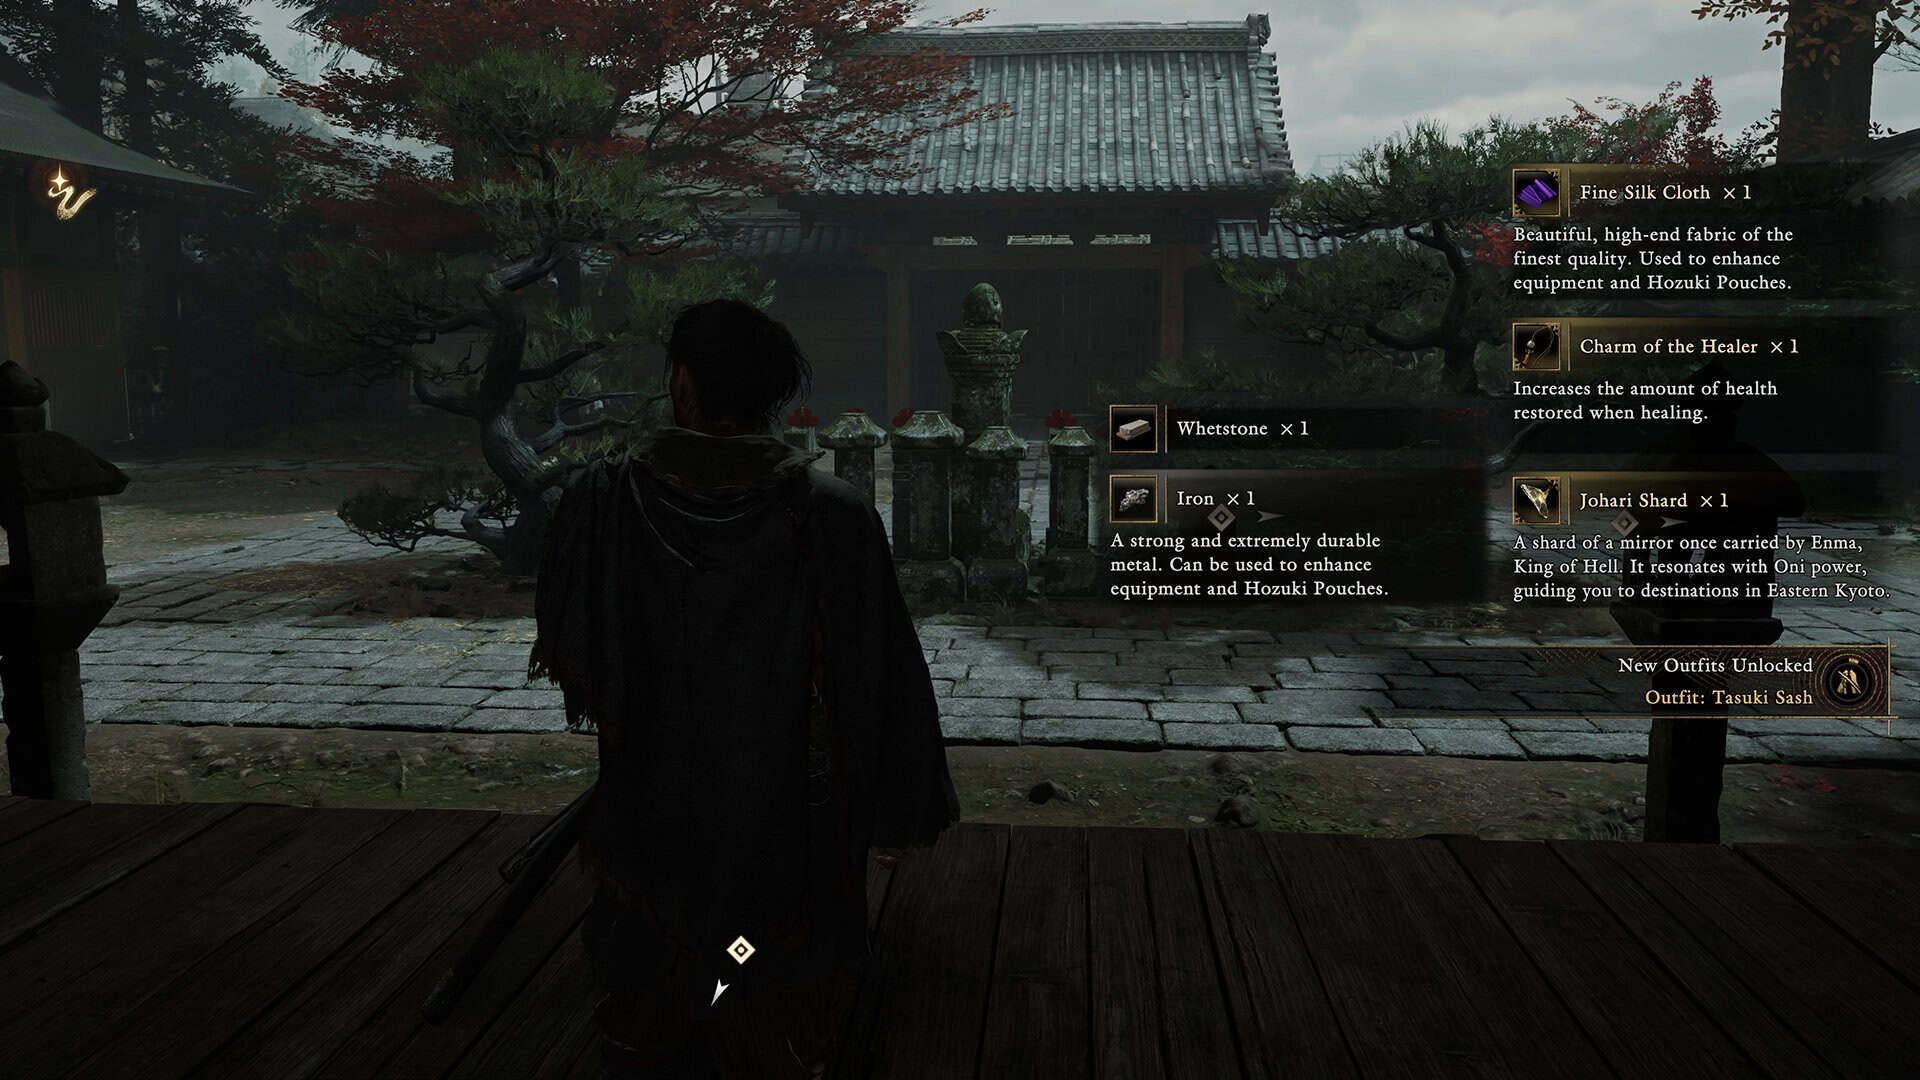
Winning the fight at Kiyomizu rewards you with a Charm of the Healer, a Johari Shard, a Whetstone, some Iron, and a piece of Fine Silk Cloth, which is a solid haul for this early in the game. Defeating Daidara during the Kiyomizu encounter rewards players with a meaningful boost to their progression, including unique crafting materials tied to the boss’s demonic nature, a chunk of experience that helps close the gap before tougher story bosses, and access to new equipment upgrade paths that weren’t available beforehand.
Beyond the immediate loot, clearing this fight typically unlocks the next story or side content gated behind it, making the reward less about a single item drop and more about forward momentum in the run. To learn more about this game and its features, I recommend checking out the review of Onimusha: Way of the Sword.
-
- How to Beat Daidara on Carnage Difficulty
-
- What You Get for Beating Daidara
Daidara Boss Fight FAQ
Where do I fight Daidara in Onimusha: Way of the Sword?
The fight takes place at Kiyomizu, and it caps off that section of the game, so you can’t stumble into it by accident.
What happens if I don’t collect the souls during the fight?
Daidara absorbs any soul you leave on the ground and uses it to buff his own attack and defense, so skipping soul pickups makes the rest of the fight noticeably harder.
How many phases does the Daidara fight have?
Two. After you drain his first health bar, a short cutscene plays and the fight resumes with Daidara at full health and full stamina again, this time with a new Dash attack and a tighter arena.
Can I block Daidara’s grab attack?
No, blocking doesn’t stop the soul drain from a successful grab. You need a Perfect Dodge or a Deflect to get out of it cleanly, and a well-timed Deflect also opens up a counter window.
What’s the best strategy for how to beat Daidara on Carnage difficulty specifically?
Prioritize soul collection over everything else, strip his armor with the Oni Bow before engaging in melee, never block the grab, and consider equipping the Two Celestials Oni Armament, since it turns his grab and charge into counter opportunities instead of threats.
Whether you’re running this fight for the first time or came here specifically for how to beat Daidara on Carnage difficulty, the approach doesn’t really change: read his attacks, grab every soul, and cash in your stamina breaks. If this fight gave you trouble, our no-exploit strategy guide for Storm Crusher in Crimson Desert is built around the same philosophy of earning the win through patterns rather than cheesing it. Check out our other guides on ingametor.com for more boss breakdowns like this one.