How to Find All Three Stolen Stout Pillars in Onimusha: Way of the Sword
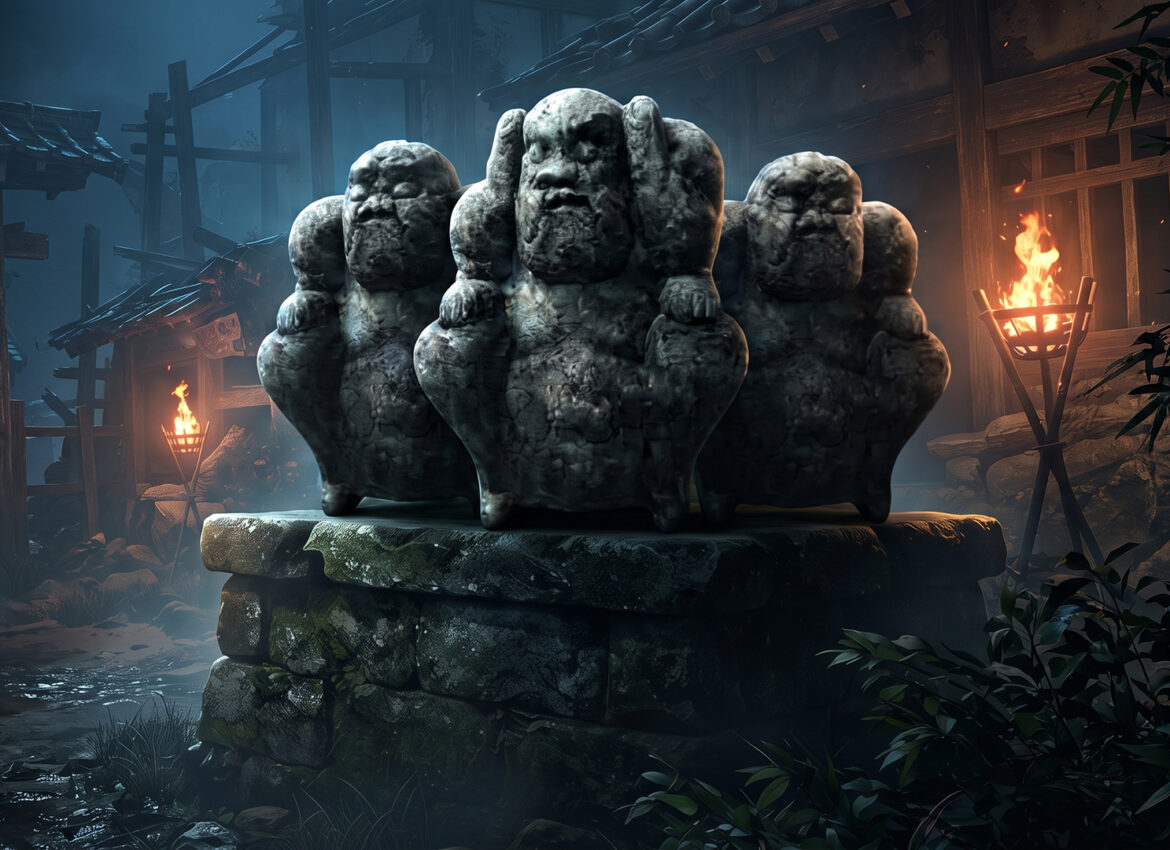
If you’re stuck during the Careful What You Wish For quest in Onimusha: Way of the Sword, you’re looking for three stolen Stout Pillars, and I’ll walk you through exactly where all three are hiding. These aren’t random collectibles either. The Stout Pillars are three of the eight stone guardians of the Hachidai Rikison shrine, and the Genma dragged them off to different corners of the district while you weren’t looking. Get all three back and you’ll trigger the next big fight in this questline, so let’s not waste any time getting you there.
This quest picks up right after the Oni’s Apprentice mission, once Takamura sends you back into Kyoto to start purging the malice spreading through the city. It’s easy to assume this is just another side objective, but it’s actually tied to a proper boss fight and a permanent upgrade for Musashi’s gauntlet, so it’s worth doing properly instead of rushing through it.
Where to Find the First Stolen Stout Pillar
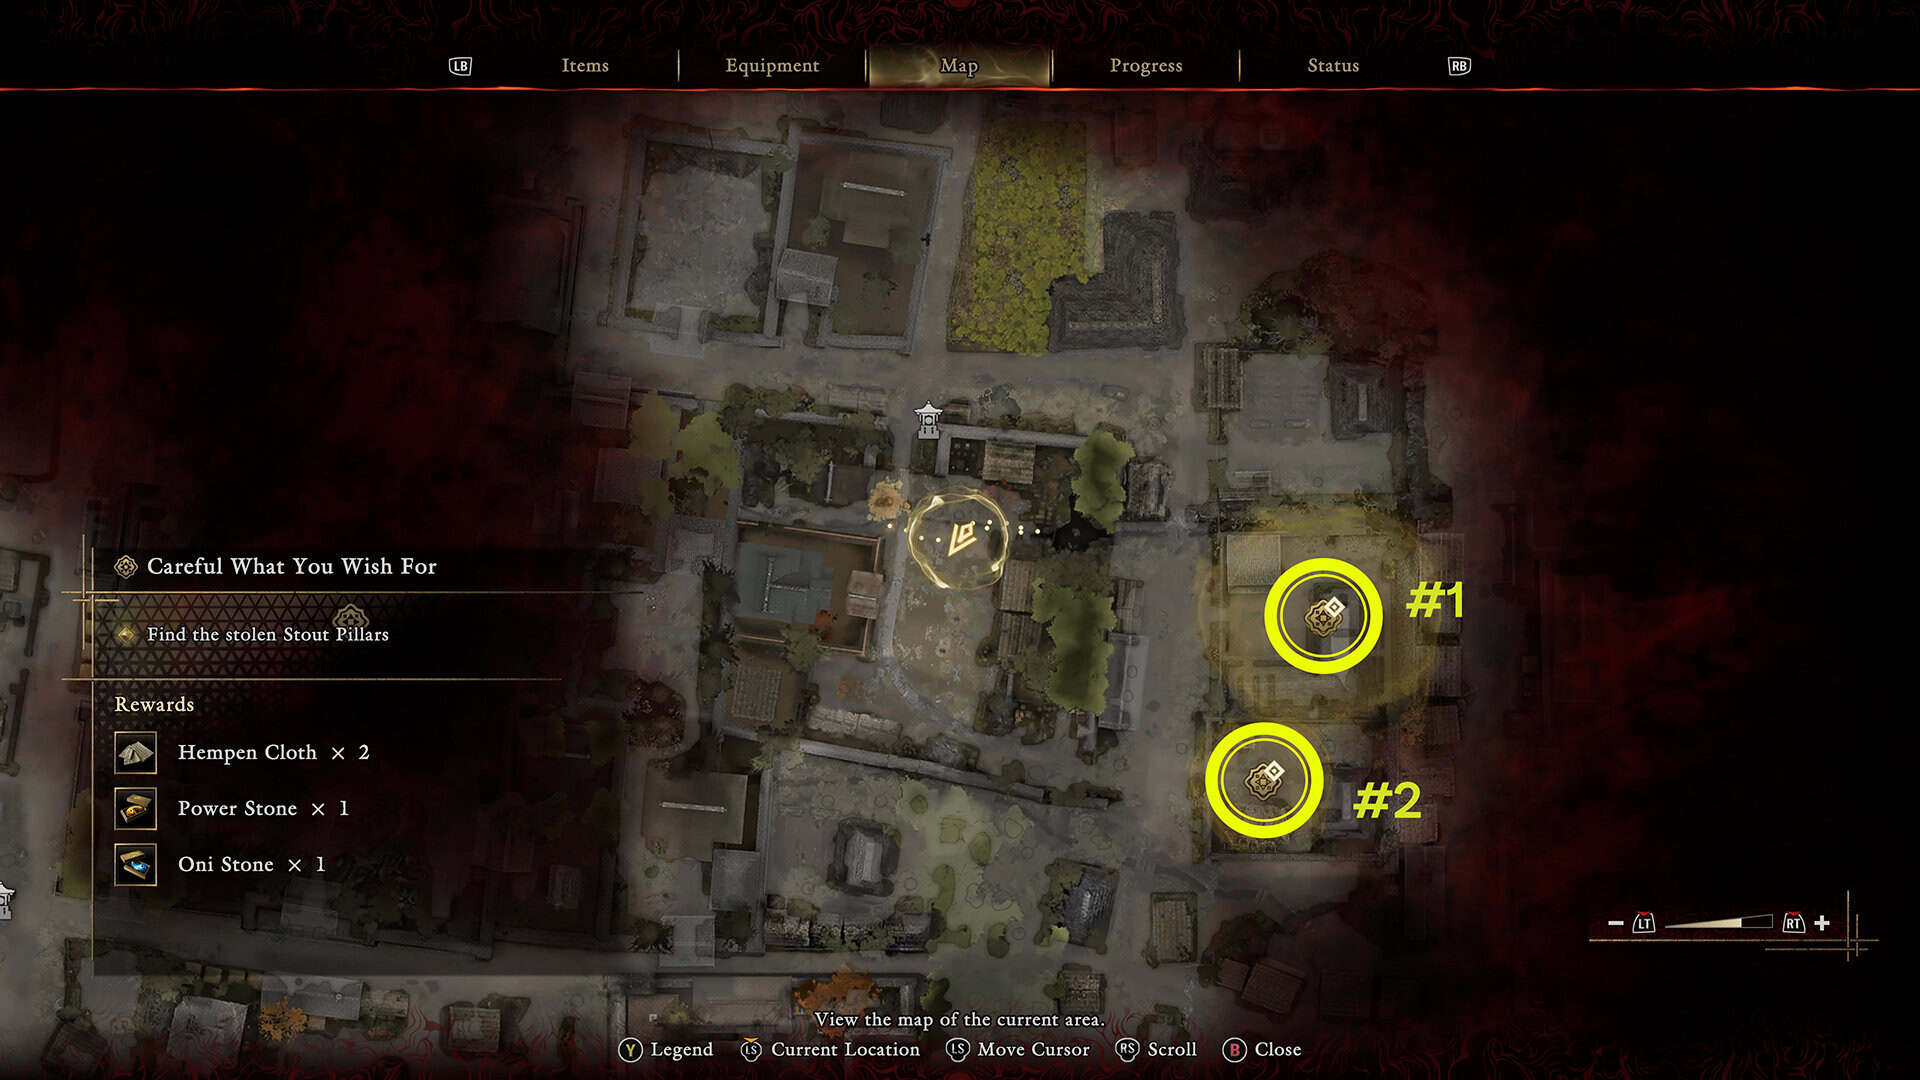
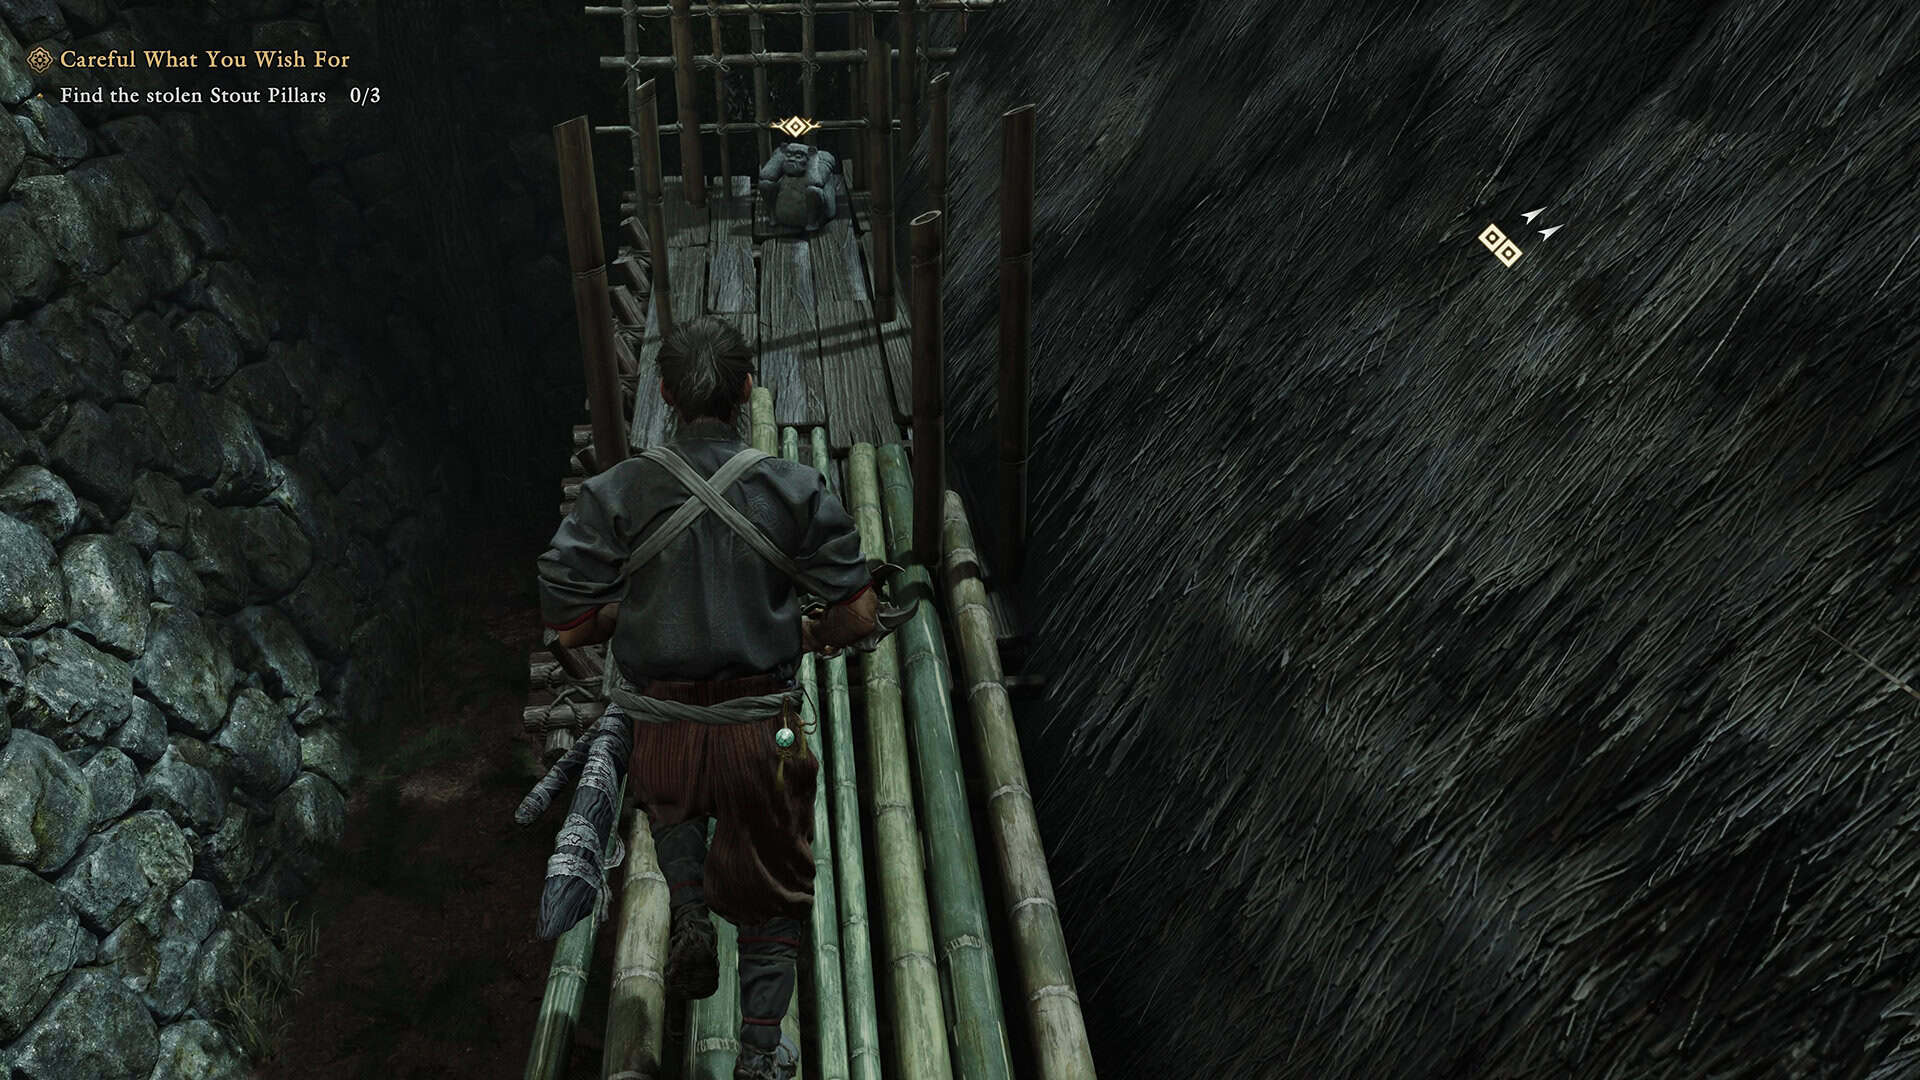
The path indicator on your glove points you toward the first statue pretty quickly, and once you get there, don’t just stand around looking at the front of the building. Head around behind it instead. You’ll spot a ladder tucked against the wall back there, and that’s your way up. Climb it, and you’ll land right next to the first talking statue, propped up on an elevated wooden platform overlooking the courtyard. This one is actually the Seventh of the eight brothers, and yes, it complains about the height the moment you get close, which is a good sign you’re in the right spot.
Once you’ve got it, climb back down the same ladder and retrace your steps around the building into the courtyard you started in. Don’t bother exploring further yet. The next objective triggers automatically, and you’ll want your stamina topped off before it does, because things get loud fast.
Getting the Second Stolen Stout Pillar Statue
Back in the courtyard, keep an eye on the door to that previously locked building. It gets kicked down from the inside, and a handful of Genma come pouring out. Clear them out, then walk through the hole they made. Inside, there’s another ladder leading up to the second floor, and an enemy standing there with his back turned. Take the free hit while you can, since a stealth kill here saves you a chunk of health you might need later.
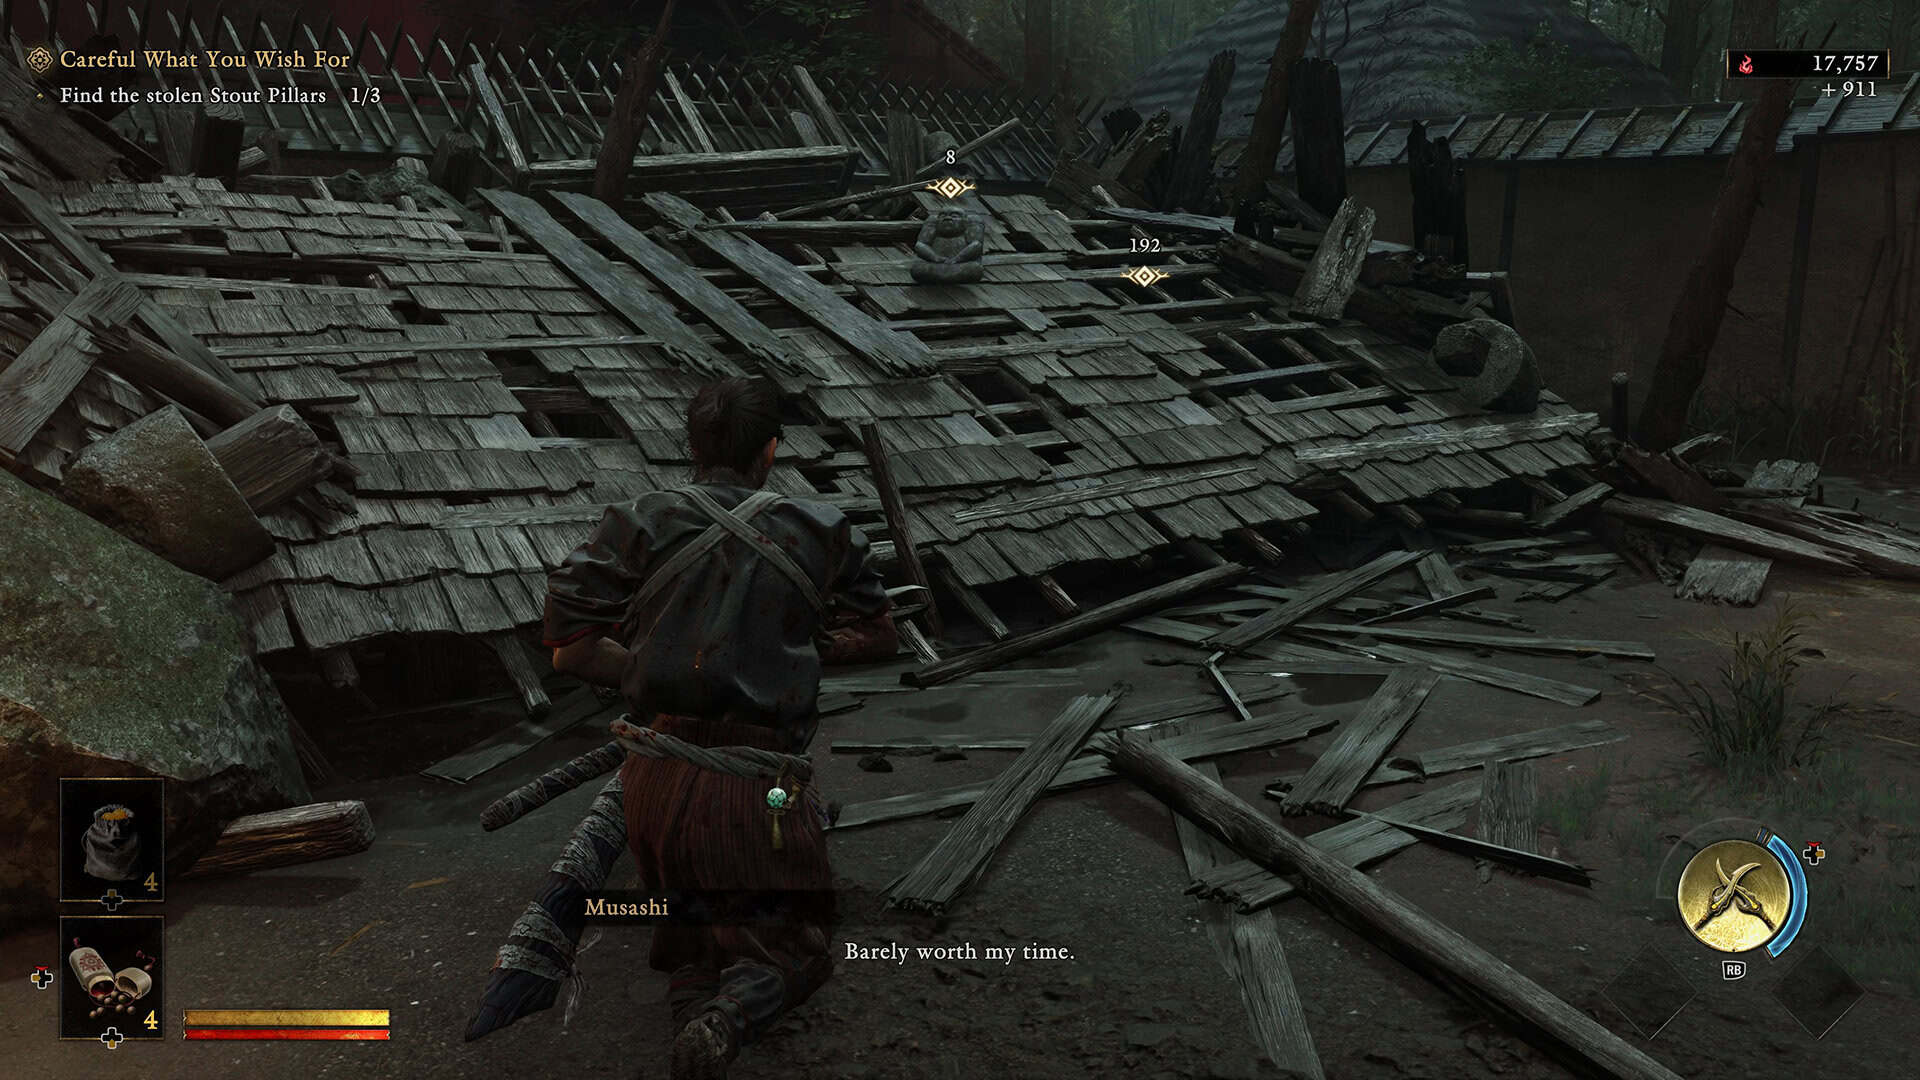
After that, look for a white trail running across the floor. Follow it and you’ll end up crawling through a pile of rubble into the building’s inner courtyard, which is actually a collapsed section of the same rooftop complex you were just on. The second statue, the Eldest of the eight Stout Pillars, is sitting in plain sight the moment you drop down. A crowd of enemies rushes you as soon as you land, so clear them first. If you’re still getting used to fighting groups like this, our Sasaki Ganryu hard mode guide covers a few parry and dodge timings from earlier in the game that carry over nicely here.
-

- First and second Stolen Stout Pillar location
-
- First Stolen Stout Pillar
-
- Second Stolen Stout Pillar Statue
Finding the Third Stout Pillar Under the Tree
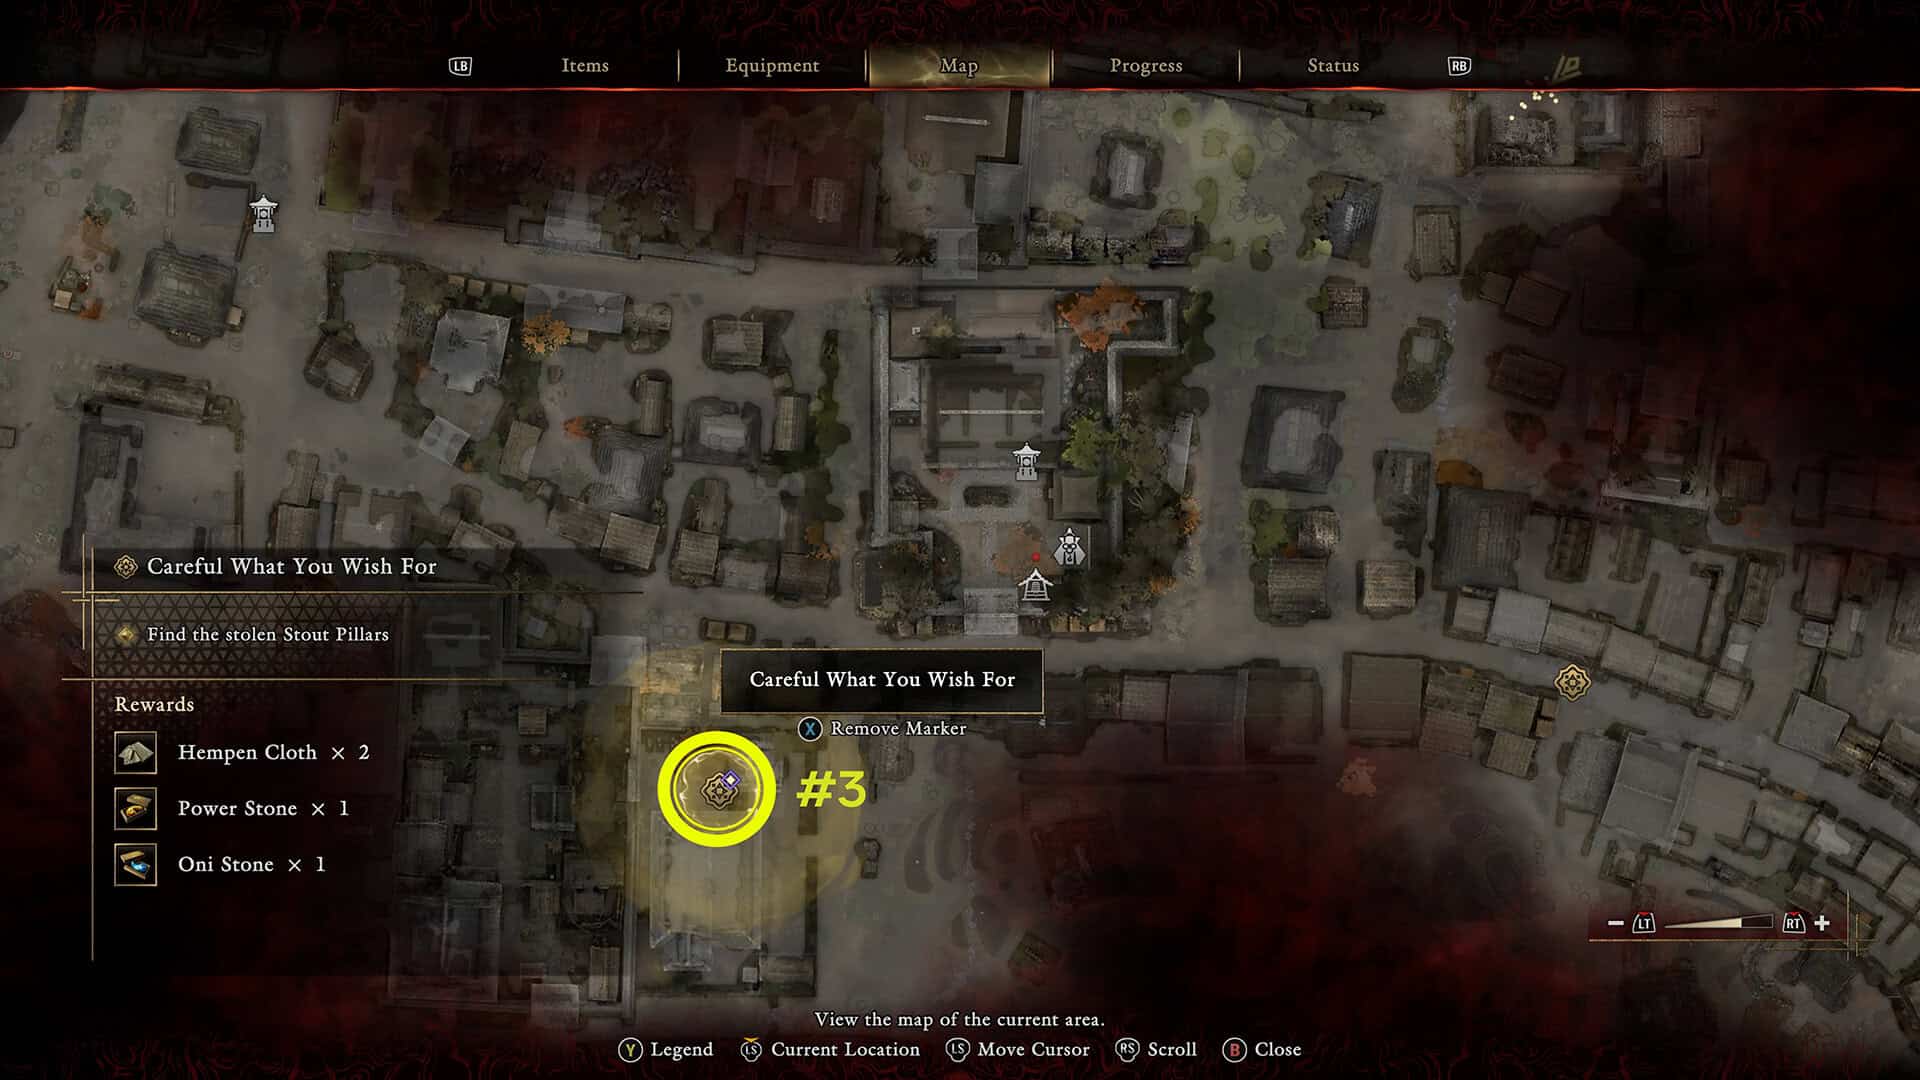
The third and final statue is further out, and the game marks it on your map, but there’s a fight in the way first. As you head toward the marker, a gate on your right will burst open, and a local woman will run out with Genma chasing her. Deal with them, then go through the now-open gate. You’ll see a building ahead, so go around it on the left side rather than trying to push through the front, and you’ll find a closed door you can open into a room absolutely packed with enemies.
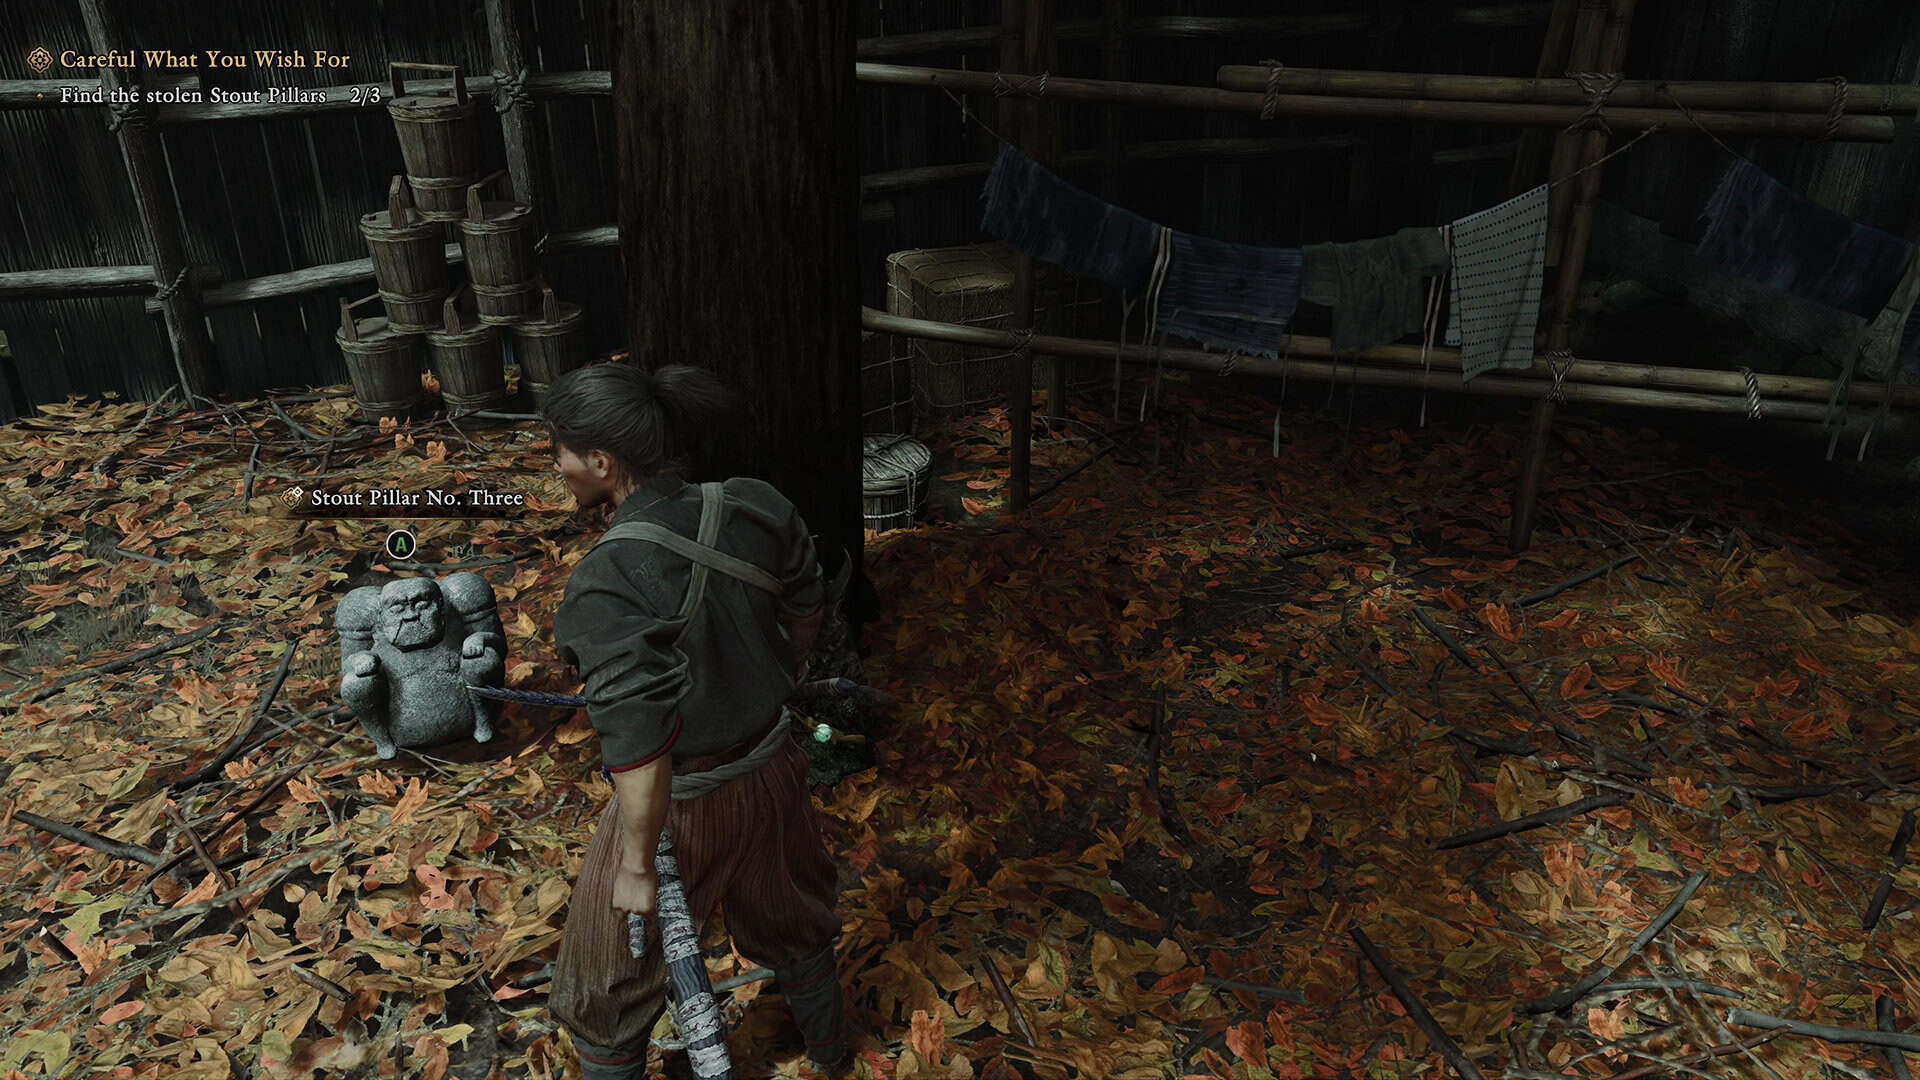
Clear that room, since it’s honestly a decent chance to practice combos before harder fights later on, then exit through the second door into the courtyard beyond. Walk over to the tree in the middle, and you’ll notice a motionless stone statue standing next to a clay jug. Break the jug. That’s where the third Stout Pillar has been hidden the whole time, sealed inside like nobody would think to check. Grab it, and all three brothers are finally back in your hands.
-
- Third Stolen Stout Pillar location
-
- Third Stout Pillar Under the Tree
What Happens After You Return All Three Stolen Stout Pillars
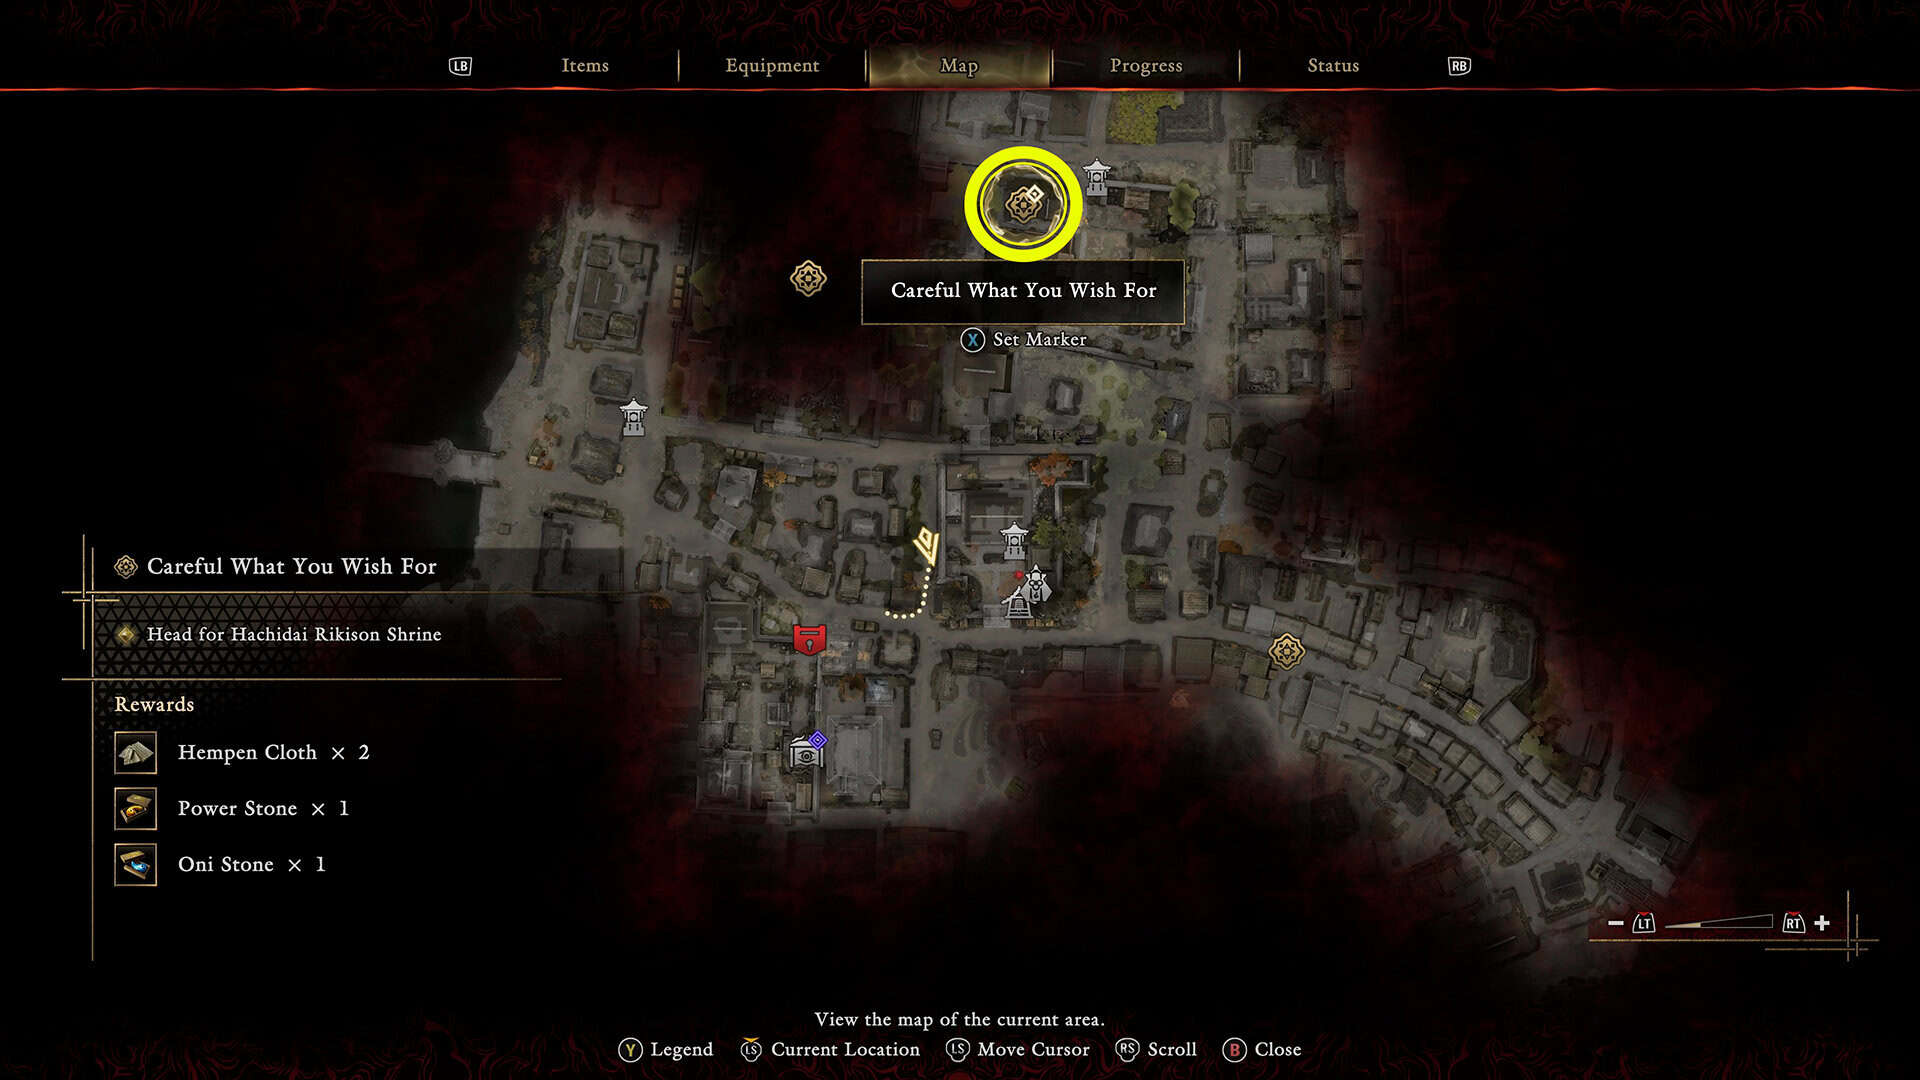
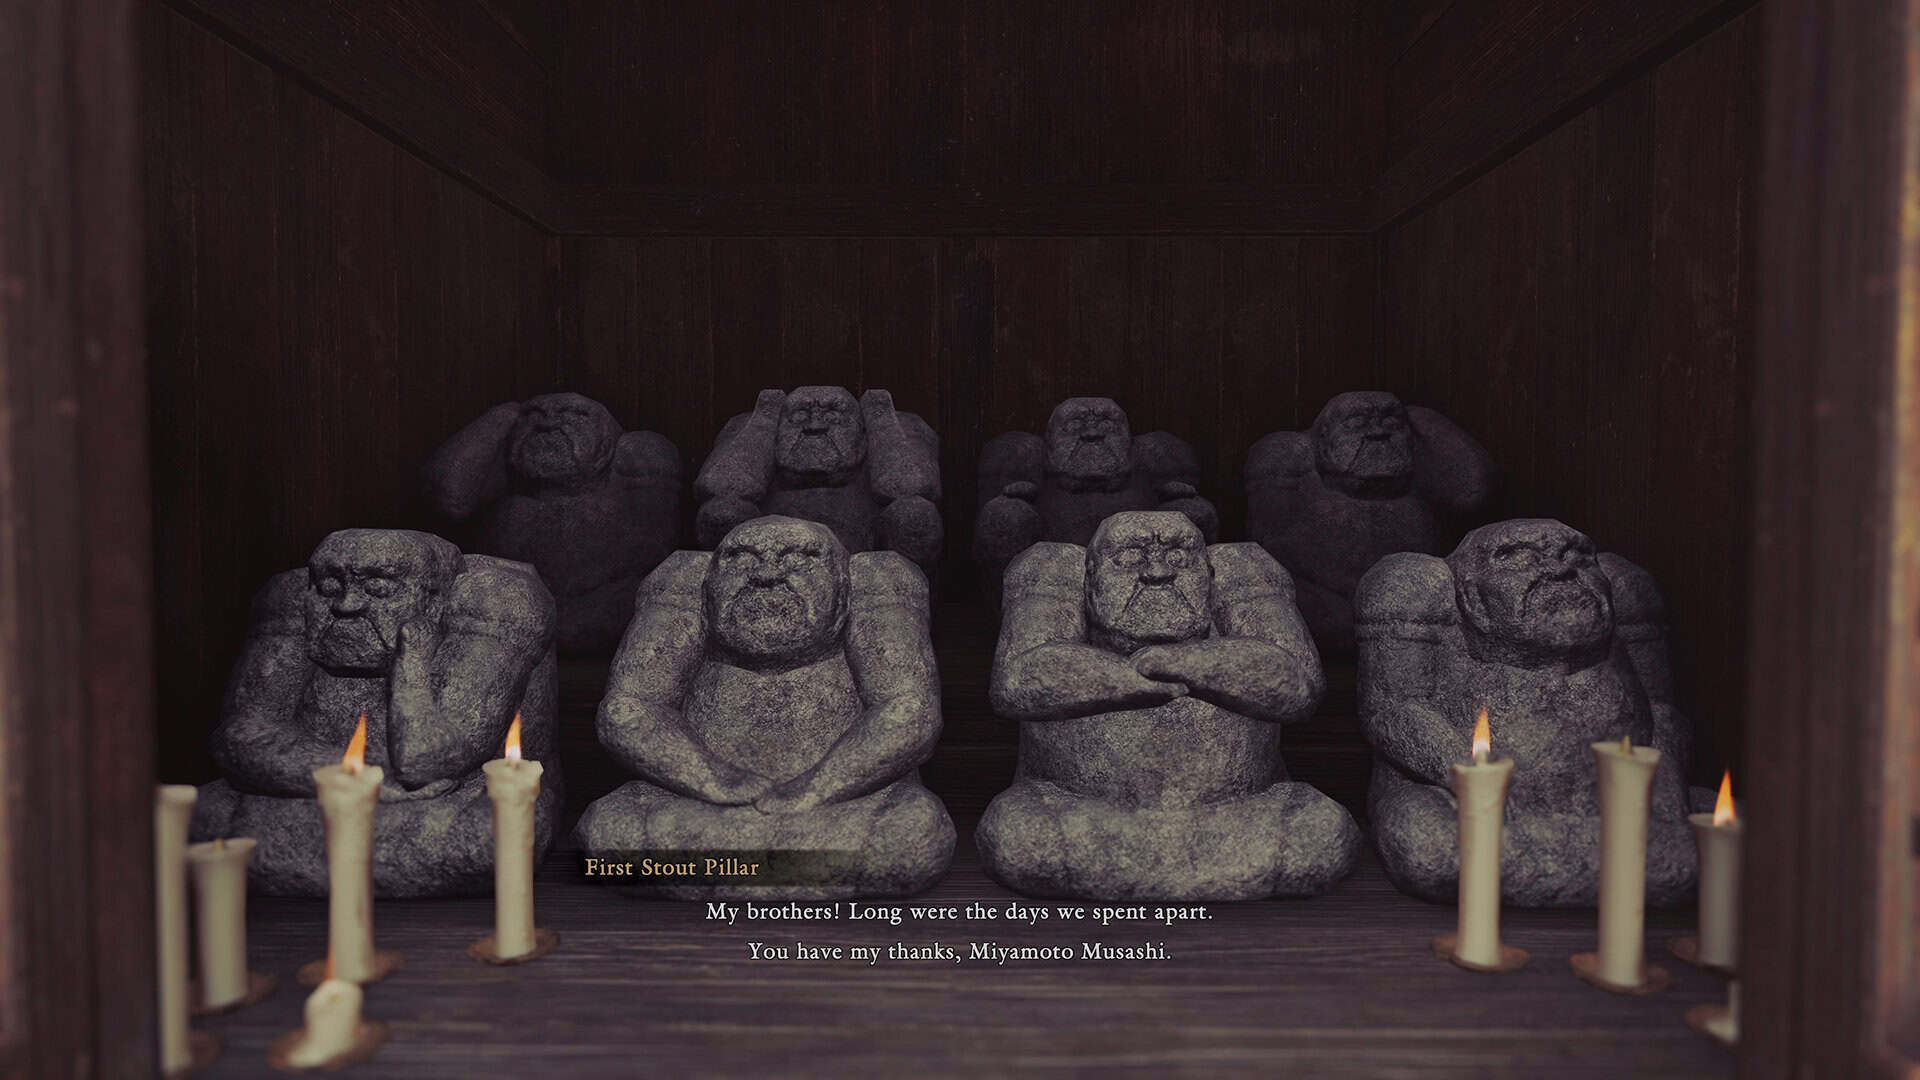
Bring the three statues back to the shrine and the quest doesn’t just end quietly. Returning the Eldest, Third, and Seventh Pillars sets up a fight against Rasho-gan, a towering false deity stitched together from the bodies of the shrine’s victims. It turns out this thing has been posing as a matchmaking deity over at the Yasui Konpiragu Shrine this whole time, feeding on the insecurities of everyone in Kyoto and twisting their wishes into something horrible in the process. That’s the real reason the Stout Pillars got stolen in the first place, since Rasho-gan needed them out of the way to keep operating undisturbed.
The fight itself runs in two phases. Early on, it leans on a three-hit blade combo where the third strike comes in on a delayed timing, so don’t rush your counter. Parry all three hits cleanly and you get a window for three free hits back before resetting into defense again. He also throws in a ground slam and a grab that you can’t parry at all, so those need a dodge or a deflect instead of a block, plus tendril attacks that reach further than they look like they should.
Once he drops to around 60 percent health, phase two adds a faster follow-up strike after that same blade combo and a spinning attack that punishes anyone standing too close. Save your healing items for this second half rather than burning them early, since the pace picks up noticeably. One thing worth knowing going in, the shrine arena has destructible walls, and holding your stick toward one while you parry steers Rasho-gan straight into it for bonus damage on top of whatever you’re already dealing.
Beating him hands you the Oni Strength ability, which breaks the Malice Barriers you’ve probably noticed blocking off paths around Kyoto, and it also lets Musashi’s gauntlet transform to channel the power of the Eight Stout Pillars directly, which is a nice bit of payoff for everything you just went through to reunite them. You’ll also walk away with an Oni Stone and a Power Stone worth grabbing before you move on.
It’s a similar structure to what you’ll run into later against Daidara, honestly, where managing your openings and punishing specific attacks matters more than just swinging harder. If you want the full attack list and phase breakdown for that one, our Daidara boss fight guide goes through it in detail.
-
- Stout Pillars quest location
-
- Return All Three Stolen Stout Pillars
Tips for Tracking Down Every Stout Pillar Faster
Here’s a little tip that saves you some backtracking. The glove indicator only points you toward whichever pillar is currently active in your objective, so don’t wander off chasing all three at once, since the game locks the order for a reason tied to how each area unlocks. Listen for the statues talking, too. Each one has a distinct complaint once you’re close, and that’s a louder cue than the map marker most of the time.
Smashing pottery and checking behind buildings for ladders ends up being a recurring theme in this game’s side content, by the way. It’s not the only time you’ll be hunting for something a boss hid inside an object that looks completely ordinary. We ran into almost the exact same idea in Black Flag Resynced, where an entire buried statue puzzle hinges on checking spots most players would just walk past.
Frequently Asked Questions About the Stolen Stout Pillars
How many Stout Pillars are stolen in Onimusha: Way of the Sword? Three of them. The Genma take the Eldest, Third, and Seventh Pillars from the Hachidai Rikison shrine, out of eight total brothers who guard it.
What order should I collect the three stolen Stout Pillars in? The quest handles this for you. Your glove indicator only lights up the next available statue, so you’ll naturally get the Seventh first, the Eldest second, and the Third last.
Where exactly is the third Stout Pillar hidden? Inside a clay jug next to a stone statue under a tree, in a garden southwest of the other two, reached through a building you circle around on the left side.
What do I get for returning all three Stout Pillars? Beating Rasho-gan afterward rewards the Oni Strength ability, which clears Malice Barriers around Kyoto, plus an Oni Stone and a Power Stone.
Do I have to fight enemies to reach every Stout Pillar? Yes, each statue is guarded by a group of Genma, and the third one in particular sits behind a room packed with enemies you’ll need to clear first.
That covers all three stolen Stout Pillars and what waits for you once you’ve returned them. Check out our other Onimusha: Way of the Sword guides on ingametor.com if you’re heading into the tougher fights next.