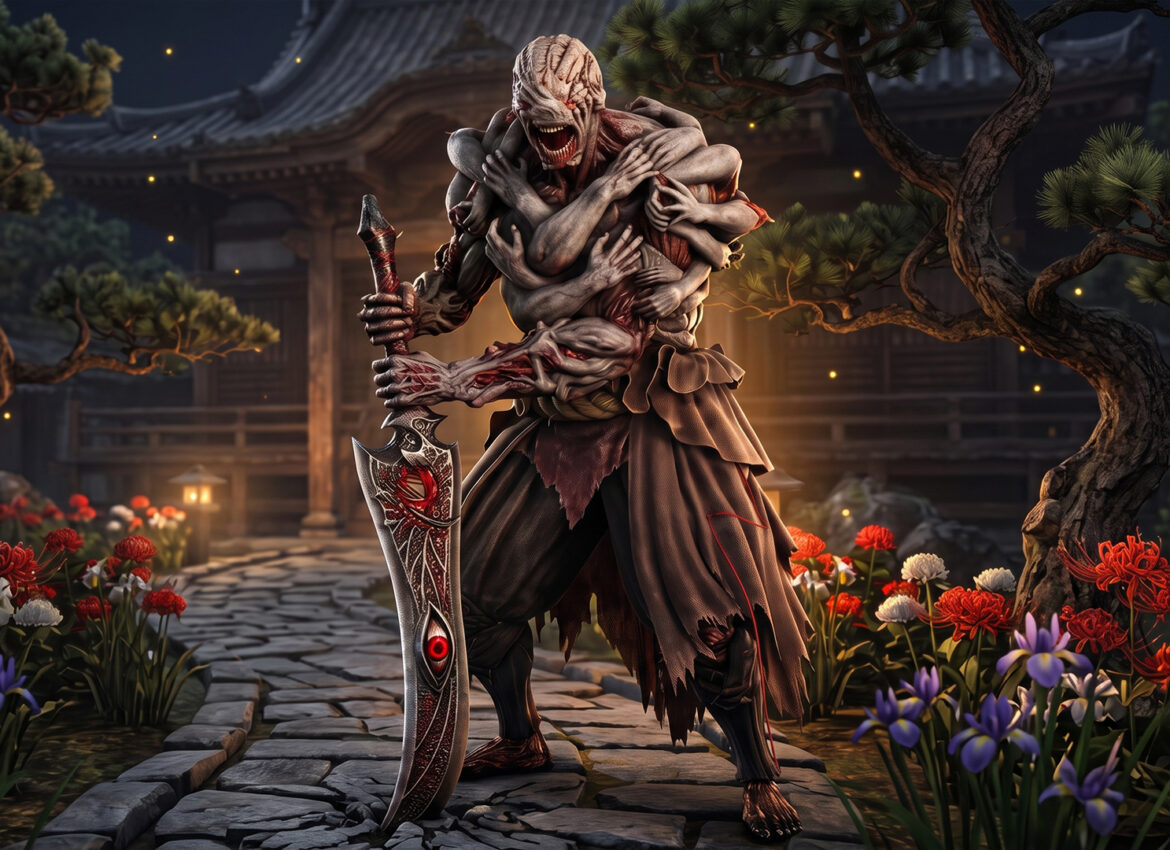
Rasho-gan is the first real wall in Onimusha: Way of the Sword, and the fastest way through him comes down to the Rasho-gan tether cord trick most players miss on their first attempt: cut the cord before you even worry about his blade. He shows up right after you return all three stolen Stout Pillars to the Hachidai Rikison shrine, posing as a matchmaking deity who’s been feeding on the villagers’ wishes.
On Action difficulty he hits hard and moves fast, and if you leave his tether cord alone he powers through his stages much quicker than he should. I fought him on the harder of the two starting difficulty settings, and I’ll walk you through exactly how I got through both phases.
Before anything else, bookmark this guide, because Rasho-gan is the kind of fight you’ll want to come back to if you’re still learning your parry timing. And if you haven’t beaten his predecessor yet, check out our Daidara boss guide first, since a lot of the same habits carry over here.
Why the Rasho-gan Tether Cord Trick Matters So Much
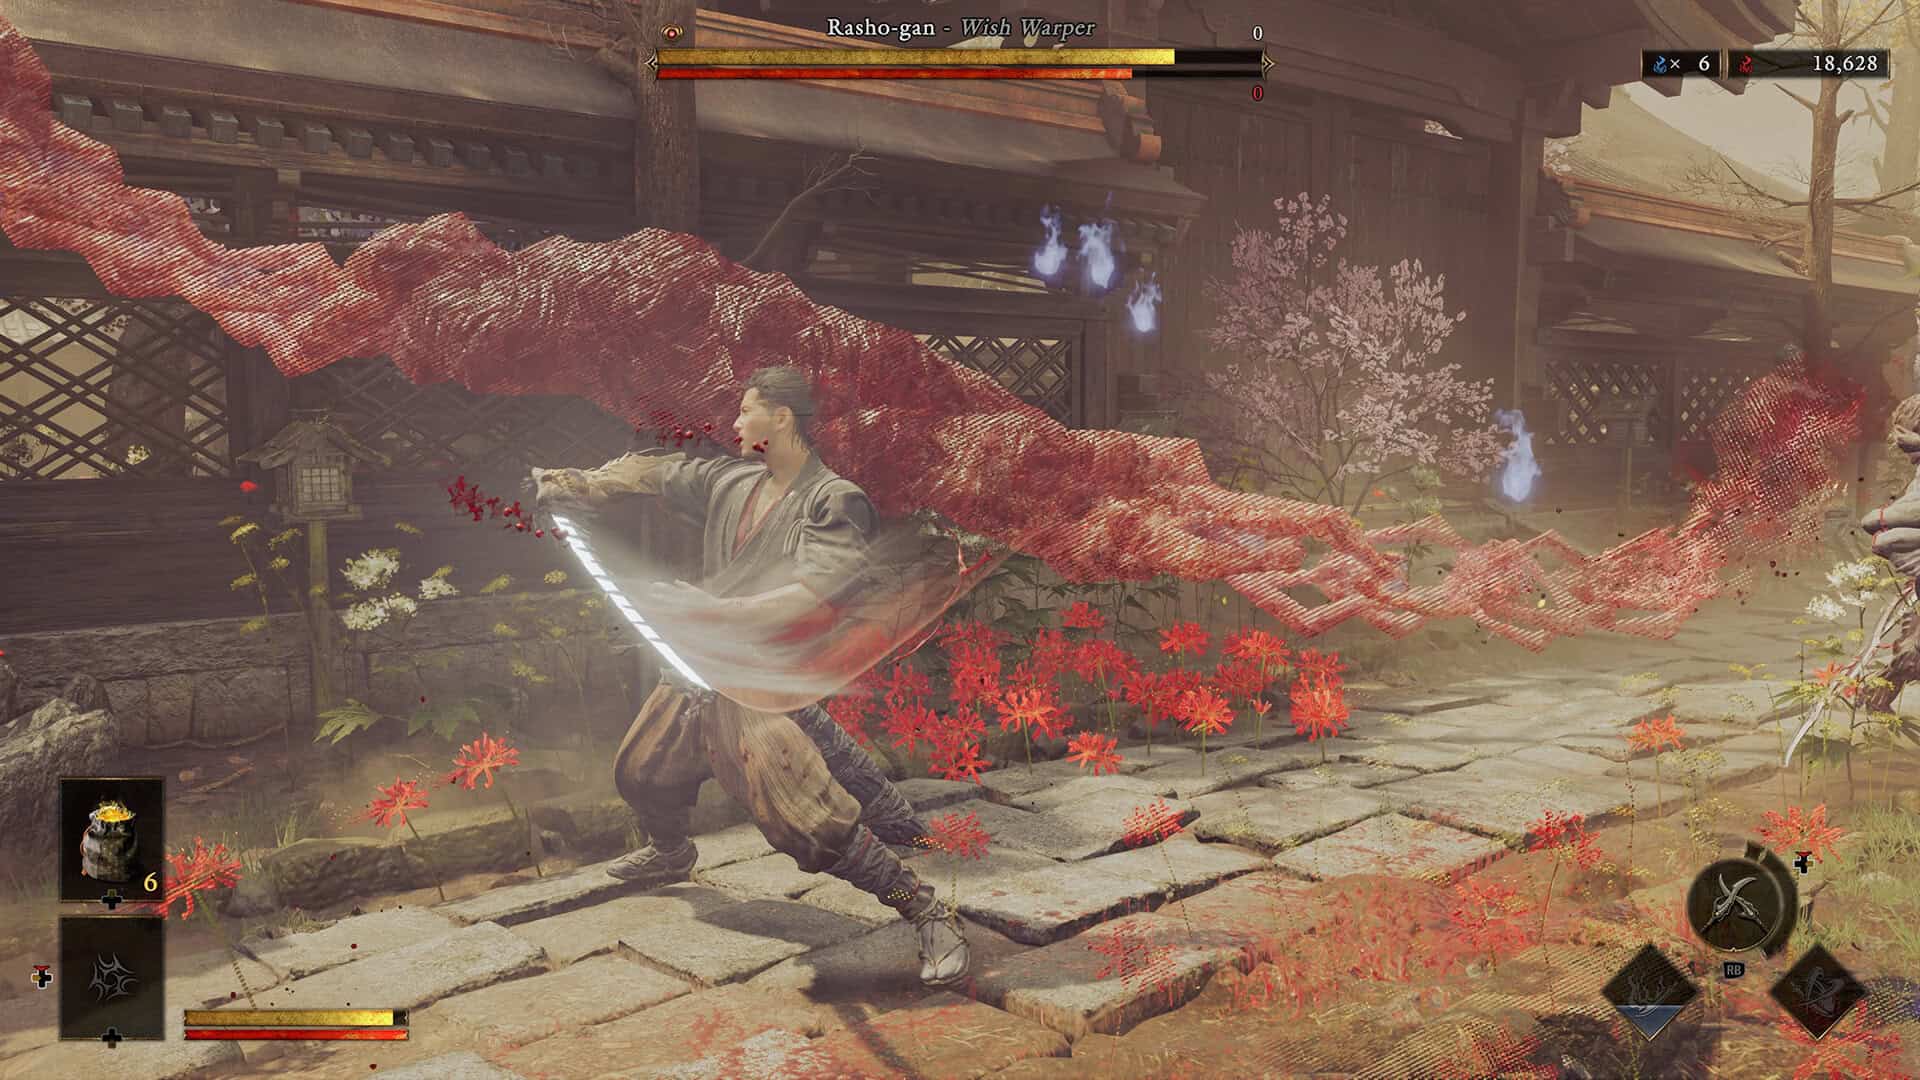
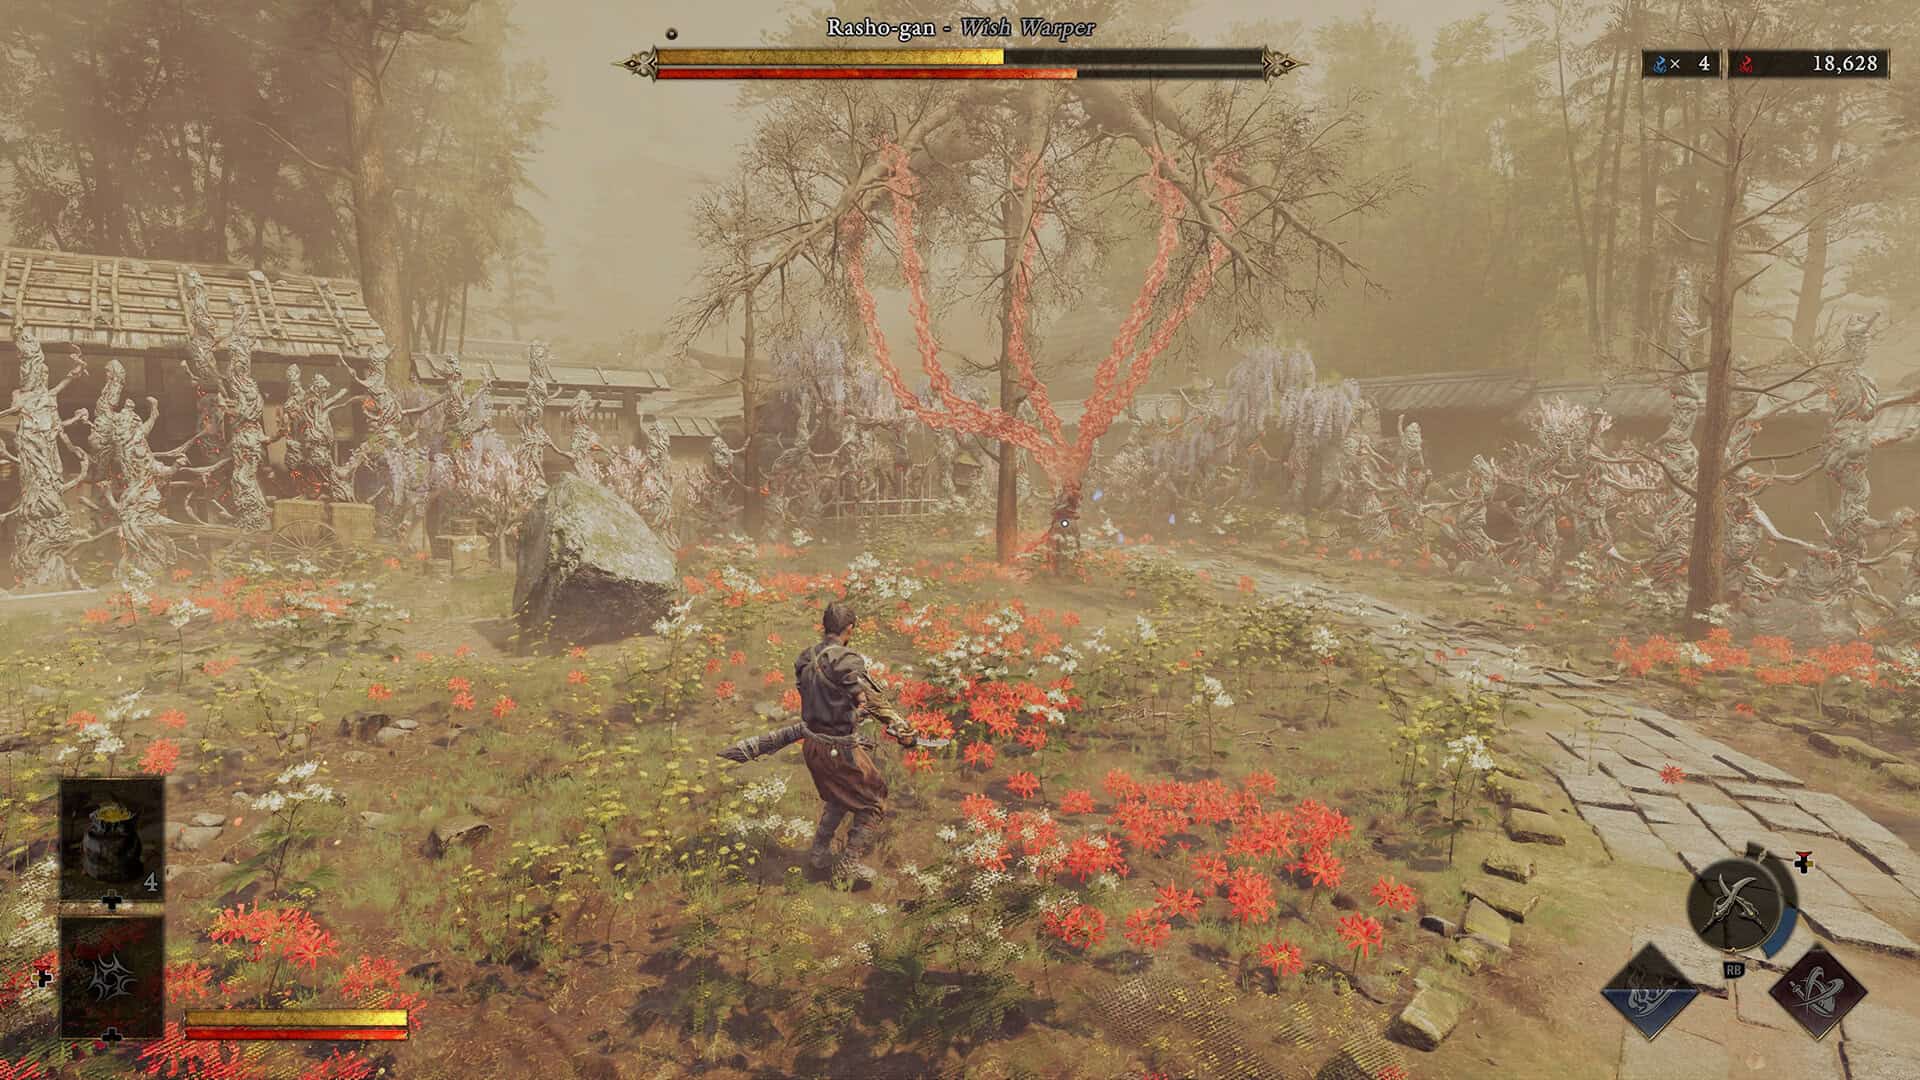
At the start of the fight, activate Oni Vision. This highlights a tether cord running from Rasho-gan to the flower altar behind him, and shooting it with your Oni Bow weakens him for the rest of phase one. It only takes one hit to sever, so don’t waste time lining up a perfect shot, just fire the moment you see it.
This is very important, because if you ignore the tether and just start swinging, the fight drags on and Rasho-gan keeps access to attacks that are much easier to avoid once the cord is cut. Back away while blocking or parrying to stretch the tether out, then land a few hits to snap it once it’s taut. Once it’s gone, the opening minutes of the fight become far more manageable, and you can focus on his blade combo instead of juggling two problems at once.
Rasho-gan Phase One: Parry the Blade, Dodge the Rest
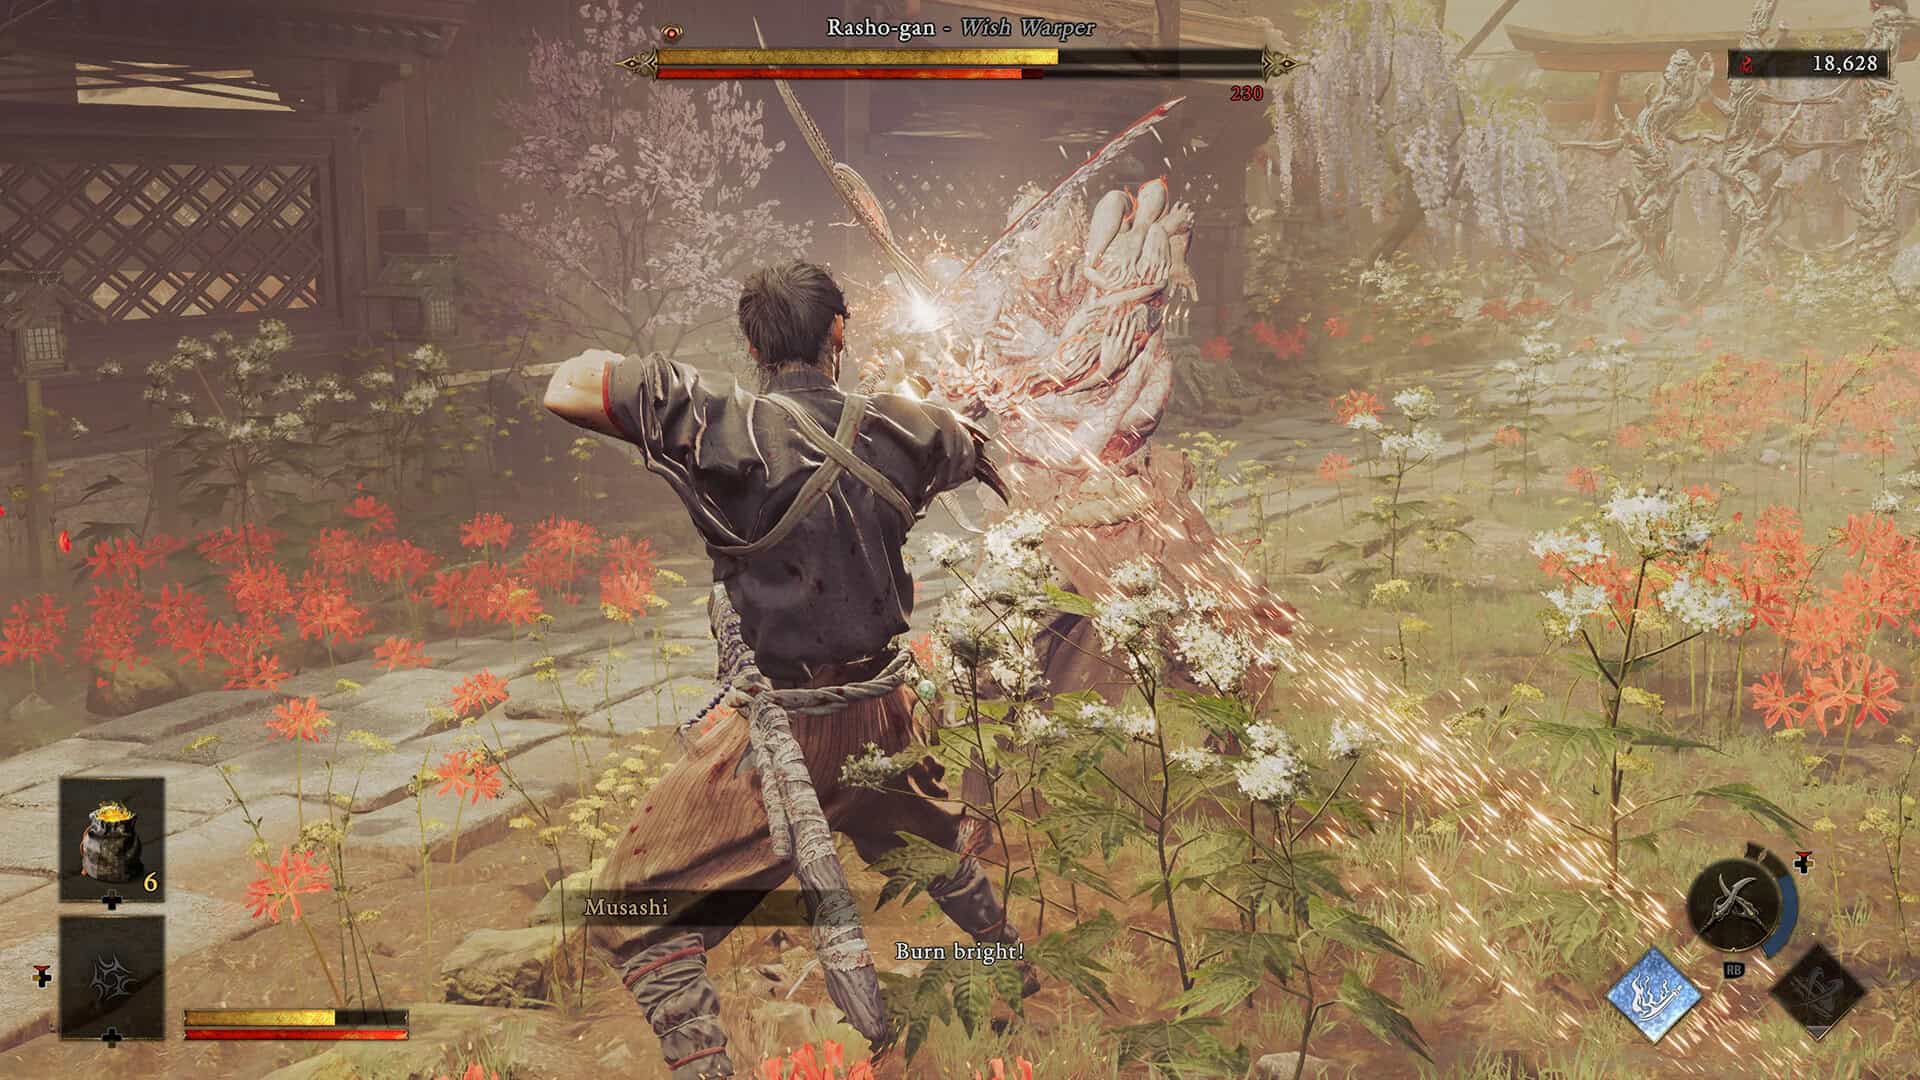
His main attack in phase one is a three-hit blade combo, and the third strike lands slightly later than the first two, so don’t rush your parry timing on it. Get the rhythm down and this becomes your biggest damage window in the entire fight. His ground slam and his grab are both unparryable, so don’t even try to block them, just Reflex Dodge to the side the moment his arms lift overhead.
He’ll also throw small balls of malice at you from range, usually four to six in a row, and these can be blocked, deflected, or dodged depending on how much stamina you have left. If your stamina bar drops low, retreat and let it refill. His stamina regenerates too, but you’ll chew through it again fast once you’re back in range. Mix light and heavy attacks so your offense doesn’t get predictable, and when you finally break his stamina bar completely, you get a huge damage window, take it, because it’s the quickest way to close out phase one.
-

- Rasho-gan Tether Cord Trick Matters
-
- Rasho-gan Phase One: Parry the Blade
What Changes in Rasho-gan Phase Two
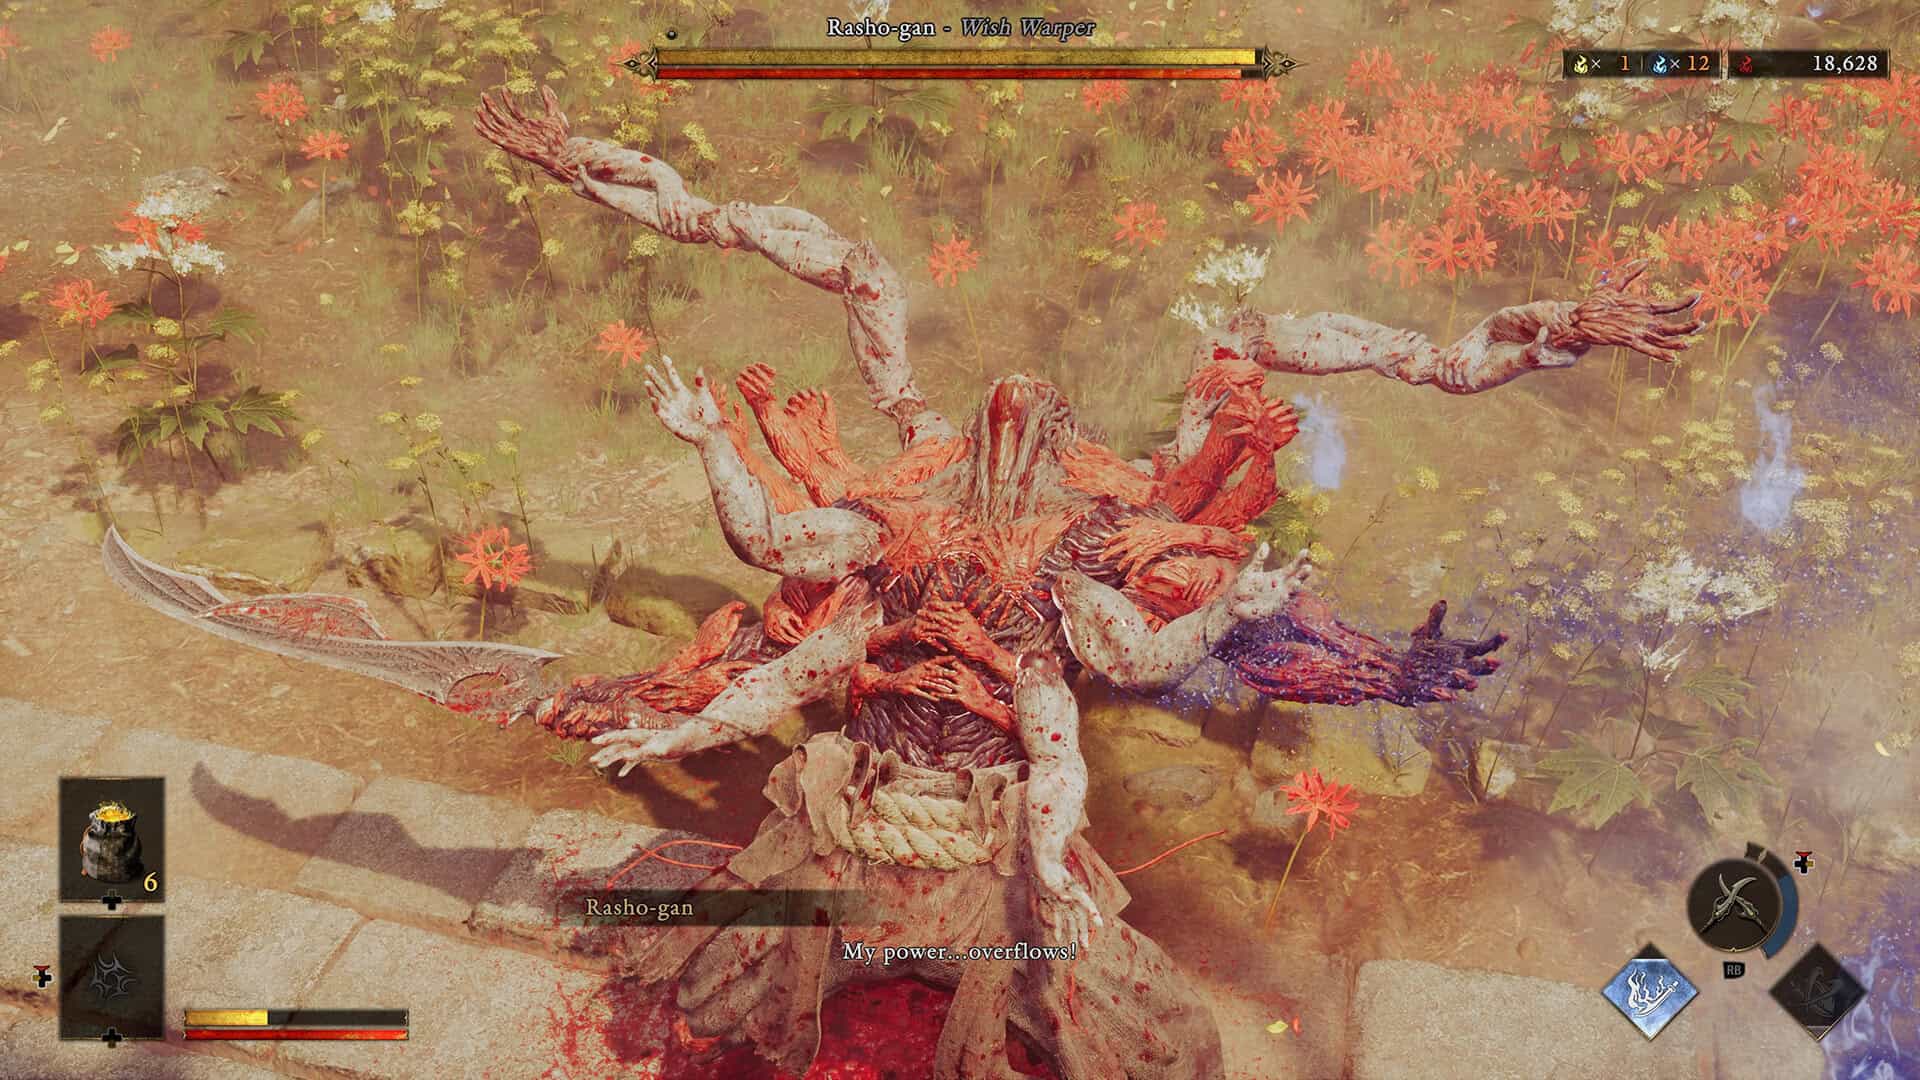
Once his first health bar is empty, Rasho-gan drops into phase two around the 60% mark of his overall health, and this is where the fight gets genuinely difficult. He gains a spin attack that’s best avoided by sidestepping rather than blocking, and his grab attack comes out noticeably faster than in phase one, so tighten up your dodge timing. He also starts lifting huge objects from the arena, trees, stone pillars, even entire house frames, and when he does this you want to put as much distance between you and him as possible.
The farther away you are, the easier it is to read where the object is going to land. While he’s holding something over his head, shoot the tether holding it up with your Oni Bow, this drops the object straight onto him, dealing damage and stamina loss and briefly stunning him. Late in phase two he’ll use five tethers at once to grab rocks and trees scattered around the arena, and the trick here is the same: sever the tether directly above his head first, and the rest tend to come down with it.
Handling the Enhanced State and the Orb Attack
Somewhere around the halfway point of phase two, Rasho-gan enters what I’d call his enhanced state, his blade starts glowing and his attacks hit noticeably harder. The good news is you can still block everything the same way you did before, just keep a closer eye on your stamina bar, because a perfect parry here rewards you with two or three free hits before he resets.
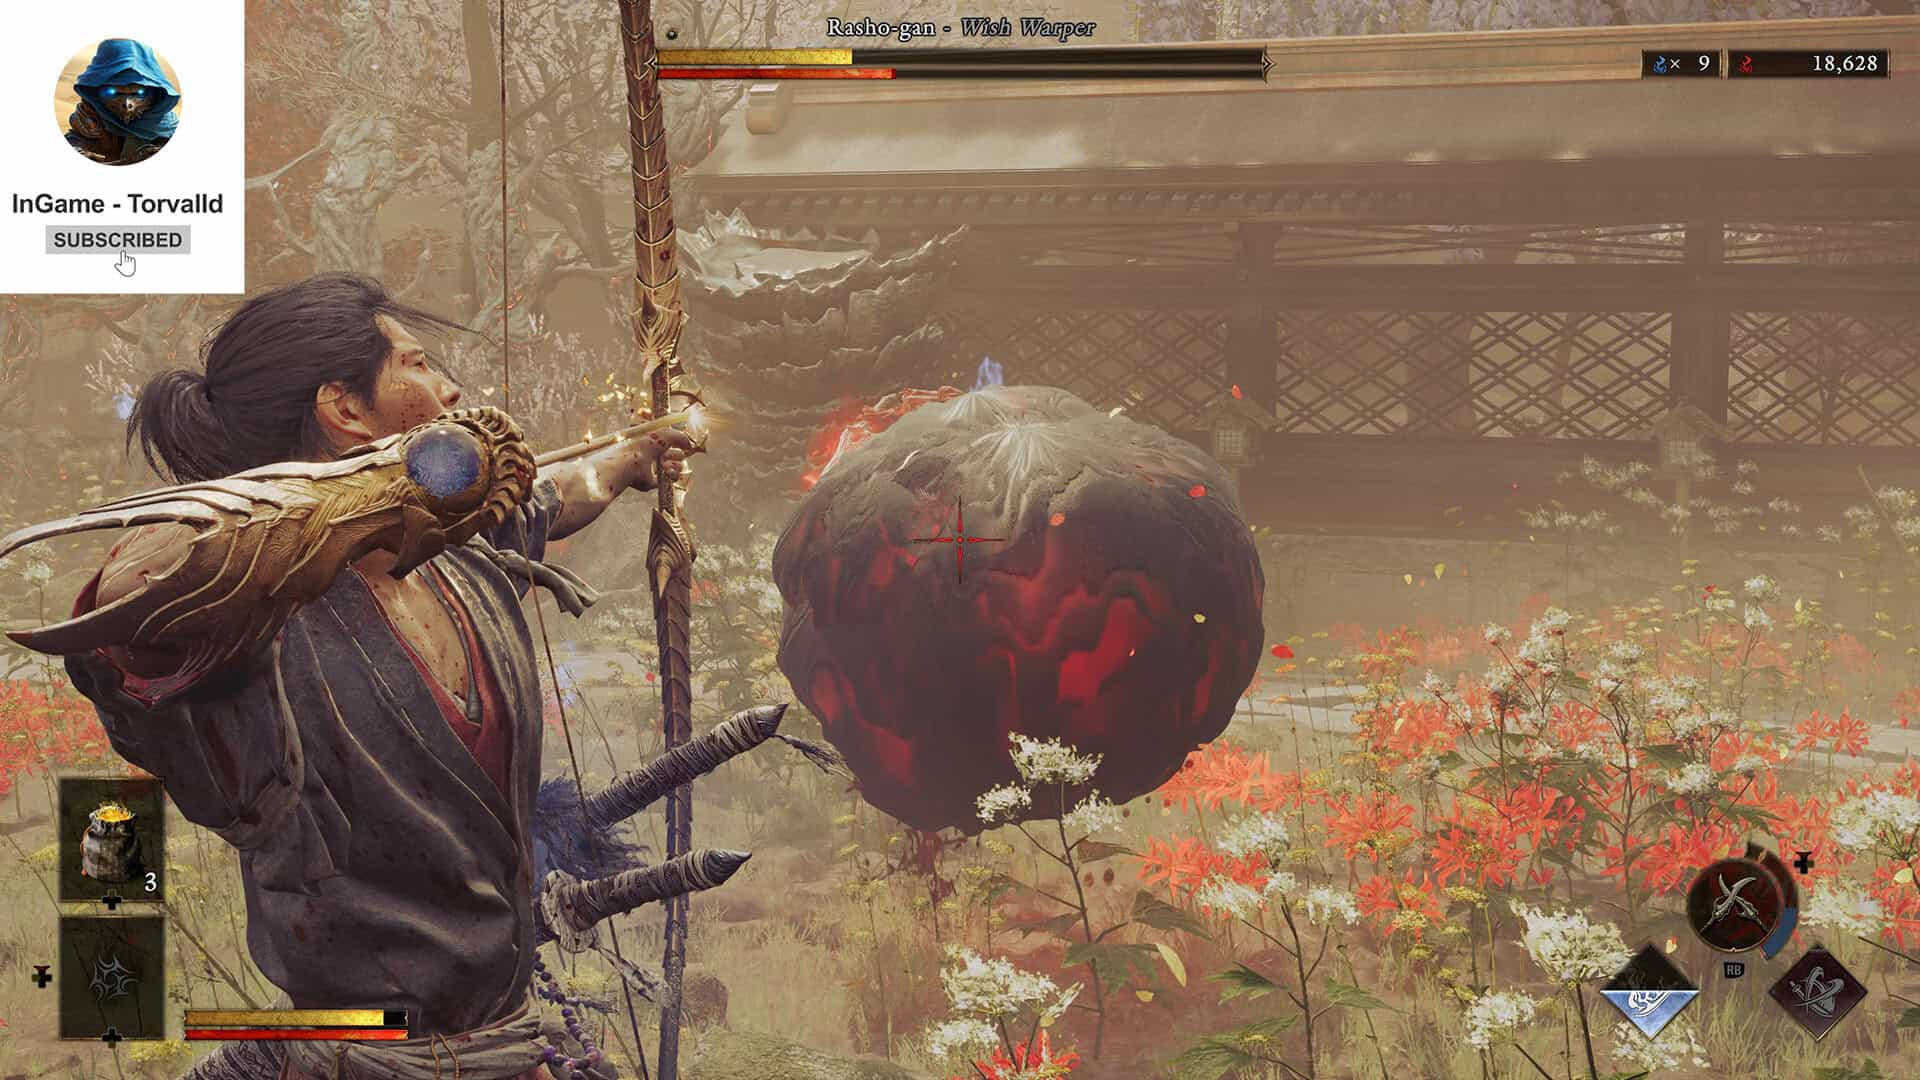
He’ll also occasionally launch a bubble-like malice orb straight at you. Don’t try to dodge it at close range, shoot it down with the Oni Bow while it’s still in the air, because if it gets close enough to explode you’re taking damage no matter which direction you move. When he jumps into the air and starts spinning, block it, he’ll come down at you twice in a row from that position, and blocking both hits is safer than trying to dodge either one.
Absorb every essence that drops during this stretch of the fight if you can reach it safely, since it tops up your health and fills the gauge for your ultimate ability, and you’ll want that ultimate ready for when his attacks start overlapping.
-
- Rasho-gan boss fight Phase Two
-
- Orb Attack from Rasho-gan
Using the Arena Against Rasho-gan
The shrine arena where this fight happens has destructible walls scattered around its edges, and you can use them to your advantage. If you’re holding toward a wall while you parry one of his combo strings, you can steer him into it for a chunk of bonus damage on top of whatever your combo already did. This sounds like a small thing, but over the course of a long fight it adds up, and it’s a nice way to speed up a phase that otherwise leans entirely on patience.
Don’t force it if you’re not in position, a missed parry near a wall is still a missed parry, but if the opportunity is there, take it. Keep an eye on your positioning throughout the fight too, since Rasho-gan tends to favor the open middle of the arena for his bigger telegraphed attacks, and staying near the edges gives you somewhere to retreat to when your stamina bar gets low.
Learning Rasho-gan’s Attack Patterns Takes a Few Tries
Rasho-gan genuinely has a wide variety of attacks, and on your first attempt some of them will catch you off guard no matter how carefully you read this guide. That’s normal. Every attempt teaches you something about how he strings his combos together, and that experience carries into your next run even after a loss.
Follow the in-game prompts while you’re still building your muscle memory, they’re there to help you connect the dodge or parry to the right attack, and eventually you’ll be reacting on instinct without needing them. If you’re still adjusting to the game’s reaction-based combat, our Sasaki Ganryu guide covers a lot of the same parry fundamentals from the duel that comes right before this one. Once you break his stamina and health down far enough, the game hands you a finishing prompt, hit the buttons correctly, and Rasho-gan goes down for good.
-
- Rasho-gan’s Attack Patterns
-
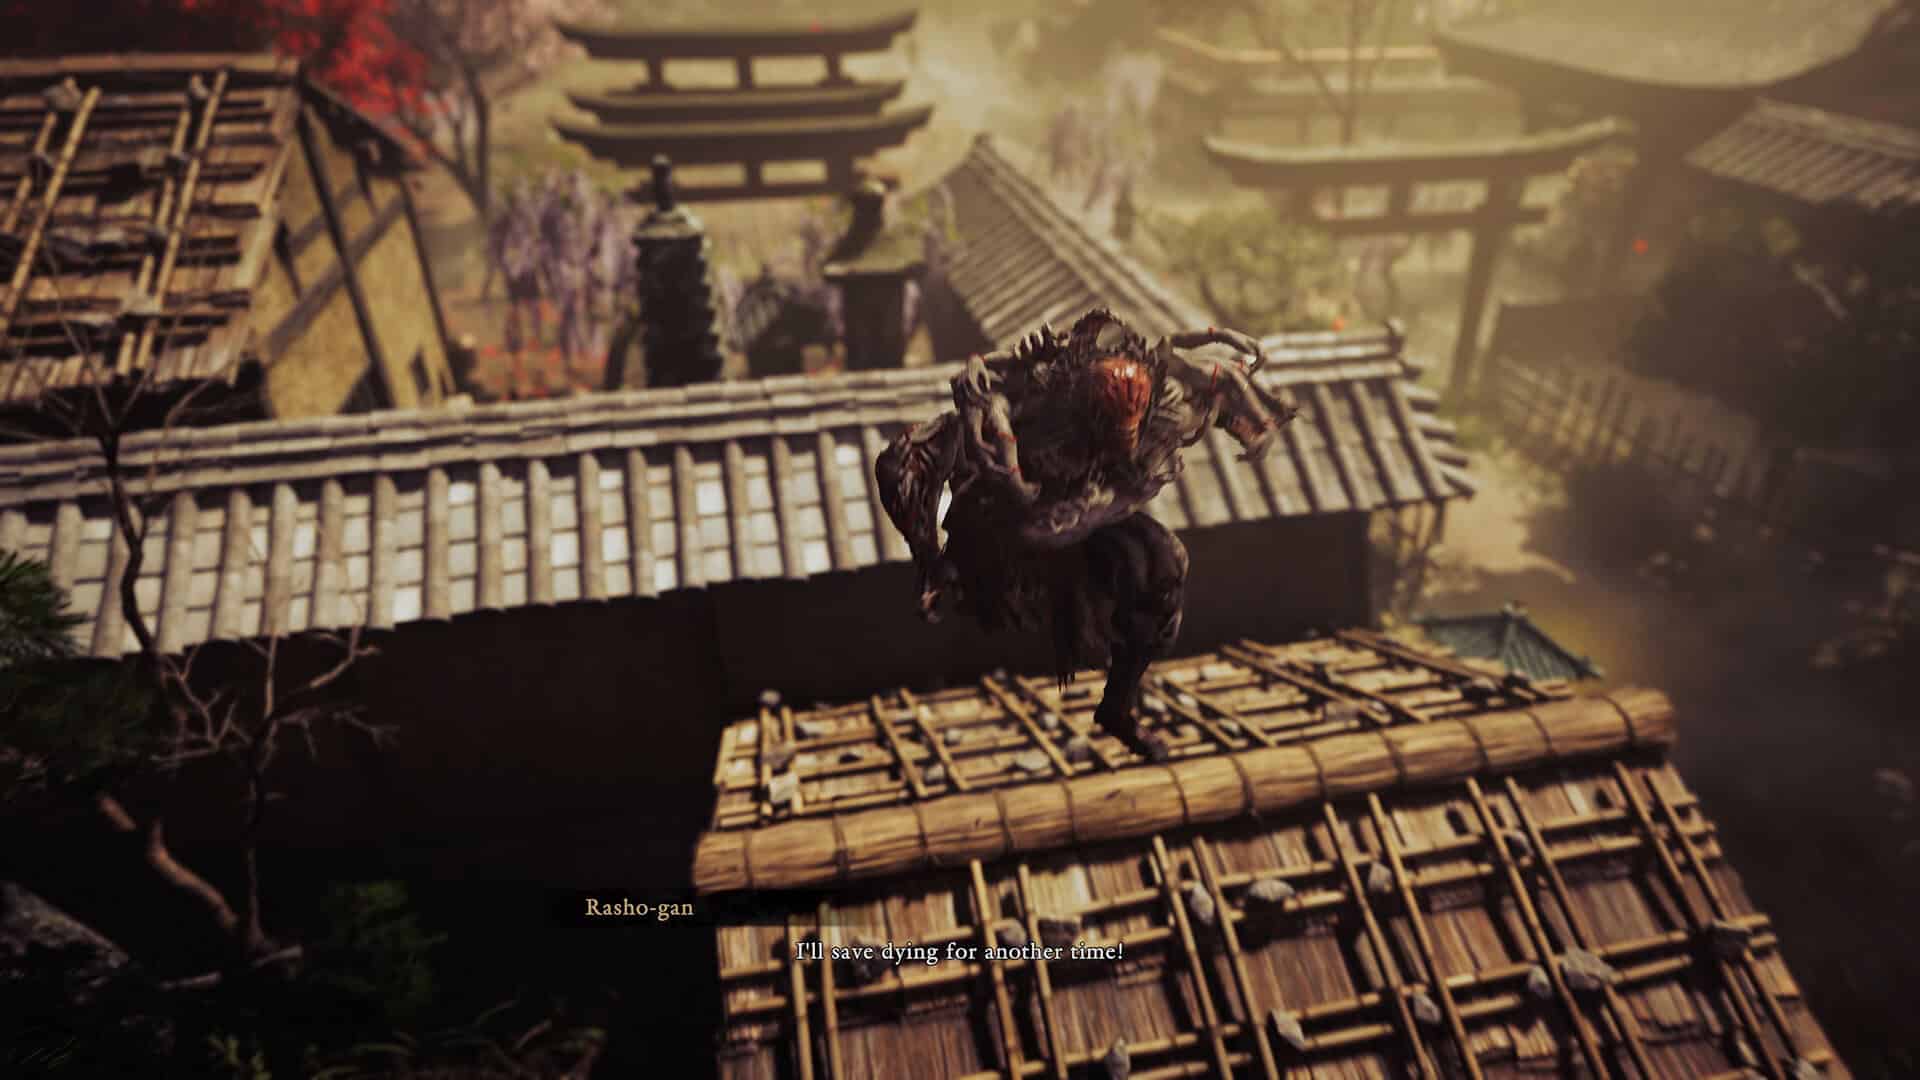
- Rasho-gan flees after his defeat
Frequently Asked Questions About the Rasho-gan Boss Fight
What difficulty should I fight Rasho-gan on first? Onimusha: Way of the Sword only offers Story or Action at the start of a new game, Carnage unlocks after your first full clear. Action mode is where the Rasho-gan tether cord trick matters most, since his attacks punish you harder for skipping it.
Where do I find the Rasho-gan tether cord? Activate Oni Vision as soon as the fight begins. It highlights the cord connecting him to the altar behind him, and one arrow from the Oni Bow is enough to cut it.
Can I block Rasho-gan’s grab attack? No, his ground slam and grab are both unparryable in phase one. Reflex Dodge to the side the moment you see his arms lift overhead.
How do I deal with the objects Rasho-gan throws in phase two? Get as much distance as you can, then shoot the tether holding the object up with your Oni Bow before he throws it. It falls on him instead of you.
What should I do when Rasho-gan’s weapon starts glowing in phase two? Keep blocking and parrying the way you have been, just watch your stamina more closely, since his hits deal more damage once he’s in this enhanced state.
Do the soul essences that drop during the fight actually matter? Yes, collect them whenever it’s safe to do so. Yellow essences restore health and blue essences fill your ultimate gauge, and both make a real difference once Rasho-gan starts stacking attacks in the back half of phase two.
Rasho-gan is a genuine step up from anything you’ve fought so far in Onimusha: Way of the Sword, but the Rasho-gan tether cord trick turns a chaotic fight into something you can actually plan around. Cut the cord early, dodge what you can’t parry, and use your Oni Bow on every object he lifts, and you’ll get through both phases without too many retries. Check out our other guides on ingametor.com if you’re working through the rest of the game’s boss roster.