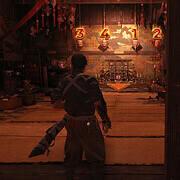
The Kiyomizu-dera malice barrier chest is the one a lot of players spot in the game’s opening hours and then completely forget about, because there is no way to open it when you first walk past it. It sits behind a glowing red wall inside Kiyomizu-dera Temple, and no amount of hitting it or shooting it with the Oni Bow does anything. The wall only comes down once you’ve beaten Rasho-gan and picked up the Oni Strength ability, so if you’re standing in front of it right now wondering why nothing works, that’s exactly why.
I’ll walk you through where this sealed passage actually is, why Rasho-gan is the boss standing between you and it, and what you get once you finally break through. If you’re working through the temple step by step, it’s worth bookmarking our other Onimusha: Way of the Sword guides too, since a lot of the early loot in this game is gated behind bosses in exactly the same way.
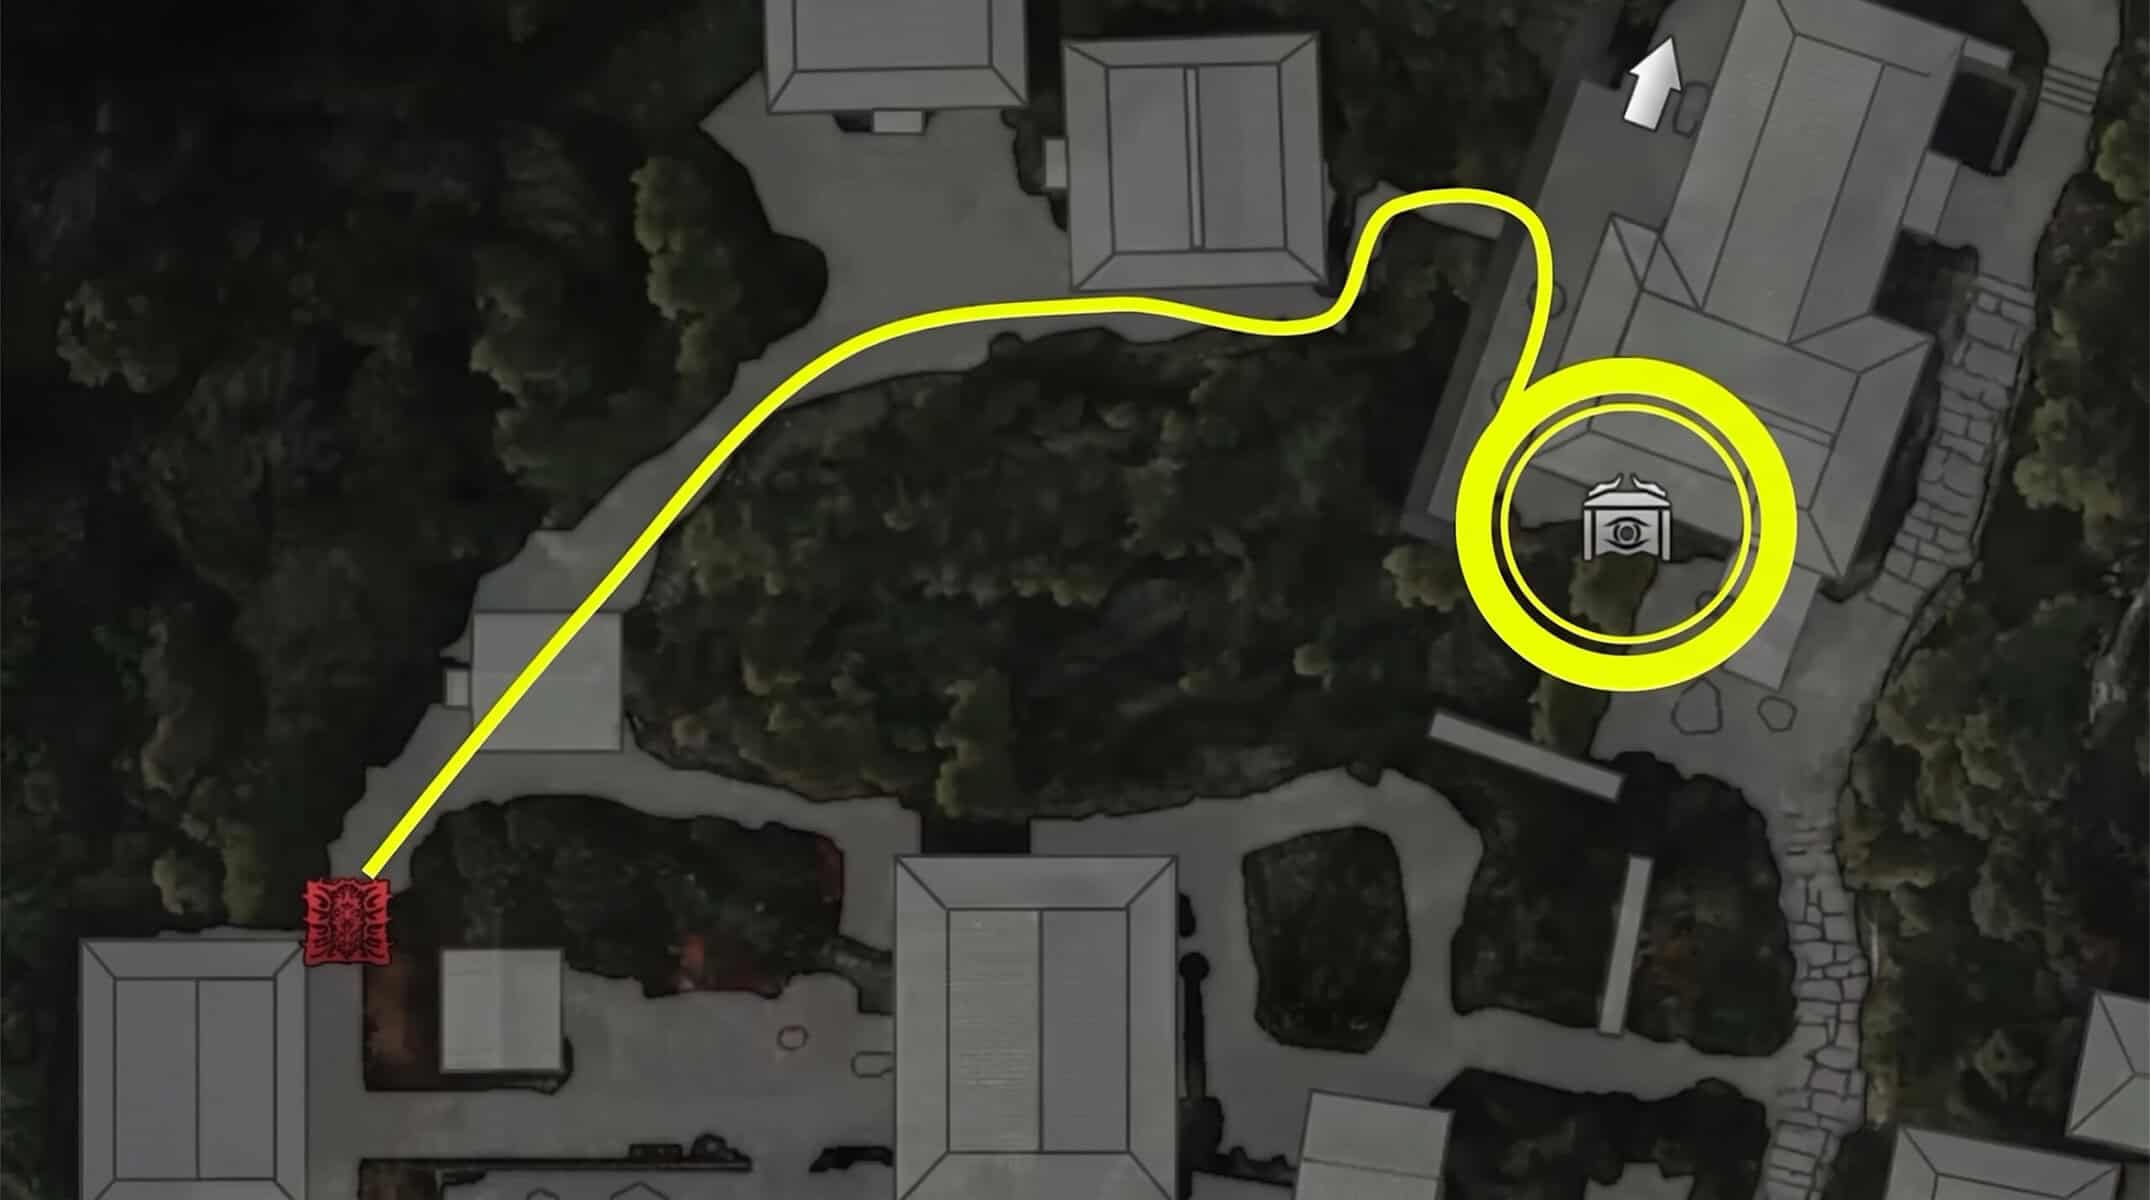
Where the Sealed Passage at Kiyomizu-dera Temple Is
You’ll run into this one during “The Stage is Set at Kiyomizu,” right at the start of the game, one of the earliest missions on our full missions and side quest list, in the same temple grounds where you first fight Daidara and later Byakue. As you’re exploring the courtyards and side paths, you’ll come across a wall pulsing with a dark red glow instead of ordinary stone or wood. That’s a Malice Barrier, and it’s the first one the game shows you, so it’s easy to remember once you’ve seen it.
Interact with it early on and you’ll just get a prompt telling you it can’t be broken yet, with no real explanation of what you’re missing. Behind it is a short passage leading to a single chest, and that chest is what holds the Power Stone everyone ends up searching for once they realize the wall is a dead end for now. Don’t waste time trying weapons or bombs on it. The barrier isn’t a combat puzzle, it’s a story gate, and it won’t budge until you’ve made real progress elsewhere.
Why the Kiyomizu-dera Malice Barrier Chest Stays Locked
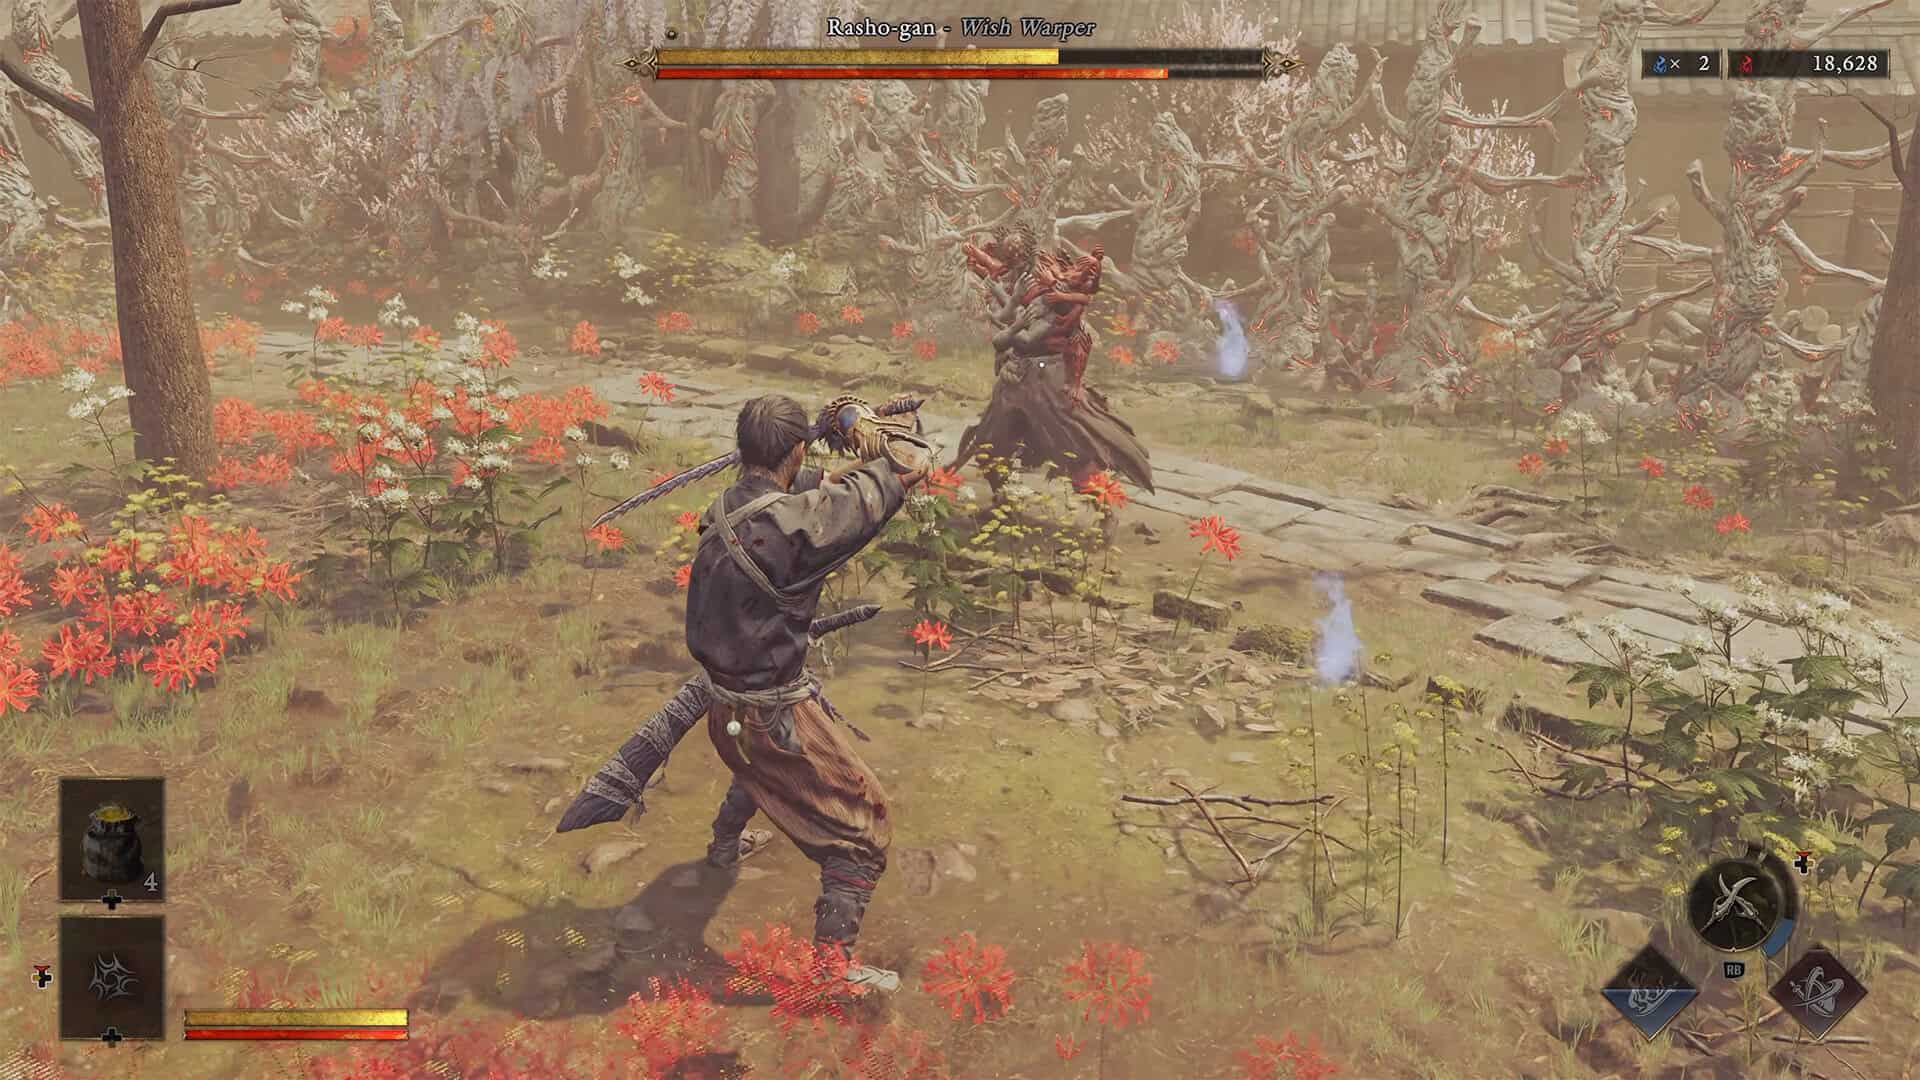
The ability that breaks Malice Barriers is called Oni Strength, and you don’t have it yet at this point in the story. You only get it after defeating Rasho-gan, the false matchmaking deity who’s been feeding on the wishes of Kyoto’s residents from the Yasui Konpiragu Shrine. Rasho-gan is the boss behind the “Careful What You Wish For” questline, where you first recover the three stolen Stout Pillars protecting the shrine before he even shows himself.
If you haven’t gotten that far, our guide on tracking down all three stolen Stout Pillars covers exactly where each one is hidden, since you need all three back in place before Rasho-gan appears at all. It’s a bit of a detour from the main temple area, but it’s the only road that leads to Oni Strength, and Oni Strength is the only thing that opens this particular chest. Once you have it, you can return to any Malice Barrier in Kyoto, not just the one at Kiyomizu-dera, and start clearing them out for good.
Beating Rasho-gan to Unlock Oni Strength
Rasho-gan himself is a two-phase fight with a nasty tether cord connecting him to the shrine’s flower altar, and leaving that cord intact just lets him power through his phases faster. We cover the whole fight, including the tether trick that makes phase two far more manageable, in our full Rasho-gan boss fight guide. Once his health bar is empty, you’re rewarded with the Eight Stout Pillars power for your gauntlet, an Oni Stone, a Power Stone for the win itself, and Oni Strength, which is the ability that actually matters for this guide.
Don’t skip the fight thinking you can come back for the Kiyomizu-dera chest later without dealing with him. There’s no shortcut around it. Rasho-gan is the gate, and until he’s dead, every Malice Barrier in the game, this one included, stays exactly as it is.
-

- Where the Sealed Passage at Kiyomizu-dera Temple Is
-
- InGameTor gameplay screenshot showing a player battling a tree monster in a lush forest environment.
How to Break the Barrier and Reach the Chest
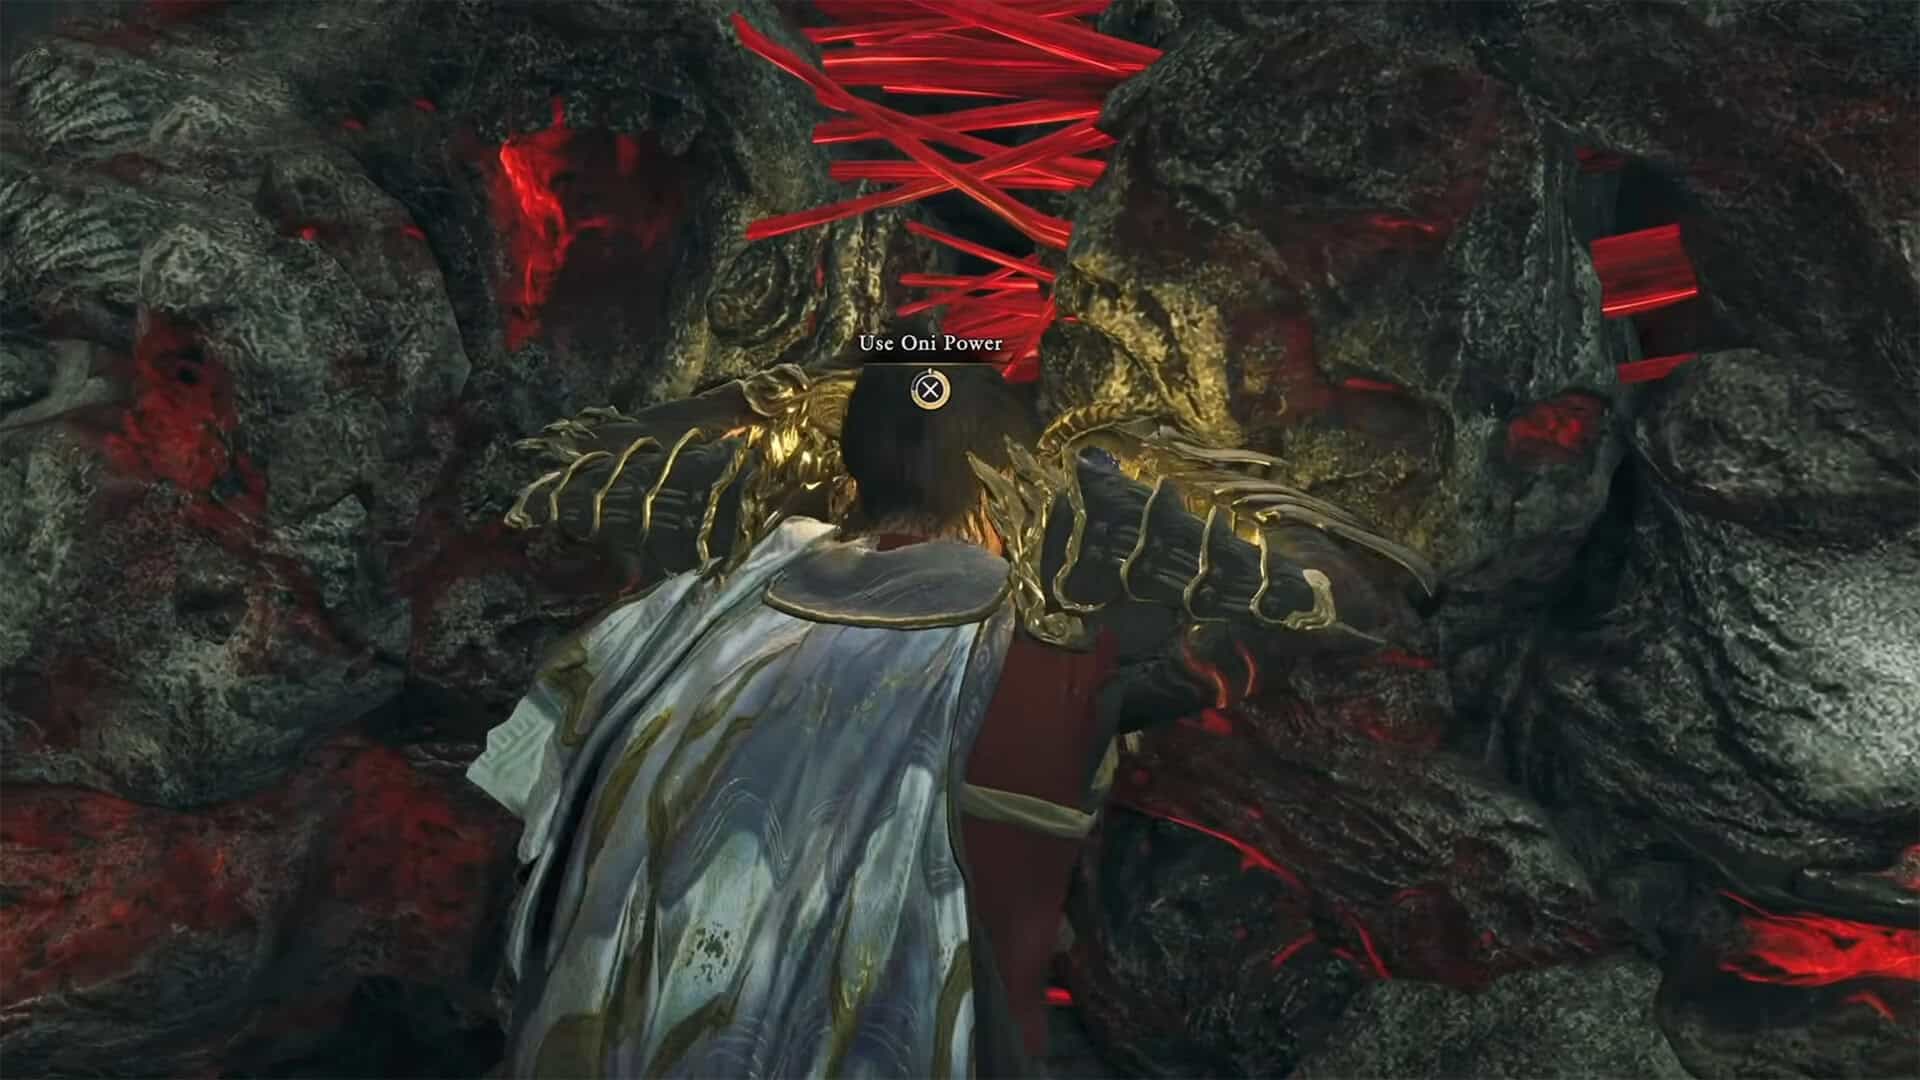
With Oni Strength unlocked, head back to Kiyomizu-dera Temple and find your way to that same red wall from earlier. Walk up to it, interact, and hold the prompted button down until the barrier shatters. It’s a short animation, nothing tricky about the timing, and once it’s gone the passage behind it opens up for good.
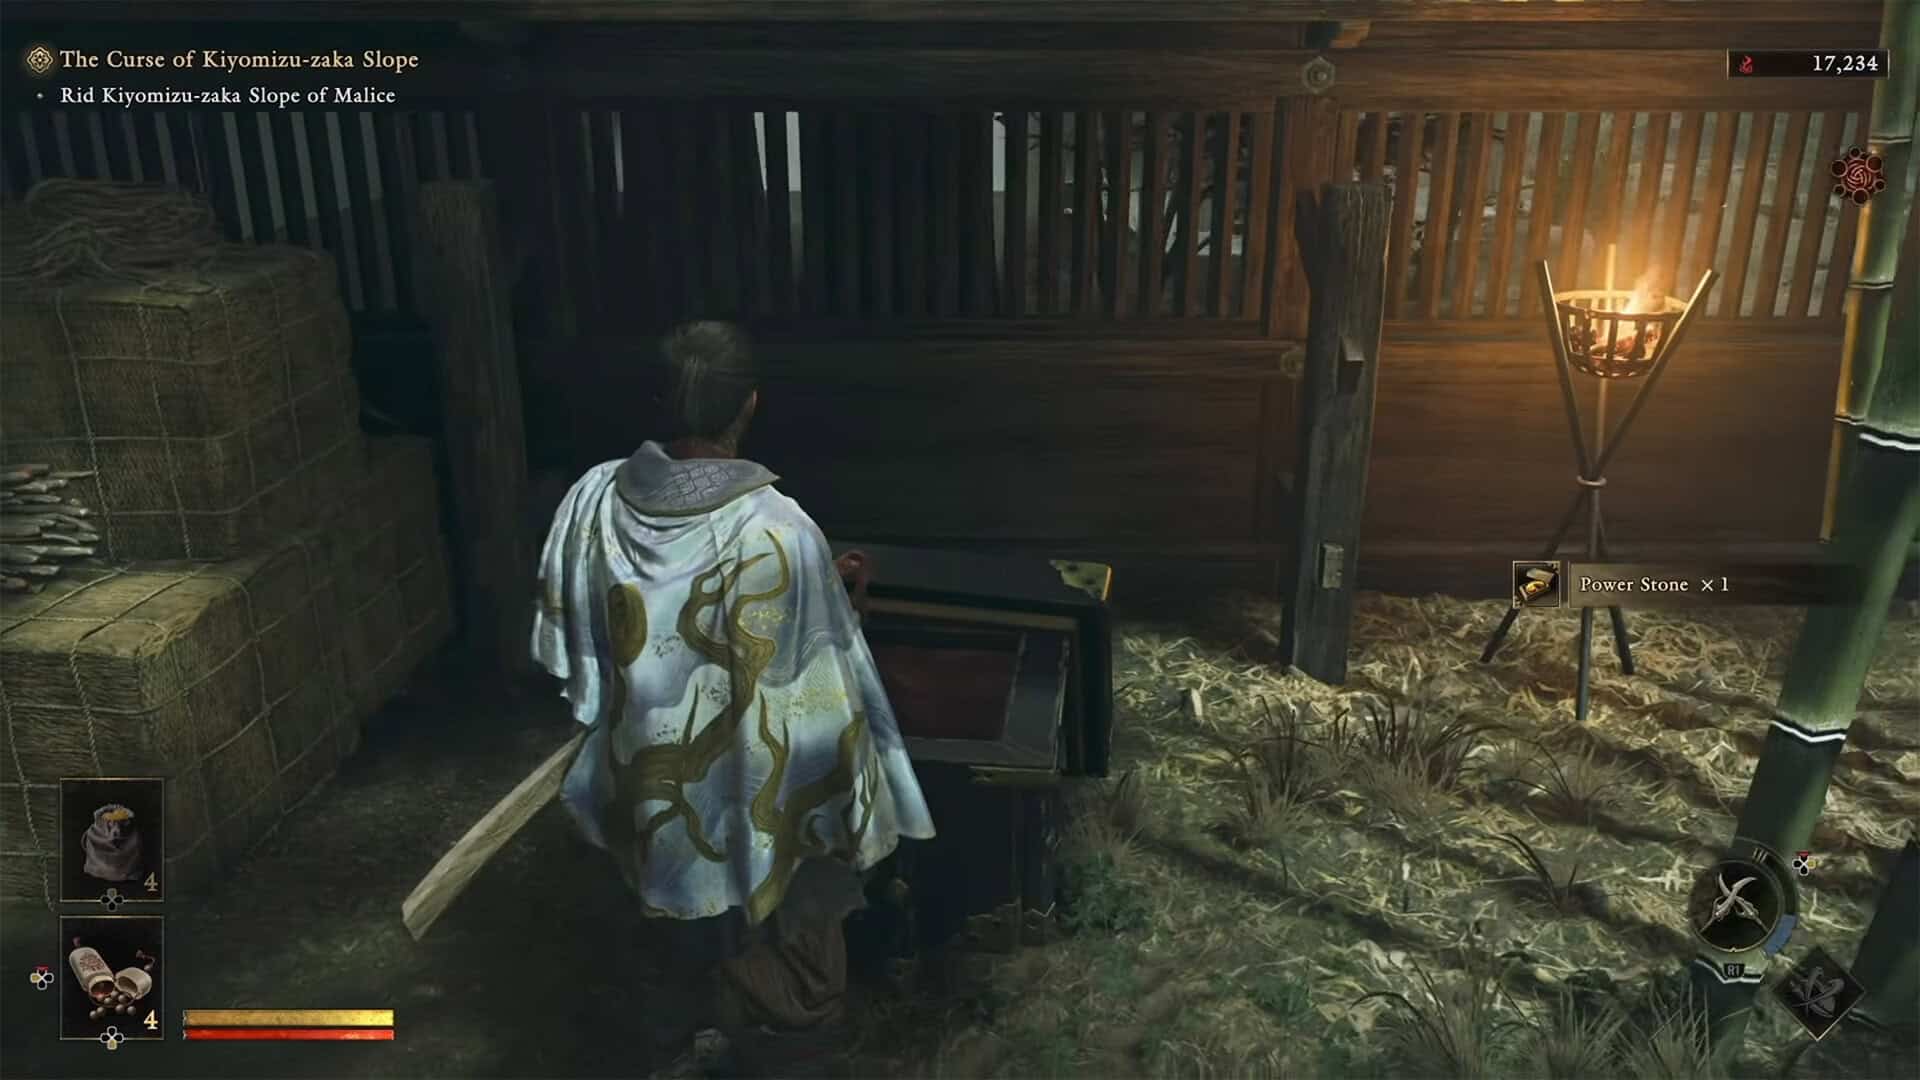
Follow the short corridor through to the end and you’ll find the chest sitting by itself, no enemies guarding it and no second puzzle layered on top. Open it up and you’ll walk away with a Power Stone, plus whatever smaller crafting items the game rolls alongside it. If you’re chasing full loot completion at Kiyomizu-dera, this is one of the easier ones to check off your list once you’re past the story requirement, since it’s just a straight walk once the wall is down.
Other Chests Worth Grabbing While You’re Back at Kiyomizu-dera
Since you’re already making the trip back to the temple for the malice barrier chest, it’s worth clearing out the rest of the Power Stones hiding in the same area while Oni Strength is still fresh in your kit. There’s a separate chest tucked behind an Oni Wall elsewhere in the temple grounds, reached by taking the side path that opens up once the wall itself is dealt with, and it holds another Power Stone on its own. Neither of these two requires anything you don’t already have by this point in the story, so it’s an easy stop rather than a detour.
There’s also a chest sitting out on a small island in the Oni Refuge area nearby, though that one’s unrelated to Malice Barriers entirely. You’ll need to shoot the nearby bridge mechanism with the Oni Bow to raise it before you can walk across, which is the same gate-opening trick the bow teaches you earlier in the temple. None of this is required to finish the story, but if you’re the type chasing full loot completion at Kiyomizu-dera rather than just the one chest, doing all three in a single pass saves you a return trip later.
What the Power Stone From This Chest Is Actually For
Power Stones aren’t just a number that goes up. You spend them at Spirit Mirrors, alongside Red Souls, to unlock and upgrade Musashi’s Basic Skills, things like Reflex Combo, Chain Issen, Deflect, Blazing State, Petrify, Flat-Out Sprint, and the Oni Bow’s own upgrade line. If you’re the type who wants every skill maxed out for the Well-Rounded trophy, every single Power Stone counts, and the ones locked behind Malice Barriers are the kind players miss most often simply because they walked past them before they had the ability to open them.
That’s really the whole story with the Kiyomizu-dera malice barrier chest. It’s not hidden, it’s not guarded, it’s just waiting on a piece of progression you pick up much later. Once Rasho-gan is dead and Oni Strength is yours, it takes less than a minute to walk back and clean it out.
-
- How to Break the Barrier and Reach the Chest
-
- Power Stone From This Chest
Kiyomizu-dera Chest FAQ
Where is the Malice Barrier chest at Kiyomizu-dera Temple?
It’s behind the red glowing wall in the temple grounds you pass through during “The Stage is Set at Kiyomizu,” in the same general area where Daidara and Byakue are fought.
Do I need to beat Rasho-gan to open the Kiyomizu-dera malice barrier chest?
Yes. Rasho-gan’s defeat is what grants Oni Strength, and Oni Strength is required to break any Malice Barrier in the game, including this one.
What’s inside the Kiyomizu-dera malice barrier chest?
A Power Stone, along with a small amount of crafting materials.
Can I break the Malice Barrier before unlocking Oni Strength?
No. Interacting with it early just gives you a message saying it can’t be broken yet. There’s no weapon, bomb, or trick that opens it ahead of schedule.
What are Power Stones used for in Onimusha: Way of the Sword?
They’re spent at Spirit Mirrors together with Red Souls to unlock and upgrade Basic Skills like Reflex Combo, Deflect, Blazing State, and the Oni Bow line.
If you’re still working through Kiyomizu-dera itself, the Byakue boss fight guide covers the other major encounter waiting in the same temple. Check out our other guides on ingametor.com for the rest of Onimusha: Way of the Sword.