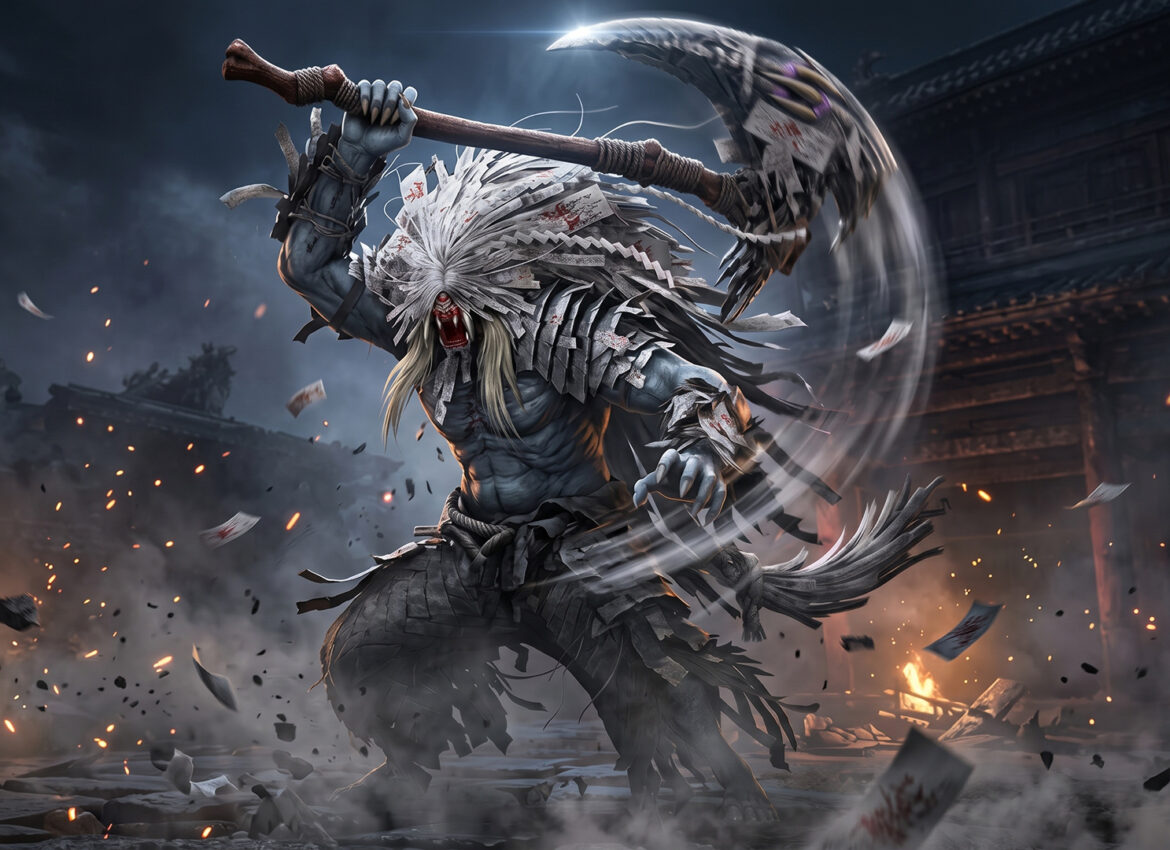
Deflect the axe, dodge the body. That single rule is the whole key to the Byakue hundred defilements boss guide you need, because once it clicks, this hulking talisman wrapped Genma stops being scary and starts being a rhythm you can learn. Byakue looks intimidating with that oversized axe and the mass of cursed talismans wrapped around its body, and its reach covers most of the arena, but the moveset is actually very readable once you’ve seen it a few times. You’ll meet Byakue early at Kiyomizu-dera Temple during the main story, and yes, you’re right to expect this fight again later, because it comes back in a nastier form.
Here’s a little tip before you even step into the arena: bookmark this guide, because you’ll want to reference the attack list again when Byakue returns in its enhanced form. For now, think of the first Byakue encounter as your training dummy for the whole game’s combat system. If you can master deflecting here, every later boss gets easier, since Onimusha: Way of the Sword builds almost every fight around the same core loop of pressure, read, and counter.
Byakue Hundred Defilements Boss Guide: Where to Find the Fight
You’ll first run into Byakue, the Hundred Defilements, at Kiyomizu-dera Temple, and beating it for the first time unlocks the “Serves You Right” trophy or achievement. That’s not the last you’ll see of it, though. Byakue reappears in the gauntlet of returning bosses during “The Clash at Rendaino,” the game’s final mission, so whatever habits you build now will get tested again right before the credits roll. There’s also a fun piece of trivia worth knowing: in the game’s demo, Byakue was hidden as a secret Special Challenge that only unlocked once you landed ten successful Issen counters, which tells you a lot about how central deflecting and countering are meant to be to this specific fight.
Similar to the two phase escalation you probably remember from learning how to beat Daidara at Kiyomizu, Byakue doesn’t just sit at one difficulty level for the whole encounter. Its talisman seals tear away in stages as the fight goes on, and each torn seal makes the axe swings a little quicker and a little more aggressive. The goal isn’t just to survive those transitions, it’s to close each phase out fast, before the next seal rips and stacks even more speed on top.
Deflect the Axe: Byakue’s Weapon Attacks
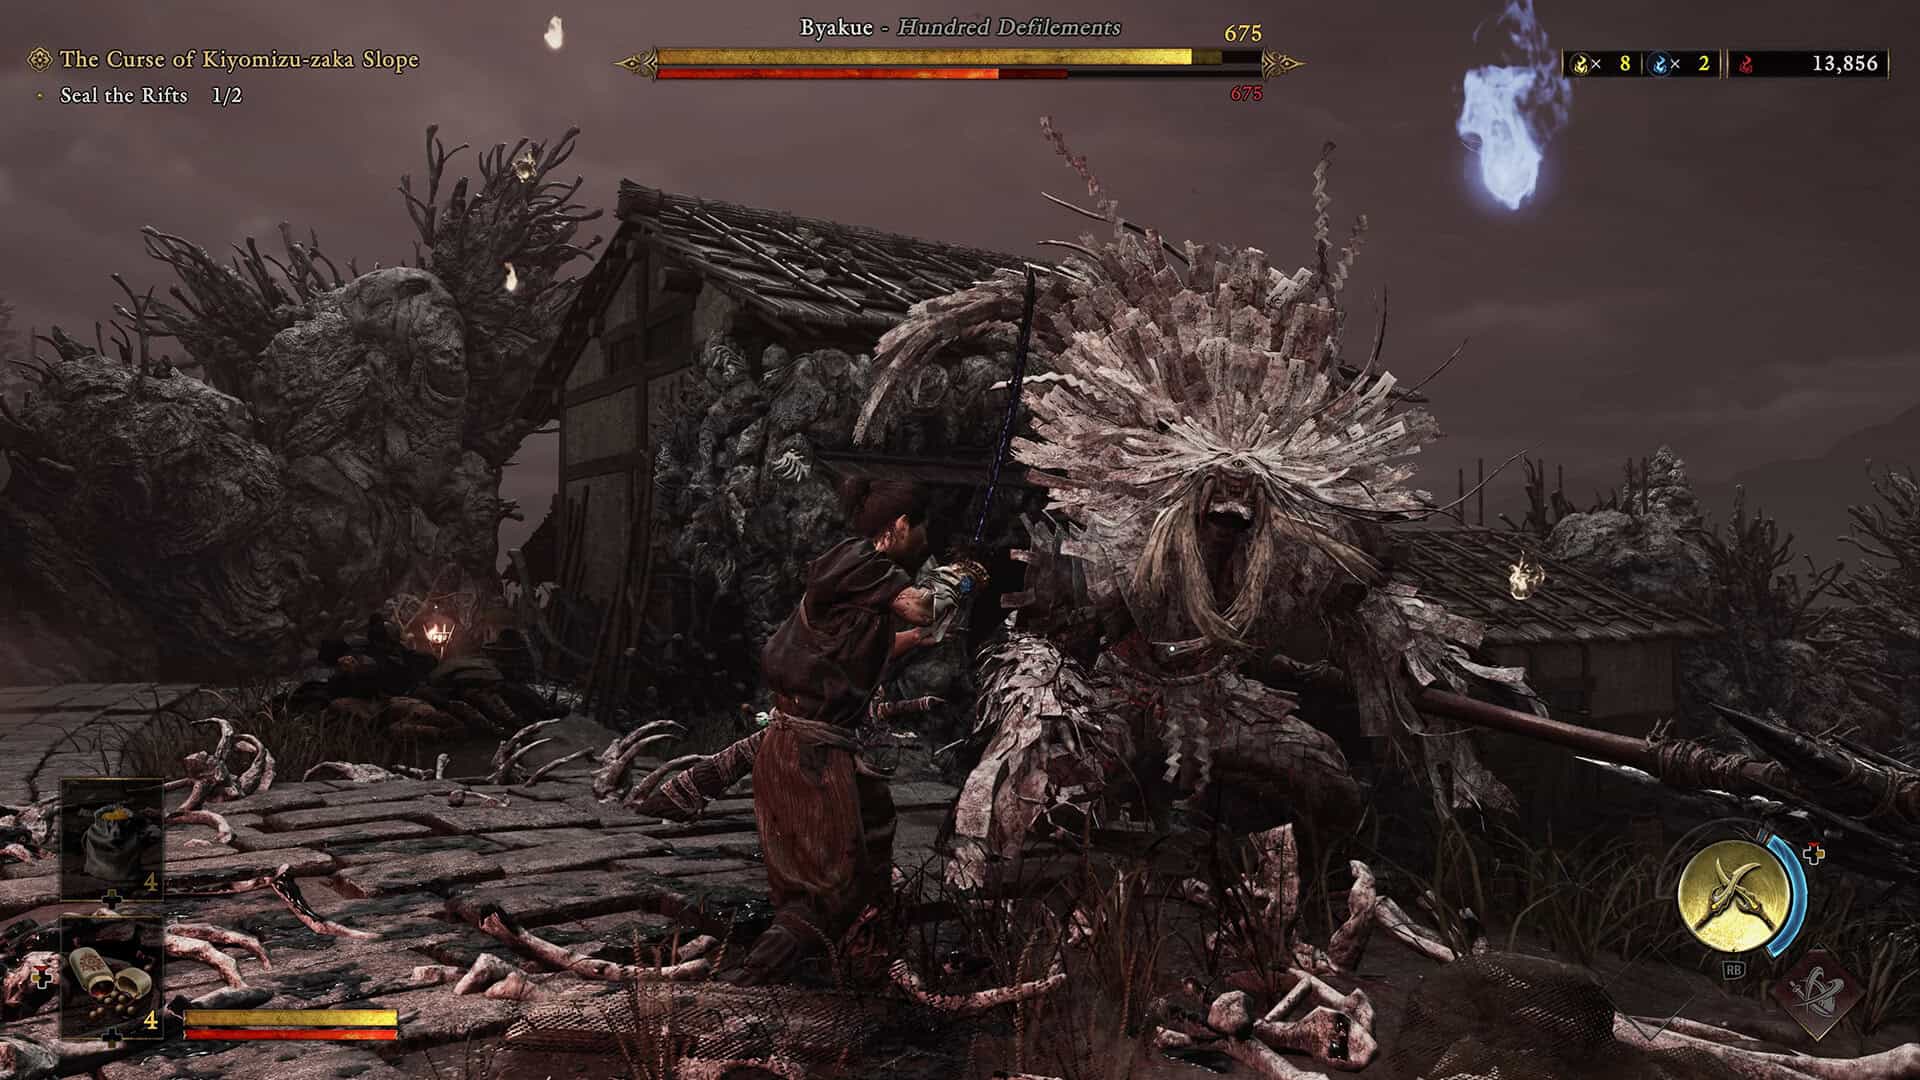
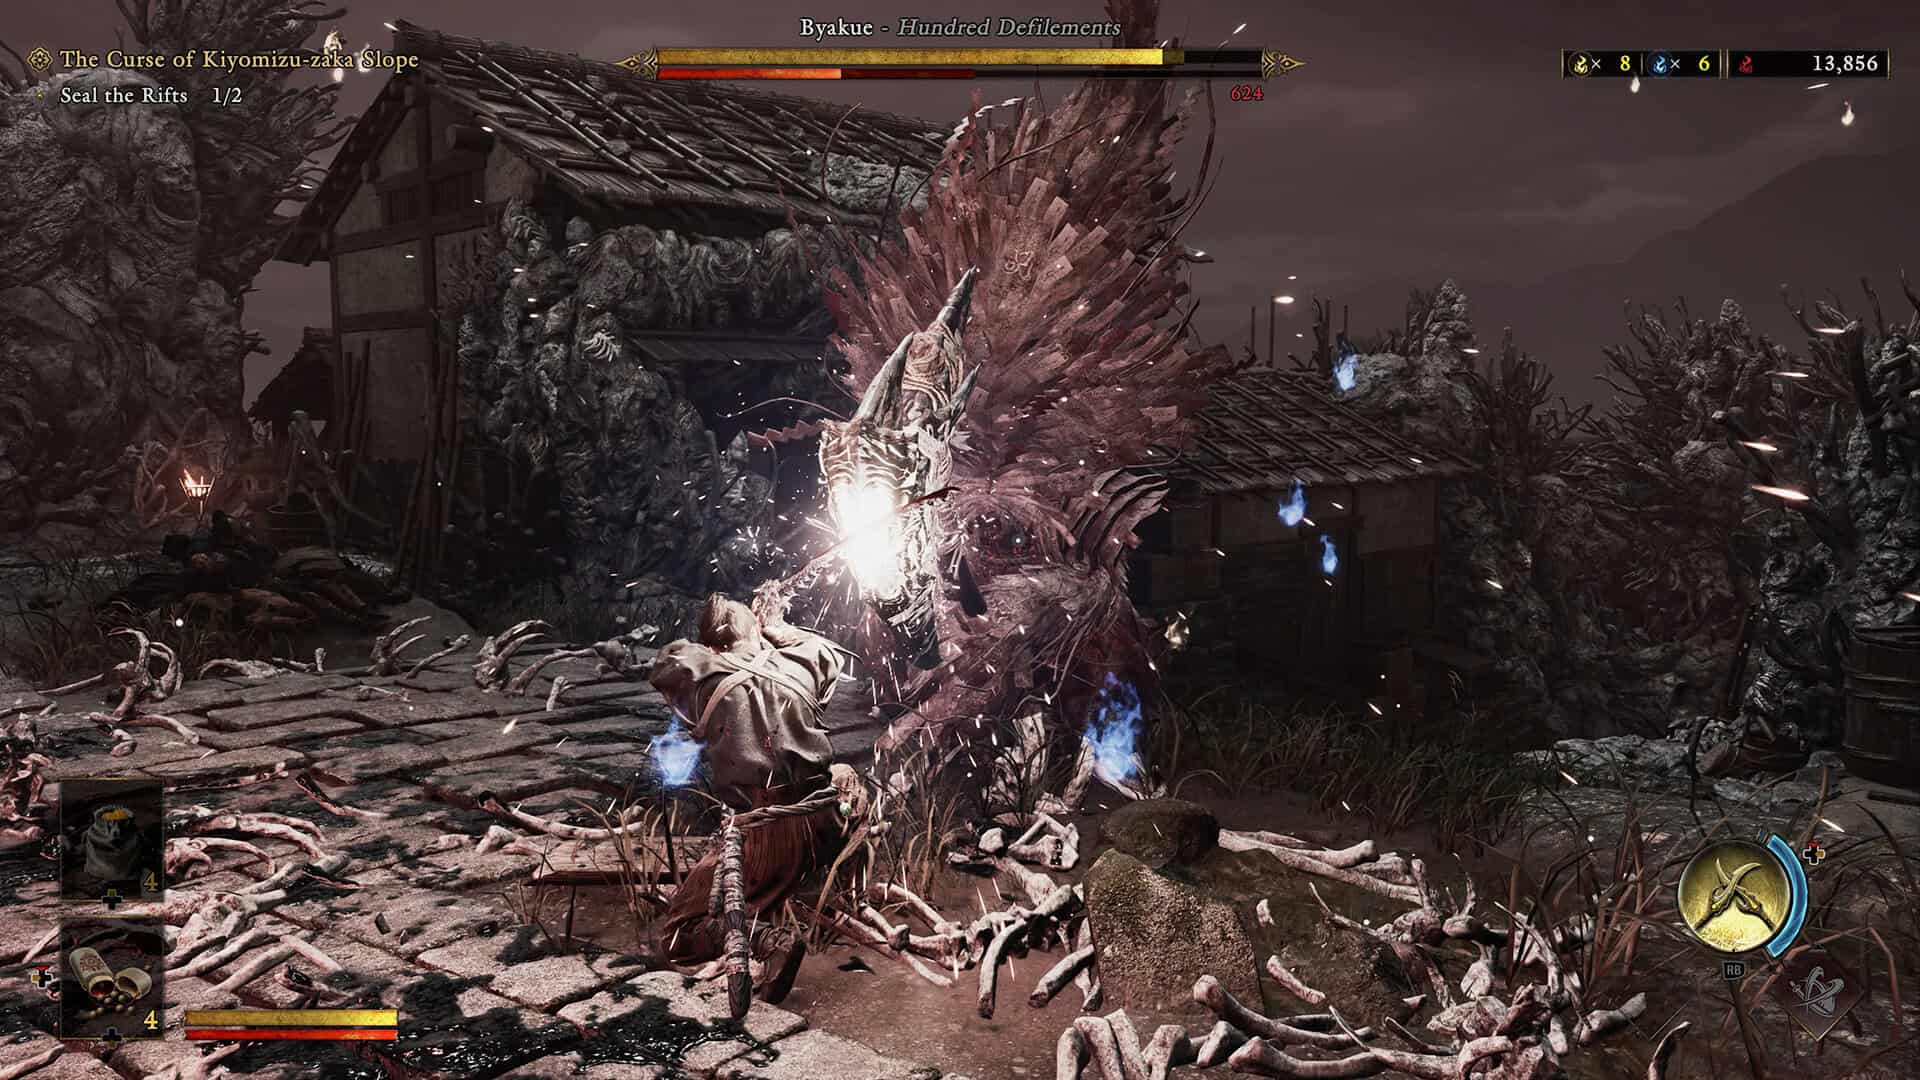
Every attack that comes from Byakue’s actual axe should be met with a deflect, not a block. Blocking will chip away at your stamina and barely dents Byakue’s, while a well timed deflect drains its stamina bar fast and pushes you closer to a Break Issen opening.
The axe attacks worth learning by name include the Overhead Strike, which telegraphs with a visible weapon spin before it comes down, the Triple Axe Combo, which needs three separate deflects in a row rather than one, the Spinning Sweep that follows its own rotation, and the Upswing Charge, where Byakue closes the gap first and then winds into the upward swing you actually need to deflect.
There’s also a 5-Hit Wild Swing string that shows up once Byakue gets more aggressive, and honestly, if you’re not confident you can deflect the whole thing cleanly, it’s fine to just disengage and reset rather than eating a mistimed hit near the end of the string.
One mistake a lot of players make early on is throwing out one-handed light attack strings during the openings you create, which sounds harmless but actually speeds up how fast Byakue’s blood escalation mechanic ramps up. Switching to a two-handed stance for your punish windows keeps your damage high without feeding that escalation as quickly.
-

- Byakue Hundred Defilements Boss
-
- Deflect the Axe: Byakue’s Weapon Attacks
Dodge the Body: Charges, Grabs, and Slams
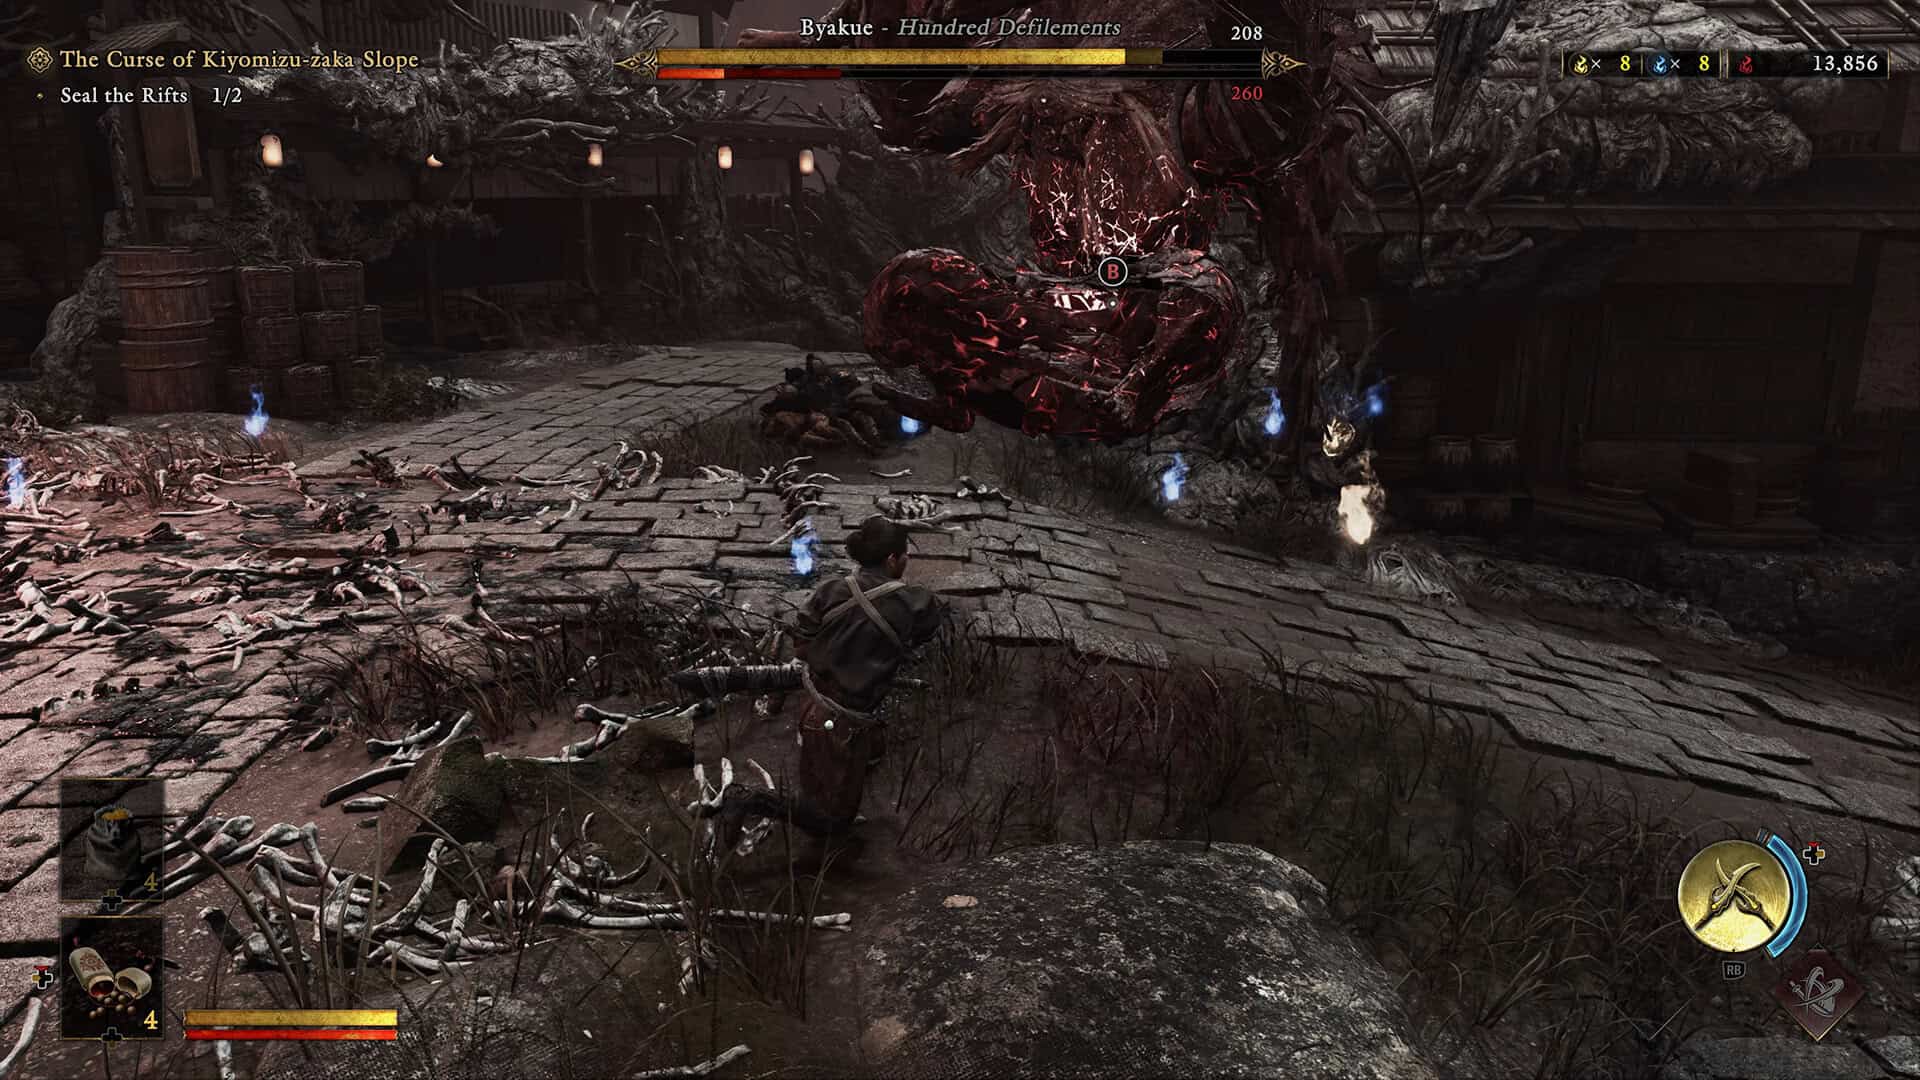
Not every attack in this fight comes from the axe, and that’s exactly where a lot of new players get caught out trying to deflect something that was never meant to be deflected. Byakue’s body attacks, things like the Sprint Charge, the Hop and Bash shoulder attack, and the Talisman Hair Grab, all need a dodge instead.
The Sprint Charge closes distance fast and then creates separation right after, so sidestep it rather than trying to hold your ground. The Hop and Bash is actually a great punish opportunity if you dodge it cleanly, since it opens a window for a Reflex Combo counter.
The Talisman Hair Grab, sometimes called the blue attack because of its visual tell, needs a counter timed just before the hair actually makes contact with you, using the dedicated blue attack counter input rather than your normal deflect. Get the timing wrong here and you’ll eat a chunk of damage and lose your positioning, so it’s worth practicing this one in isolation if you keep whiffing it. A good rule of thumb across the whole Onimusha combat system, and this applies well beyond just Byakue, is that weapon attacks get deflected and grabs or body attacks get dodged. Keep that split straight in your head and you’ll rarely get caught guessing.
Perfect Parry and Issen Timing Against Byakue
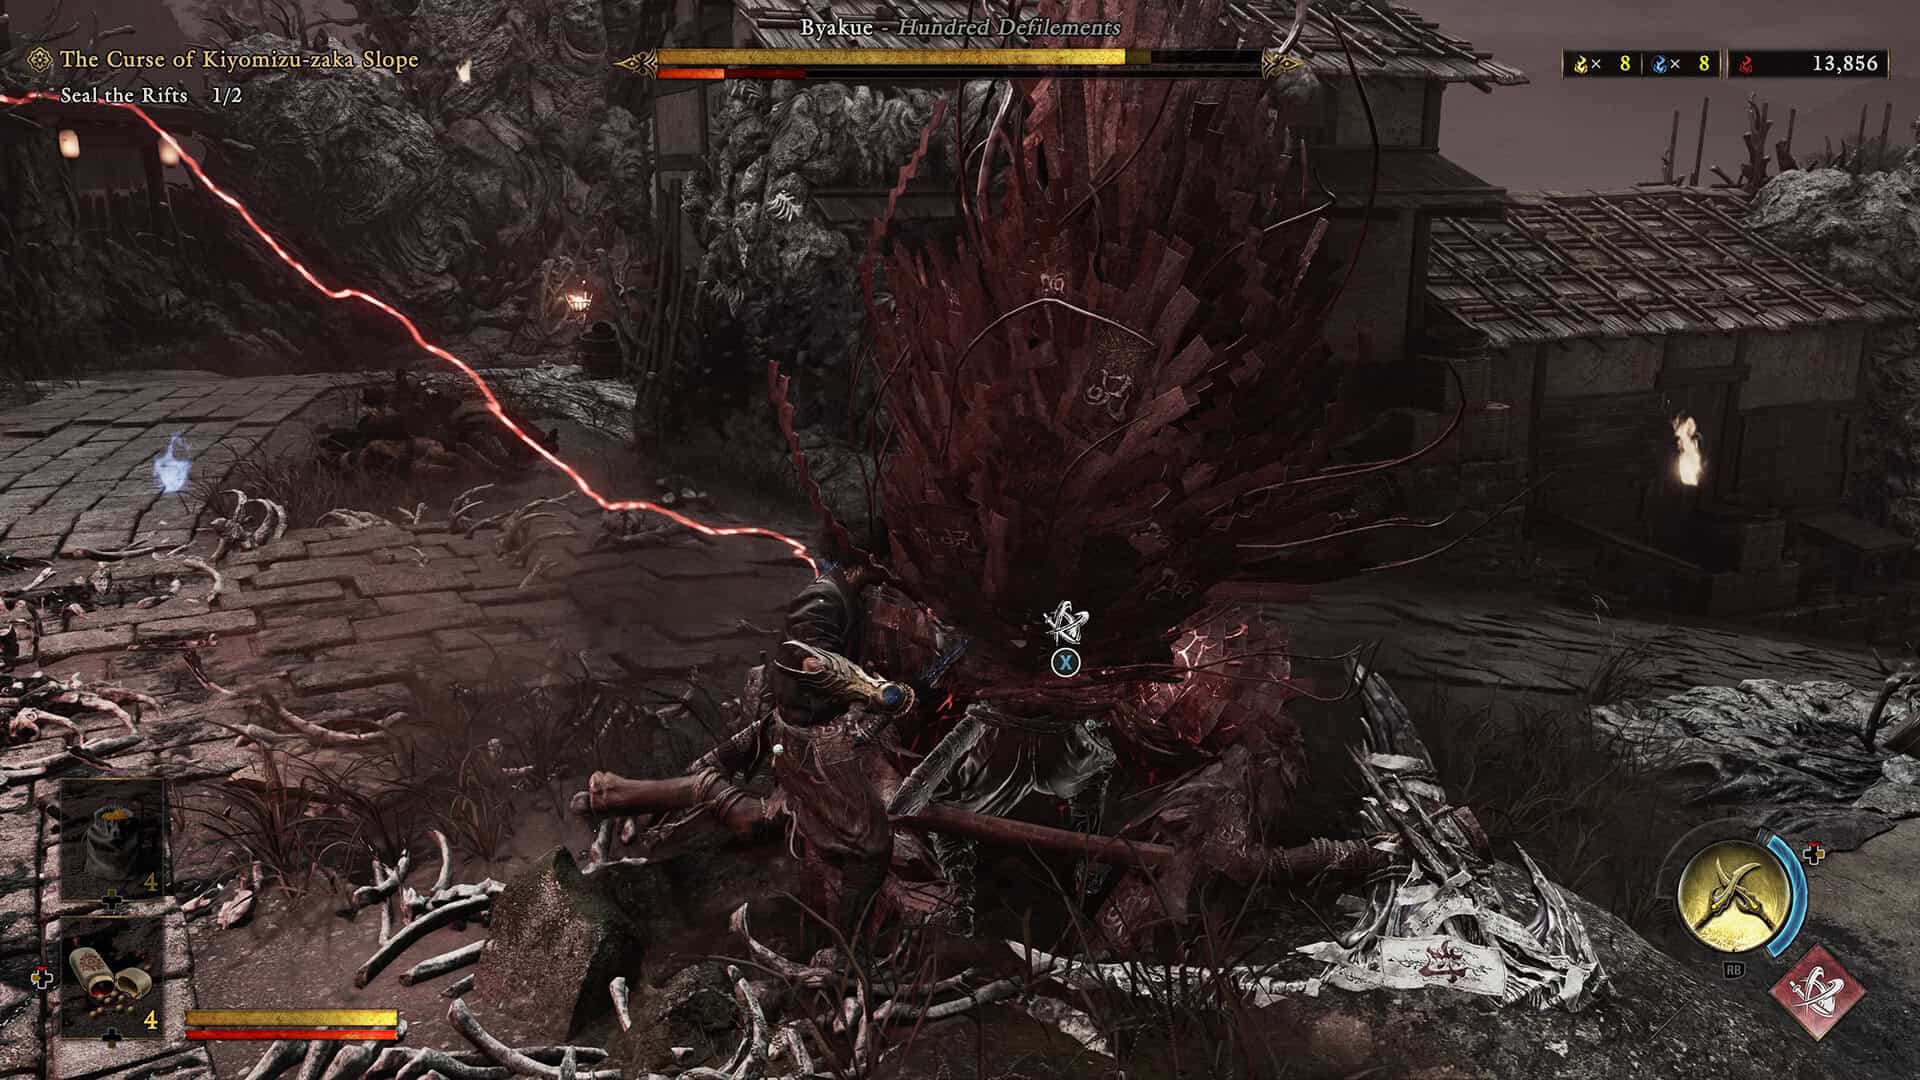
The Leaping Axe Strike is the single clearest Issen opportunity in the entire fight. Byakue’s jump animation before this attack is obvious and the landing is fully committed, which means you have a generous window to land an Issen counter right as the axe hits the ground. Do not try to Issen the Sprint Charge or the Hop and Bash though, since those body attacks can’t be countered that way and you’ll just get punished for trying.
Once you drain Byakue’s stamina bar down with consistent deflects, you’ll get a Break Issen prompt, and that’s your cue to go all in on the head for the biggest chunk of damage in the fight. This stamina and stagger loop is honestly very close to what you saw if you’ve already worked through Sasaki Ganryu’s Break Issen windows on the bridge duel, so if you’ve already got that fight down, your hands already know the rhythm here. The main difference is that Byakue’s axe hits from farther away and its combos run longer, so you’ll want to commit to deflecting a full string rather than trying to slip out halfway through it.
-
- Dodge the Body Byakue’s Attacks
-
- Perfect Parry and Issen Timing Against Byakue
Beating Enhanced Byakue in the Hundred Defilements Rematch
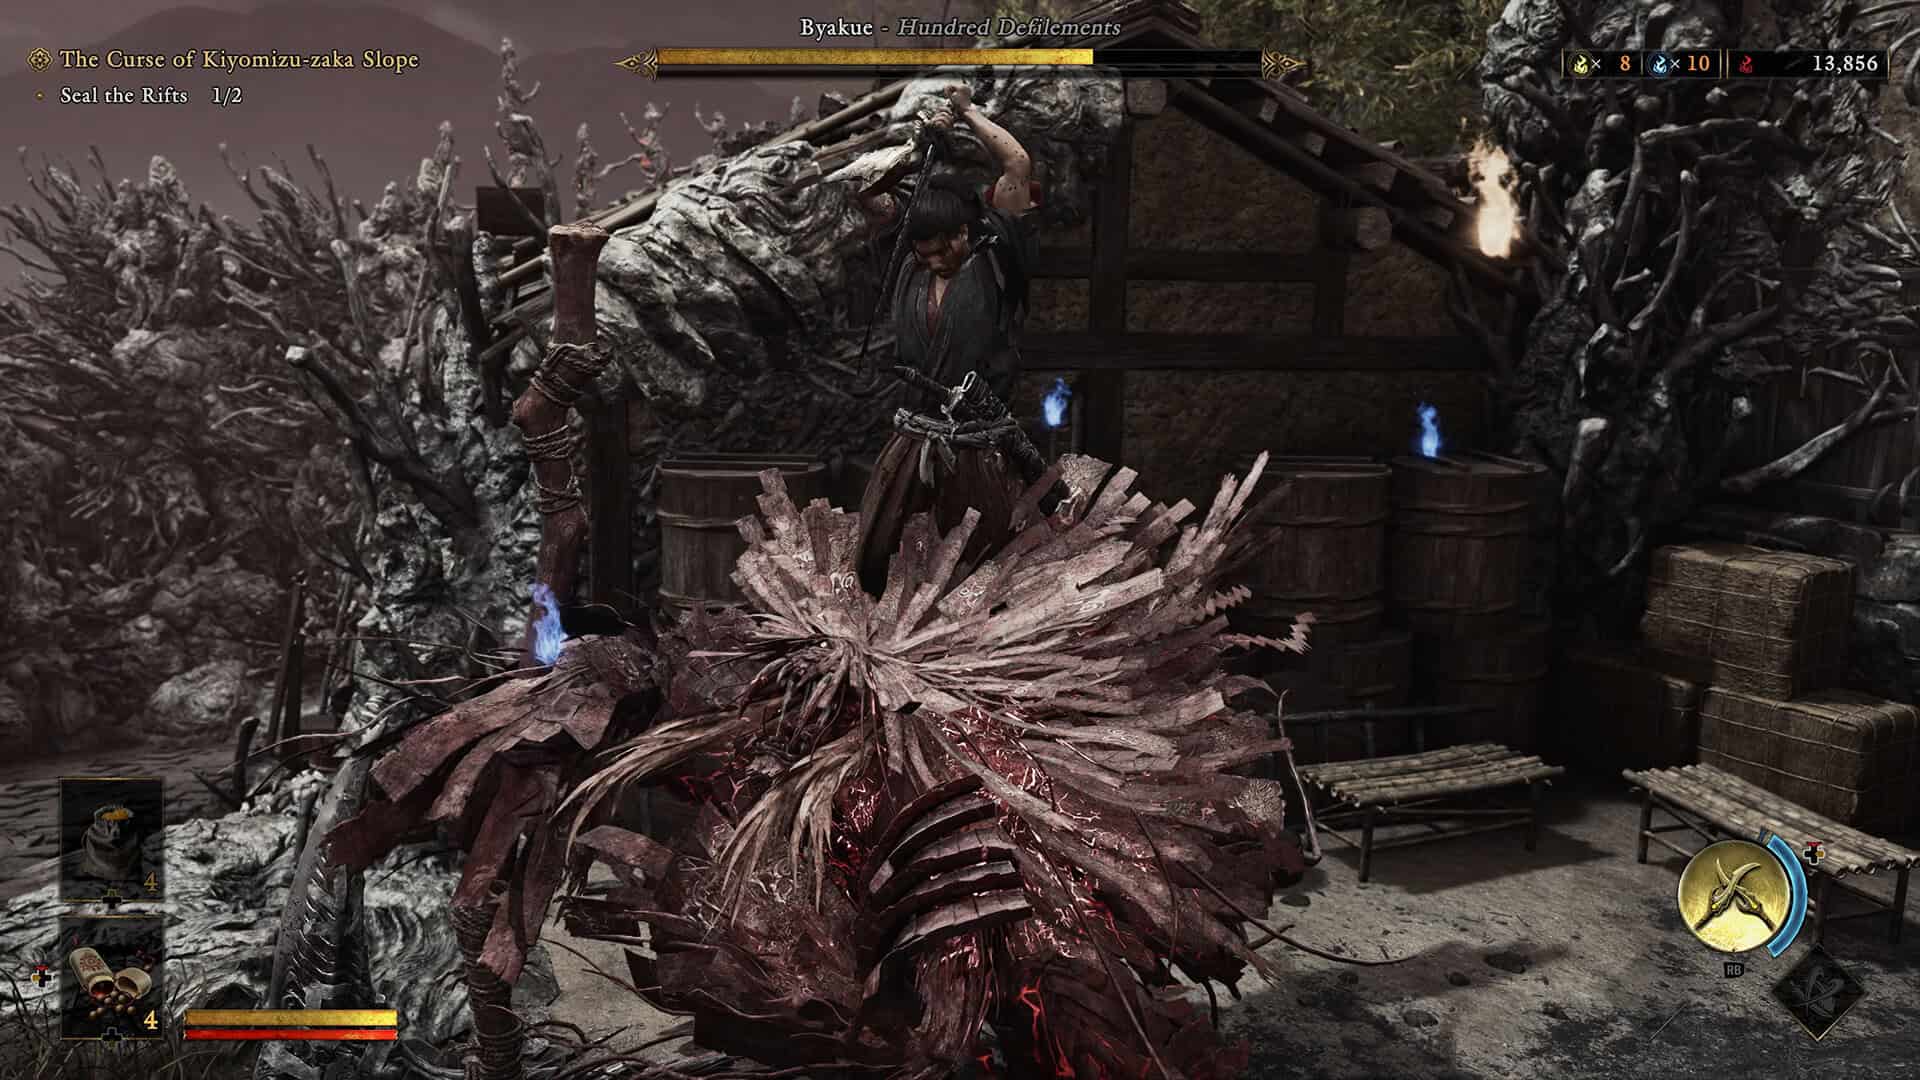
Once Byakue’s health drops below roughly fifty percent, or once you meet the Enhanced version in Boss Rematch mode after finishing the story, the axe wreathes itself in Malice and two new attacks show up. The first is a Malice ground slam, and the trick here is to jump right before the axe hits the floor rather than dodging sideways, since the shockwave covers a wider area than you’d expect. The second is Malice pools that linger on the ground after certain attacks, and you just want to steer well clear of them entirely, because standing in one will drain your health the longer you stay put.
Enhanced Byakue keeps the exact same axe strings, charges, and grabs from the first encounter, so nothing about your read changes, only the punishment for getting it wrong goes up. This is very similar in spirit to the escalating pressure you’d feel fighting Rasho-gan’s tether cord trick in his enhanced phase, where the core mechanic stays identical but the margin for error shrinks fast.
For this rematch specifically, equipping the Two Celestials armament is genuinely one of the best choices you can make, since every hit you land forces Byakue to drop yellow souls, and those souls heal you on pickup. Activate it right at each phase break rather than saving it, since that’s when you’re most exposed and most in need of the free healing.
-
- The Final Blow Against Byakue
-
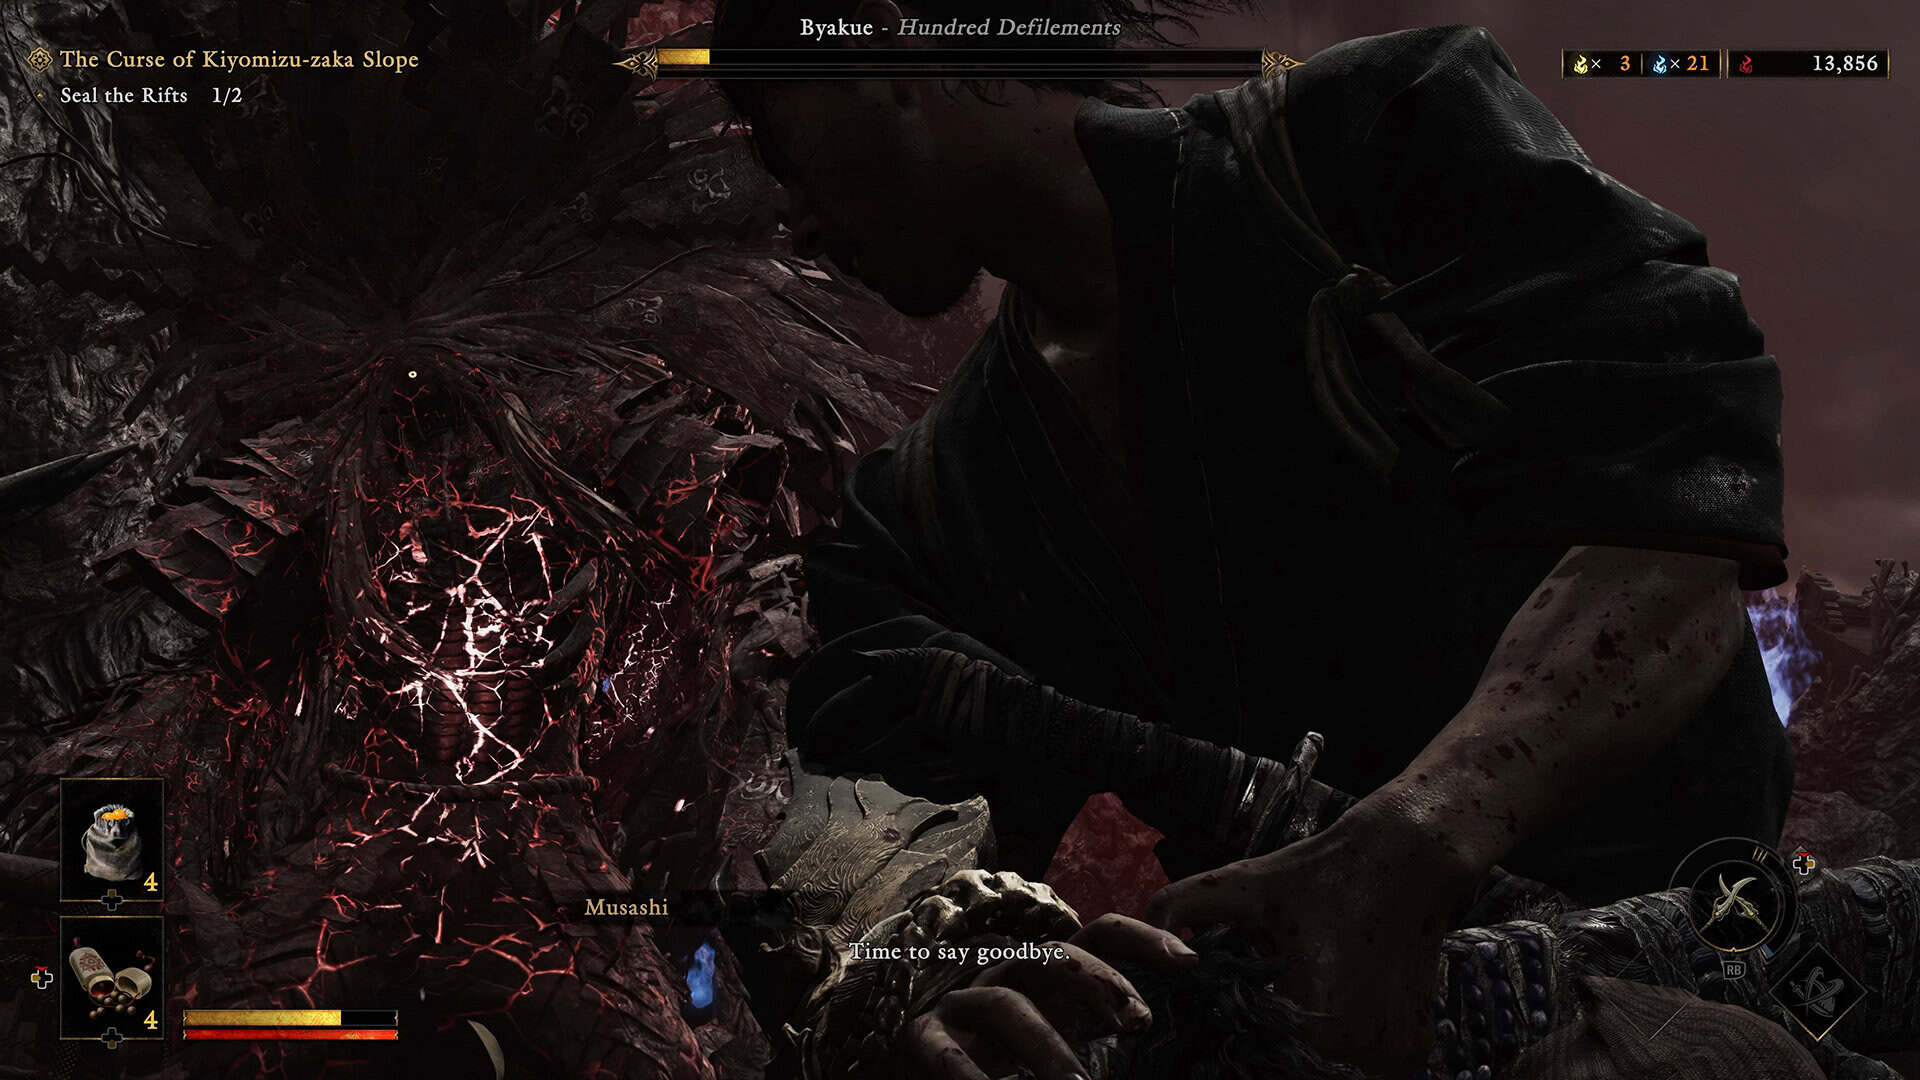
- Byakue’s boss is ready to lose the battle
Byakue Boss Fight FAQ
Can you block Byakue’s axe attacks instead of deflecting them? You can block, but it drains your own stamina far faster than Byakue’s, and it won’t build toward a Break Issen the way a clean deflect does. Deflecting is always the better option once you’ve got the timing down.
Where do you fight Byakue in Onimusha: Way of the Sword? The first encounter happens at Kiyomizu-dera Temple during the main story, and it returns later in the boss gauntlet during “The Clash at Rendaino.”
What’s the best stance to use against Byakue? A two-handed stance gives you stronger burst damage during your punish windows, particularly right before a phase transition, without accelerating the blood escalation mechanic the way light one-handed strings can.
Does Byakue actually get harder the longer the fight drags on? Yes. Its own blood soaking into its body over the course of the encounter is a real escalation mechanic, and talisman seals tearing away over time speed up its axe swings, so closing out phases quickly is worth prioritizing over playing it safe.
Where do you fight Enhanced Byakue? Enhanced Byakue is available as a rematch in Boss Rematch mode inside the Practice Grounds once you’ve finished the main story, and it uses the same moveset with higher damage and the added Malice mechanic below fifty percent health.
That wraps up this Byakue hundred defilements boss guide for surviving both encounters, your first run at Kiyomizu-dera Temple and the enhanced rematch that follows. Check out our other guides on ingametor.com if you’re working through the rest of Onimusha: Way of the Sword’s boss roster next.