Gregor the Halberd of Carnage is a mandatory story boss in Crimson Desert, encountered during Chapter 8: Blood Coronation at Fort Ironclad in Hernand. You can’t avoid this fight, so going in without a plan will cost you. The strategy that makes this encounter manageable centers on two things: filling the yellow stamina bar beneath Gregor’s health bar as fast as possible using a triple Force Palm combo, and knowing which of his attacks you can parry and which ones you absolutely must dodge. Get those two mechanics down, and the fight becomes much more controlled than it appears at first.
This guide breaks down everything you need to prepare before stepping into the arena, how to read Gregor’s attack patterns, how to use the triple Force Palm effectively, and how the full fight plays out from start to finish.
Gregor the Halberd of Carnage Location and Story Context in Crimson Desert
Gregor the Halberd of Carnage is found at Fort Ironclad in the Hernand region, which you’ll reach through the main story quest “Where the Wind Guides You” during Chapter 8: Blood Coronation. He’s a loyal aide to Bastier and a seasoned warrior who earned that trust through a long history of combat, dispatched to Fort Ironclad specifically to keep Duke Wells in check. The lore behind the fight gives him a clear place in the story, and unlike optional bosses, there’s no detour around him. You’re fighting Gregor whether you’re ready or not.
The good news is that the game gives you some breathing room before the encounter actually begins. Just before the boss arena, you’ll find a Grindstone and an Anvil available to use. Take the time to upgrade your weapon and reinforce your armor before you cross into the fight. It’s a small but meaningful edge, and skipping it when the option is right there would be a waste. Stock up on food as well, and make sure what you’re carrying restores both health and Spirit, not just health. Spirit management is central to this fight, and running out in the middle of a combo chain is a fast way to lose control of the encounter.
How to Prepare for the Gregor Boss Fight: Destroying Arena Traps First
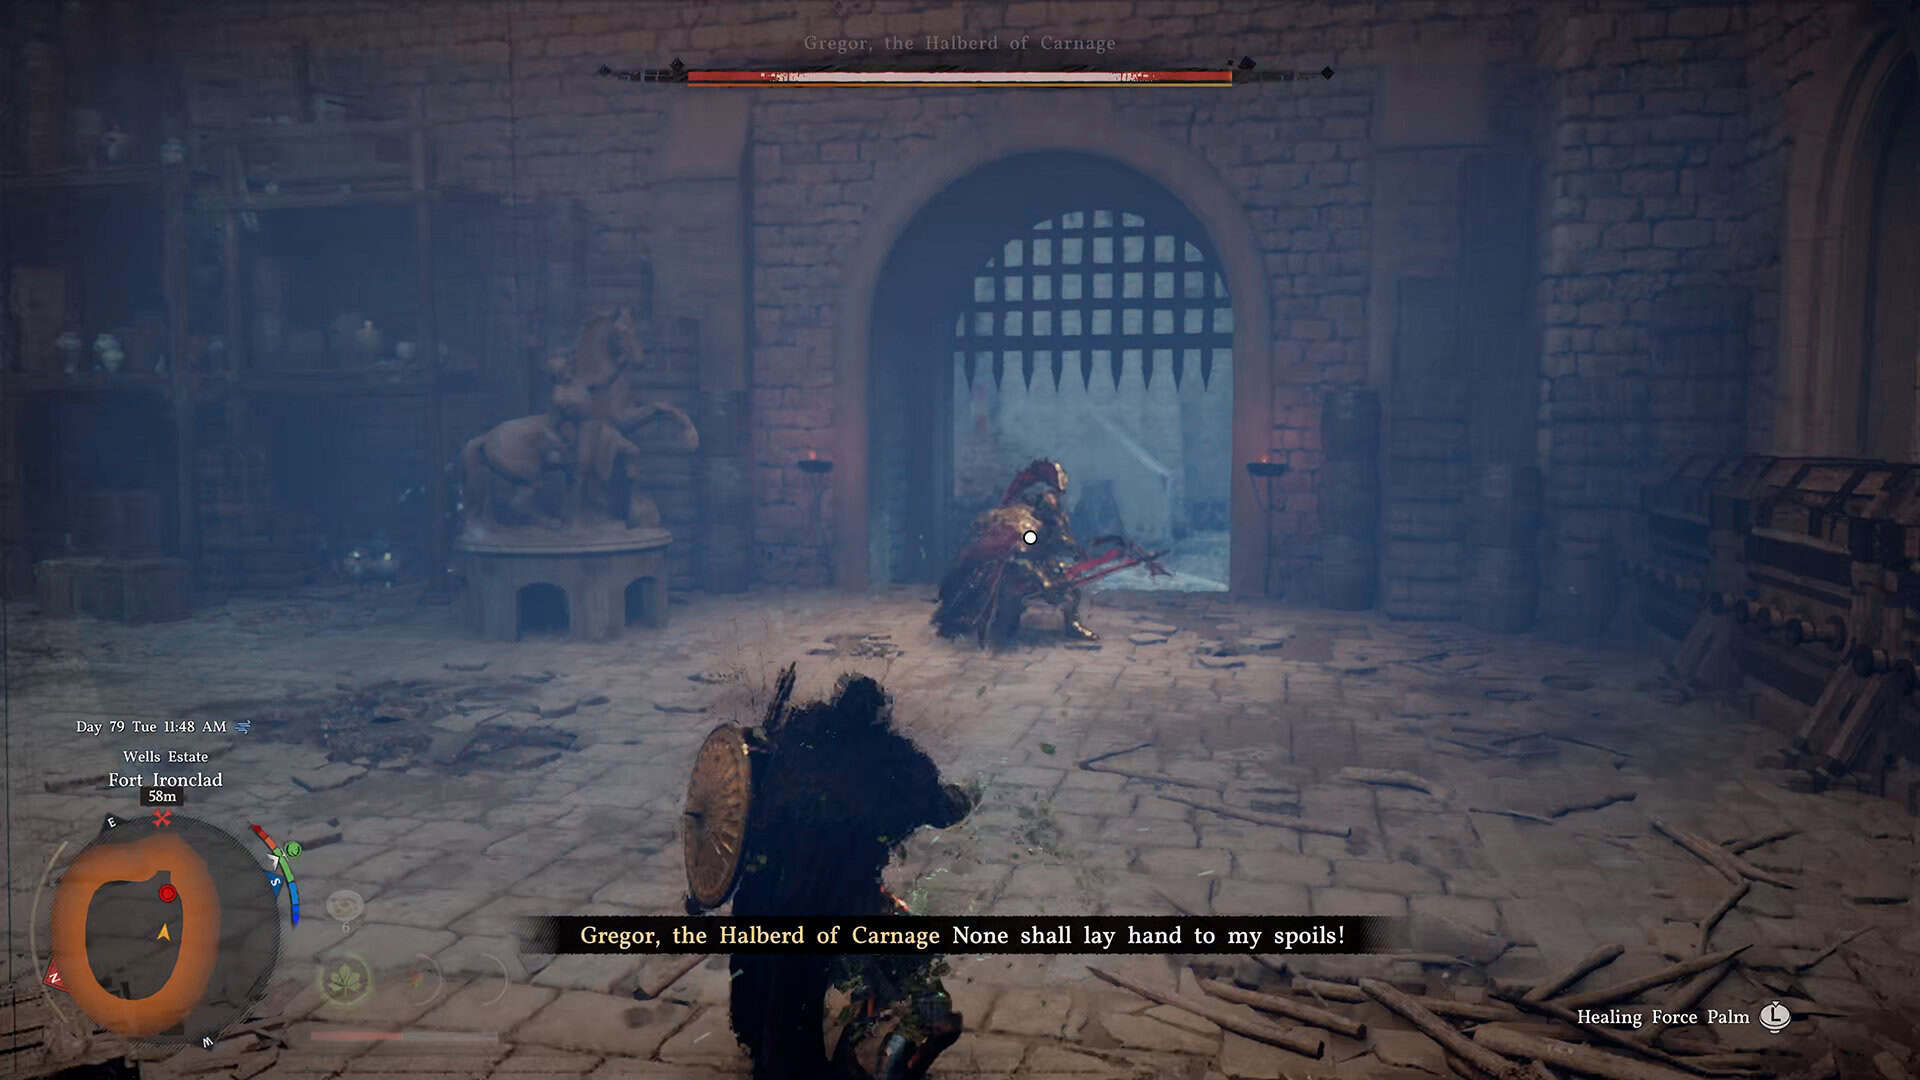
Before you engage Gregor directly, spend a few moments on the arena itself. The hall at Fort Ironclad has arrow disperser traps positioned on the left and right sides of the fighting area. These fire volleys of arrows on a periodic cycle, and the only warning you get is a red indicator on the ground just before the volley lands. They deal moderate damage and can stagger you mid-combo at exactly the wrong moment, so removing them before the fight starts is worth the effort.
You have two ways to deal with the traps. You can attack them directly to destroy them before Gregor fully engages, or you can use Gregor himself against them by baiting his attacks toward the wall-mounted traps, since his halberd will destroy them in a few hits. If you’re comfortable with the positioning, the second option is faster. Either way, clearing at least one side of the room gives you a safer flank to retreat toward when things get hectic.
There’s also an important safety valve for this fight that a lot of players miss entirely. You can exit the castle interior out of the boss arena during the fight. Gregor rarely follows you outside. While a countdown timer begins when you leave, stepping out gives you a legitimate window to heal and recover Spirit without being under attack. If your health drops dangerously or your Spirit is depleted at a bad moment, use this. It’s not cheating the fight; it’s using the arena to your advantage.
-

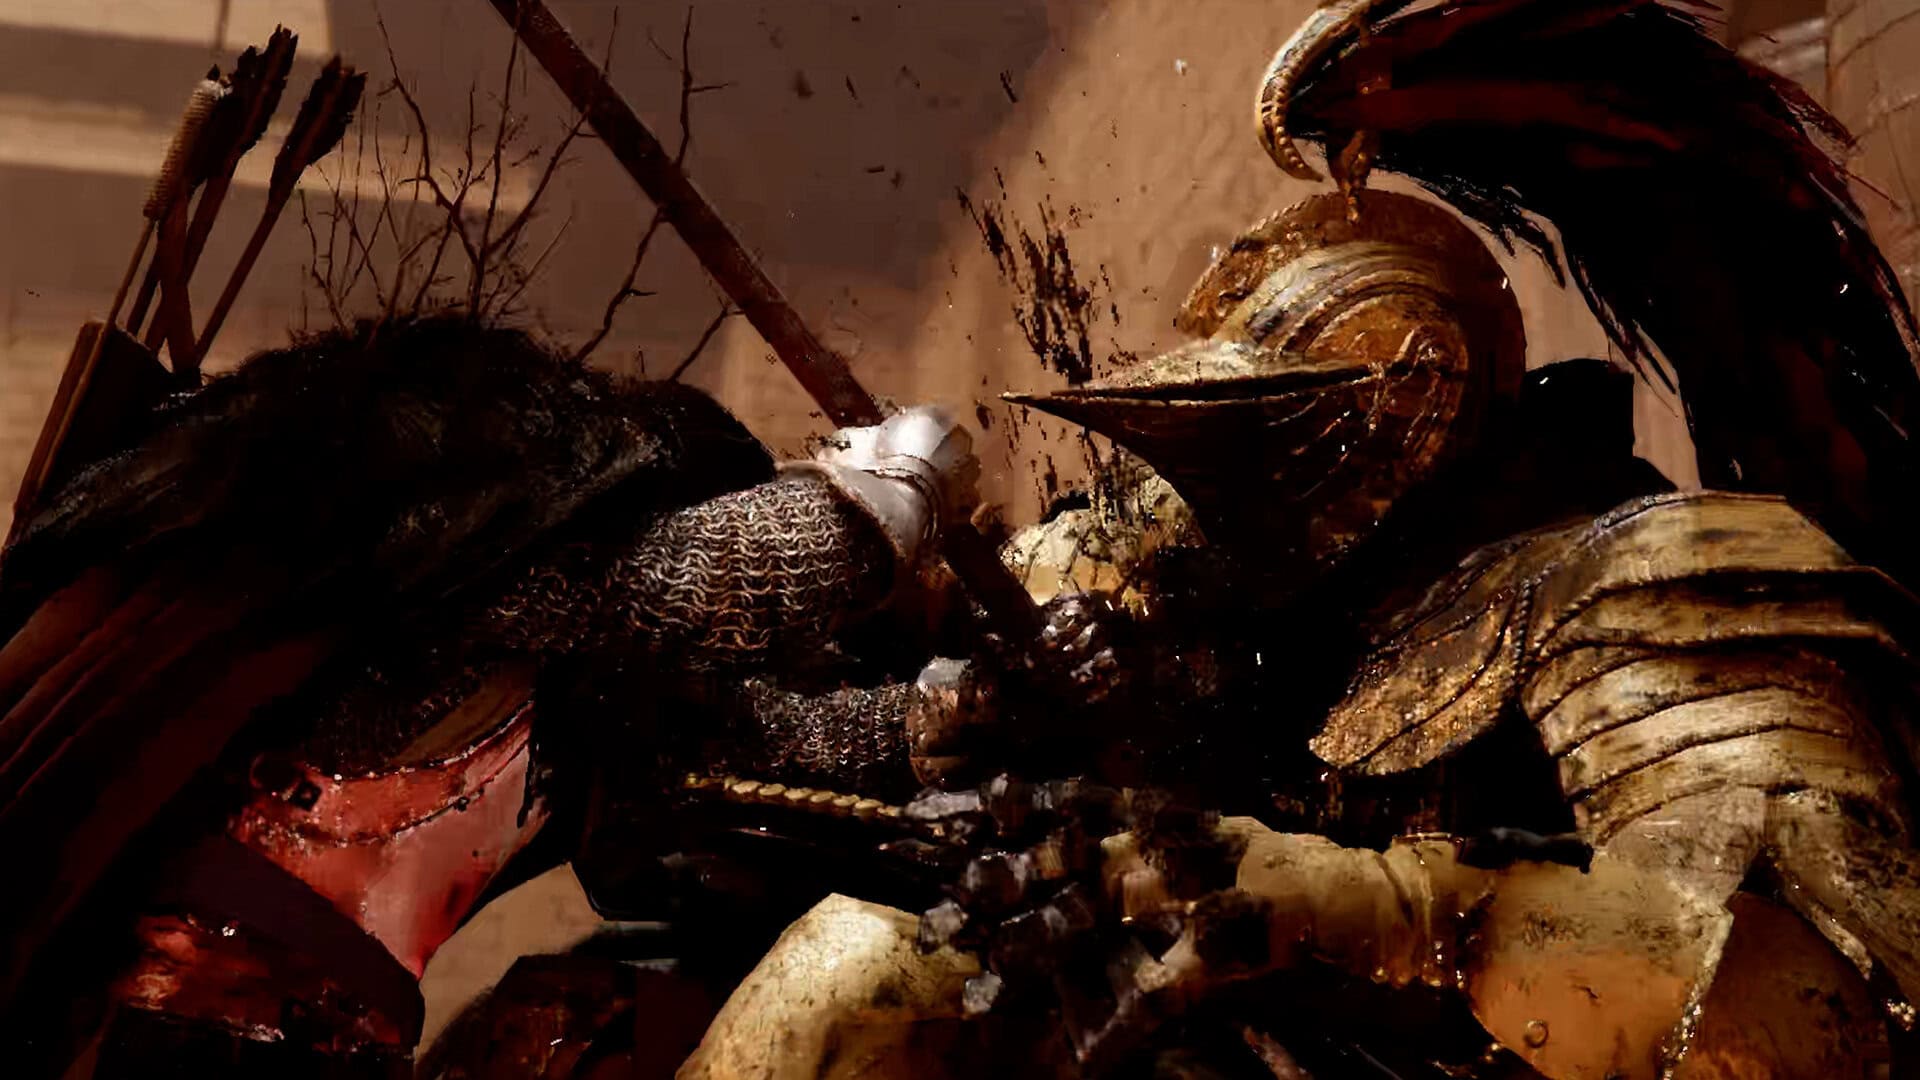
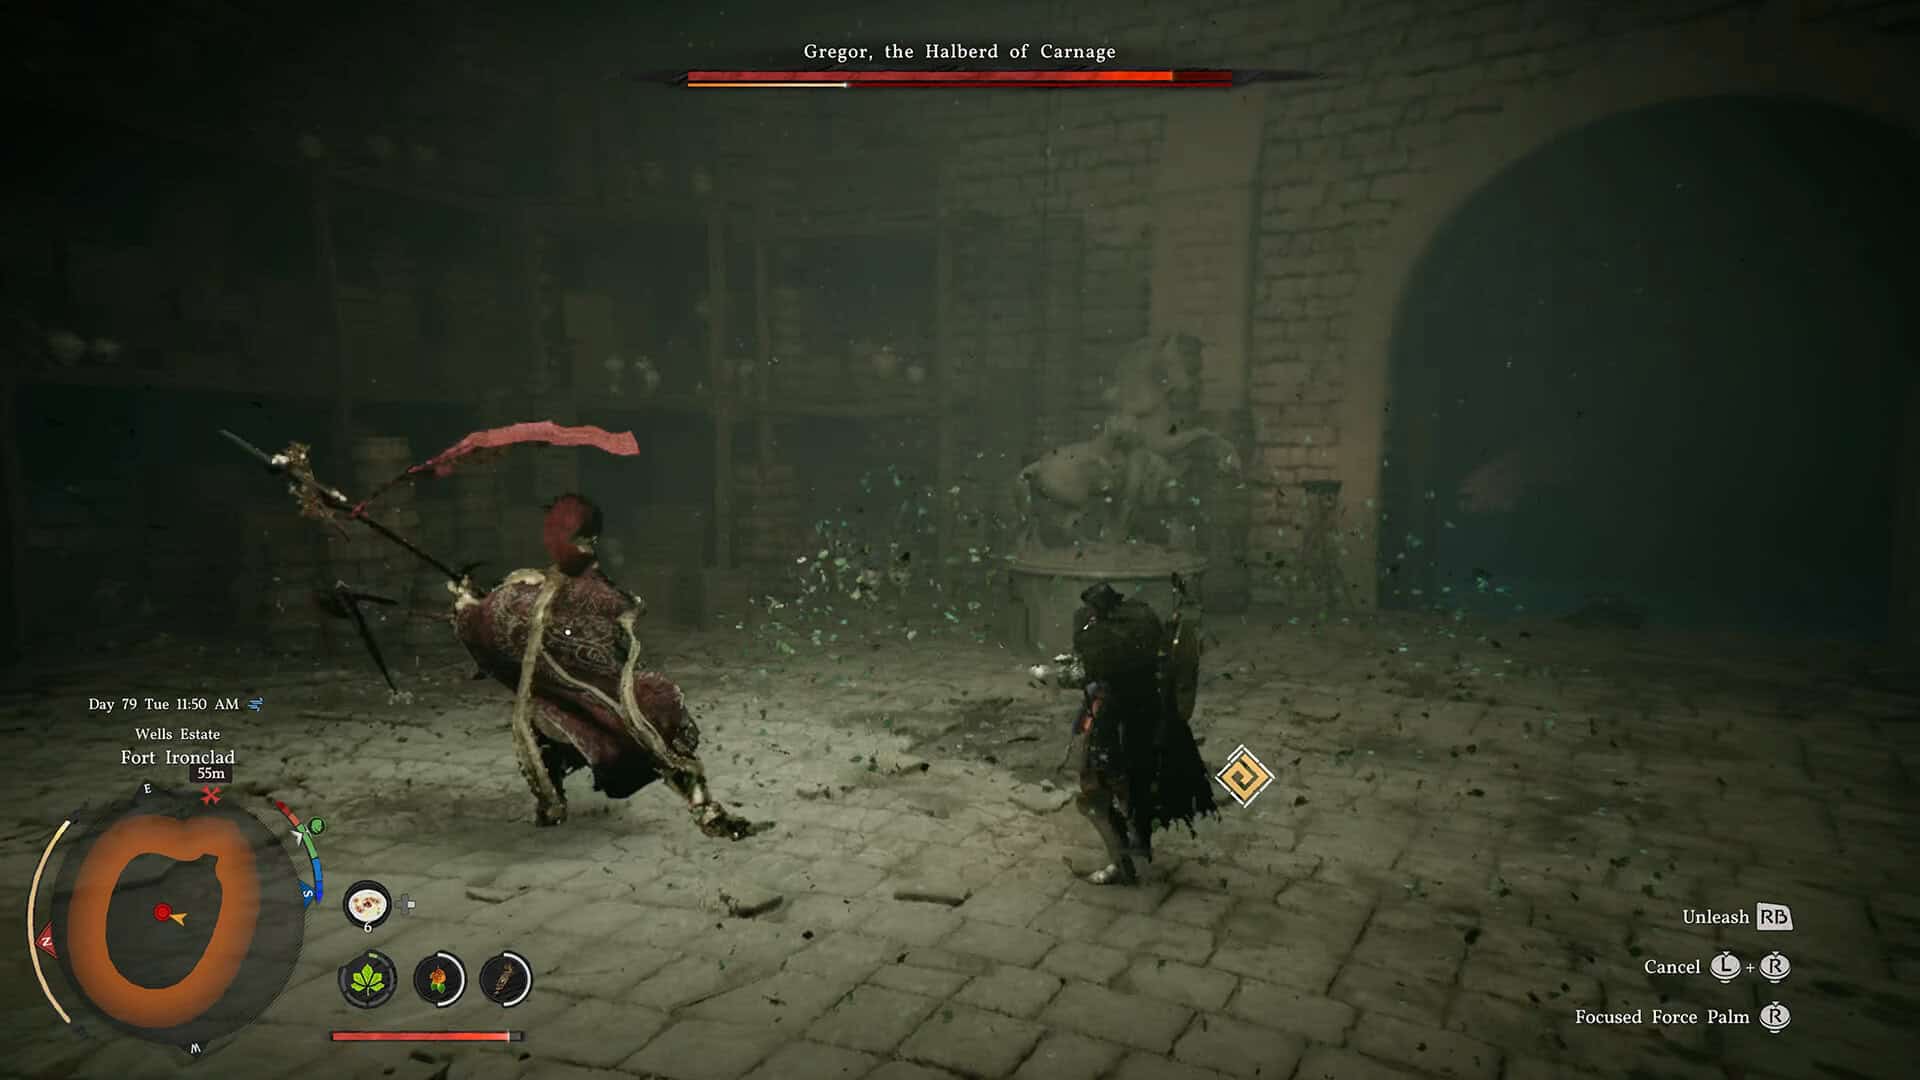
- Gregor the Halberd of Carnage: Start of the battle
-
- Focus Mode during the battle with Gregor
Gregor’s Attack Patterns: When to Parry and When to Dodge
Gregor’s attacks fall into two clear categories, and knowing which category you’re looking at before he commits to the move is what the whole fight is built around. His basic melee attacks can be parried. His special attacks cannot be parried or blocked under any circumstances, and trying to do so will punish you hard.
The signal for his special attacks is your Axiom bracelet. When Gregor is about to use a special move, the bracelet glows. As soon as you see that glow, dodge. It doesn’t matter what position you’re in or what combo you’re in the middle of, get out of the way. These attacks are what will drain your health most quickly if you eat them, and the bracelet glow is the only reliable early warning you have.
For his basic attacks, parry is your primary response. I hold the LB button continuously rather than trying to time each press precisely, because Gregor’s halberd moves quickly and a missed parry window hurts. Holding the input means you won’t miss the frame when the parry connects. After a successful parry, you get a short opening to retaliate, and that’s exactly when you use the triple Force Palm.
Focus mode is valuable here beyond just the parry timing. Activating Focus slows Gregor down noticeably, which makes his attack animations much easier to read. It also replenishes your Spirit while active, which solves the resource problem during the fight itself. If you have Focused Insight at Focus level 3 unlocked, it will also give you a prompt on the parry timing so you don’t have to read the animation entirely on your own. If you’re struggling with the parries, getting that upgrade before this fight makes a real difference.
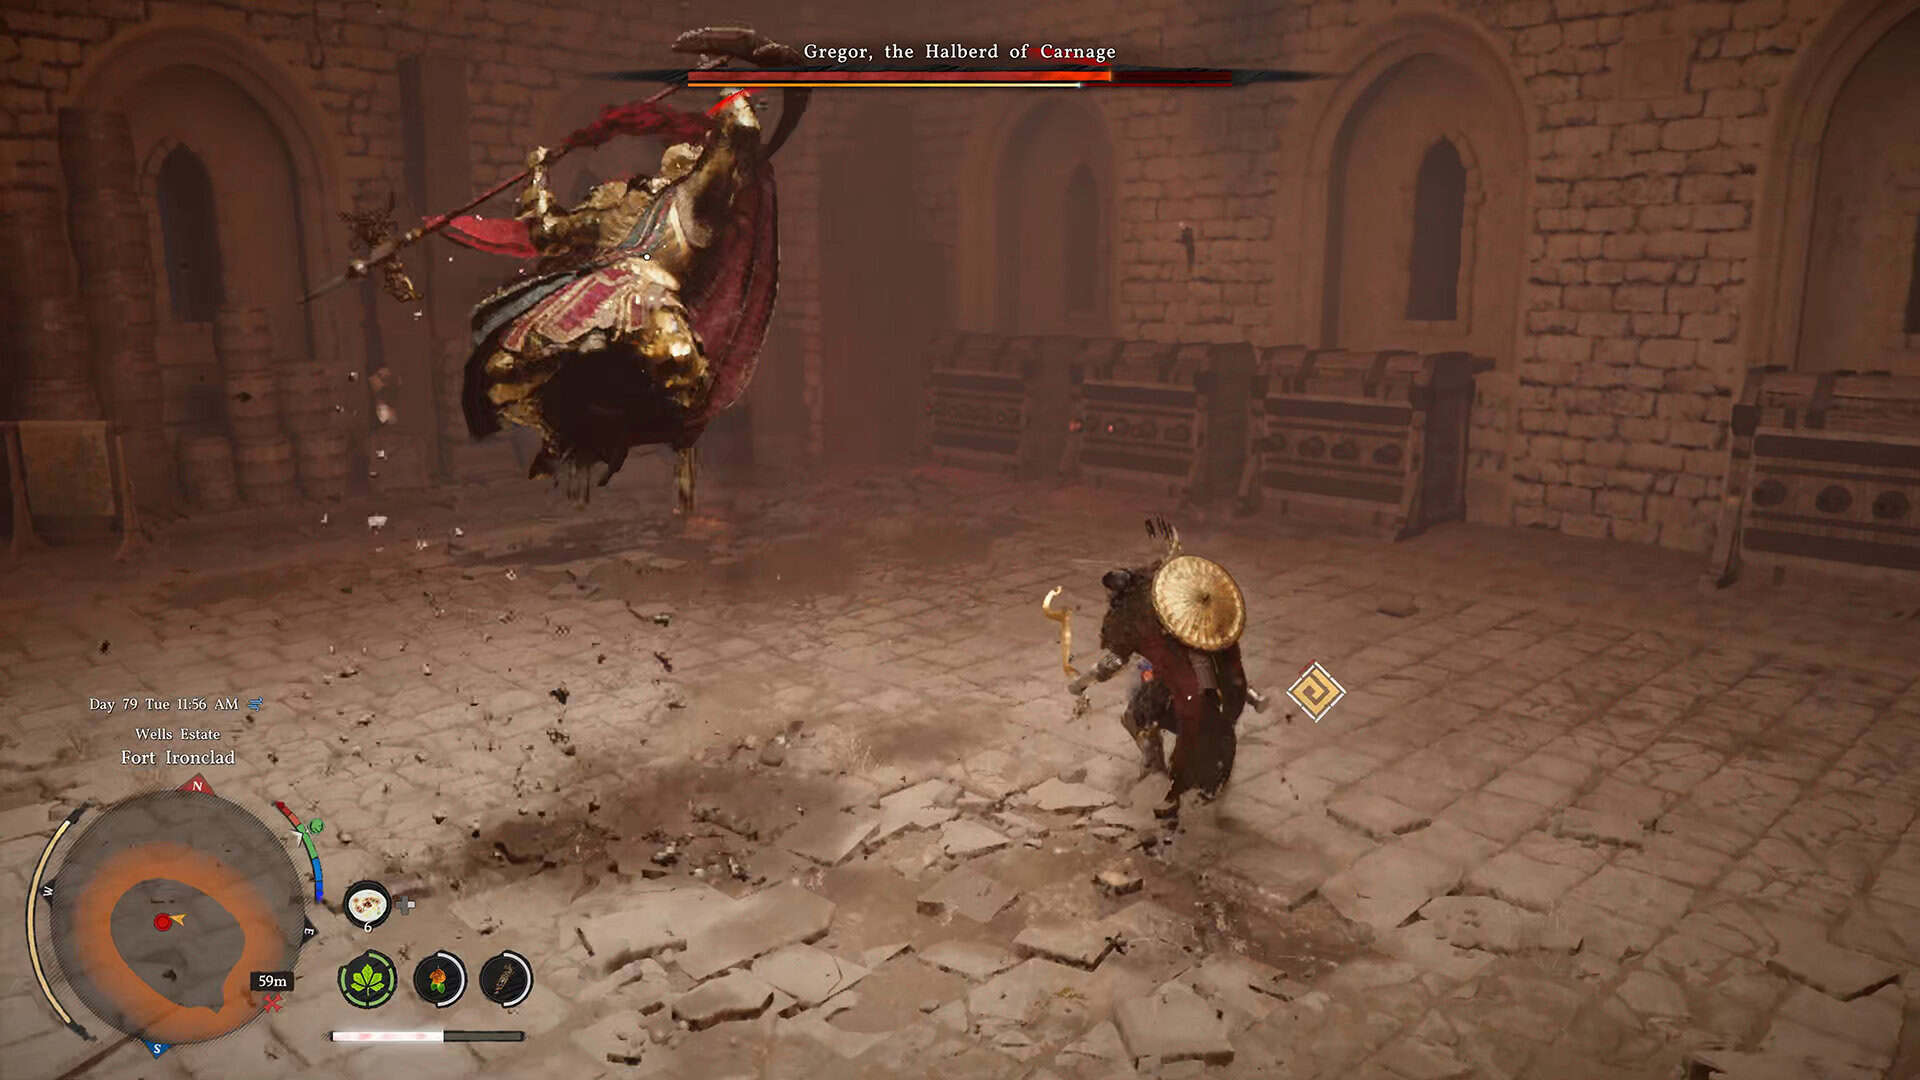
There is one phase in the fight that demands specific attention. When the screen goes dark, Gregor enters an invulnerable state and explodes the ground beneath you, then chains around nine rapid lunges in quick succession. During this sequence, dodge sideways with each lunge and watch for his spear tip to glow red, which signals each individual lunge before it connects. Do not try to tank these or find a parry window. Dodge every one, wait for the chain to end, and then resume the normal fight flow.
Triple Force Palm Strategy: How to Fill the Yellow Stamina Bar Against Gregor
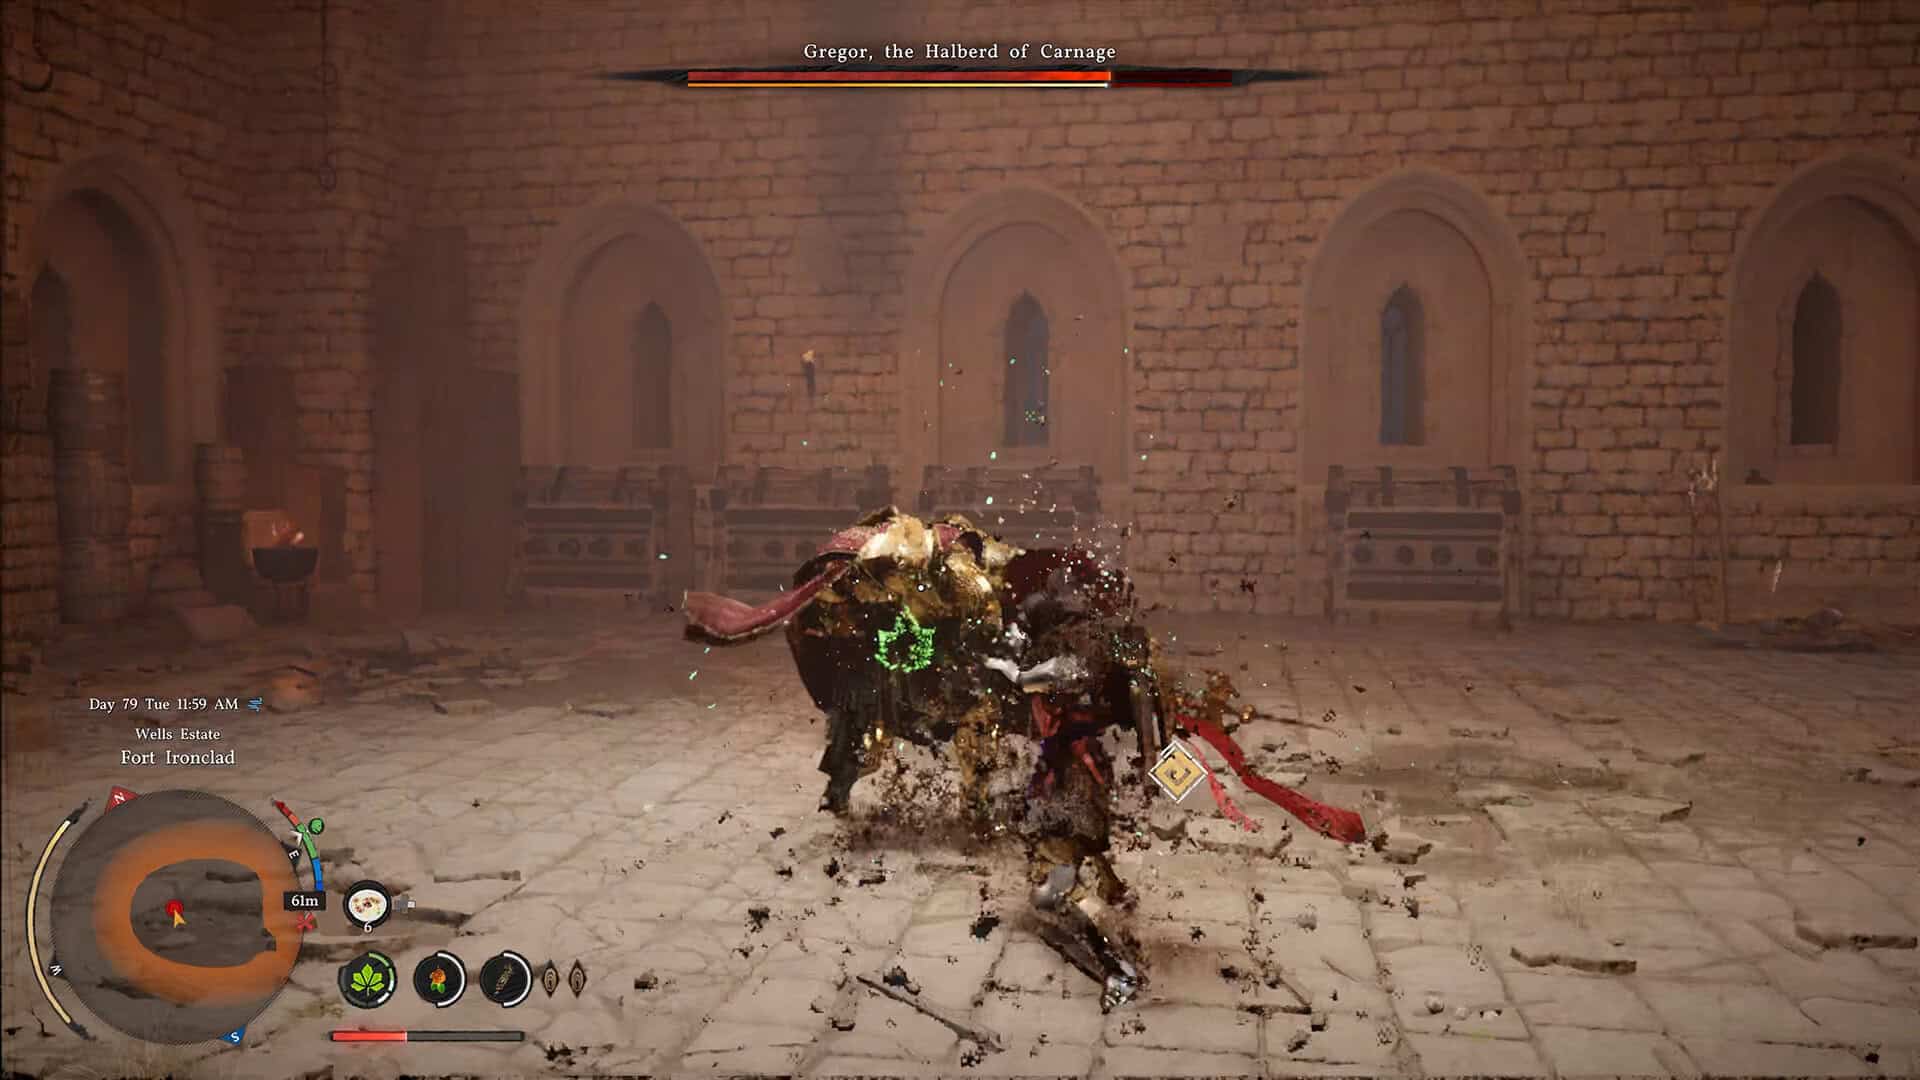
The yellow bar beneath Gregor’s health bar is your primary target in this fight, and the triple Force Palm is the best tool for filling it. Each of the three strikes in the combo adds a significant chunk to that yellow bar, and the third and final strike in the series deals direct damage to the health bar on top of the stun buildup. When you land a triple Force Palm at the right moment, it can interrupt Gregor mid-attack and leave him disoriented, giving you a window to pile on additional damage while he’s recovering.
The loop this creates is the backbone of the fight. Parry a basic attack to open a window, activate triple Force Palm to fill the yellow bar and deal damage, use Focus when you need Spirit back or want to slow the pace down, and dodge whenever the Axiom bracelet glows. Repeat this cycle and the yellow bar fills faster than you might expect.
The reason Spirit management matters so much here is that Force Palm draws from the Spirit meter. Running out mid-combo means the triple Force Palm is suddenly unavailable at the moment you need it most. Food that restores both health and Spirit simultaneously is what keeps the cycle going without forcing you to waste time using Focus purely for regeneration. I bring enough to cover the full fight and use them as needed rather than trying to conserve. This isn’t a fight where frugality pays off.
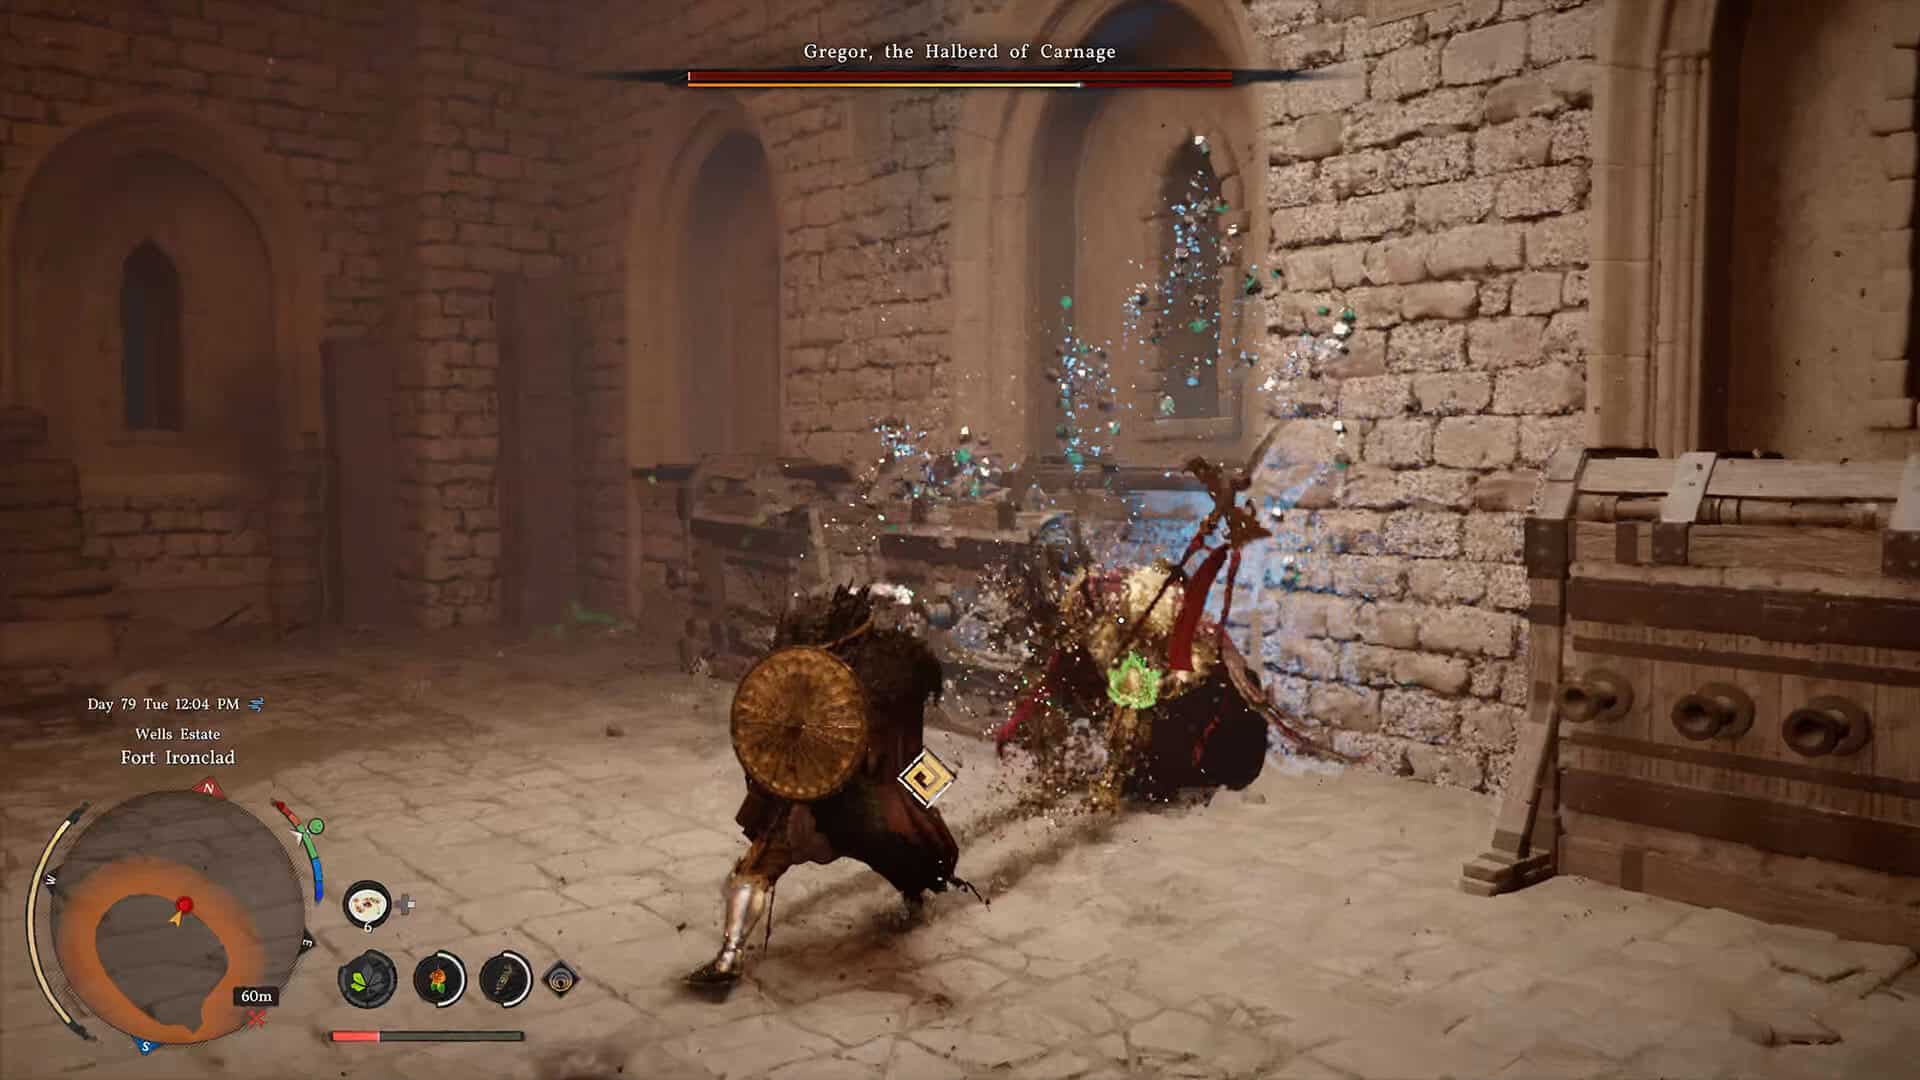
Once you’ve fully filled the yellow stamina bar and dealt damage during the window that opens afterward, Gregor’s remaining health drops quickly. By that point in the fight, if you’ve been landing your parries and Force Palm combos consistently, there won’t be much health bar left to work through. A final triple Force Palm is usually what closes the fight out once the yellow bar has been broken.
-
- Gregor’s Attack Patterns
-
- Triple Force Palm Strategy
Frequently Asked Questions: Gregor the Halberd of Carnage in Crimson Desert
Where do you fight Gregor in Crimson Desert?
Gregor is found at Fort Ironclad in the Hernand region. You encounter him during the main story quest “Where the Wind Guides You” in Chapter 8: Blood Coronation. He’s a mandatory story boss and cannot be skipped.
What is the yellow bar below Gregor’s health bar?
The yellow bar is Gregor’s stamina or stun meter. Filling it depletes it and leaves him briefly vulnerable, during which you can deal extra damage directly to his health bar. The triple Force Palm combo is the most efficient way to fill it quickly.
Can you parry Gregor’s attacks in Crimson Desert?
You can parry his basic melee attacks. When his Axiom bracelet glows, he is about to use a special attack that cannot be parried or blocked. You must dodge these. Holding the parry input continuously rather than timing individual presses is a reliable method for not missing the window on basic attacks.
What food should you bring to the Gregor boss fight?
Bring food that restores both health and Spirit at the same time. Spirit is constantly depleted by Force Palm usage, and running dry in the middle of a combo window is a serious problem. Dual-restore consumables keep both resources stable without burning through your inventory twice as fast.
What happens when the screen goes dark during the Gregor fight?
Gregor enters an invulnerable state, destroys the ground beneath you, and then chains approximately nine rapid lunges in a row. Dodge sideways with each one and watch for his spear tip to glow red as the signal for each individual lunge. Do not attempt to parry during this sequence. Wait for it to end and then resume normal combat.
For more Crimson Desert boss fights and combat guides, visit our Crimson Desert walkthrough guides on ingametor.com, including detailed coverage of other challenging encounters throughout the game.
-
- The Final Blow Against the Boss Gregor
-
- The Final Scene of the Enemy’s Defeat