
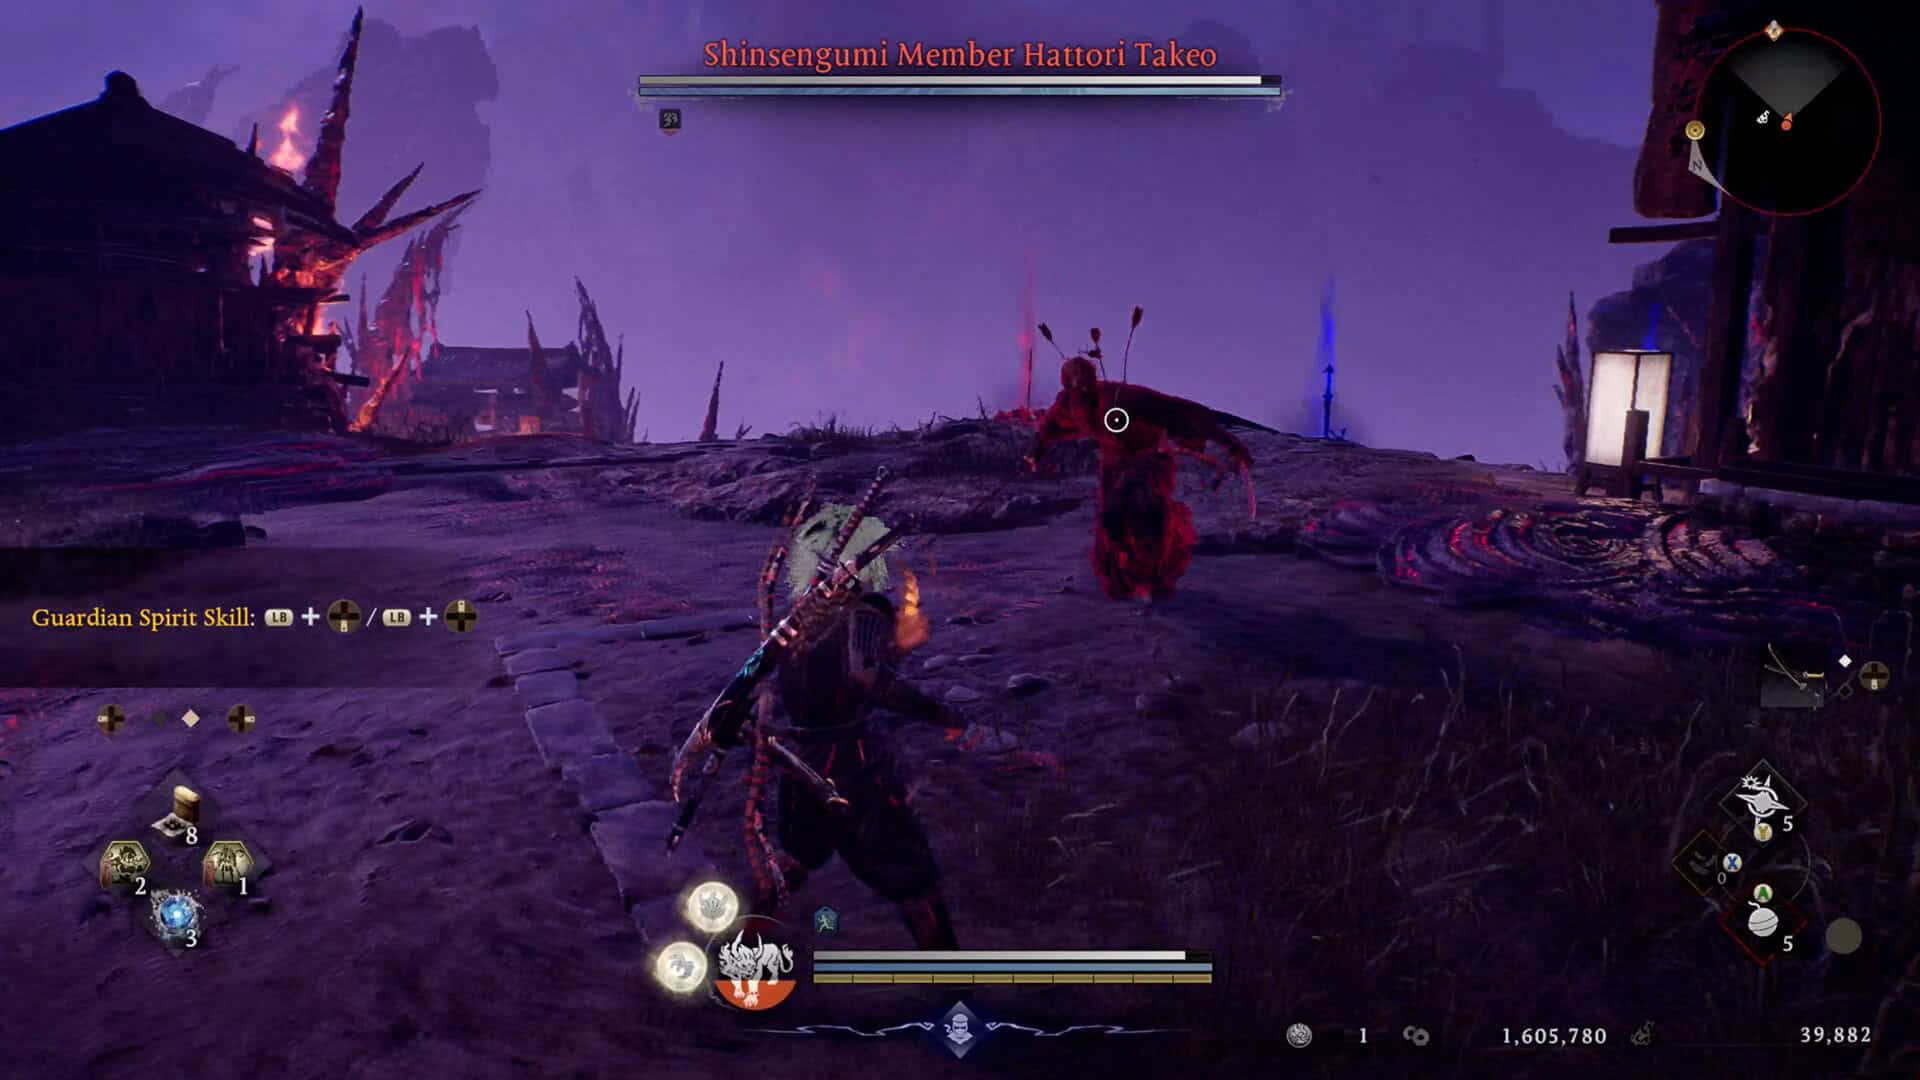
Shinsengumi Member Hattori Takeo in Nioh 3 has a reputation that outpaces the actual difficulty of the fight. He carries the weight of a named Shinsengumi warrior with dual katanas, but if you arrive with the right Ninja Tools and a touch of magic, this battle plays out as a controlled takedown rather than a serious test. The key is maintaining distance and letting Thundering Calamity, fire shurikens, and the Demon of Envy skill handle the damage while you stay well out of reach of his blades.
This guide covers where to find Hattori Takeo, how to unlock the fight, how to read his attack patterns, and how to run the full encounter from start to finish, including what to do when he unexpectedly recovers health mid-battle.
Bookmark this page and check out our other Nioh 3 boss fight guides on ingametor.com if you’re working through the full roster.
Shinsengumi Member Hattori Takeo Location in Nioh 3
The fight with Shinsengumi Member Hattori Takeo takes place in the Shichijo area, northeast of the Shichijo Avenue Ruins Shrine. He’s the target of a side quest called the Shinsengumi Scheme, and you won’t encounter him through the main story path alone. The quest becomes available after completing the main mission “A New Era,” so that’s your unlock condition if you can’t find it yet.
To start the Shinsengumi Scheme quest, head south of the Shimabara Pleasure District Main Gate shrine and look for the soul of a warrior waiting there. Speak to them to accept the mission. From there, go to the Shichijo Avenue Ruins Shrine and follow the path heading northeast. You’ll pass through a group of enemies near the stairs, and Hattori Takeo is waiting at the top of those stairs. The path there is straightforward once you know the direction.
One thing worth keeping in mind is that the Shinsengumi Scheme doesn’t end with Hattori Takeo. After you defeat him, the quest continues east across the rooftops toward another shrine, where you’ll face a second Shinsengumi opponent named Saito Hajime. So treat this as the opening bout of a two-fight run rather than a standalone mission.
Shinsengumi Member Hattori Takeo Attacks and How to Read Them
Hattori Takeo fights with dual katanas throughout the entire encounter, and all of his attacks are telegraphed clearly enough that you’ll rarely be surprised once you’ve seen each one. Since this guide recommends a ranged approach, you may not see all of these up close, but it’s worth knowing what to look for in case he closes the distance on you.
His most punishable attack is the Dual Katana Thrust. He pulls both katanas back by his hips and then lunges forward in a straight line. The pull-back is very readable, and if you dodge to the side as he commits to the thrust, you get a clean window to respond before he resets.
The Dual Swing is another common one. He positions both katanas to his opposite side, then swings across his body with both weapons at once. Watch for the positioning tell before he moves, and either step back or dodge in the opposite direction of the swing.
His Spinning attack starts with a spin and ends with a heavy downward finisher. As soon as you see the spin begin, back away immediately. The finishing blow has more range than it looks, so don’t stop moving until the animation is fully complete.
Finally, he has an Extended Arms Spin where he spreads both arms out to his sides with katanas extended and then spins forward toward you. This one covers ground quickly, so keep your distance and let it play out before you reposition.
-

- Start the battle against Shinsengumi member Hattori Takeo
-
- Use the “Demon of Pride” ability against the boss
Best Ninja Tools and Magic to Beat Hattori Takeo in Nioh 3
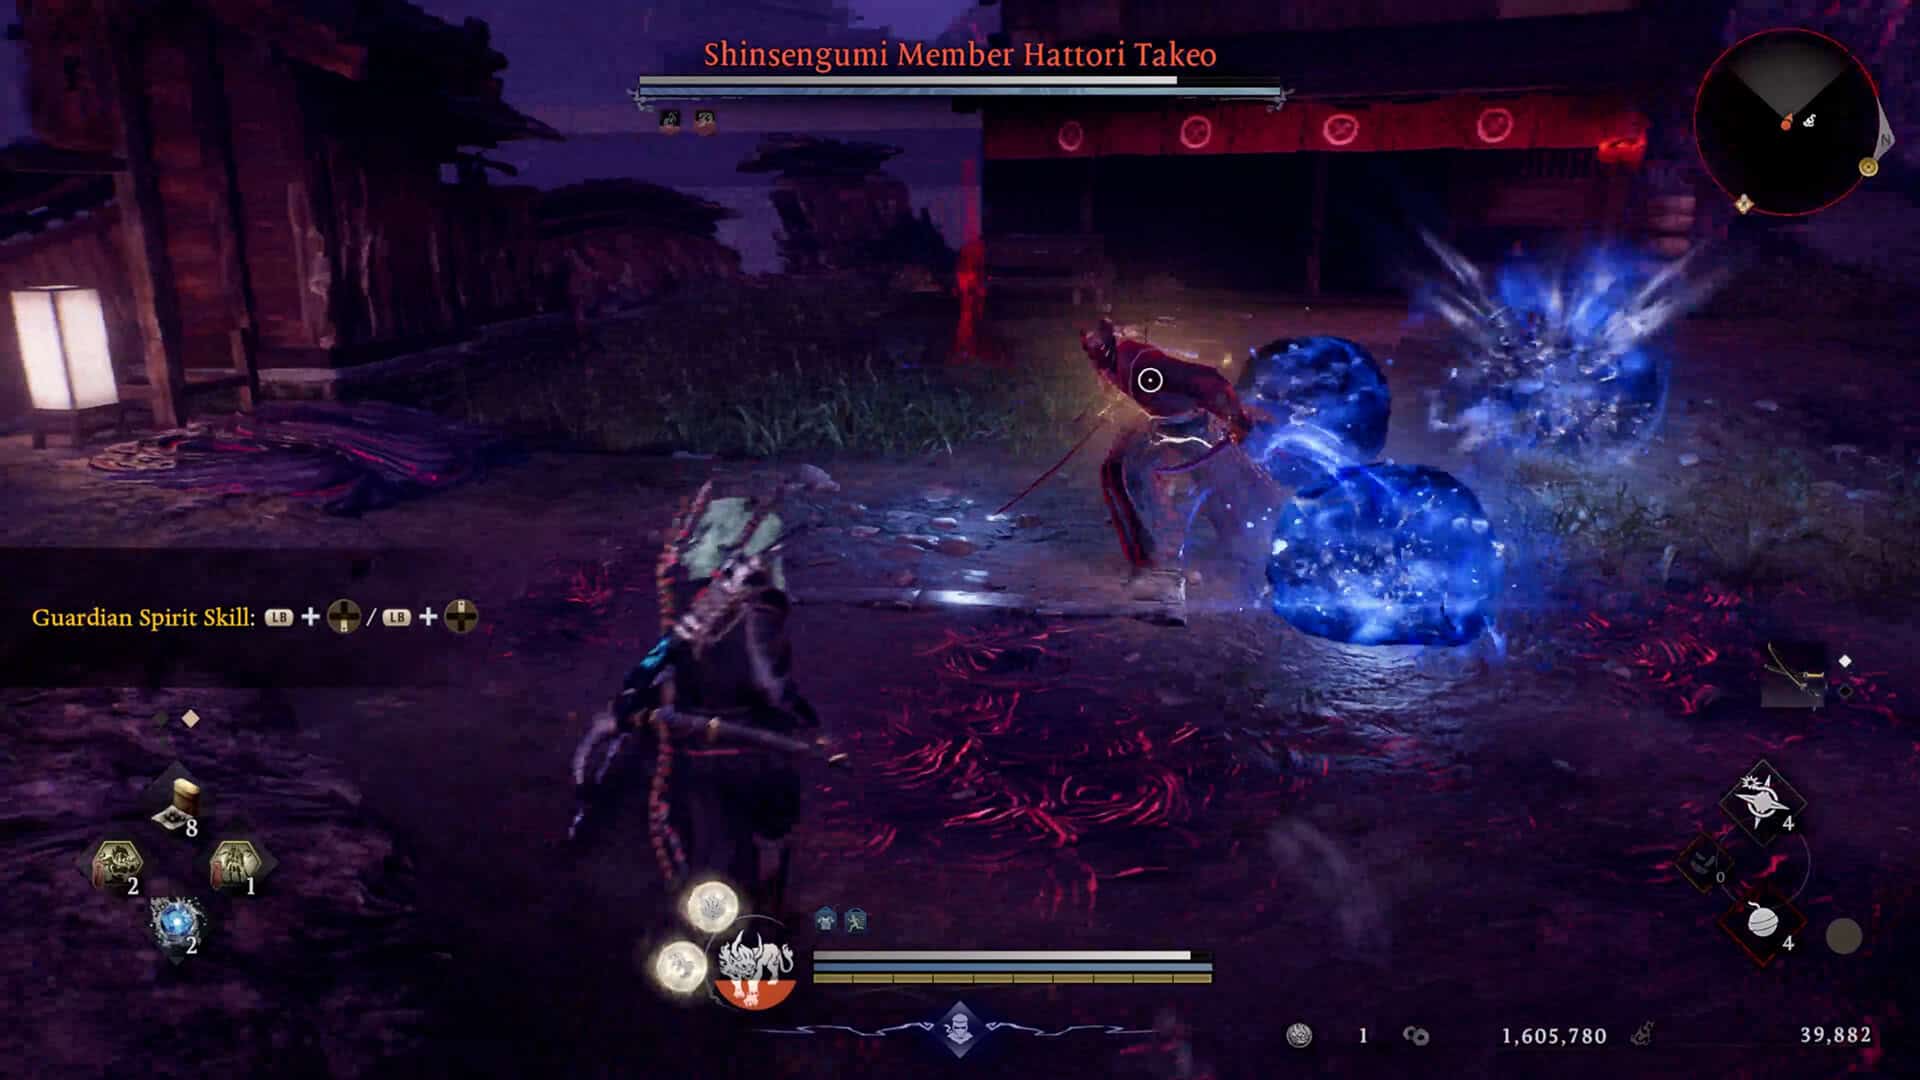
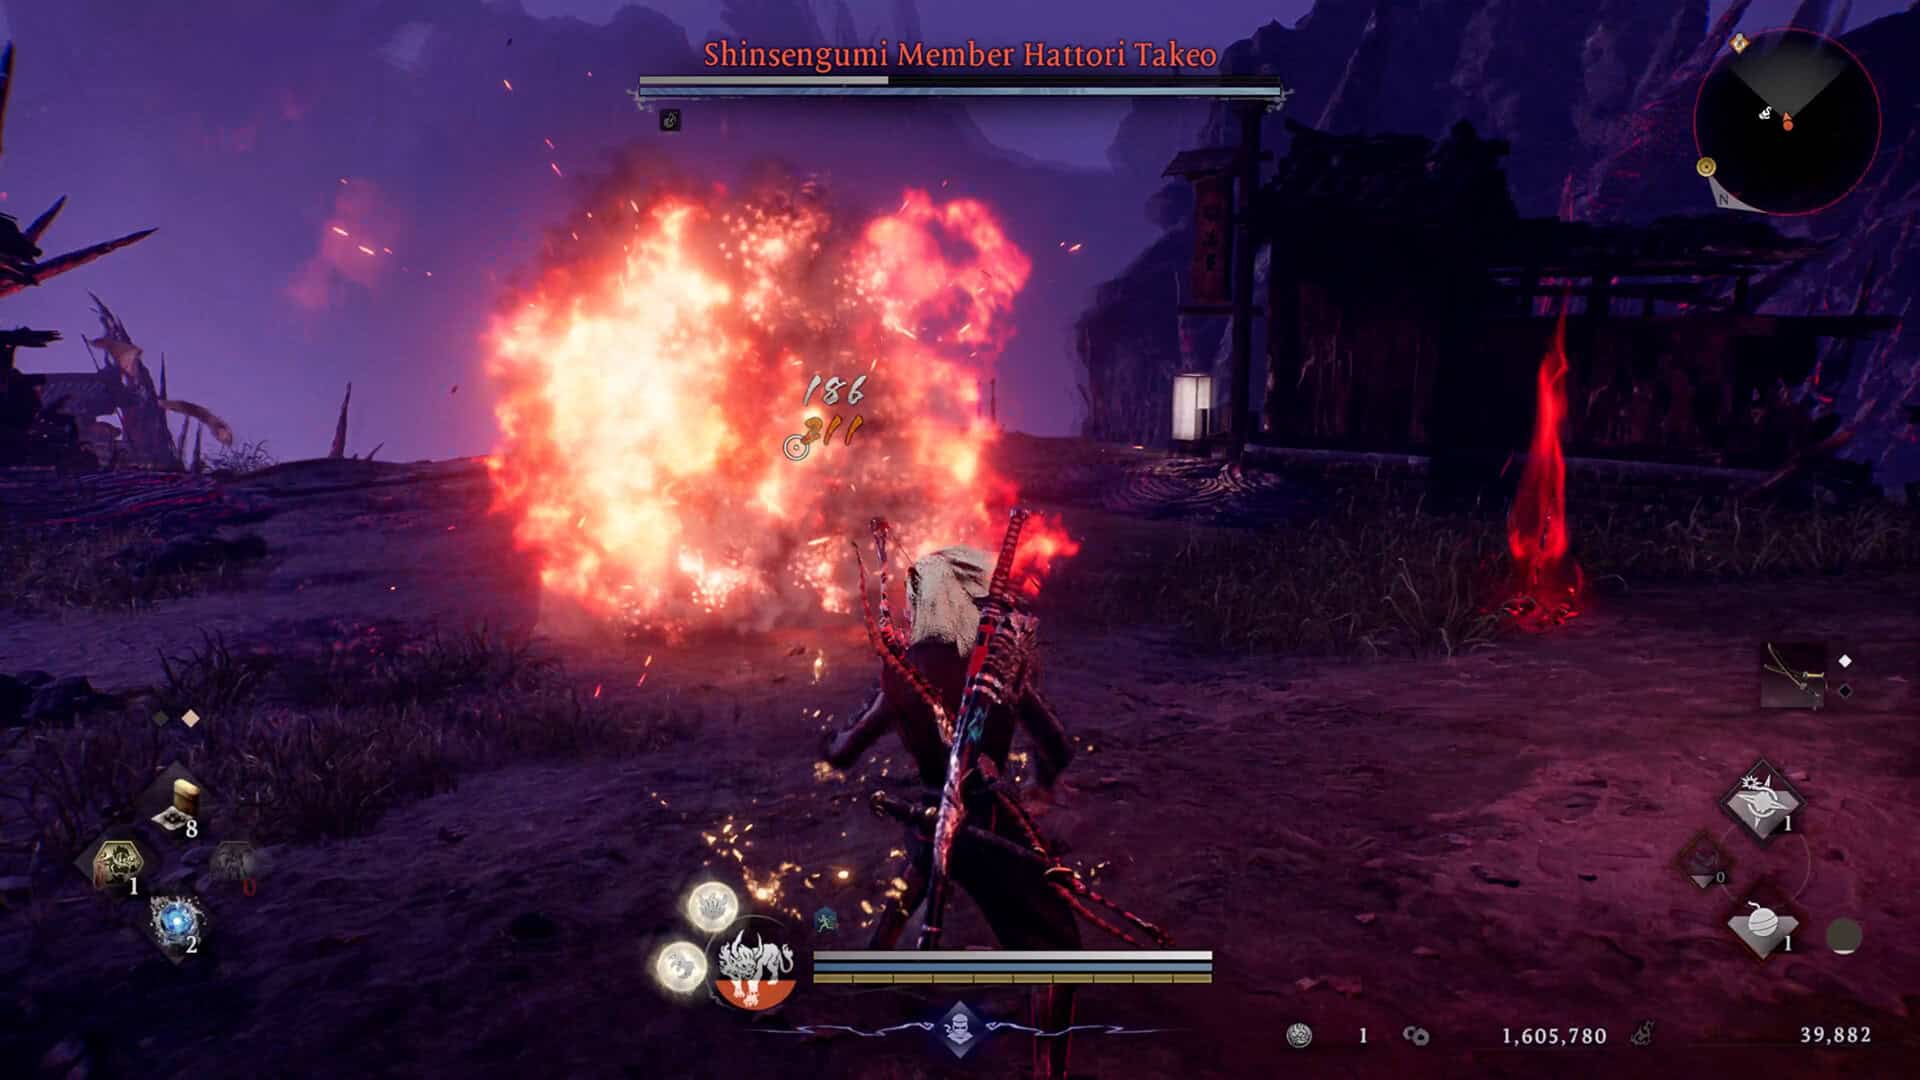
The build for this fight is built around three Ninja Tools and one magic skill: Thundering Calamity, fire shurikens, Gunpowder Bombs, and the Demon of Envy skill. All of these tools recharge during combat, so you can use them freely without worrying about running out at the wrong moment.
Thundering Calamity is your primary damage dealer. It hits for massive damage with each use, Hattori Takeo cannot dodge it, and the skill regenerates through the Evade ability, which means as long as you’re moving and dodging, it keeps coming back throughout the fight. Use it every time it’s available. There’s no reason to hold it in reserve.
The Demon of Envy magic skill is what sets up the sustained damage. When you land it on Hattori Takeo, he catches fire and takes periodic damage over time as long as the status is active. Once that burning debuff is on him, fire shurikens and Gunpowder Bombs are how you refresh and maintain it. The combination of constant fire DoT and the burst impact of Thundering Calamity is more than enough to take him down without ever putting yourself at risk.
At this stage of the game, by the time you reach the Shinsengumi Scheme quest, you should already have all of these tools unlocked and stocked. If any of them are missing from your loadout, make sure to equip them before starting the mission.
How to Beat Shinsengumi Member Hattori Takeo: Full Walkthrough
From the moment the fight begins, your first goal is distance. Move away from Hattori Takeo immediately and establish as much space between you and his katanas as the arena allows. Everything in this fight works better when you’re far away from him, and melee exchanges with a dual-katana fighter are never going to be in your favor when the ranged toolkit is this effective.
Open with the Demon of Envy skill to apply the fire debuff. Once he’s burning, follow up with Thundering Calamity immediately. That combination lands a massive spike of damage right out of the gate and sets the tempo for the rest of the fight. From there, the loop is simple: use a fire shuriken or Gunpowder Bomb to refresh the burning status whenever it starts to fade, and throw Thundering Calamity every time it recharges. Repeat until he’s down.
If he closes the gap and gets into melee range, don’t stand and trade hits. Dodge away, re-establish distance, and go back to the ranged loop. You’ll get hit occasionally, but the priority is always to get back to range and let the tools work.
There is one moment in this fight that will catch you off guard the first time. Midway through the encounter, Hattori Takeo replenishes a significant portion of his health. It looks alarming when it happens, and I’ll admit it surprised me too. But it doesn’t change anything about how the fight works. Keep the same rotation going, Demon of Envy fire debuff, Thundering Calamity for burst damage, fire shurikens and bombs to maintain the burn, and the recovered health comes back down just as quickly as the first bar. The tools recharge fast enough that you’re never short on options, and his recovered health doesn’t come with any new attack patterns or phase changes. Stay calm, stay at range, and finish the job.
-
- Ninja Tools and Magic to Beat Hattori Takeo
-
- Shinsengumi Member Hattori Takeo: Full Walkthrough

Frequently Asked Questions: Shinsengumi Member Hattori Takeo in Nioh 3
Where is Shinsengumi Member Hattori Takeo in Nioh 3?
He is found at Shichijo, northeast of the Shichijo Avenue Ruins Shrine. Follow the path up the stairs in that direction and he’ll be waiting at the top.
How do you unlock the Hattori Takeo boss fight in Nioh 3?
You need to complete the main mission “A New Era” first. After that, go to the Shimabara Pleasure District Main Gate shrine area and speak to the soul of a warrior to pick up the Shinsengumi Scheme side quest.
What is the best build for Hattori Takeo in Nioh 3?
A ranged Ninja Tools build works extremely well here. Equip Thundering Calamity, fire shurikens, and Gunpowder Bombs as your Ninja Tools, and use the Demon of Envy skill for magic. Apply the fire debuff, then cycle Thundering Calamity and fire tools to maintain the burn and deal consistent burst damage from a safe distance.
Does Hattori Takeo heal himself during the boss fight?
Yes, he replenishes a portion of his health at some point in the middle of the fight. It doesn’t change the fight mechanics or trigger a new phase. Just continue the same rotation of fire debuff and Thundering Calamity and his recovered health goes down quickly.
What comes after defeating Hattori Takeo in Nioh 3?
The Shinsengumi Scheme quest continues. Head east from the Hattori Takeo fight area using the rooftops to reach the next shrine in the Shichijo region, where you’ll face another Shinsengumi member named Saito Hajime before the quest concludes.
Check out our other Nioh 3 boss fight guides on ingametor.com for more locations, strategies, and step-by-step walkthroughs across every major encounter in the game.