Clash of Convictions is the thirteenth chapter of Ninja Gaiden 4, and it will bring many unexpected plot twists and unforgettable impressions. It is a fairly short chapter, but here you will have to fight two unusual bosses in a row. The previous chapter of Dragon’s Maw was very interesting and intense, so let’s move on to the review of episode 13 of this game. Let’s take it one step at a time.
Incencse of Rebirth in Clash of Convictions
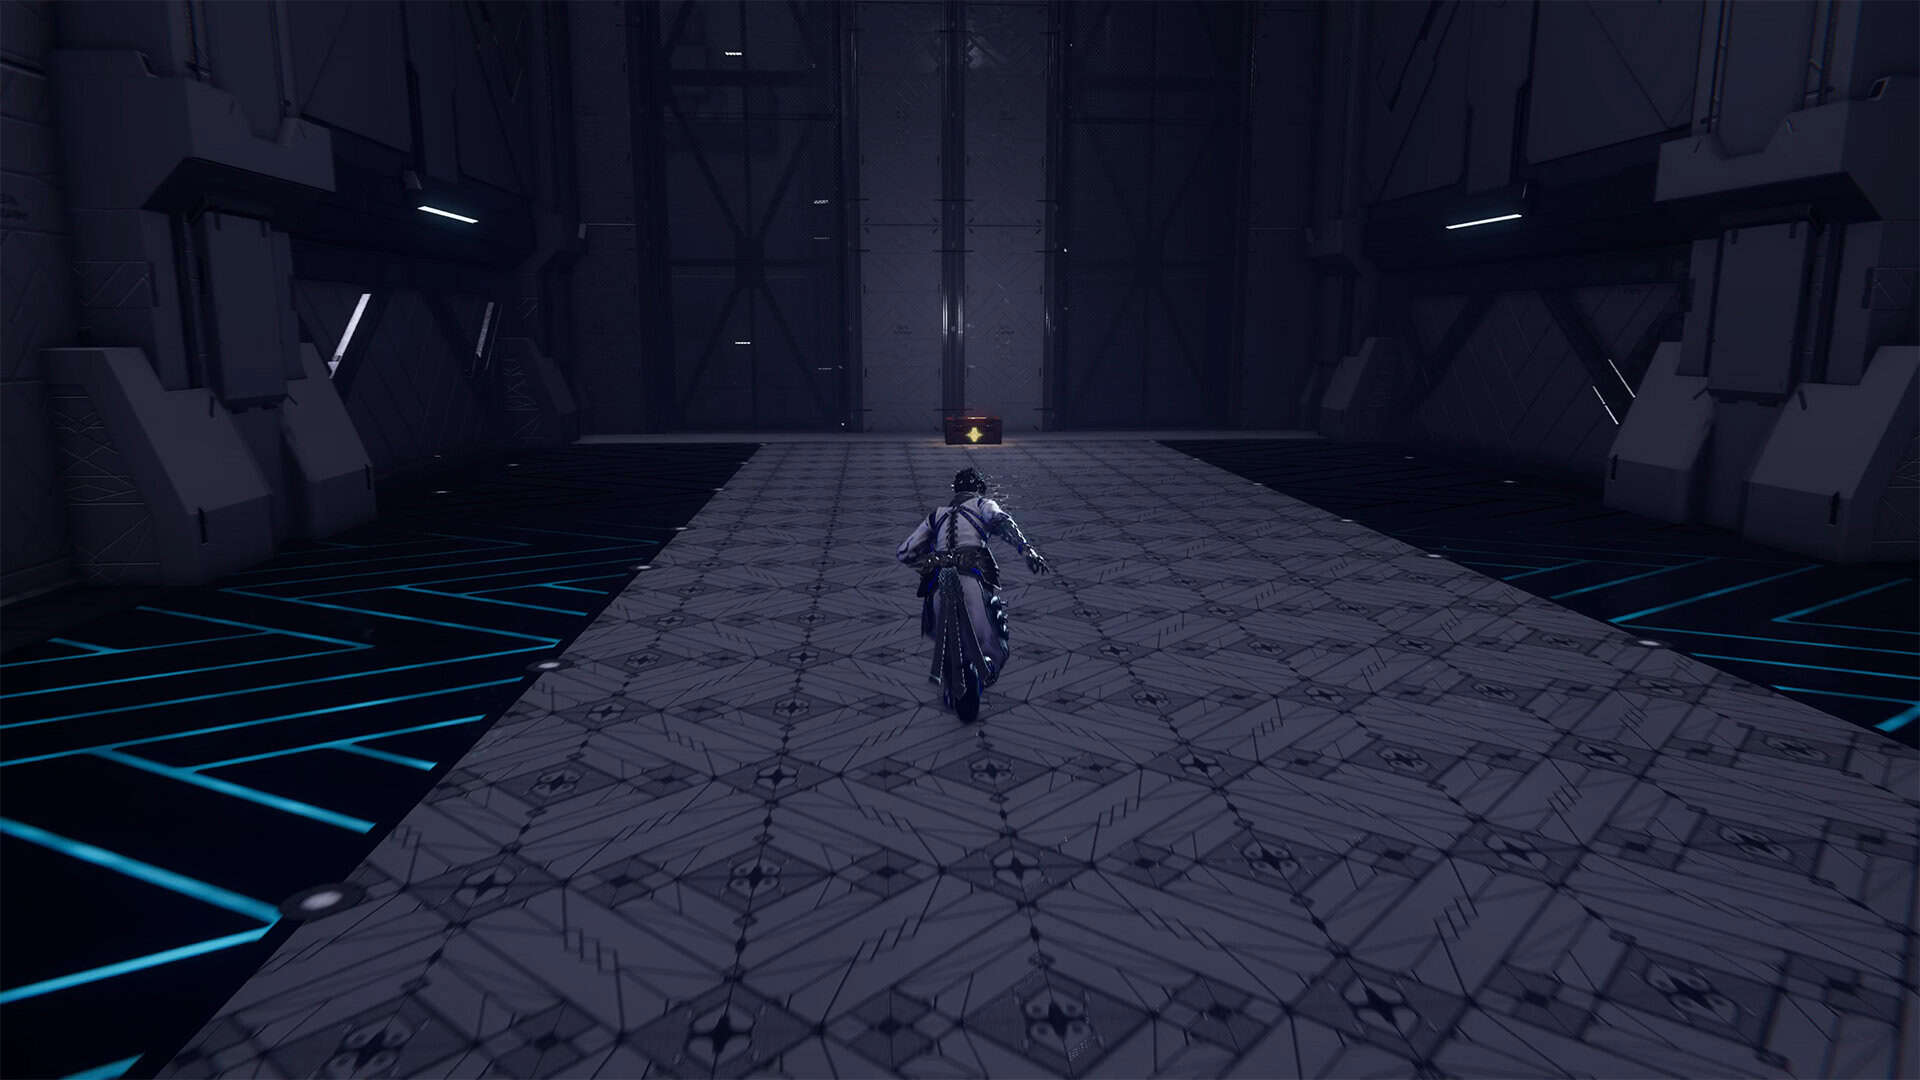
At the beginning, turn right to find the only chest in this chapter and get the Incense of Rebirth.
Purgatory Gate in Clash of Convictions
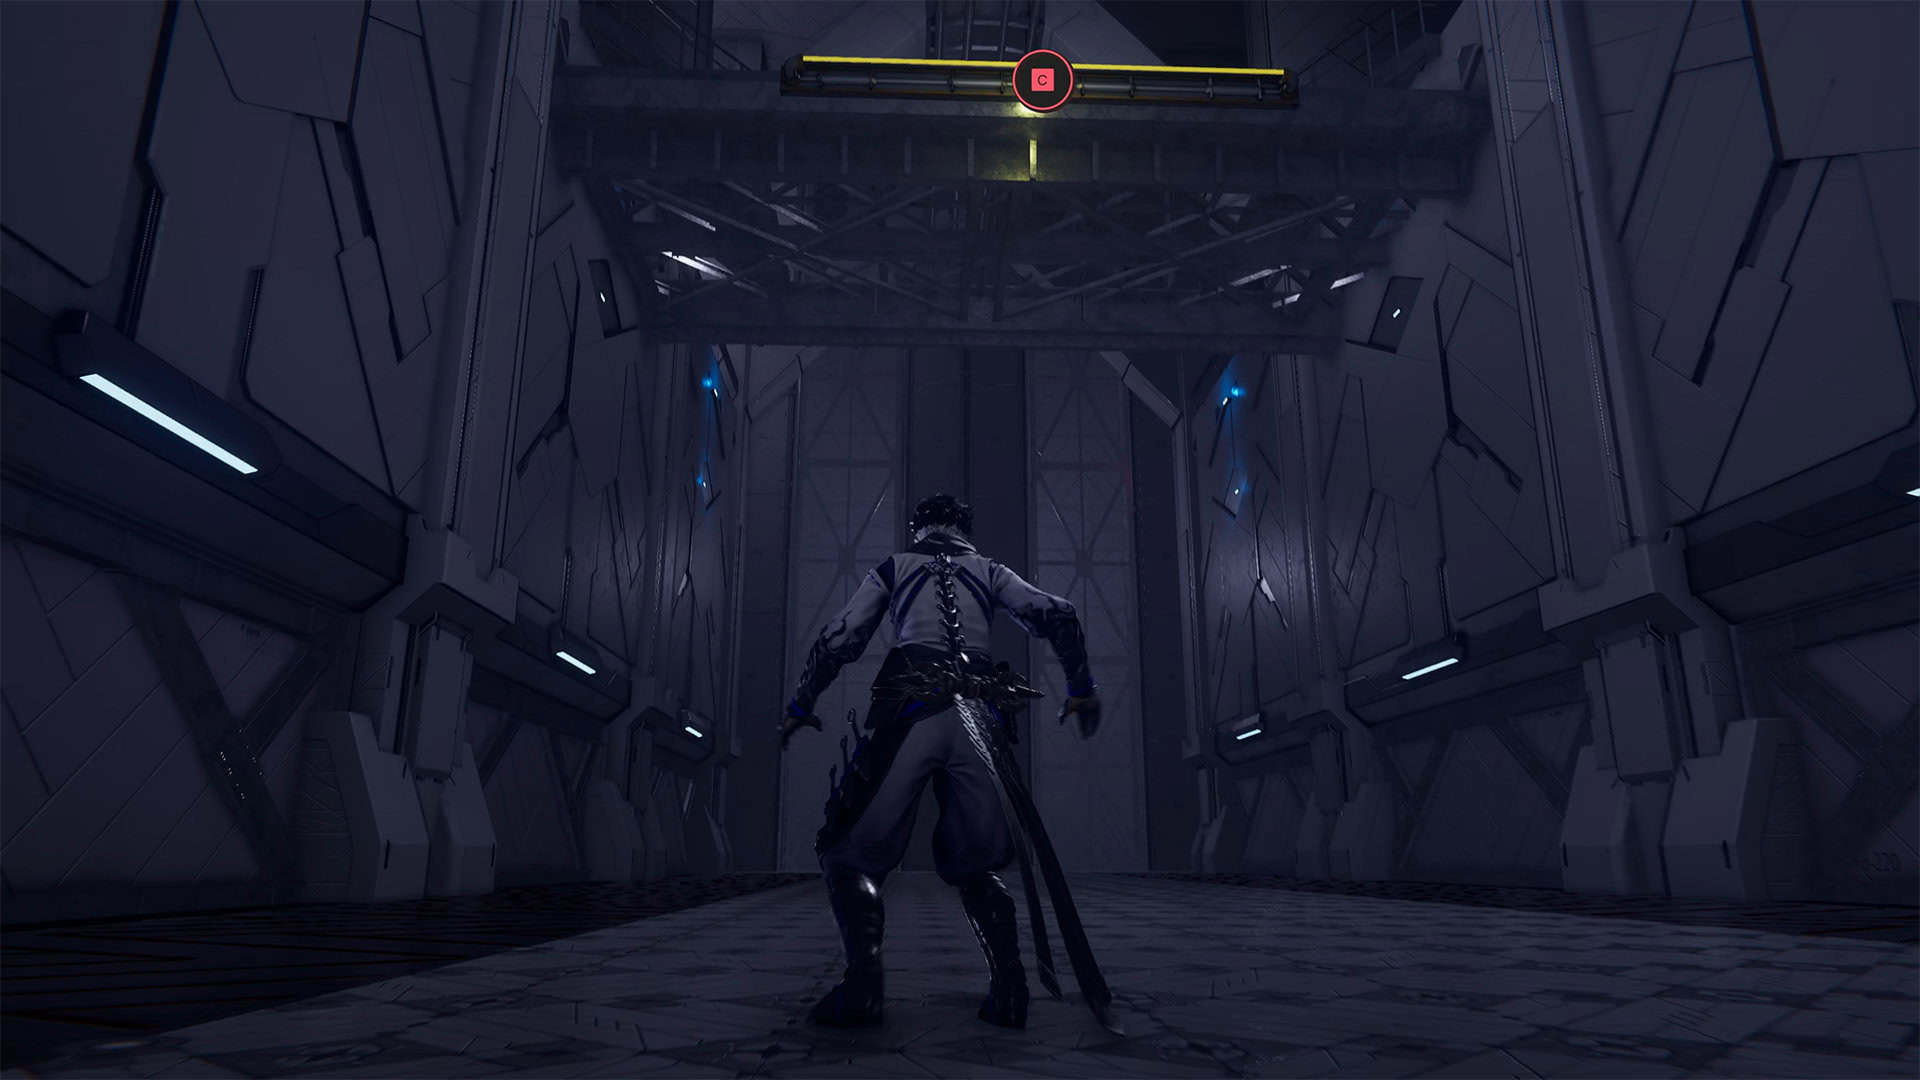
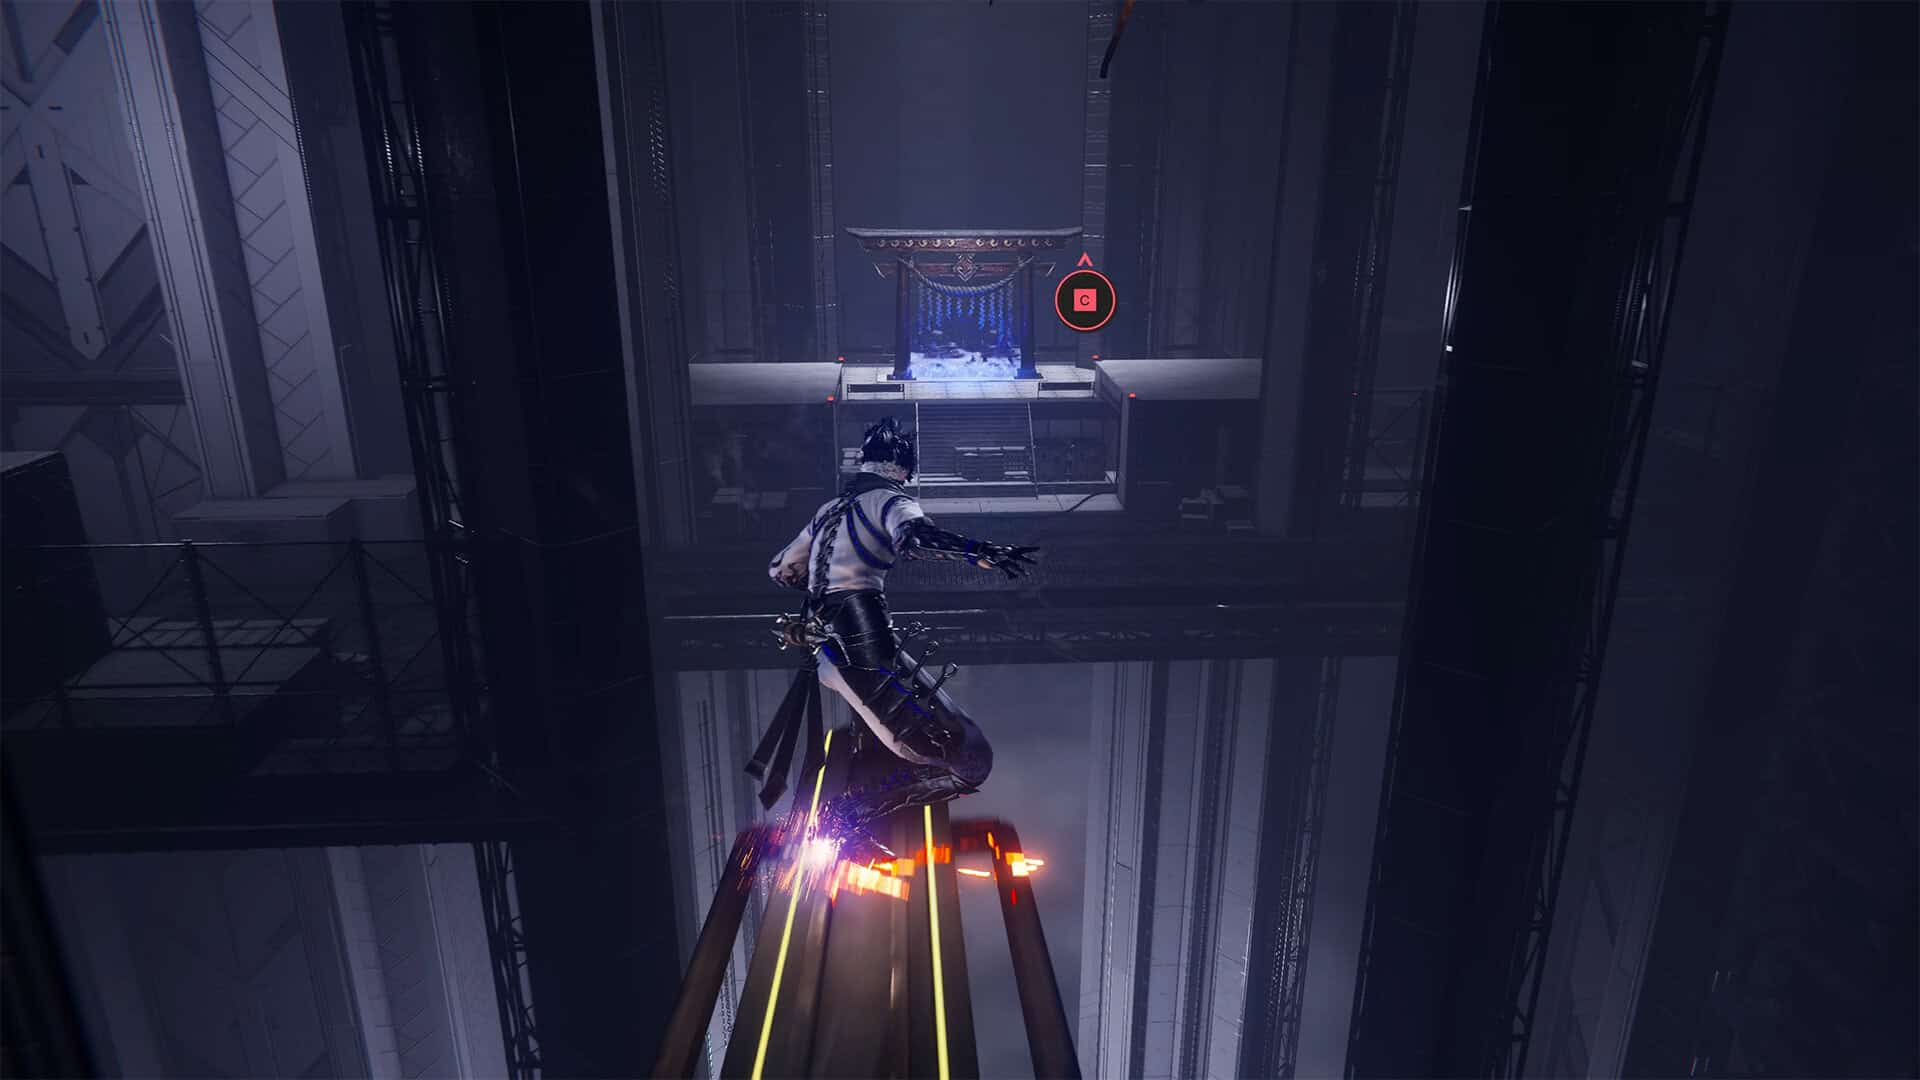
Next, you need to return to the main road and, oddly enough, go back instead of forward. It is by moving here that you will find Purgatory Gate. Move down the slope and turn left. You will see a platform above, which you can jump onto using Caddis Wire. Turn left again onto the stairs and you will see a column that you can jump onto. Next, you will find yourself on a rail.
Moving along it, you will need to jump onto the wall on the left to bypass the obstacle and then return to the rail. You will see Purgatory Gate ahead. This is a rather difficult challenge. The previous chapters were much easier, so think carefully about whether you are ready to complete this task or whether it would be better to return to it later, for example during your second playthrough. After Purgatory Gate, you will have one stop at DarkNest Terminal, followed by two boss fights in a row. Carefully allocate your NinjaCoins to replenish your supplies.
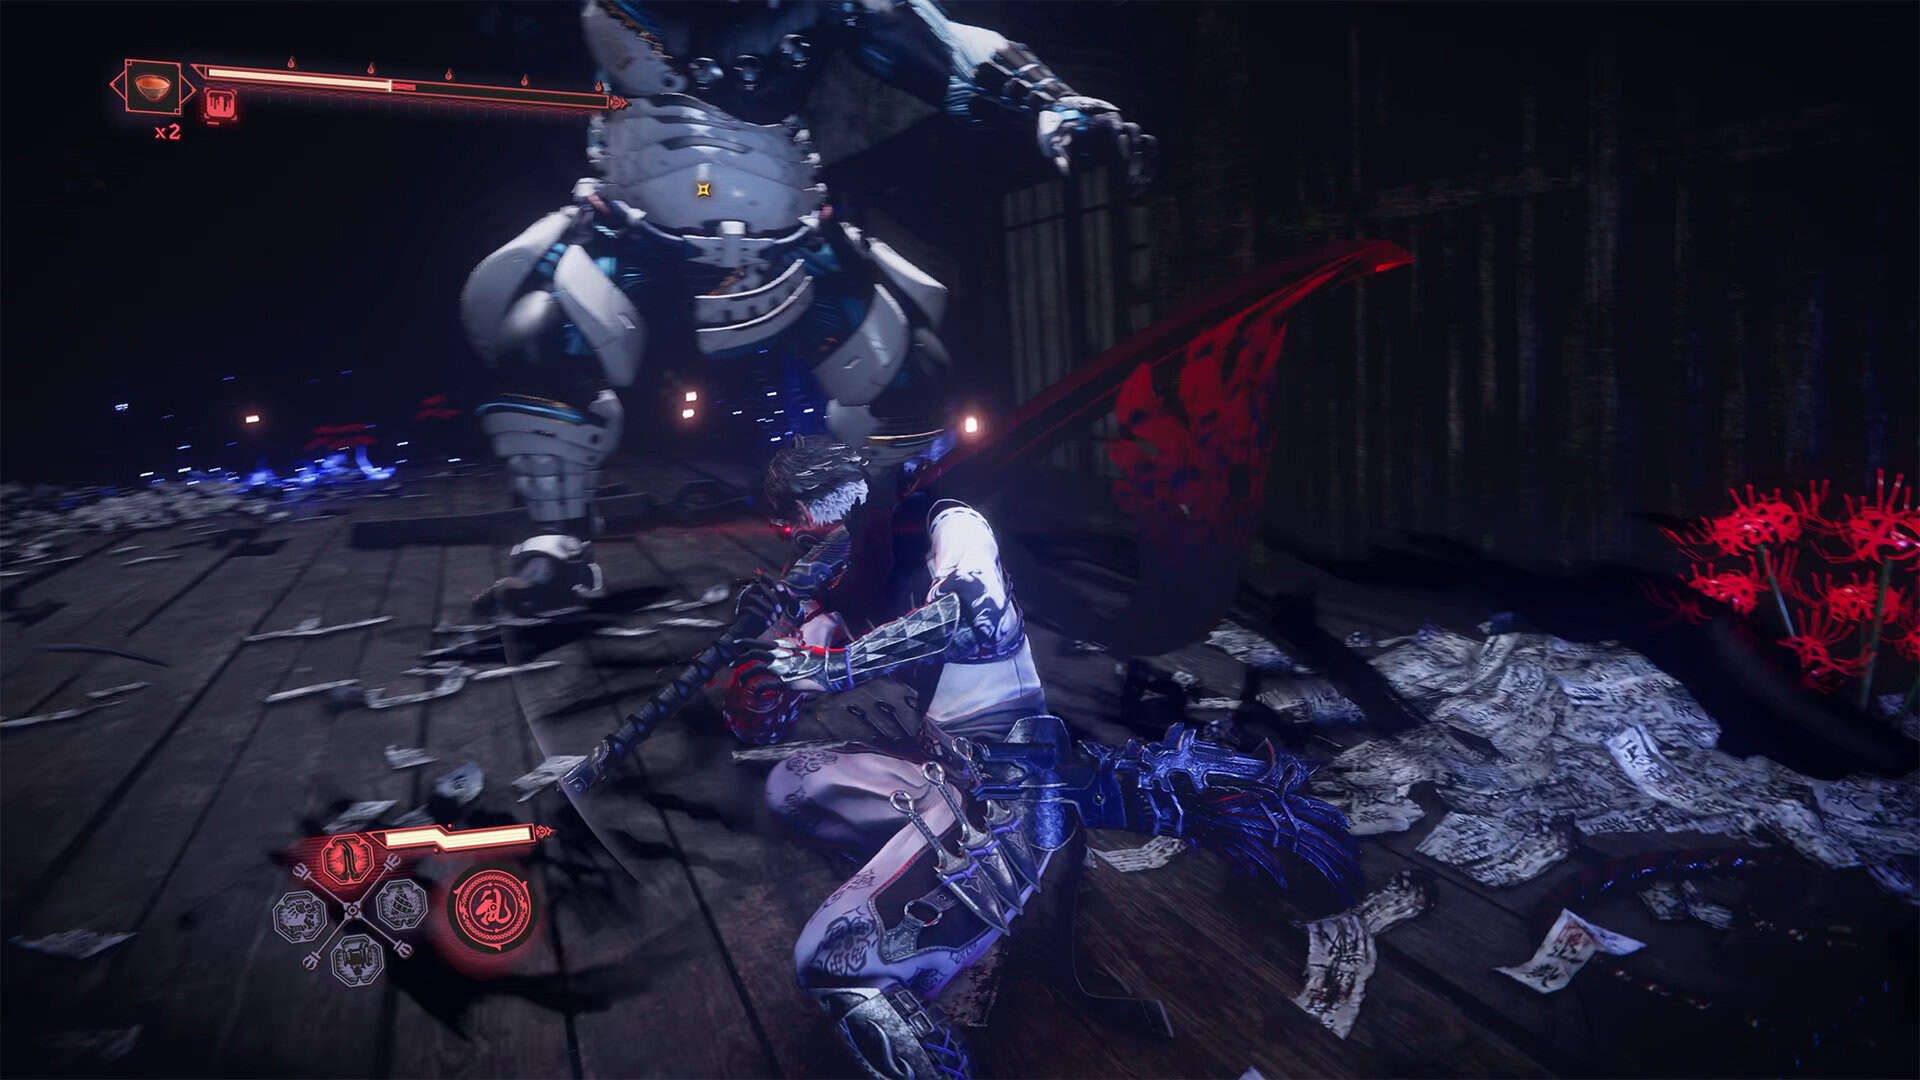
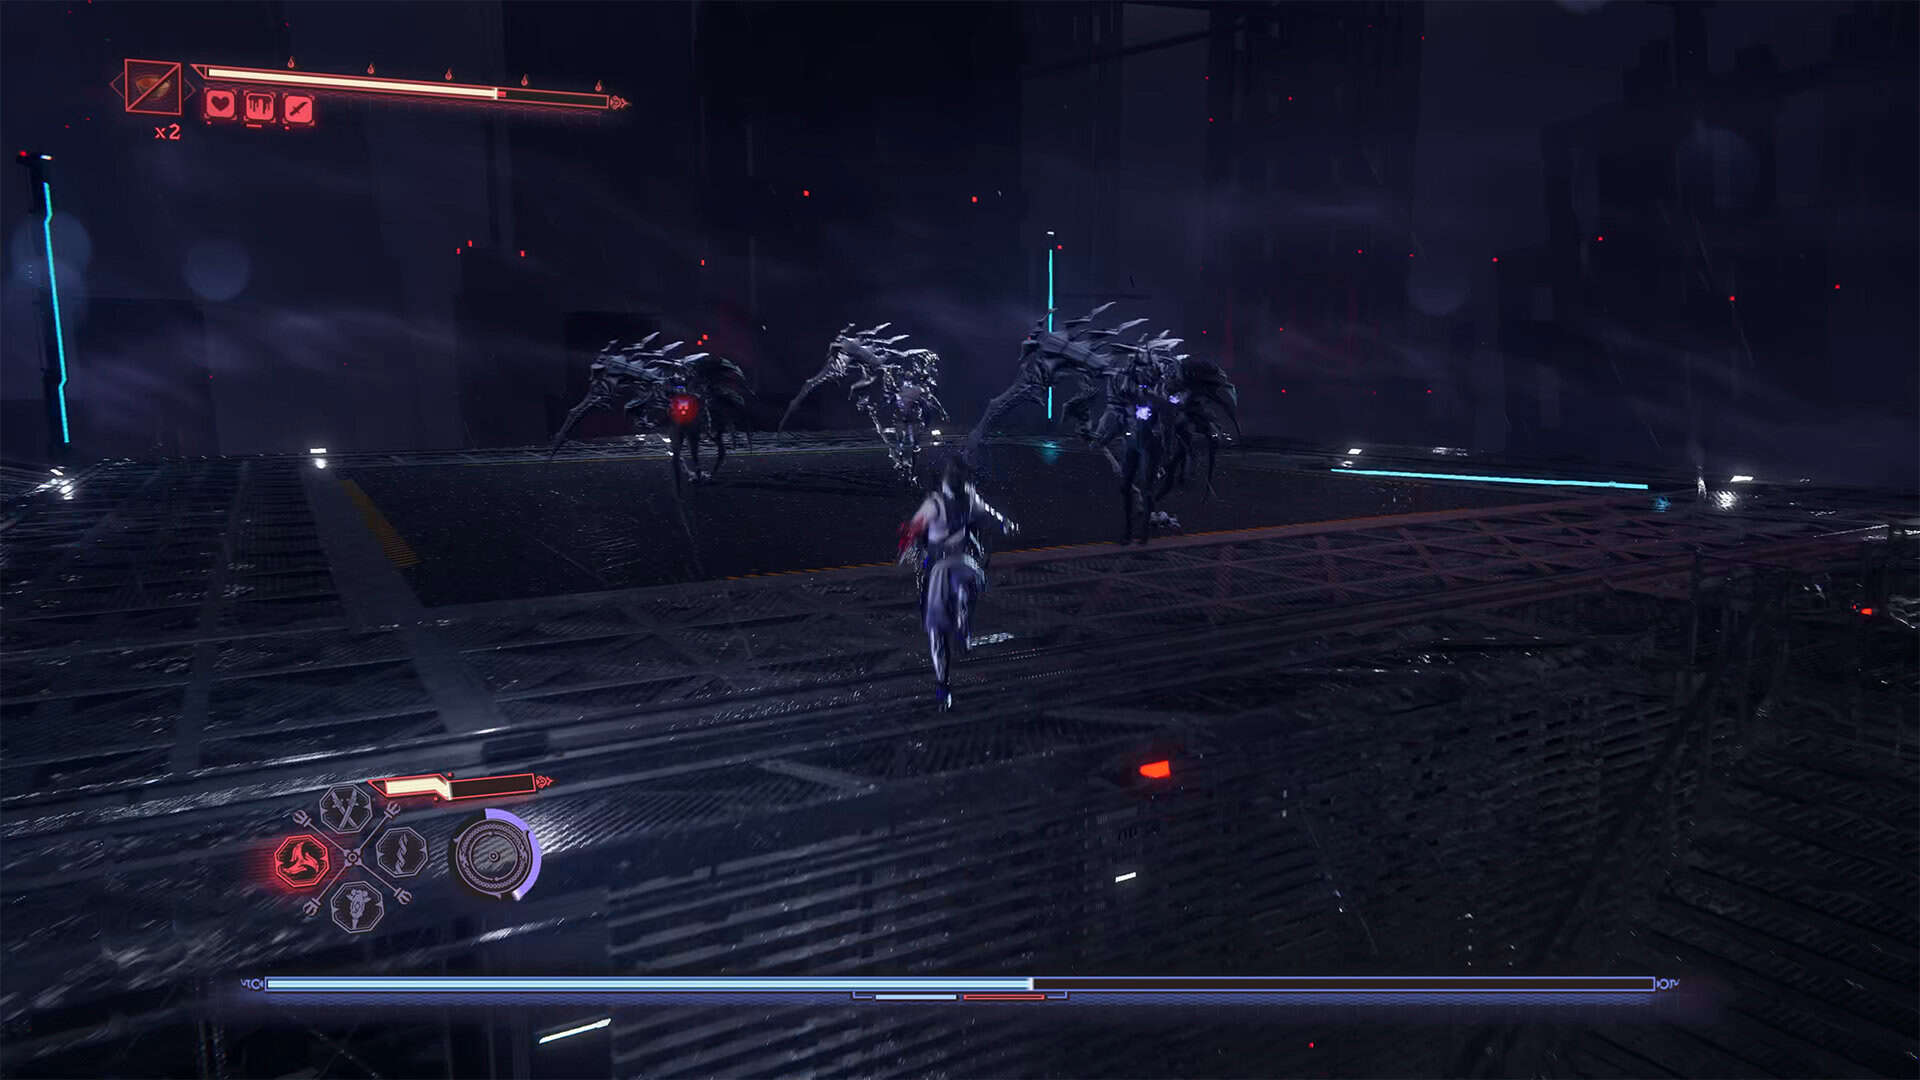
The first wave of enemies seems endless. Soldiers will appear one after another. Among ordinary opponents, you will encounter more complex and armored ones. There will be soldiers who fly, who shoot from a distance, who attack quickly and powerfully. This is a real test of your ninja skills. Use the entire arsenal of techniques that you have learned and can perform well.
Do not focus your attention on one enemy. You must be as mobile as possible. Dodge and block all attacks that come your way. The key to your success in this battle is speed and evasion. In the meantime, try to destroy the easier targets first to thin out the ranks of your opponents. Also, pay attention to opponents who deal damage unexpectedly and from a distance. They should also be eliminated first. Against armored opponents, use the crow stance to knock down their attacks and deal maximum damage.
Don’t rush to use Takeminakata’s ultimate ability at the beginning of the fight until Proto-Goliath appears. This ability will come in handy here to take him out with one hit, as well as all other enemies that fall under the effect of this ability. After defeating Proto-Goliath, you will still have some time to build up your berserk mode on other enemies before you move on to fighting the second wave of enemies.
The second wave of enemies consists of three super-armored opponents and Proto-Goliath. This group is difficult to defeat, especially if you are already exhausted from previous battles and running out of health potions. The tactic remains the same: you must try to dodge all the attacks coming your way. At the same time, you need to fight actively to increase your berserk meter. When you are ready, use Takeminakata’s ultimate ability. With this strike, you should destroy Proto-Goliath and, preferably, several armored enemies. If there are only one or two left, you can deal with them using your experience. After the victory, you will see a message that Purgatory Gate has been cleared, and you will receive a reward for this extremely difficult trial.
-

- Incencse of Rebirth in Clash of Convictions
-
- The path to Purgatory Gate through the top
-
- Purgatory Gate in Clash of Convictions
-
- Difficult opponents during testing
DarkNest Terminal in Clash of Convictions
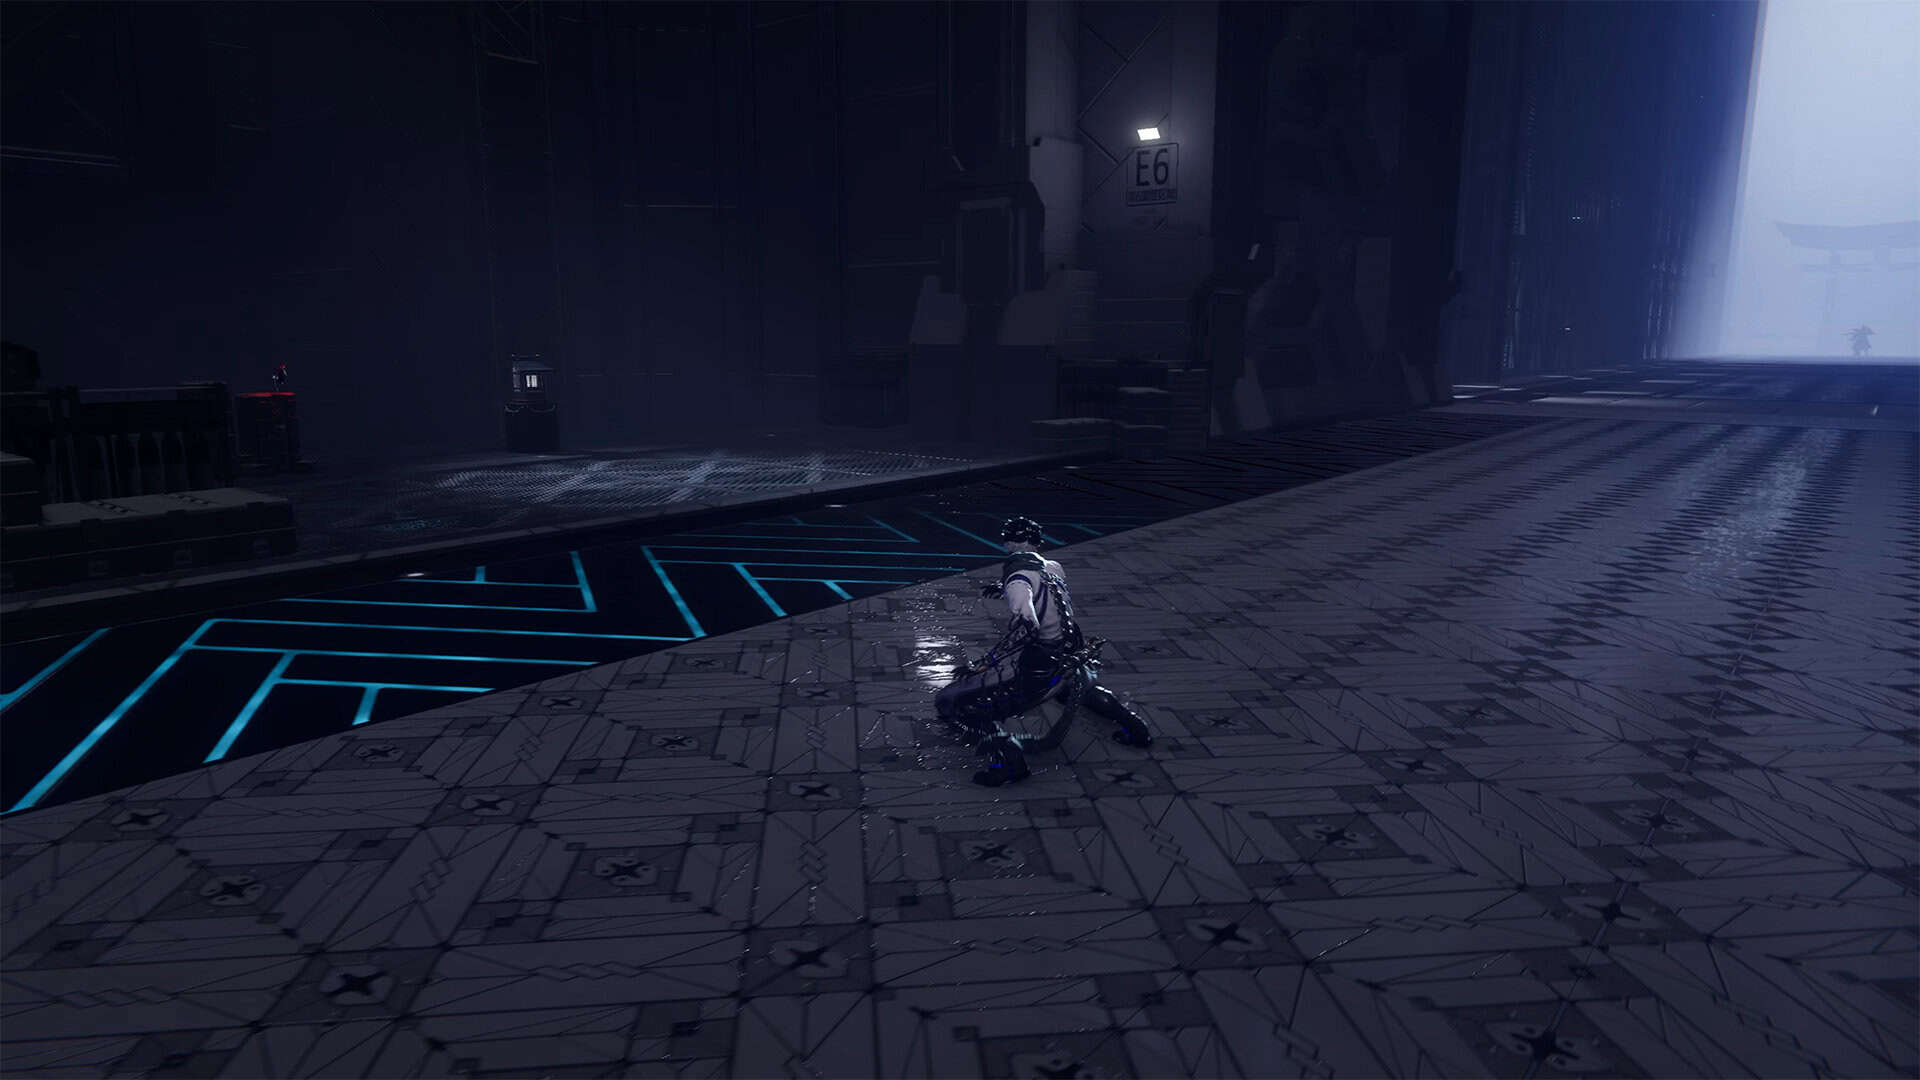
After successfully completing the mission, return to the main road and find DarkNest Terminal on the left side of the road. Here you need to replenish all your supplies as much as possible, as there will be no more stops, and two difficult enemies await you ahead, whom you must defeat.
Clash of Convictions Kagachi guide
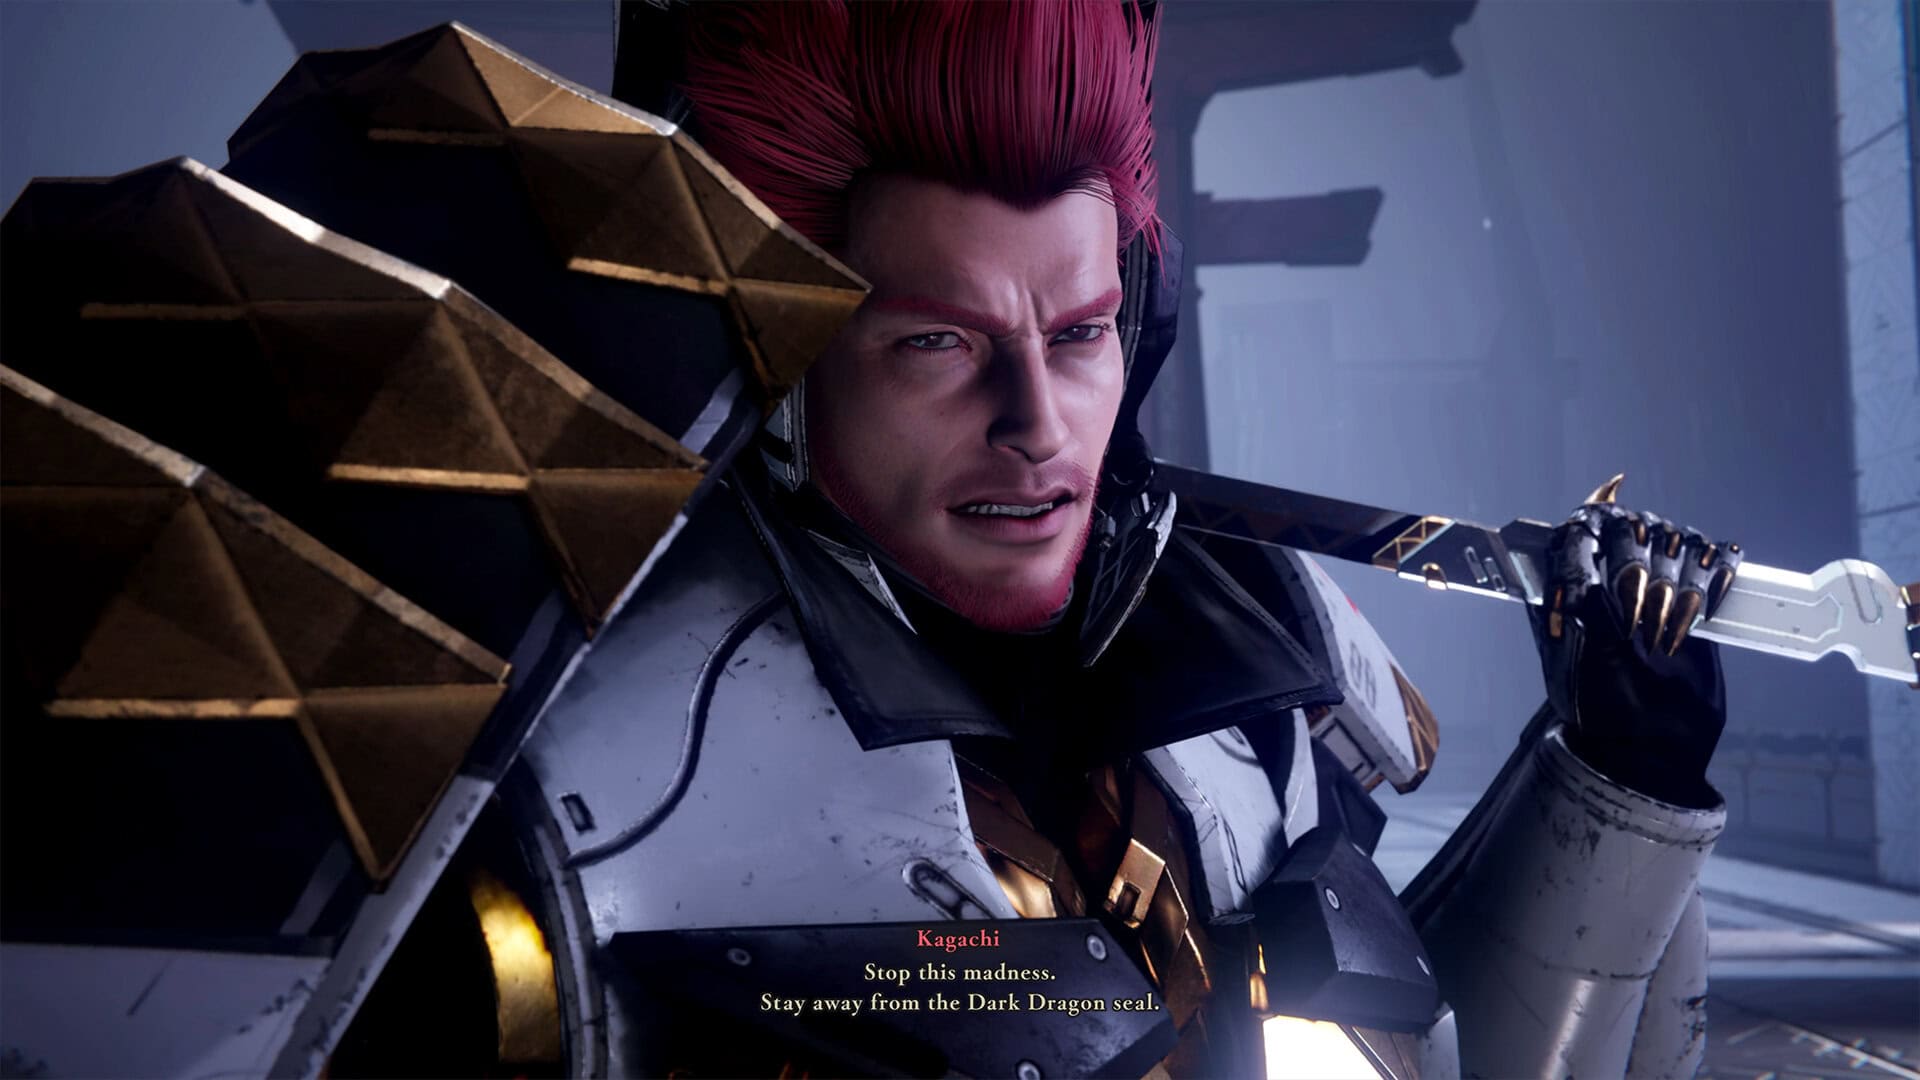
The first enemy you must defeat in this chapter is Kagachi. This enemy’s main feature is its extremely powerful attacks, which can destroy you quite quickly. Therefore, when attacking, always remember to defend yourself. In fact, Kagachi is no more difficult than any of the previous bosses you have encountered in this game. If you fight aggressively, Kagachi will be forced to take damage and will have less chance to attack you.
Use the crow stance attack wisely. Kagachi is particularly vulnerable to these attacks, and they also break up the powerful combos that the enemy can use against you. The best way to take minimal damage is to dodge his attacks. Not all of his attacks can be blocked, and he will quickly break through your block. Therefore, do not overuse parrying, but try to dodge Kagachi’s powerful attacks. As with all other opponents, you can catch them off guard with a successful parry and force them to lose their rhythm for a while. If you stun Kagachi, you will have a few seconds to deal additional damage before he regains consciousness.
At the beginning of the second stage of the battle, Kagachi will jump into the center of the arena and begin to prepare for the second phase. Don’t be afraid of this animation; instead, try to inflict as much damage on your opponent as possible. For a few seconds, Kagachi will stand motionless and unprotected, and you can damage him without hindrance.
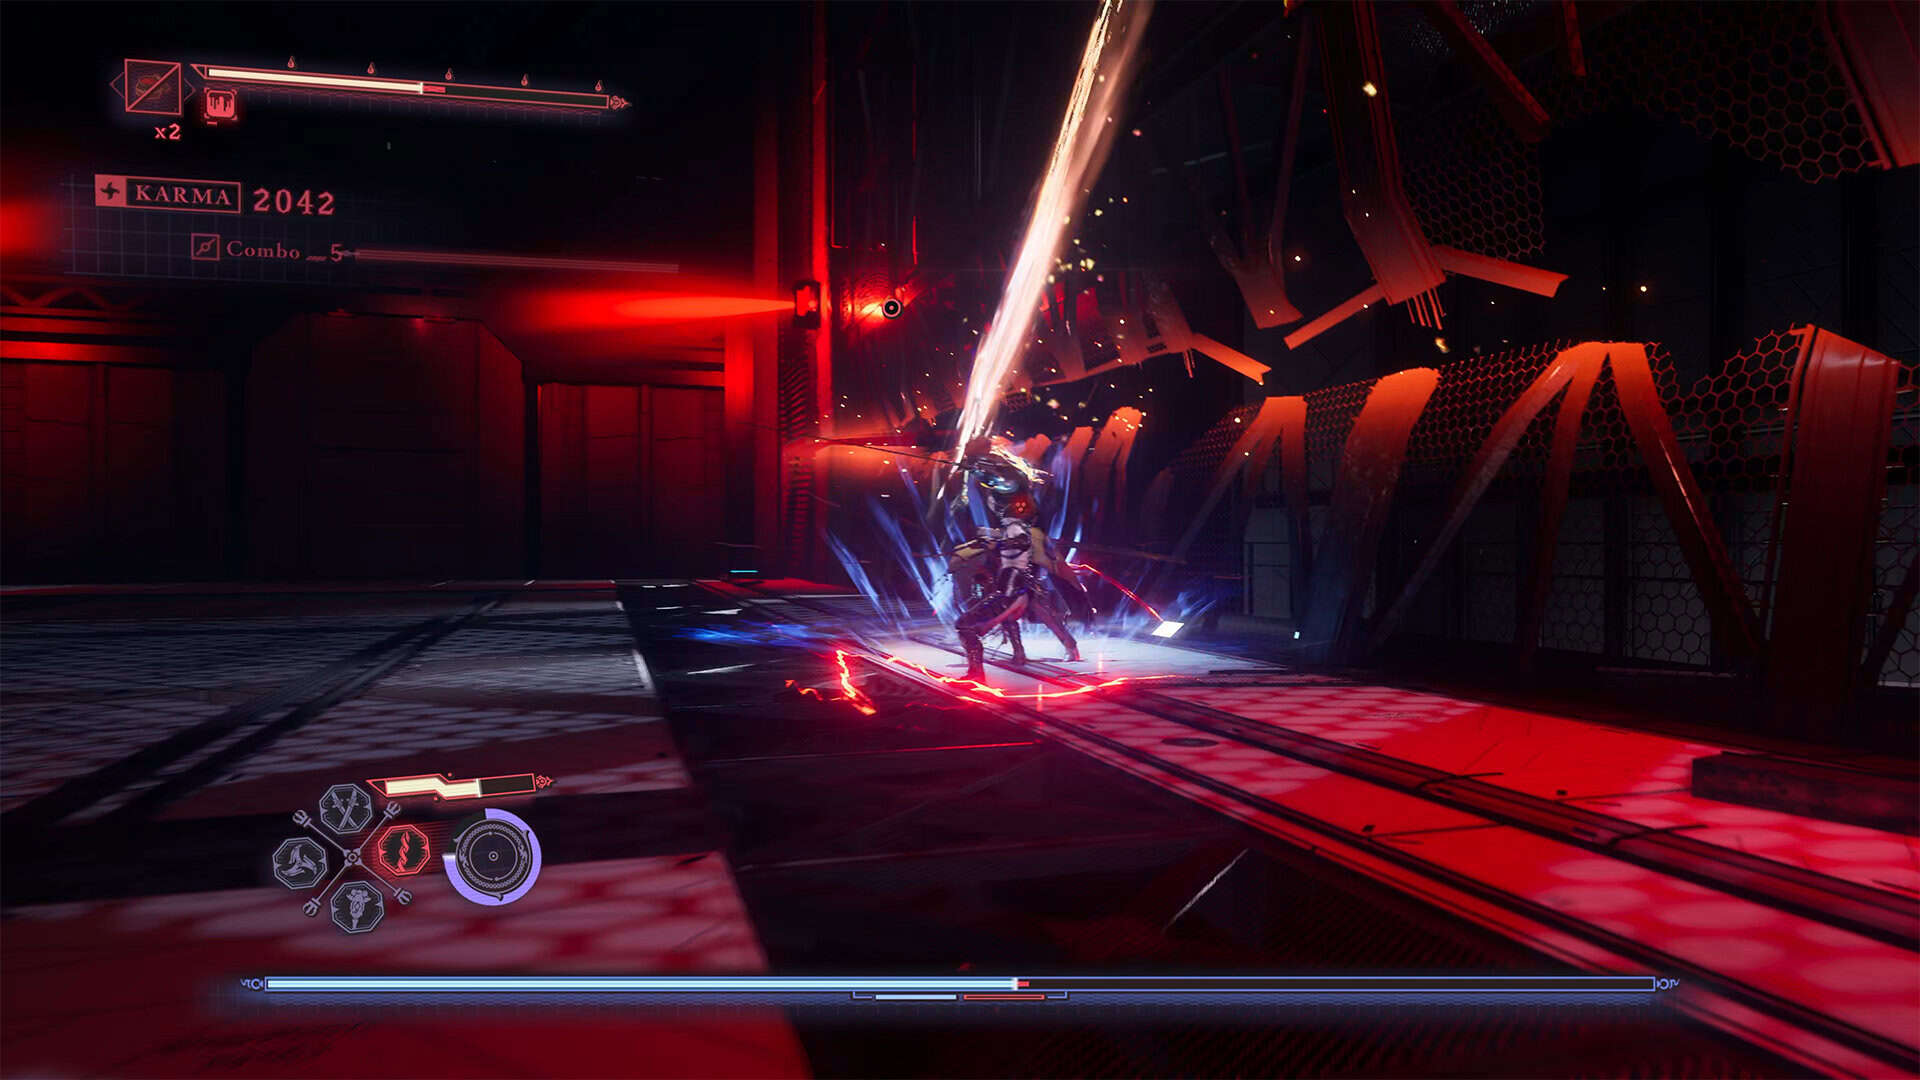
In the second phase, Kagachi will grow a second arm and start using two katanas at the same time. This significantly increases his attack power, so you will have an even harder time. His most dangerous attack is with a katana across the entire arena in a horizontal or vertical plane. You need to notice the animation of this attack in time and either interrupt it or run away to a safe place. You can even run up a wall to protect yourself from a powerful attack.
At this stage, you should already understand all of his combo attacks and react to them in time, blocking, interrupting, or running away. This adds control to the battle. Also, use your ultimate abilities in time to deal maximum damage to your opponent.
-
- DarkNest Terminal in Clash of Convictions
-
- Clash of Convictions Kagachi
-
- Kagachi’s most dangerous attack
-
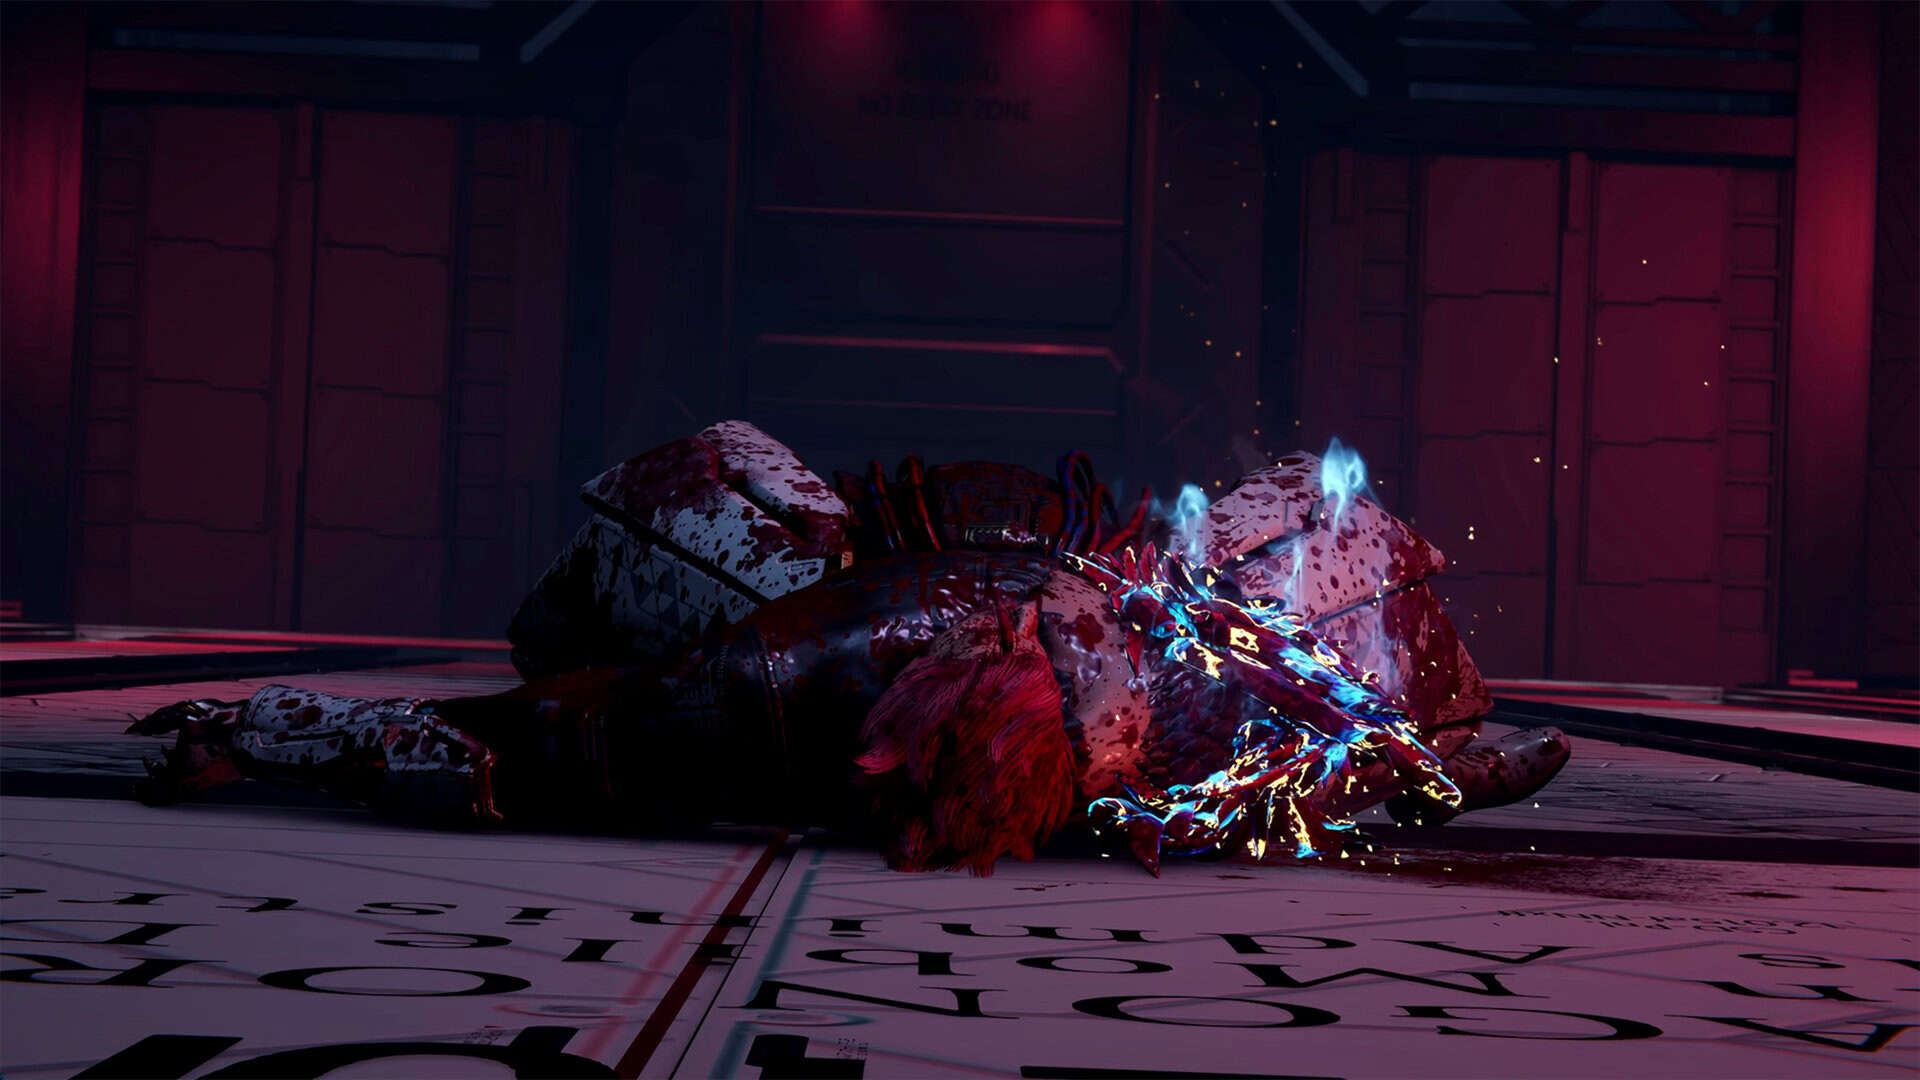
- Kagachi lies defeated after the battle
A dramatic scene from Seori
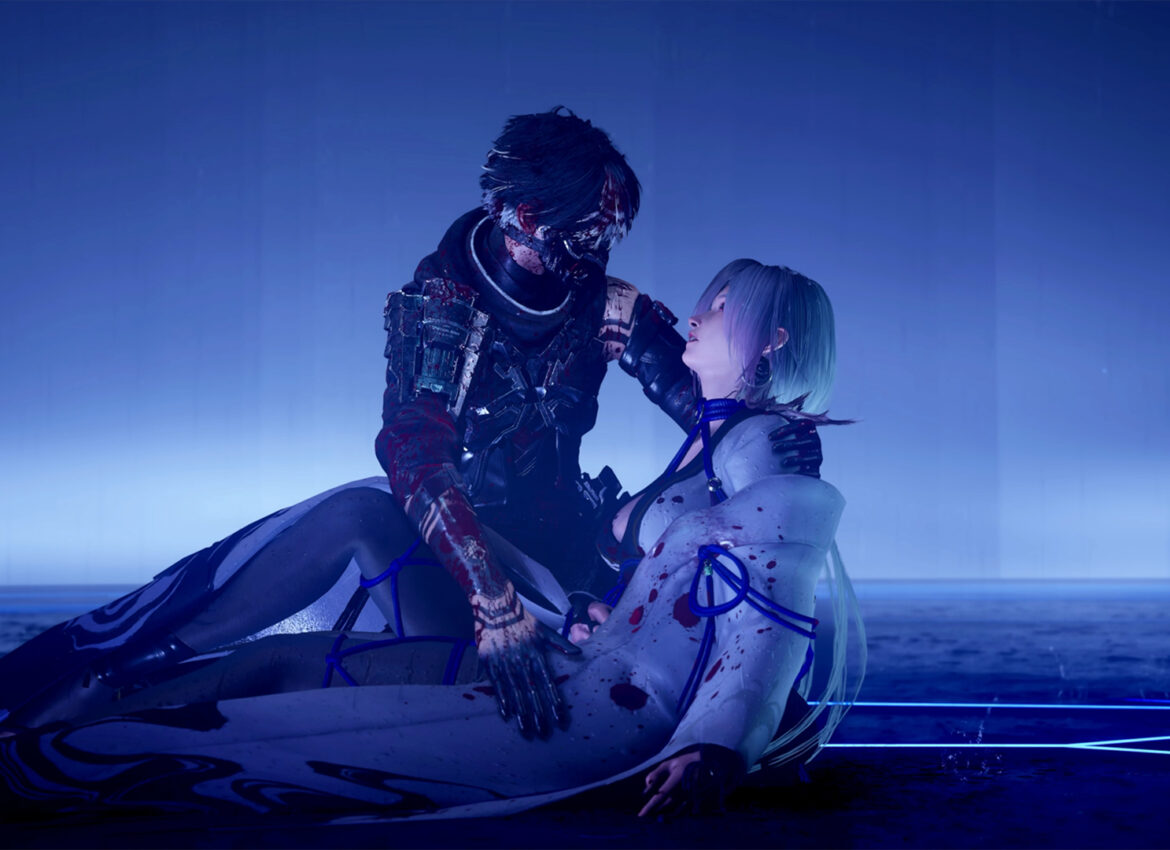
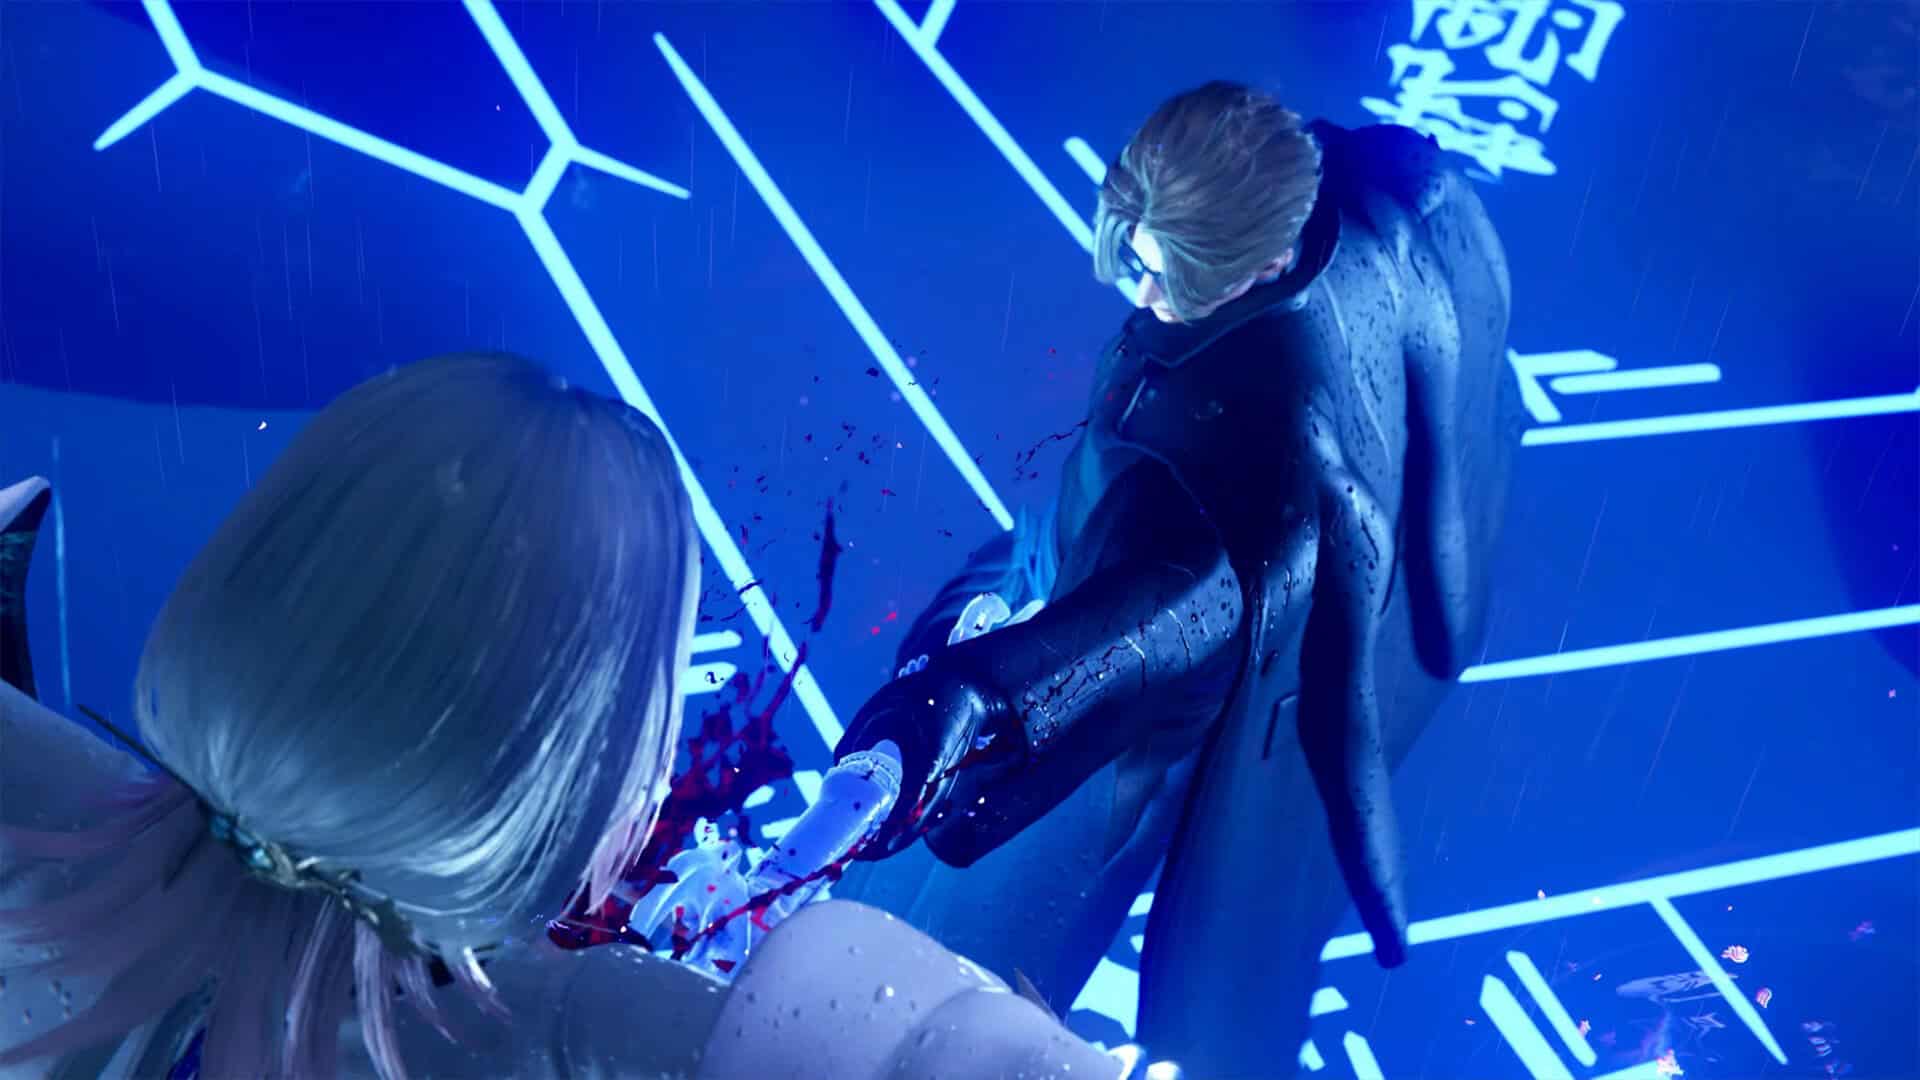
Next, you will see a rather dramatic scene that will lead you to the next battle. I’ll briefly tell you what’s going on here. It turns out that Seori will not survive. She has to say goodbye to life, as this is the only way to destroy all the seals that hold back the dragon wreaking havoc in Tokyo. The point is that you are trying to free the dark creature, only to finally destroy it.
This is news to Seori, and she asks Yakumo to end her life with his sword. While the main character hesitates to do so, it seems that his friend Misaki, who is actually the evil creature Achilles, steps in. A transformation takes place and you are faced with a new enemy that you must destroy. I will now tell you how to defeat this insidious enemy.
-
- Misaki kills Seori and reveals his true nature
-
- Achilles, who actually wanted the dragon to return
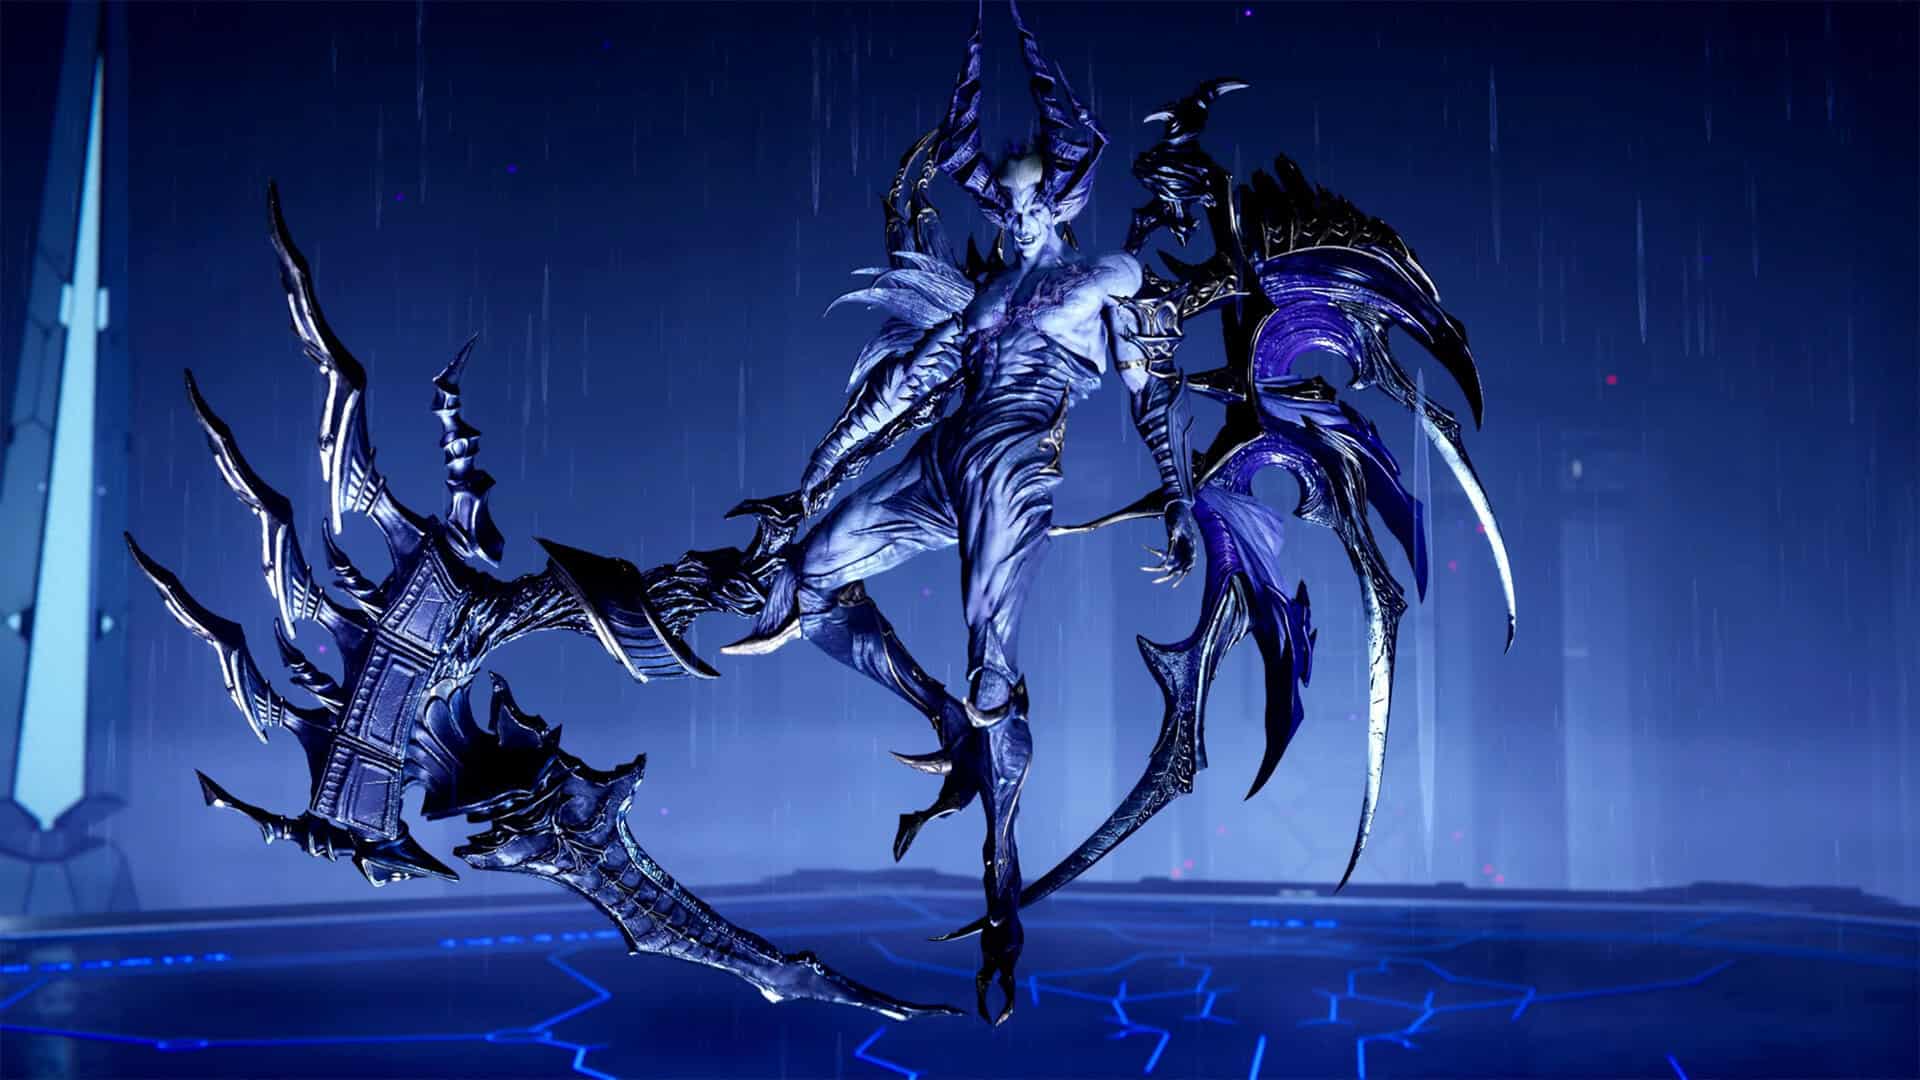
Clash of Convictions Achilles guide
Achilles is a new type of enemy and battle in general. This opponent has both physical and magical attacks. After trying several options, I came to the conclusion that it is best to fight this battle at maximum distance from the boss. Use Kage-Hiruko for the entire battle. No matter where you are in the arena, this weapon will always reach the enemy, so you don’t have to worry about the range of your attacks. In close combat, the boss has some pretty powerful attacks, some of which can be parried, but some of which will cause you problems.
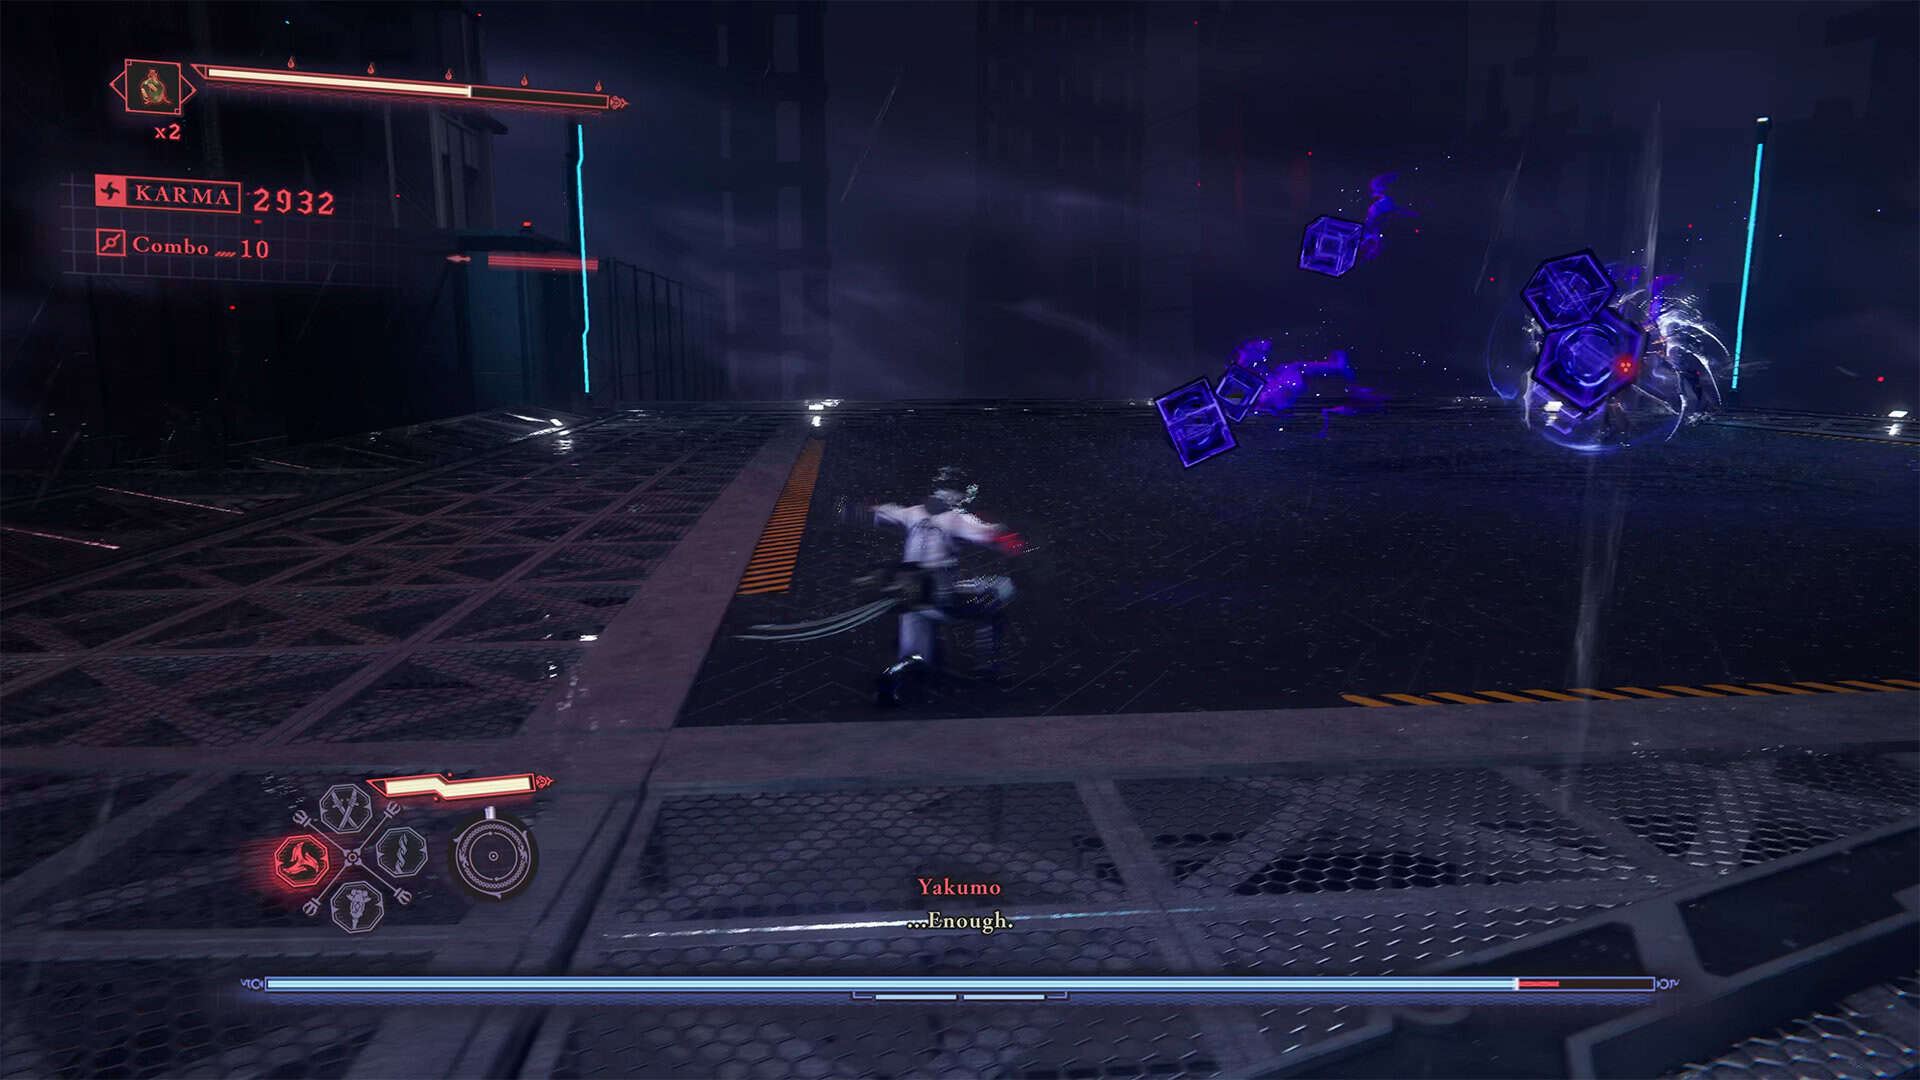
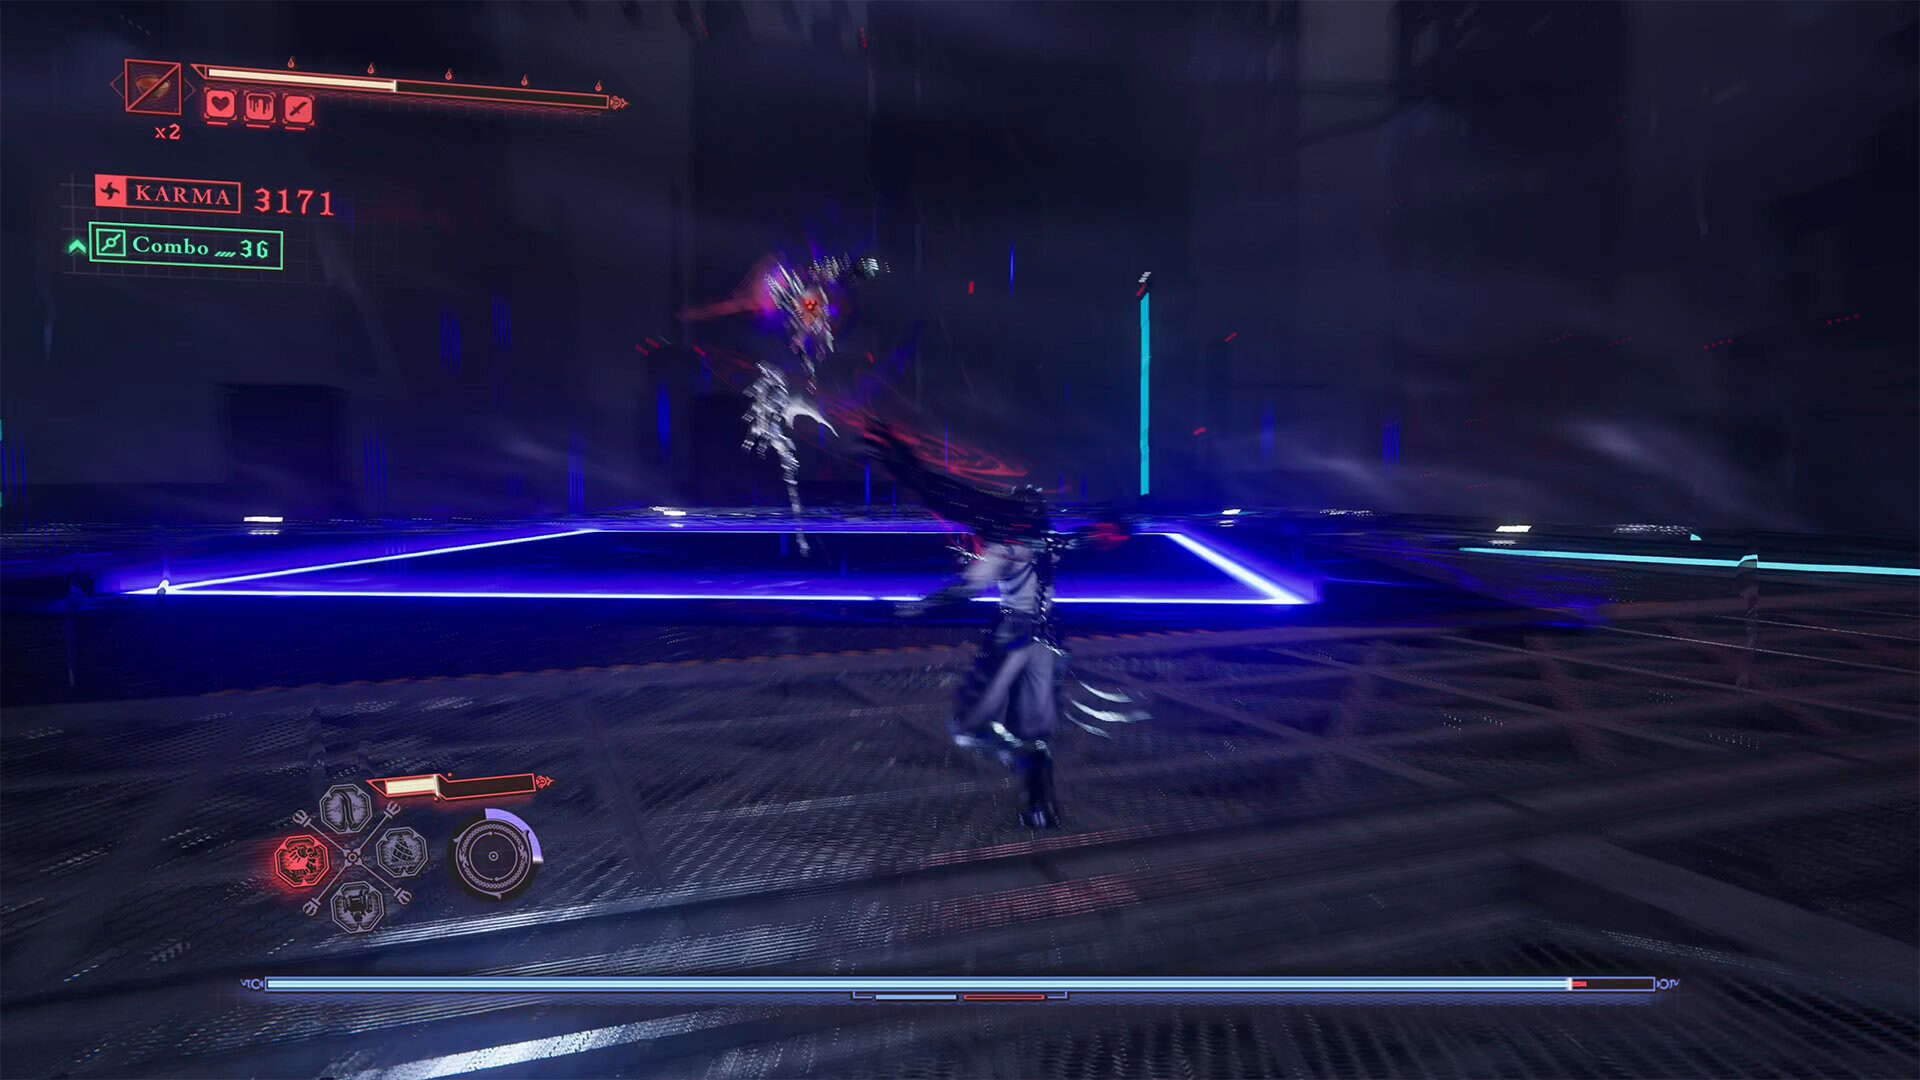
The tactic is simple: as soon as you move away from the enemy, shoot at him with Kage-Hiruko. If the crow’s stance bar is full, use a powered-up attack, which will deal more damage. When Achilles approaches, you need to run away. He will throw his coma at you, using it like a boomerang. Just dodge this throw, even though it doesn’t do much damage. The enemy’s most dangerous attacks are the creation of a large blue square on the floor. If you see this, it means that the entire area inside the square will soon explode.
If you are within the range of this attack, you need to run away. Quite often, when the boss is in the center, he will pull you towards him. Resist and run away. This will prolong the battle a little, but you will surely be able to defeat this difficult enemy. Quite often, he throws blue cubes at you, but they fly slowly, so you have time to escape from them.
The second phase is much more difficult. And if in the first phase you could still fight the enemy at close range, in the second phase I recommend switching to long-range attacks. The boss summons powerful attacks from the floor, which are highlighted by a blue square around him. He also randomly scatters small squares around the arena, which also explode. You need to avoid these magic attacks. In addition, Achilles creates copies of himself, which have completely identical attacks, and in general, the area of their combined attacks increases significantly. The best option is to quickly destroy the copies, as they have little health and die quickly. Stick to the tactics used in the first phase.
Try to stay as far away from the boss as possible and damage him from a distance. He is not very fast, and you will have enough time before he reaches you. It is very important to notice the blue squares on the floor, as they cause a lot of damage. Avoid large and small squares, and you will surely defeat this enemy. If you follow all the recommendations correctly, you will defeat the boss on your first try.
-
- Achilles throws small blue cubes
-
- Powerful attack across the blue square area
-
- Achilles calls his doubles to help
-
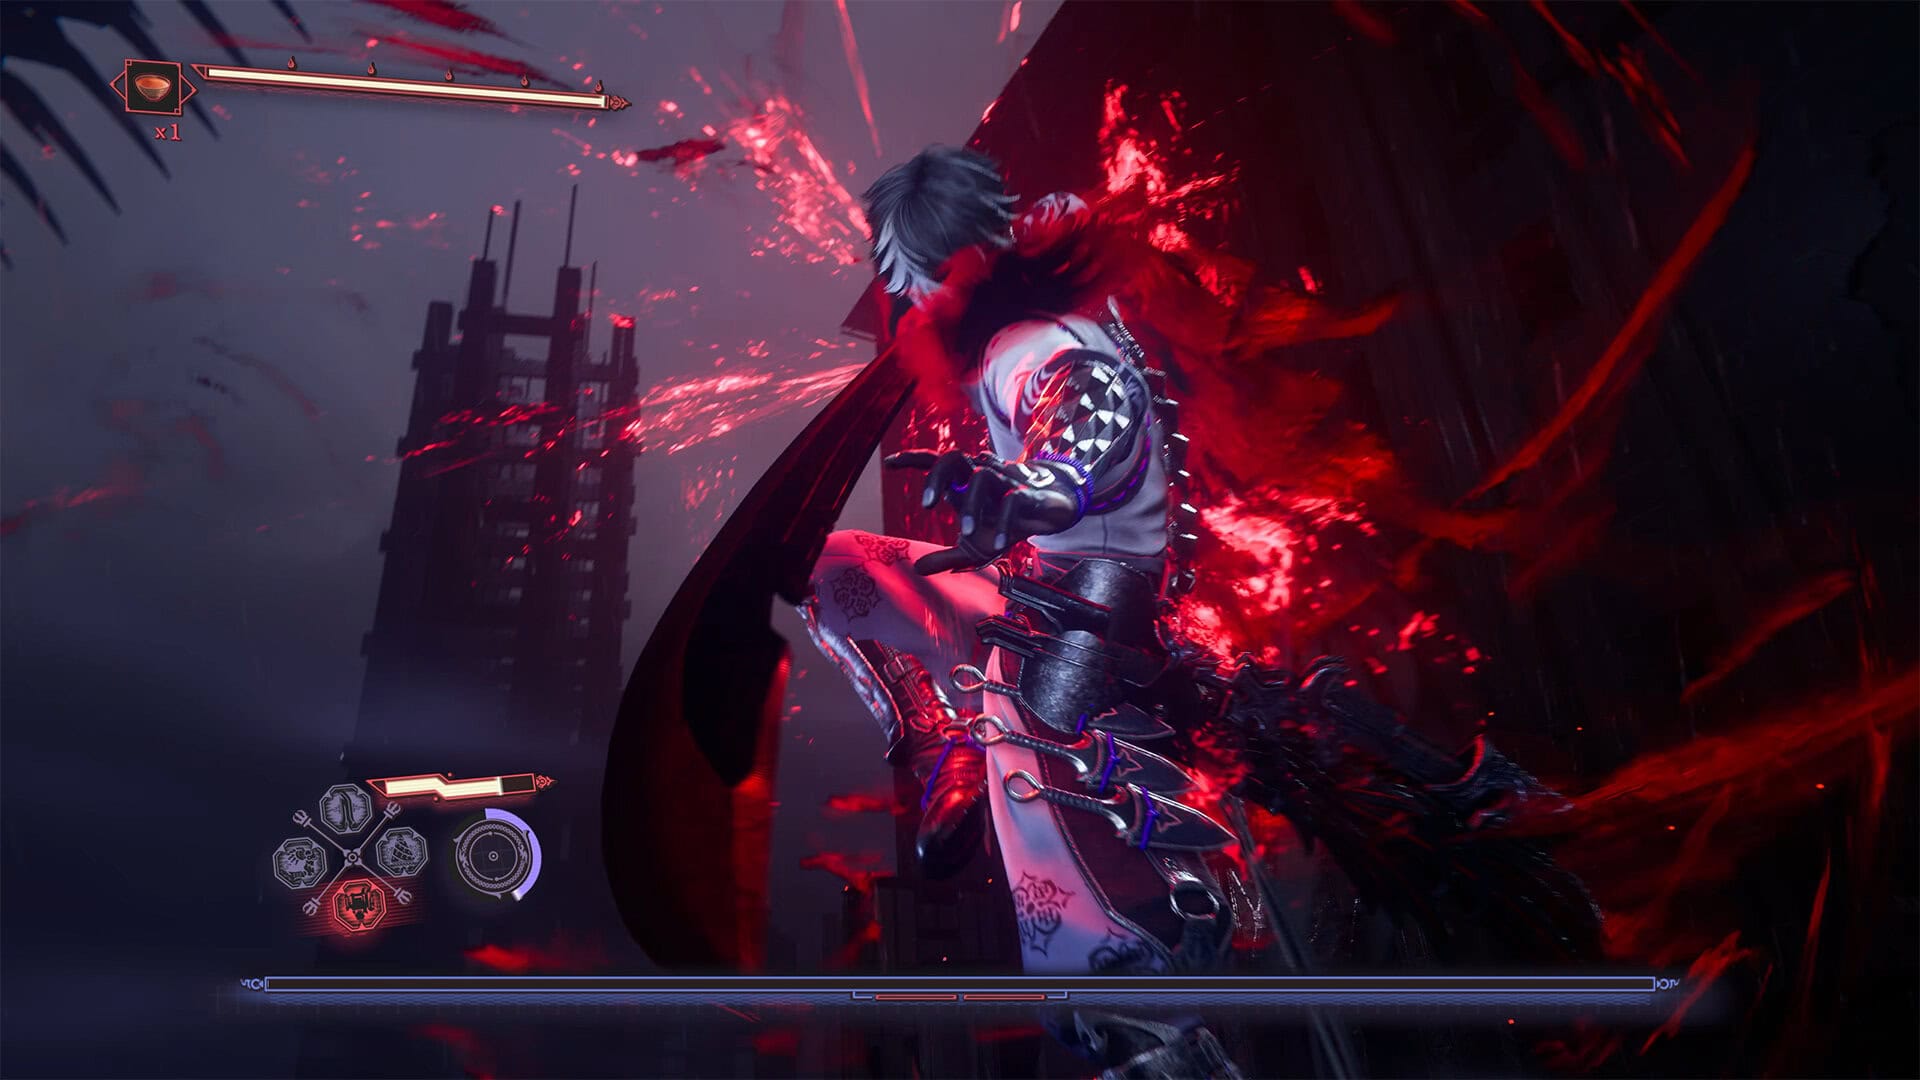
- Yakumo defeats Achilles in this duel
The final scene Yakumo and Seori
Looking ahead, I will say that you will meet this boss again in the next chapter. But you will be fighting them with another character that you know well. Therefore, you should study this boss carefully now so that you don’t have any problems with them in the next chapter. If you want to finish the fight faster, combine long-range and close-range attacks, but be careful of the enemy’s area attacks when he highlights a square on the floor around himself. This is his most powerful weapon. Otherwise, I don’t see any problems with you defeating the boss. After the victory, you will see another dramatic cutscene that will show you the way forward.
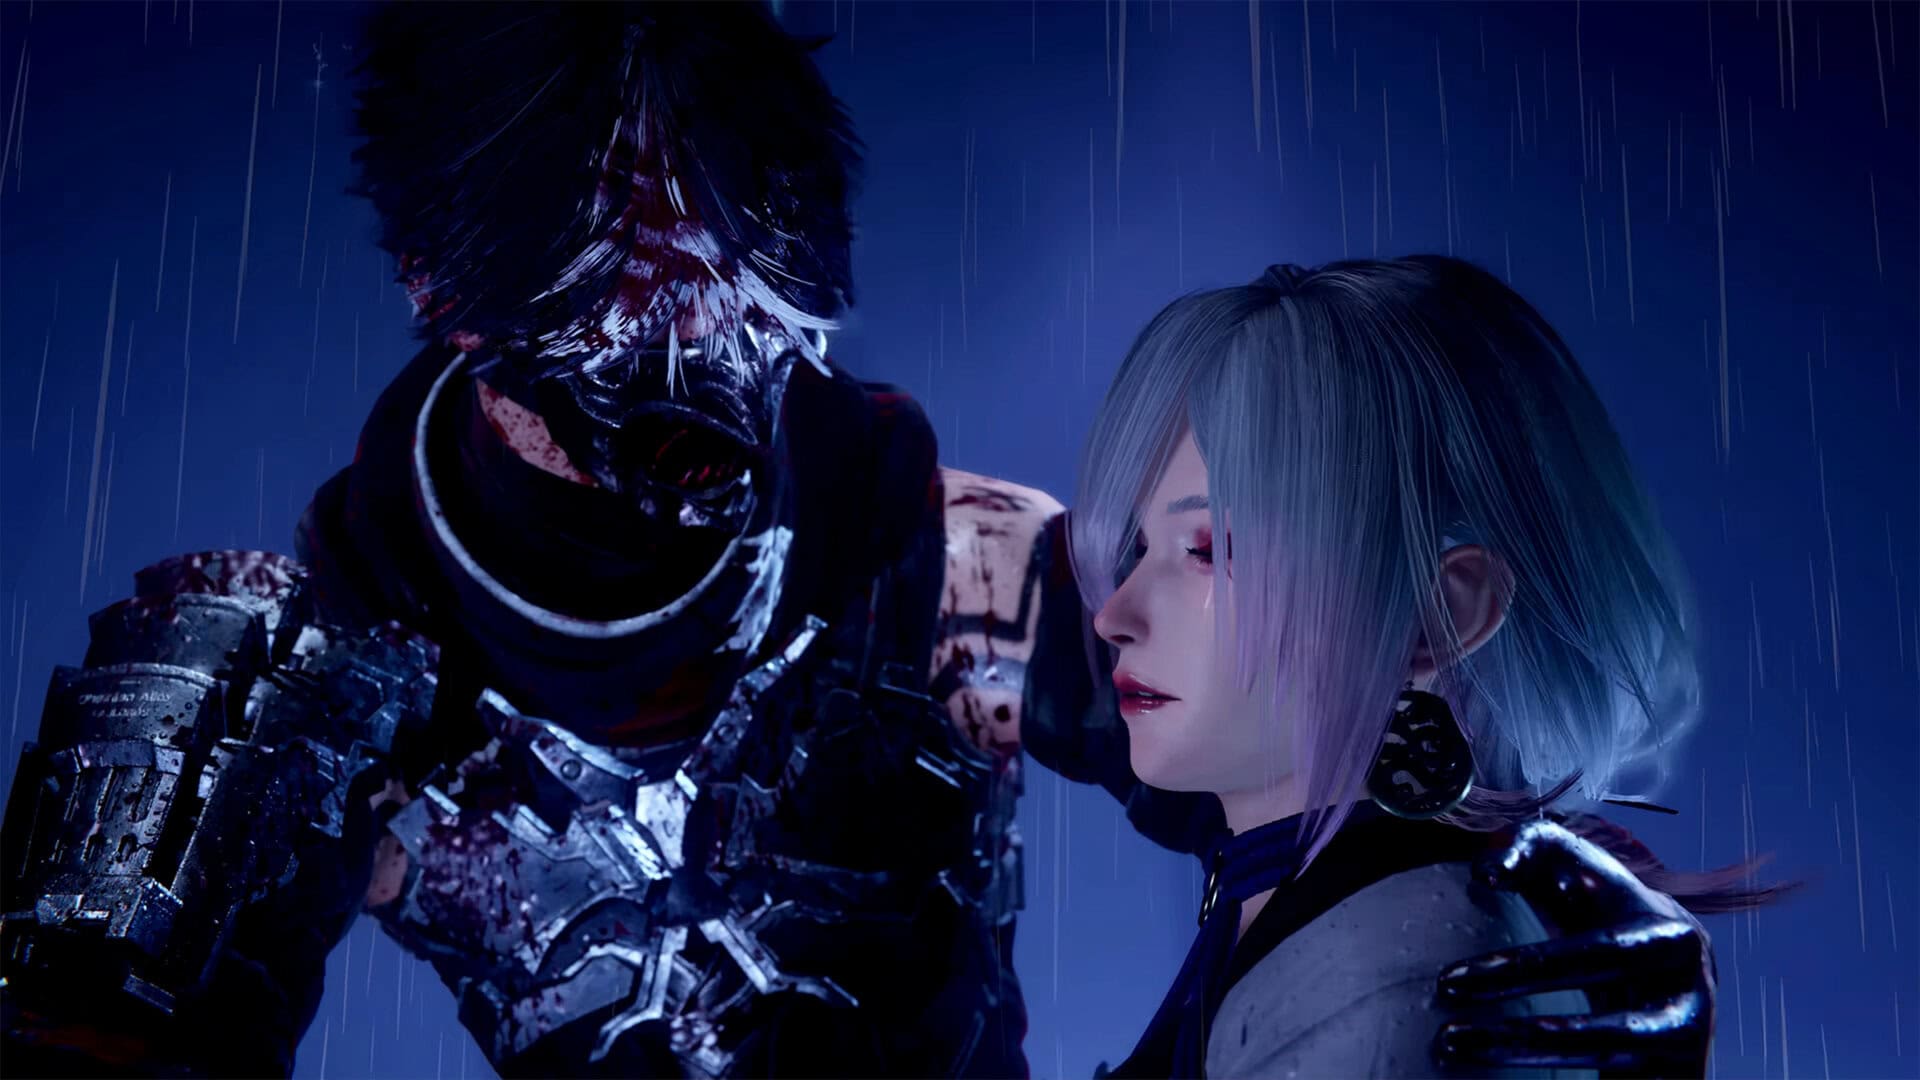
Holding Seori in his arms, Yakumo will hear her last plea that the sacrifice not be in vain and that you defeat the dragon. Focus on destroying the dragon. That is your goal. You will also see Achilles smile when he sees that the dragon has been reborn, which means there is no turning back. Now you just need to defeat this sinister enemy, but that will be in the next chapters.
-
- Yakumo promises Seori to defeat the dark dragon
-
- Achilles rejoices at the rebirth of the dark dragon