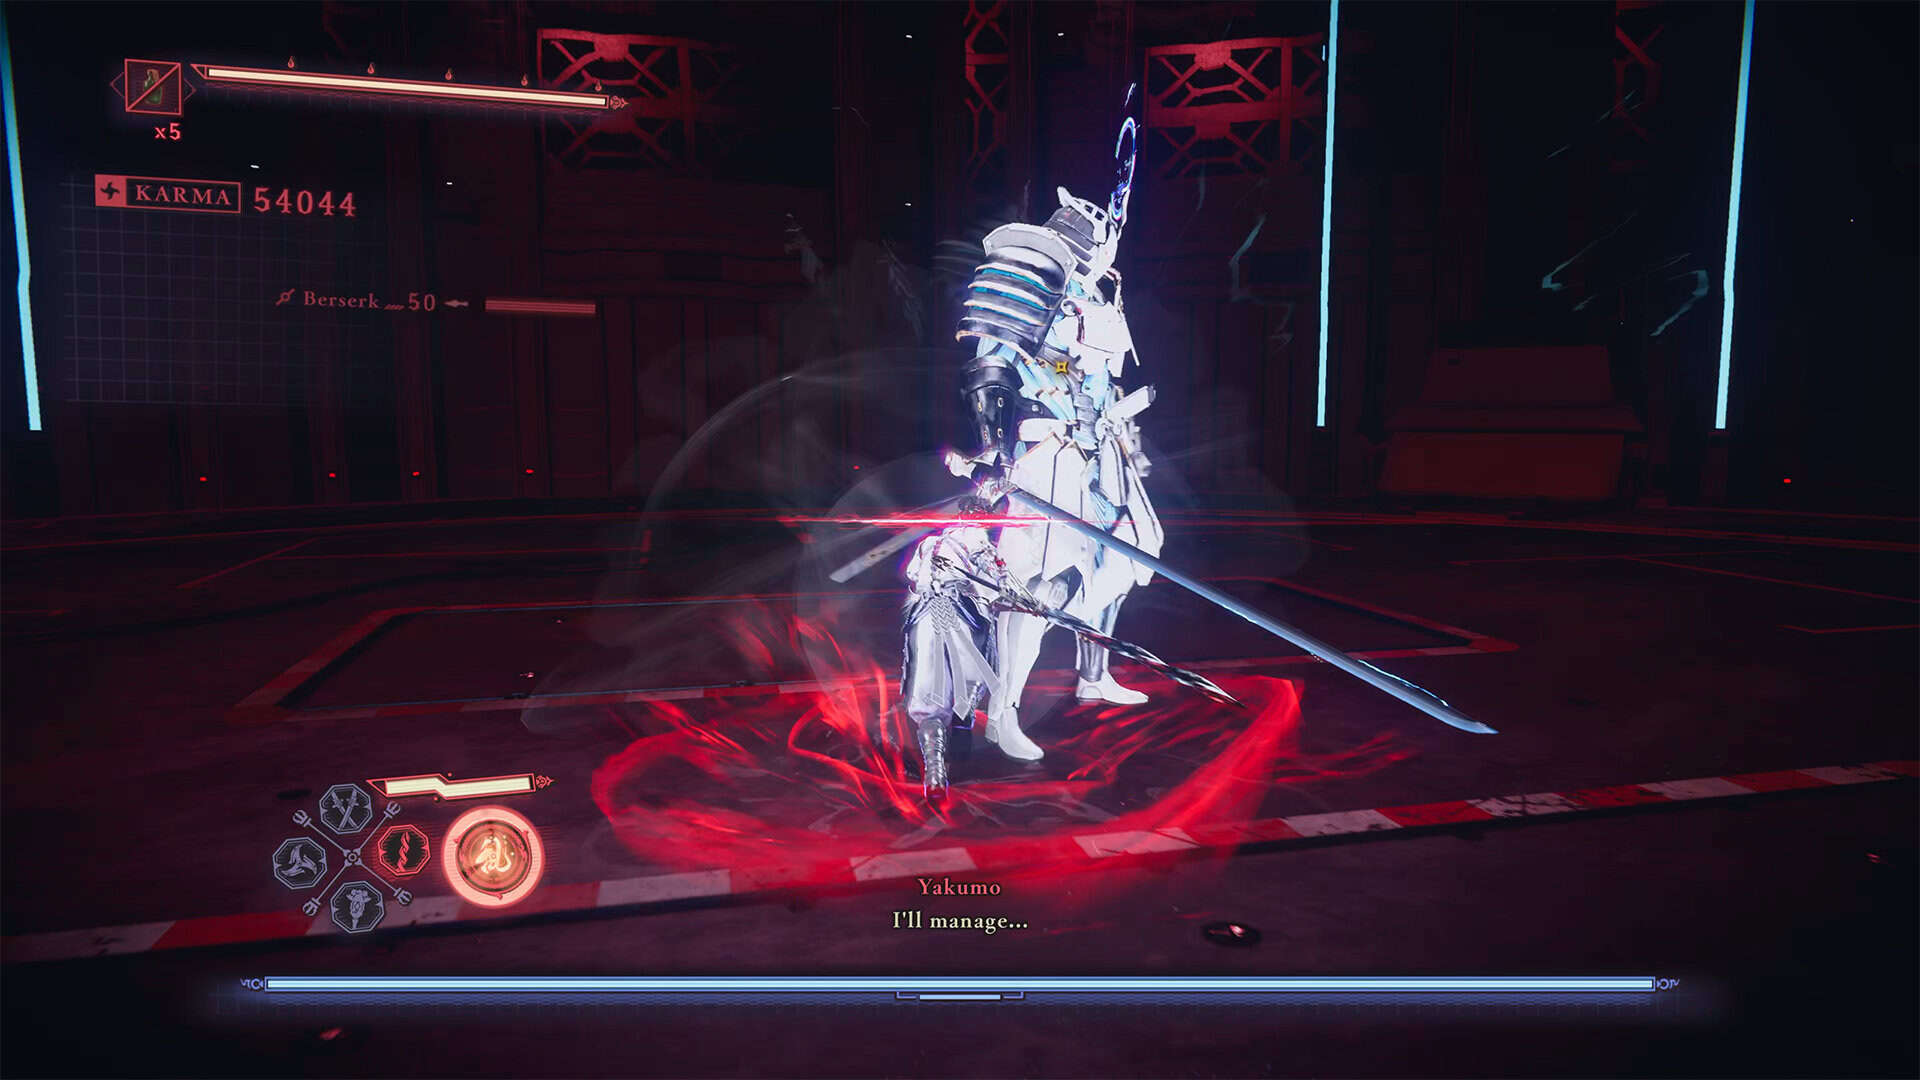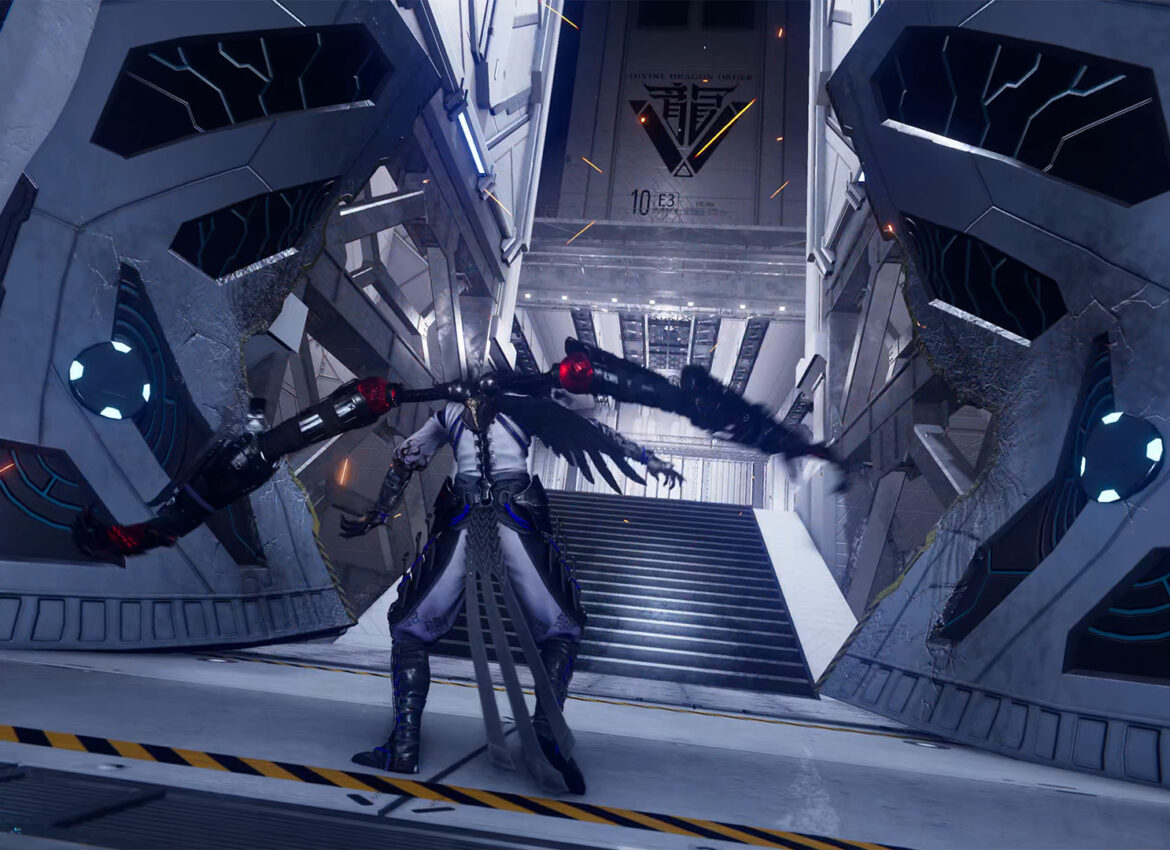
All the secrets of Chapter 12 of Ninja Gaiden 4, called Dragon’s Maw, are collected in this video. You will see everything: chests, additional quests, secrets, and a step-by-step guide for completing this chapter. At the beginning of the chapter, you will see the first DarkNest Terminal. Here you need to complete one additional quest and accept five new side quests. We will talk about all the quests later in this video. I remind you that before this there was a detailed review of Infiltration.
Incencse of Rebirth (Chest #1)
Right at the beginning of the chapter, a little further on, you will find the first chest. I showed you the way in advance so that you wouldn’t miss this chest. It contains Incense of Rebirth, which is very expensive and helps you survive in difficult battles. Even if you already have this elixir, it will be converted into NinjaCoin.
Rejuvenation Elixir (Chest #2)
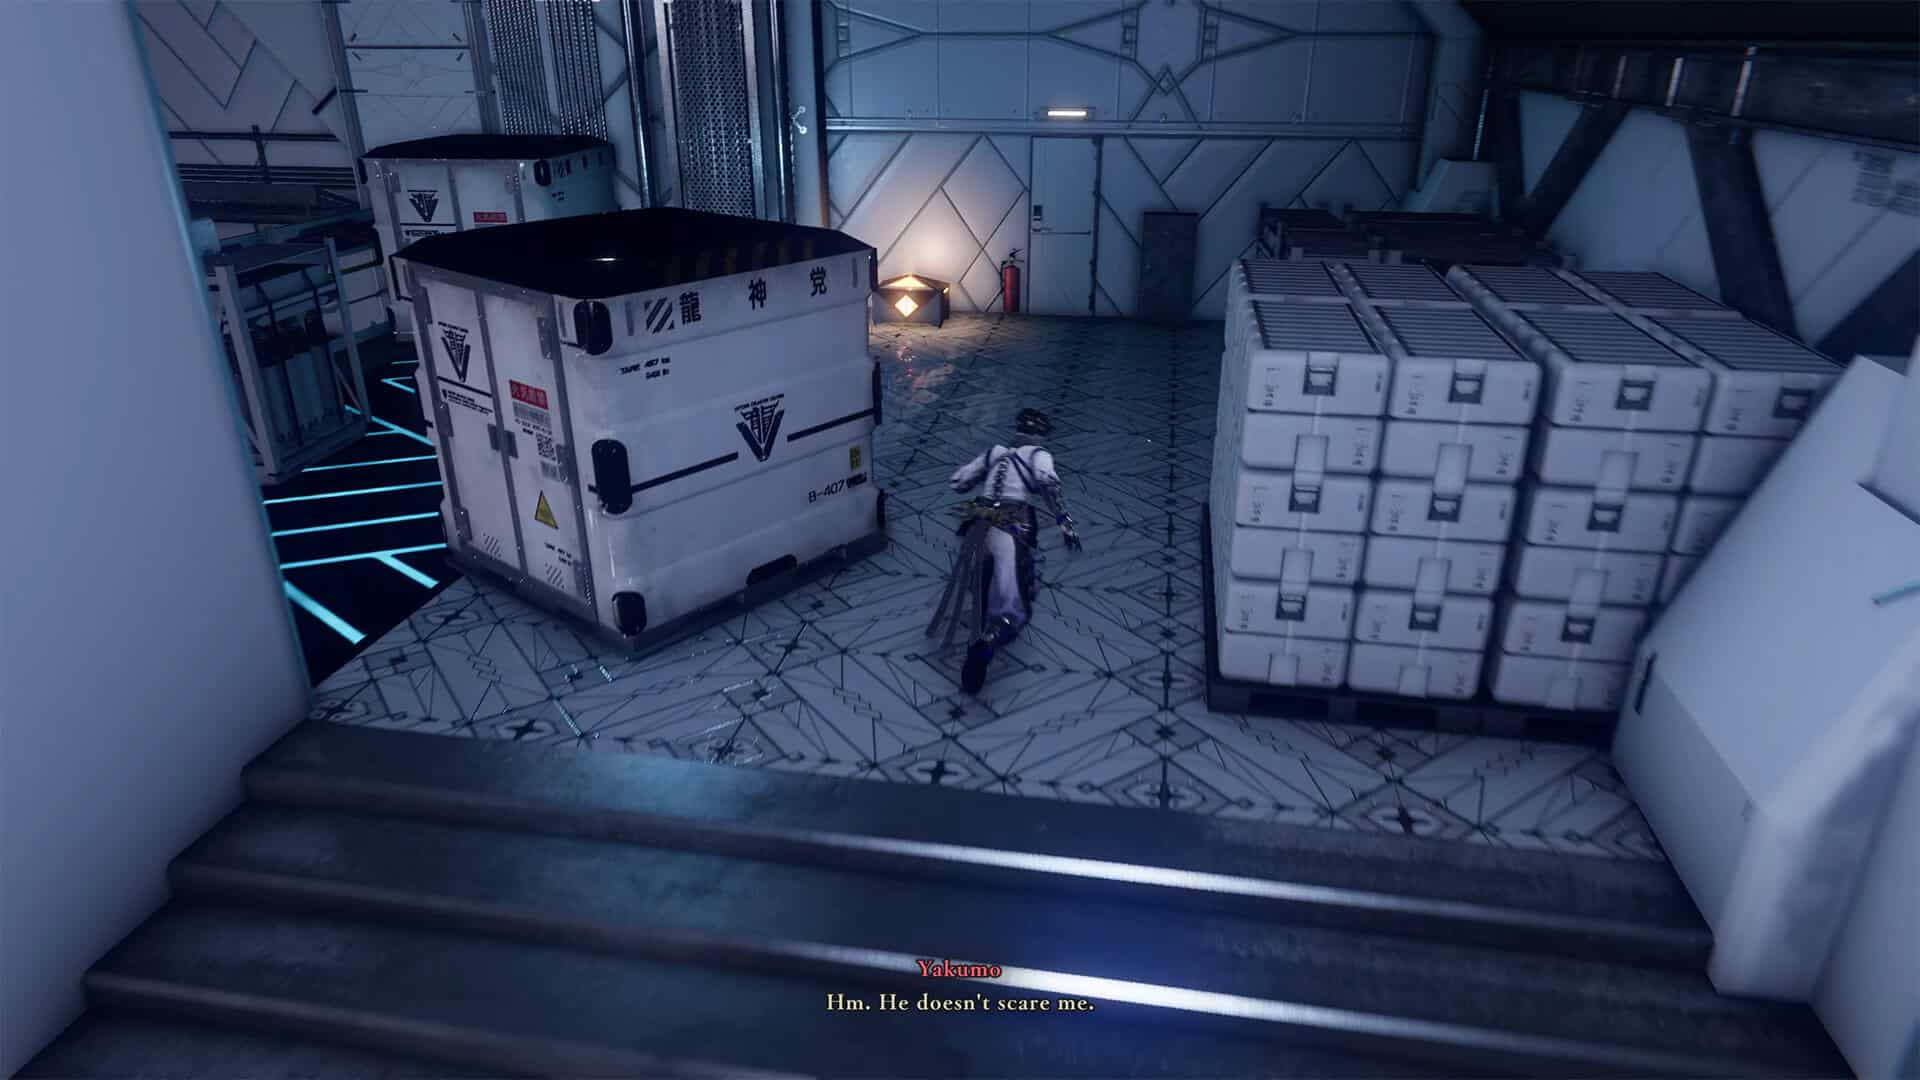
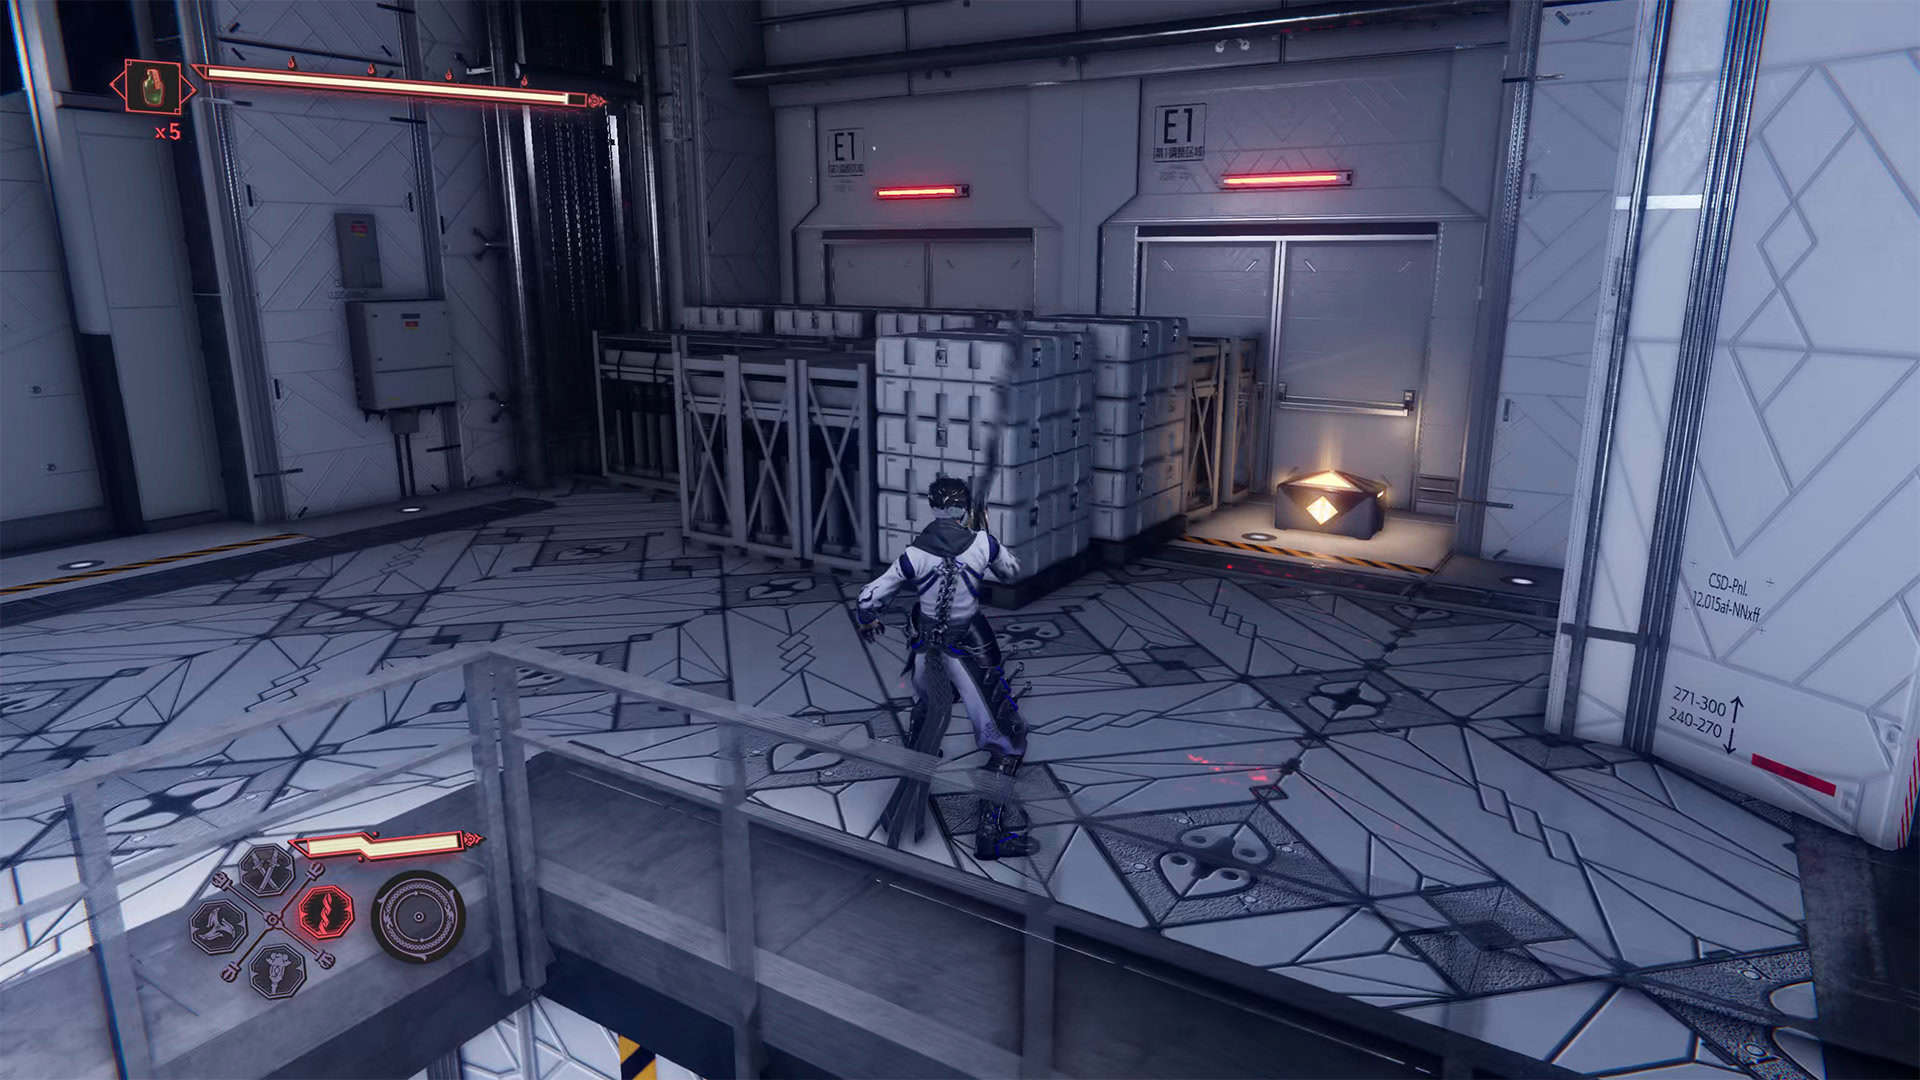
When you enter a large room filled with containers and boxes of various sizes, you need to find the balcony on the right. This is where the next chest is located. You can get here any way you like. Inside the chest, you will find the Rejuvenation Elixir.
Black Scale (Chest #3)
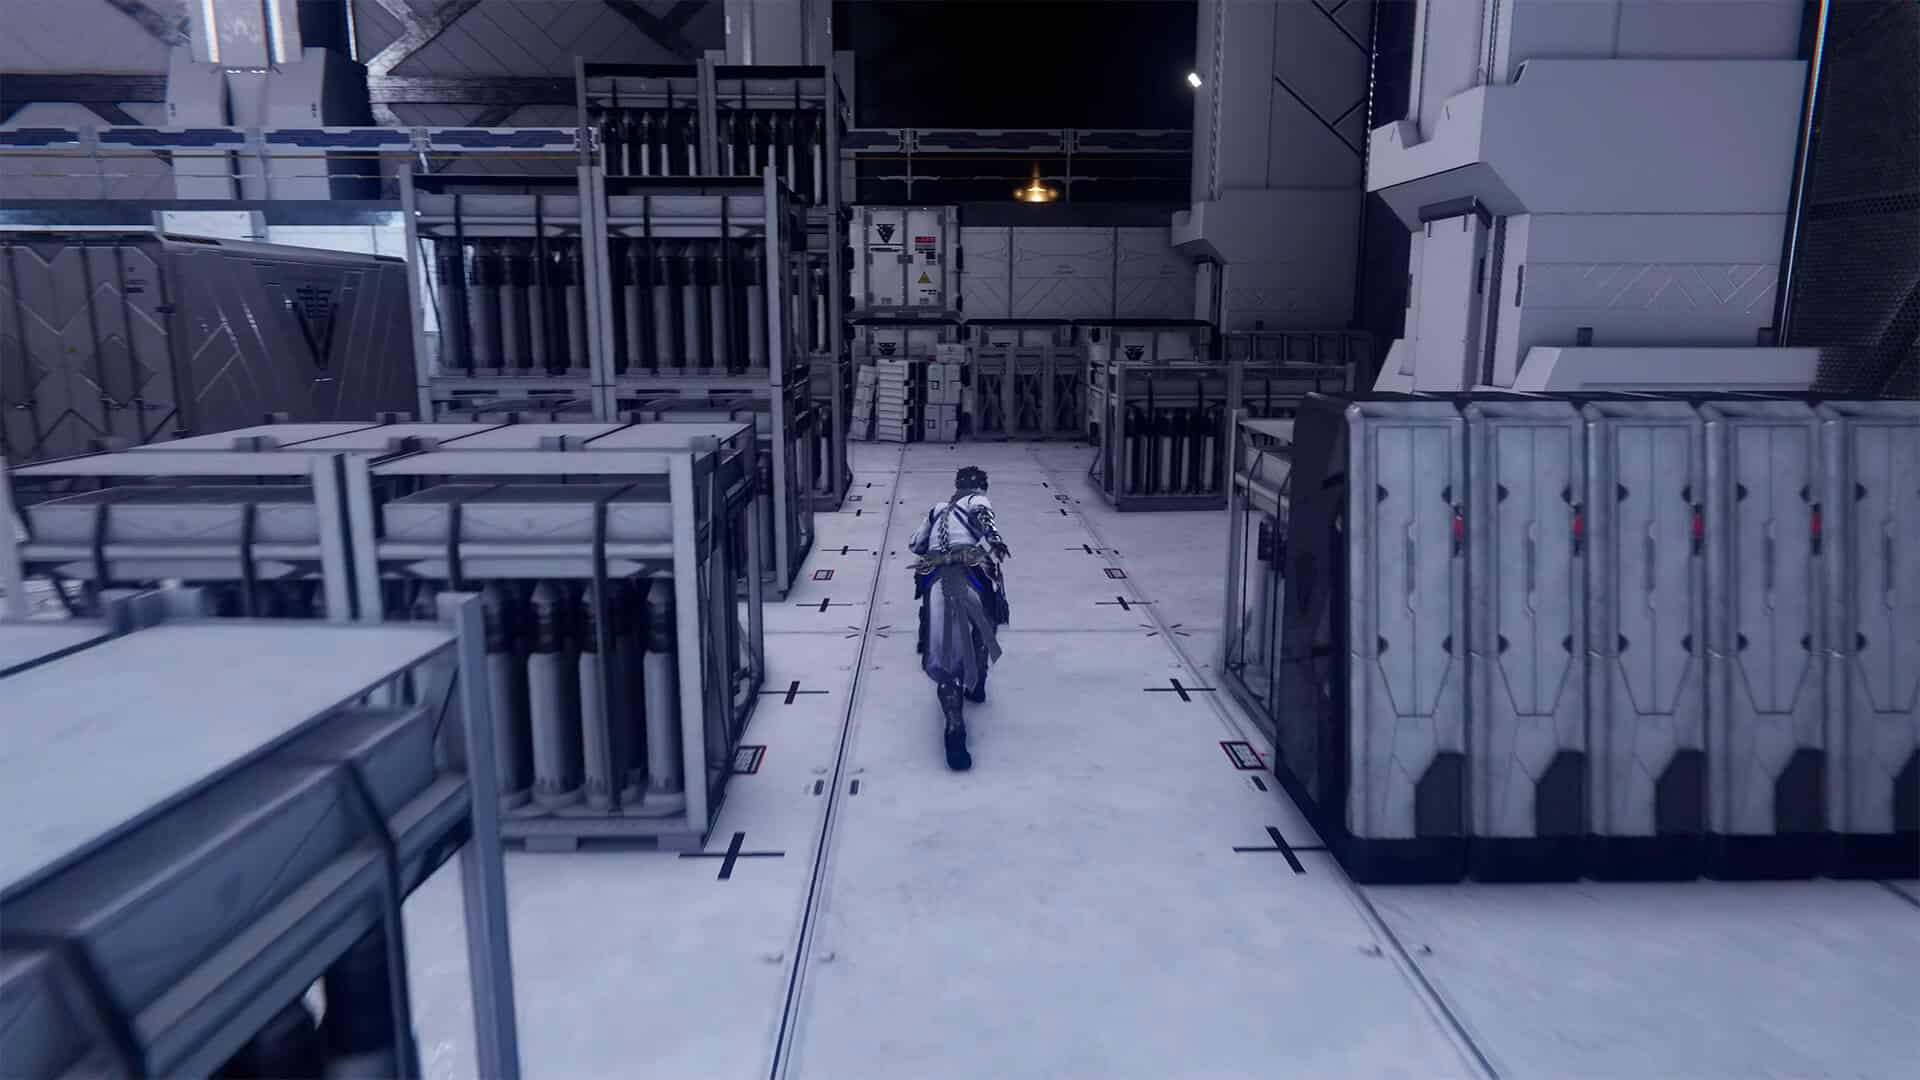
Next, you need to find the large central entrance and destroy it to proceed further. In this huge room, many enemies await you, including Proto-Goliath. I believe you can handle them without my help, so let’s move on. Run forward and find a chest in front of the next double doors on the right. Black Scale awaits you here. After you open the chest, Black Scale will automatically combine with Phantasmal Herb and your health will increase.
Life Elixir (Chest #4)
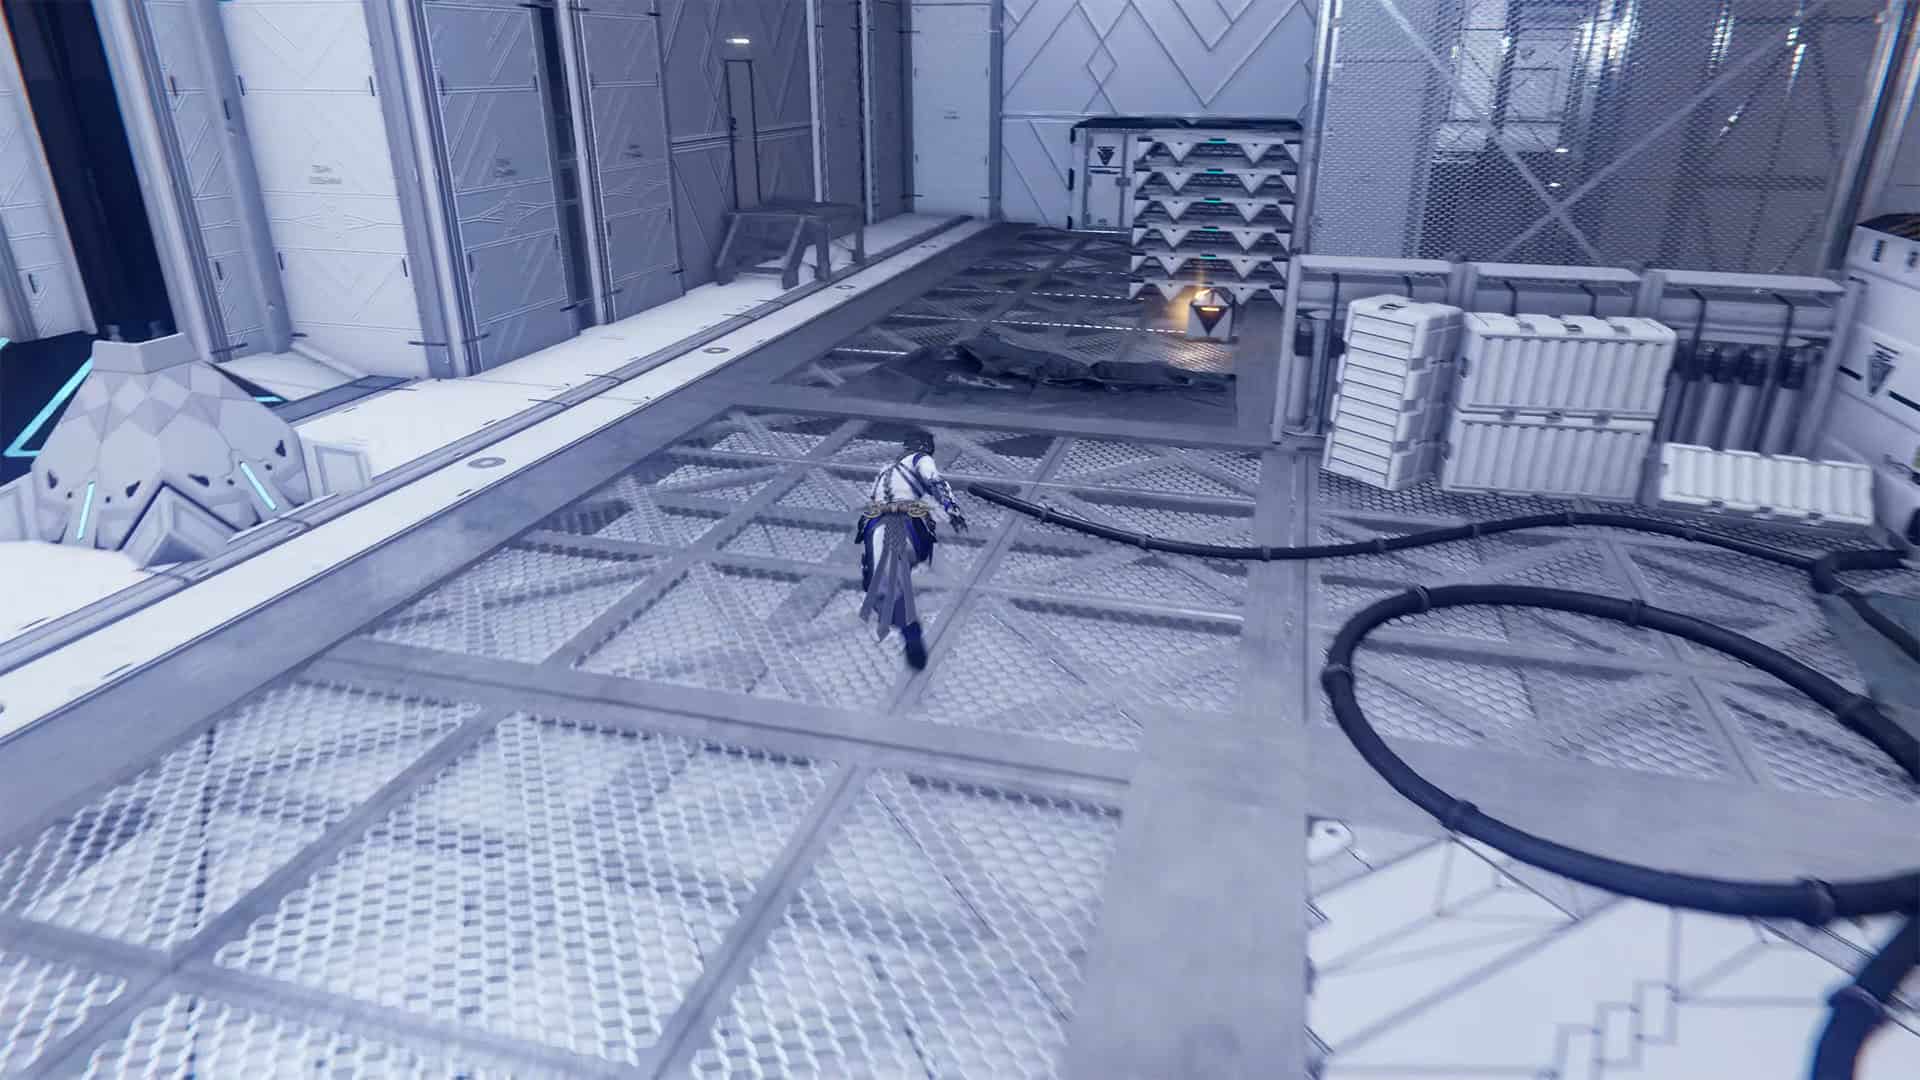
Next, there is another large double door that must be destroyed. This is a rather long chapter with many doors, corridors, and rooms. You will find yourself in a long corridor and see enemies running toward you in the distance. I think you know who will tell them not to run so aggressively toward a guest. After the victory, move forward and you will find yourself in a room where you will see stairs to the left and right. Before climbing these stairs, turn left to find a chest with Life Elixir.
-

- Incencse of Rebirth in Dragon’s Maw
-
- Rejuvenation Elixir in Dragon’s Maw
-
- Black Scale in Dragon’s Maw
-
- Life Elixir in Dragon’s Maw
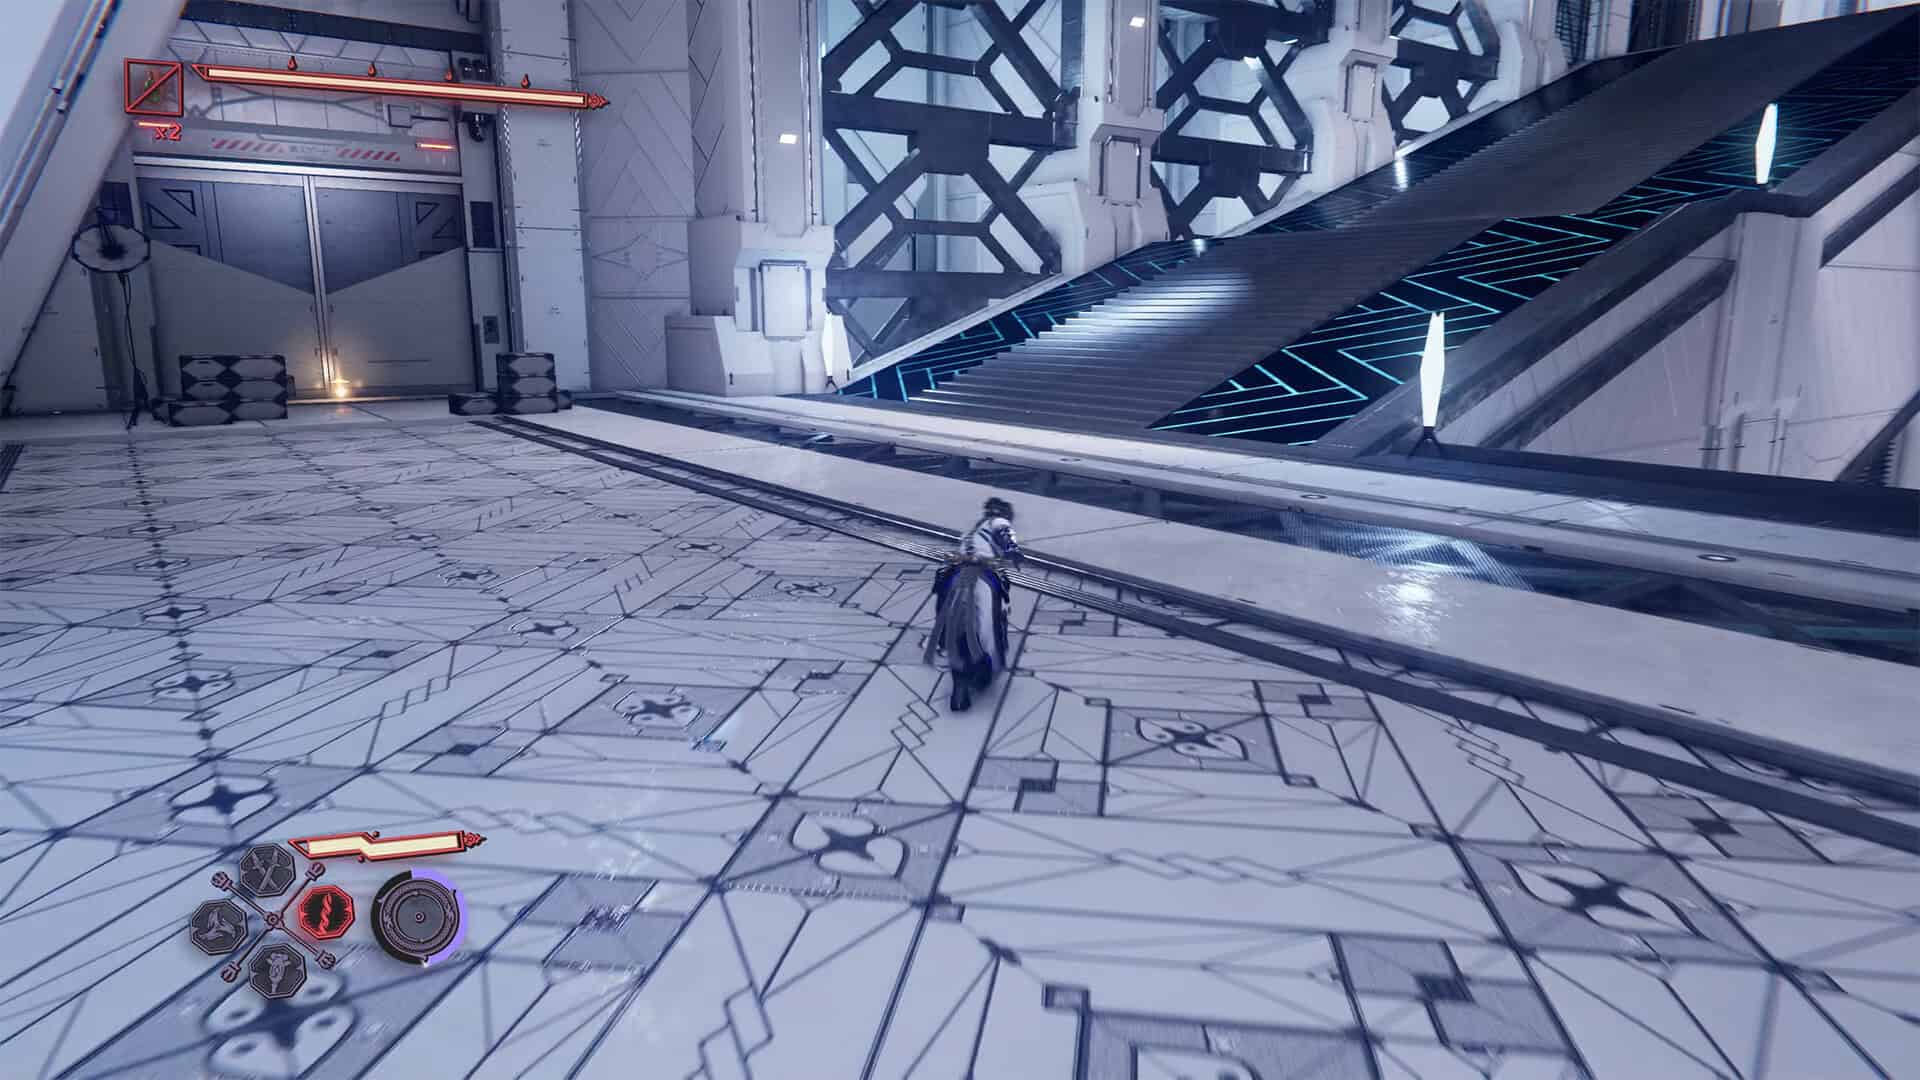
Crimson Blood Pellets (Chest #5)
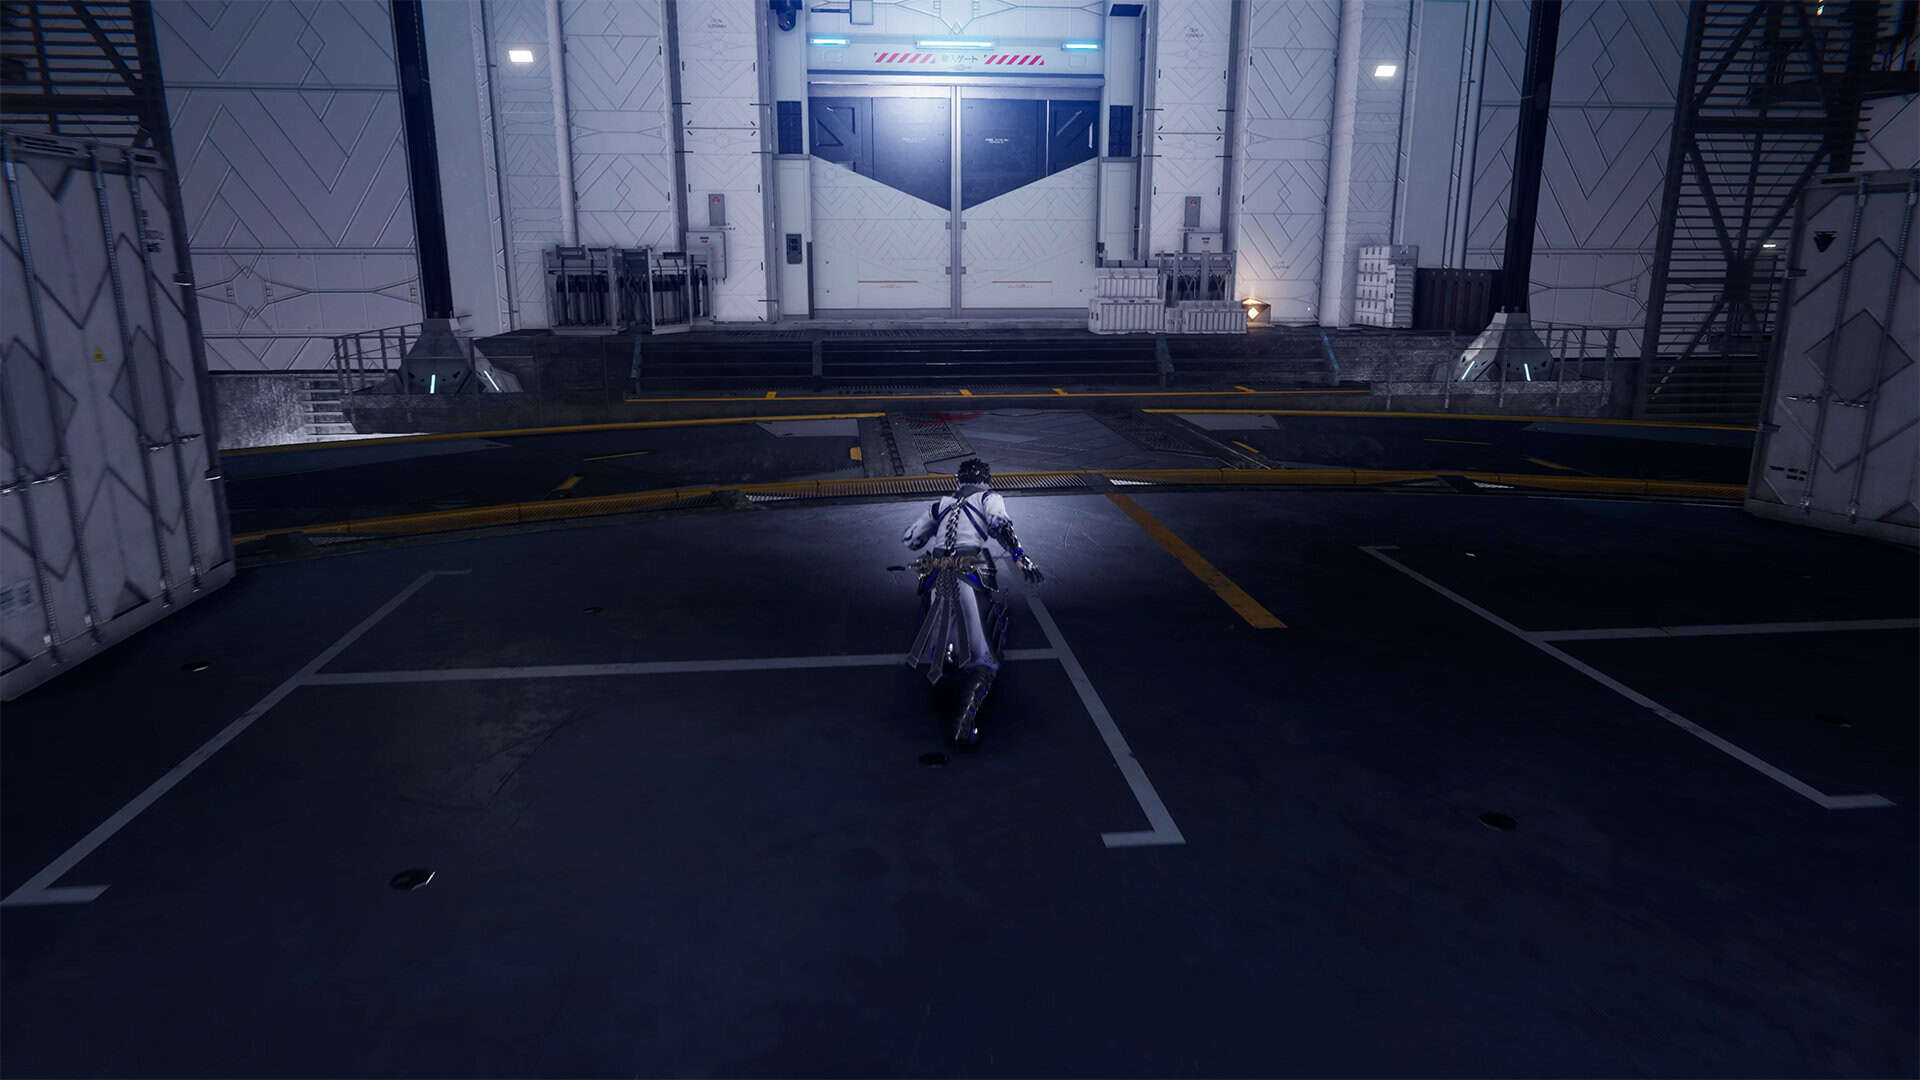
Go forward and you will soon see the first freight elevator in this location. It is a large round platform. It will start to rise as soon as you step on it. About halfway up, you will again encounter the rude owners of this warehouse, who will want to hurt you. Deal with them while the elevator is moving, and it will keep moving until you defeat them. It’s a strange elevator. When the elevator stops, go to the door ahead and don’t forget to open the chest on the right to collect Crimson Blood Pellets.
Fortune Omamori (Chest #6)
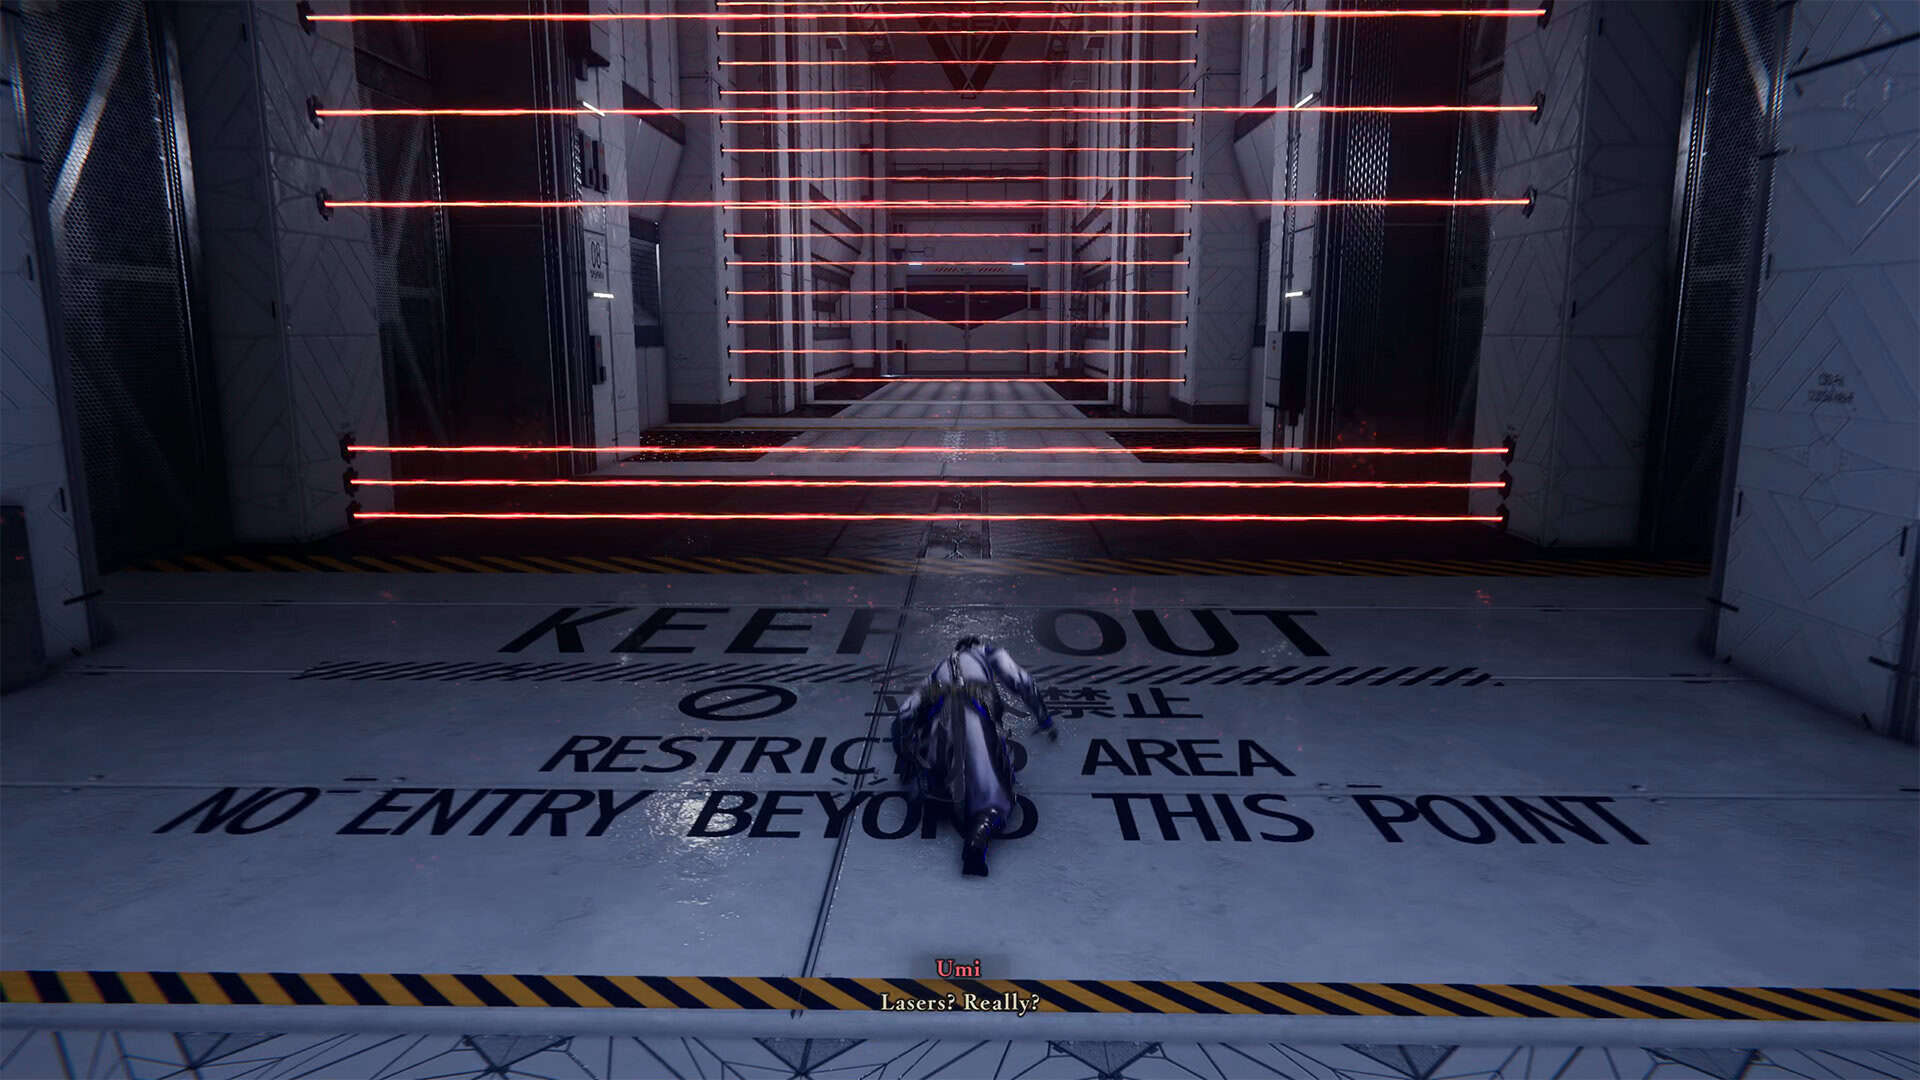
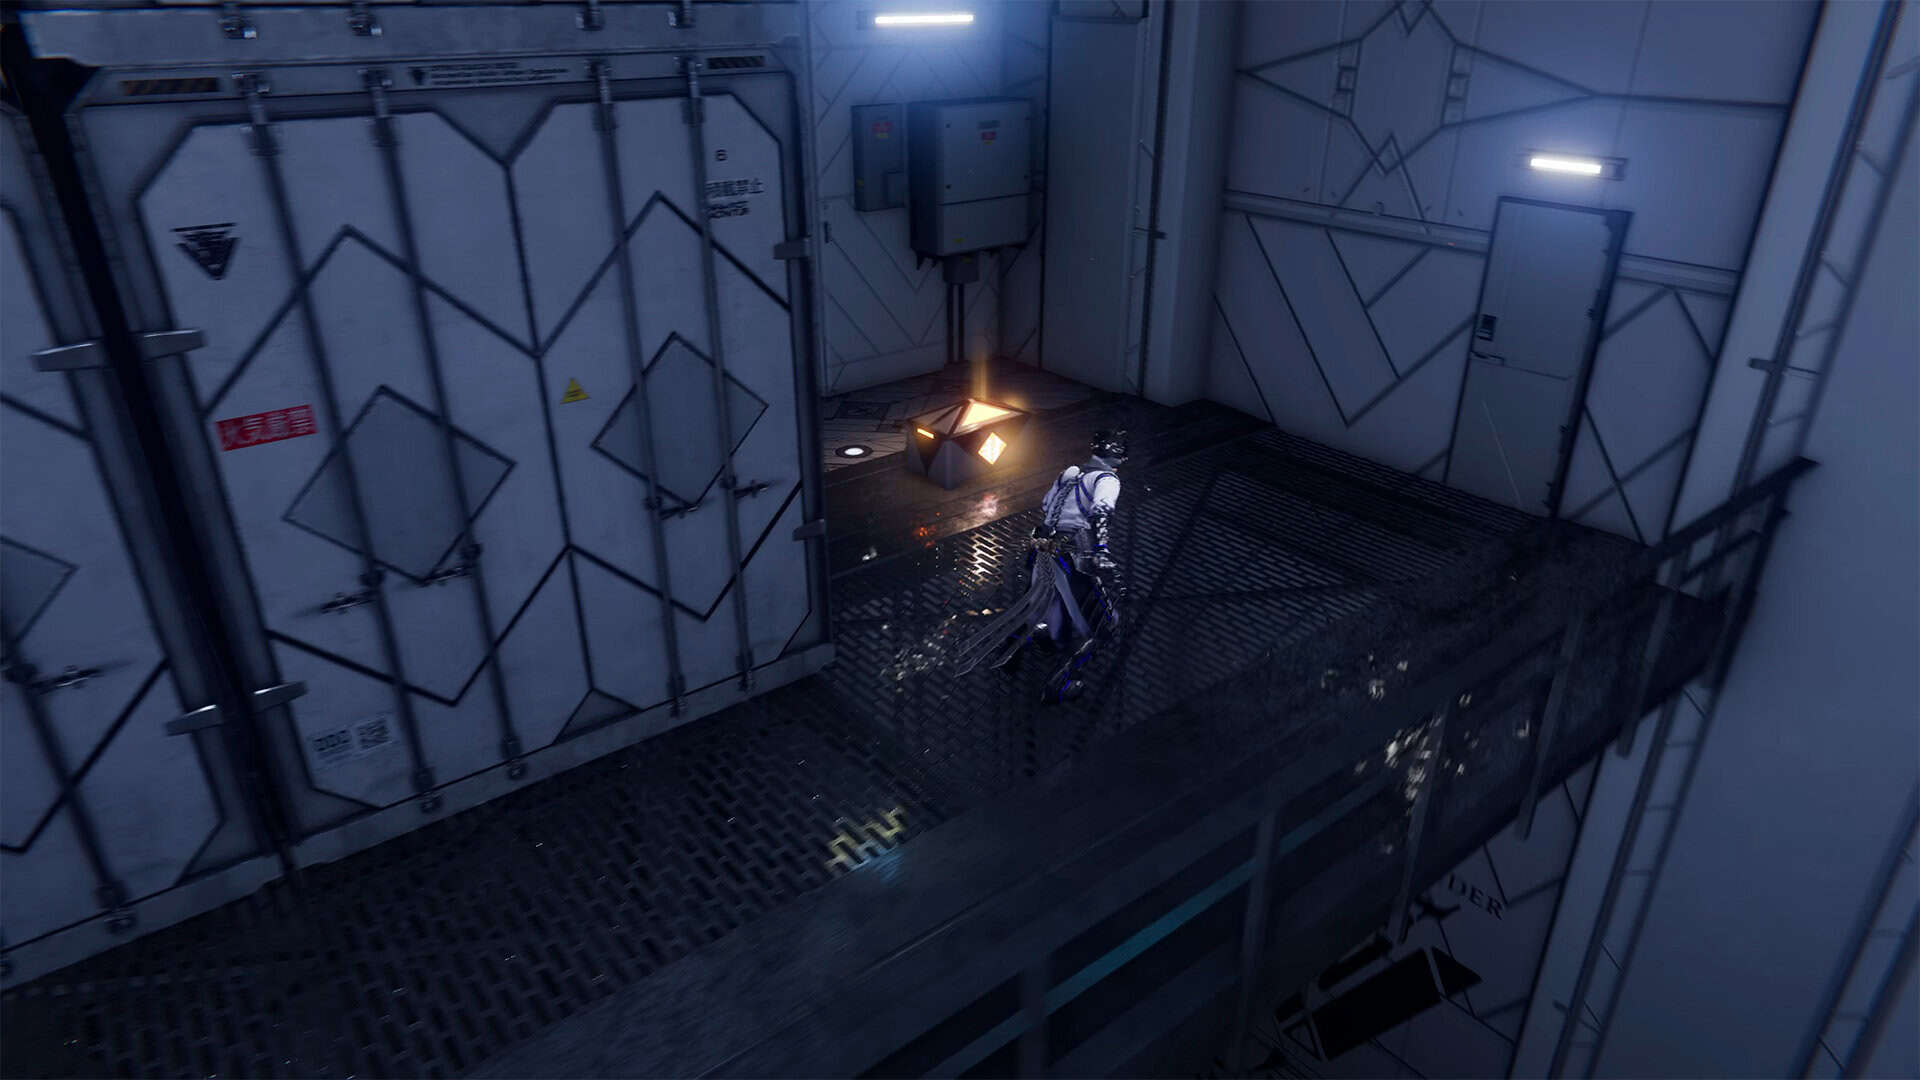
When you use Caddis Wire to reach the place where red lasers block your path, turn right before passing through them. At the end, you will see containers. Approach them and jump to the other side. There is a chest here. Open it to get Fortune Omamori. It is a very useful trinket that I use often in the game.
Life Elixir (Chest #7)
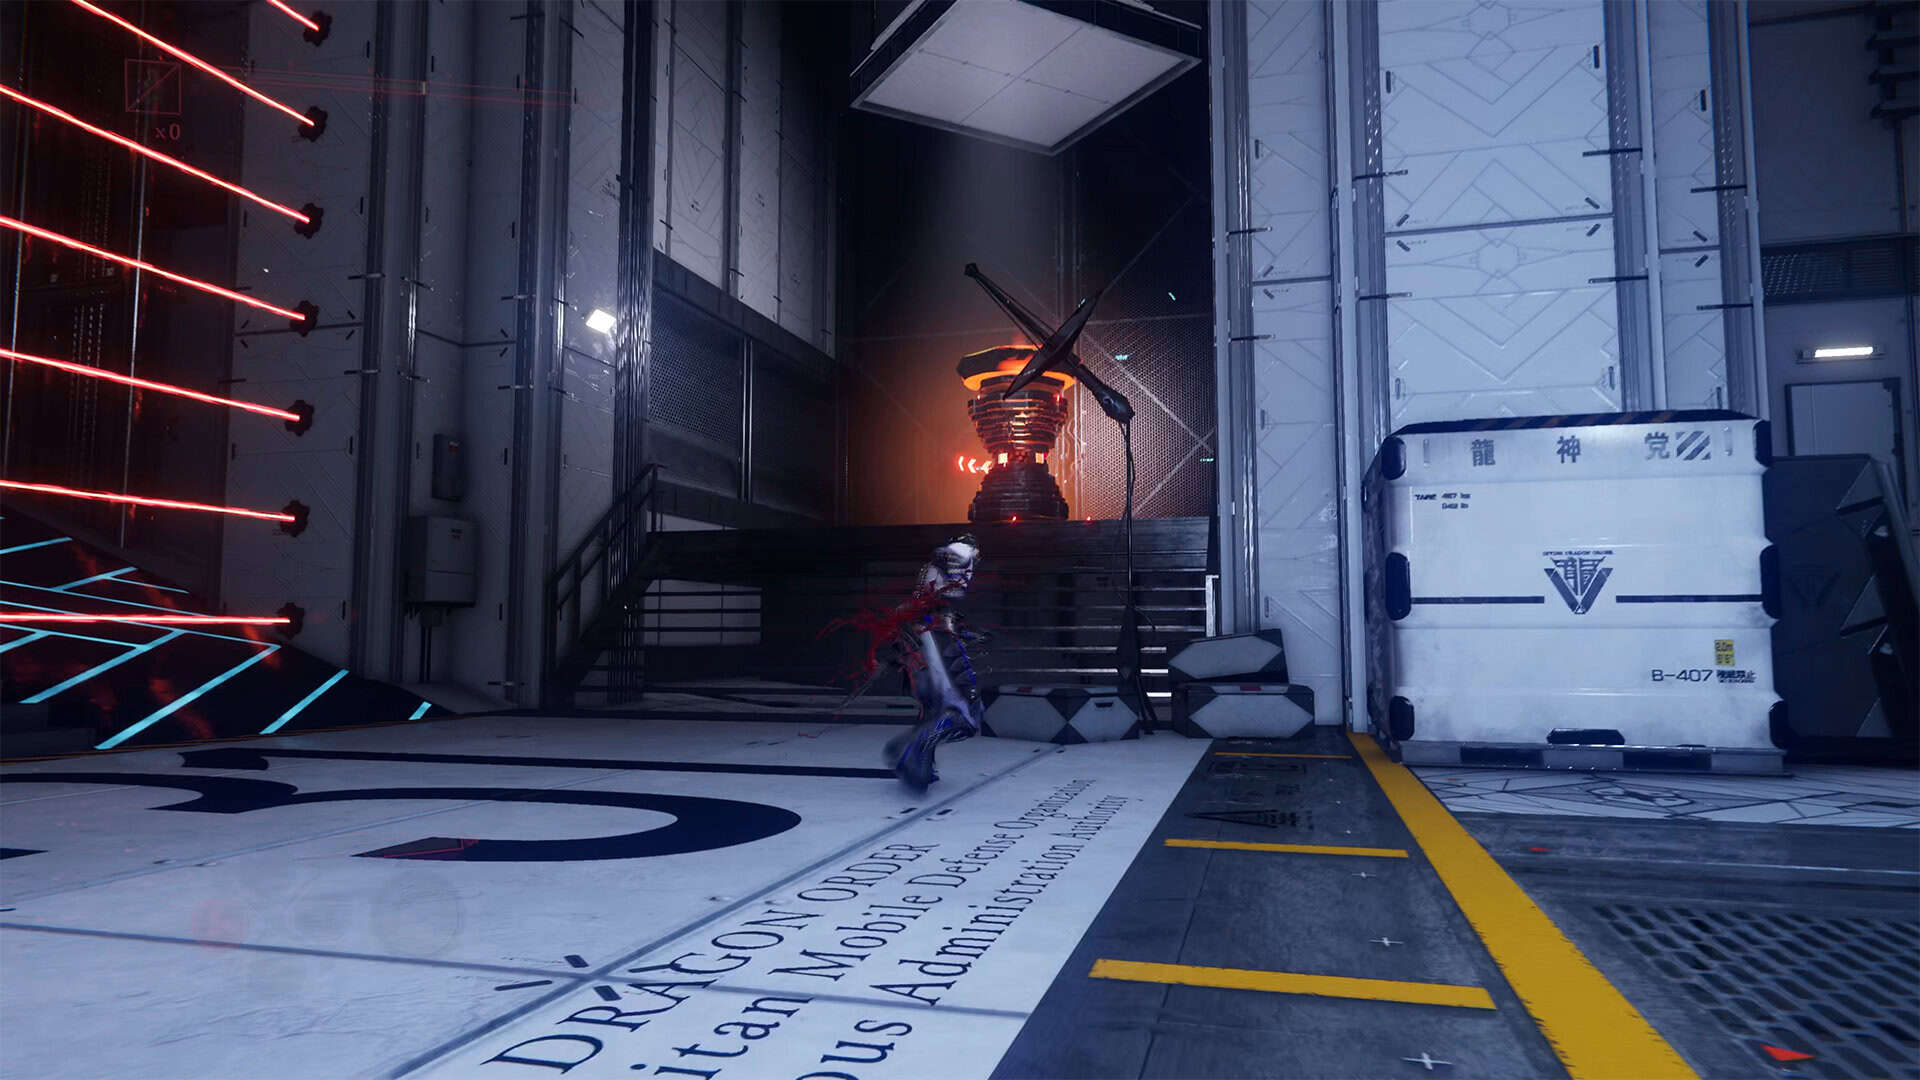
Next, I’ll show you how to get past the red lasers ahead. You need to pick up speed and run through this obstacle, jumping and ducking under the dangerous lasers. In fact, there is nothing complicated here, the only difficulty with this obstacle may arise only because of its novelty, since there was nothing like this before. The last laser wall is solid. Here you need to find the element that creates these lasers and destroy it.
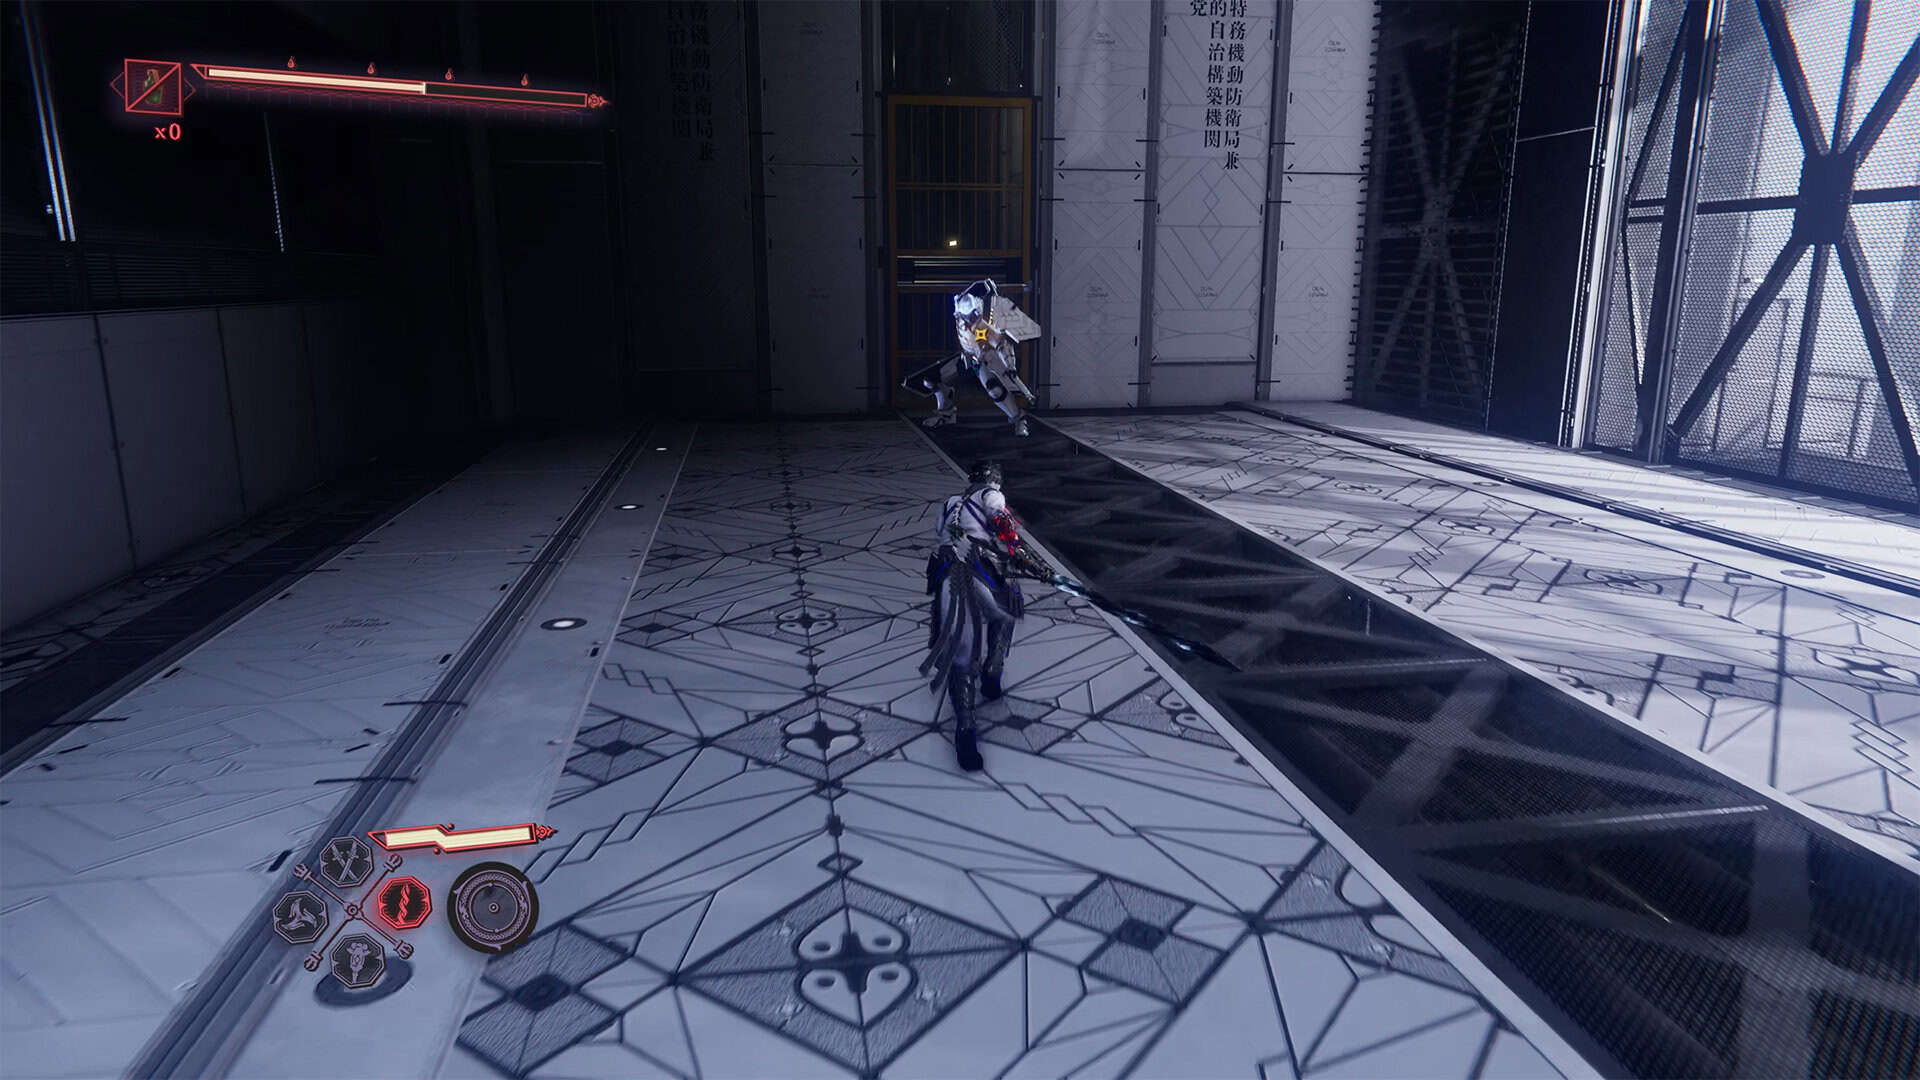
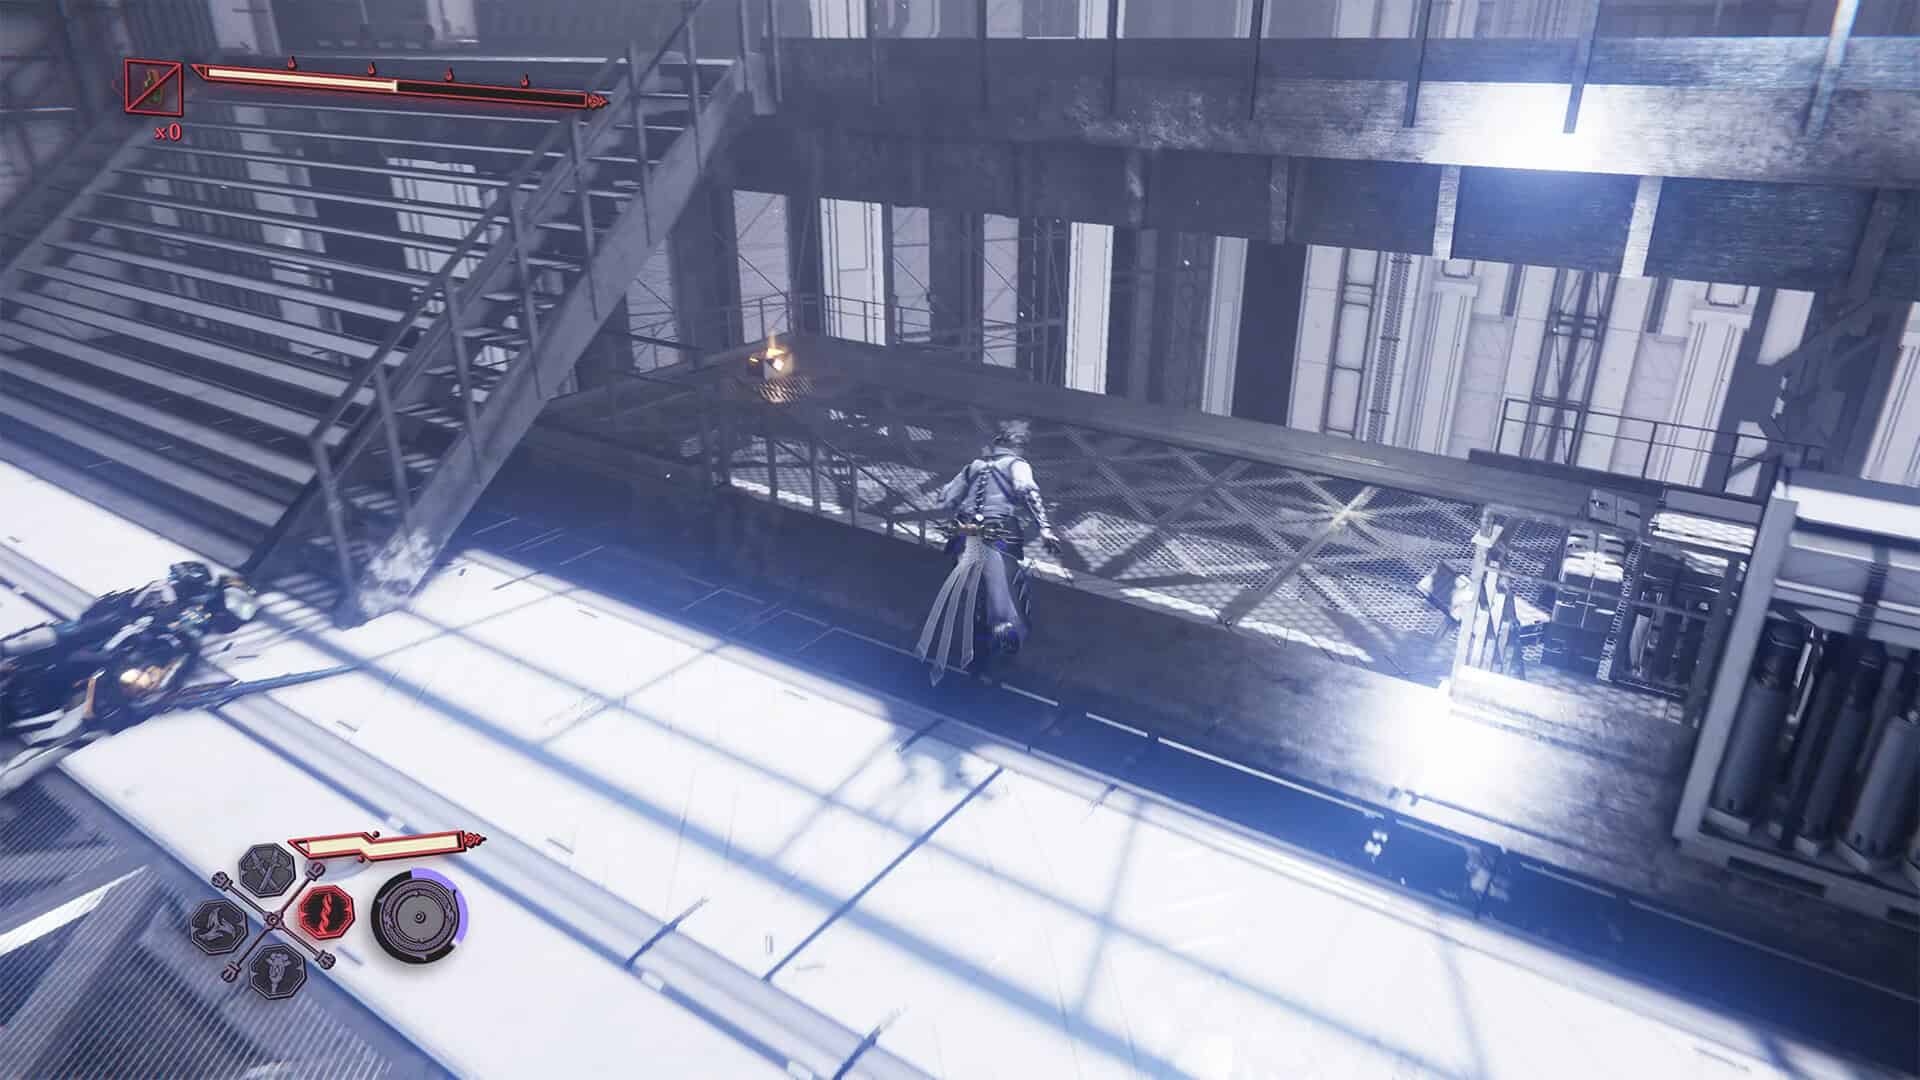
Only then will you be able to move on. Ahead of you is a room with a new type of enemy. It is an ordinary soldier, but dressed in armor. The battle with the armored soldier is a new challenge to your abilities. I usually use parries to shock him and deal a lot of damage. Next, use the Flying Bird Flip to climb up, where two regular soldiers will appear in the room. After defeating them, continue moving forward. You will see a metal staircase, but ignore it for now and move down under the stairs. There you will find a chest with Life Elixir.
-
- Crimson Blood Pellets in Dragon’s Maw
-
- Laser beam barrier
-
- Fortune Omamori in Dragon’s Maw
-
- Sand timer to open the laser barrier
-
- A formidable armored opponent
-
- Chest #7 in Dragon’s Maw (Life Elixir)
Execute the Elite DDO Squadron
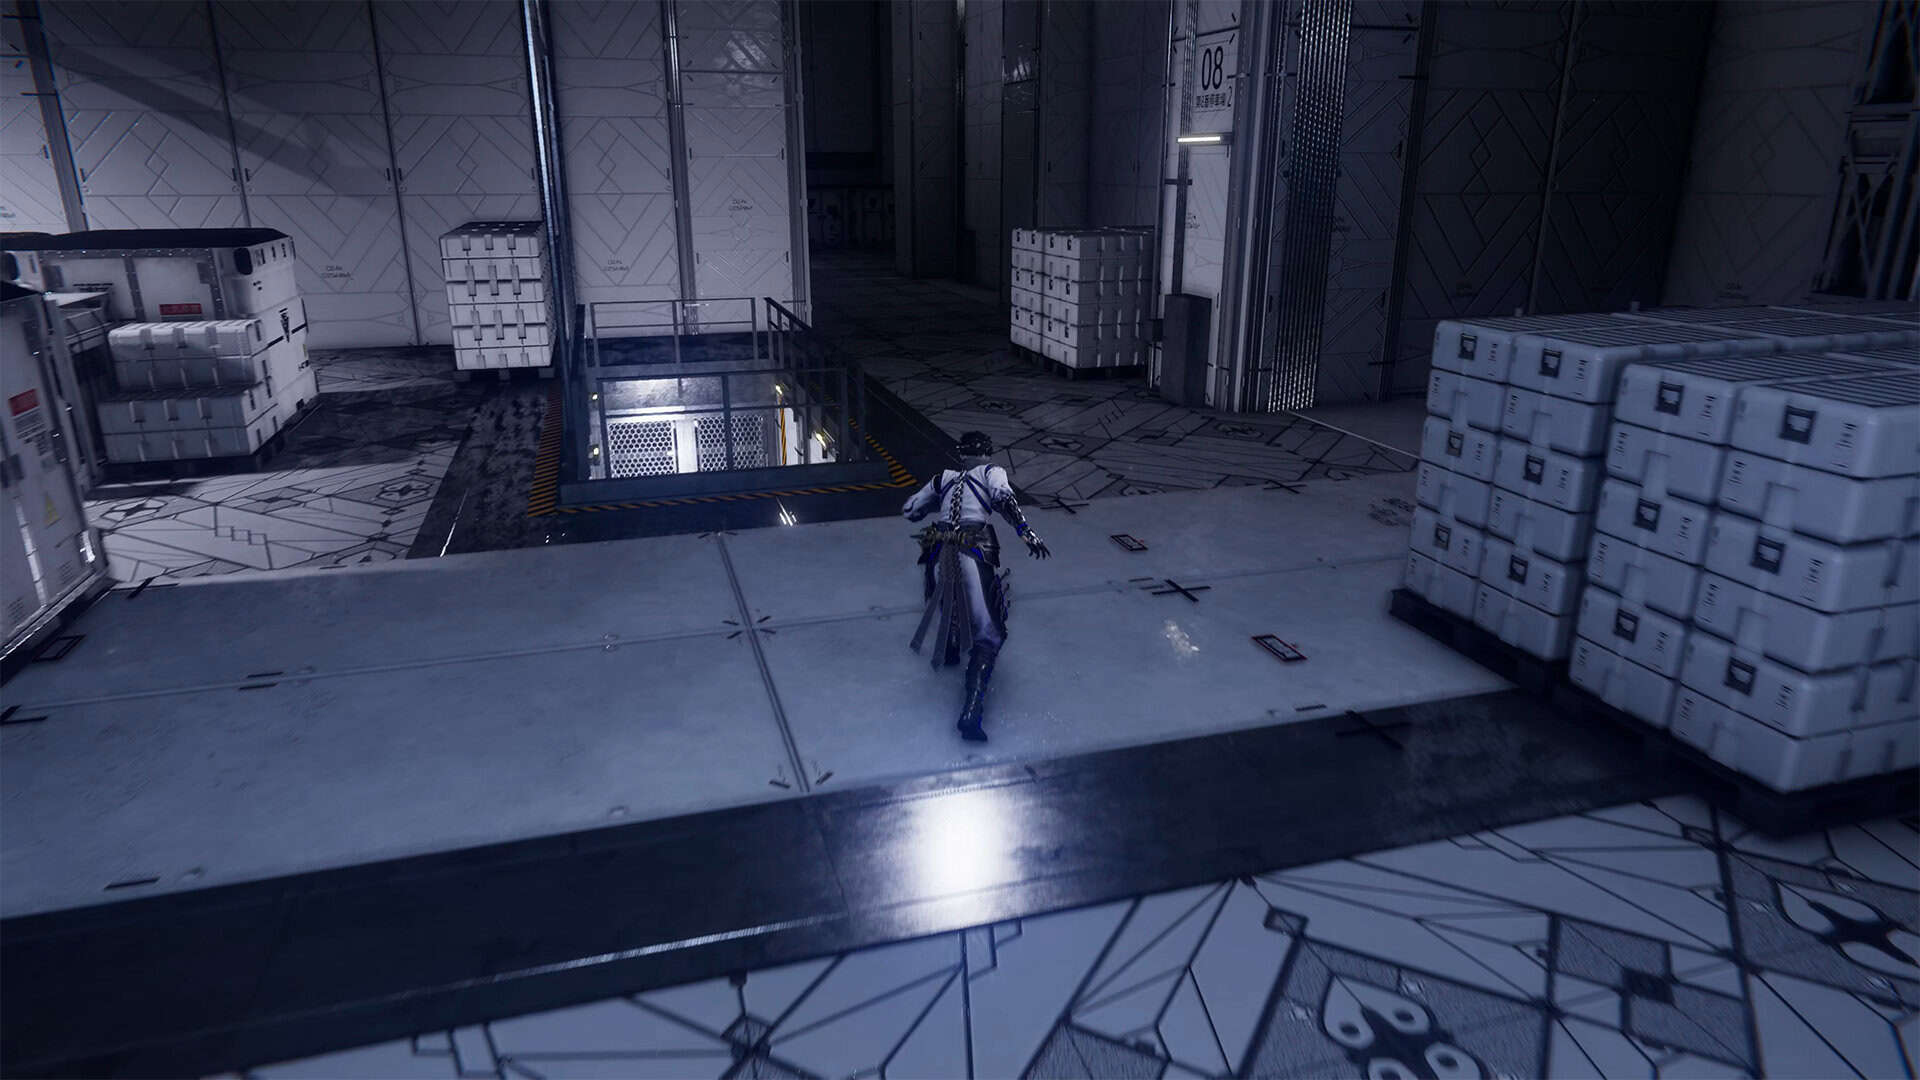
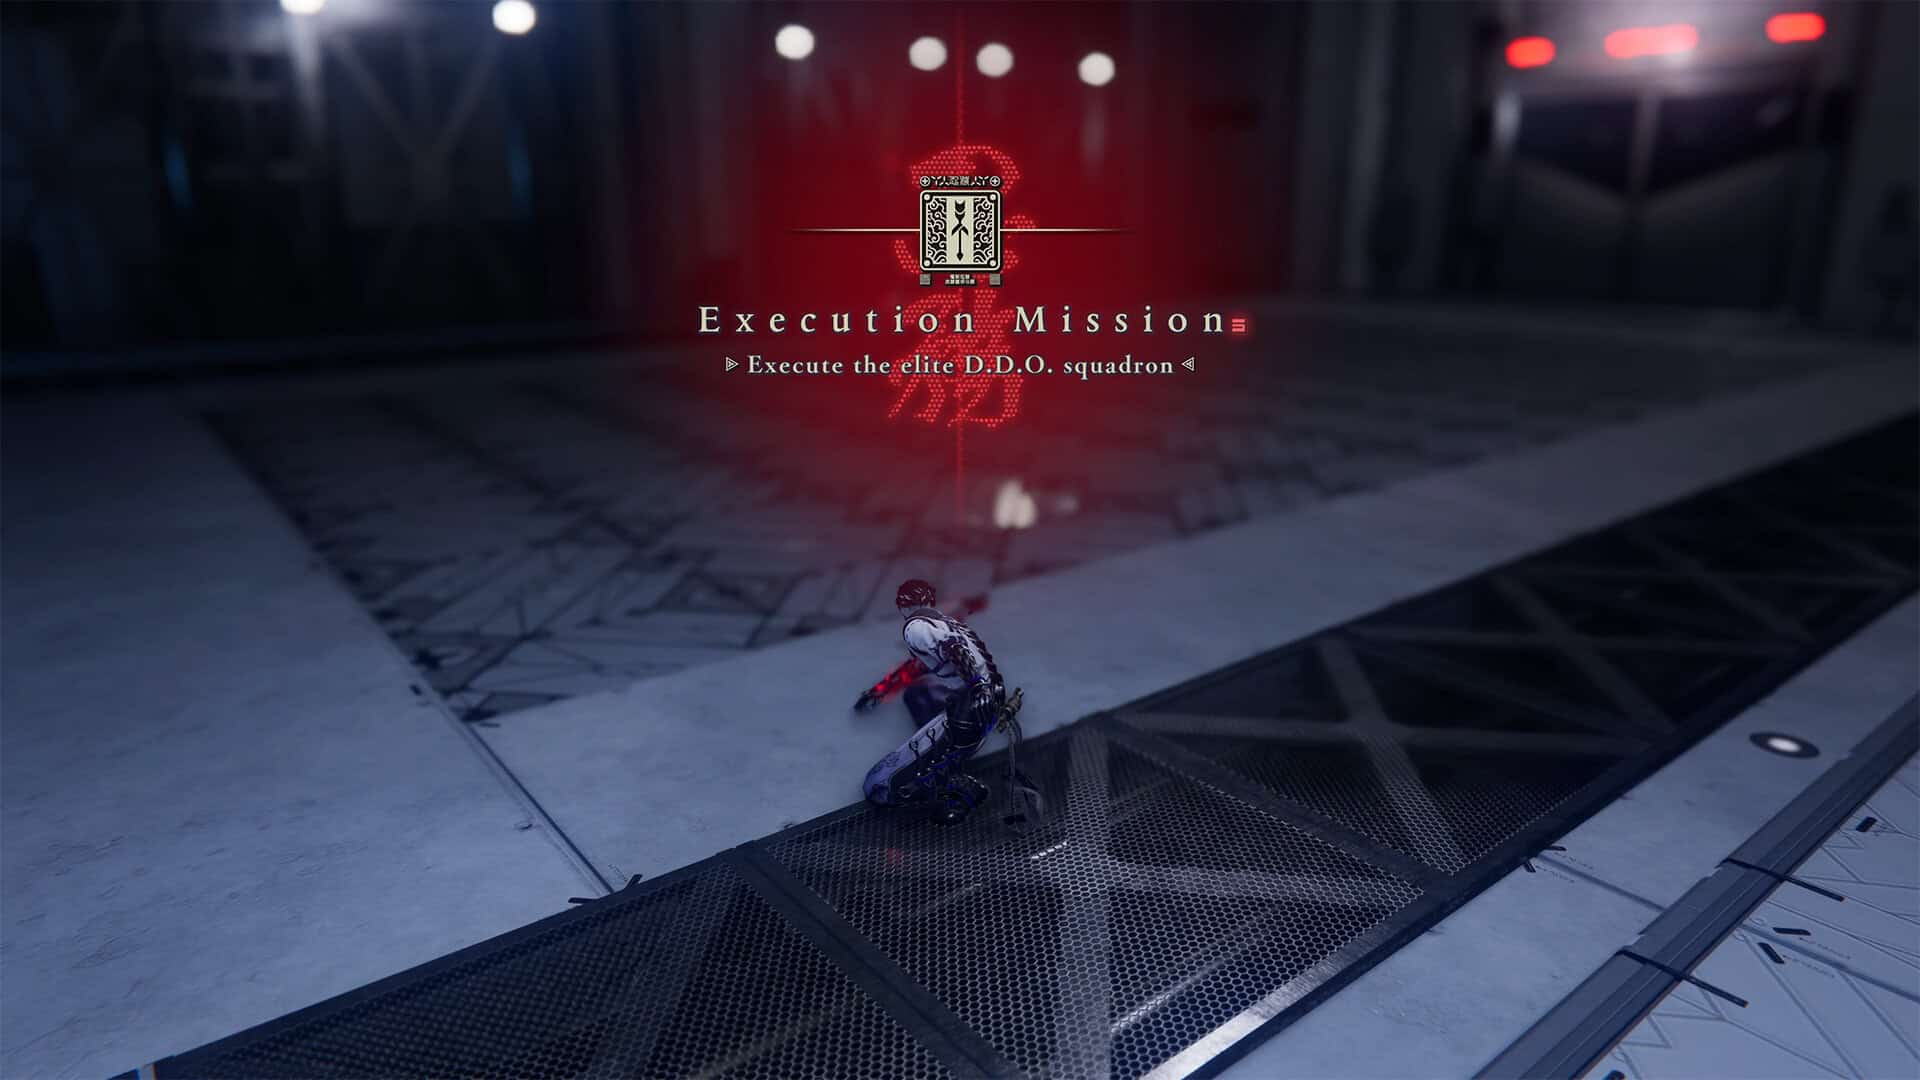
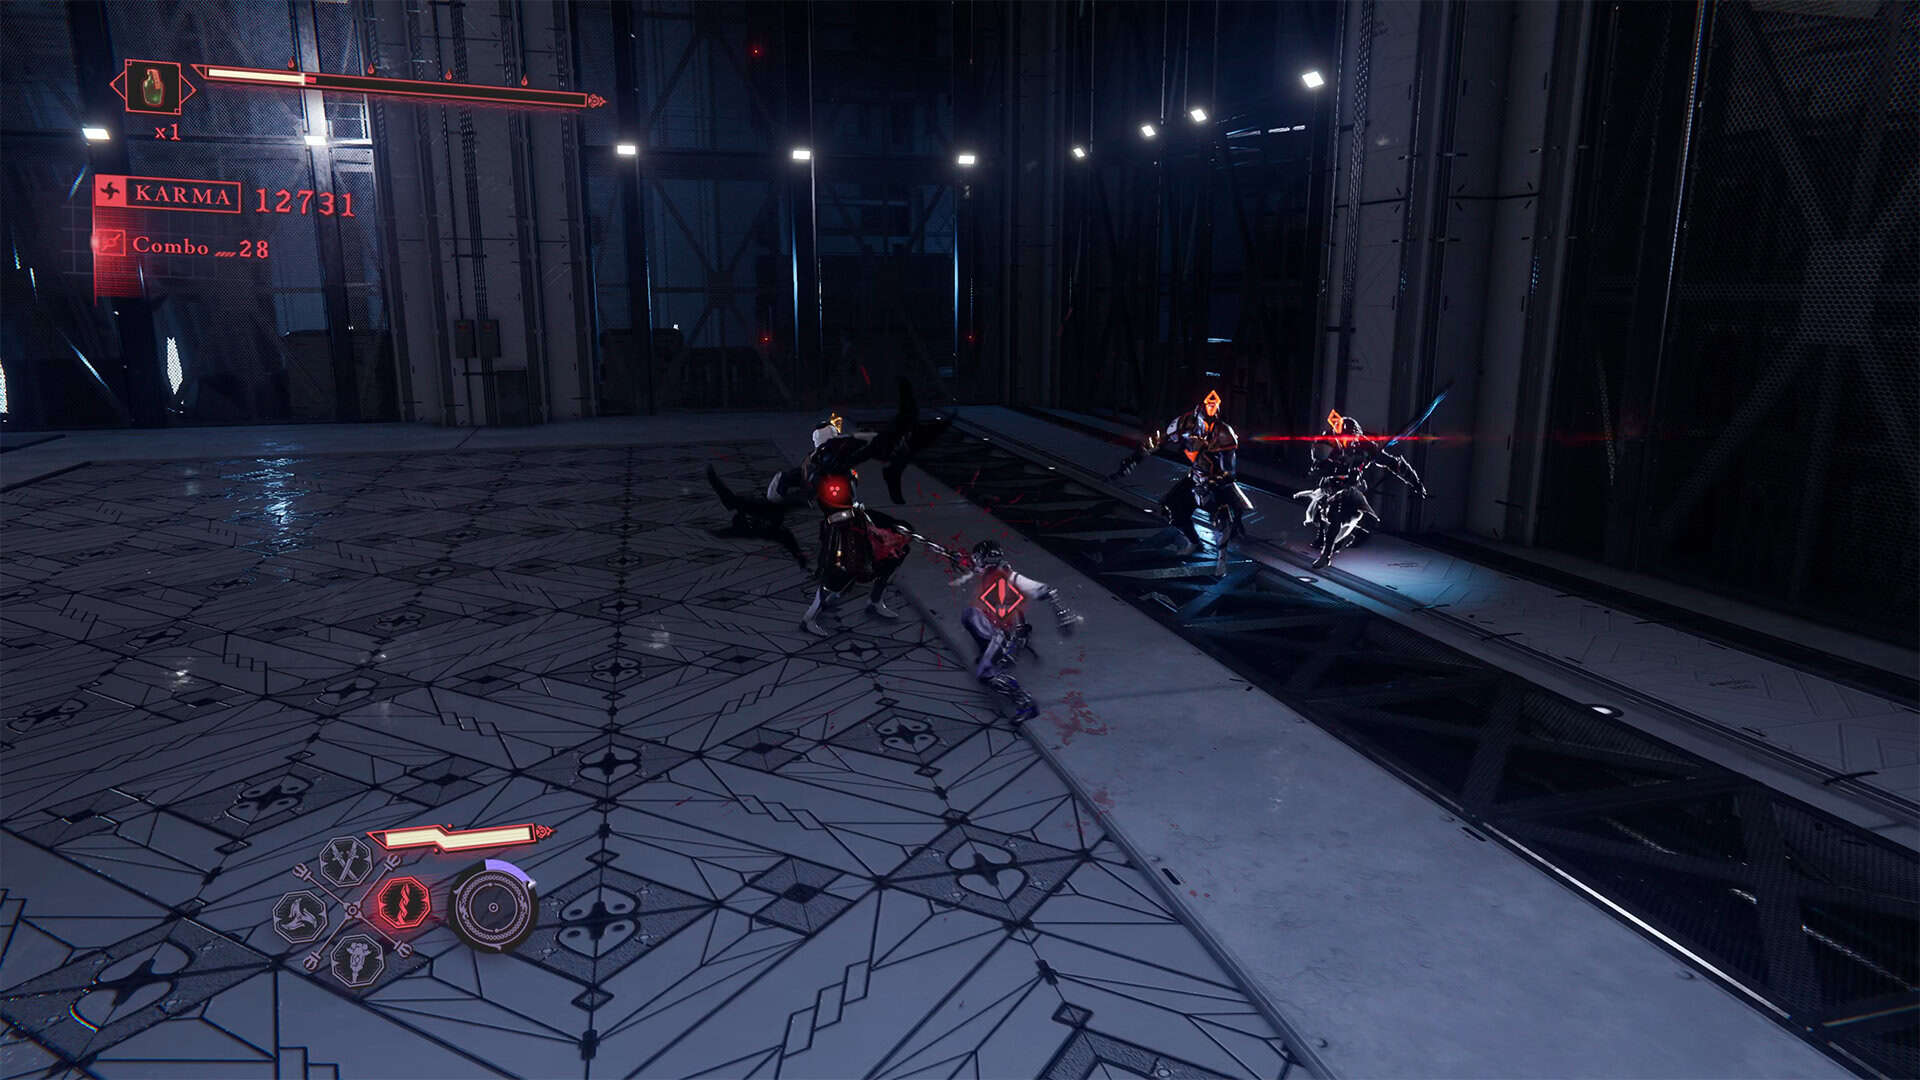
Now go back to the place where you climbed up the narrow vertical tunnel using the Flying Bird Flip. Go through this tunnel and climb up again using the Flying Bird Flip. Here you will see a rail, jump on it and this path will take you to a special room where you can complete the side quest Execute the Elite DDO Squadron. In this battle, you can use Guillotine Throw to throw some of your opponents into the abyss.
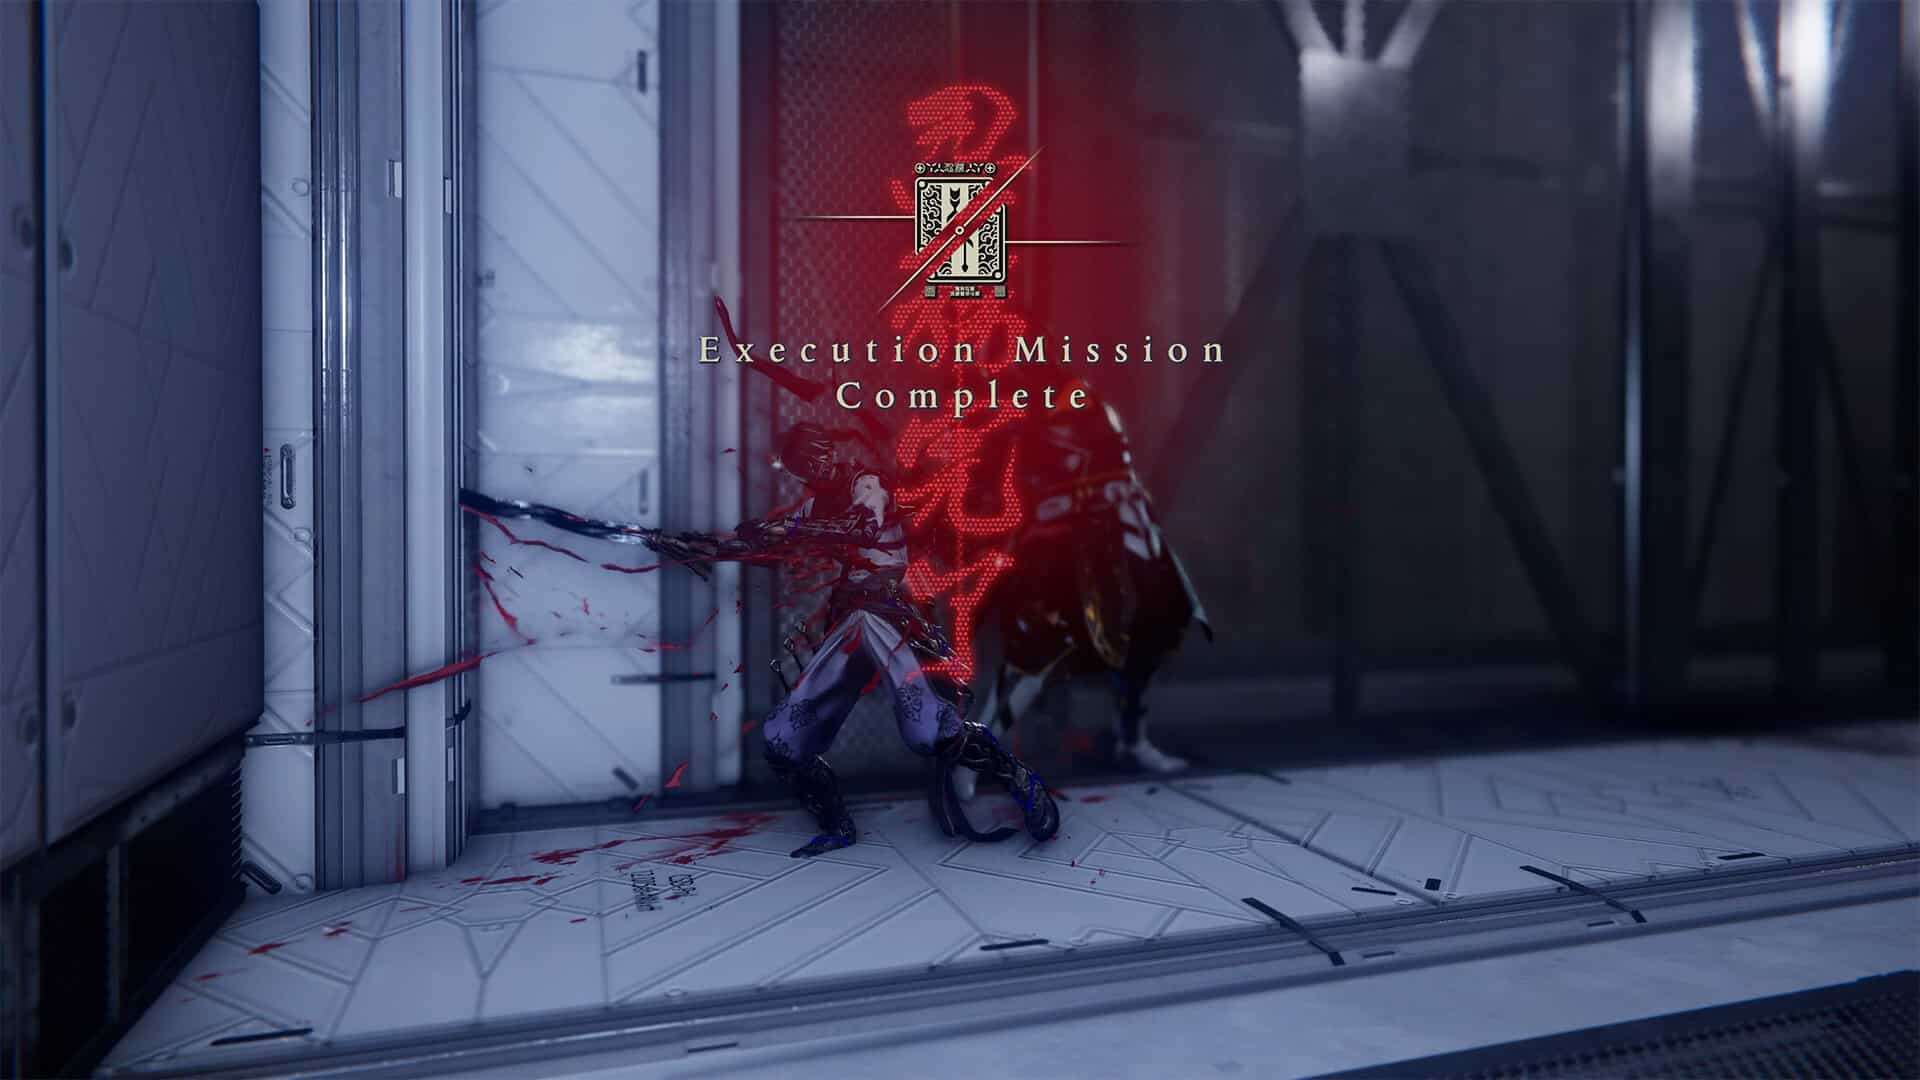
This will make it much easier to fight the ones that remain. Because in general, these are fast and powerful opponents that are not easy to defeat. After victory, you will receive a message about the completion of the mission, and you will receive your reward at the next DarkNest Terminal.
-
- Path to completing the side mission
-
- Execute the Elite DDO Squadron
-
- Three difficult enemies to defeat
-
- Task completed, mission accomplished
Divine Life Elixir (Chest #8)
It’s time to return to the room with the metal stairs where you were attacked by two soldiers and climb the stairs. At the top, use Caddis Wire to jump to a new location where soldiers are already waiting for you. You need to deal with this group of enemies. After victory, find the stairs on the left and go down them. Here, behind the container, you will find a chest. Open it to get the Divine Life Elixir.
Life Elixir (Chest #9) + Gourdy
Let’s move on. There will be a small number of enemies here again, which you can quickly deal with. It seems that someone is deliberately sending enemy soldiers your way. But while no one is around, find the chest on the left. It’s easy to spot, as it’s not hidden. Inside the chest, you will find a Life Elixir. And don’t rush to leave this place. A little further behind the containers, Gourdy is hiding, and you need to catch him. Here you have to complete two lines of tasks. Press the buttons in time and you will cope with this. Now you can move on.
DarkNest Terminal
Ahead of you lie several battles with enemies, and then you will finally make the big flight to reach the second DarkNest Terminal. This route may seem confusing at first, but it’s actually quite simple. You need to fly with the wind and maneuver so as not to crash into obstacles. First, you need to veer slightly to the left to pass through the vertical space between the buildings, then do the same on the right.
After that, you will see obstacles with lasers, but there are quite large gaps where you can fly in and not get hurt. When you start falling onto the platform, you need to turn left or right to land on the platform, because there is no center of the platform. Here, go forward, climb the stairs, and deal with the enemies that are here. After that, you can approach the DarkNest Terminal, receive a reward for one previously completed quest, and replenish your supplies.
-
- Divine Life Elixir in Dragon’s Maw
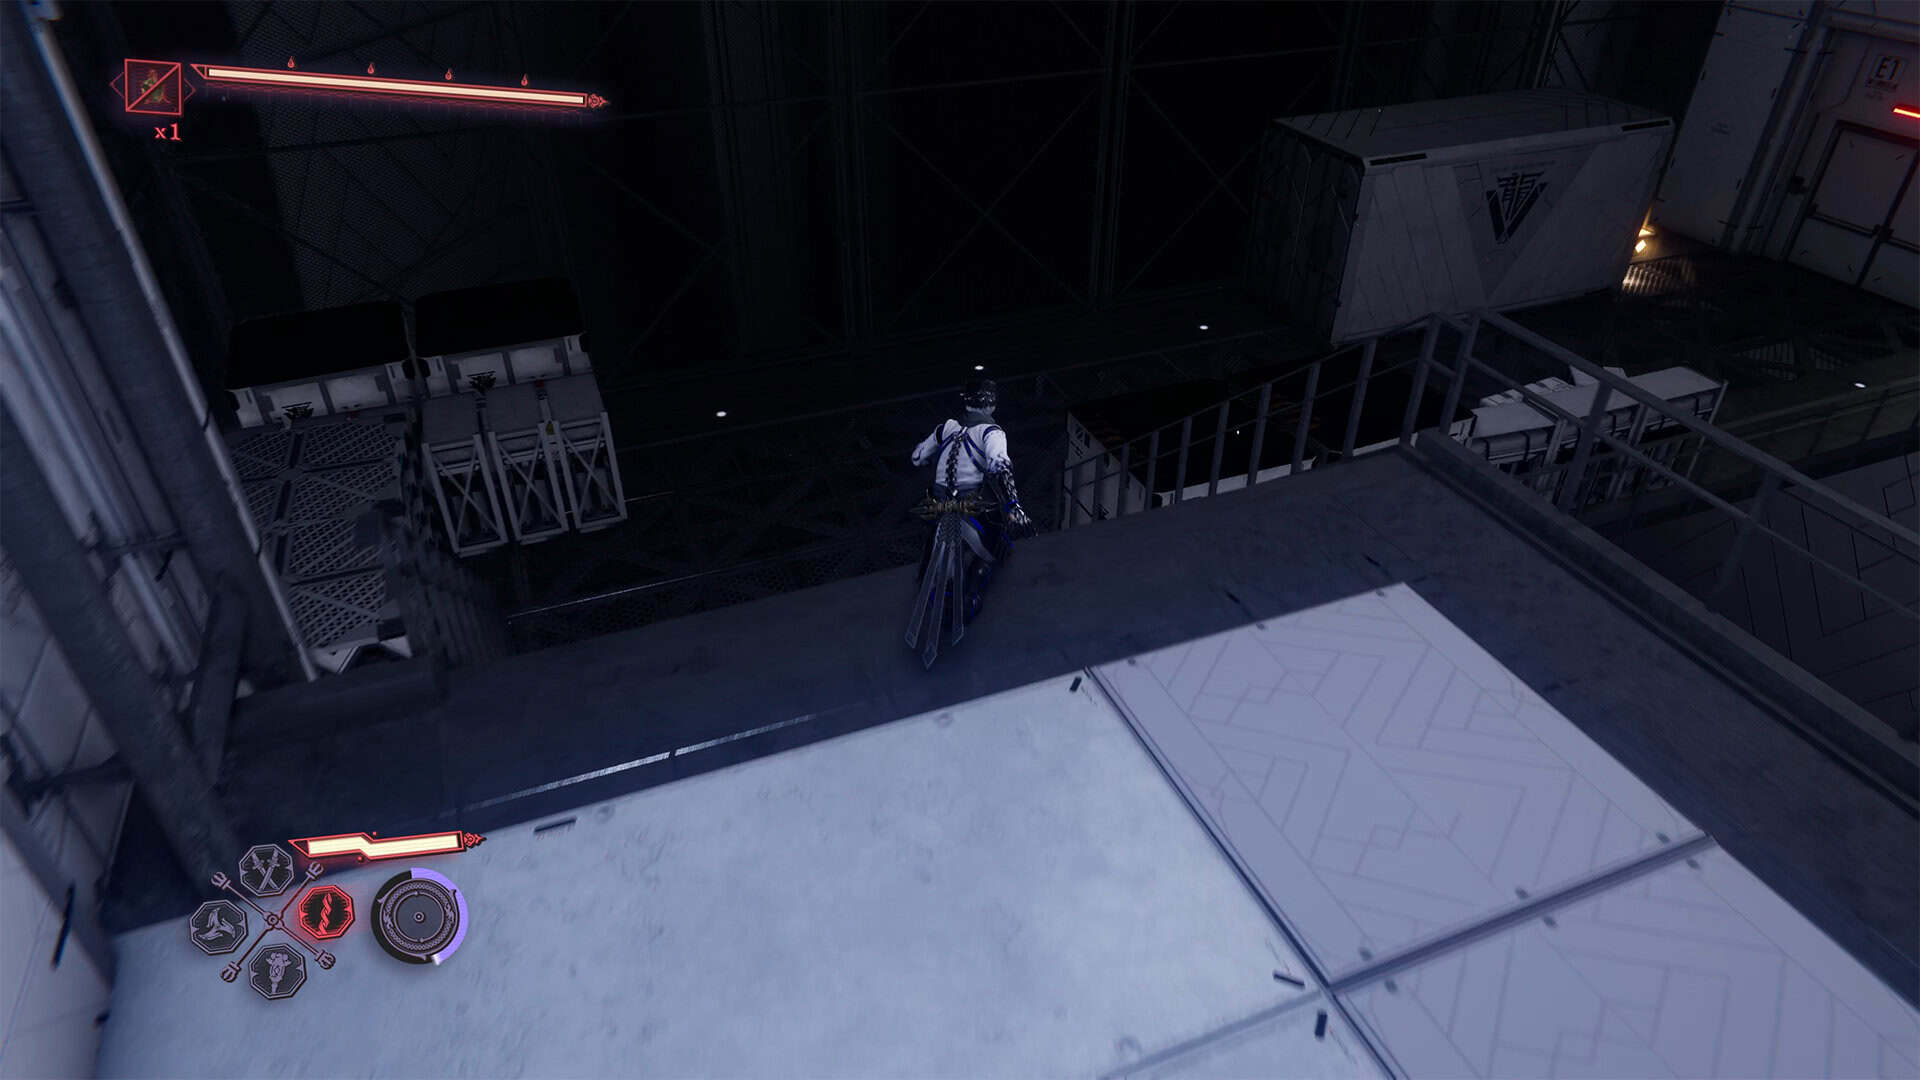
-
- Chest #9 in Dragon’s Maw (Life Elixir)
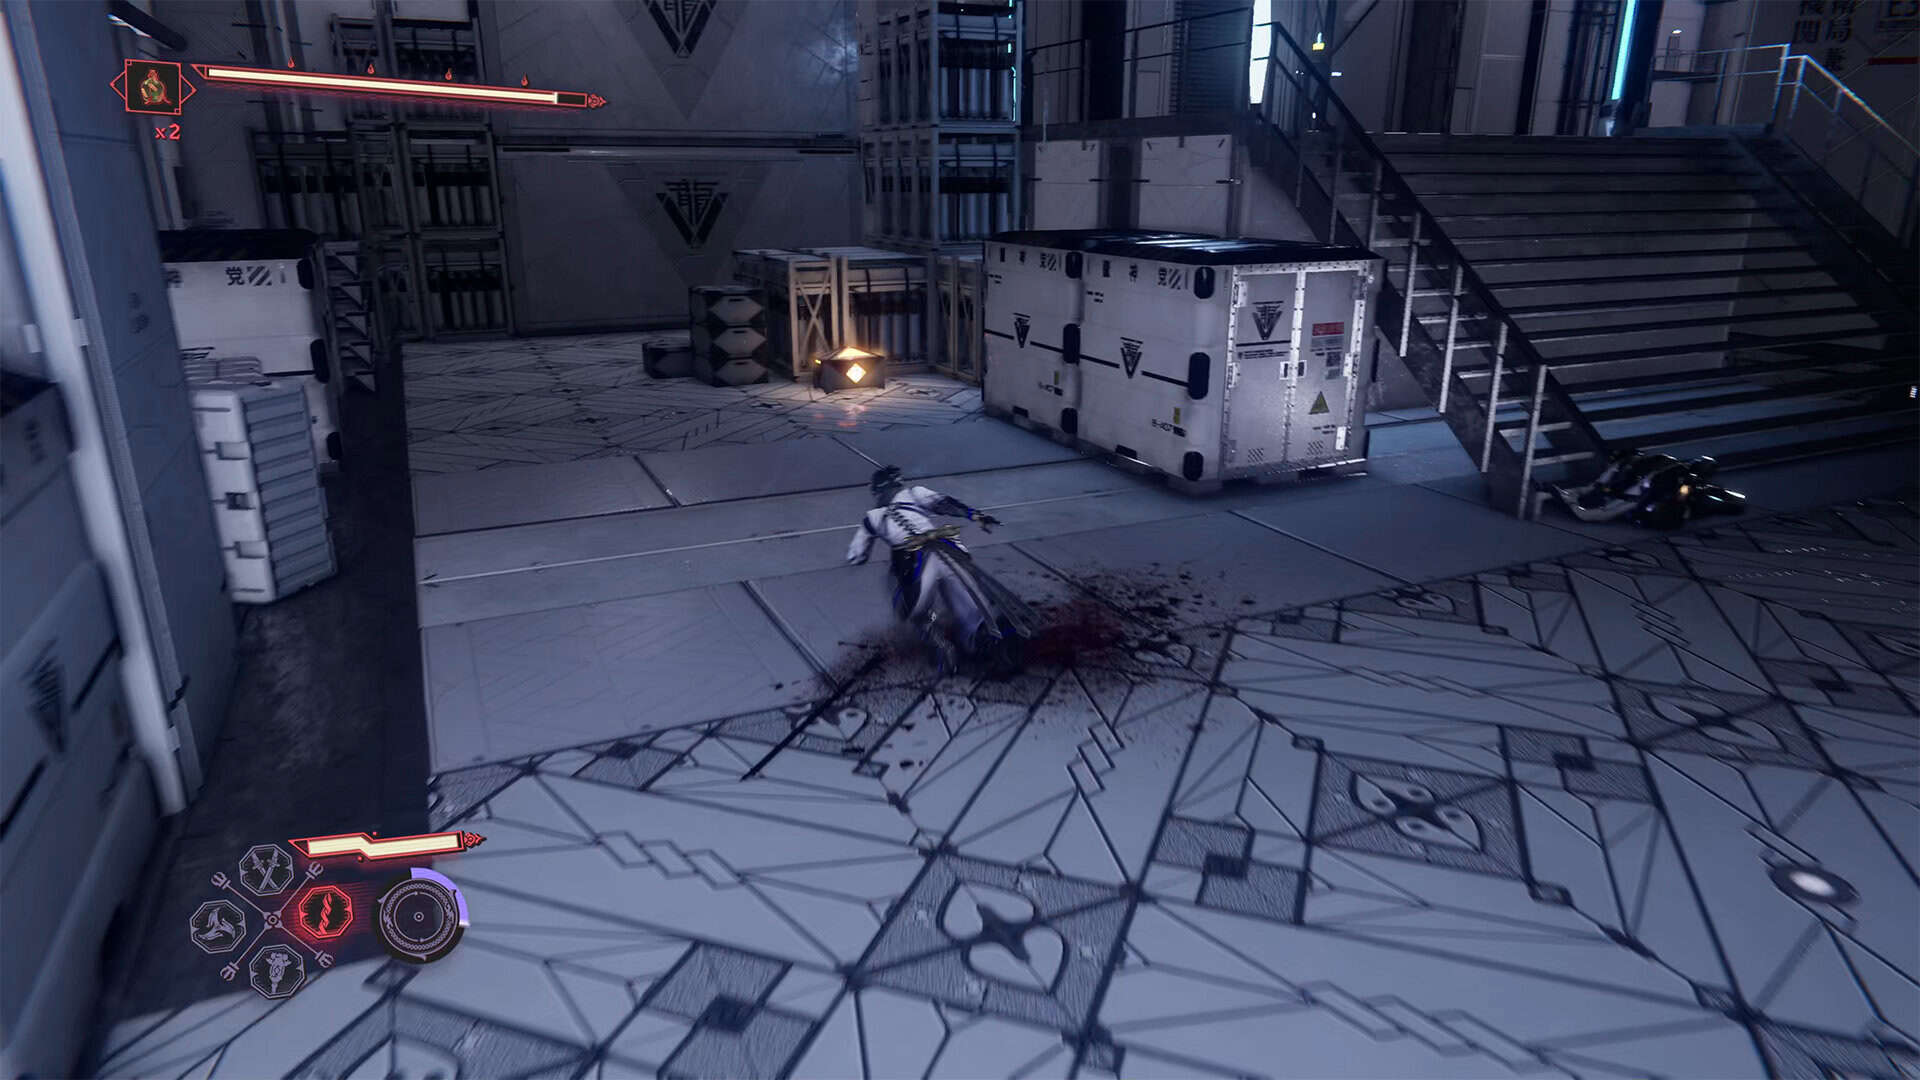
-
- Gourdy in Dragon’s Maw
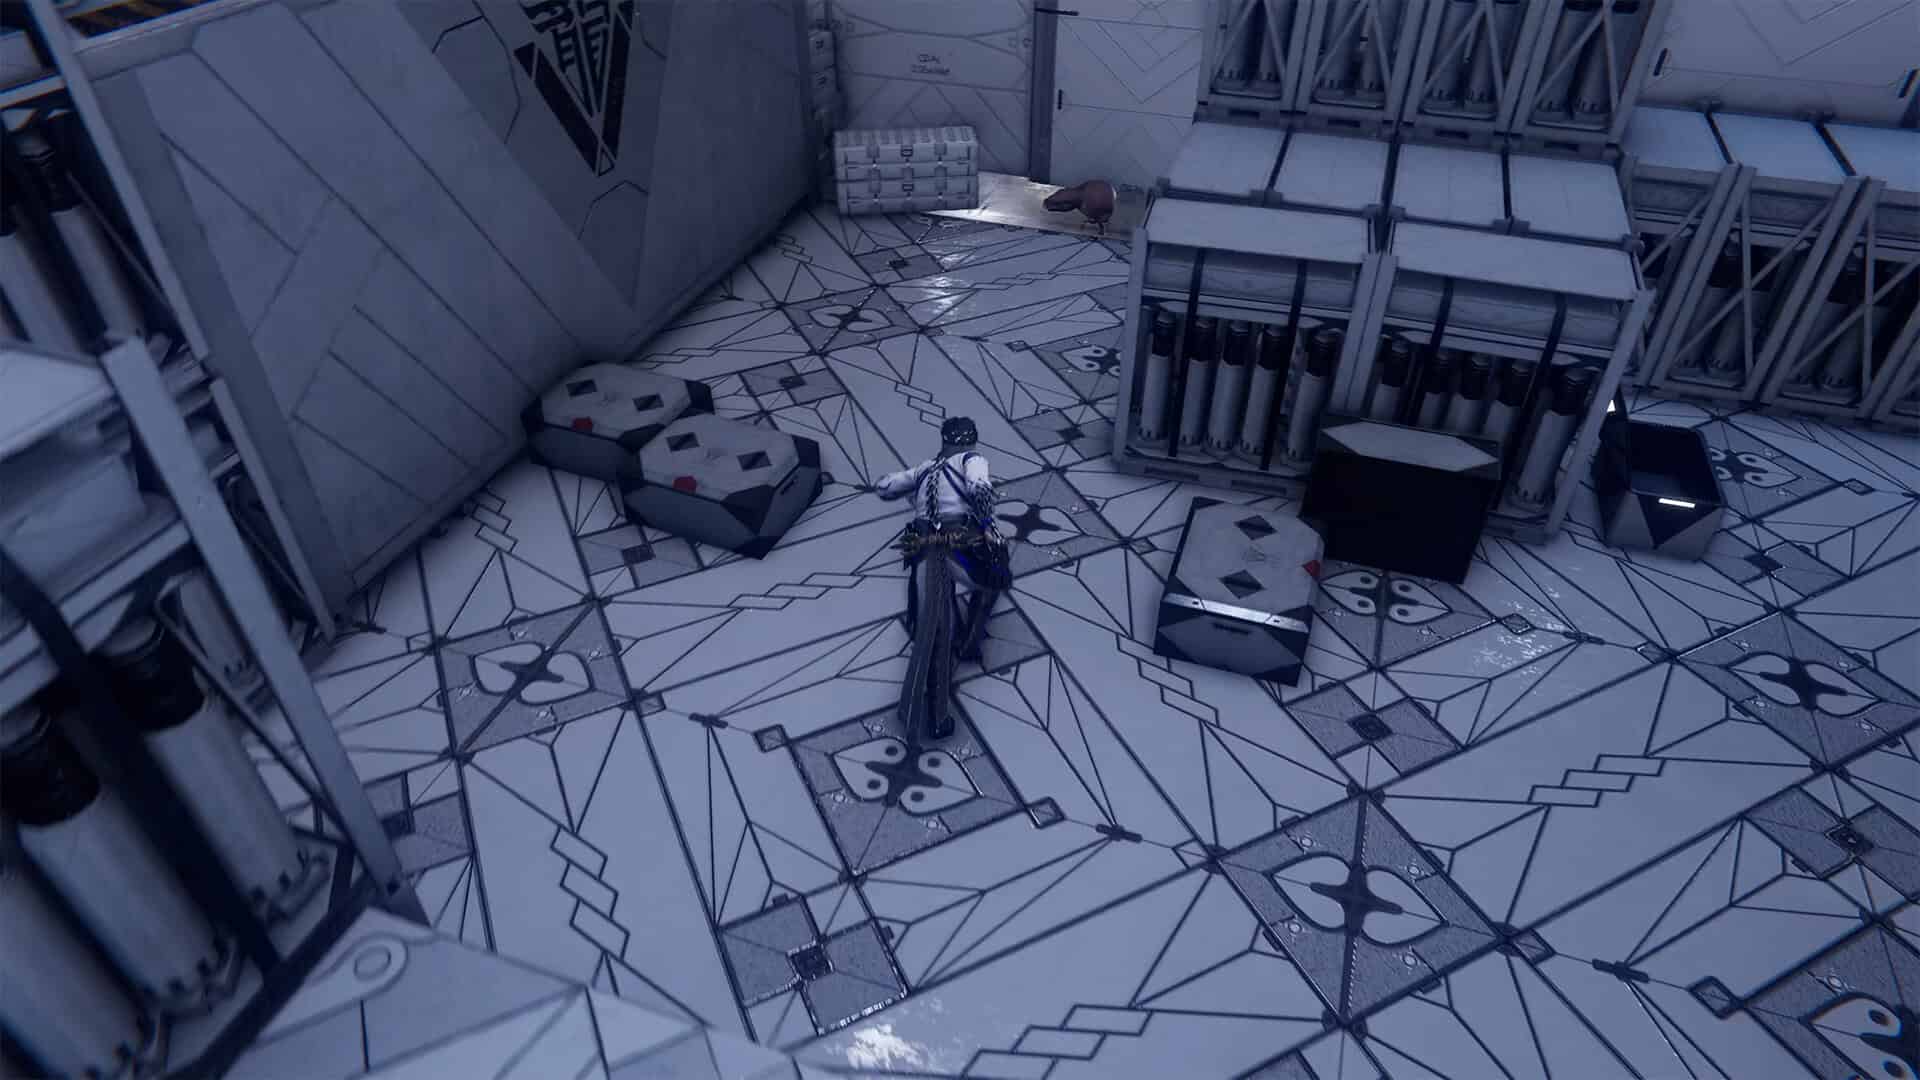
-
- Dragonfly Glider – path to DarkNest Terminal
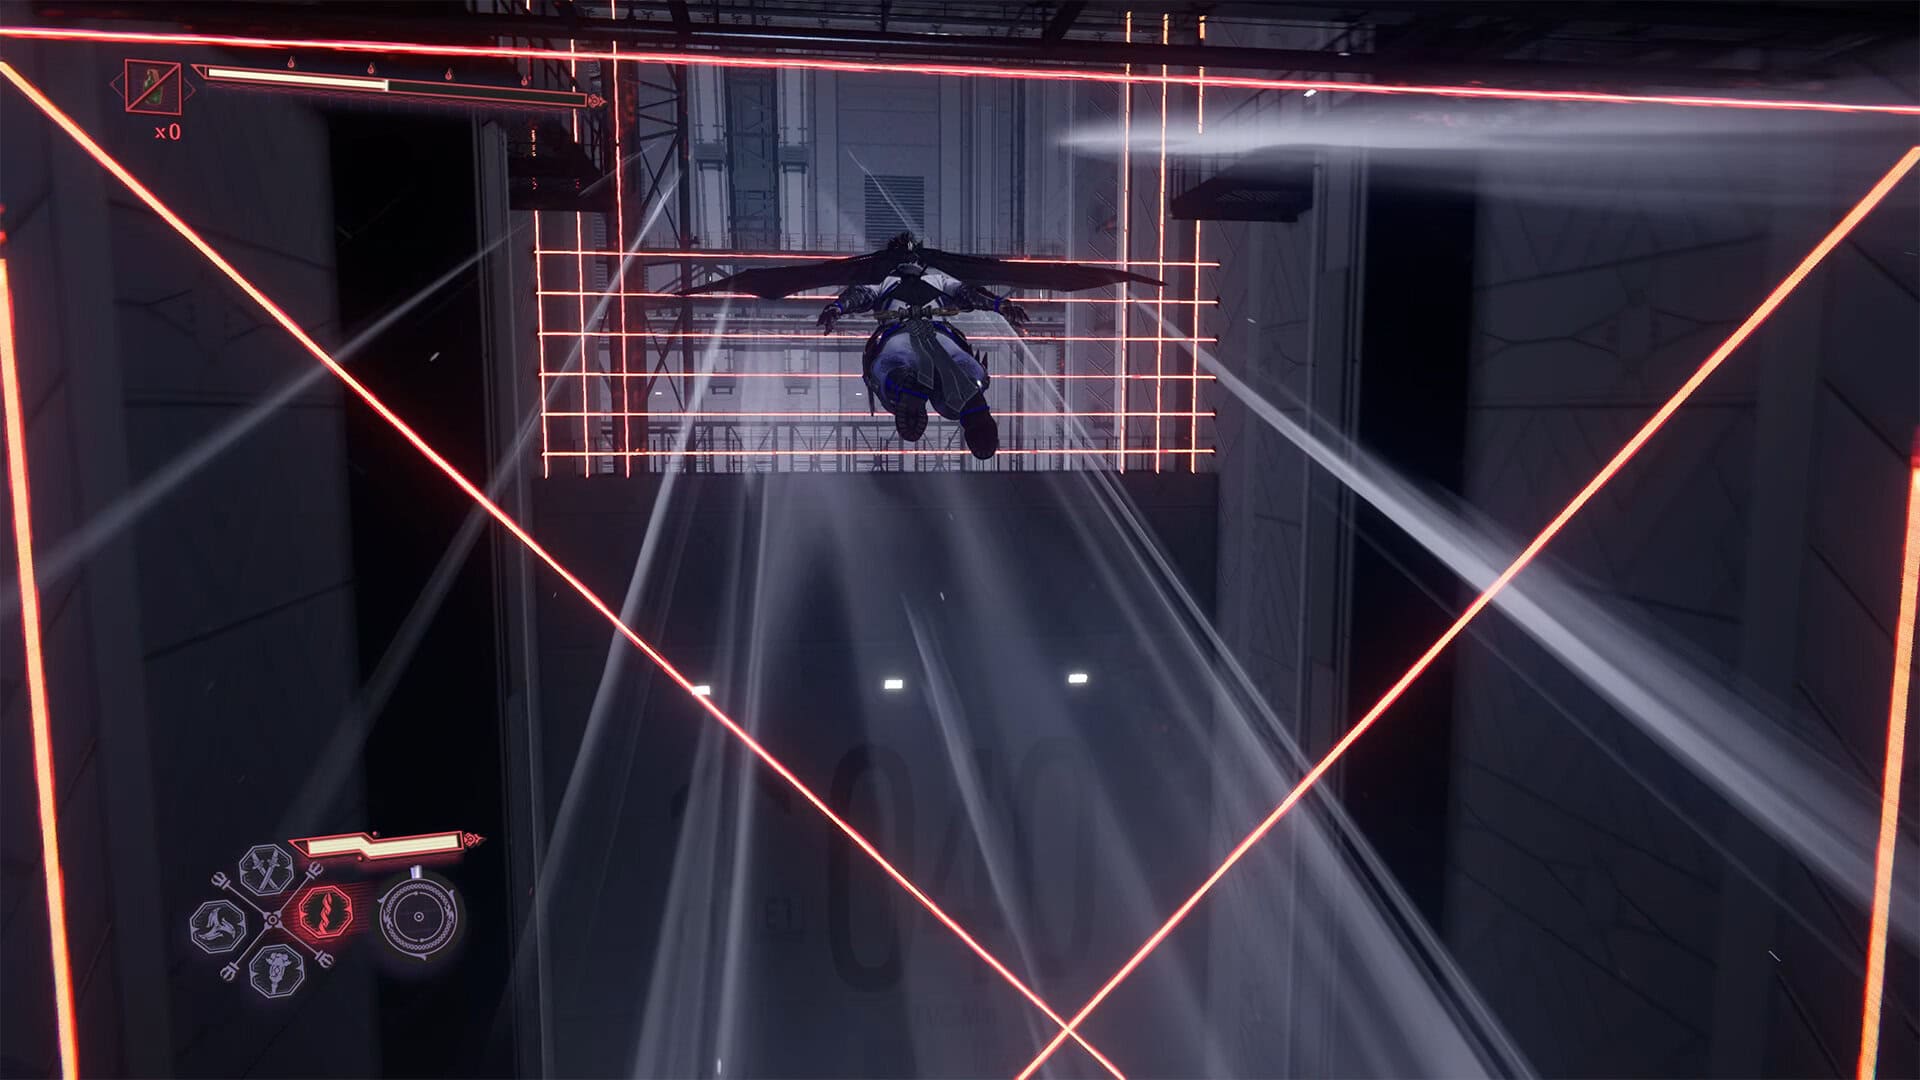
Kongou Iron Brew (Chest #10)
And then there’s another laser obstacle, but this time it’s easier. Although the laser line is moving, you just need to slip under it, jump over the next one, and pass under the last one again. Now use the Flying Bird Flip to climb up the vertical tunnel and you’ll find yourself in front of a chest. Open it to get Kongou Iron Brew.
Divine Life Elixir (Chest #11)
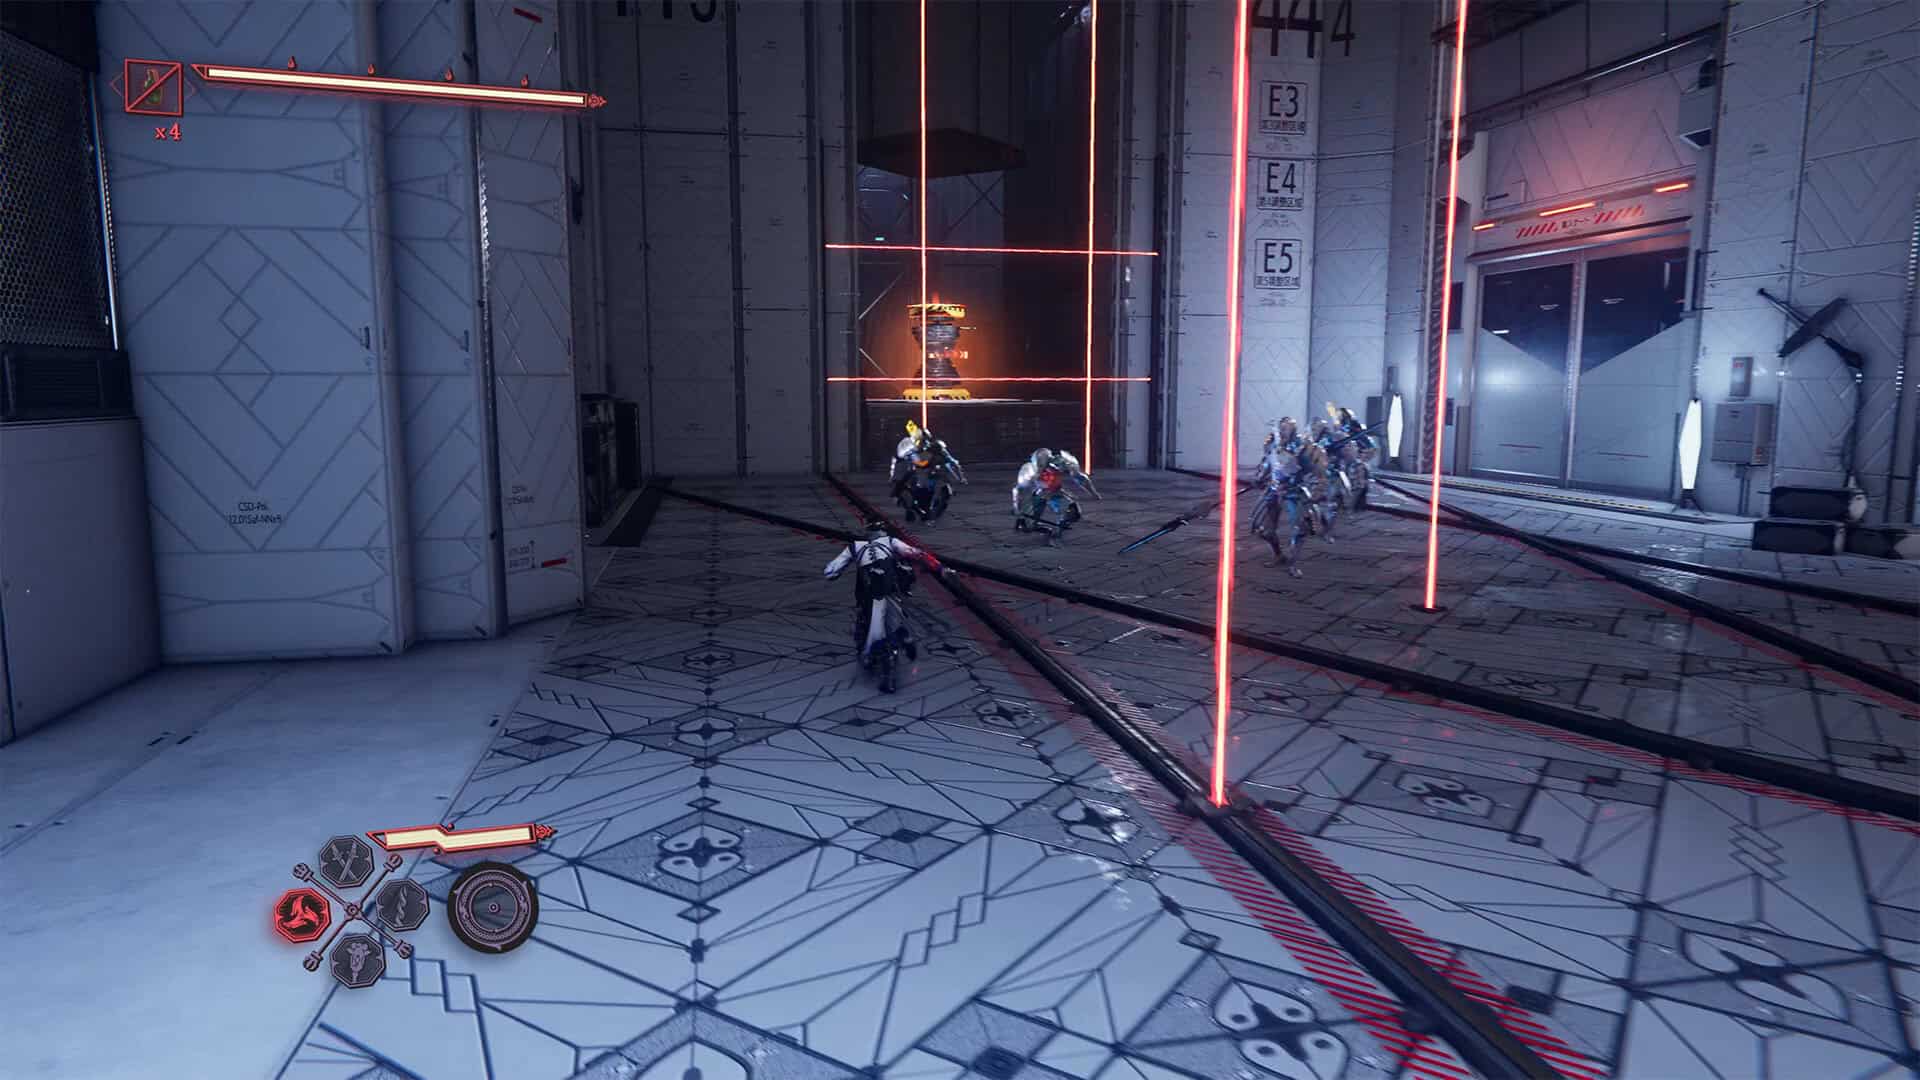
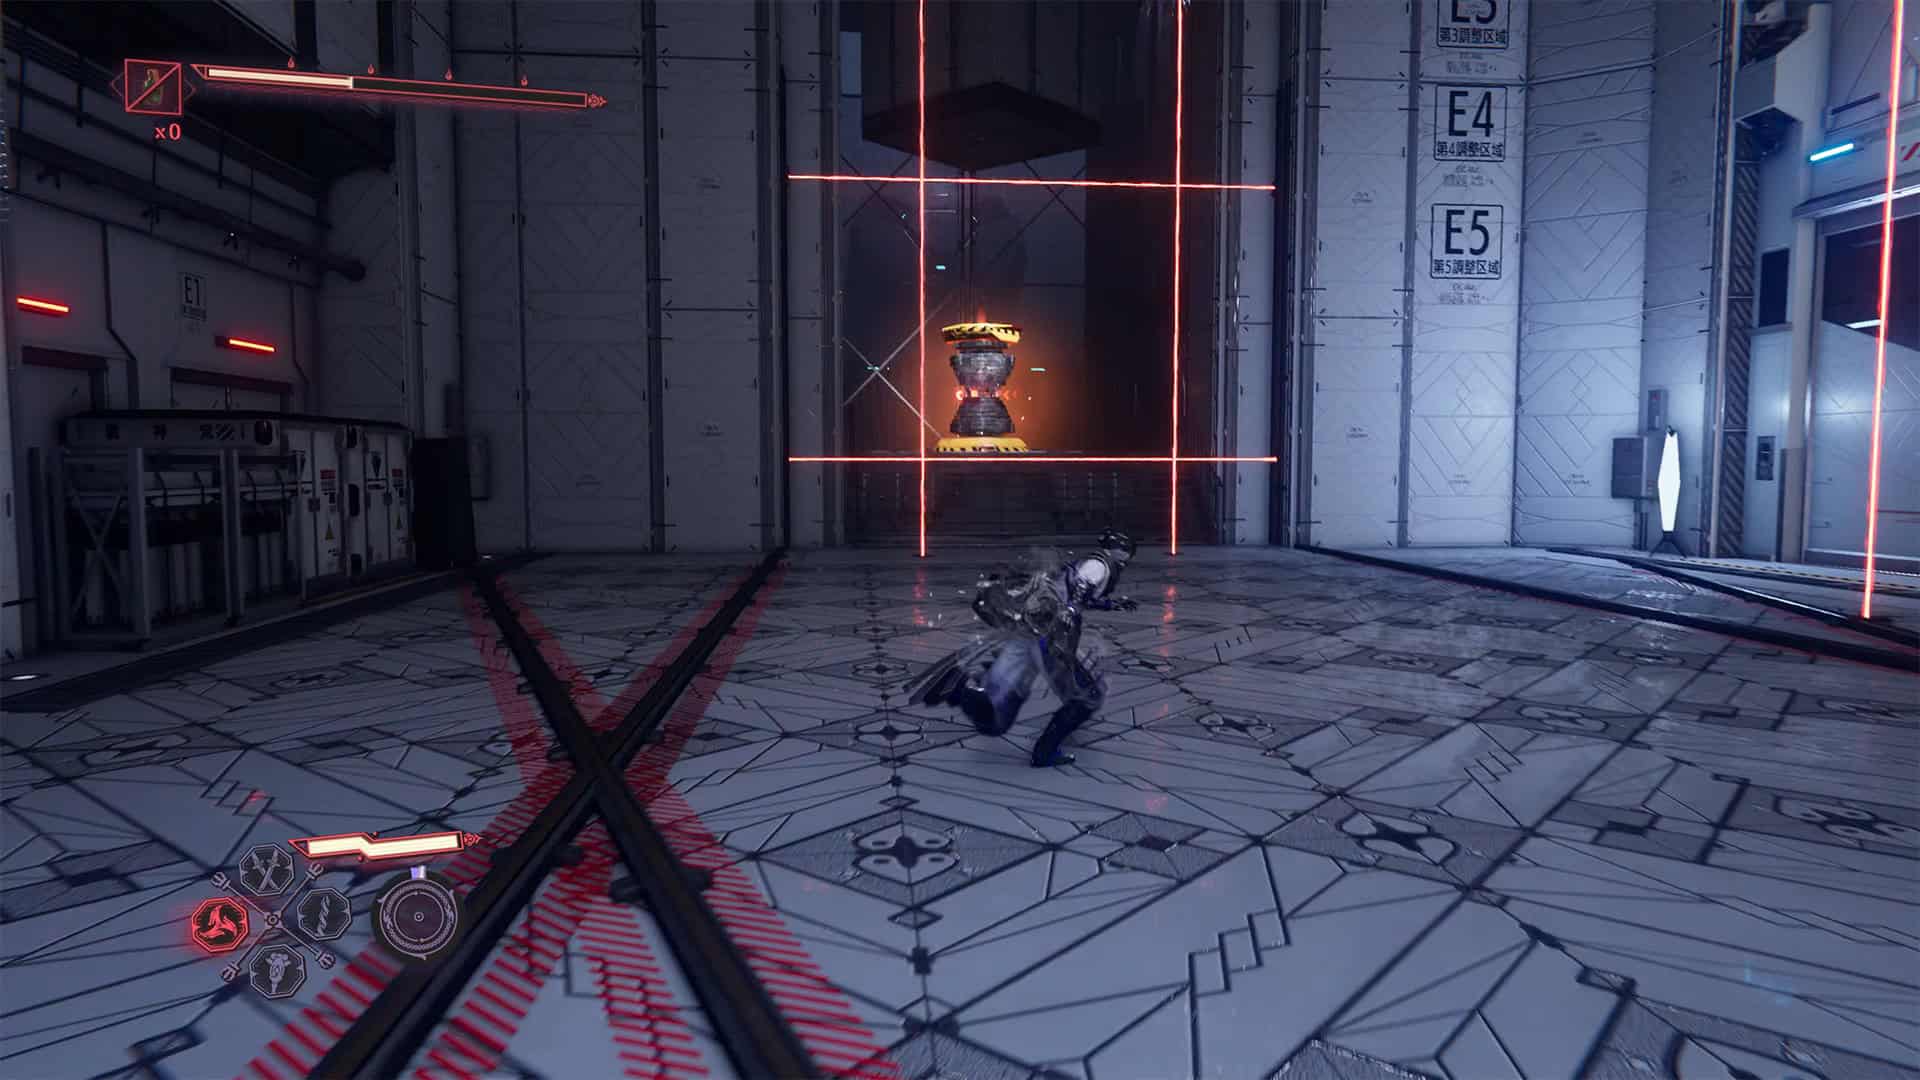
The next room has its own secret and its own complexity. There are many enemies here, and there are also laser lines that constantly move back and forth, up and down. On the sides of this room, on the right and left behind the barrier, there is an element that powers these lasers. You must first destroy any one of these elements to make the lasers disappear.
Then continue the battle with the soldiers. But after a while, the lasers will reappear. During the battle with the soldiers, you should try to stay at the edge of the room. As soon as the lasers reappear, disable them using the method you already know. You will repeat this procedure several times until you destroy all the soldiers. Only then will you be able to leave the room through the double doors.
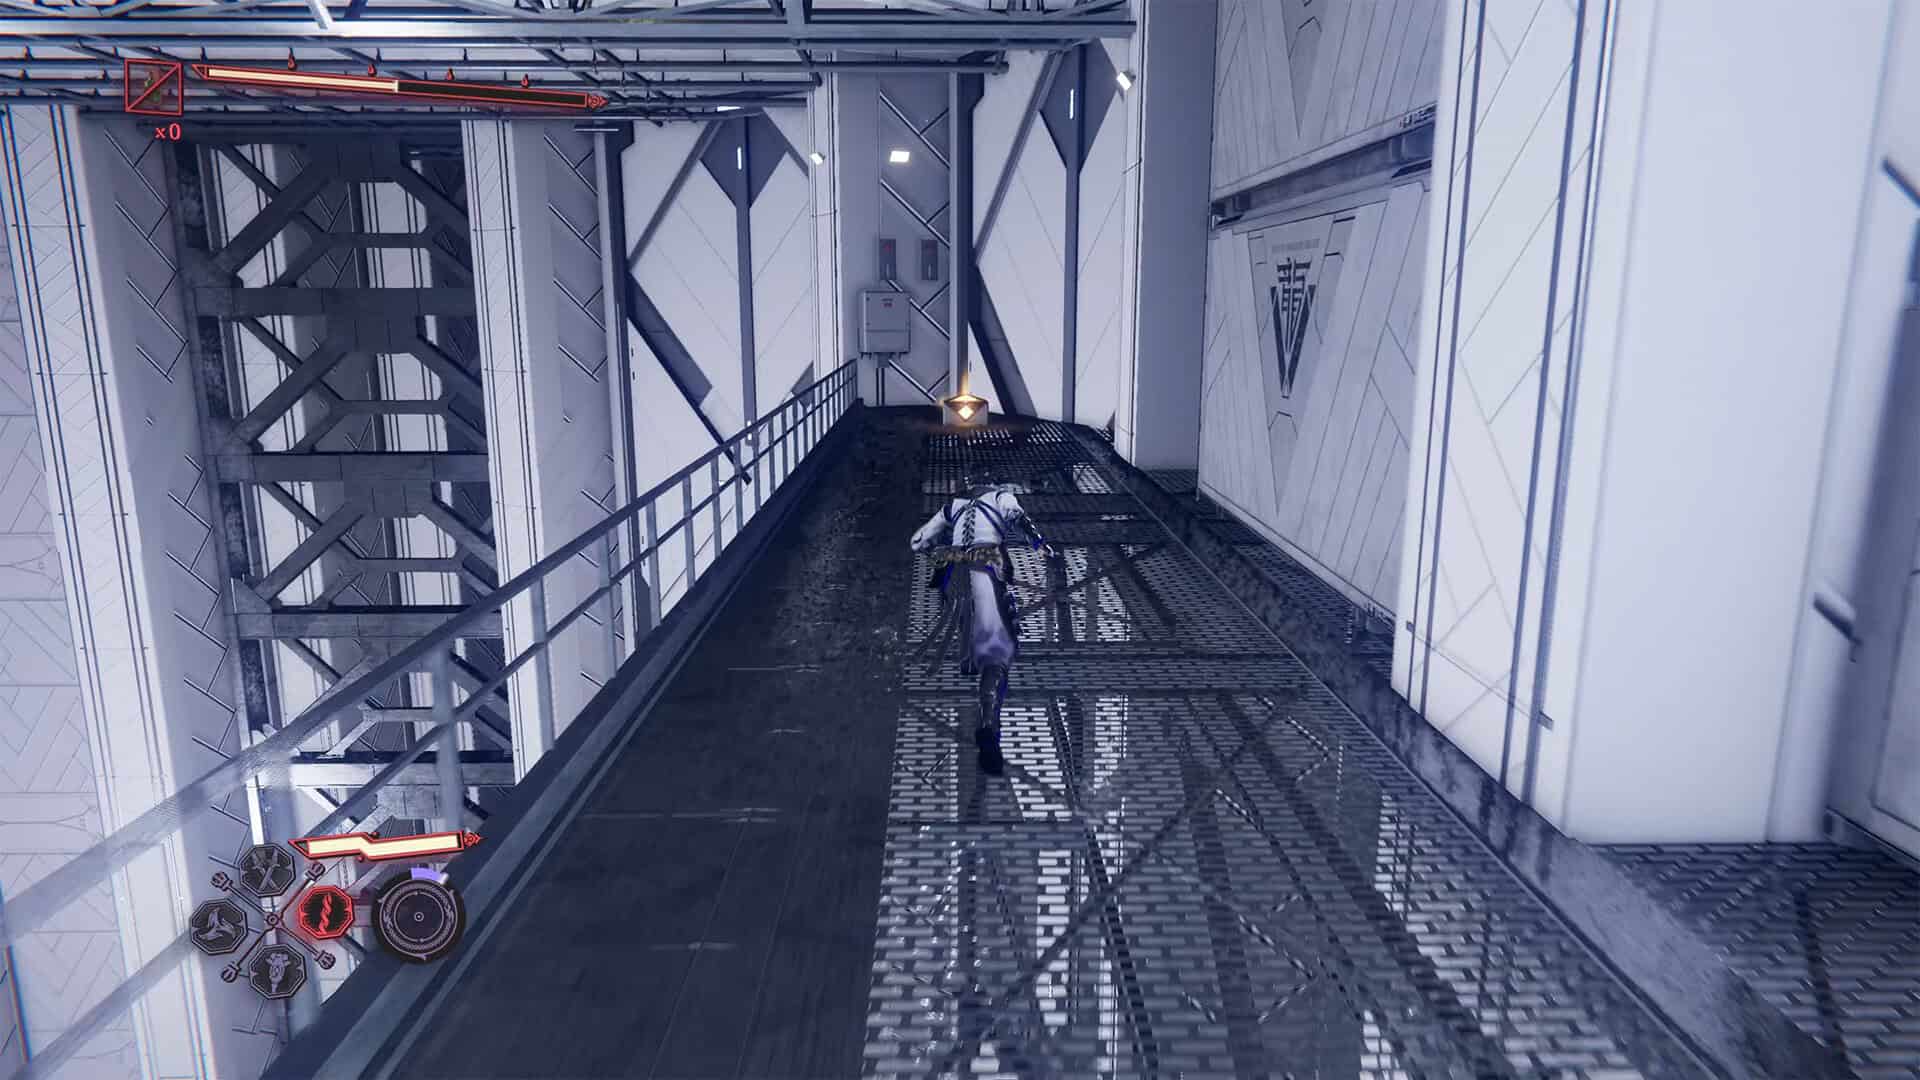
Behind this door is a familiar sight: lots of different boxes and containers. Go forward up the stairs and continue using Caddis Wire to cross a large chasm. First, cling to the wall, then to the top of the column, and only then jump to the platform where the enemies are located. There are only two soldiers here. After quickly defeating them, you will see a chest nearby. Inside the chest is the Divine Life Elixir.
-
- Kongou Iron Brew in Dragon’s Maw
-
- Room with moving lasers
-
- Object that turns off the lasers in the room
-
- Chest #11 in Dragon’s Maw (Divine Life Elixir)
Life Elixir (Chest #12)
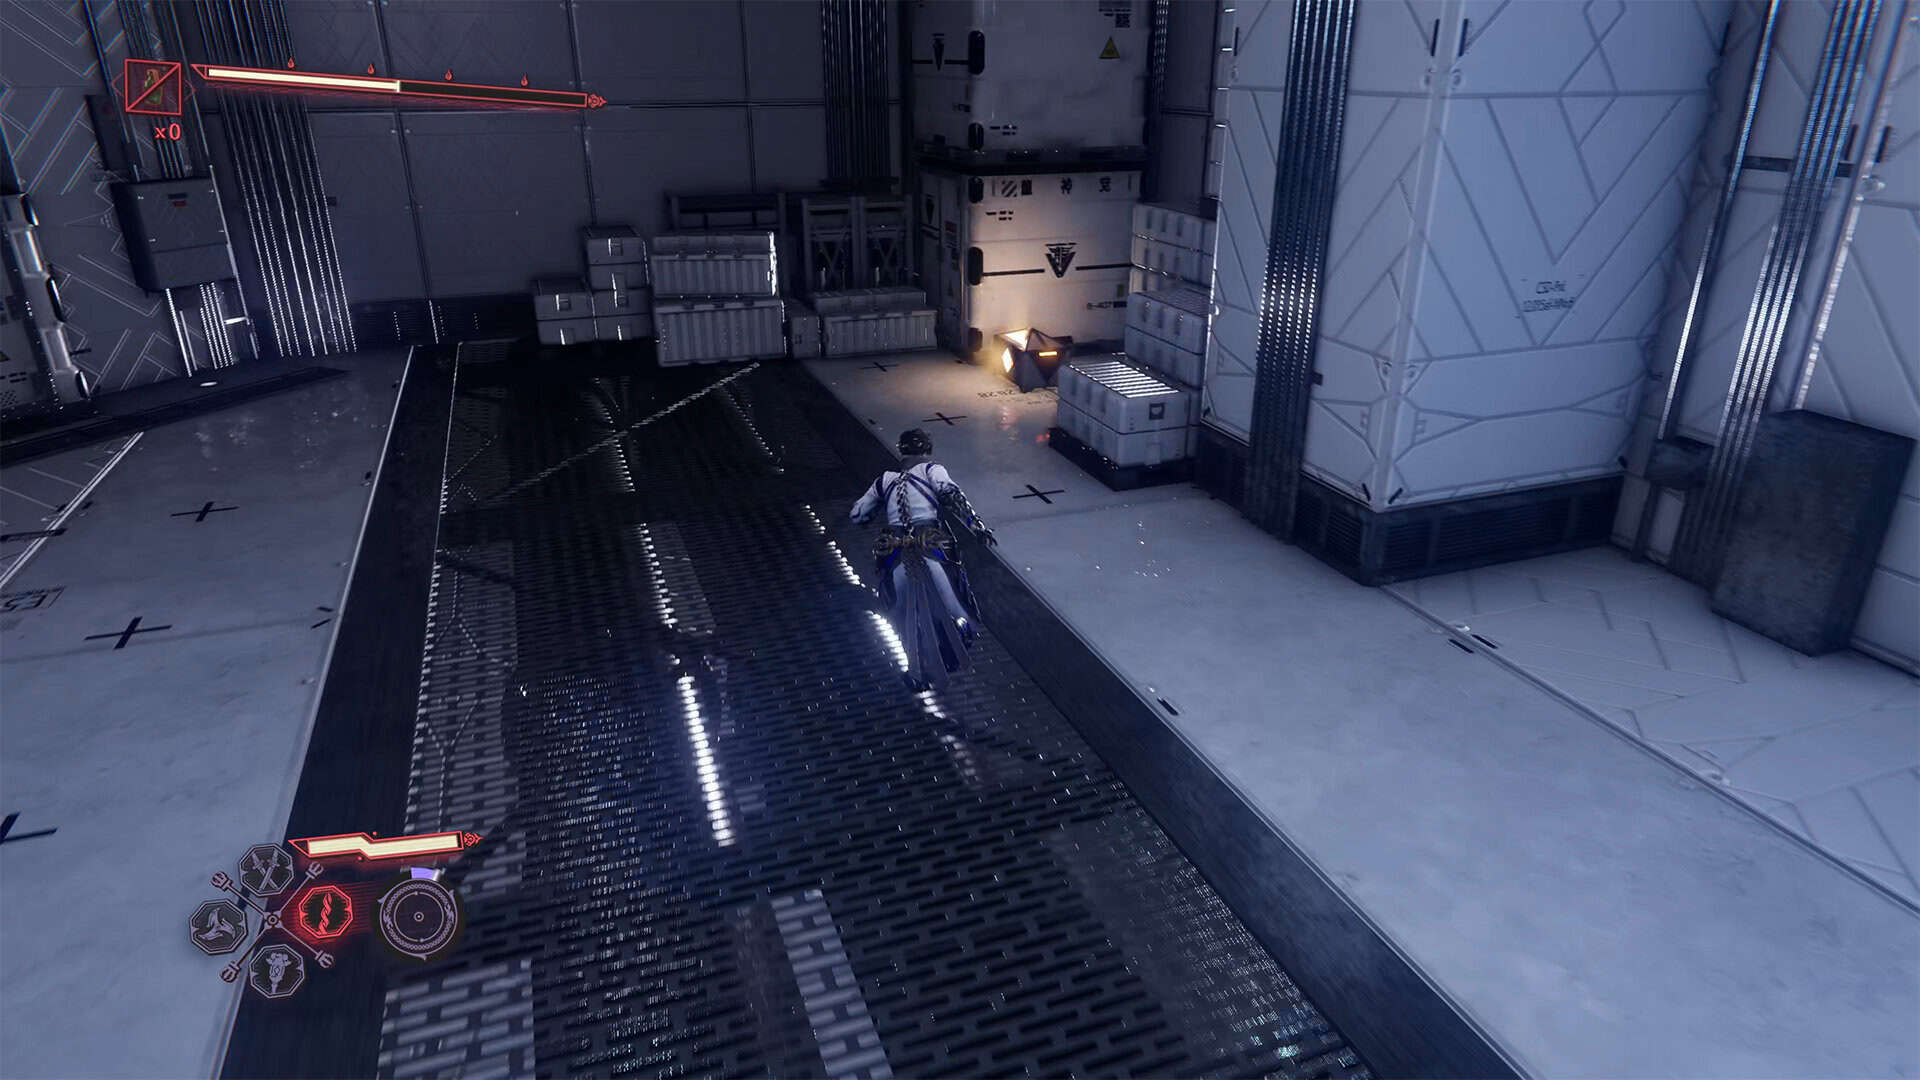
Next, you will have a very unpleasant encounter with an armored soldier who shoots at you from a distance. The encounter takes place in a narrow corridor, which significantly reduces your room for maneuver. After you defeat this soldier, move forward and you will find a chest on the right. Open the chest to get the Life Elixir.
Life Elixir (Chest #13) + DarkNest Terminal
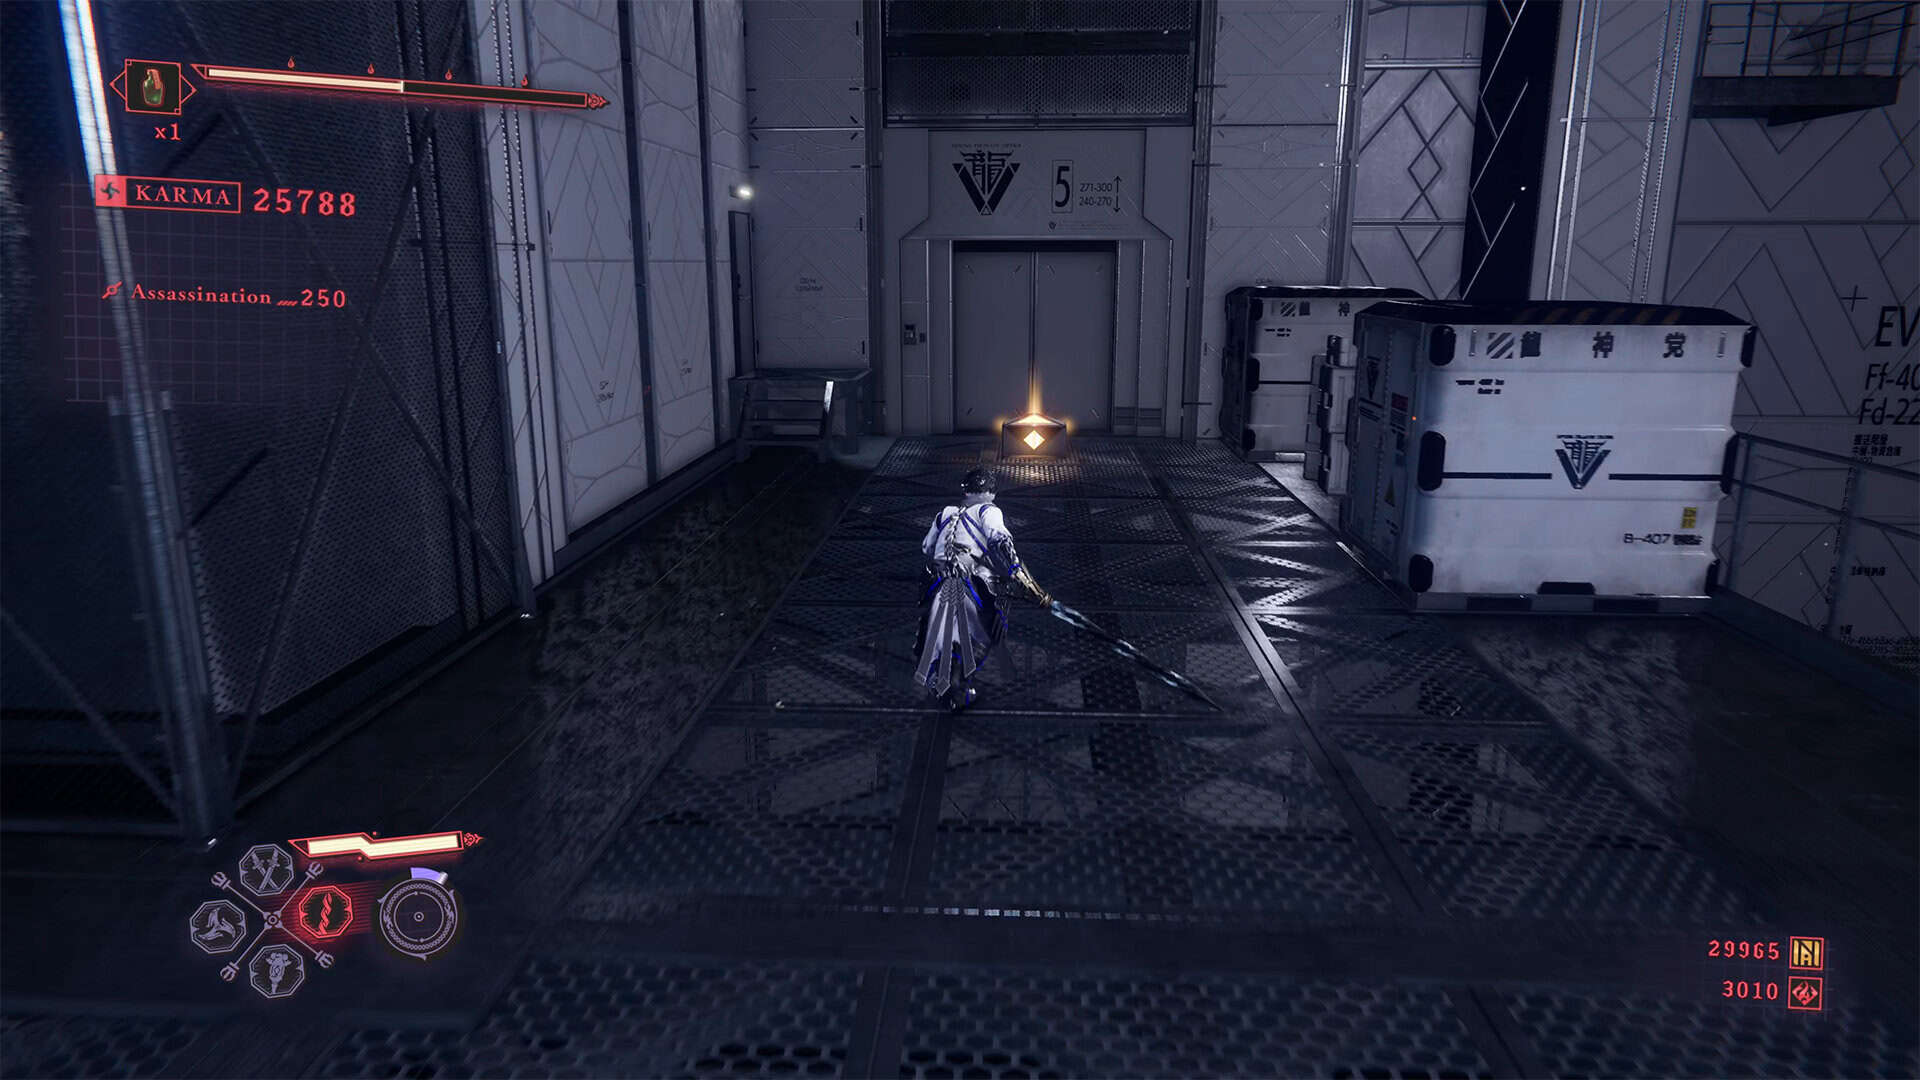
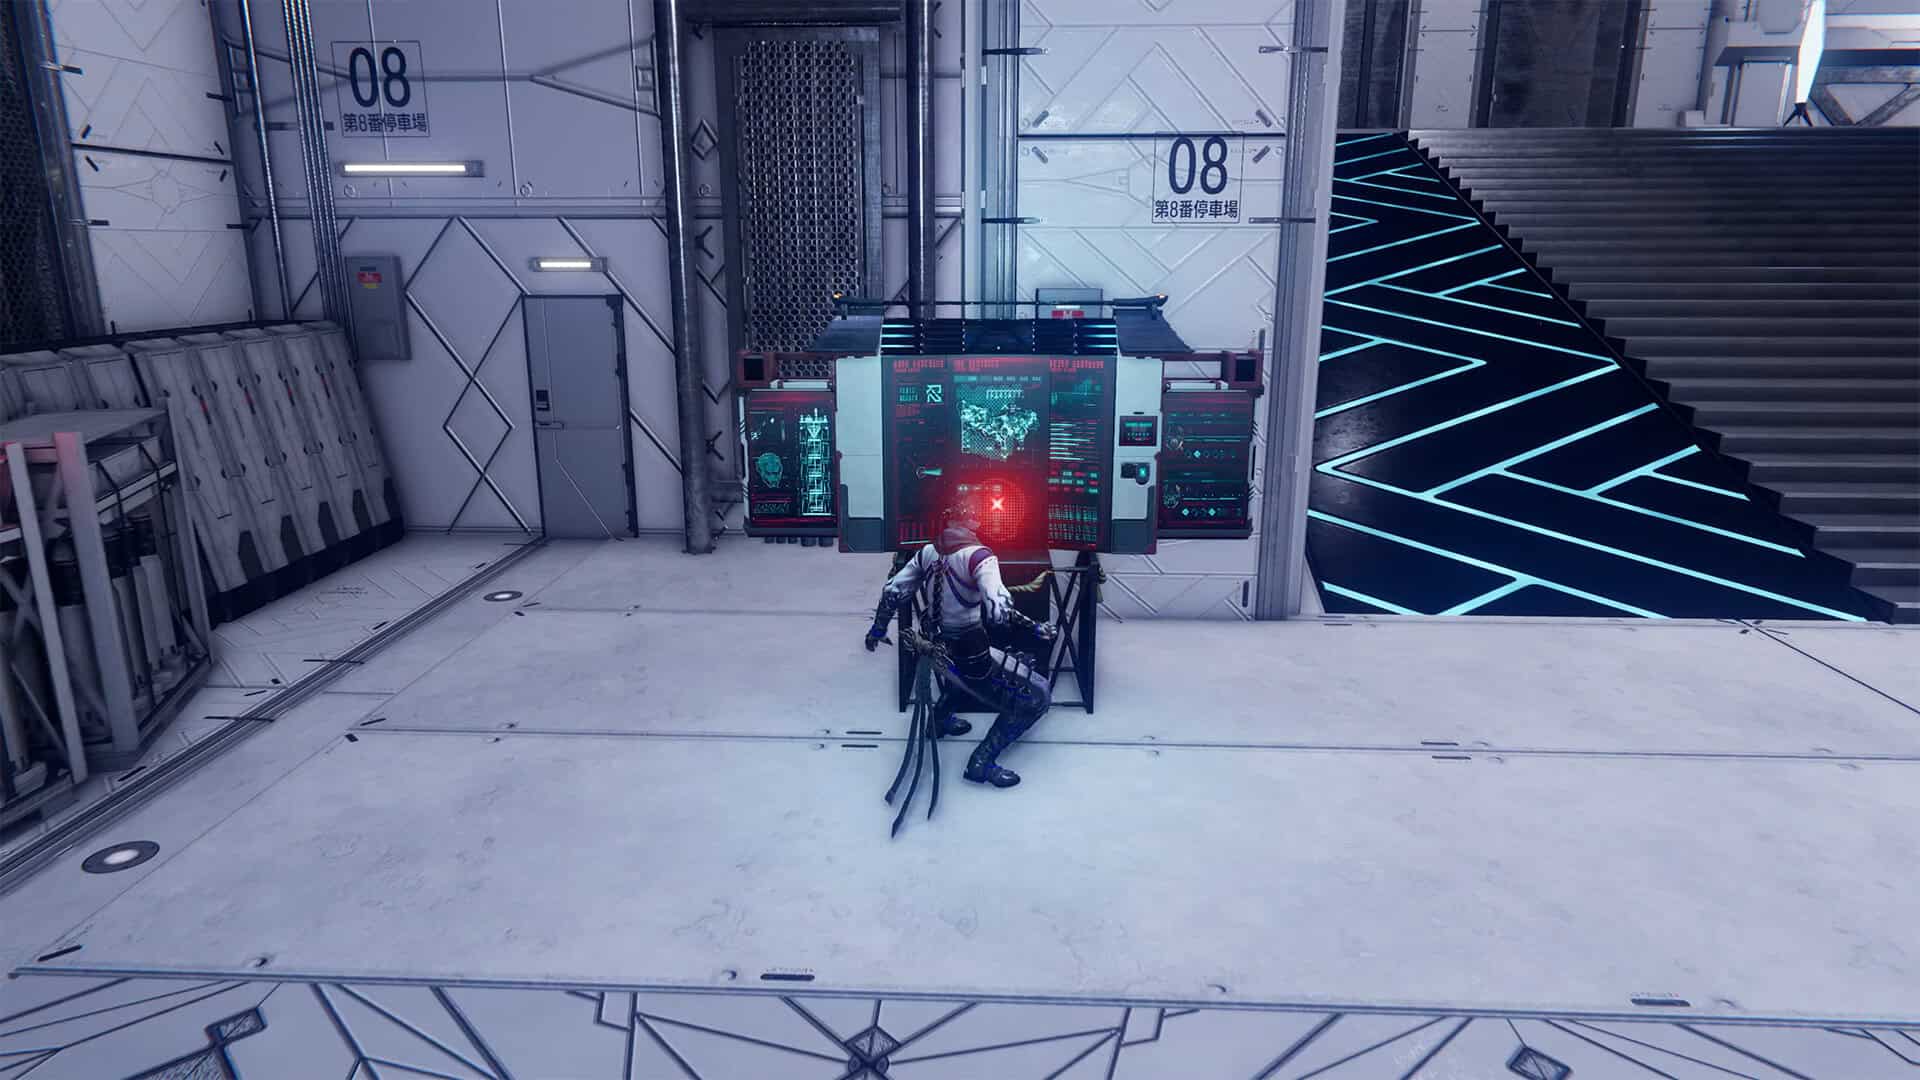
Then you will need to use your parkour skills again. Jump on the walls and columns to reach the platform where one soldier is standing. You can perform an assassinate from the air and then find the next chest on your way. Inside the chest, you will find a Life Elixir. Now climb up using the Flying Bird Flip and you will see the third DarkNest Terminal, where you can restore your health and replenish your supplies.
-
- Chest #12 in Dragon’s Maw (Life Elixir)
-
- Chest #13 in Dragon’s Maw (Life Elixir)
-
- DarkNest Terminal in Dragon’s Maw
Use Kage-Hiruko to destroy 3 D-0037 Vanguards + Chest #14
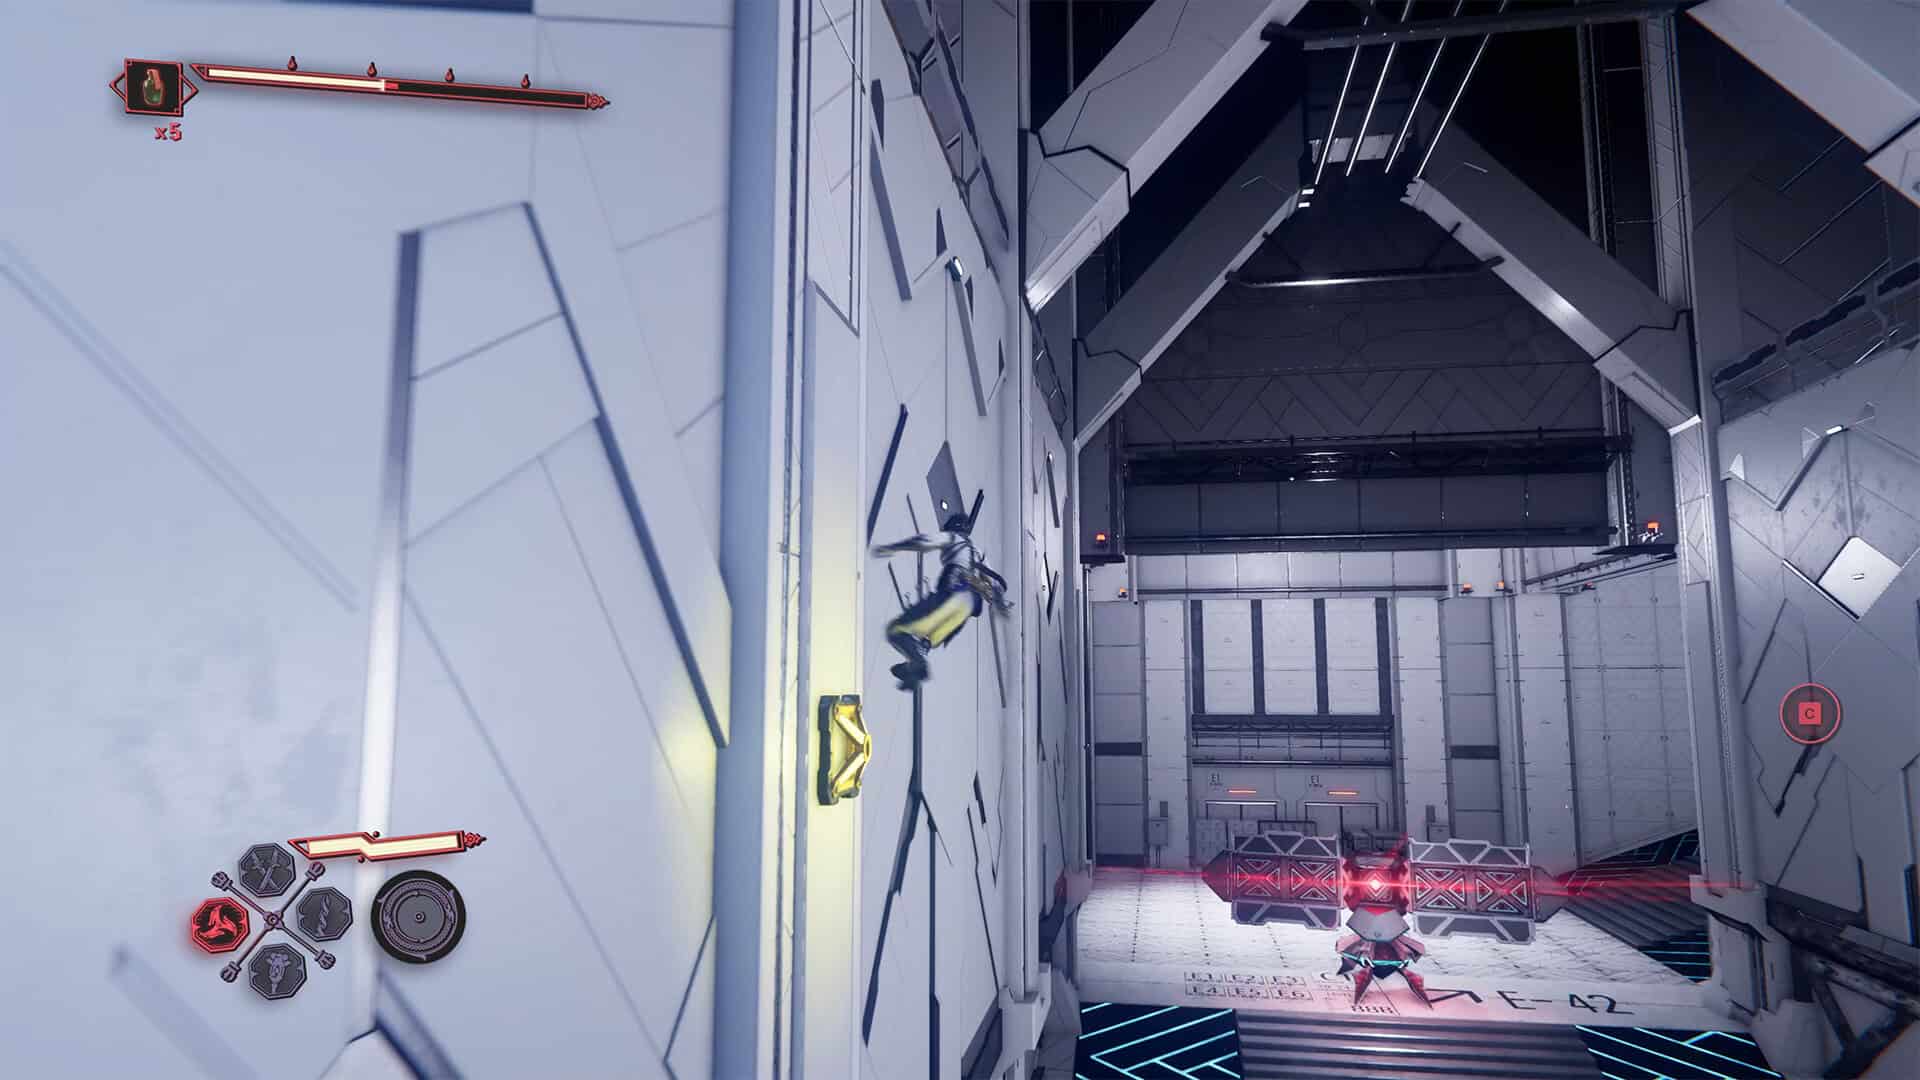
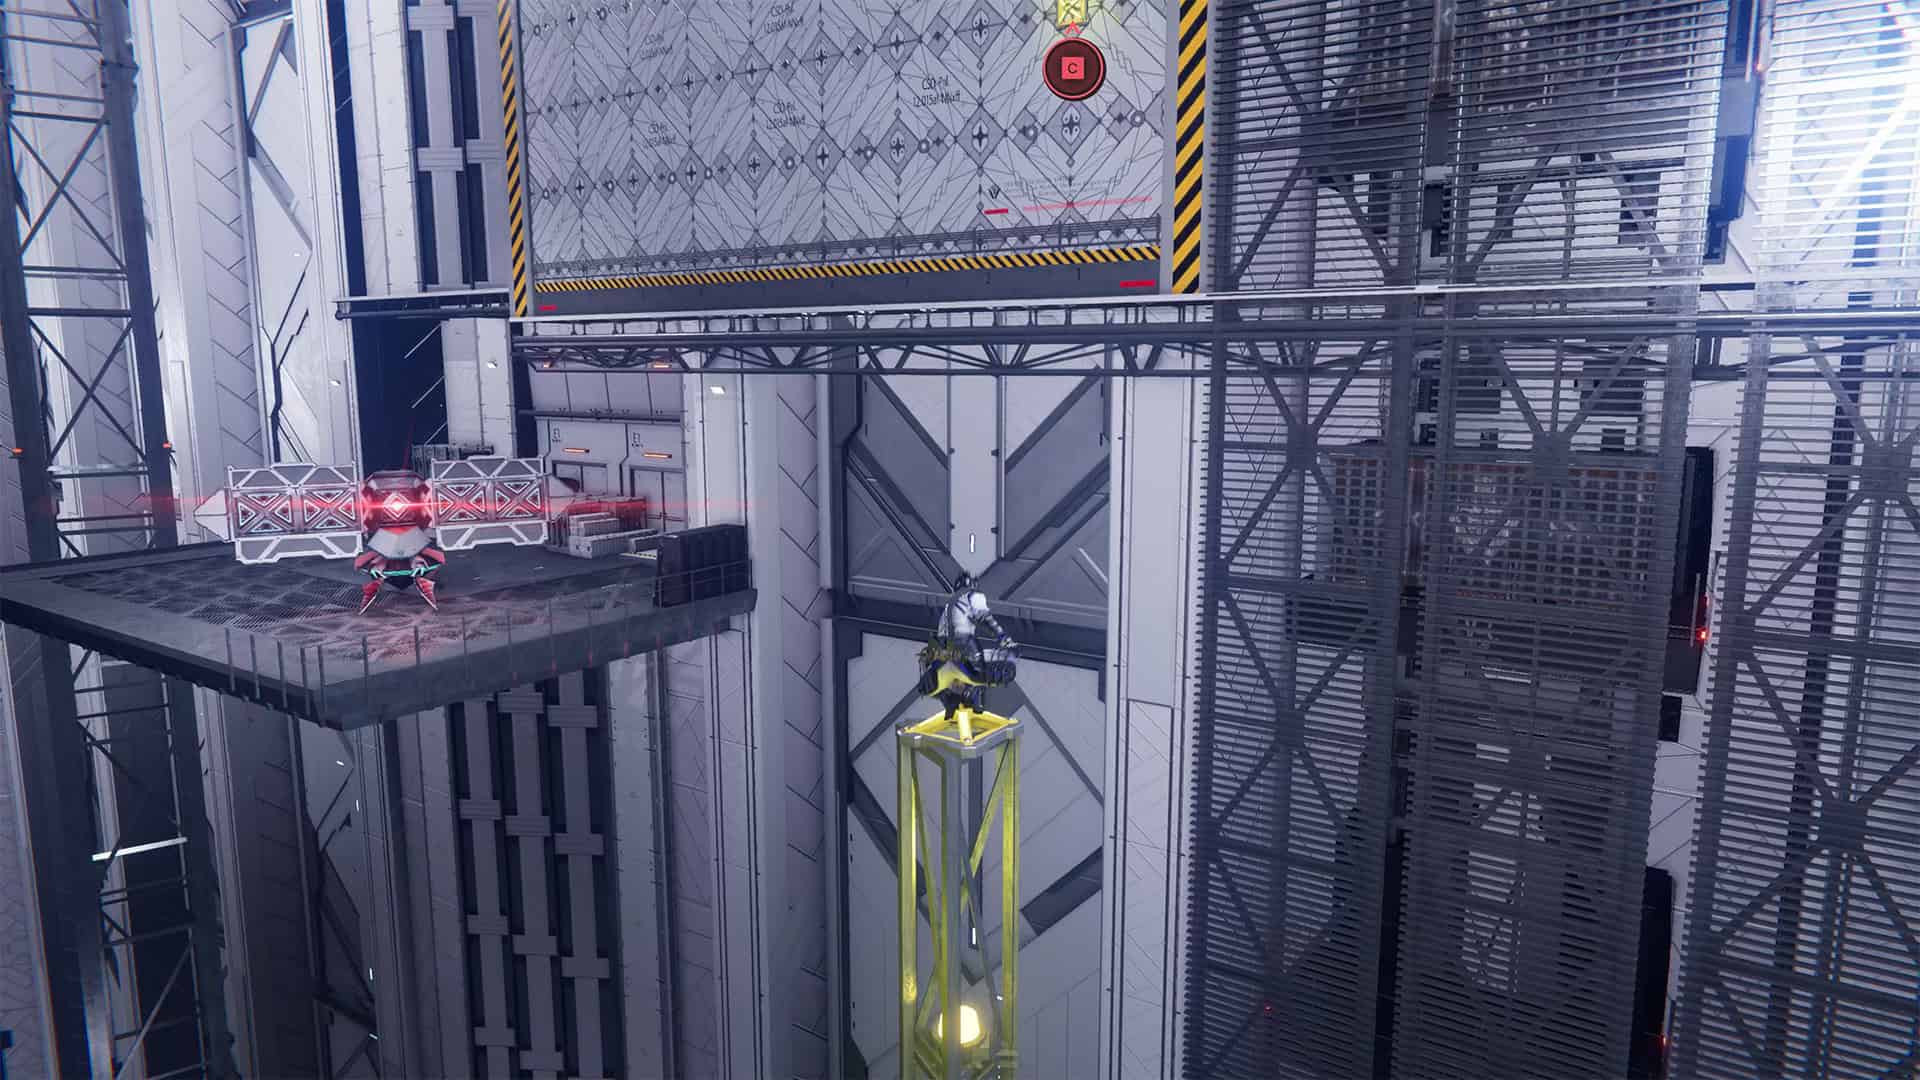
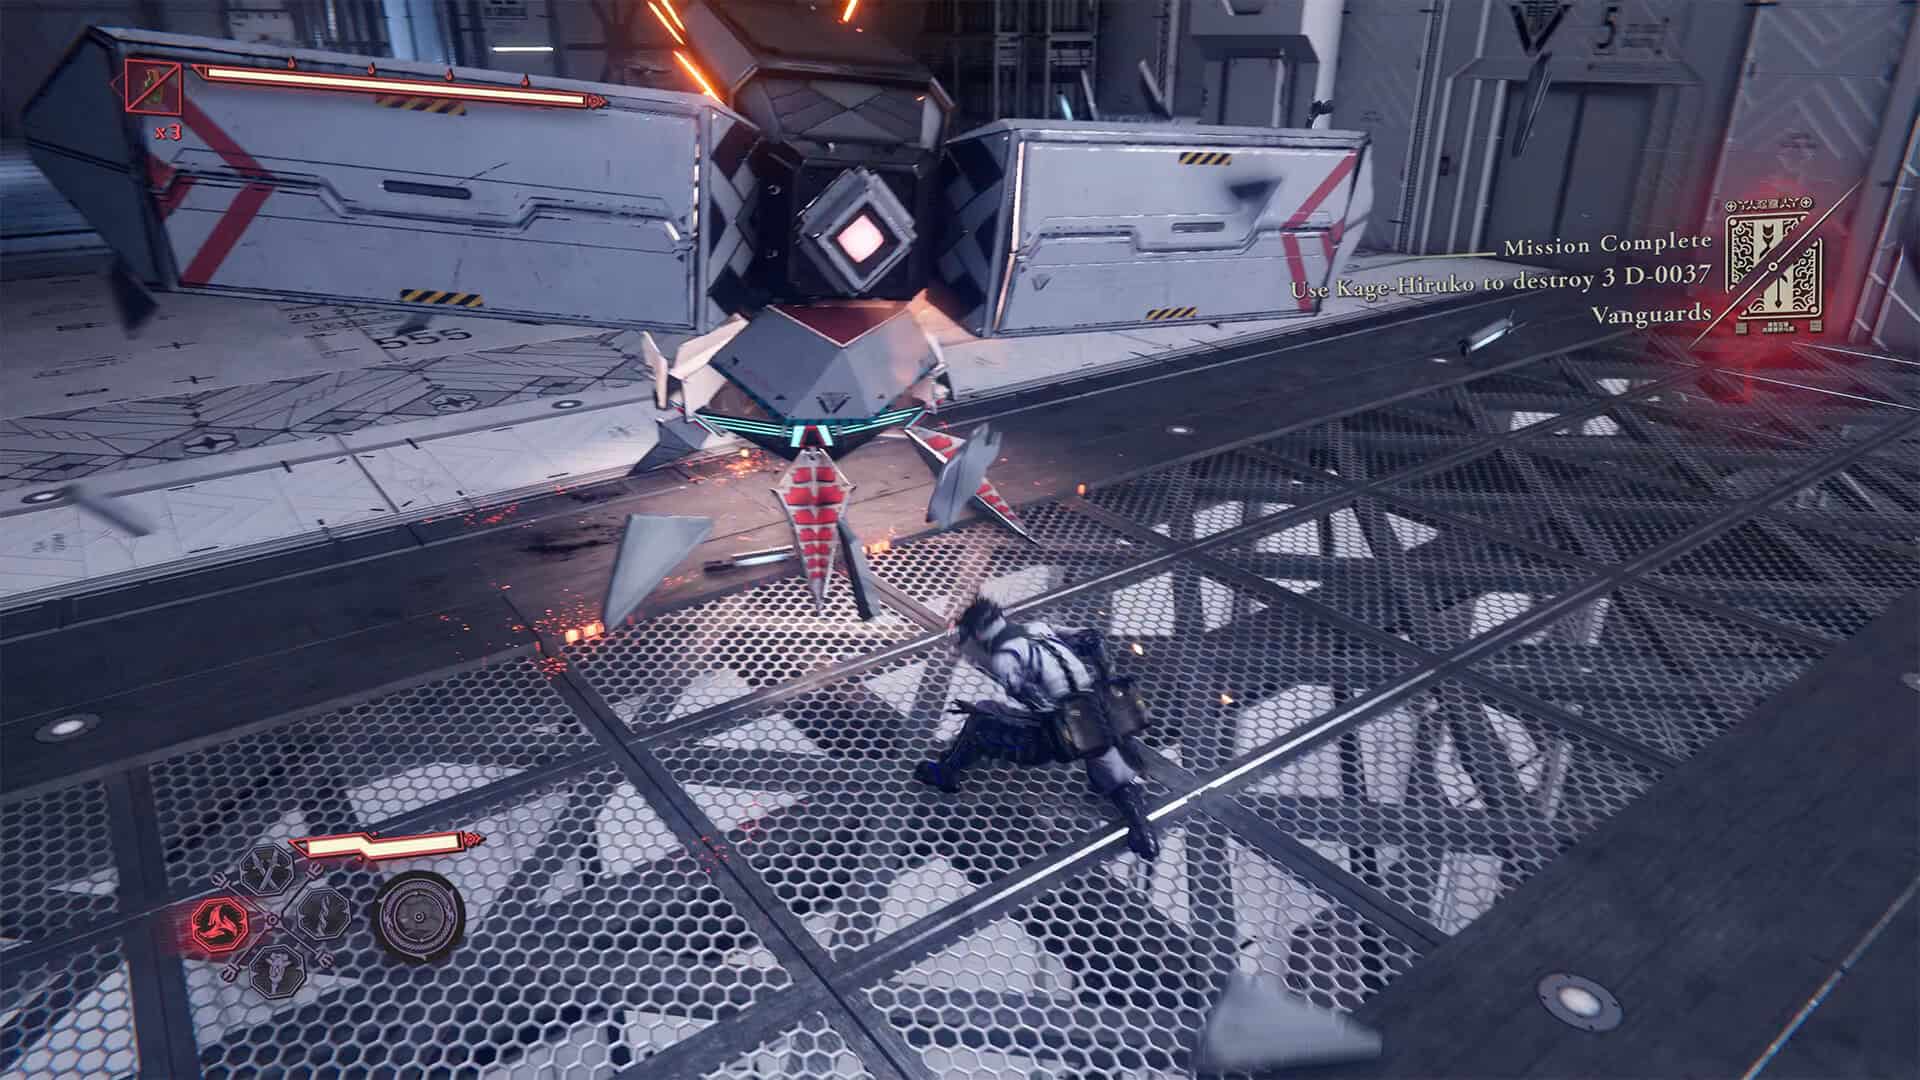
Now it’s time to complete the additional mission Use Kage-Hiruko to destroy 3 D-0037 Vanguards. You need to destroy the static station three times, as it stands in place and fires a volley of missiles at you. You will encounter the first such station in a narrow corridor, and here you will need to use wall running to defeat this enemy. The next station is further ahead.
Avoid the missiles on the platform, then jump onto the column next to it, then onto the wall further ahead, and you will be able to reach this enemy and destroy it. The third station will also be ahead. You can attack it from a distance or repeat your actions and get close to it. After destroying the three stations with Kage-Hiruko, you will complete this quest. The next chest is located nearby. Open it to get Crimson Blood Pellets.
-
- First rocket launcher for the quest
-
- Second rocket launcher for the quest
-
- Use Kage-Hiruko to destroy 3 D-0037 Vanguards
-
- Chest #14 in Dragon’s Maw (Crimson Blood Pellets)
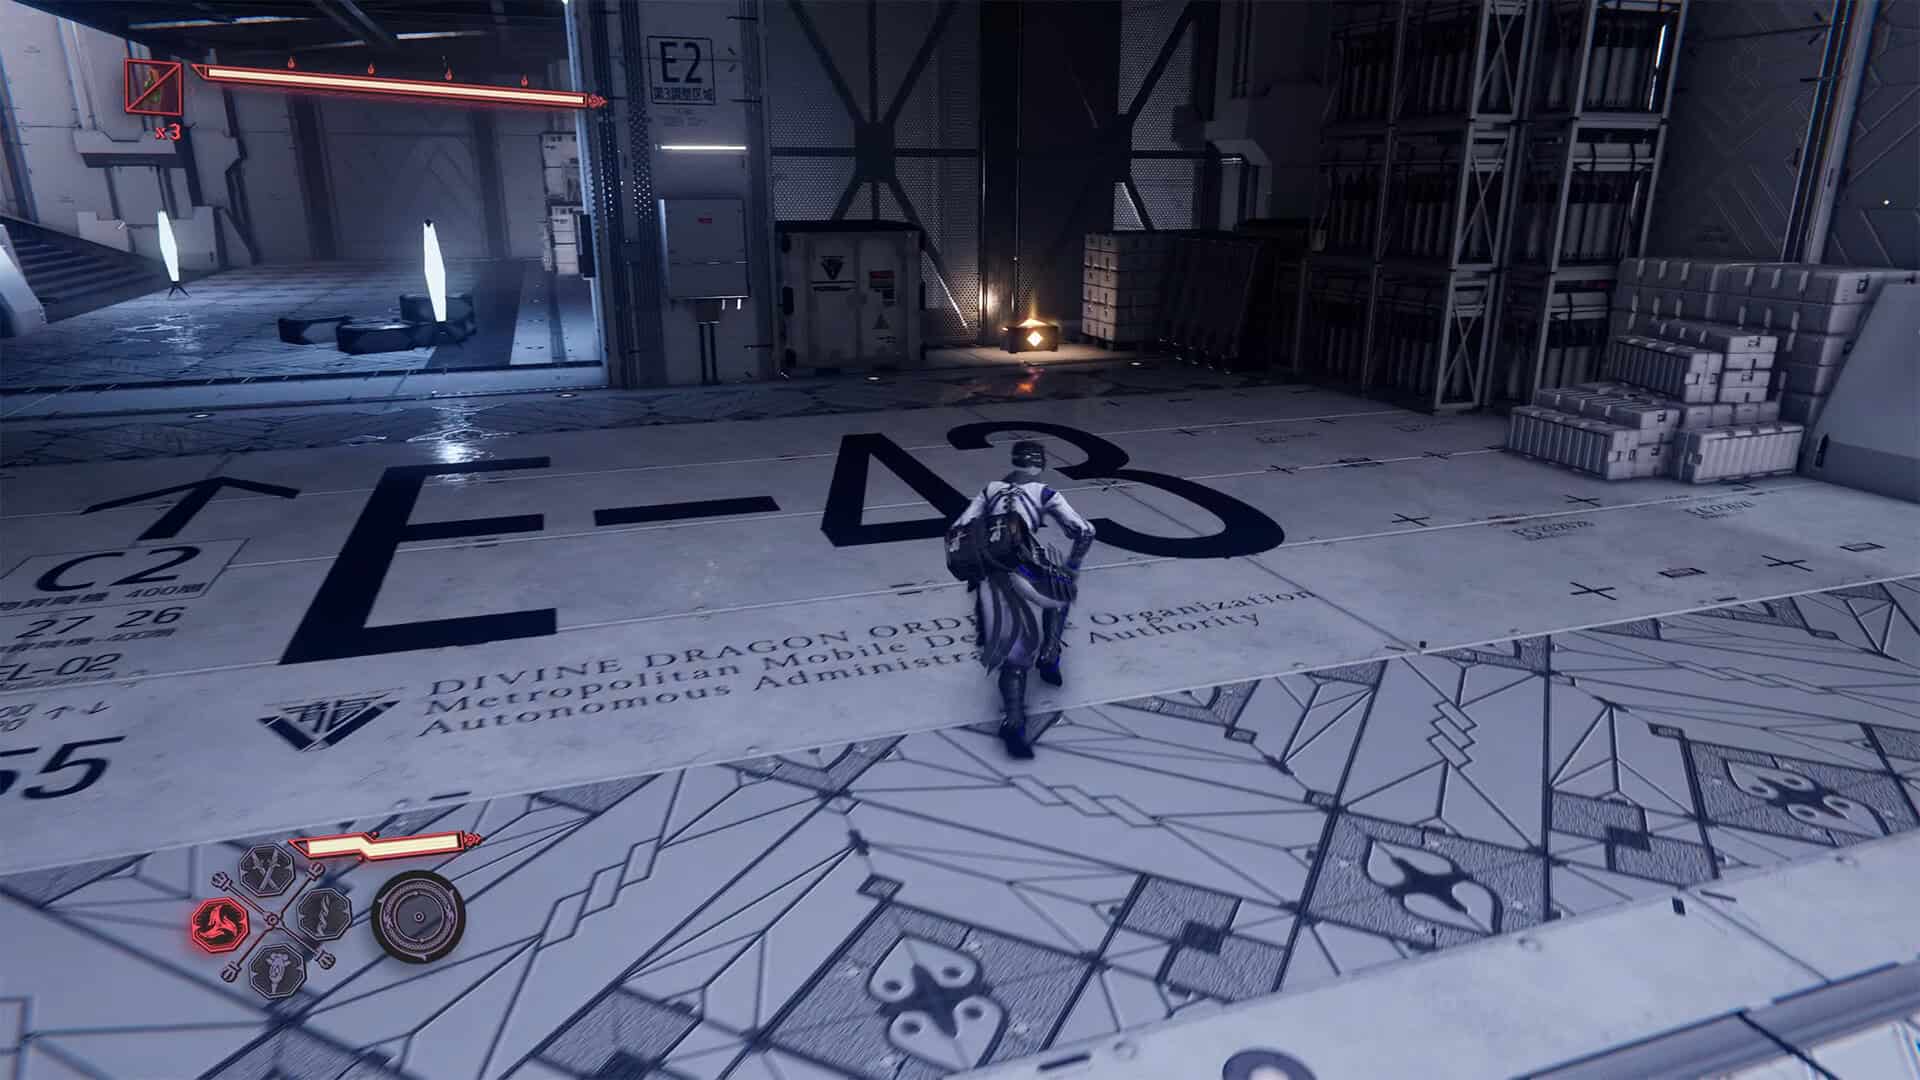
Senjin War Brew (Chest #15)
Ahead, you will encounter a group of enemies, and beyond them, you will see another station that will fire rockets at you. Ignore the soldiers for now and run to the station. It is your biggest threat right now. After destroying the station, you will easily deal with the soldiers. Next, the path will be blocked by a wall of lasers. Find the hourglass-shaped mechanism on the side, destroy it, and the path will be open. Climb up the vertical tunnel and you will see another chest. After opening the chest, you will receive Senjin War Brew.
Blue Gourdy in Dragon’s Maw
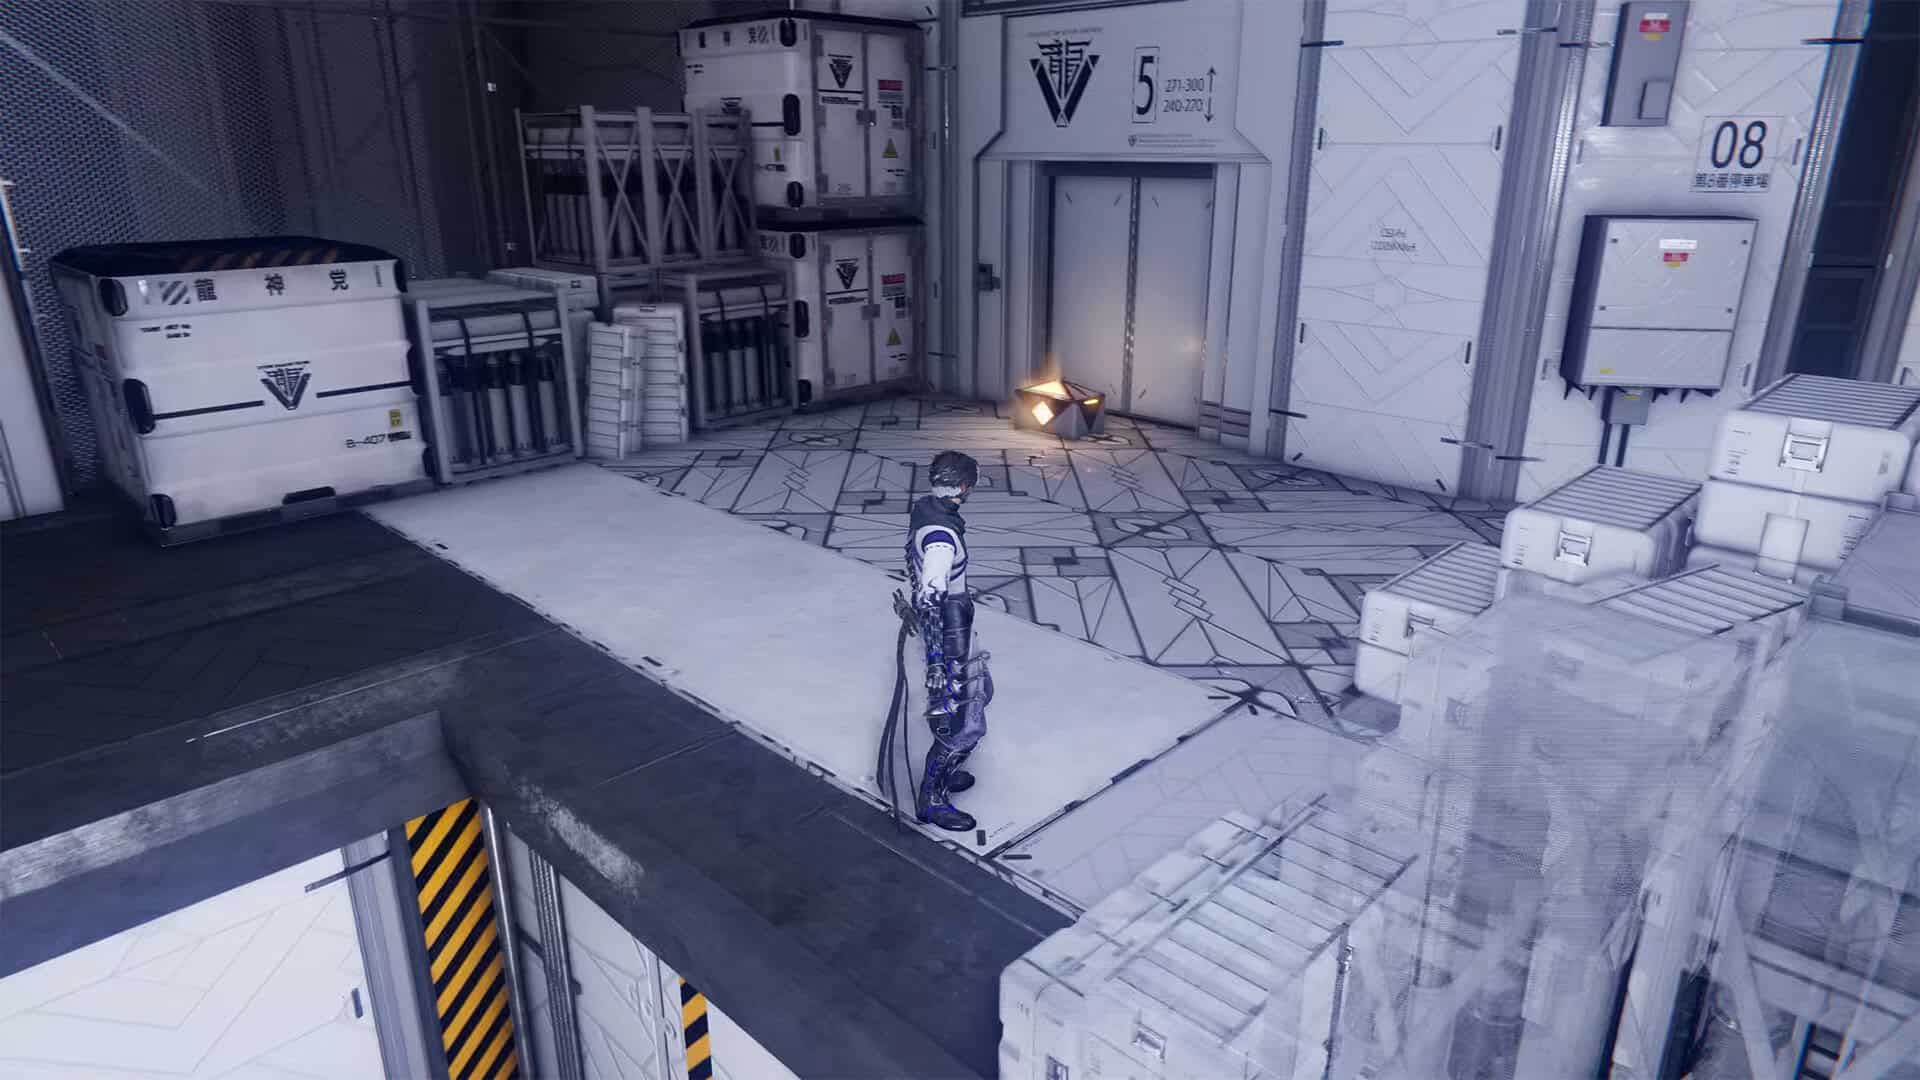
The next stage is to fly with the wind again and slide along the rail. This will take you to a room where enemies and two rocket-firing stations await you. The stations are located in different corners. You must destroy both stations in turn and only then deal with the soldiers. Use your jump and move quickly to avoid missiles and unnecessary damage. After winning, go through the double doors and turn left. Here, in the distance, you will see the blue Gourdy. You need to wait for the moment when he turns his back to you and only then run up and catch him.
Chests #16 – #18 (Incencse of Rebirth)
Then turn 180 degrees and run to the other corner. Don’t jump onto the rail on the left just yet. In the other corner of the room, you will find two chests. The first chest contains Life Elixir, and the second one contains Divine Life Elixir. Now you can move forward along the rail. This is a dynamic and exciting journey where you need to jump and dodge to avoid damage from obstacles.
At the end of this journey, you will arrive in a large room where two armored fighters are waiting for you. This is a rather difficult battle, as two armored opponents are hard to defeat. First, focus your attention on the one shooting from a distance, and then deal with the second soldier. After defeating both enemies, you will find a chest in this large room. Inside the chest is the Incense of Rebirth.
-
- Senjin War Brew in Dragon’s Maw
-
- Blue Gourdy in Dragon’s Maw
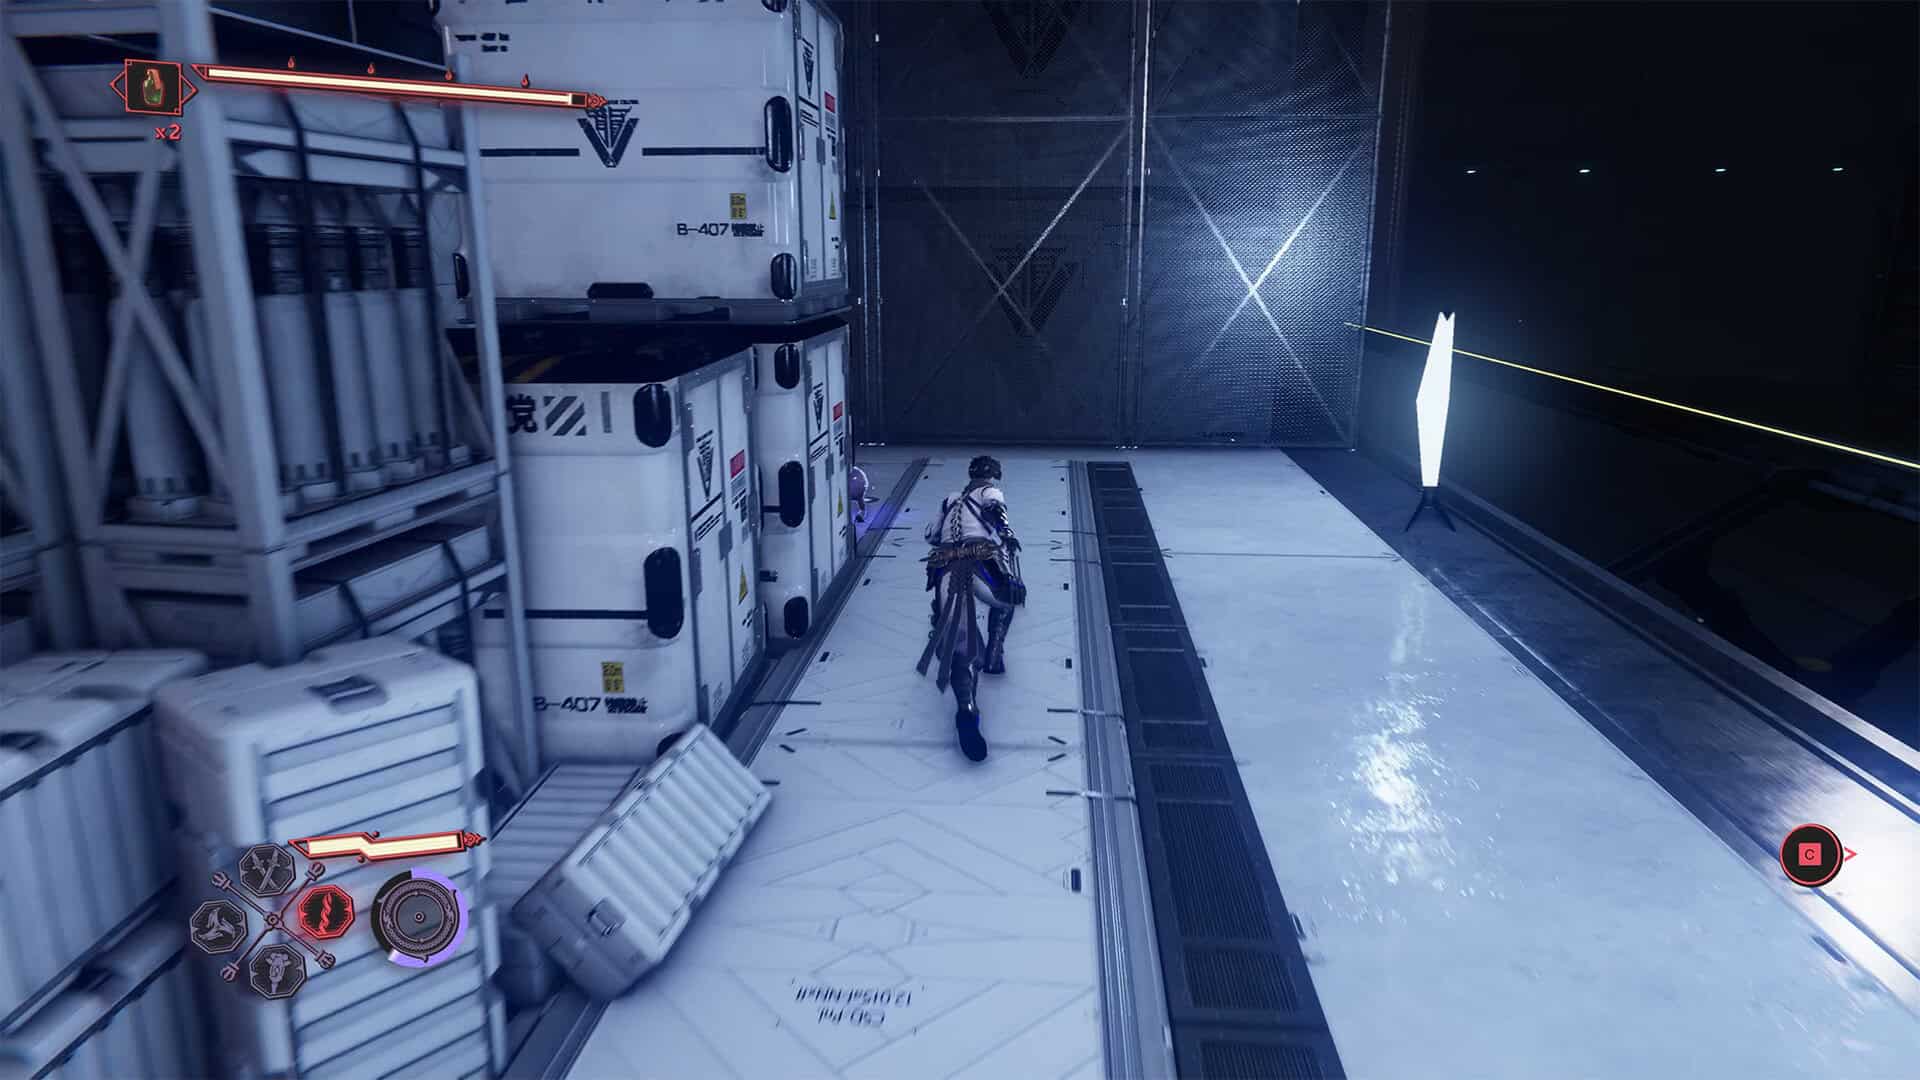
-
- Chests #16-#17 in Dragon’s Maw
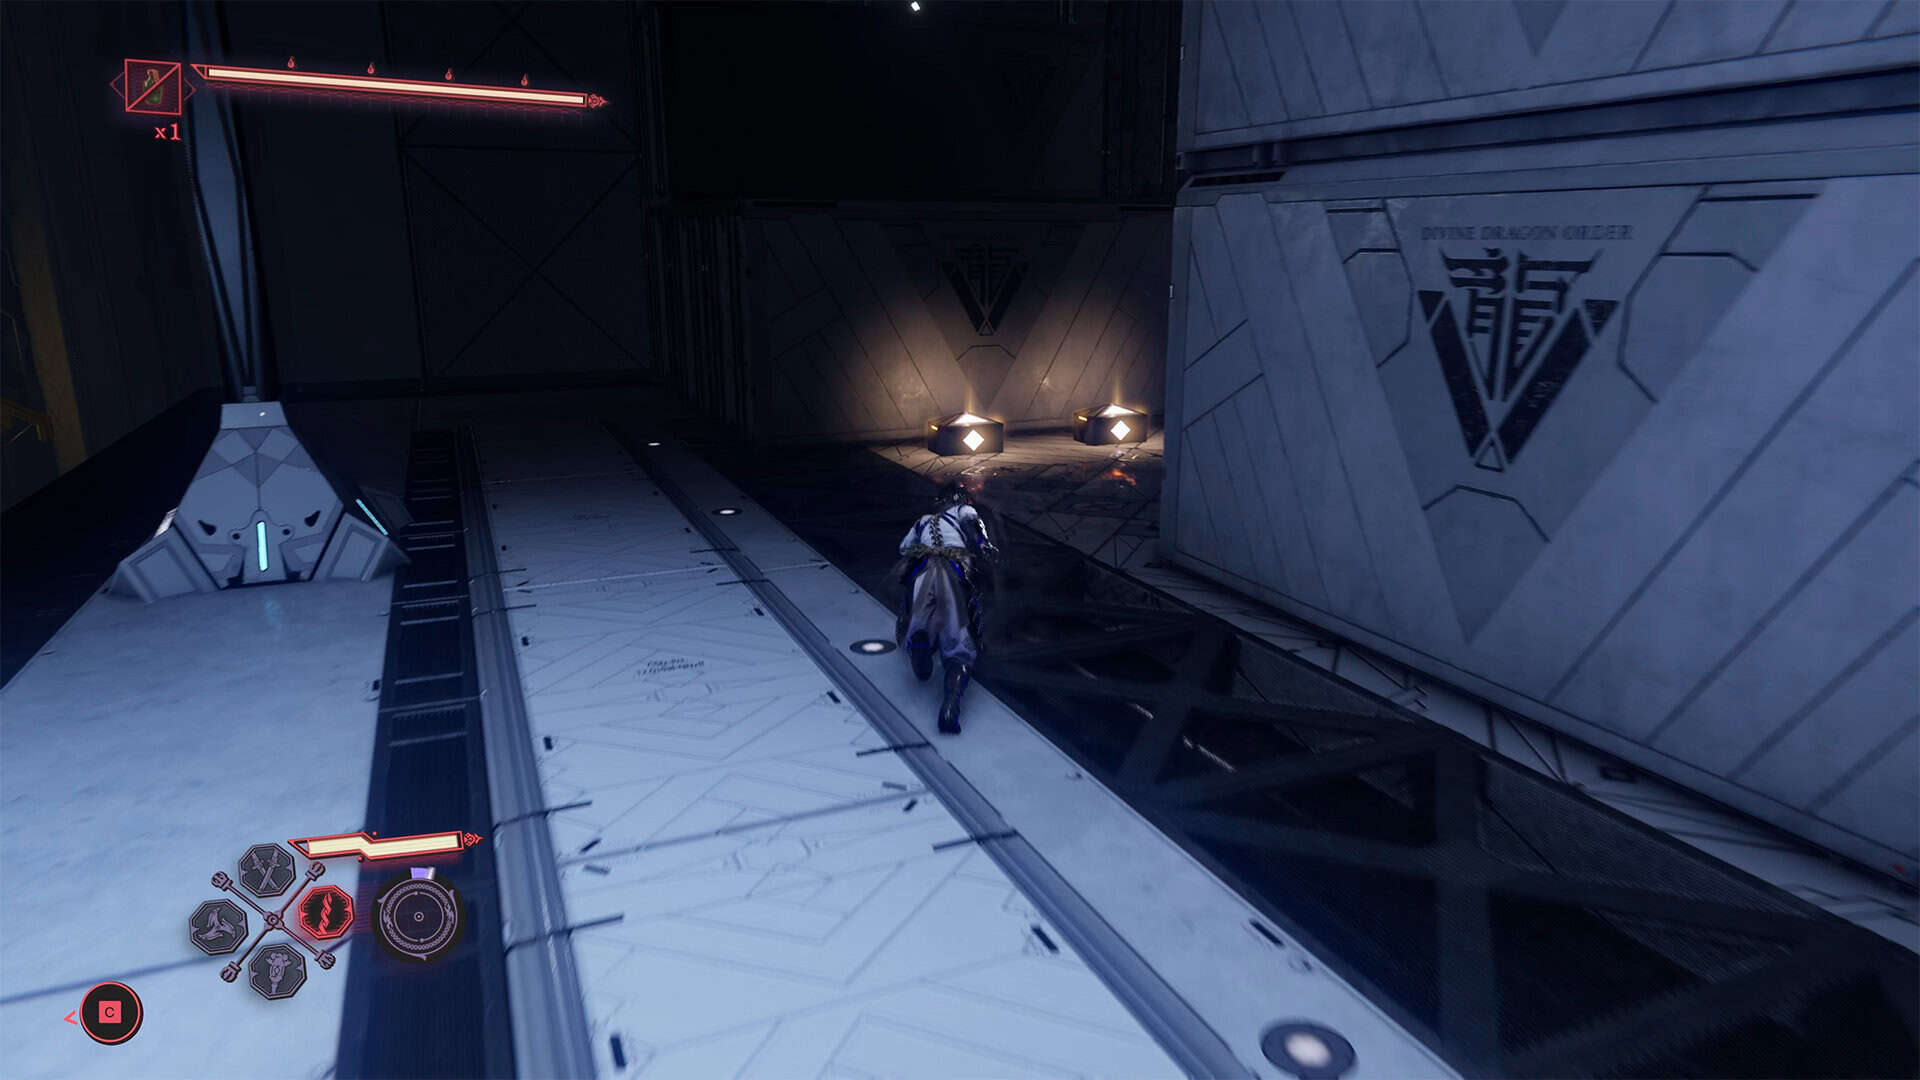
-
- Chest #18 in Dragon’s Maw (Incense of Rebirth)
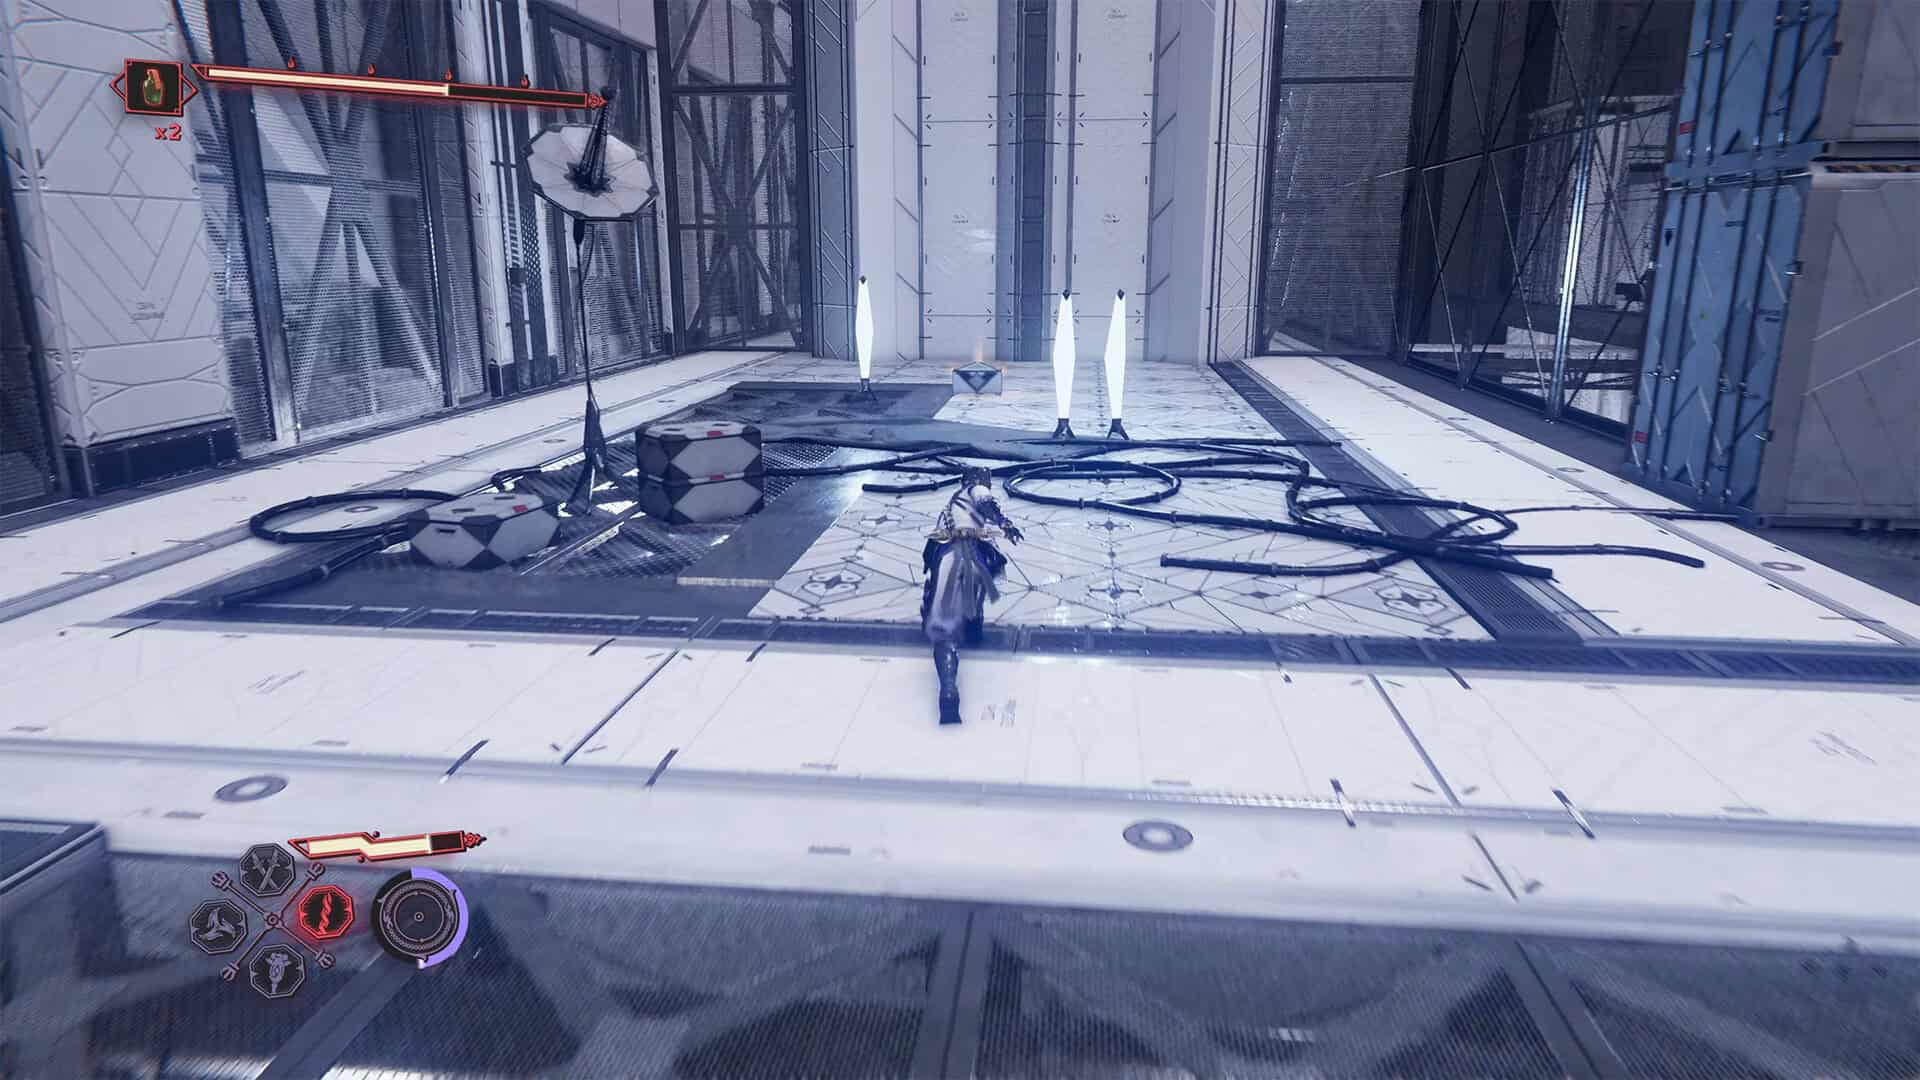
Purgatory Gate in Dragon’s Maw
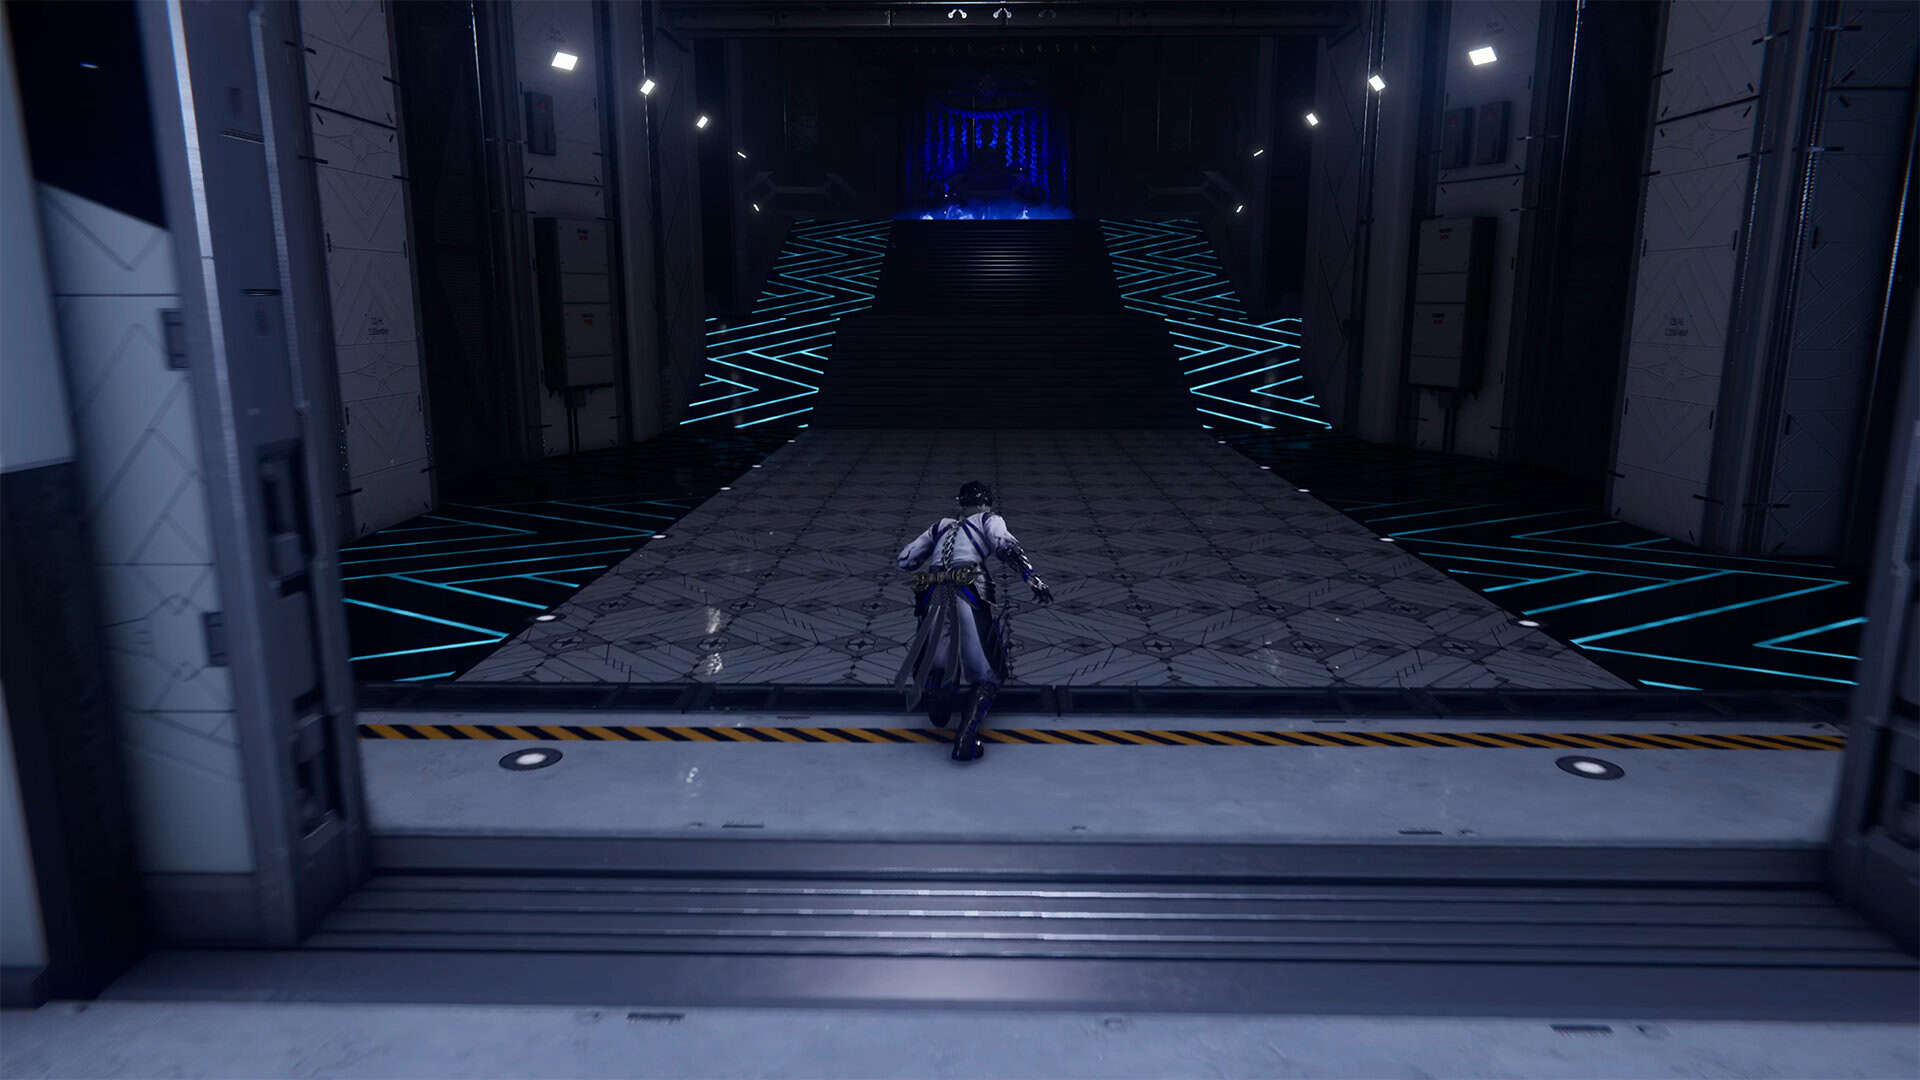
In this same large room, after defeating two armored enemies, there is a secret passage to the Purgatory Gate trial. You see the beginning of the movement, and this is where you need to find a place from which you can jump down and hook onto the hook ahead to continue moving. Move forward on the platform ahead and jump again to another platform ahead. There, behind the building, double doors will open and you will see a long corridor with stairs, and at the end, the familiar Purgatory Gate.
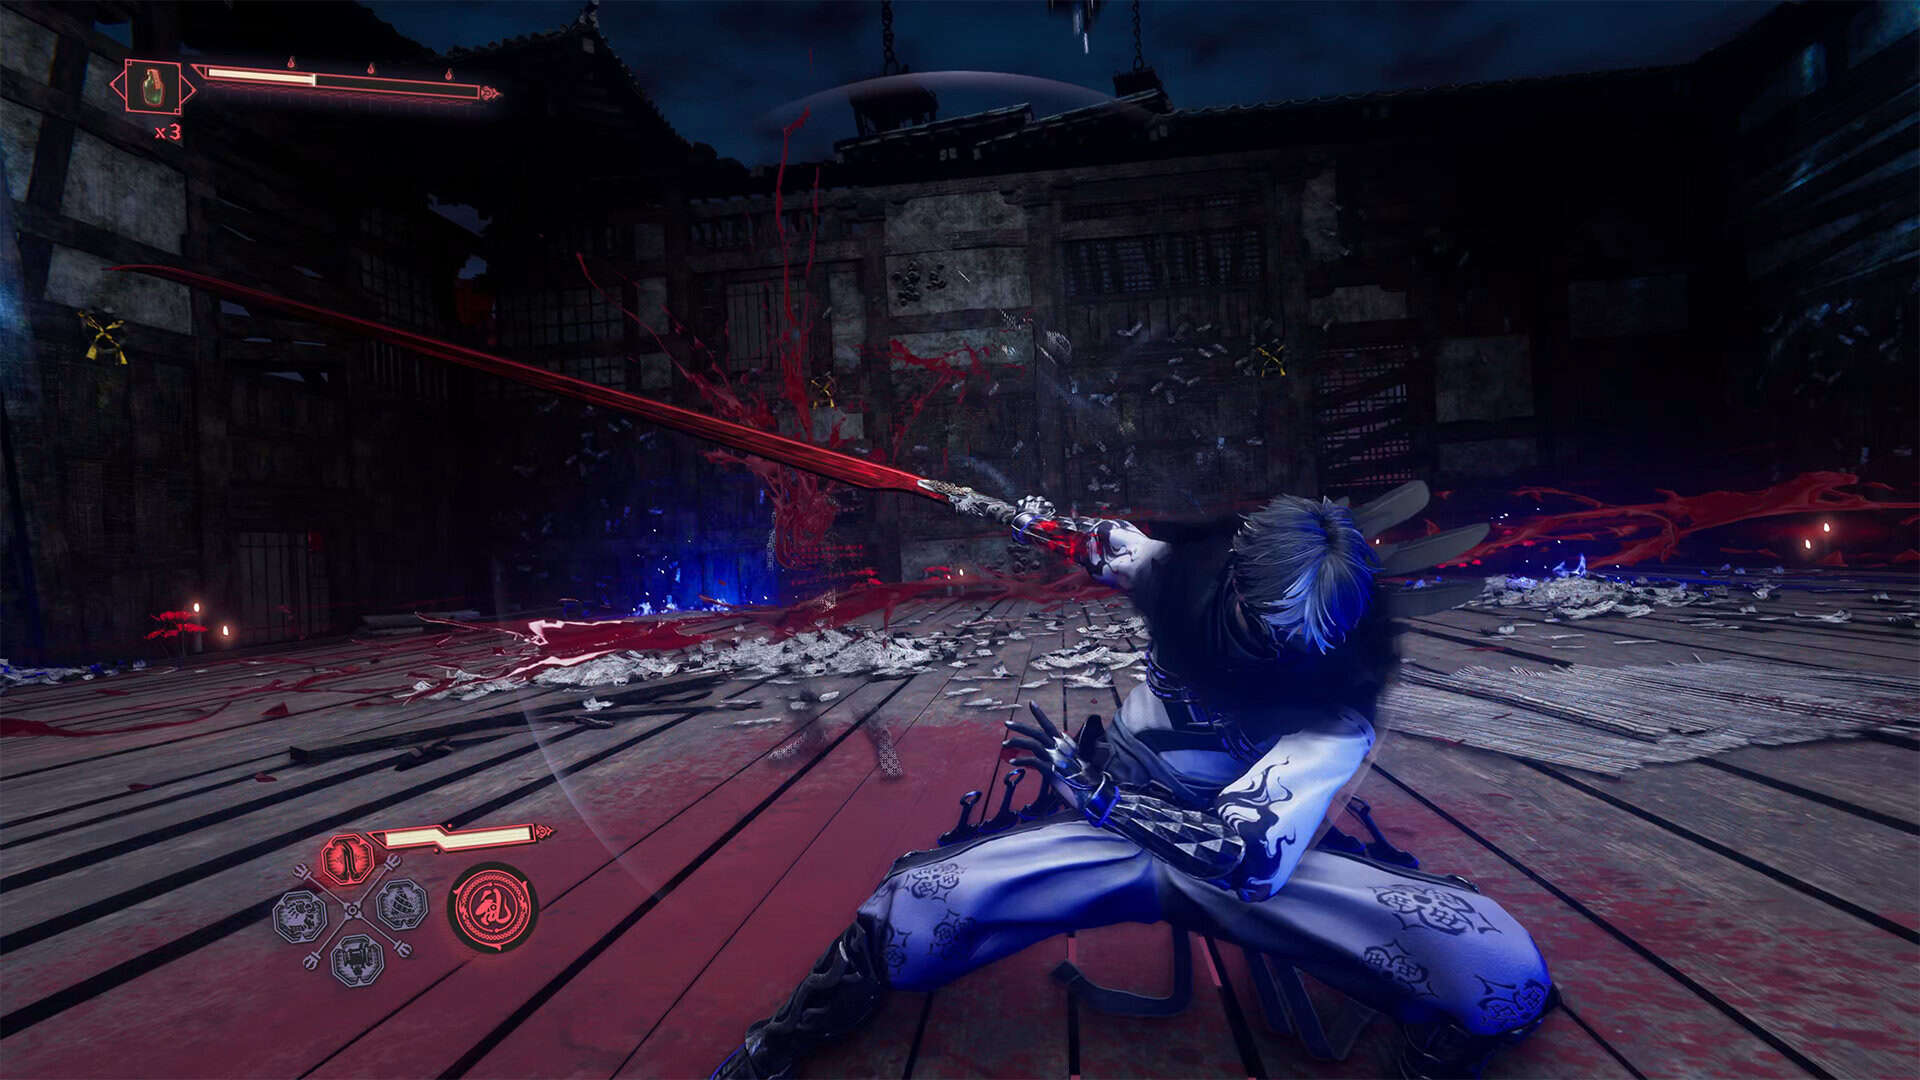
This time, you have to defeat three waves of enemies. There will only be soldiers here, but of varying difficulty and numbers. The first wave is the easiest. These are ordinary soldiers that you will simply destroy one by one. Beware of large groups of enemies, as together they can break through your block and cause damage. Keep moving and avoid long confrontations with a single enemy. In the second wave, you will face elite soldiers, who are much more difficult to deal with. At this stage, I save my ultimate ability and use Takeminakata to significantly reduce the number of enemies at once.
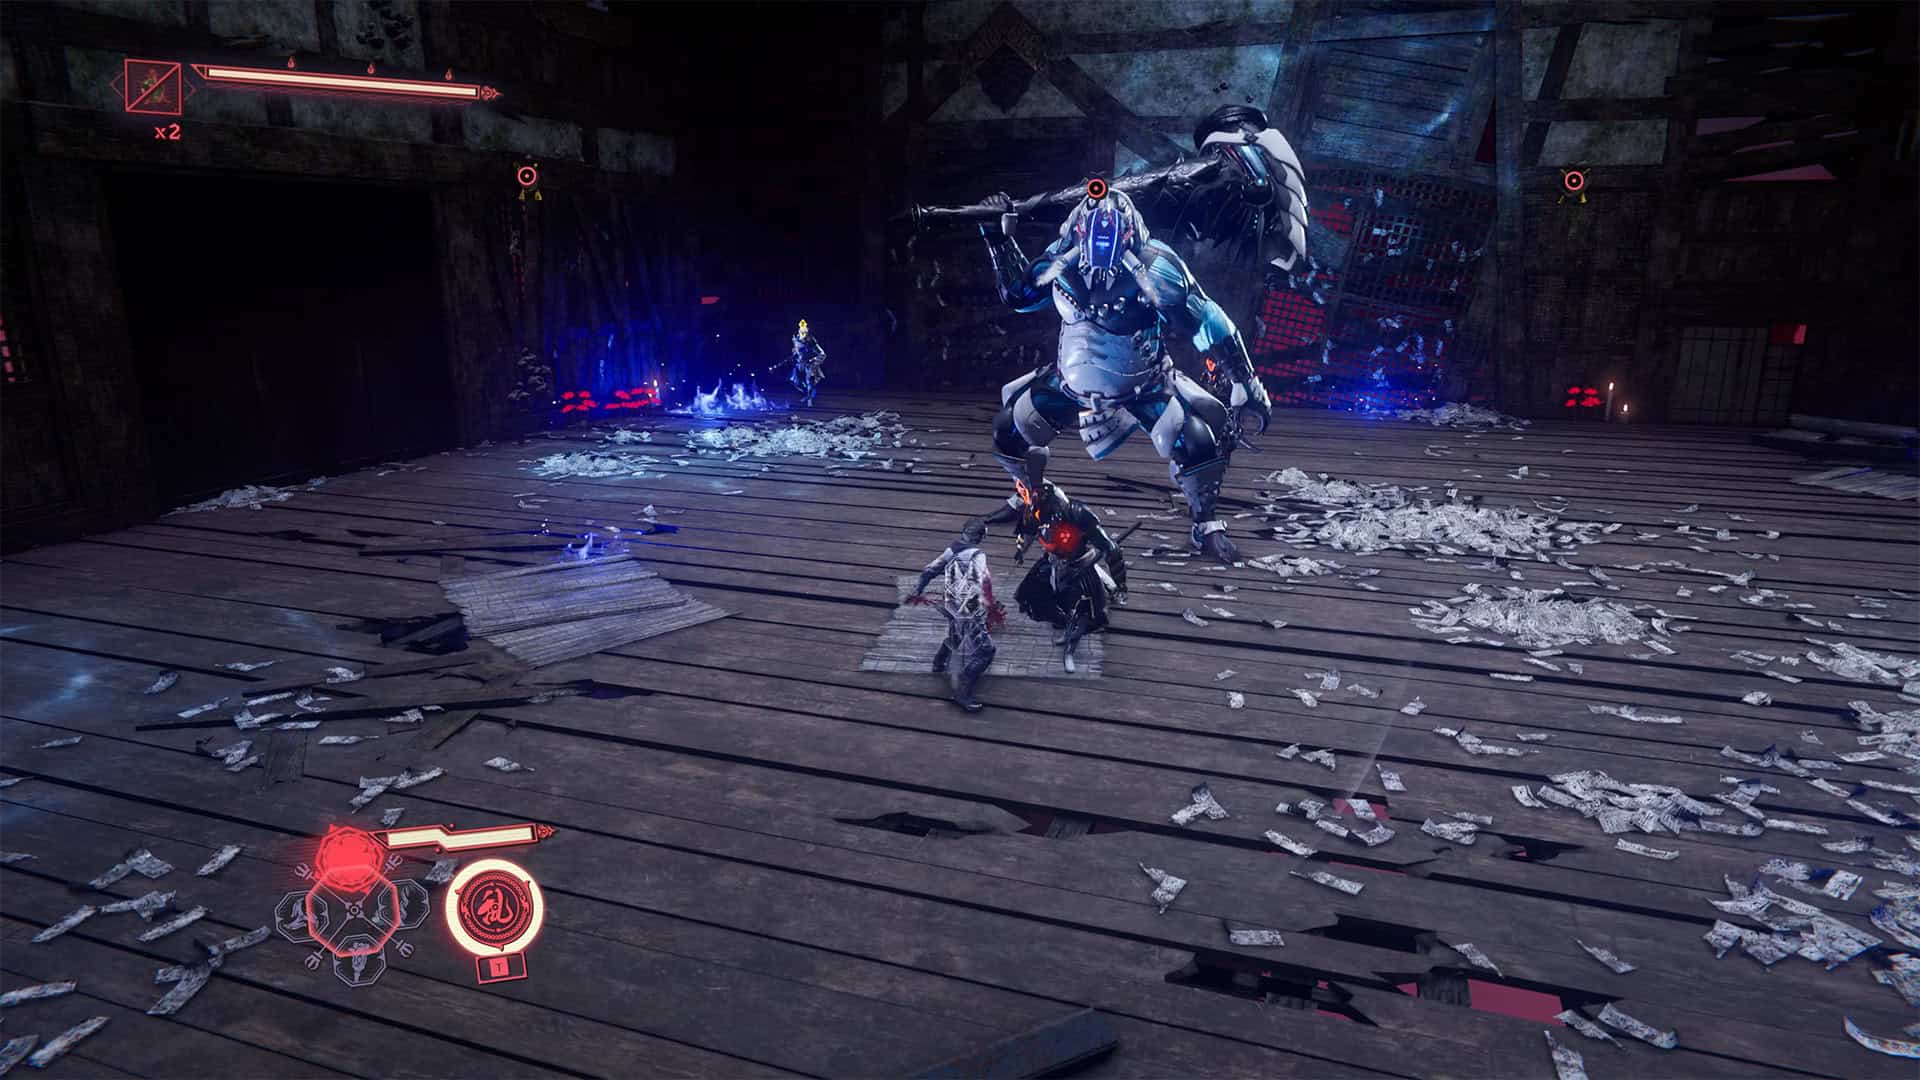
In the third wave, you will face several elite enemies, as well as Proto-Goliath. It is quite difficult to deal with these enemies if you do not have berserk mode ready. Takeminakata in his ultimate form easily and quickly solves the problem of the difficult enemy Proto-Goliath. Once you have dealt with all the enemies, the trial will end and you will receive your reward.
-
- Head to the room with the Purgatory Gate
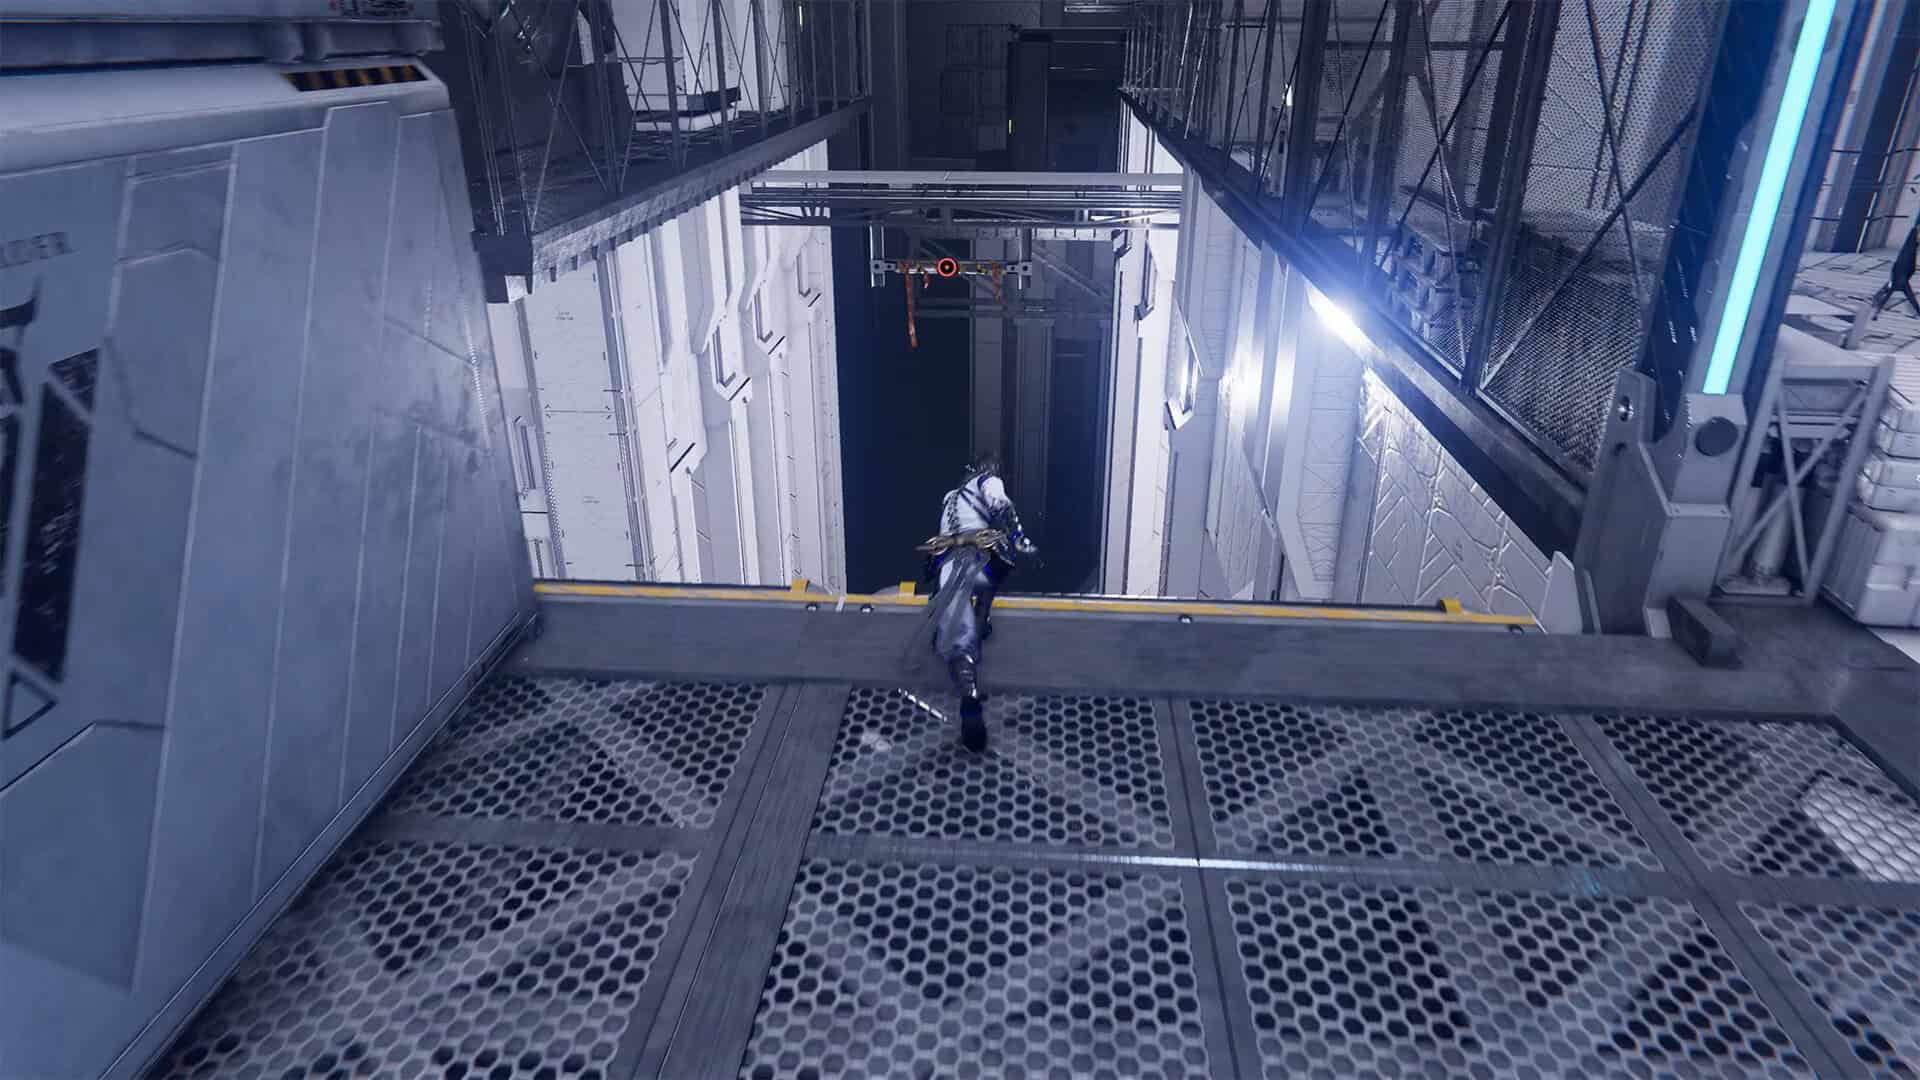
-
- Open the door and walk toward the blue glow
-
- Defeat all enemies in three waves
-
- The final enemy is Proto-Goliath
Difficult path to the next location
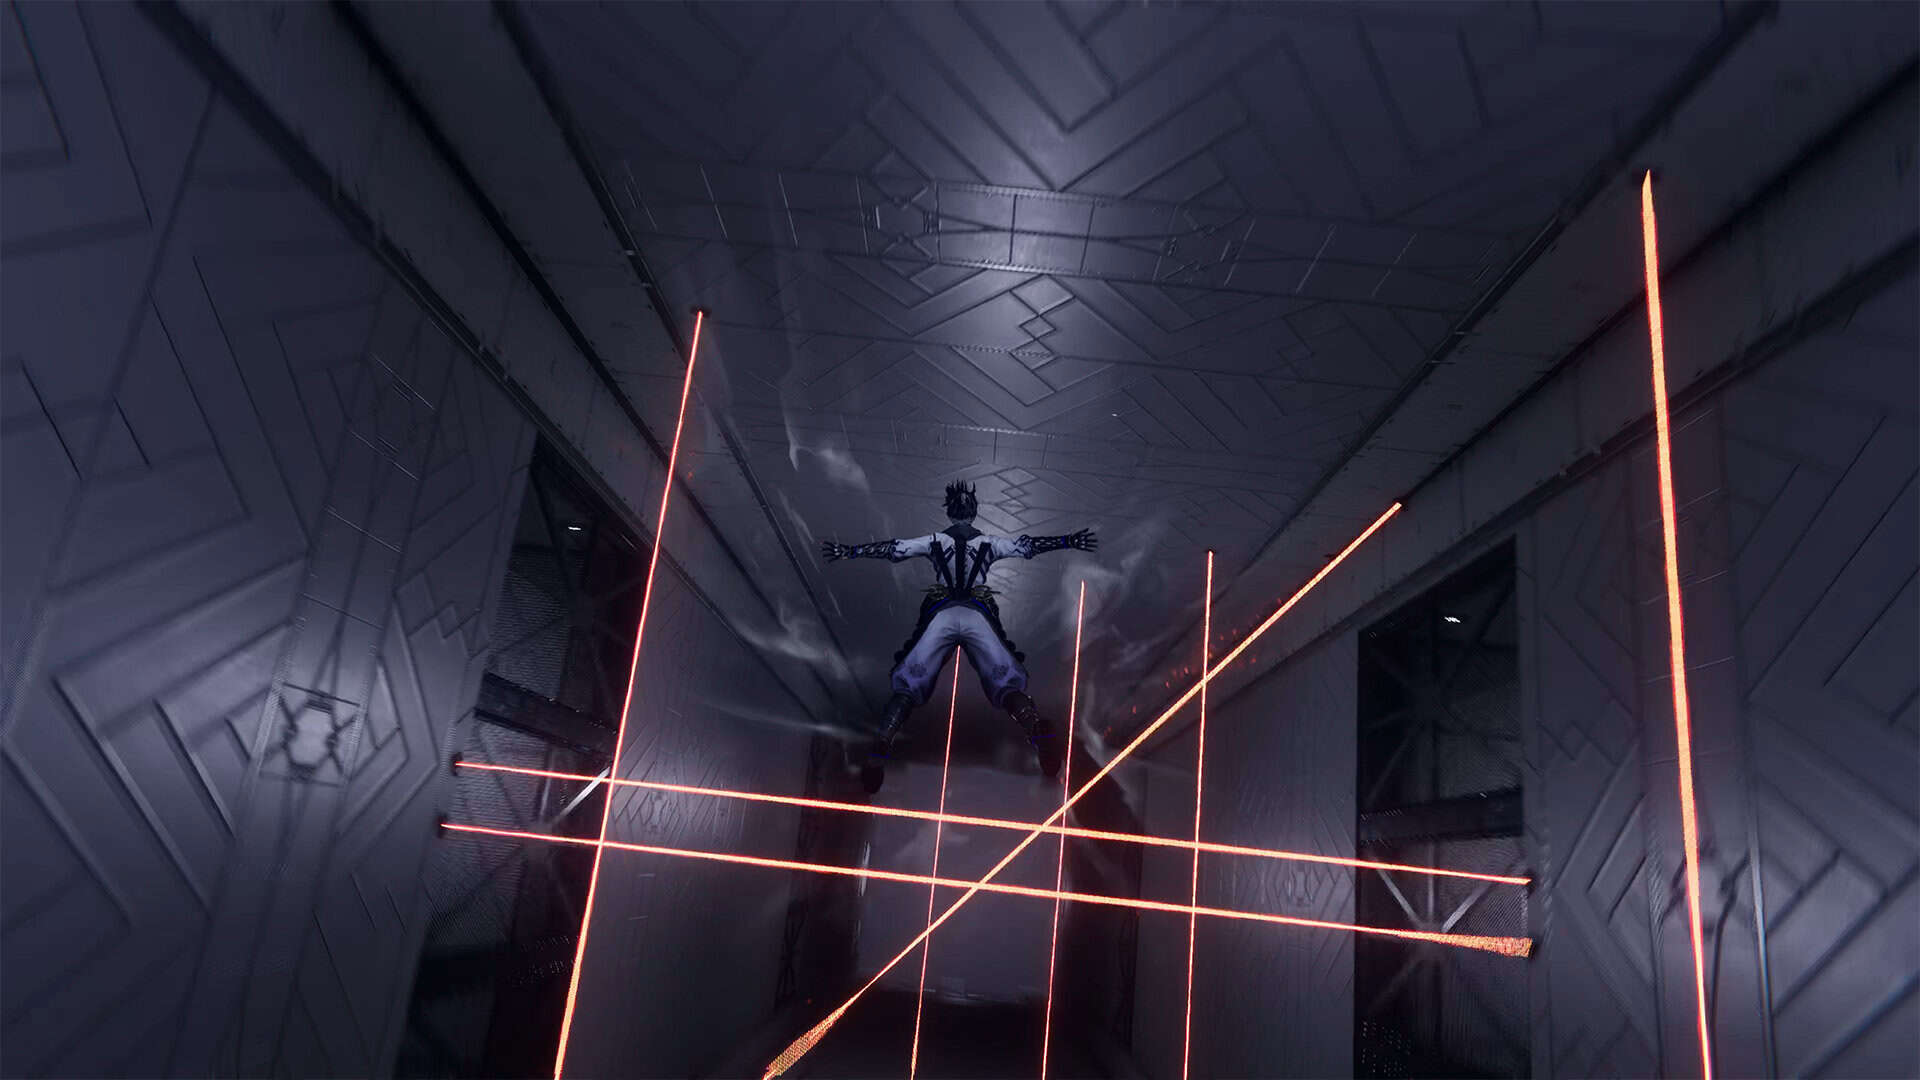
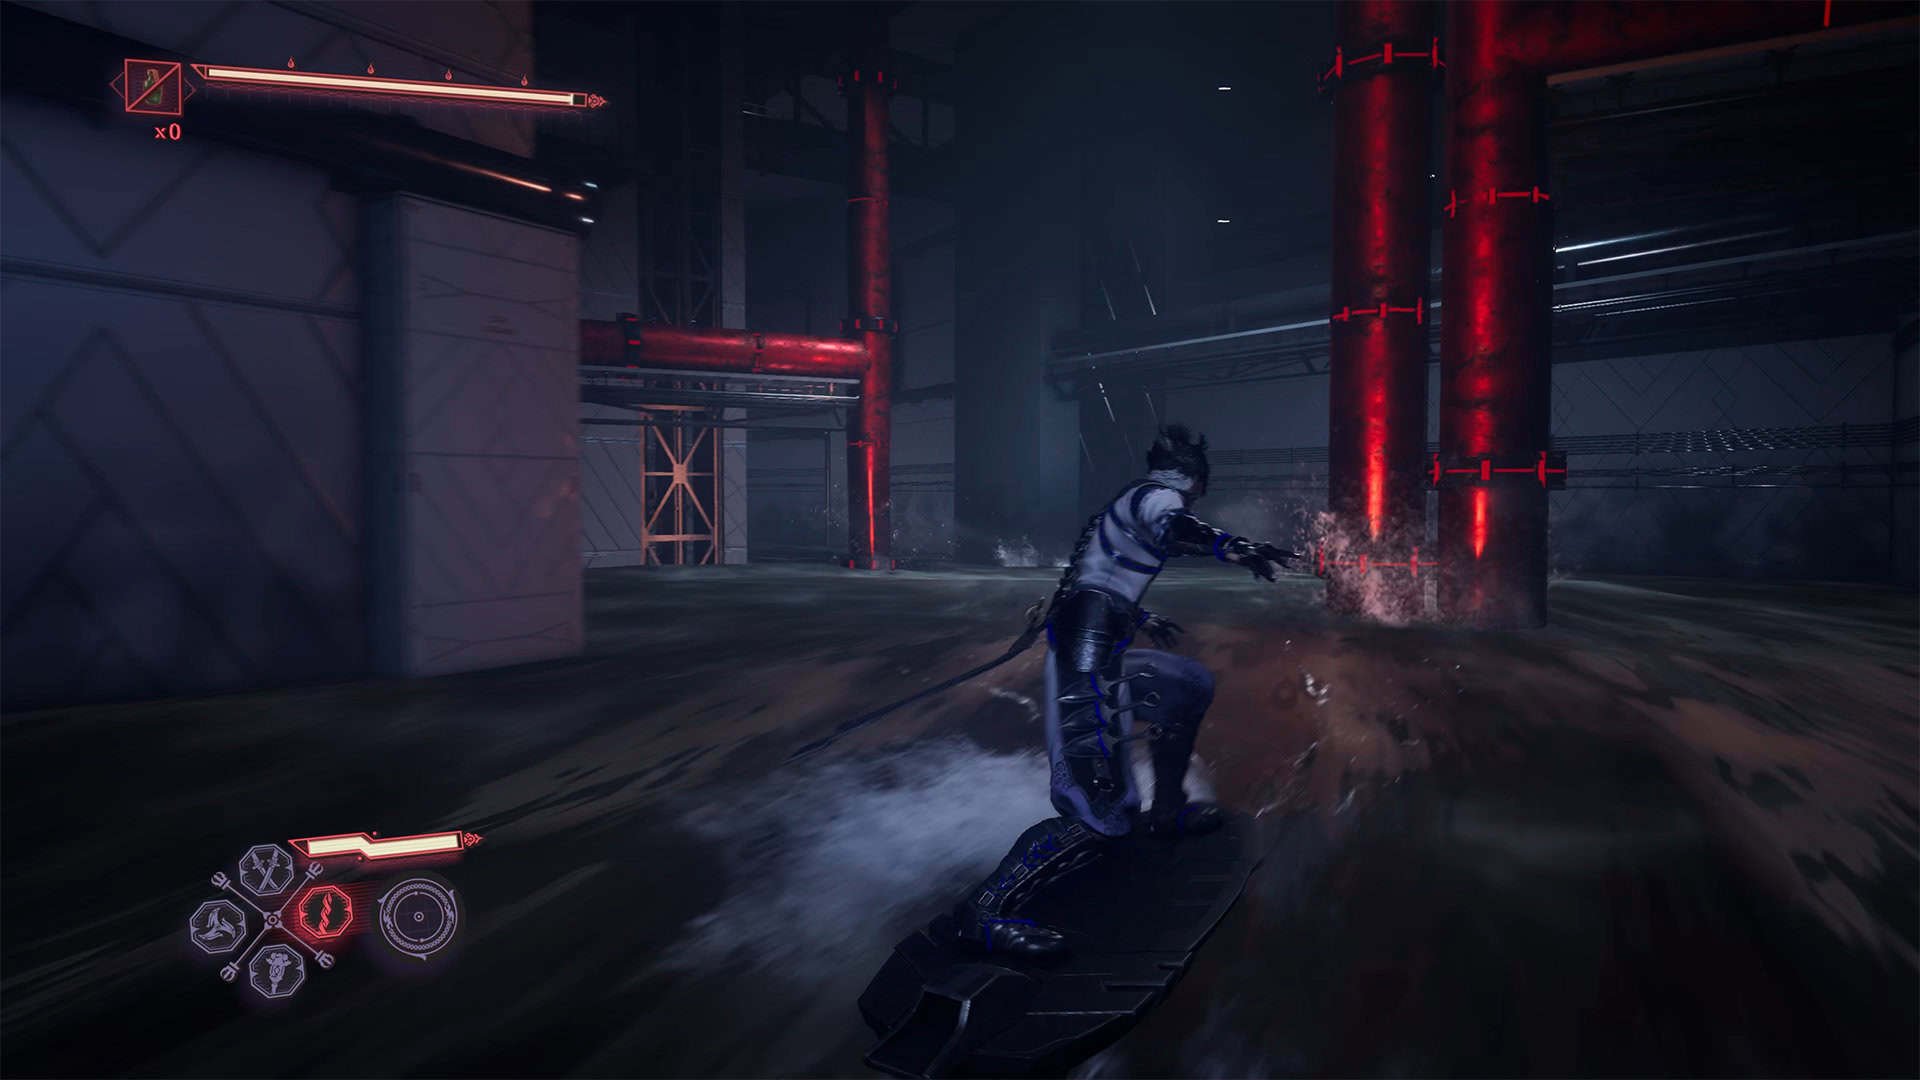
In the room ahead, when the floor collapses and you start to fall, don’t lose control of your character. You need to move to avoid the laser beams. Eventually, you will fall into the water and be able to use Pond Strider to move forward. This is also a difficult section of the game where you need to maneuver to avoid obstacles. Just move forward to the finish line and soon you will jump onto the rail and continue your dynamic journey along it.
Ahead of you, there are several jumps between the rails, and then you will need to jump onto the wall on the left, then jump on the tops of the columns, and then run along the wall on the right. Everything here is done easily and without problems. At the end, you will jump onto a platform where you will need to destroy a group of soldiers who are located there.
-
- Difficult path to the next location
-
- Use Pond Strider and avoid obstacles
Execute the Strange Oni
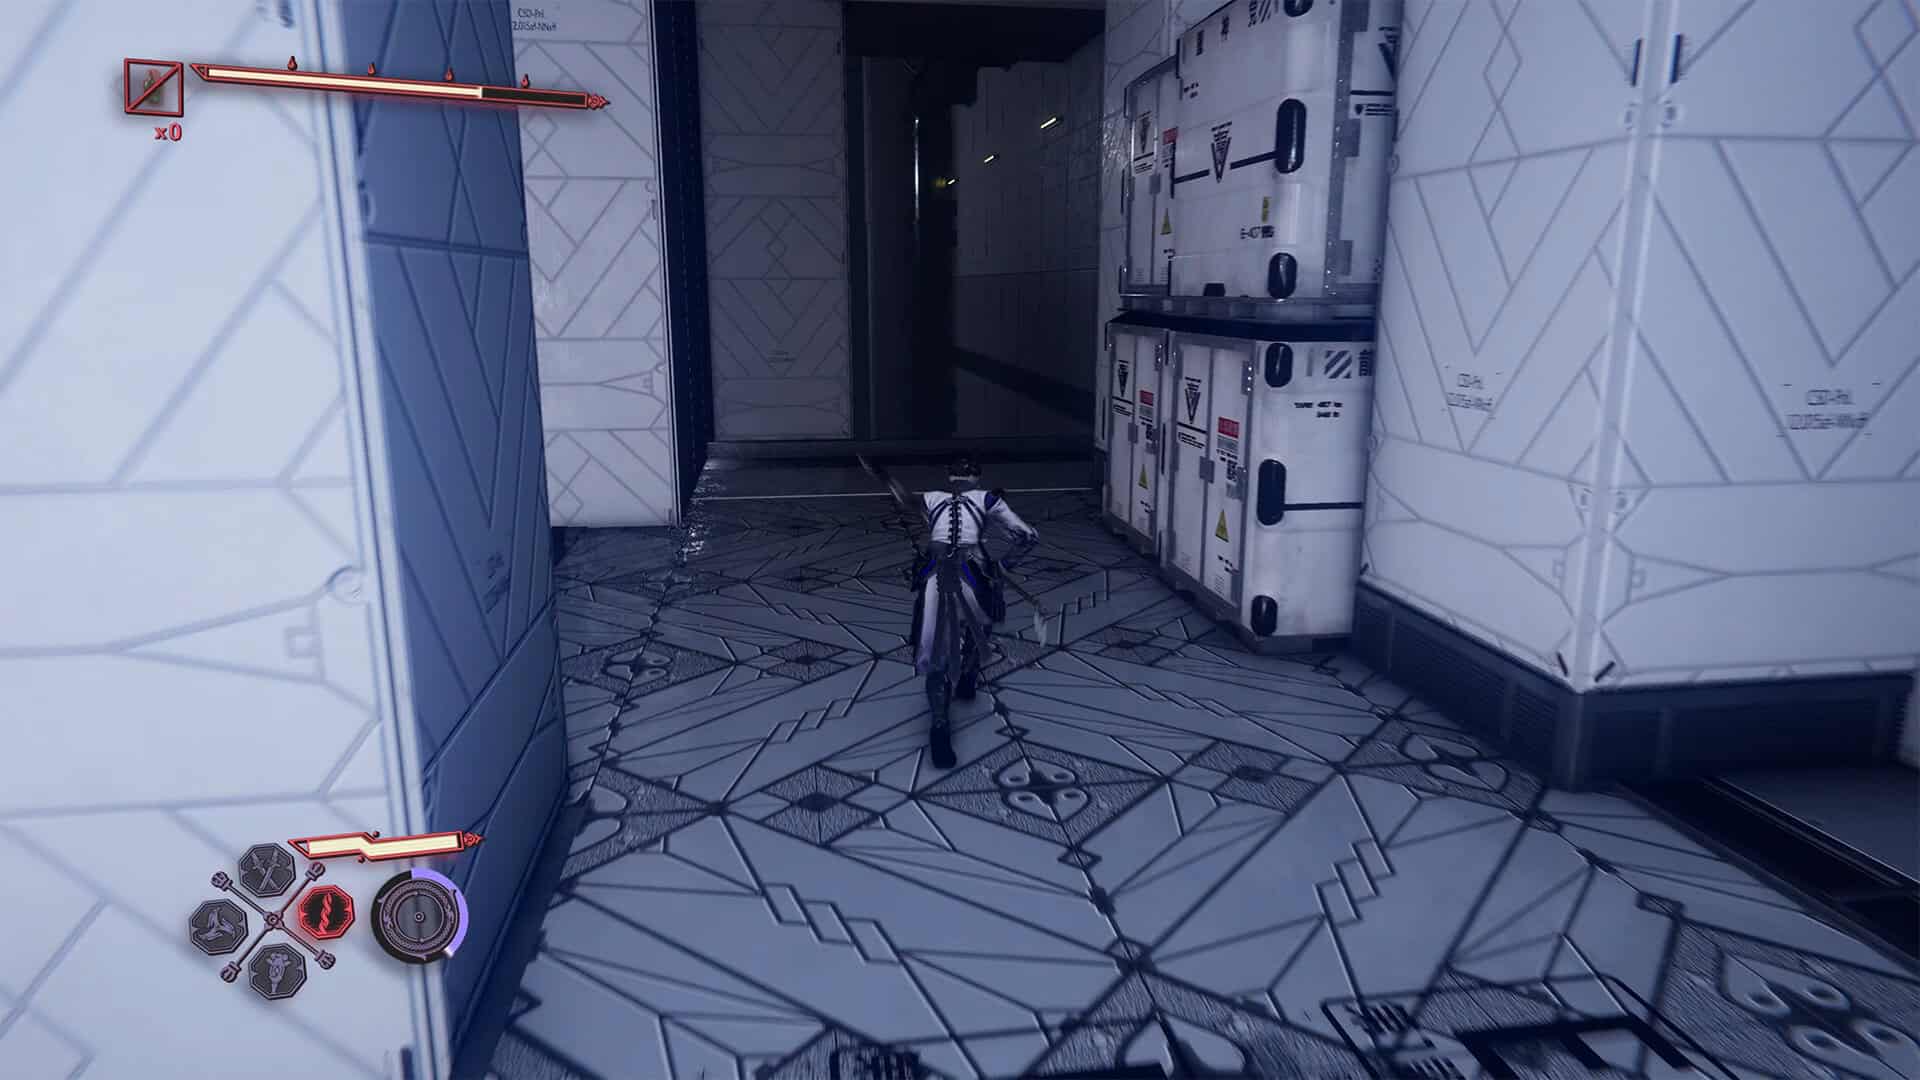
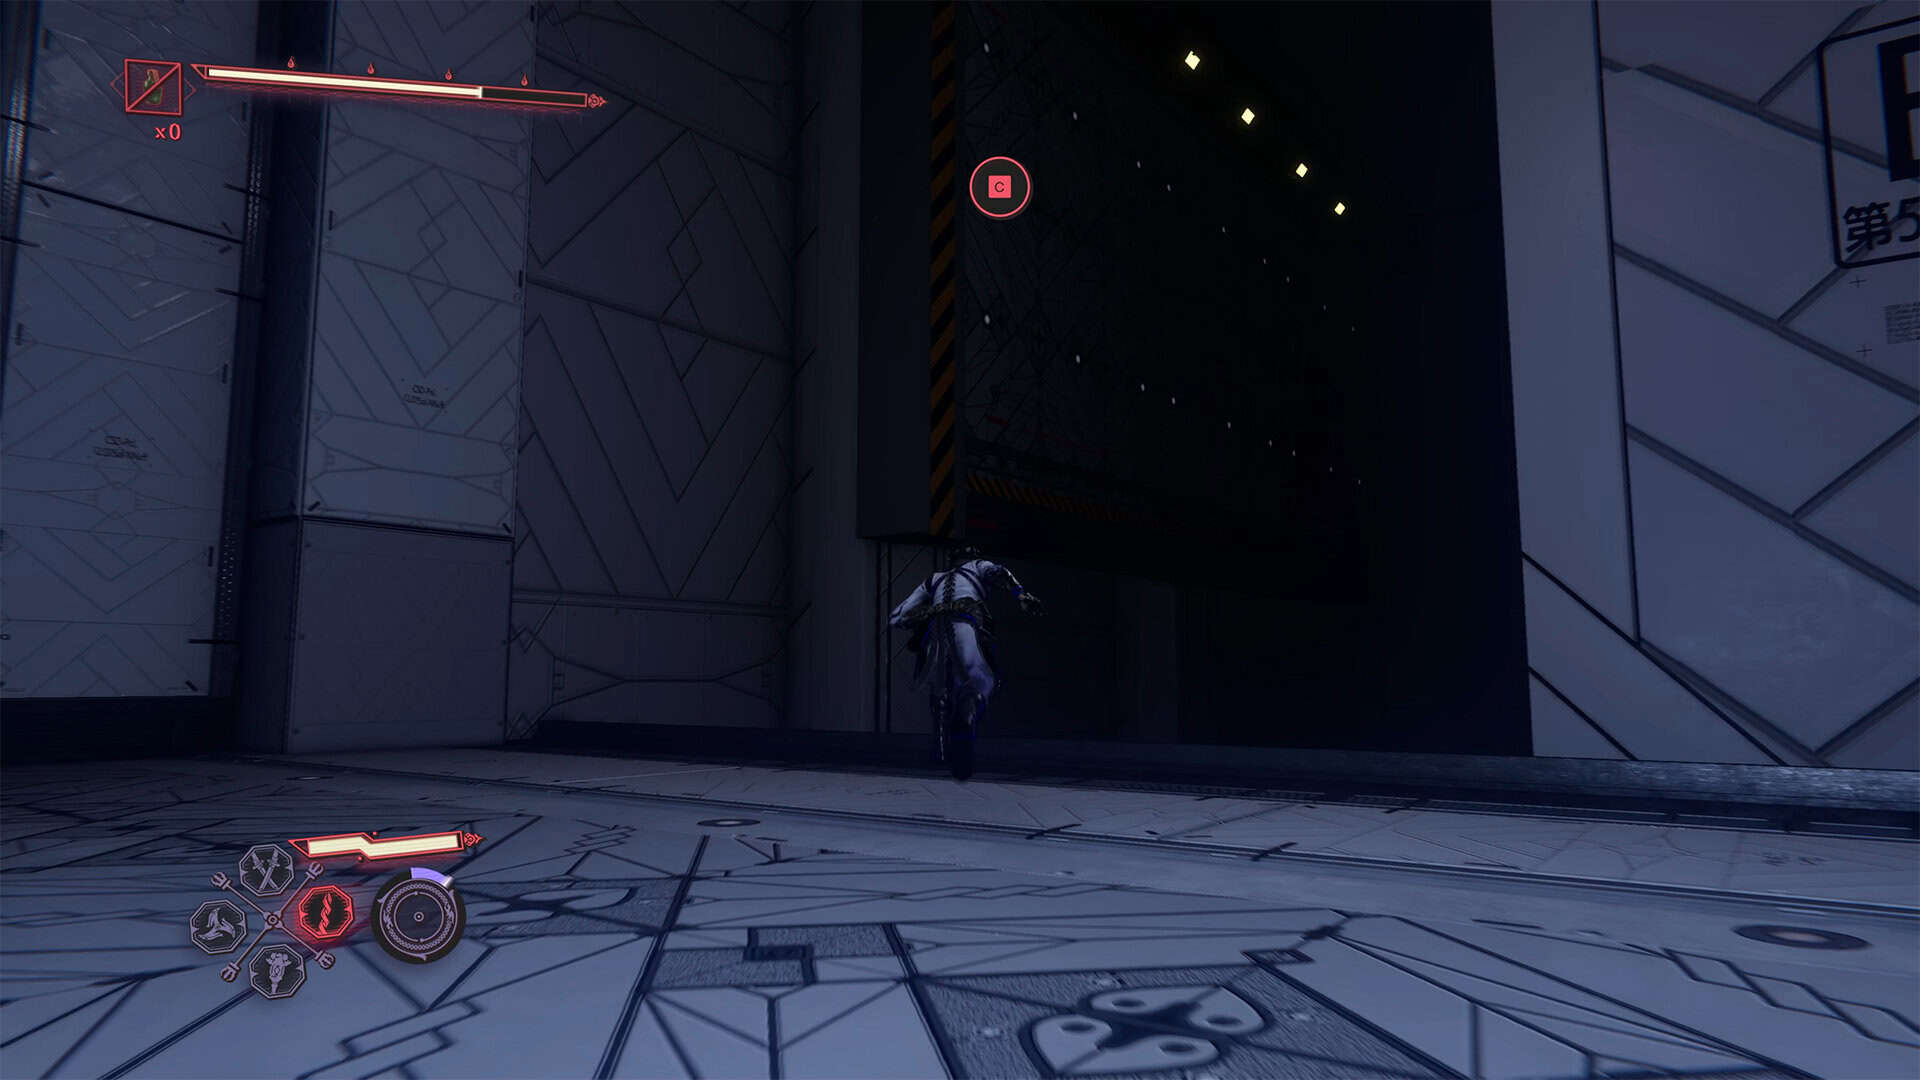
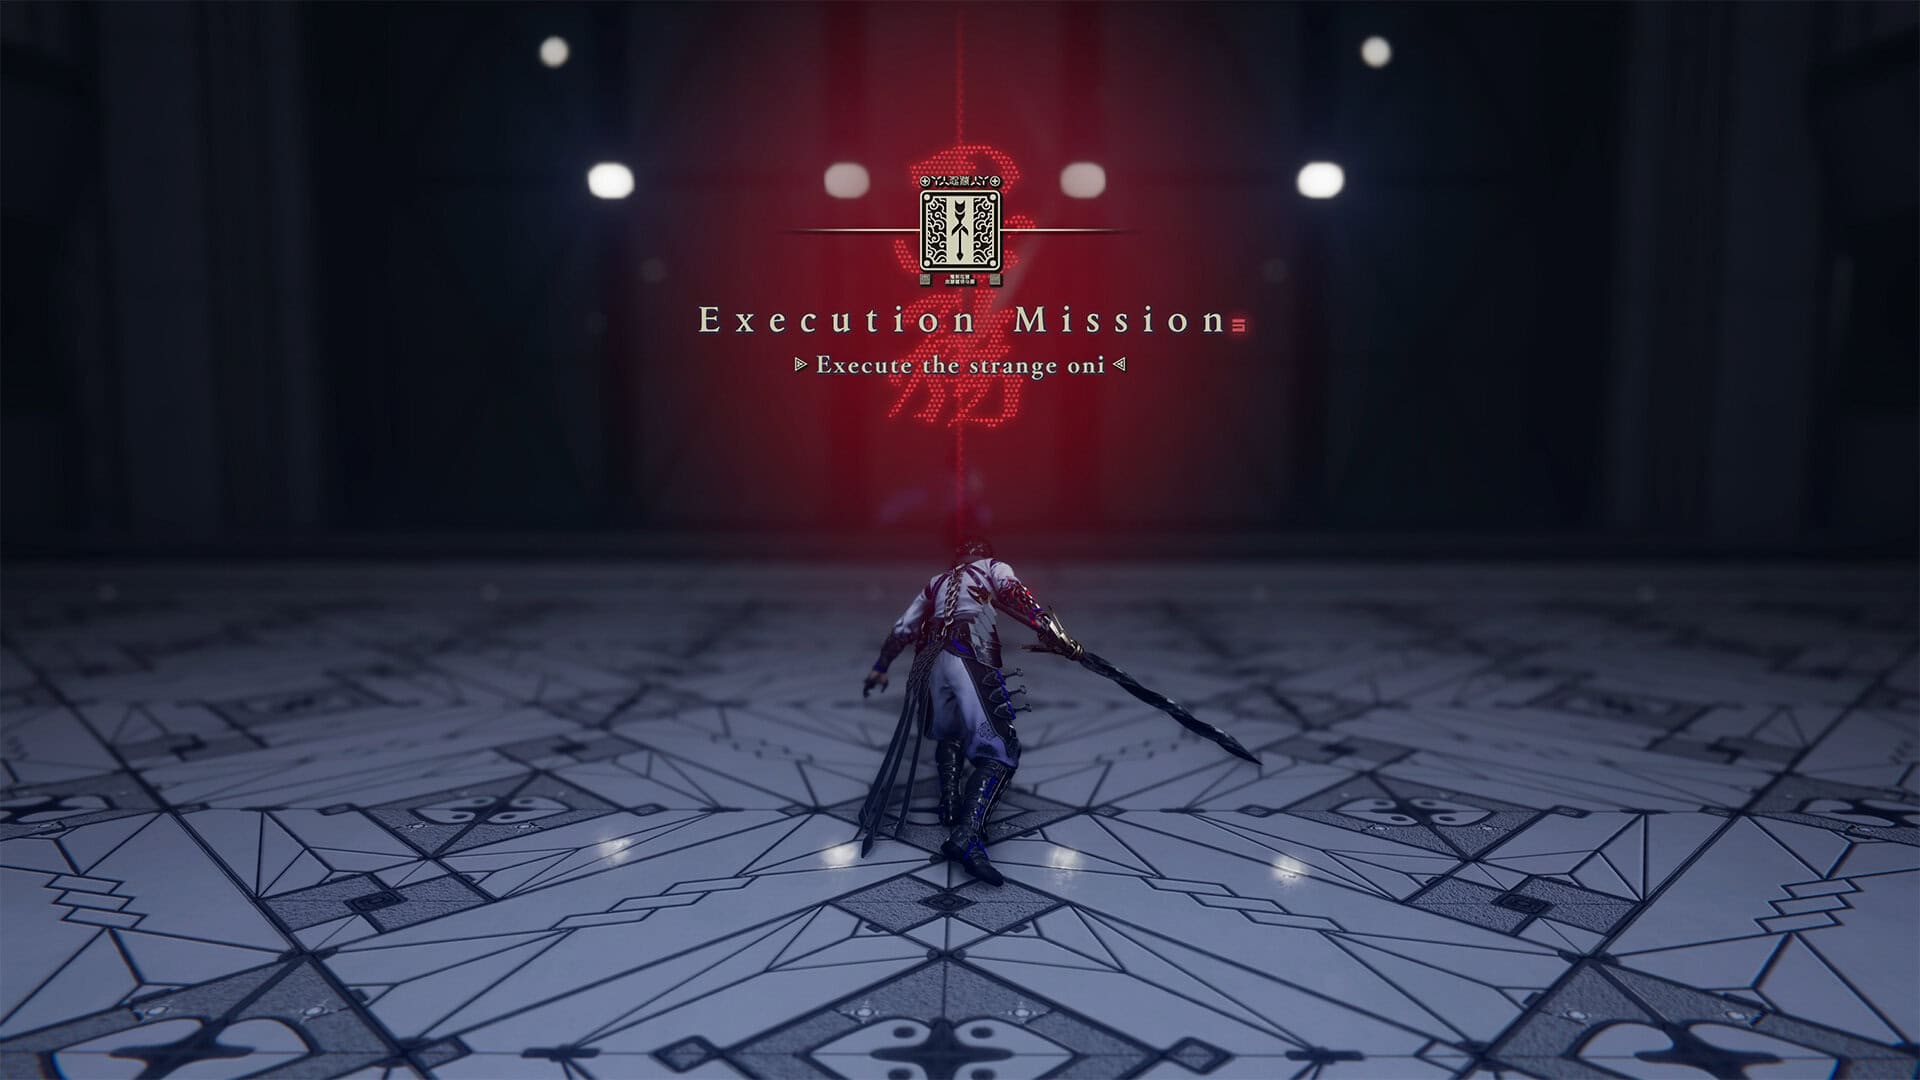
You will see double doors in front of you. Before approaching them, turn left. There is a narrow corridor where you need to jump onto a small ledge ahead. Next, you will see a wall on the left. Run along it and jump onto the rail at the end. This rail will take you to a secret room where you will complete the Execute the Strange Oni quest. Here you must defeat Strange Oni.
This is a familiar enemy that you have already defeated several times in other chapters. This time you will defeat him for good. Accordingly, this will be the most difficult battle with him, as his arsenal of attacks has increased significantly. Otherwise, the enemy has only one health bar, as usual, so you should be able to deal with him without any particular problems. There are no special tactics here, just use the skills you most often use in boss fights.
Also, try to dodge his attacks to take less damage. Even if you don’t succeed the first time, your second attempt will definitely be successful. Don’t change anything, just attack and dodge. Once you fill the berserk gauge, use your ultimate ability. If you’re having trouble with this enemy, use Senjin War Brew, it will make your task much easier.
-
- Direction to run to the quest
-
- Run along the wall to the next location
-
- Execute the Strange Oni side quest
-
- Strange Oni is finally defeated for good
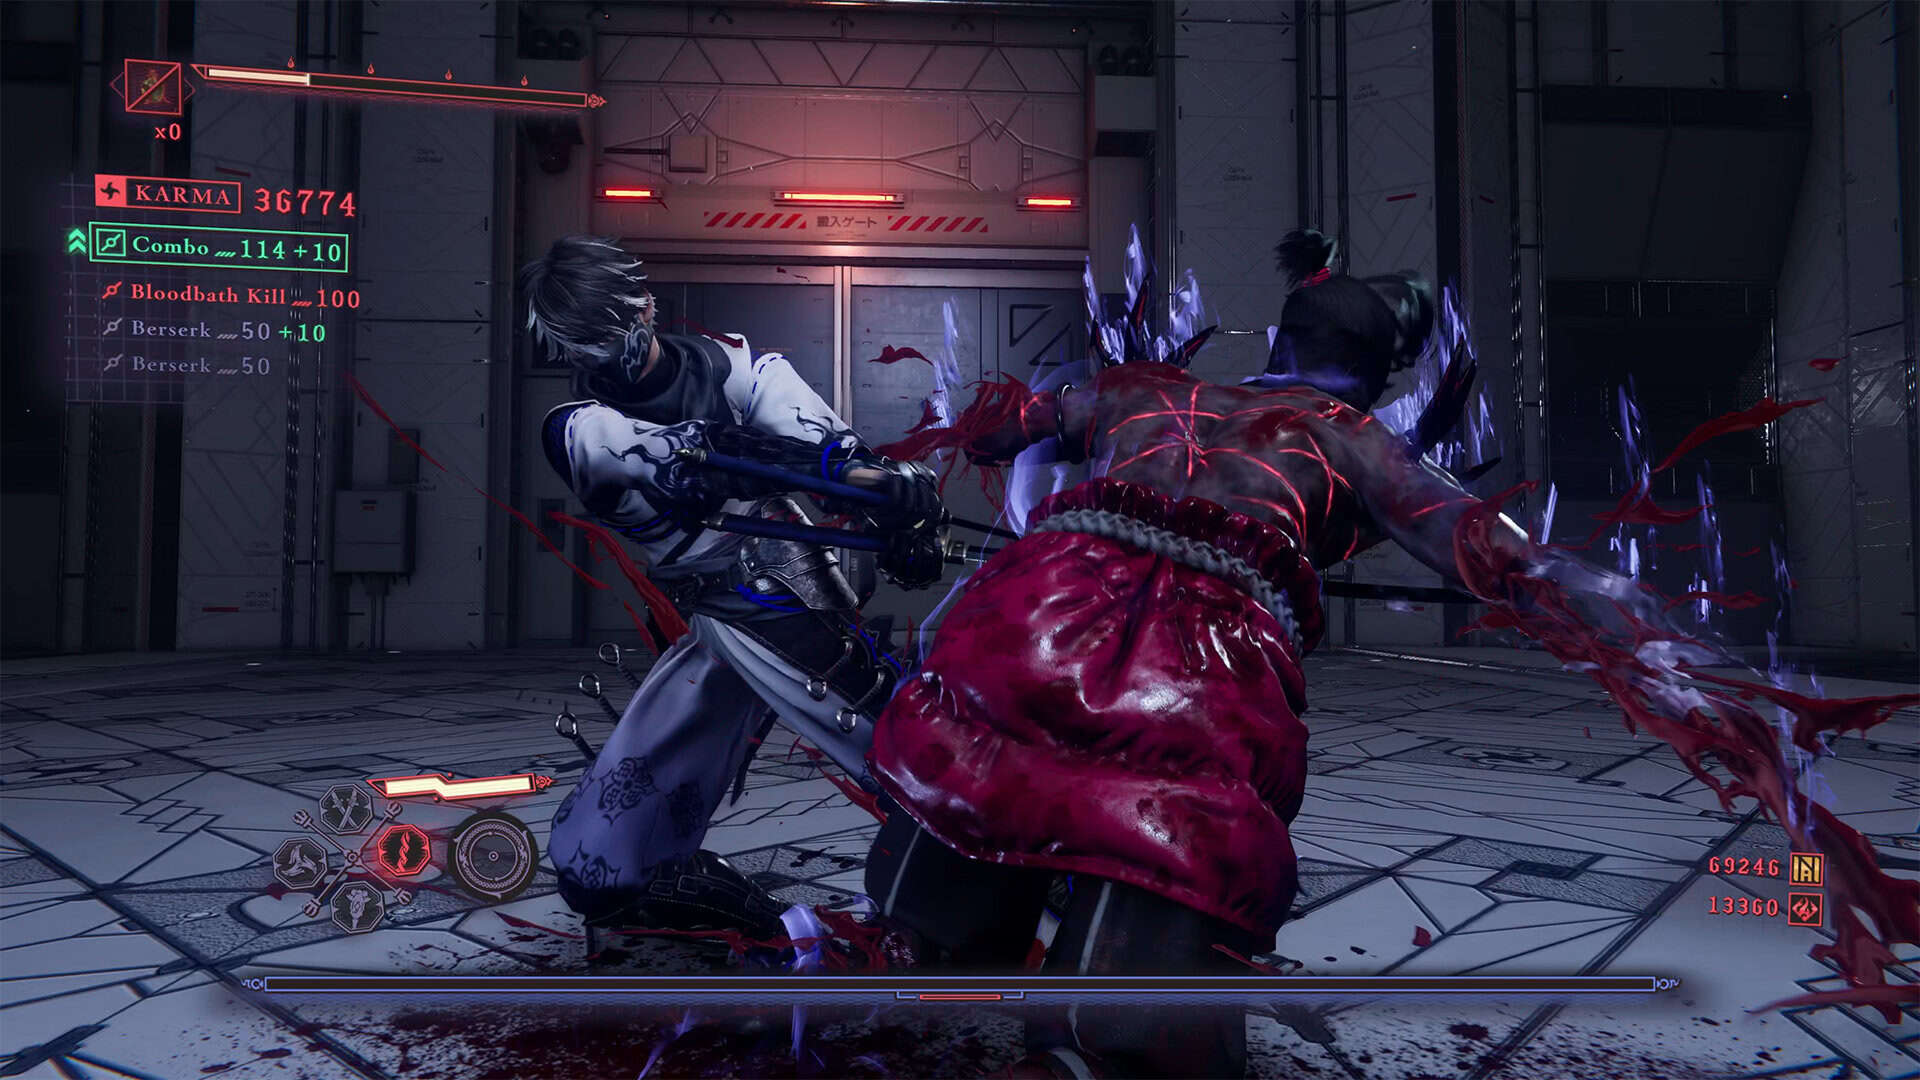
Rejuvenation Elixir (Chest #19) + Incencse of Rebirth (Chest #20)
Now go back to the room where you fought a group of enemies. Go through the double doors. Next, you will see another door; go through it. In front of you will be stairs leading to a platform where you will begin your journey again with the Dragonfly Glider, but first, open the chest on the left. This chest contains a Rejuvenation Elixir. Now jump into the air stream to fly forward. You will rise up.
Note that there is only a small opening for you to pass through without taking damage. After that, you will start to fall, dodge the pipes, they cause damage. While falling, you need to notice the column in time and use the Caddis Wire to jump on it. If you don’t, you will fall down. There are two laser obstacles in front of you. Some move horizontally, others vertically. Choose the right moment to jump forward and overcome these obstacles without getting hurt.
You will land on the rail and move forward, then jump off and fly again with the airflow. Here, the obstacles can confuse you. There are solid lines of lasers in front of you. Note that your passage is in the center between these two laser walls. Fly forward carefully, choosing the right direction, and you will soon land on the platform. Run forward and deal with the group of soldiers you encounter here. After that, find the chest to the right behind the large gray container.
In this chest, you will find the Incense of Rebirth. Move on. Climb the stairs and run forward. Here you will find another DarkNest Terminal. Here you can receive rewards for completing two side quests and replenish your supply of elixirs, as difficult battles await you ahead.
-
- Chest #19 in Dragon’s Maw (Rejuvenation Elixir)
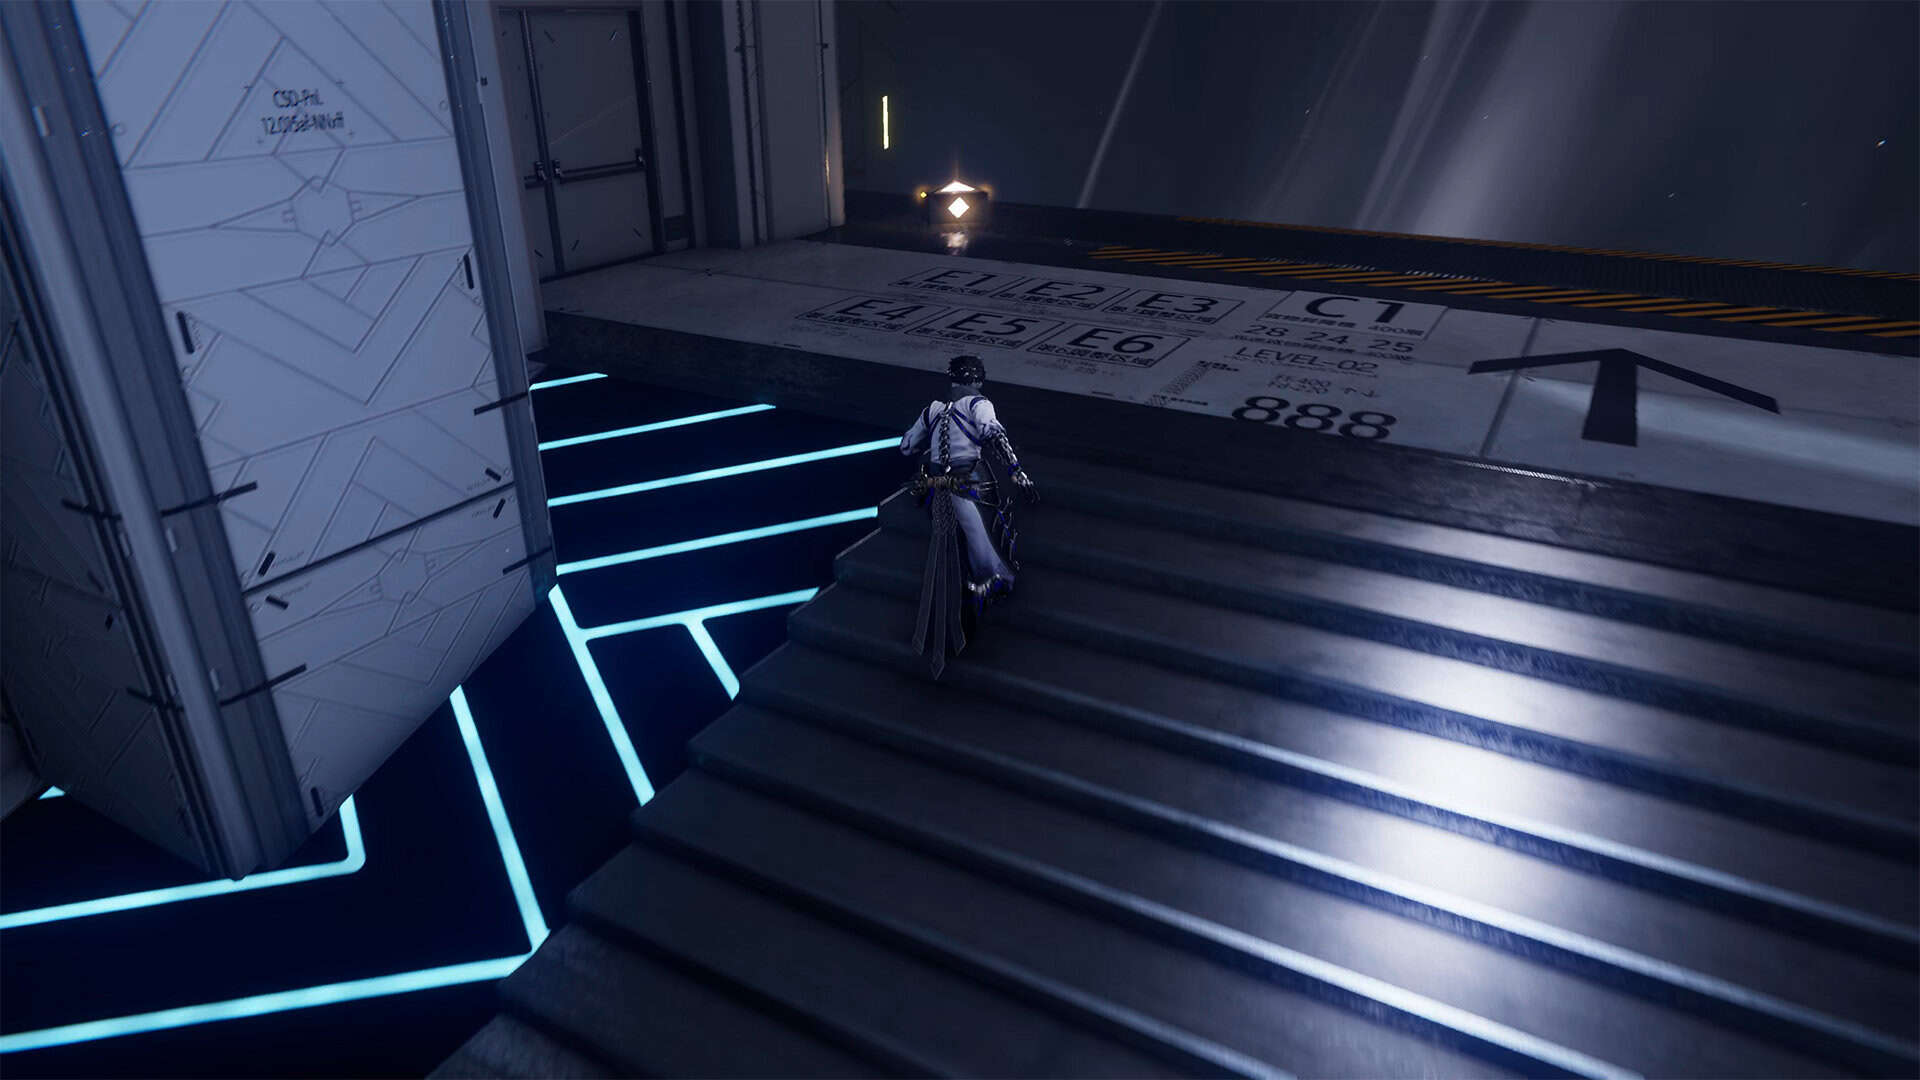
-
- A small hatch in the ceiling that you need to get through
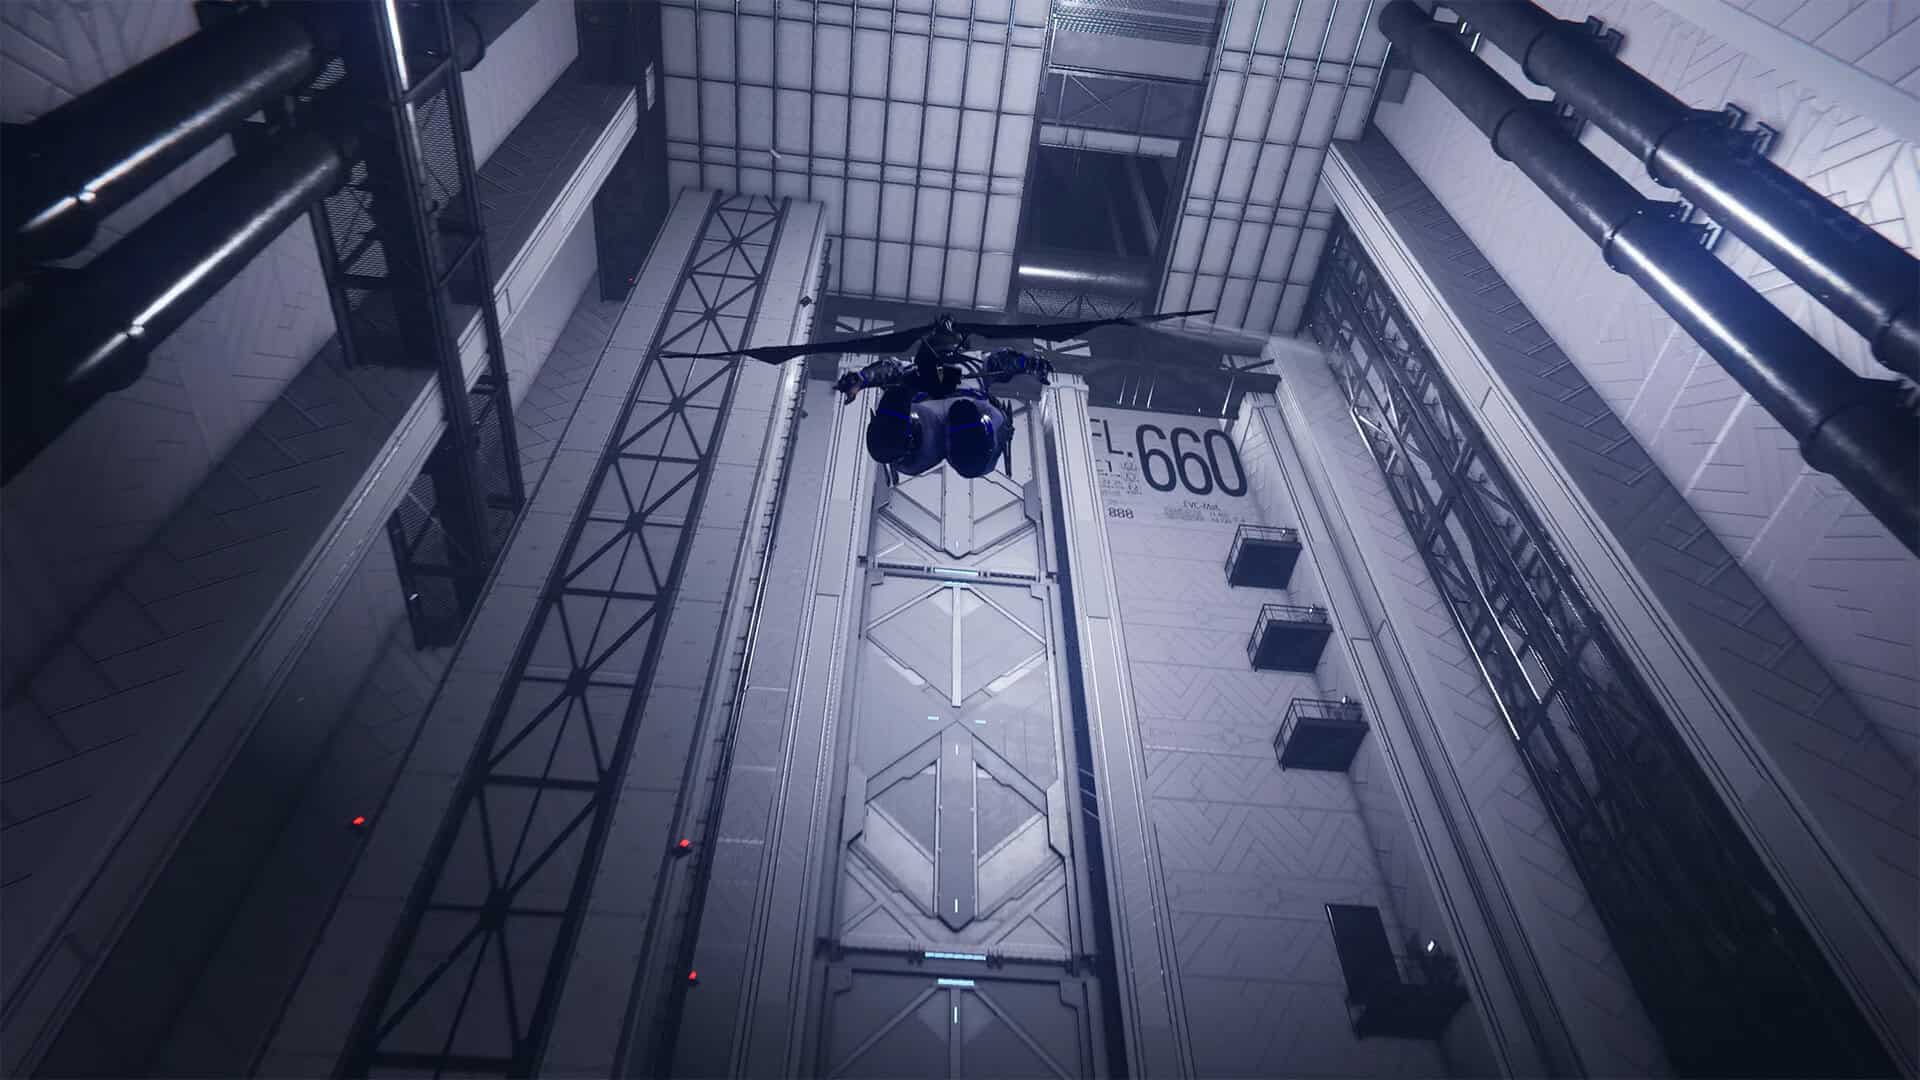
-
- Walls of lasers on both sides
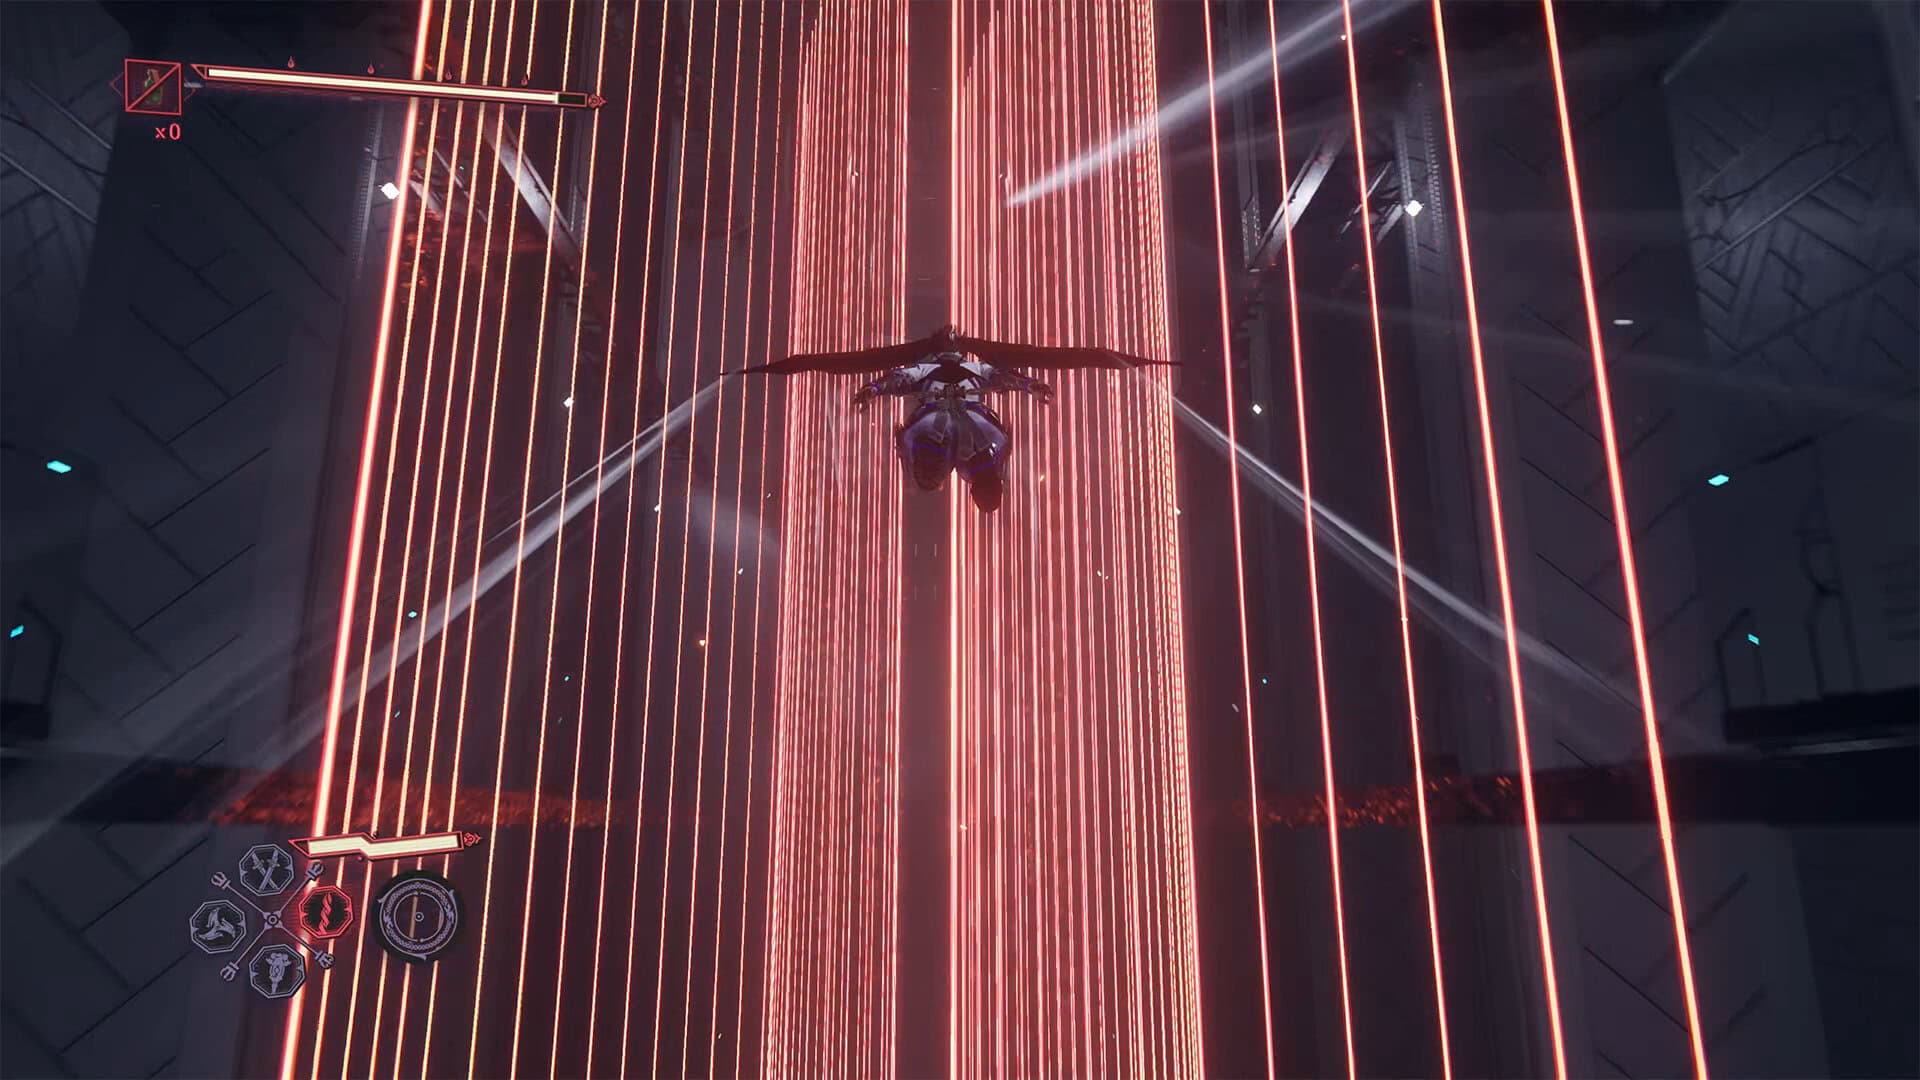
-
- Chest #20 in Dragon’s Maw (Incense of Rebirth)
Find the Classified Document in the Dragon’s Maw (Chest #21)
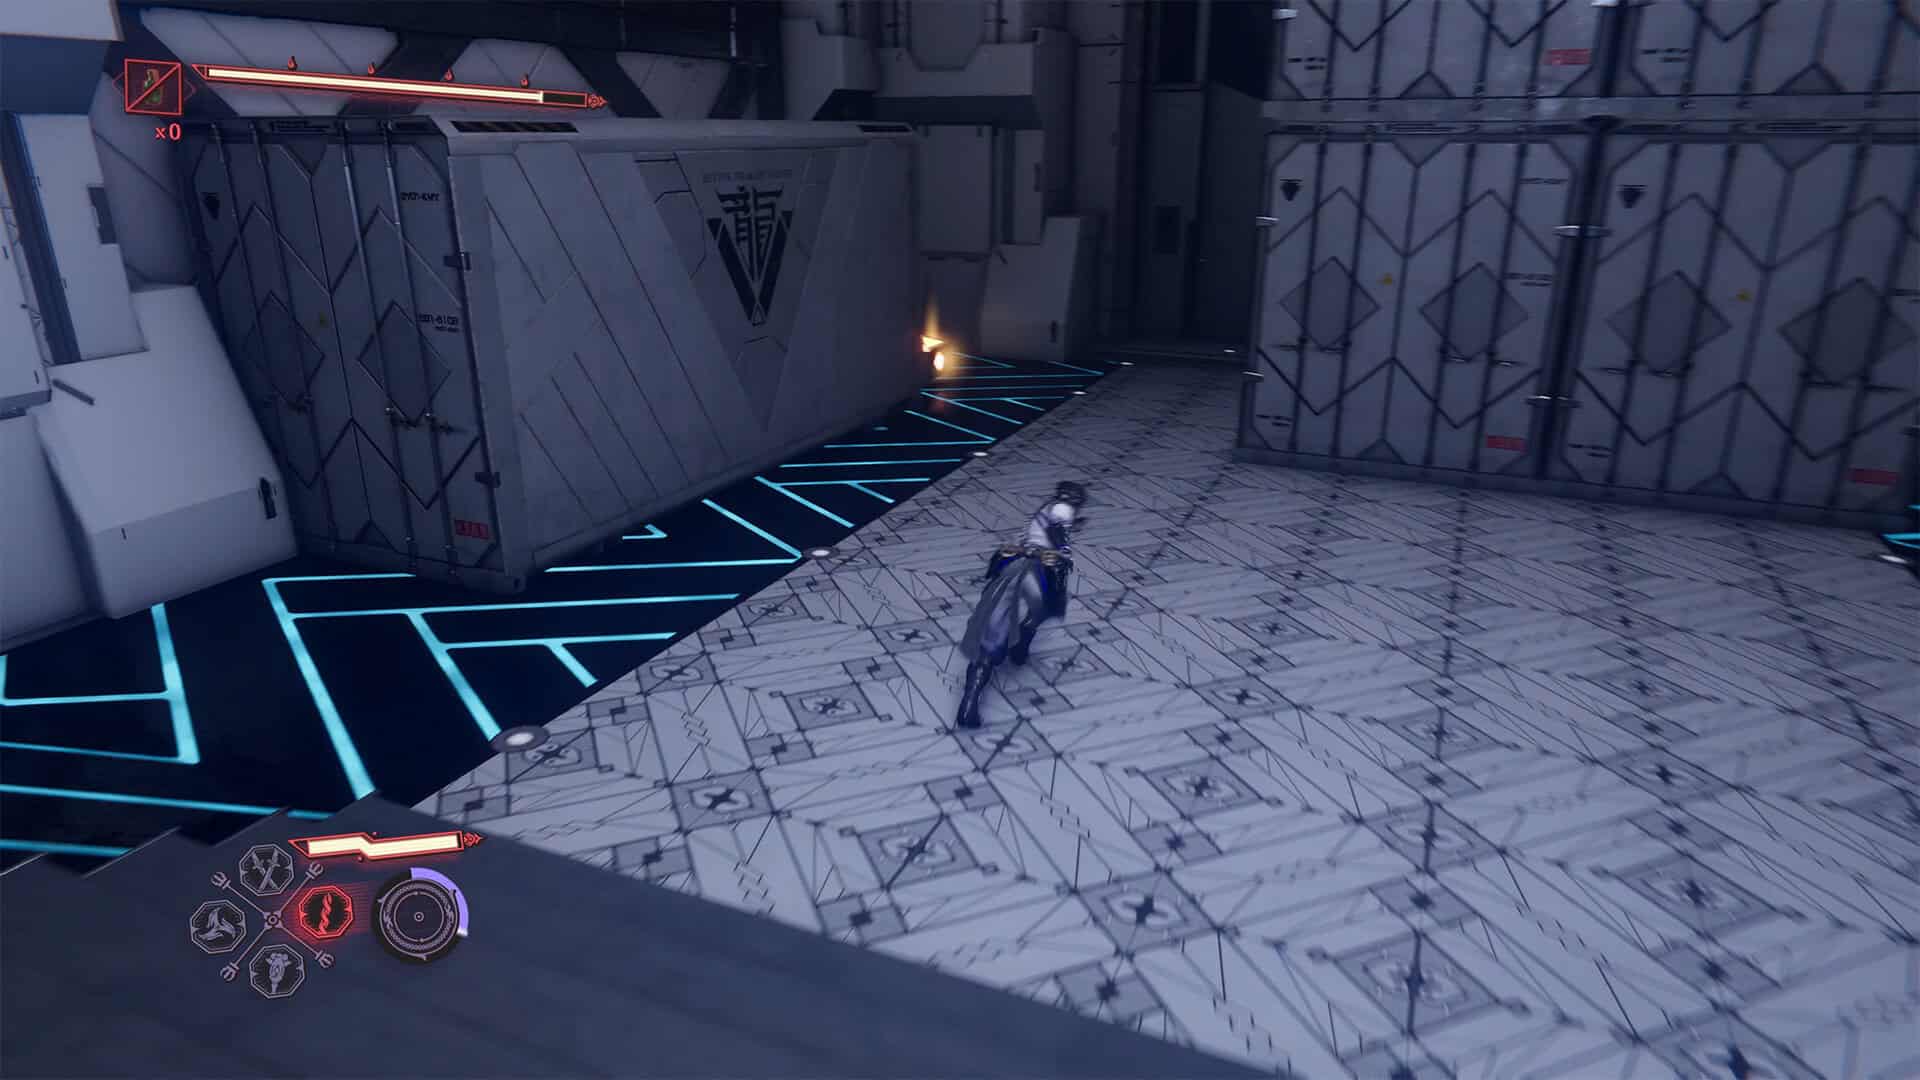
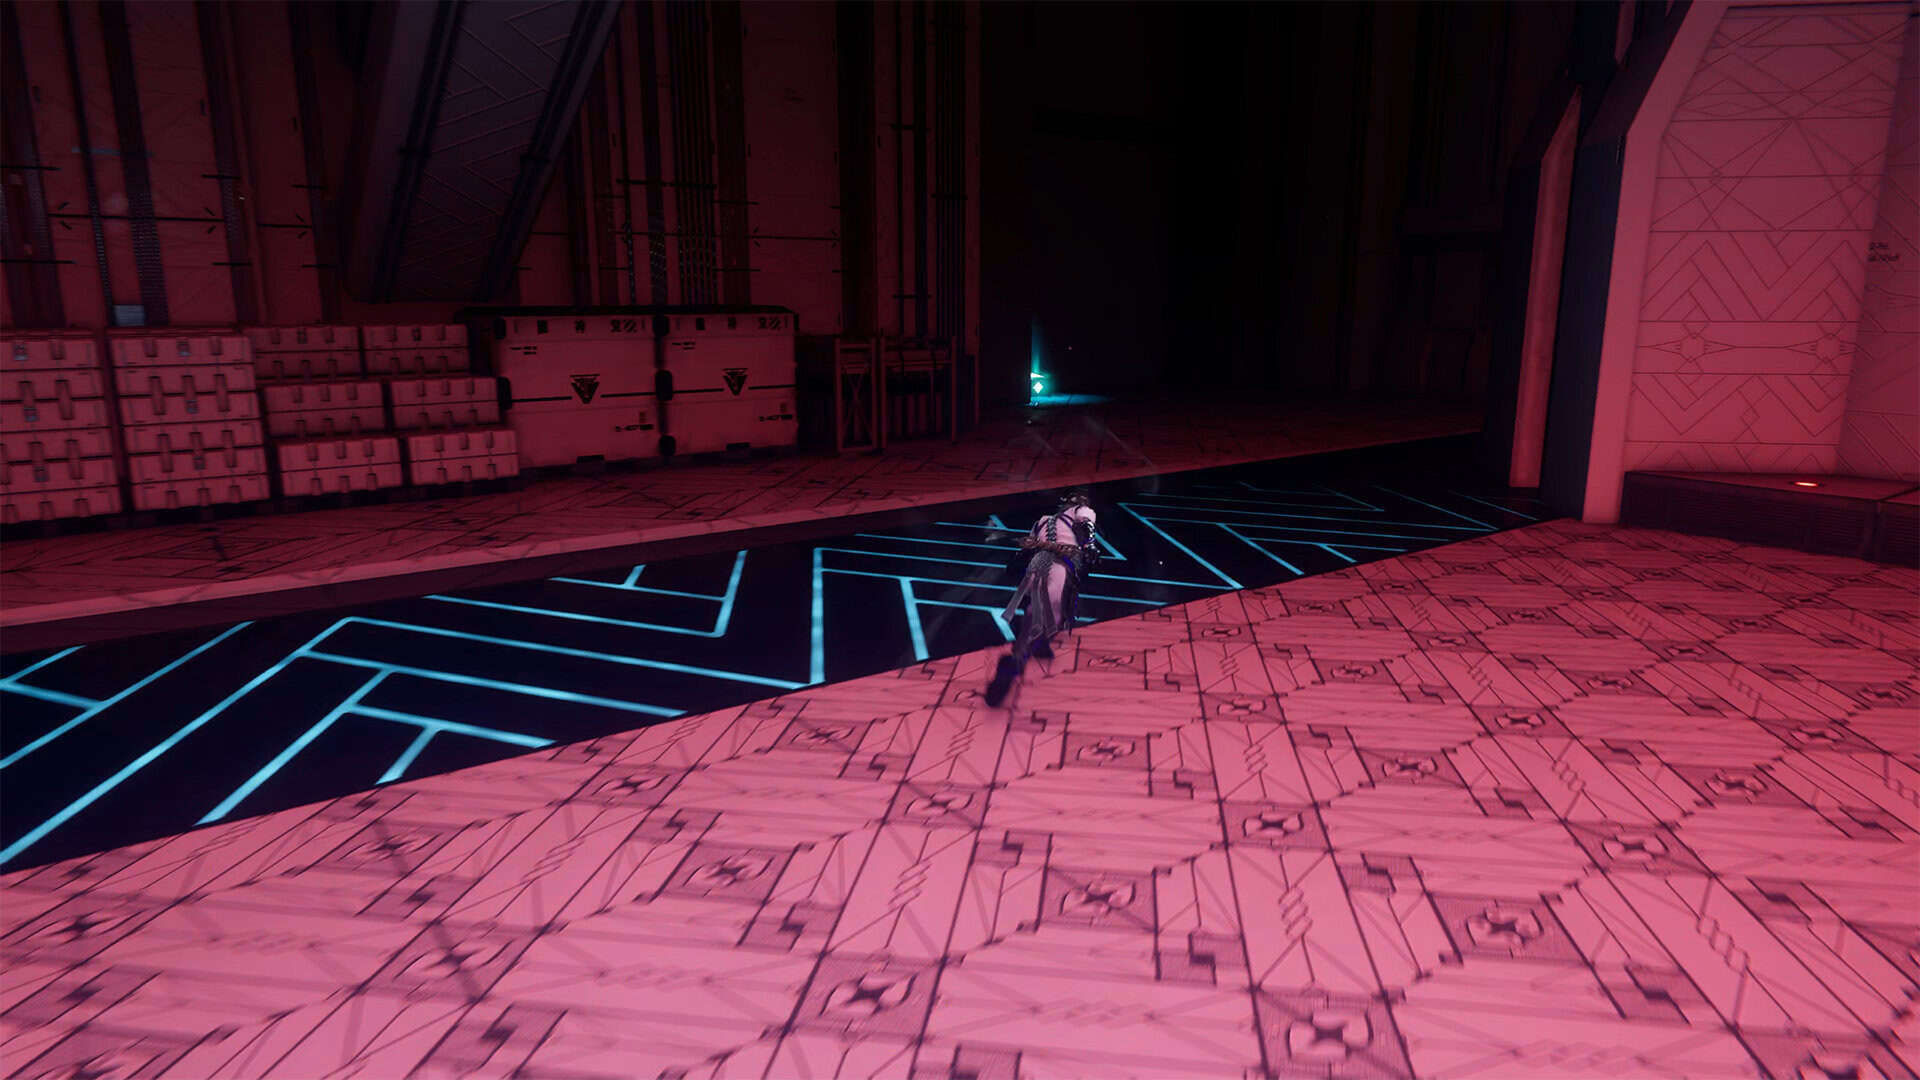
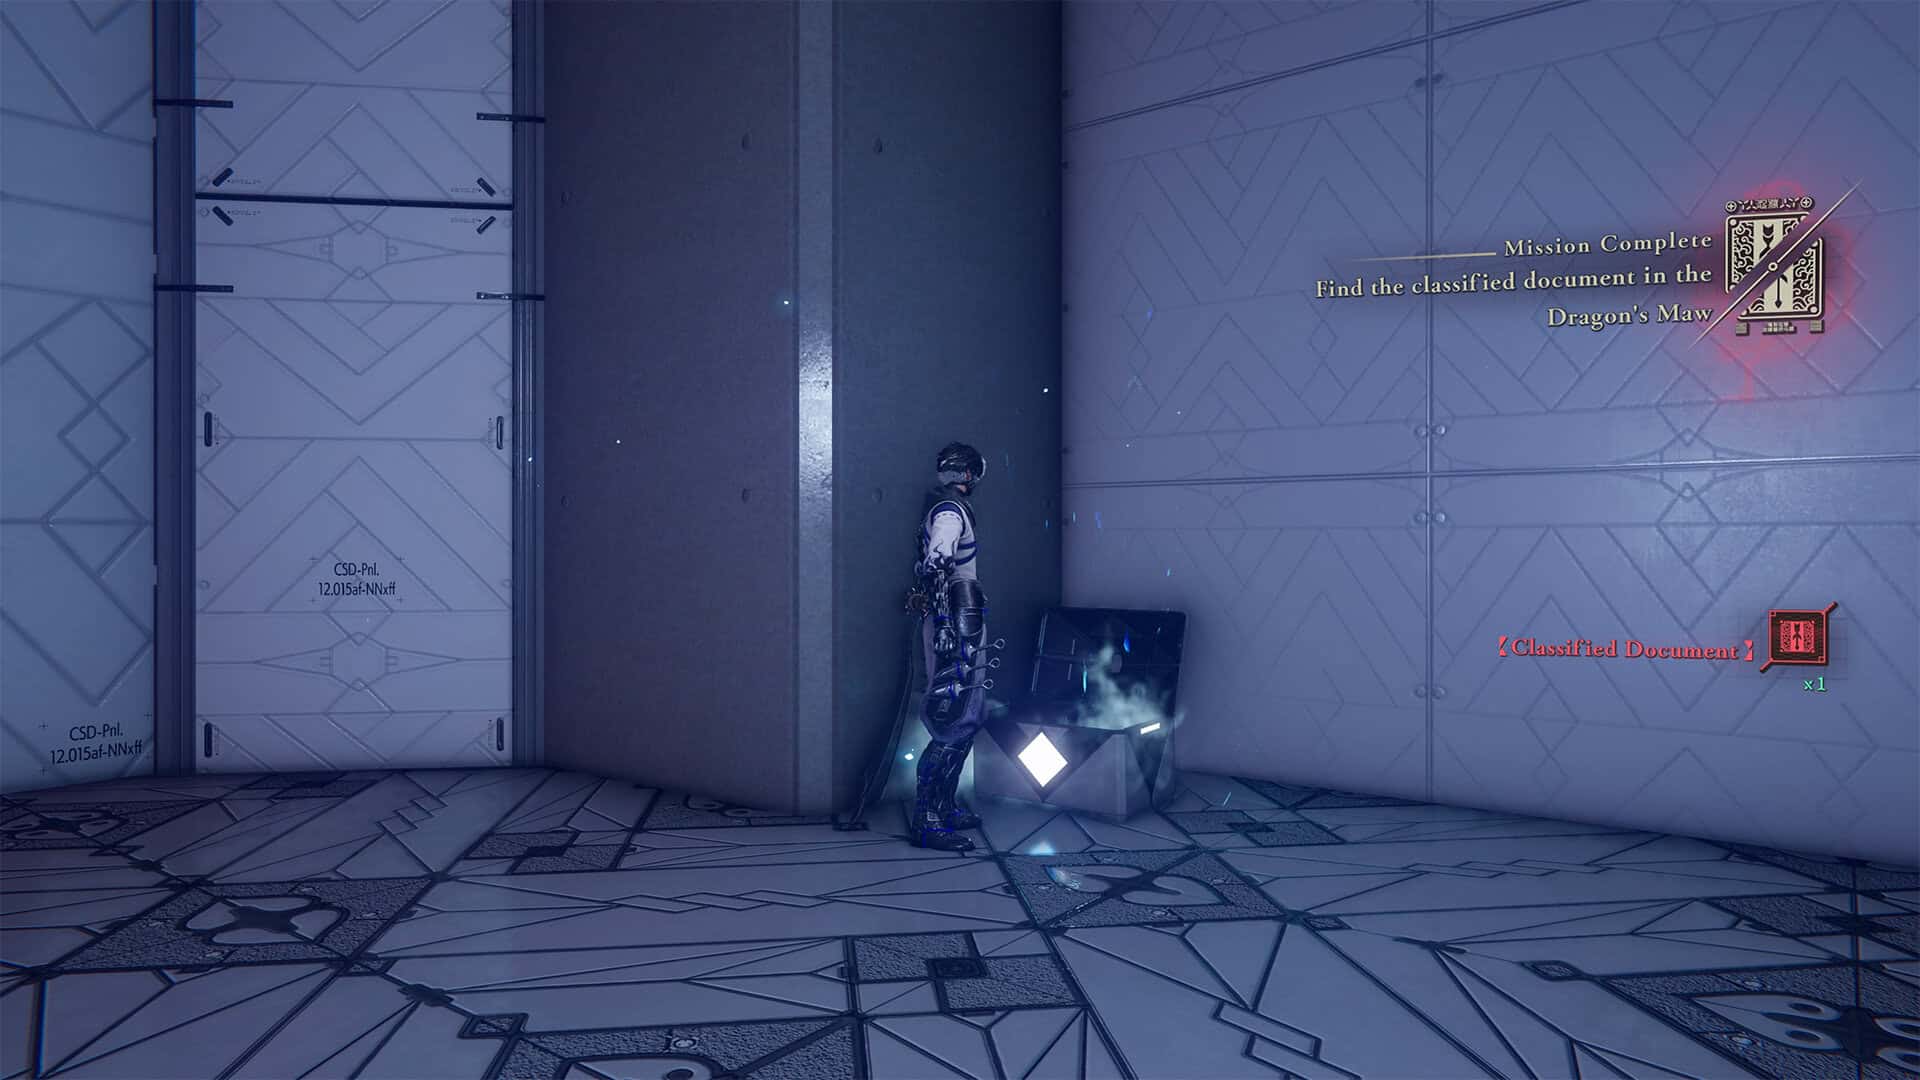
Move forward, you will pass through the door and see a long corridor with stairs. When you climb the stairs, an alarm will sound and the room will glow red. Your friends will tell you to leave this place as quickly as possible. But in fact, you can spend as much time here as you needFind this chest to the right of the exit. Inside the chest is a Classified Document, and by opening the chest, you will complete the quest Find the Classified Document in the Dragon’s Maw.
-
- The room in which the alarm begins to sound
-
- Find the Classified Document in the Dragon’s Maw
Test matches in different rooms
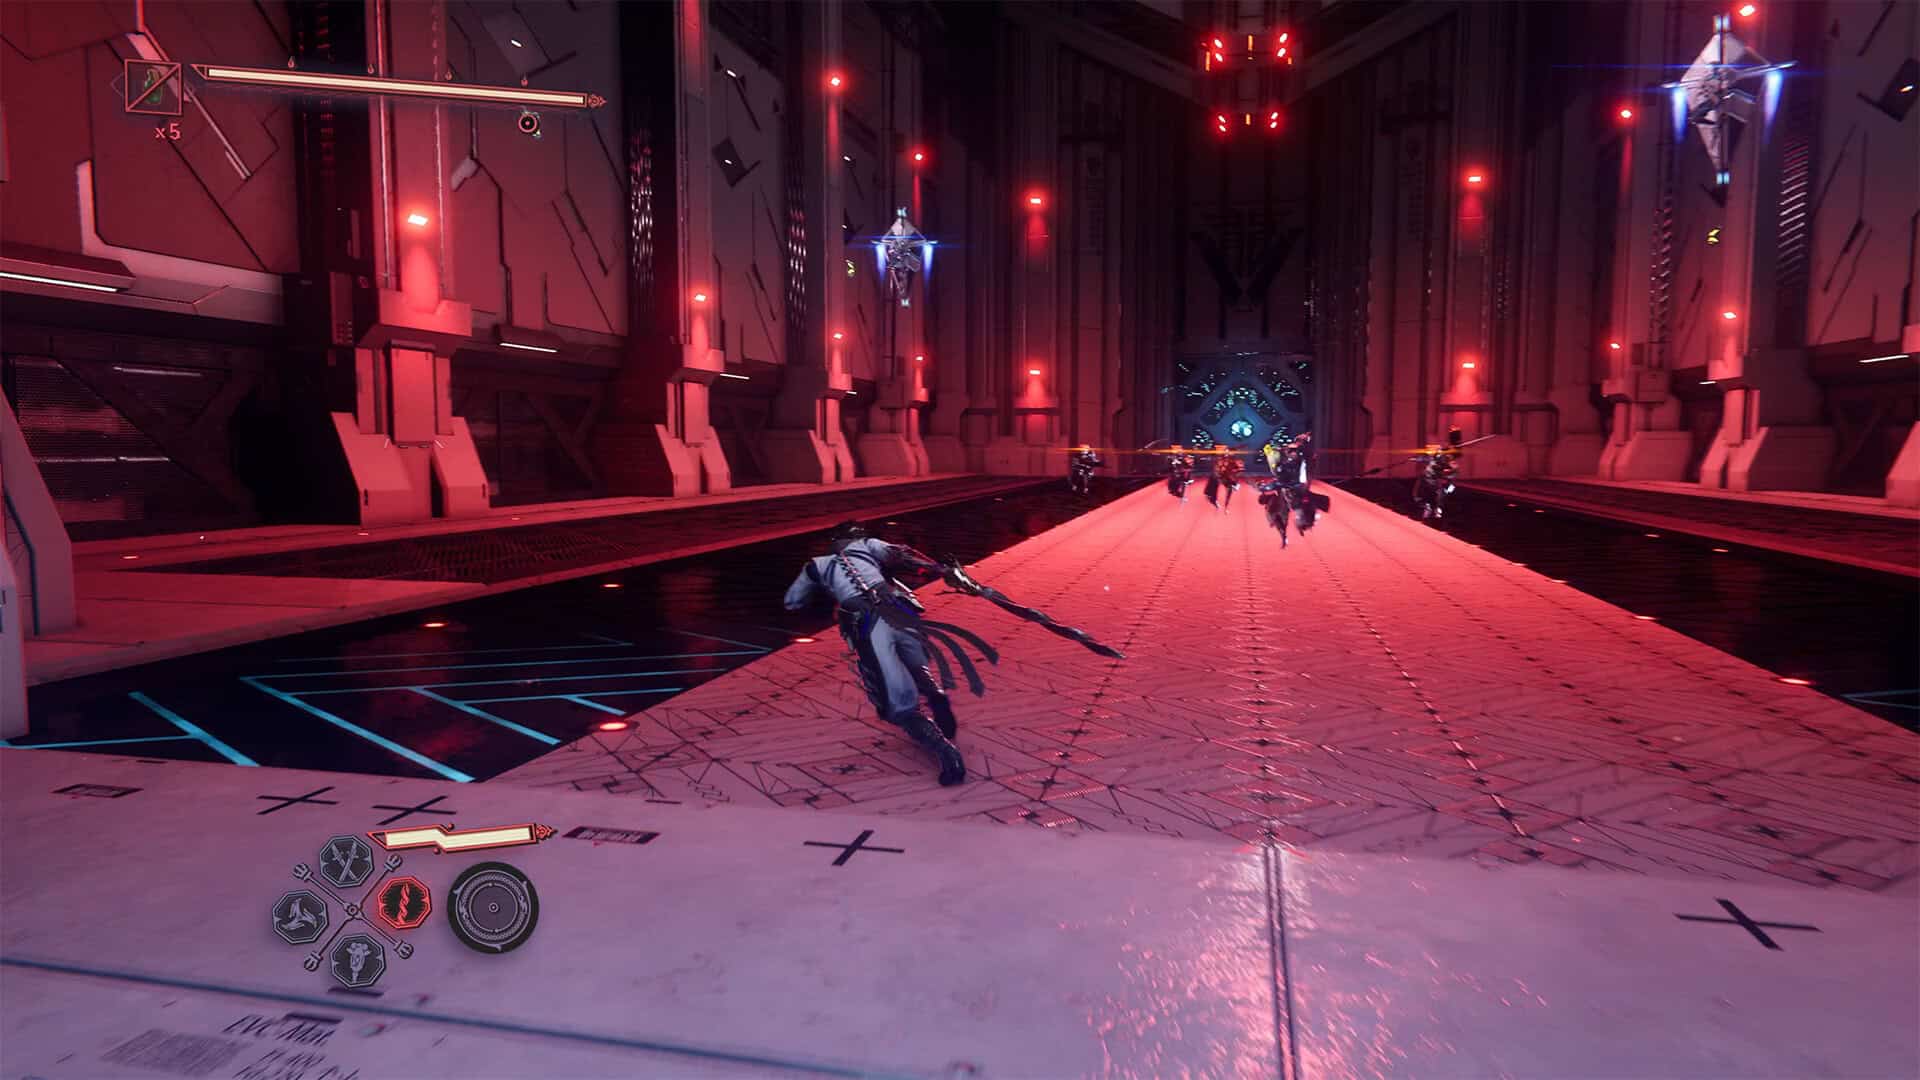
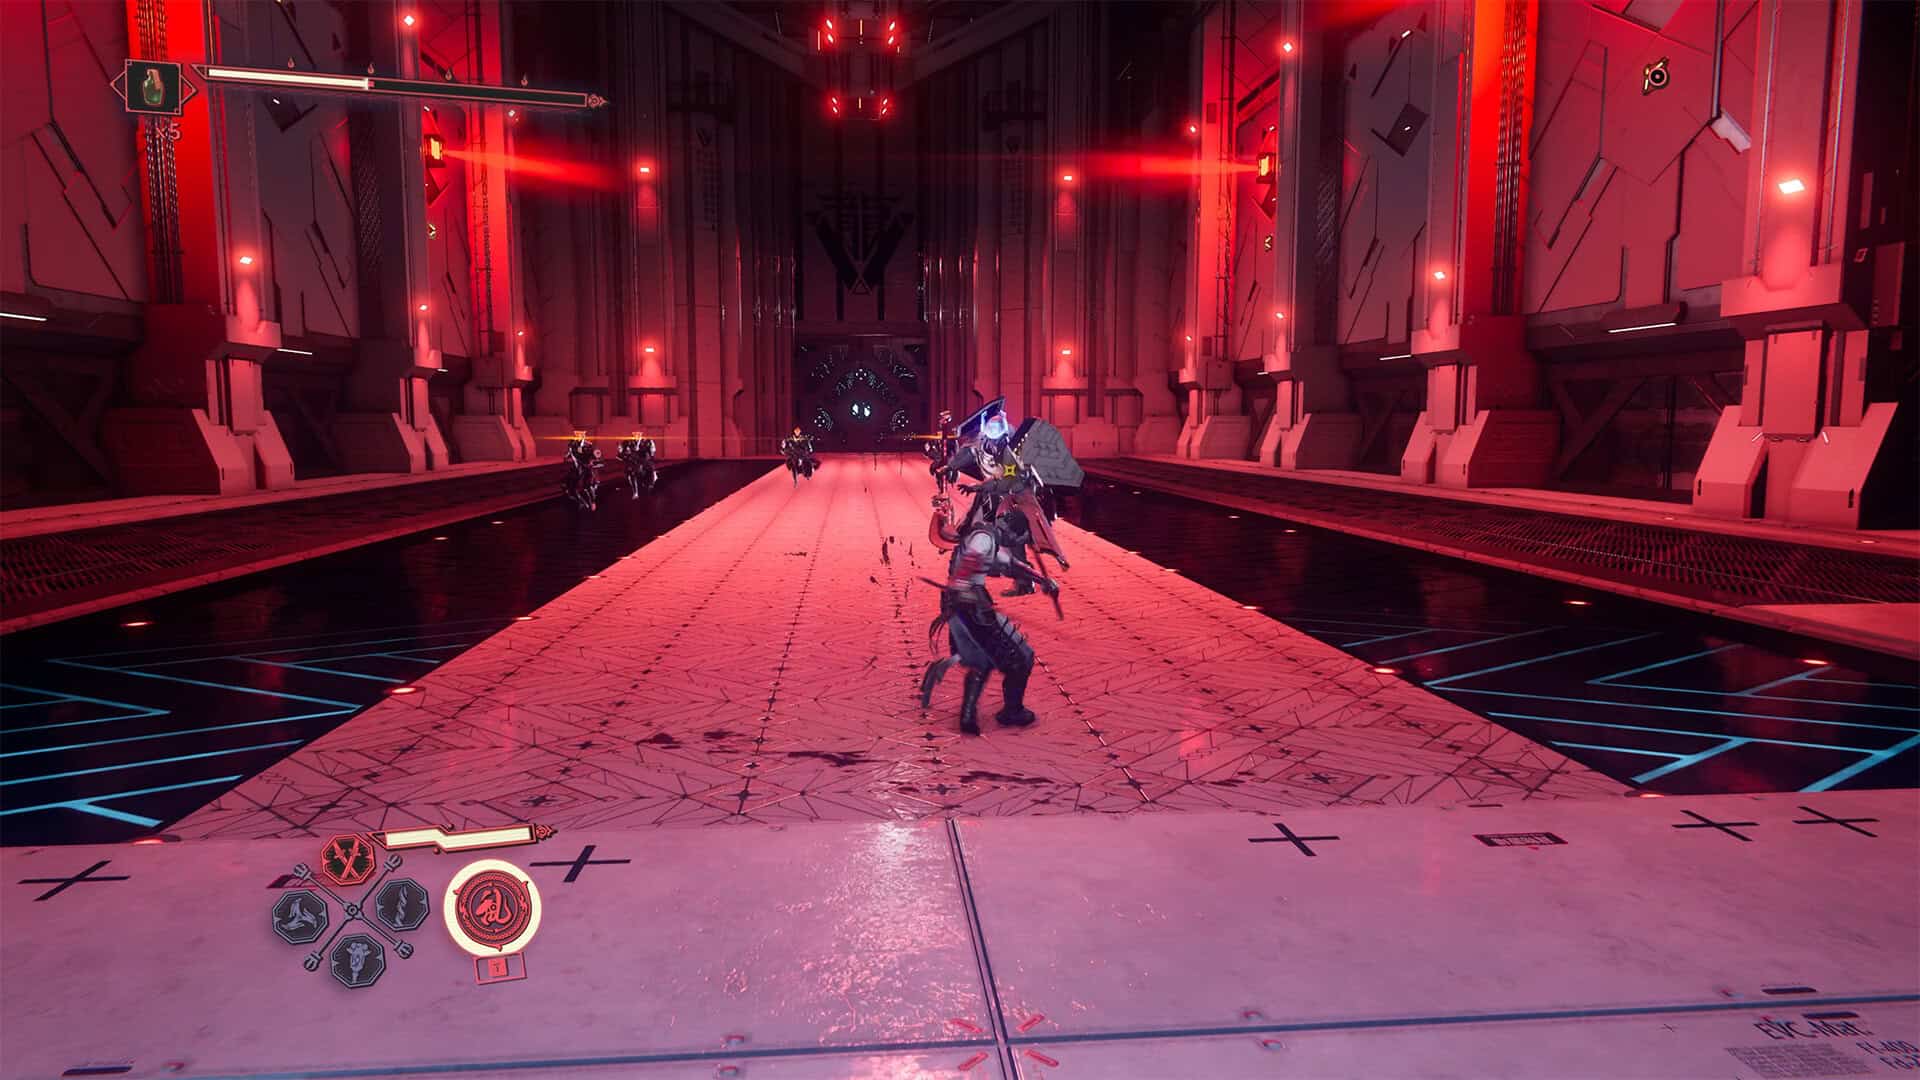
Next, you have to overcome several rooms with enemies. Each room is a kind of test of your skills. In the first room, you must first destroy the enemies that are in the air. To do this, you can climb the wall or use Kage-Hiruko to destroy enemies. There are two airborne targets in this room. After that, you can deal with the soldiers below. This is a normal battle that does not require any special skills, just speed, coordination, and timely use of your abilities. Everything you already know how to do perfectly.
In the second room, you will encounter one armored enemy and several elite soldiers. If you act quickly, your berserk meter will not decrease, and upon entering the room, you will be able to perform your ultimate ability. Use Takeminakata for this. If you choose a convenient position, you can destroy all enemies with one blow.
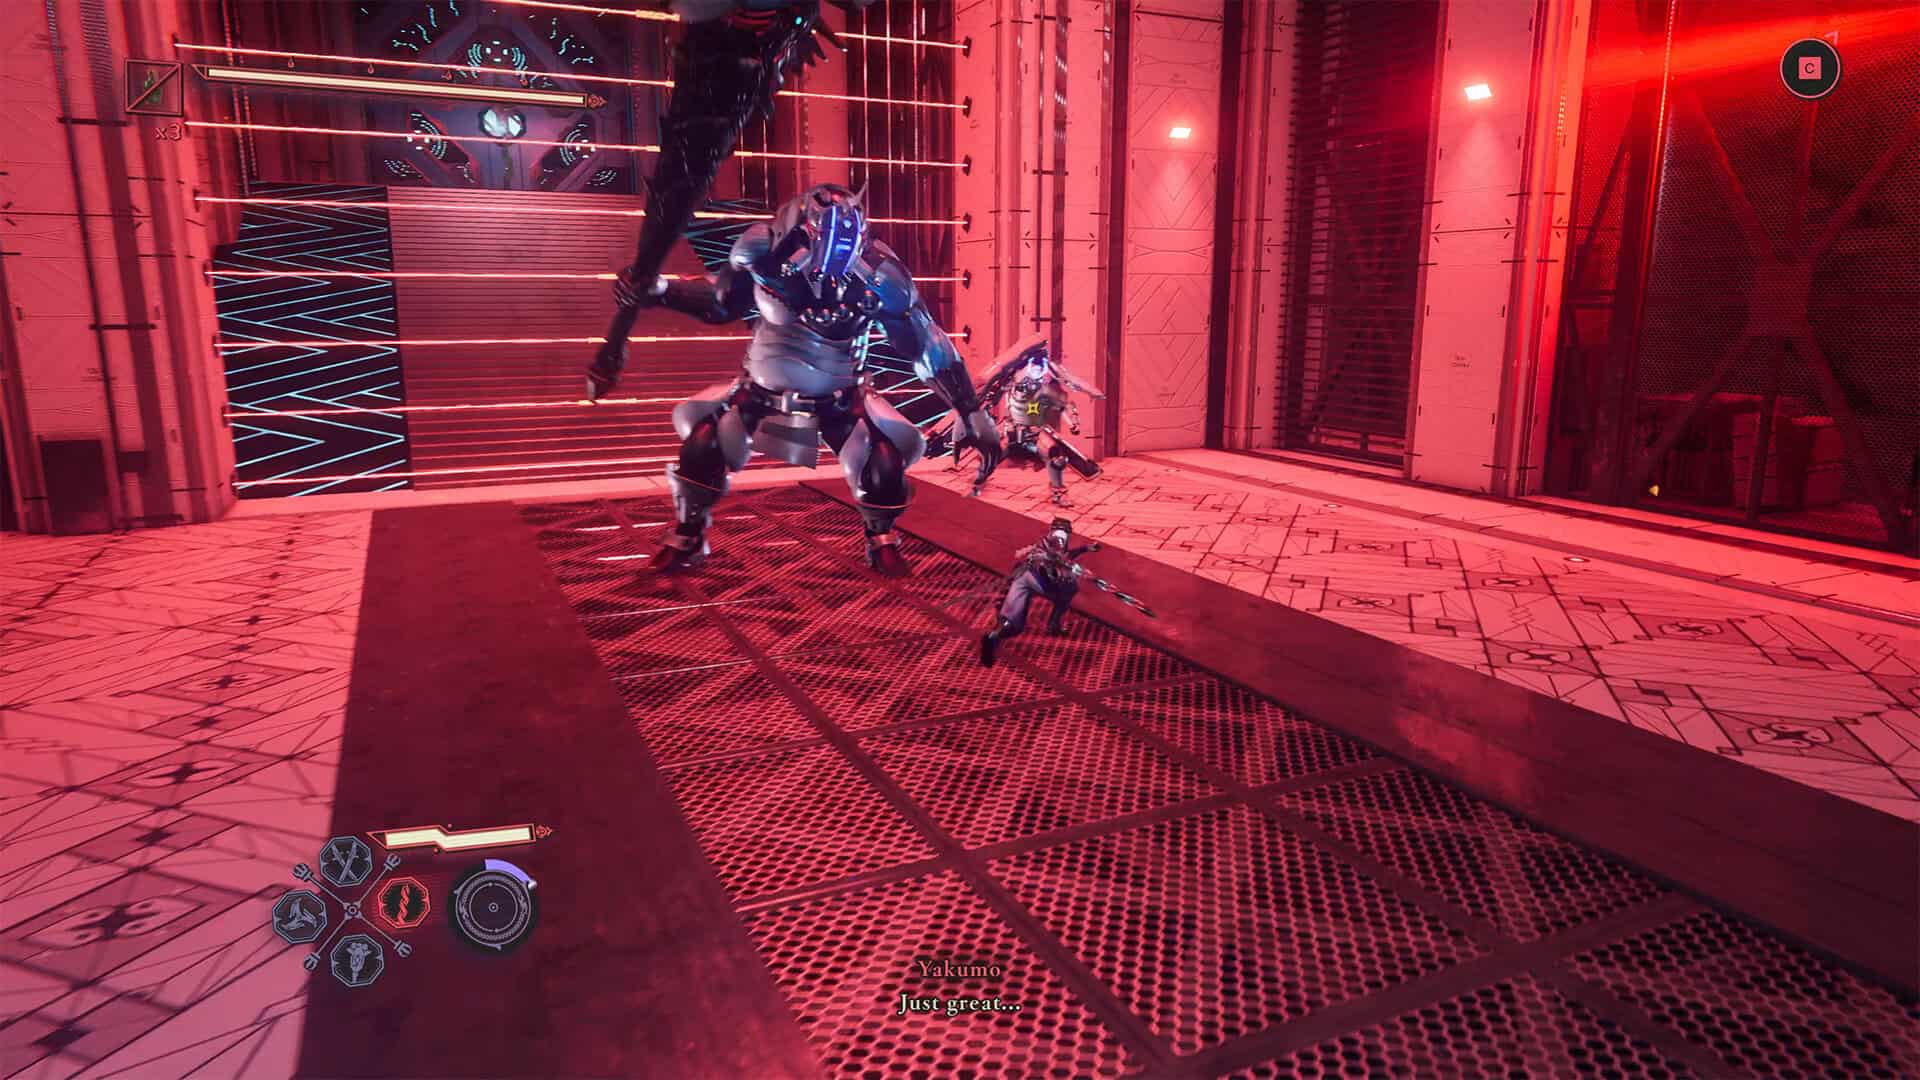
In the next room, your challenge becomes more difficult. First, your room for maneuver will be limited by lasers. You will have a small room for combat. Second, you will face two difficult opponents at once. I recommend dealing with the armored soldier first, who can shoot at you with his cannon from any distance, and then fighting the Proto-Goliath. After your victory, the lasers around you will disappear and you will be able to move on.
-
- The first room of your combat test
-
- The second room of your combat test
-
- The third room of your combat test
Incencse of Rebirth (Chest #22) + DarkNest Terminal
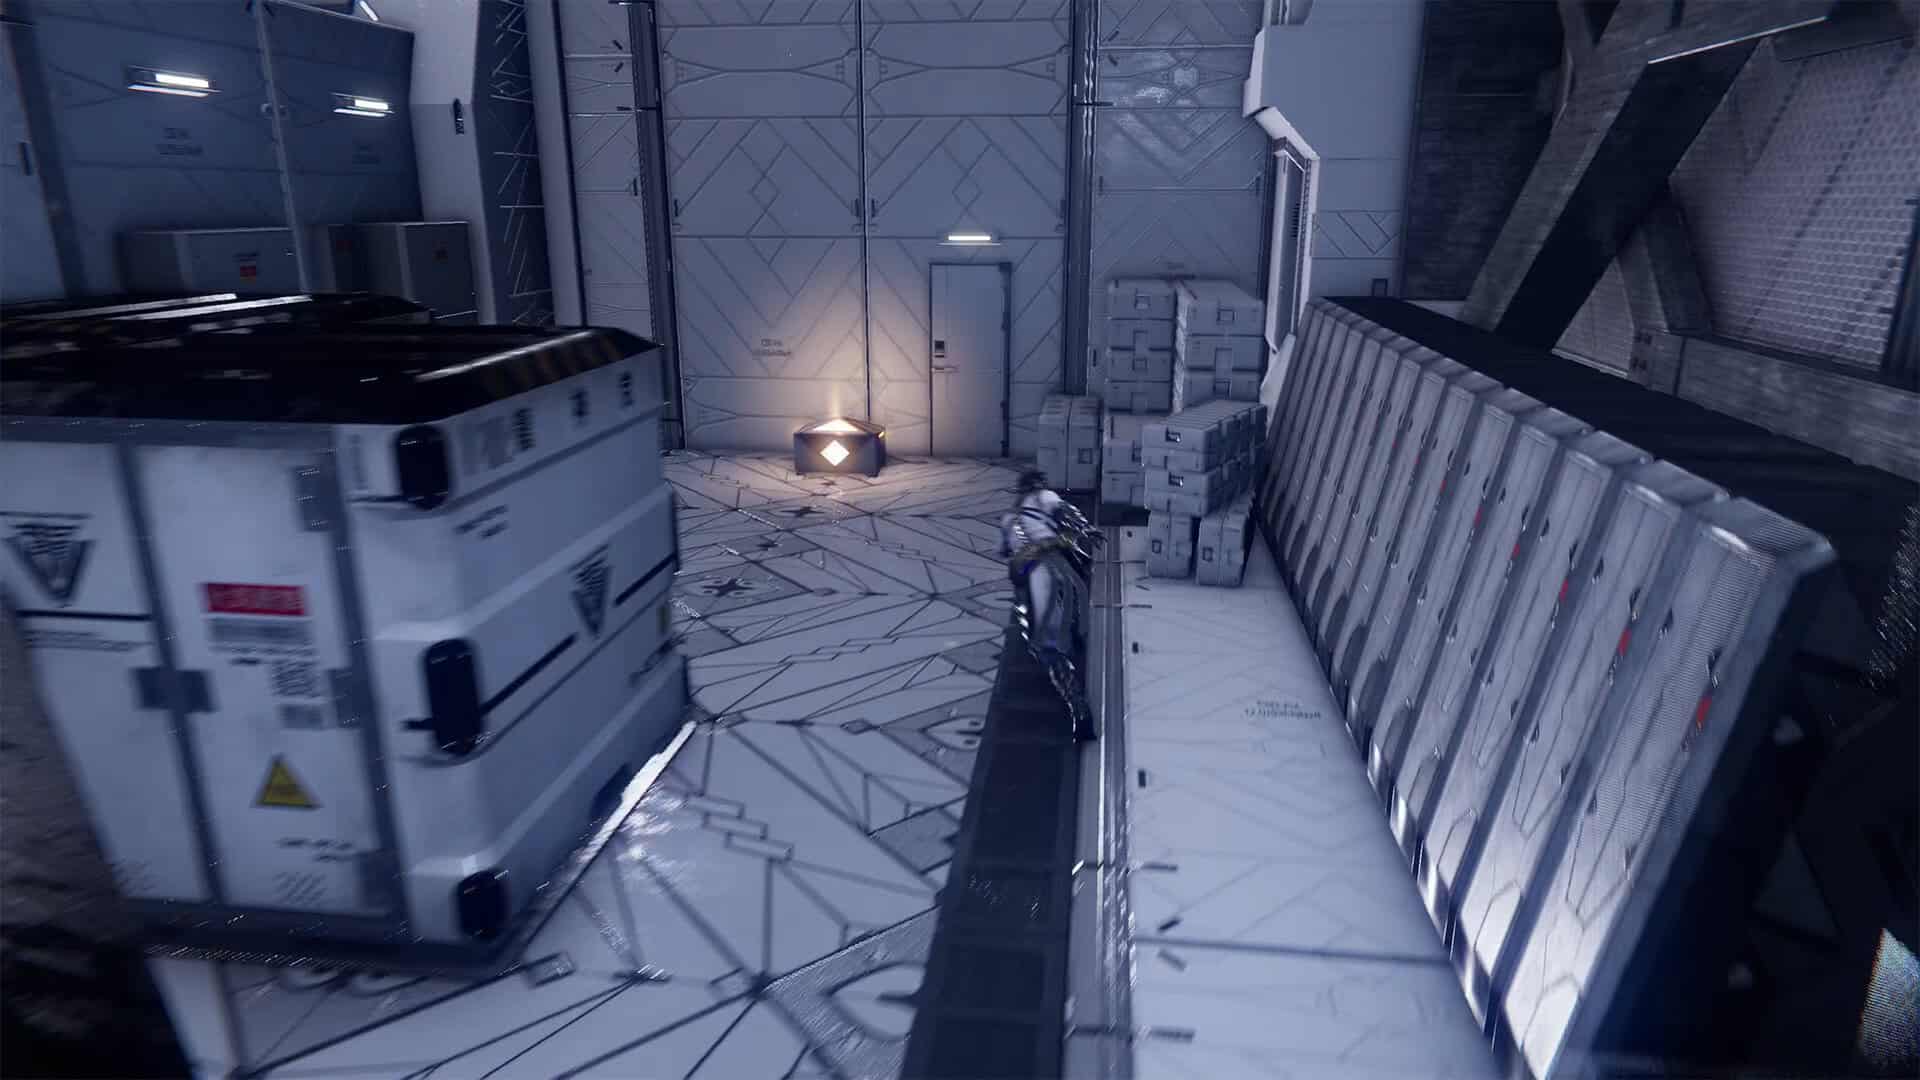
The rooms with trial battles are over. The path ahead of you is open. You will see a large, massive door descend and quickly close the passageway. Next, there will be a short cutscene where you will feel all the agility and mobility of your character. Yakumo will slip under the closing gate and find himself in the next room. Here you need to find the last chest in this chapter.
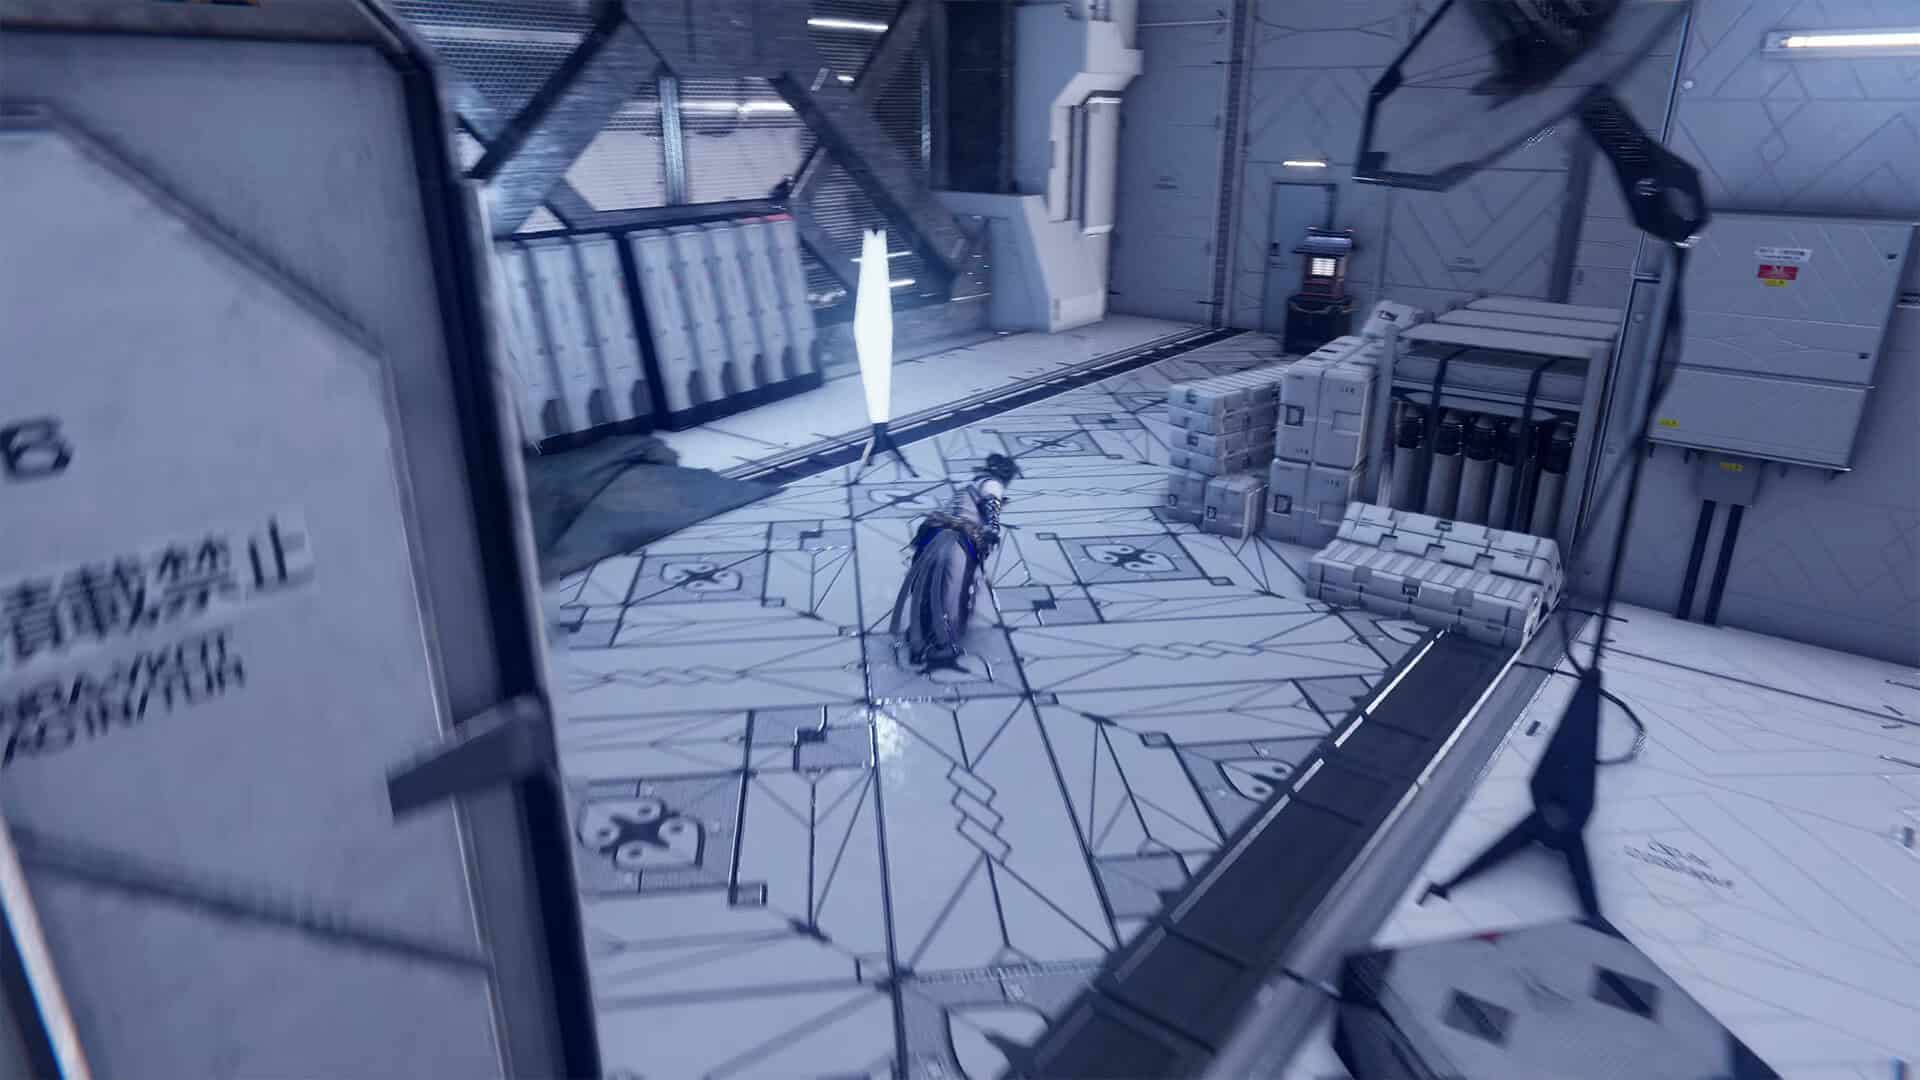
It is located to the right behind the containers. Inside the chest is the Incense of Rebirth. Then go to the other side of the room. Here is the fourth and last DarkNest Terminal. Here you can get a reward for one quest, replenish your health, and buy all the necessary elixirs.
-
- The last chest – Incense of Rebirth
-
- The last DarkNest Terminal before the battle
The final battle in Dragon’s Maw
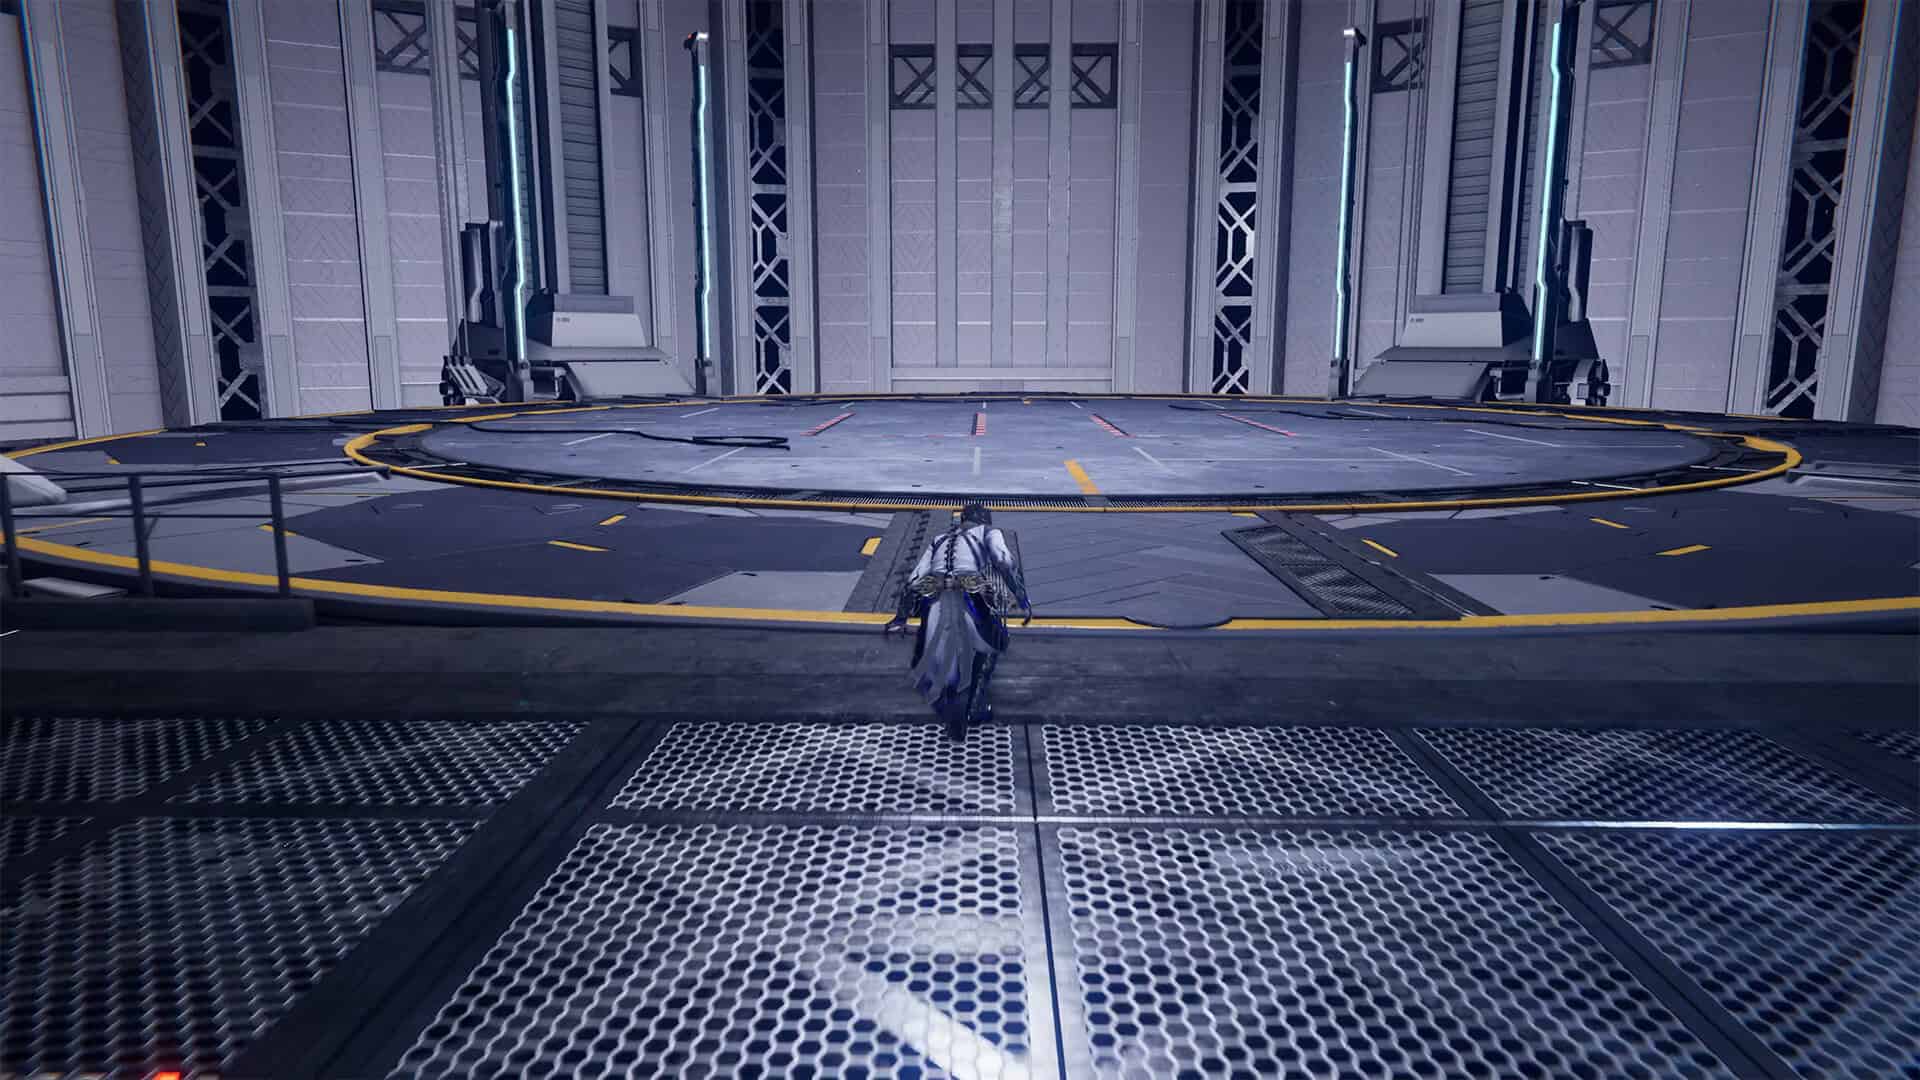
We are finally approaching the end of this chapter. So get ready. The final battle will not be too difficult, but you should not underestimate your opponent. Go to the elevator, which is a large round platform that will start to rise when you step on it. After a while, many soldiers will appear on the platform, and you will have to defeat them. Since there are no walls on the platform, you can easily throw your opponents off using the Guillotine Throw.
After defeating all the soldiers, the platform will stop moving, and a red light will appear again. You will seem to be stuck here, but only to engage in battle with the final enemy of this chapter. The Commander will appear on the platform. He has only one health bar, so you should be able to defeat him easily. This is the time to attack your enemy aggressively.
The faster, more aggressive, and more varied your attacks are, the less chance he has to recover from your blows. Try to shock your opponent, use successful parries, and you will quickly defeat him. After the victory, the elevator will start moving up again, and you will no longer encounter any obstacles on your way to the end of this chapter.
-
- Entrance to the elevator where the final battle will take place
-
- Your final enemy Commander in Dragon’s Maw