Downpour is the sixteenth chapter in Ninja Gaiden 4, and today we will look at all the key features of this chapter. I will show you all the chests you can find in this chapter, complete one side quest, deal with a crowd of enemies, and finally defeat the boss of this level. За традицією ось посилання на попредню главу – Fanged Gate.
Art of Defense – Life Elixir (chests 1-2)
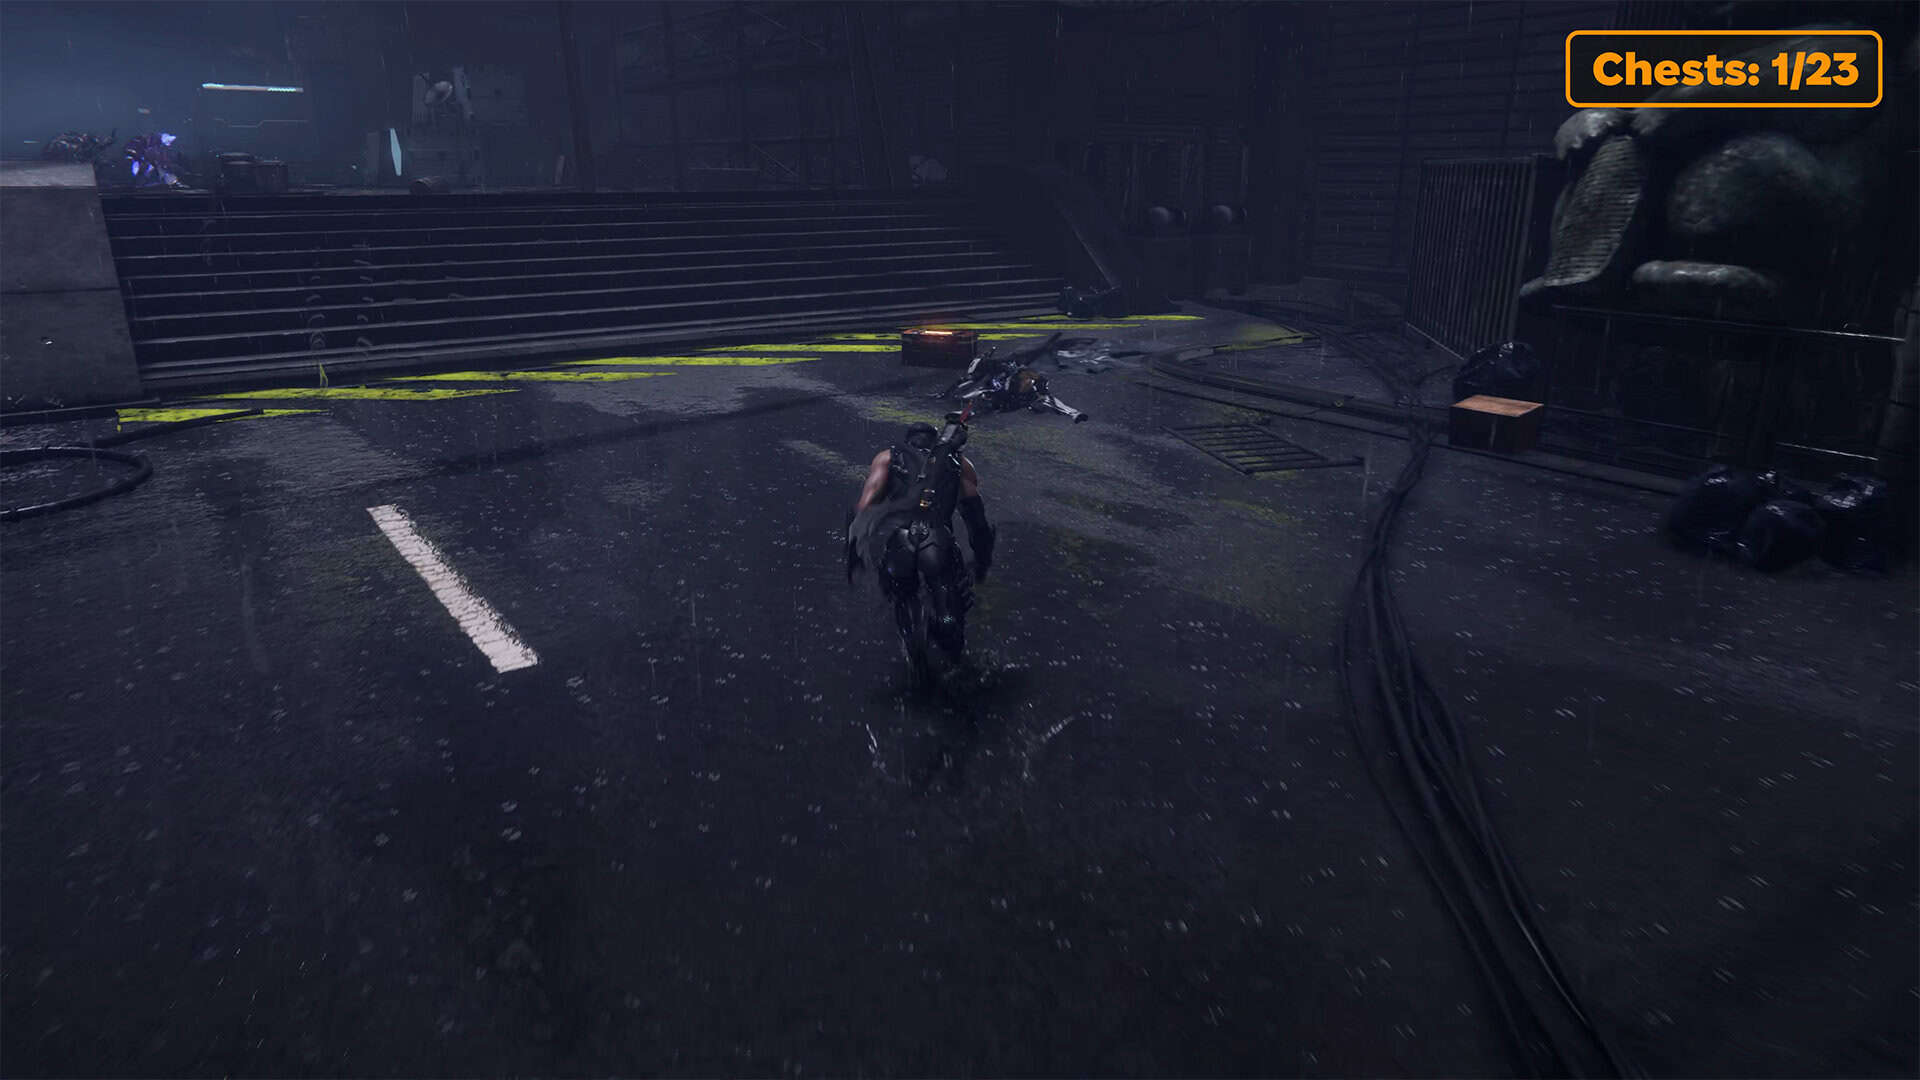
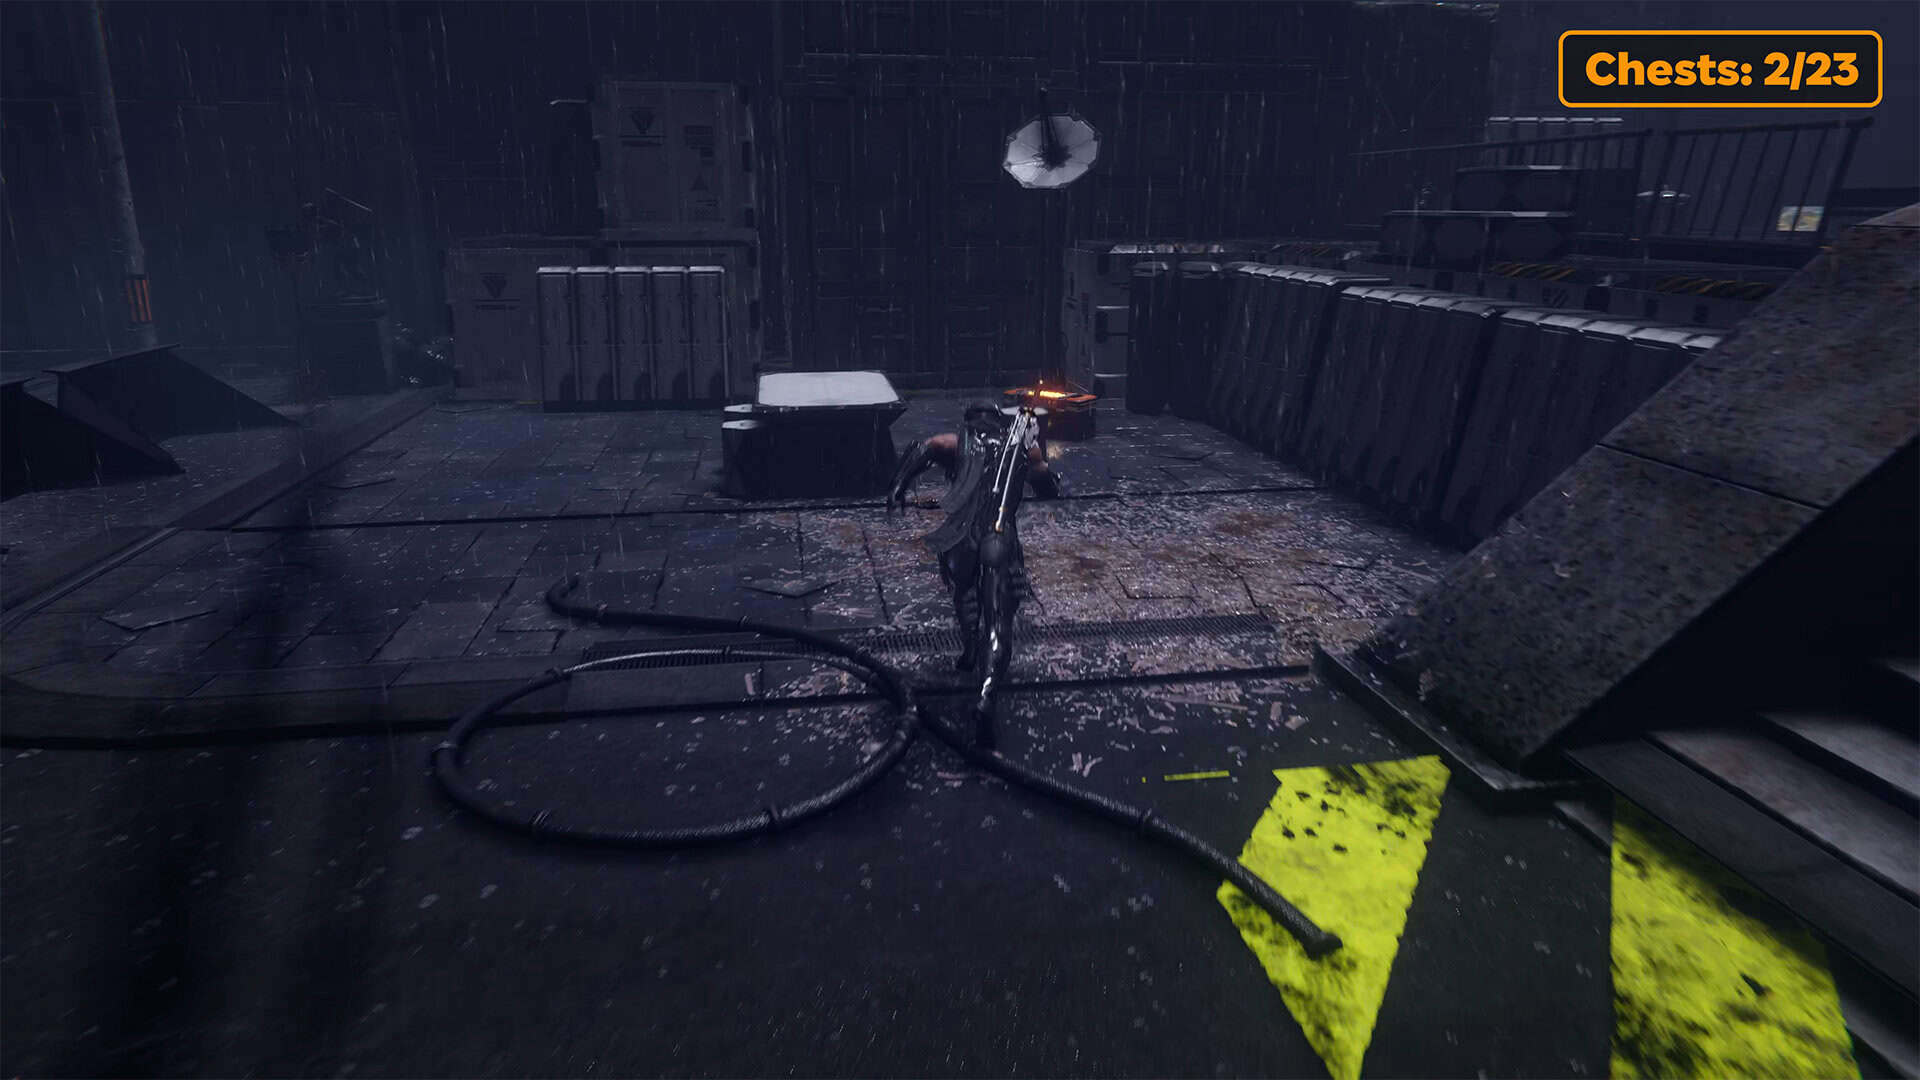
First, let’s open two chests. From the first one, you will get the fifth level of Art of Defense, and from the second one, just a regular Life Elixir.
Divine Life Elixir (chest 3)
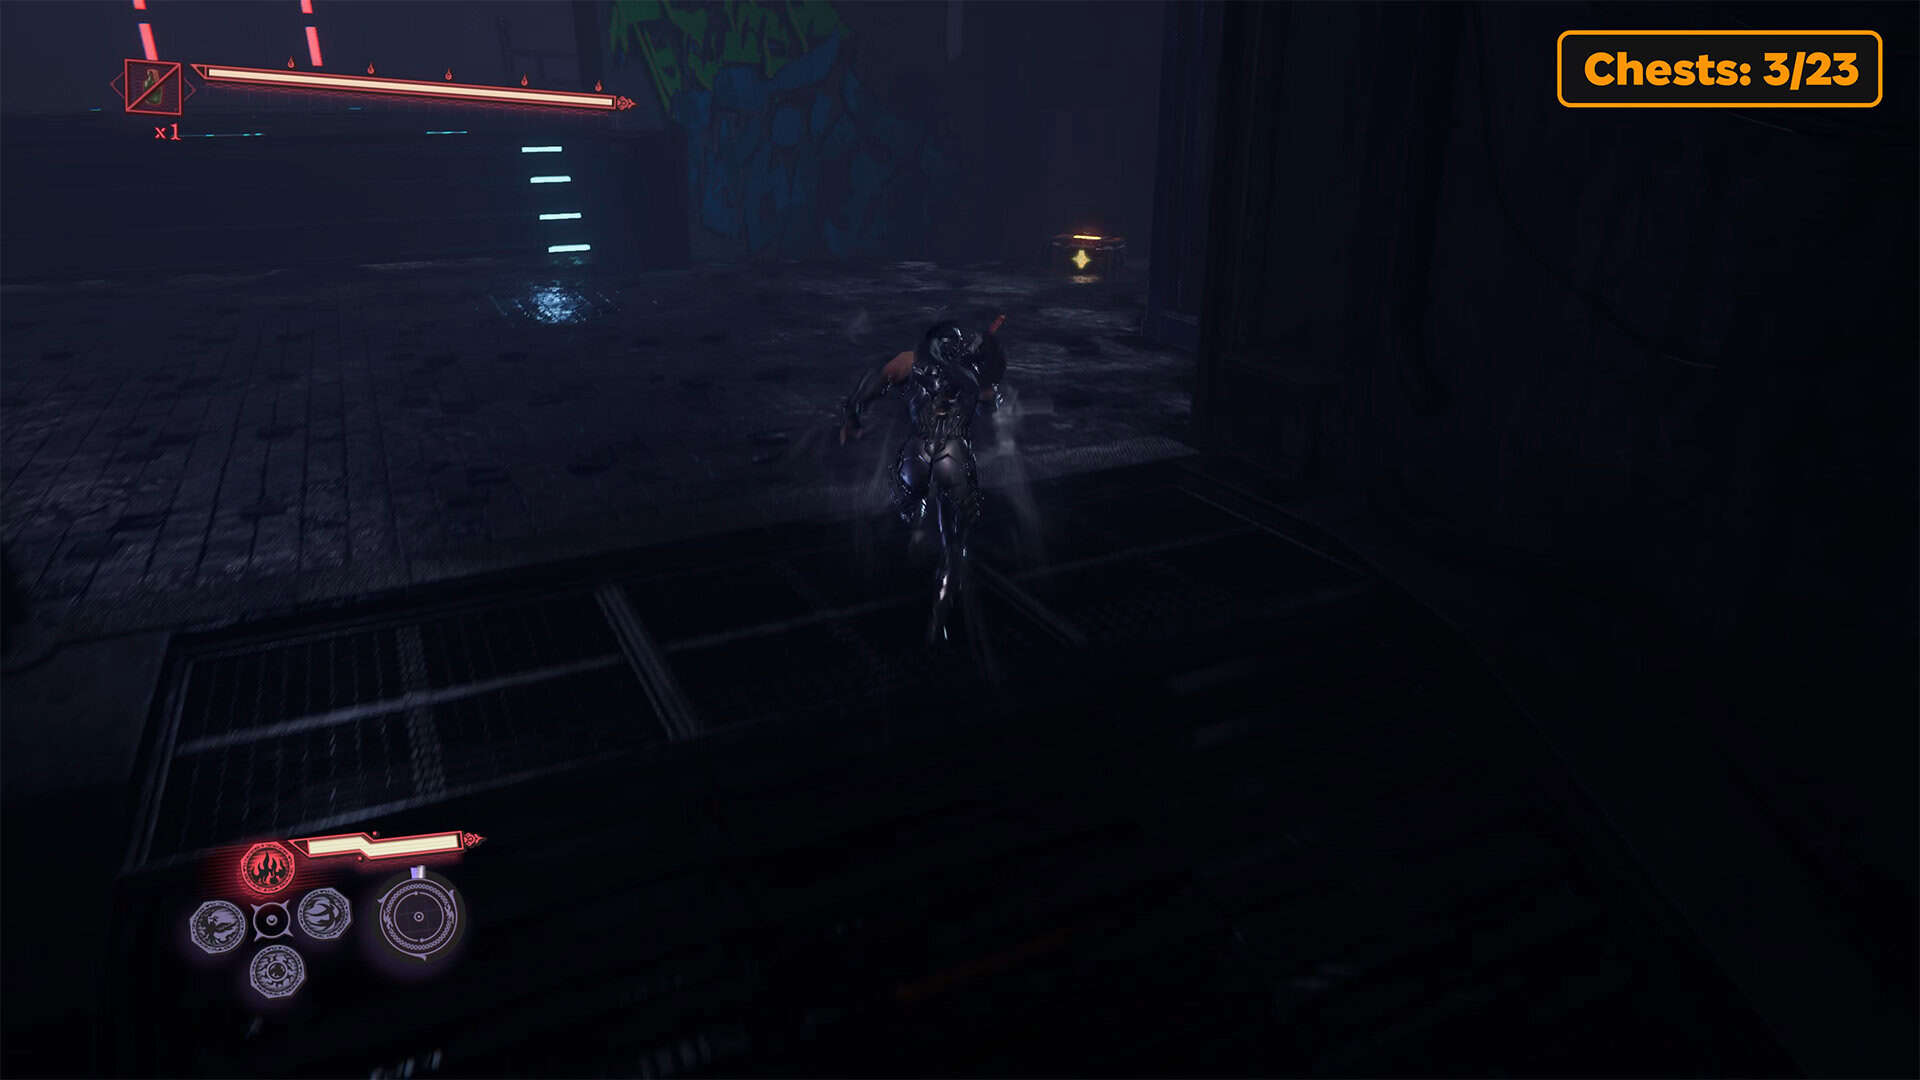
You are already familiar with this area, so you should recognize the locations and objects. The story is that you are passing through locations you already know, but as a different character. It’s as if it happened before, a long time ago. In one of the corners, you will find the next chest containing the Divine Life Elixir.
Rejuvenation Elixir (chest 4)
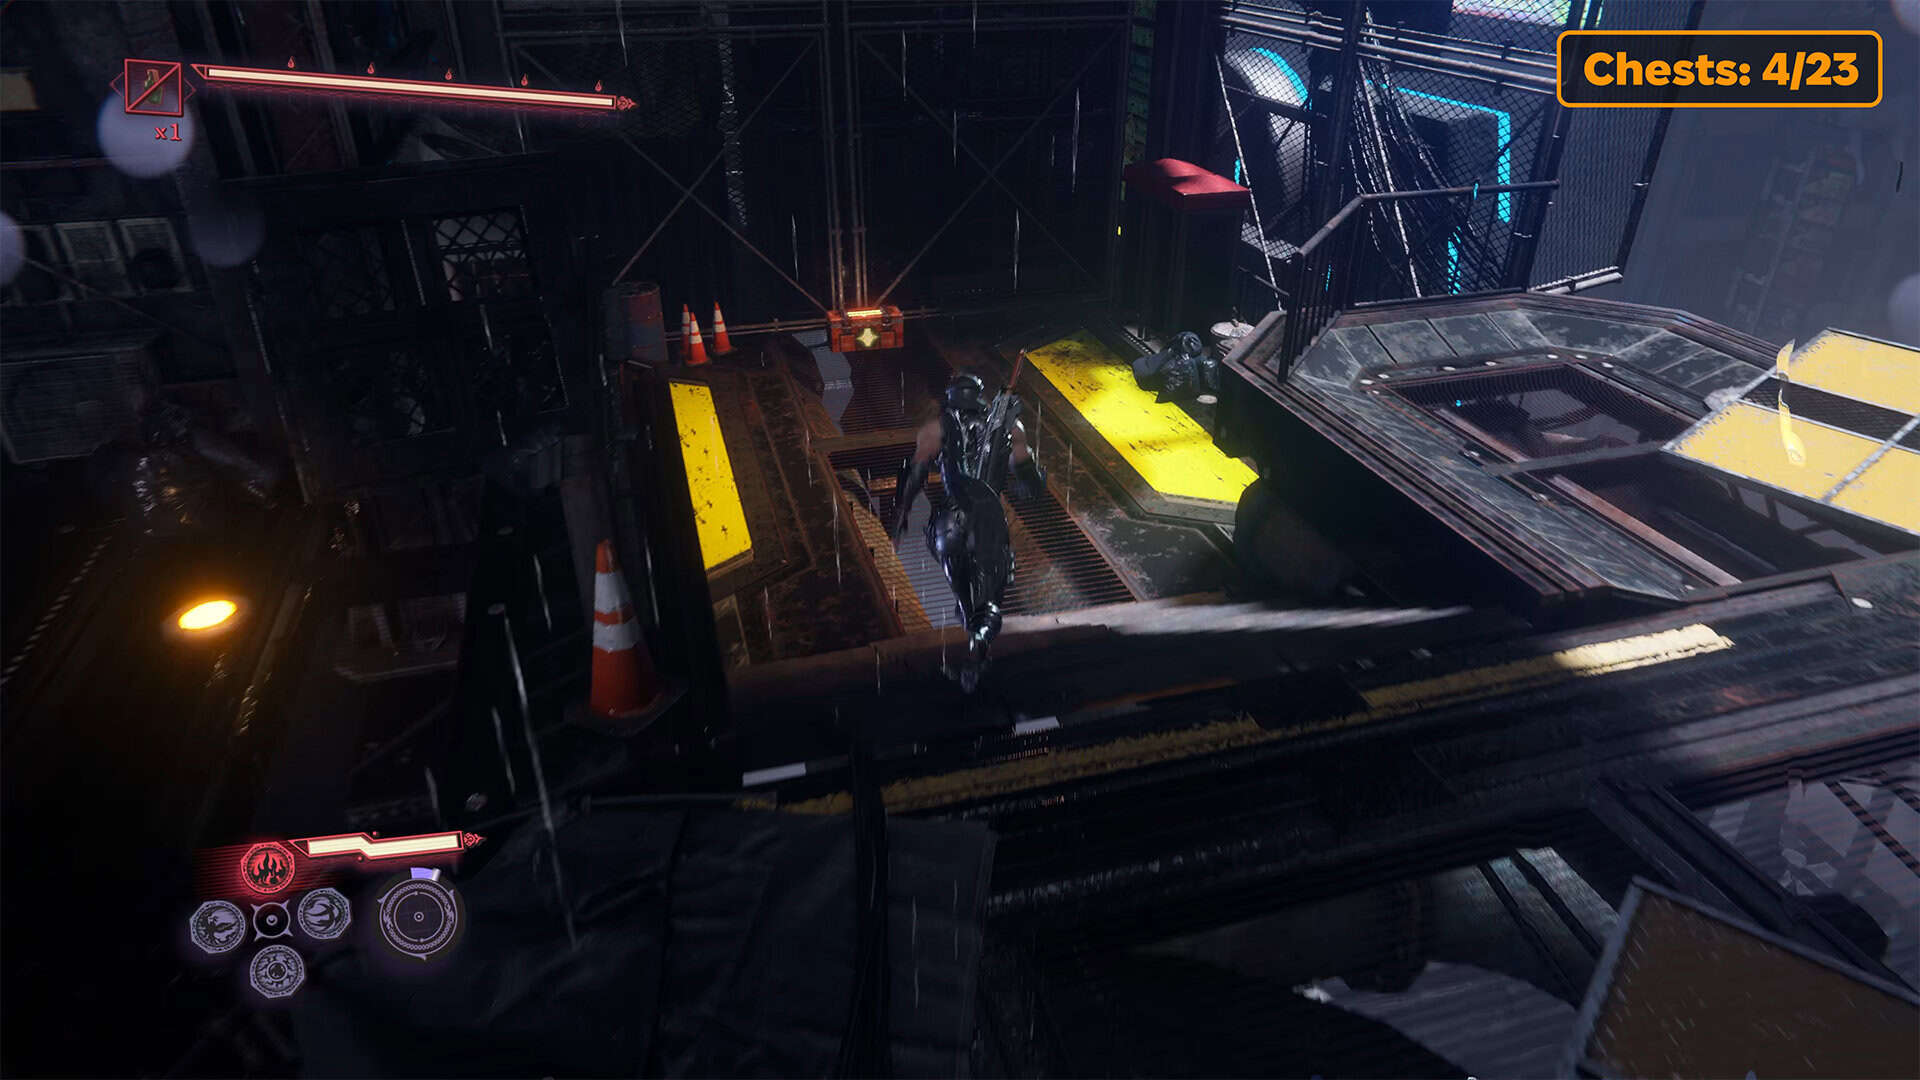
Next is a wonderful place with a view of Tokyo. The first time I stopped here, I was amazed, but now let’s just move on and find the next chest containing the Rejuvenation Elixir.
-

- Art of Defense (chests 1) in Downpour
-
- Life Elixir (chest 2) in Downpour
-
- Divine Life Elixir (chest 3) in Downpour
-
- Rejuvenation Elixir (chest 4) in Downpour
Purgatory Gate in Downpour
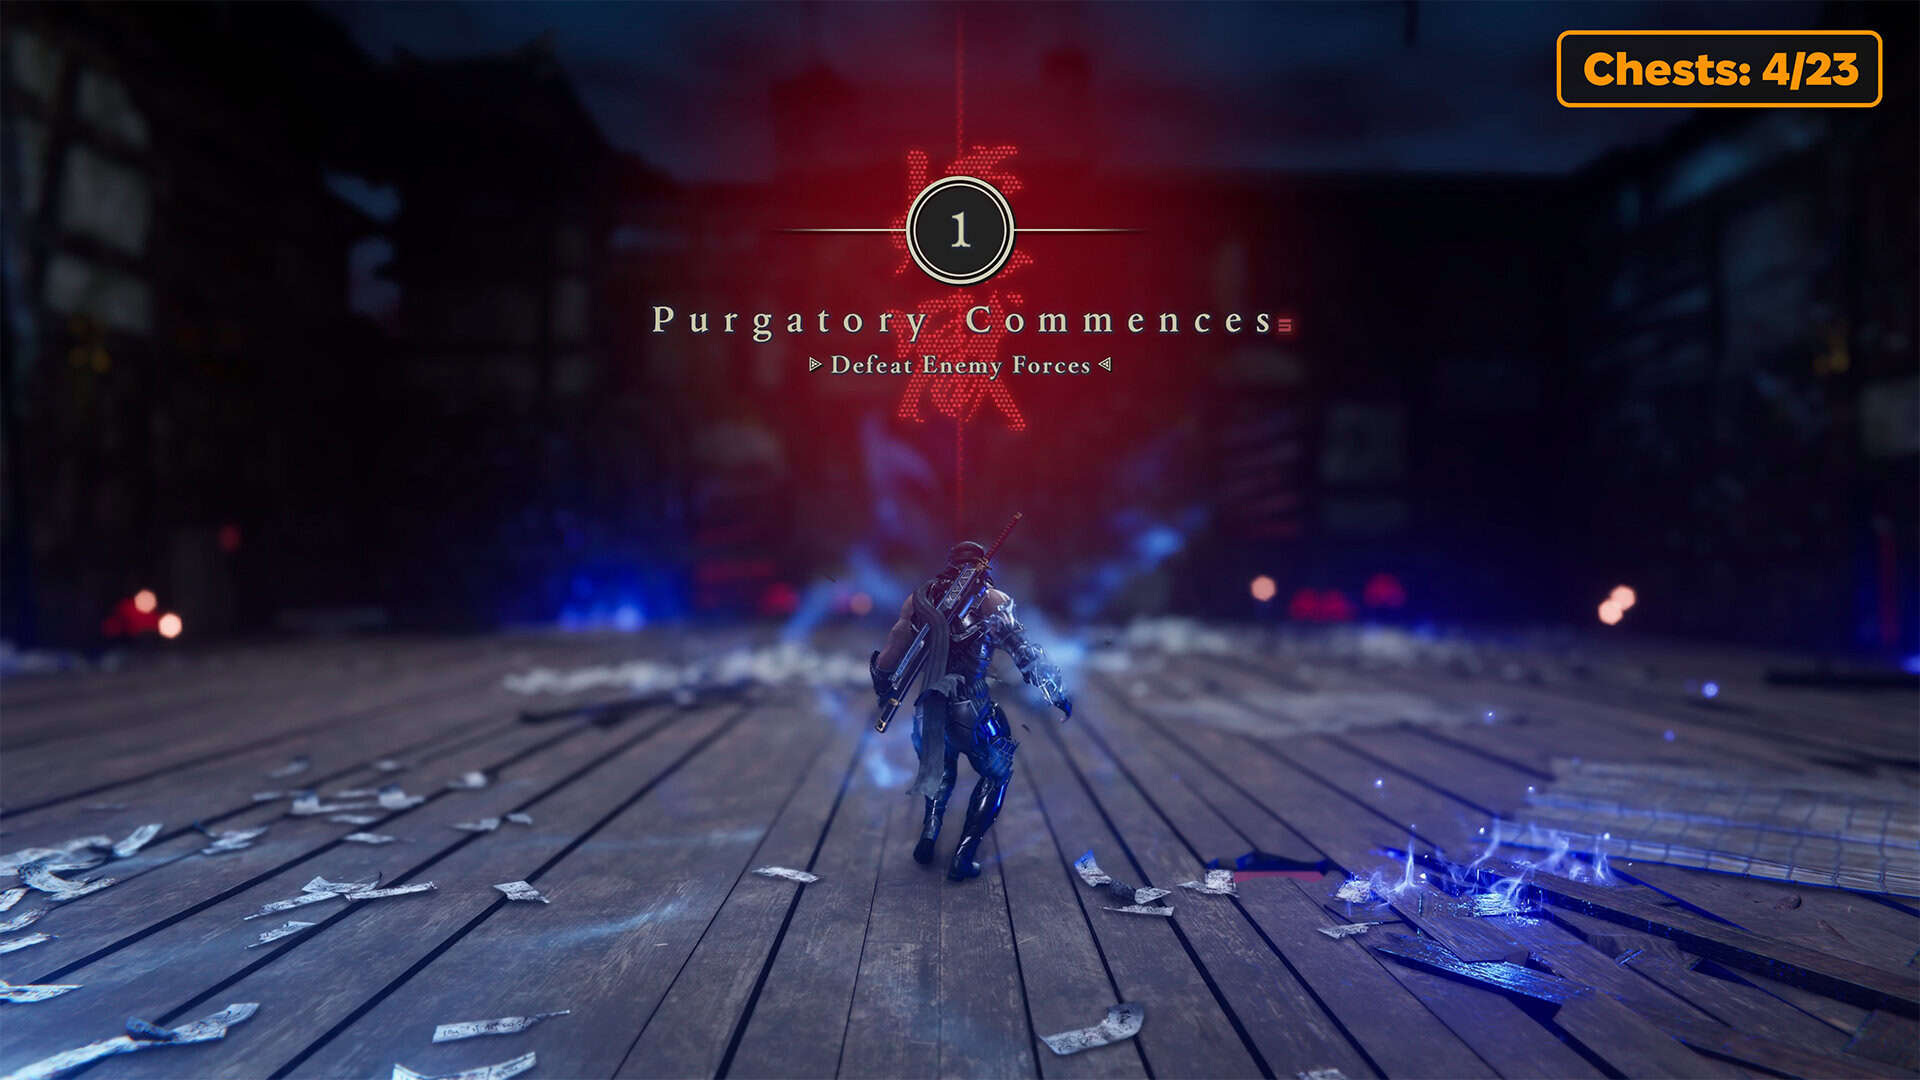
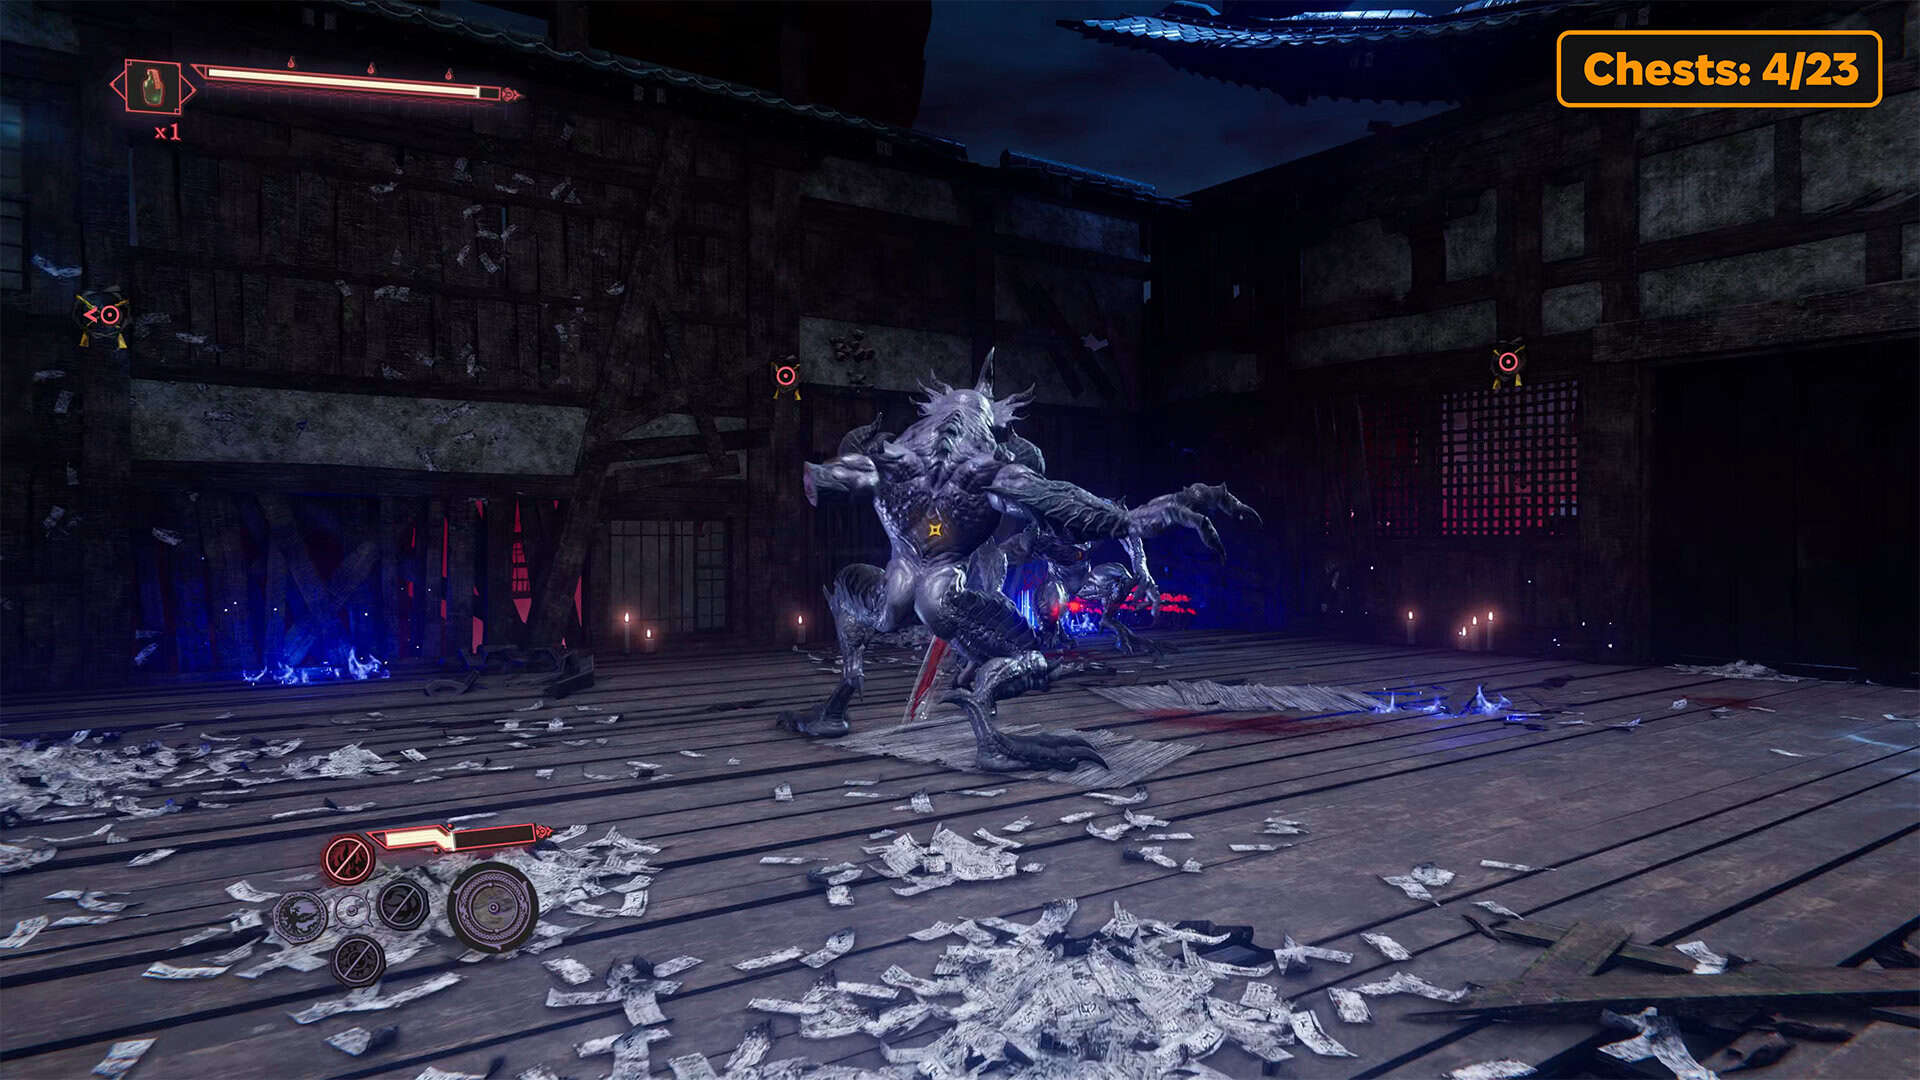
Muramasa’s shrine is nearby, so if you need to replenish your supplies, you can stop by here. We will return to it after the next trial. Go ahead past the shrine and you will find the road to Purgatory Gate. The first wave includes the usual number of enemies, as well as Tsukumo Fish. This enemy must be destroyed first so that it does not cause you problems, and then you can easily deal with the others.
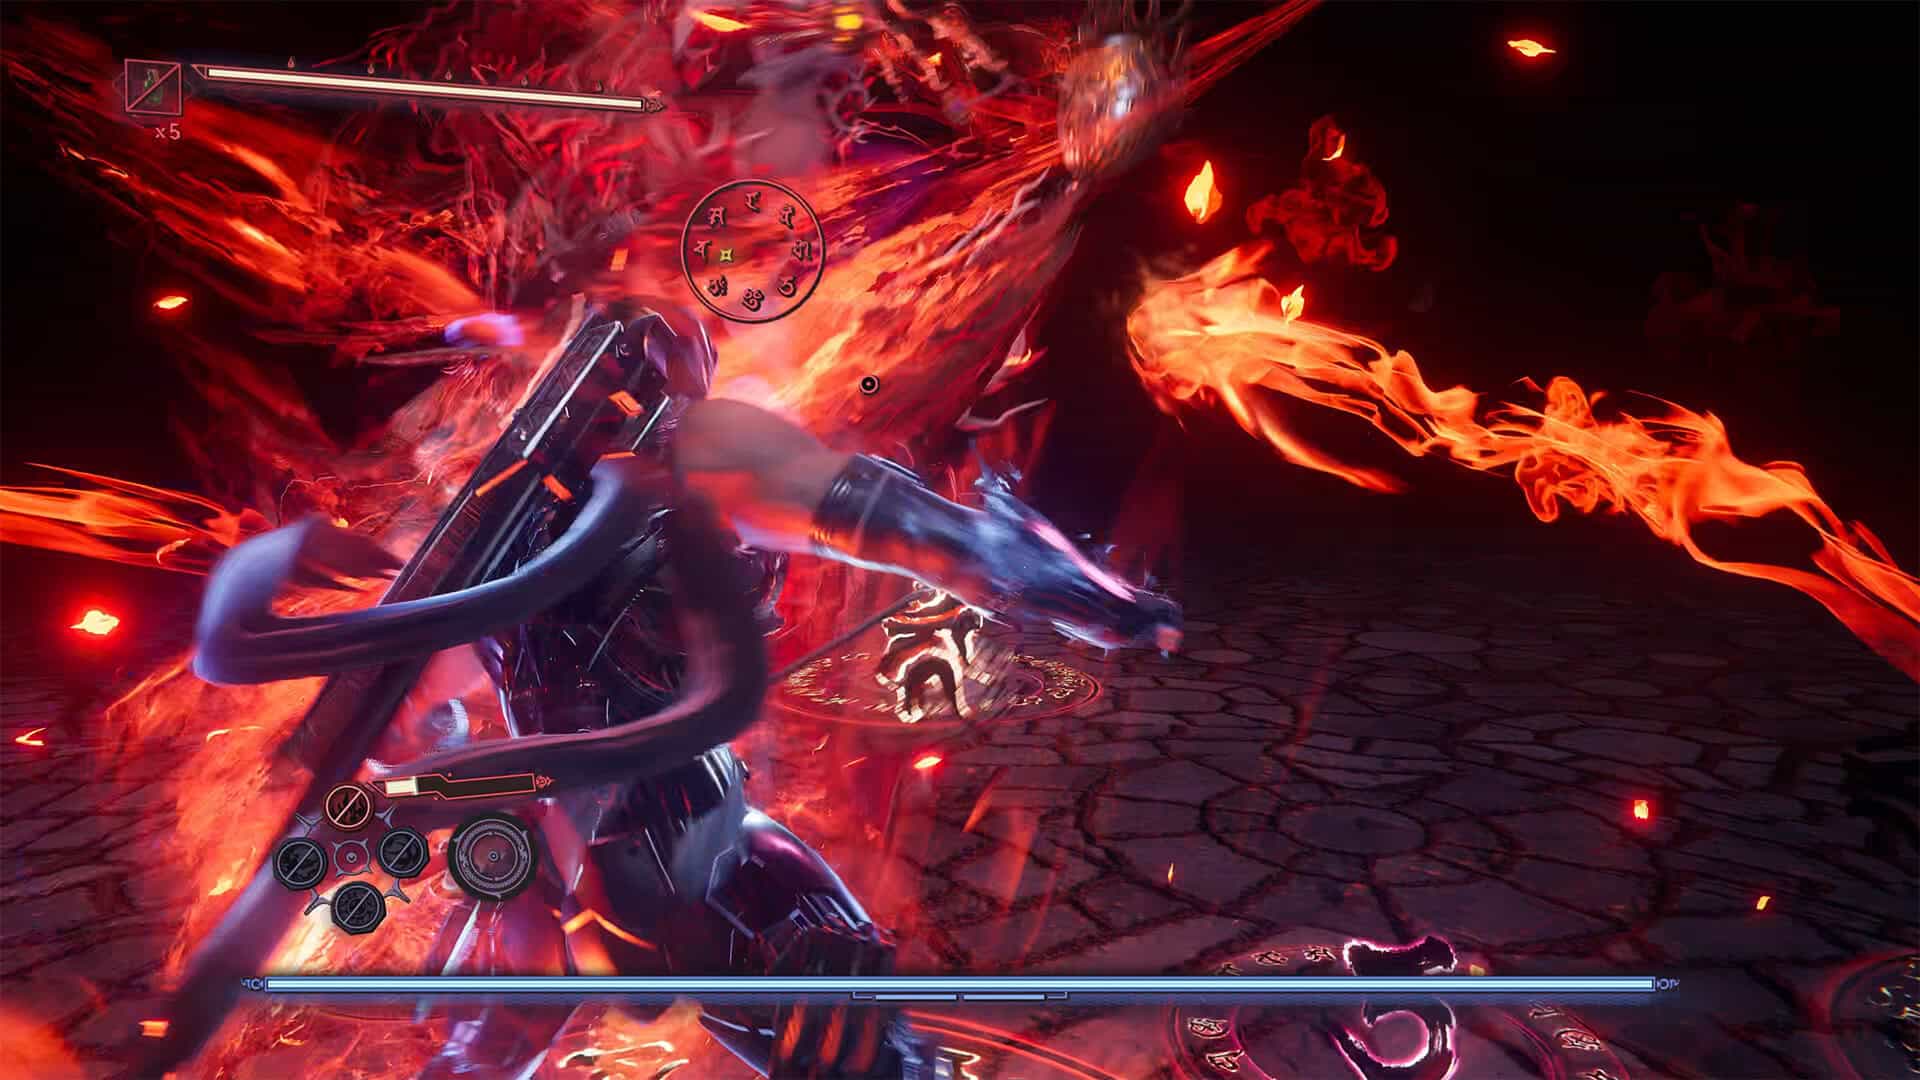
The second wave of enemies is more difficult, including the nasty Oni and the complex Malhercs. In this part of the trial, you will have to work hard to win. Use fire ninpo to deal significant damage to enemies and free up space for maneuvering. The third wave is similar to the second, with one exception: there are even more enemies. It seems impossible, but you have to defeat your opponents very quickly and move fast. After victory, you will receive your well-deserved reward.
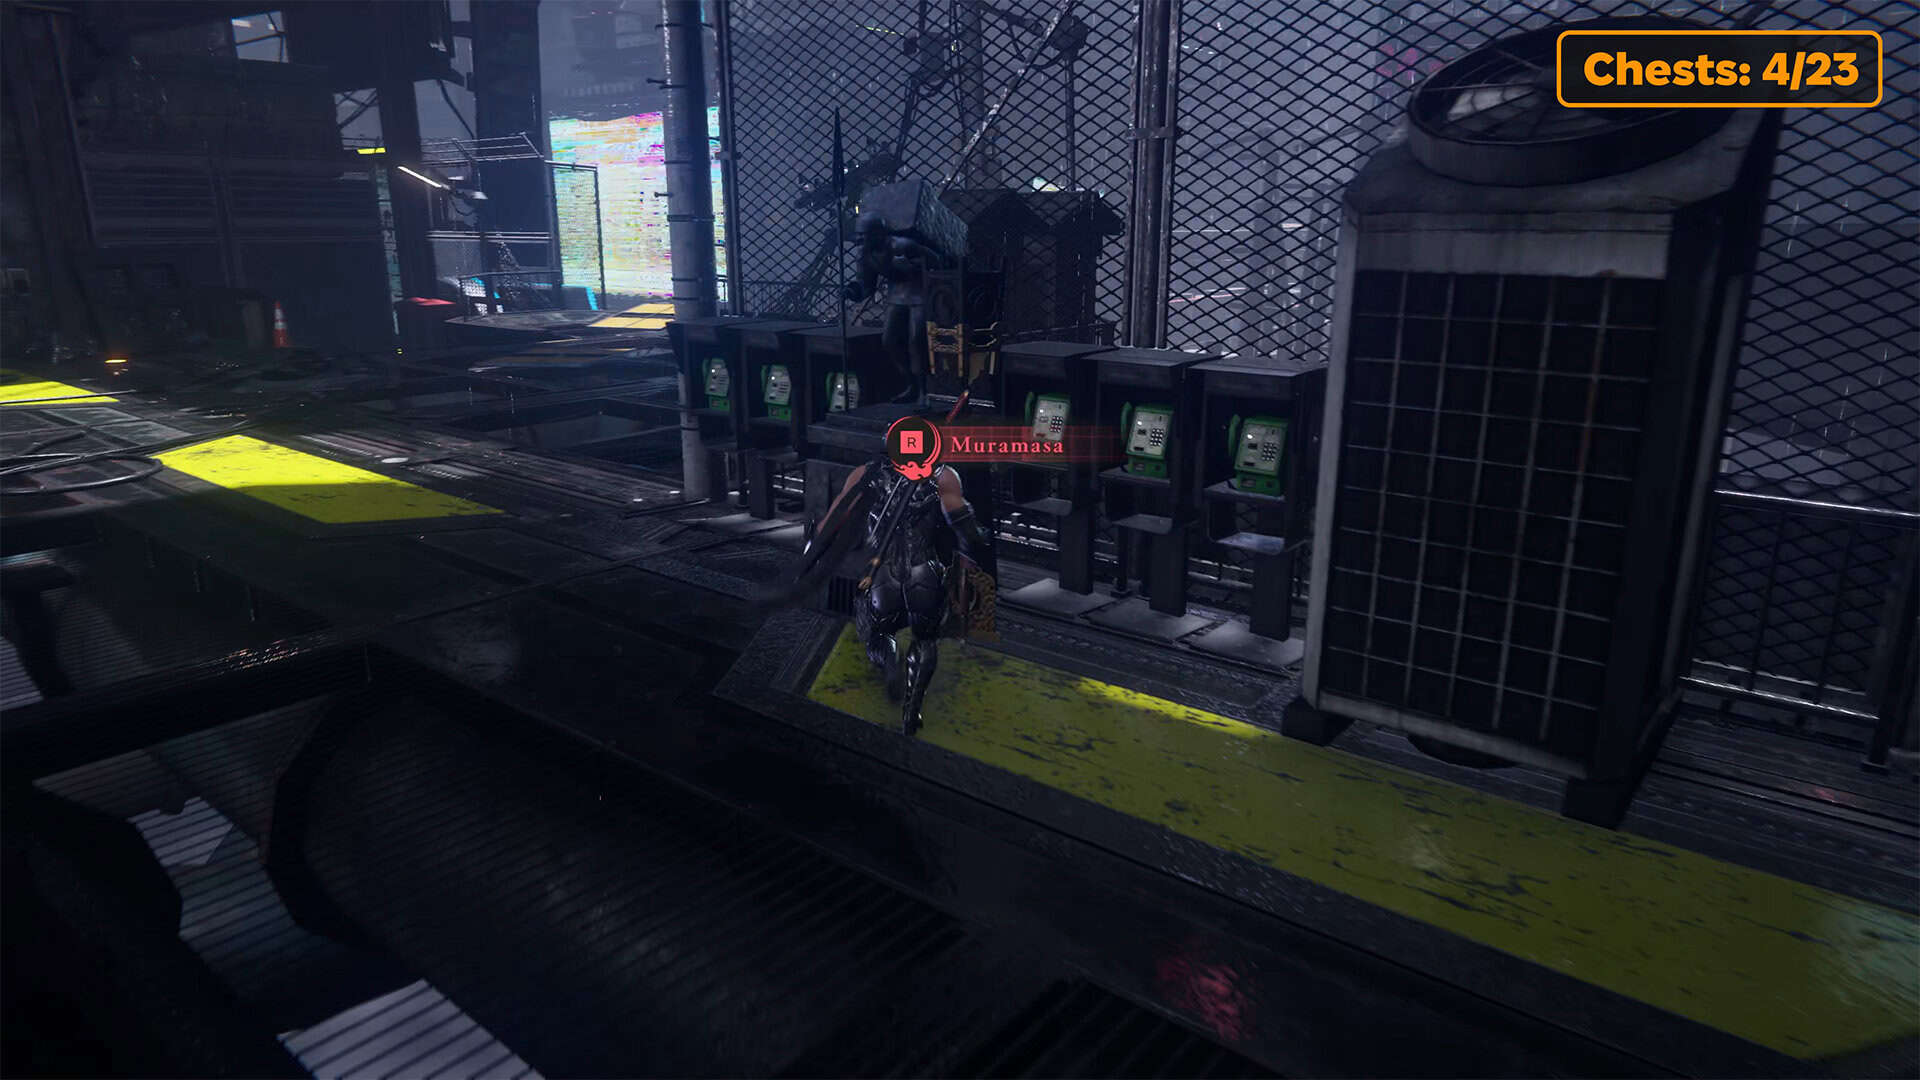
First Muramasa’s shrine in Downpour
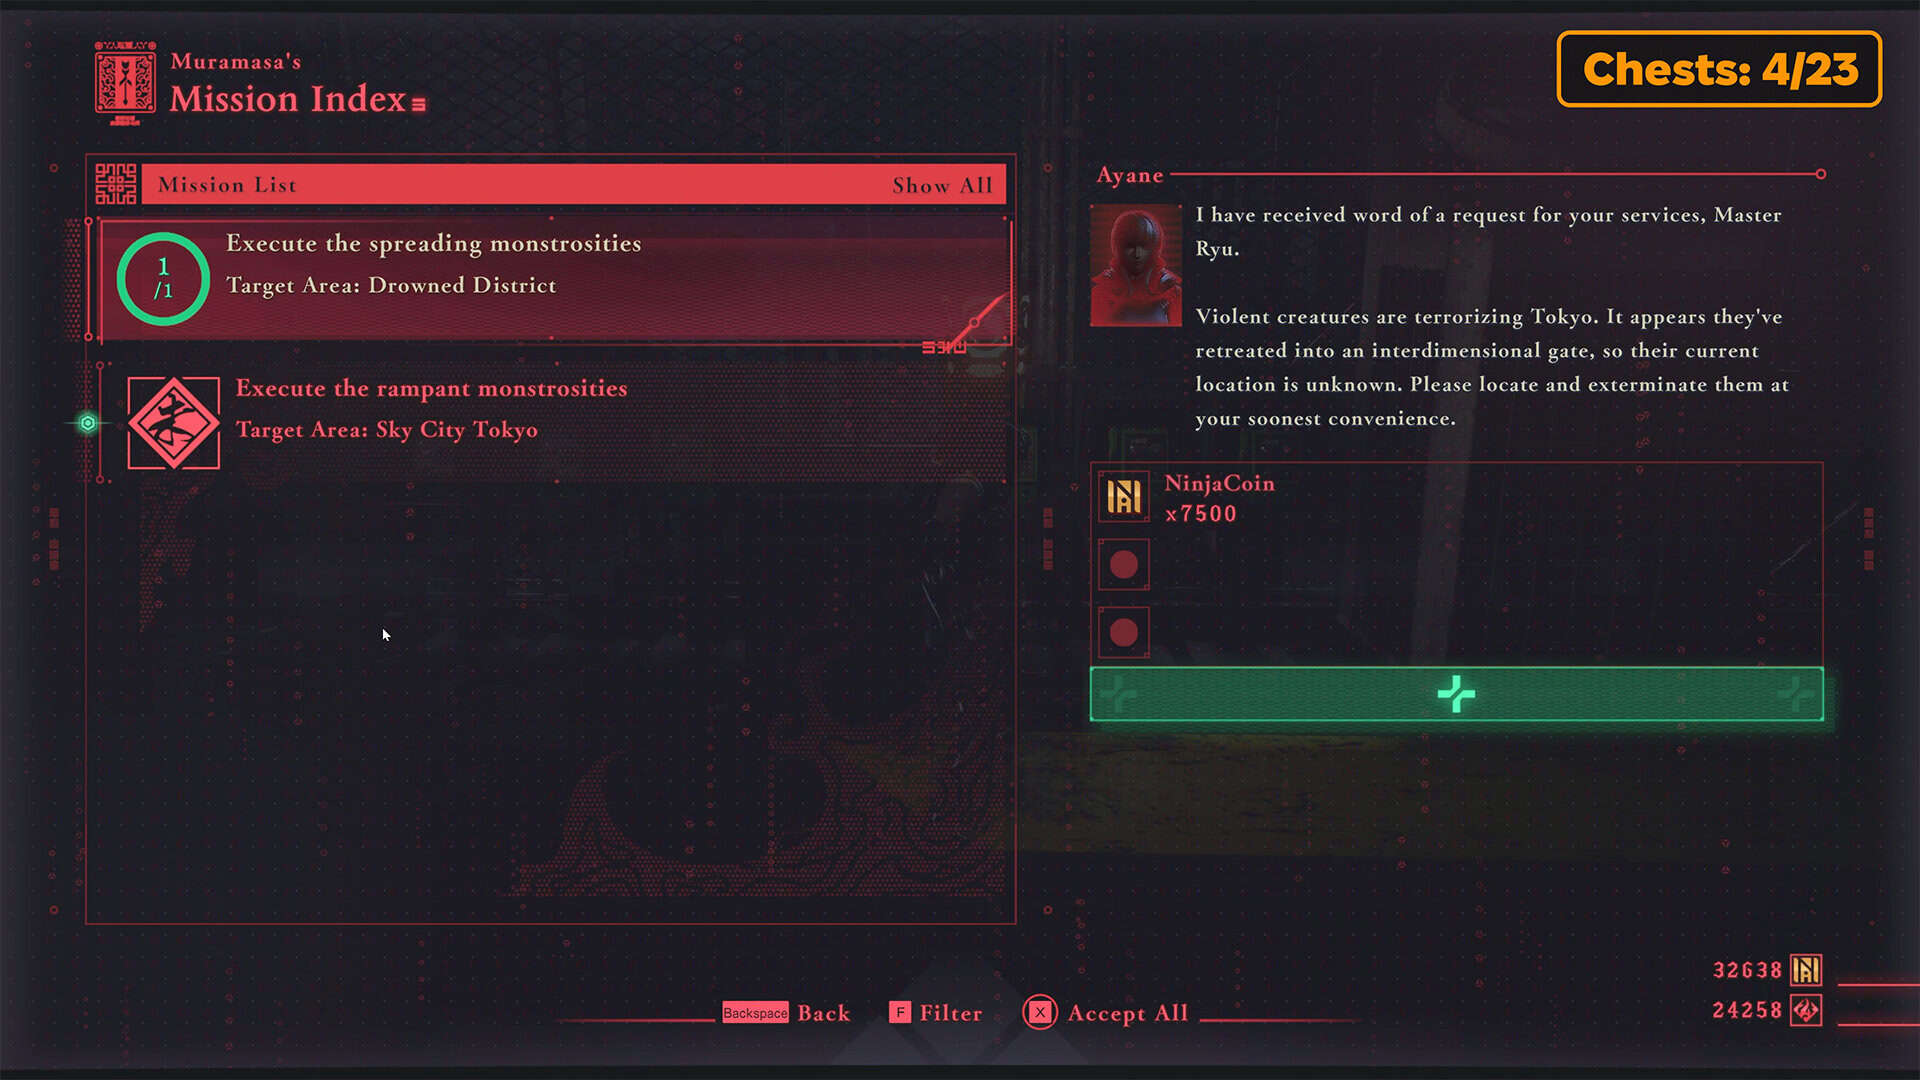
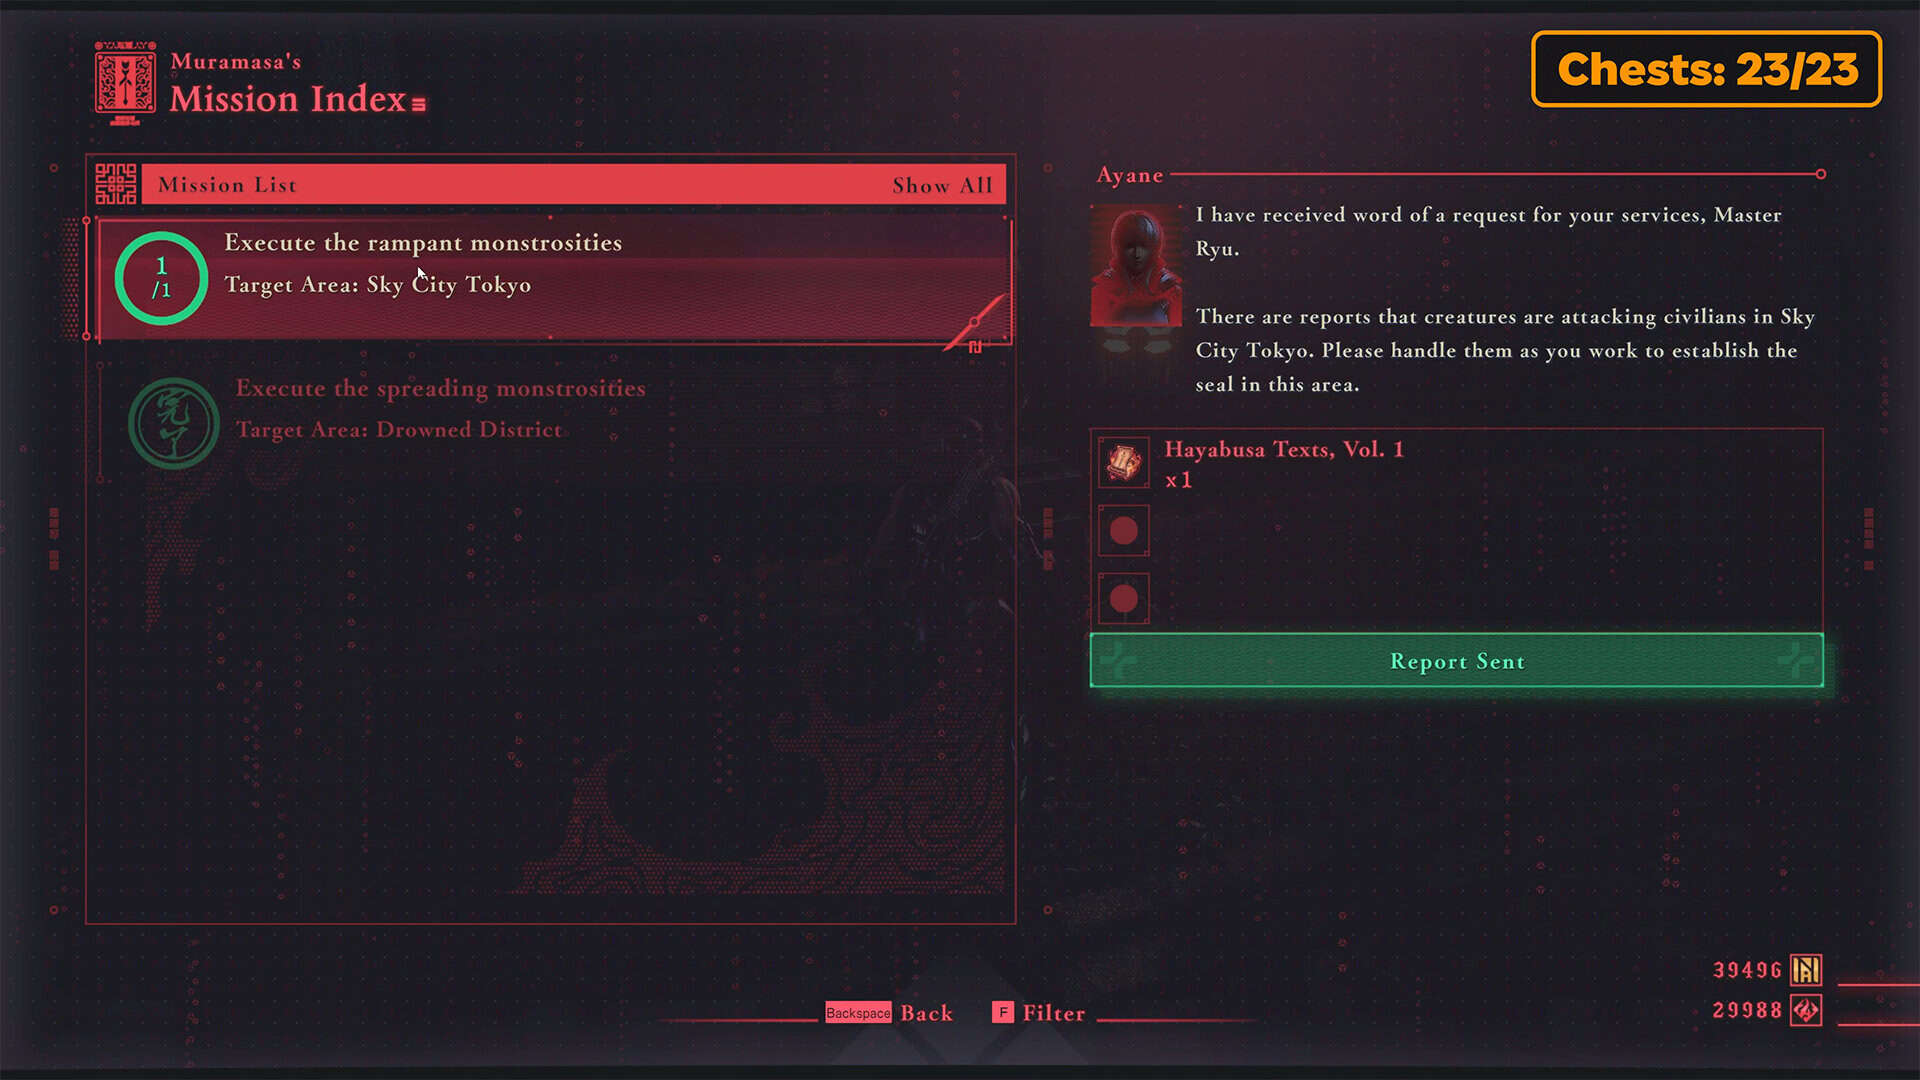
After successfully completing Purgatory Gate, be sure to stop by Muramasa’s shrine on your way back. Here you will receive a reward for a previously completed quest, as well as replenish your supplies of various potions.
-
- Purgatory Gate in Downpour
-
- We must defeat all enemies
-
- First Muramasa’s shrine in Downpour
-
- Complete the quest and take on a new quest
Lives of the Thousand Gods – Fatal Flash (chests 5-6)
Now it’s time to cross this big gap. You need to use the drones nearby. Don’t stay on one drone for too long, as they quickly fall down under the weight of your character. On the other side, you’ll have to deal with a large number of enemies, most of which are Burabura Lantern Demons. After that, move forward and you’ll see Tsukumo Fish ahead. You need to jump over to this enemy and defeat it as quickly as possible.
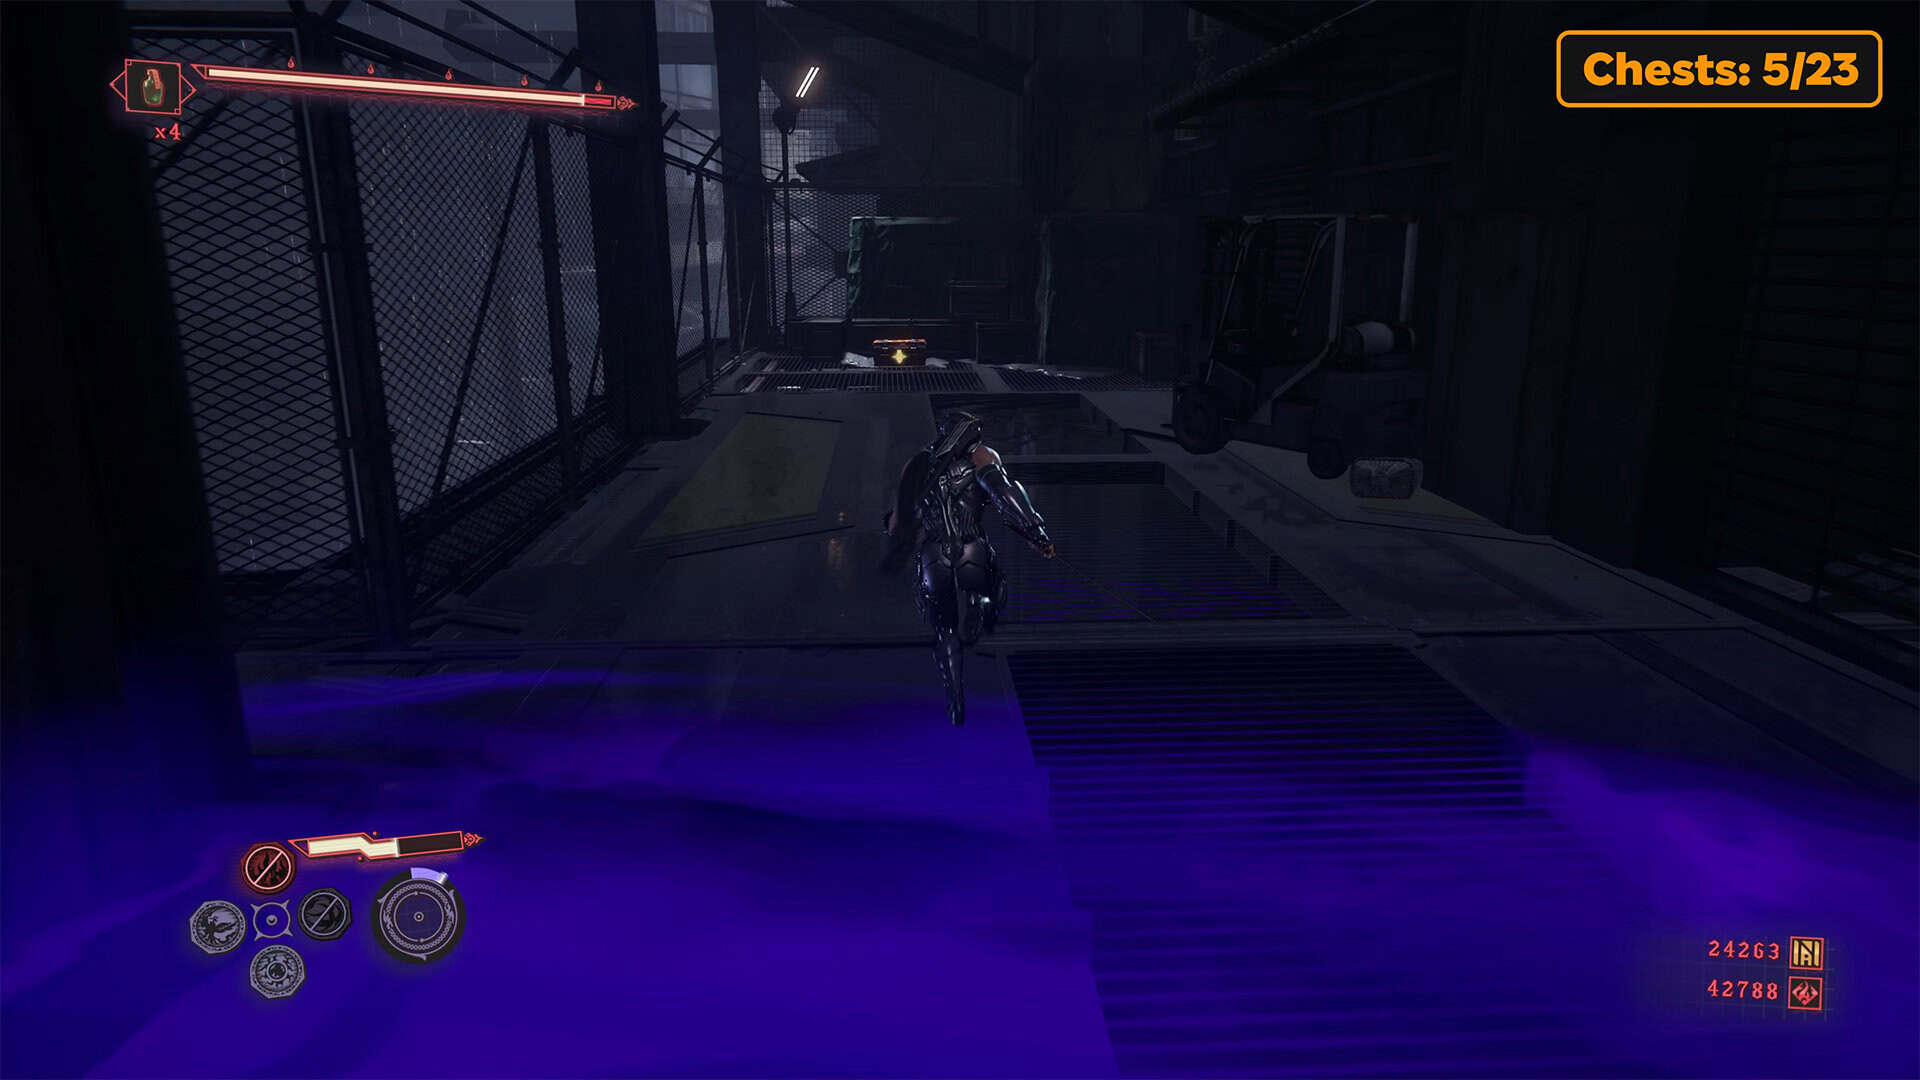
Then you will be able to open two chests in this location. The first chest contains Lives of the Thousand Gods, which will increase your health. Nearby, on the right side of the platform, there is another chest containing the Fatal Flash skill for Gleam Form. These chests are very important and useful, so don’t miss them.
Divine Life Elixir (chest 7)
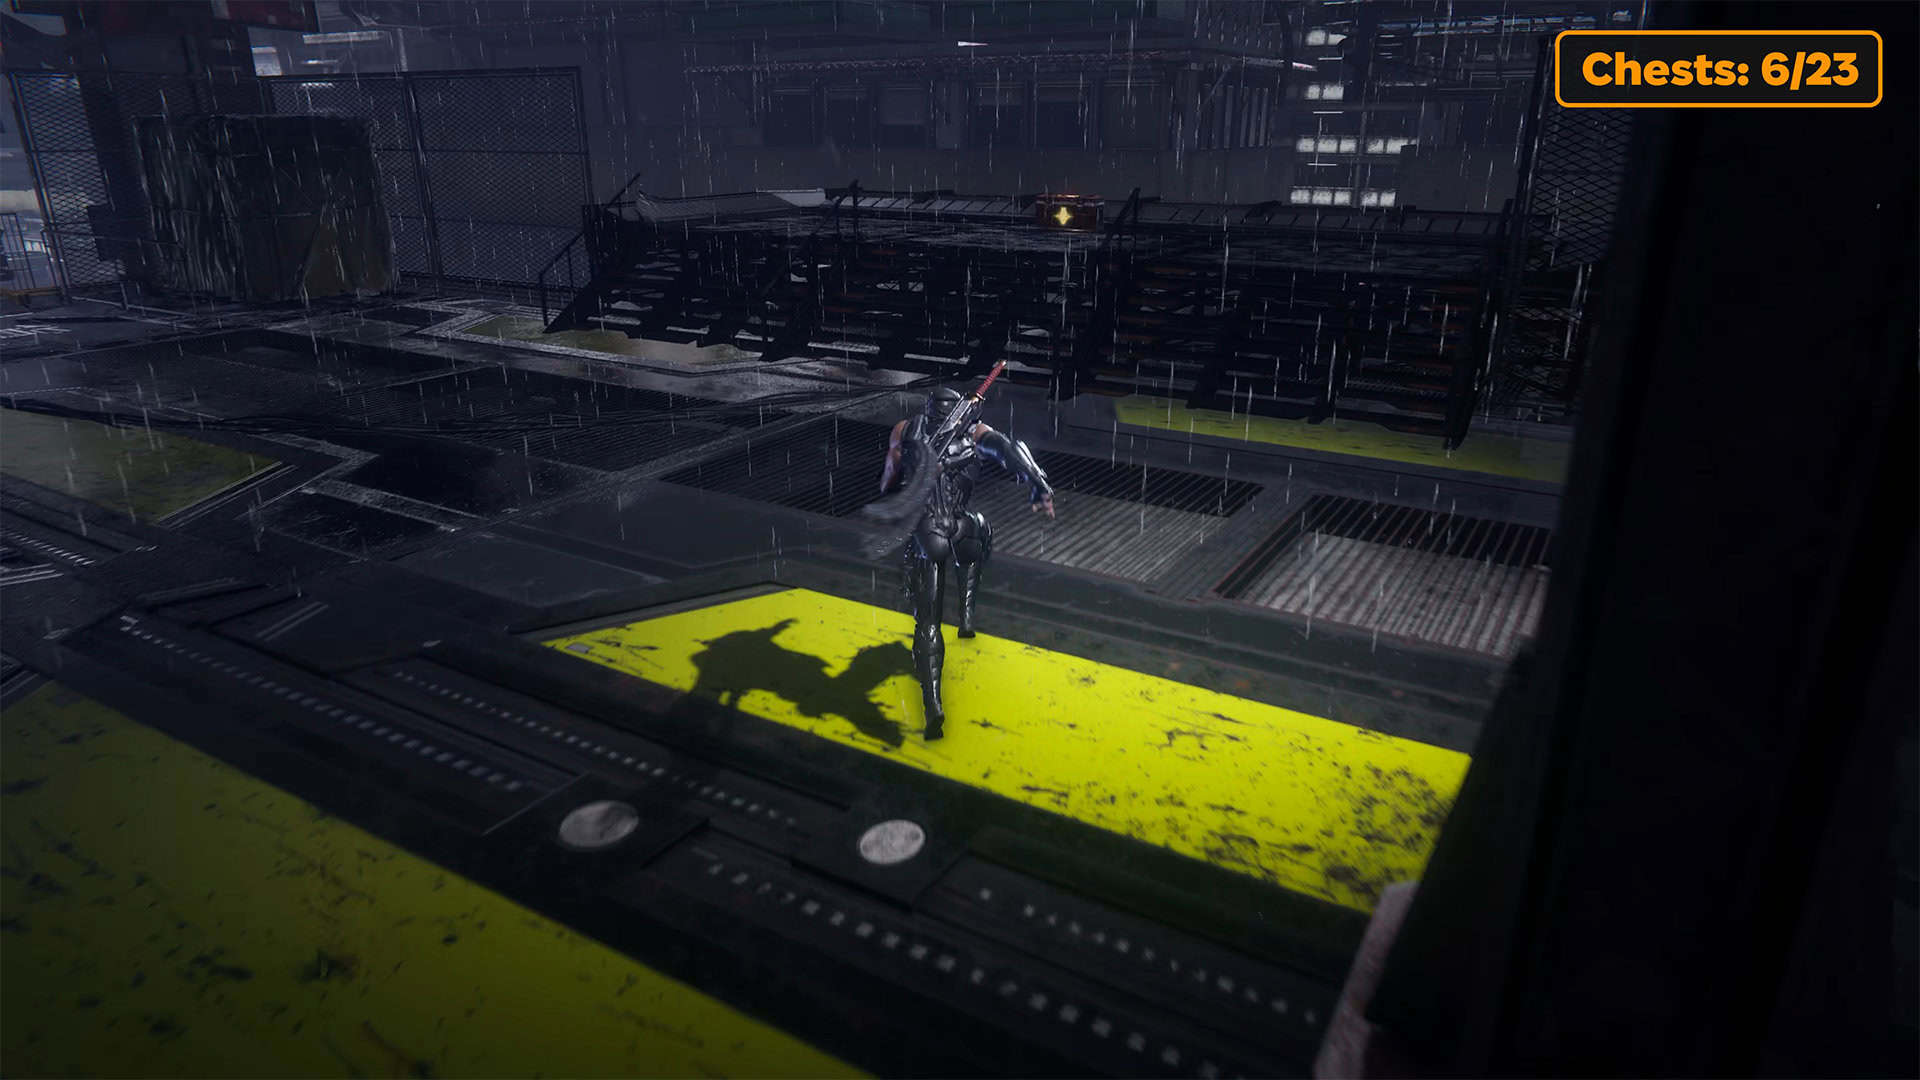
Now run in the other direction in this location, which is the path to the next area. There is a very important nuance here regarding which route to take next. But I’ll talk about that later. For now, you just need to find the chest on your way. Inside the chest is the Divine Life Elixir.
Life Elixir (chest 8)
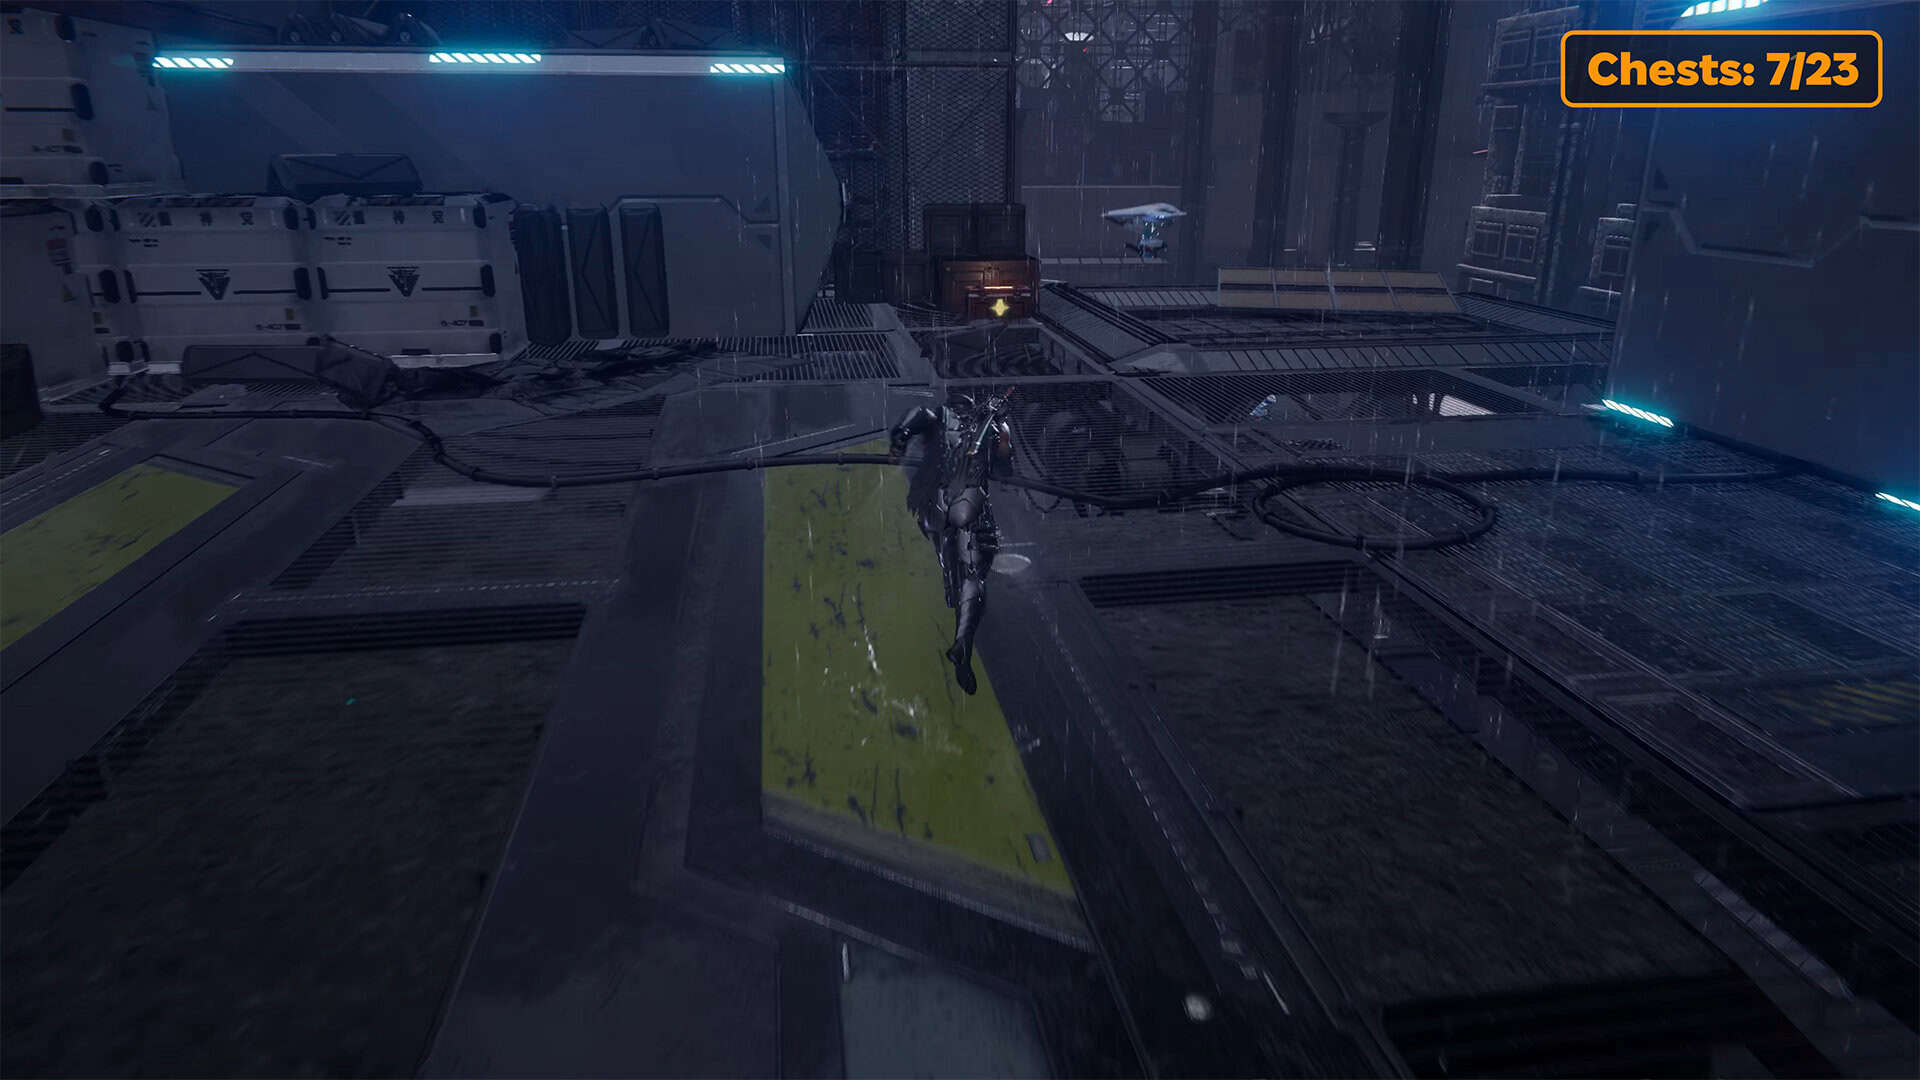
Next, take a close look. You have two options for crossing the chasm in front of you. First, take the path to the right of the drones. If you jump to the left, you will not be able to return to this place on the right. On the new platform, you need to deal with the enemies that are here. After that, turn left and run to the end. Here you will see a chest on the right containing Life Elixir.
-
- Lives of the Thousand Gods (chests 5)
-
- Fatal Flash (chest 6) in Downpour
-
- Divine Life Elixir (chest 7) in Downpour
-
- Life Elixir (chest 8) in Downpour
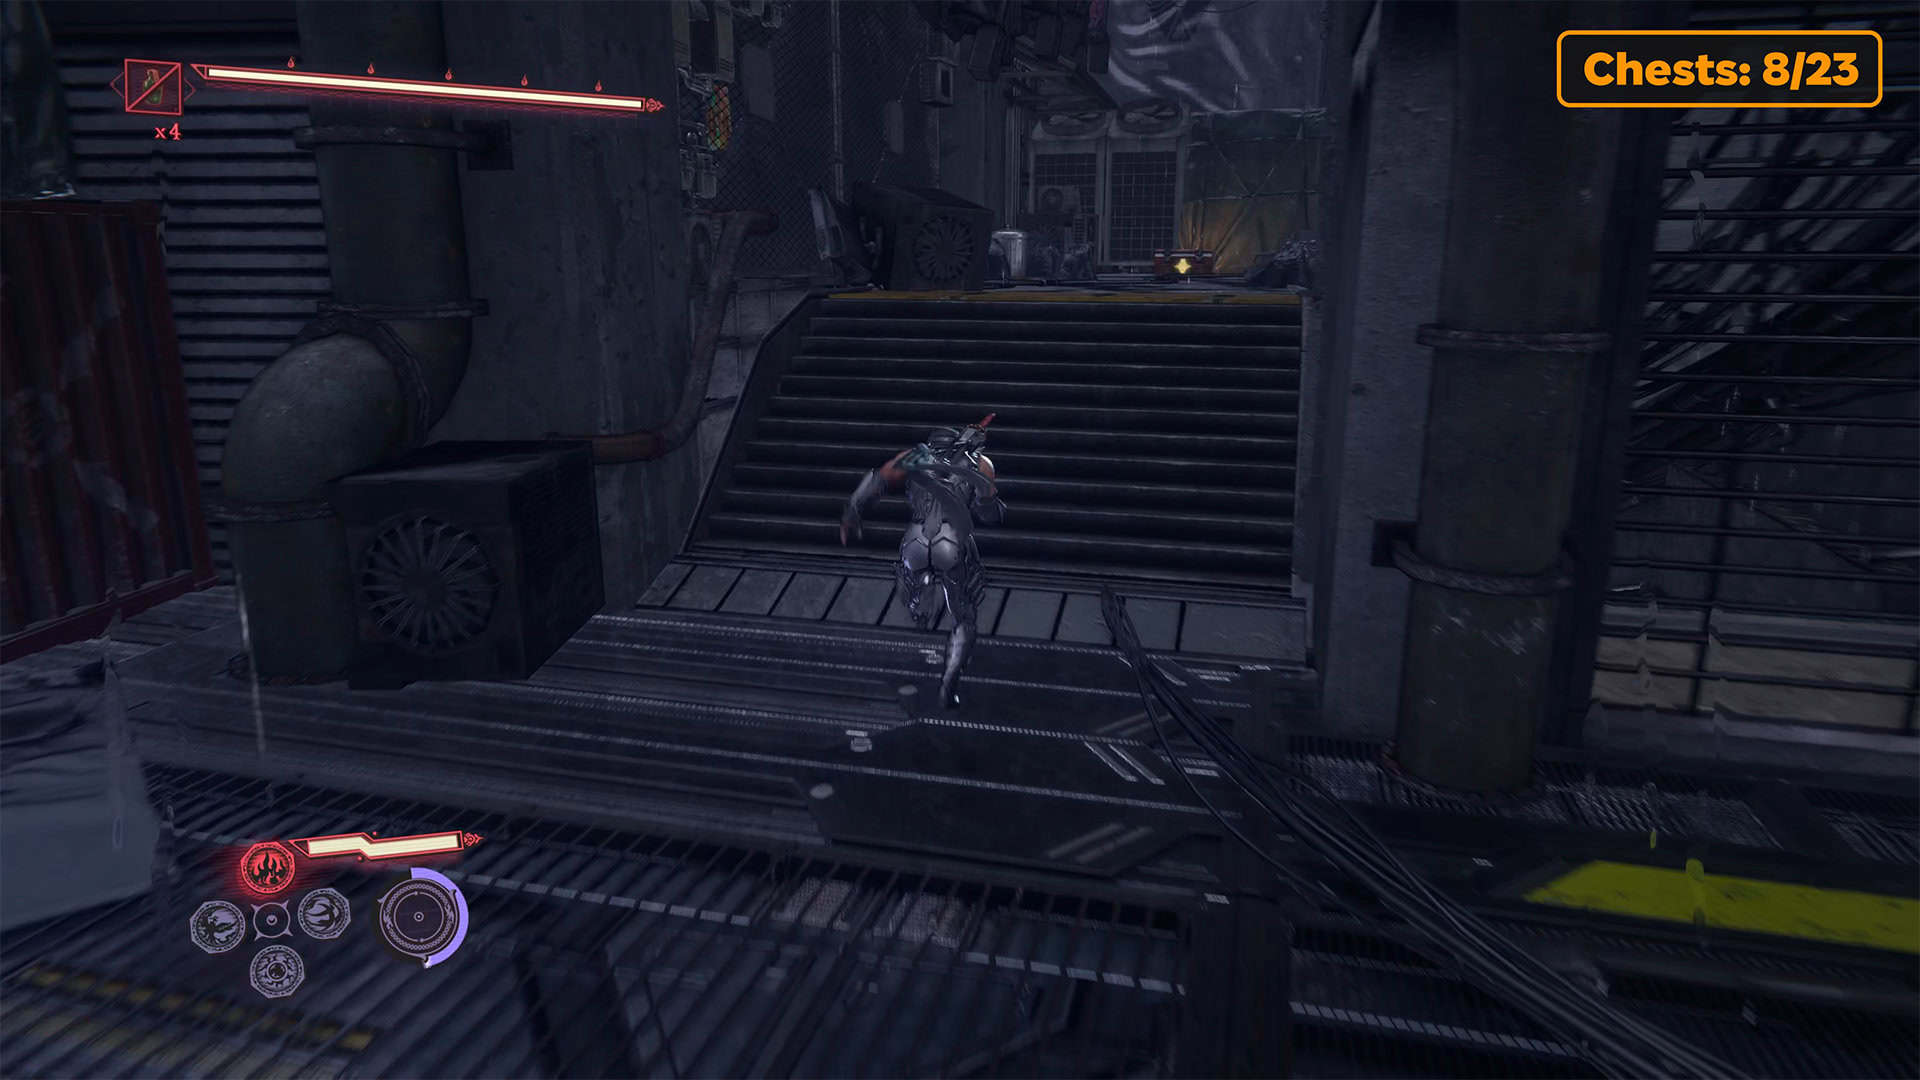
Divine Life Elixir (chest 9)
After that, go back to the place where you fought enemies on this platform. Continue moving forward. You will see a narrow passage between the containers. Go there, run forward, and turn left. There is another short corridor here, at the end of which you will see a chest. Inside the chest is the Divine Life Elixir.
Life Elixir (chest 10)
Now you need to return to the place where Muramasa’s shrine was. This is where I told you about the fork in your path. You will also return by jumping on flying drones. This time you need to choose the route that goes to the left. Once you start this route, you will not be able to turn back. Jumping on the drones, you will eventually jump onto a rail, and your path will now only be forward.
When the rail ends, you will jump onto a platform where you can rest before the next battle with enemies, which will take place below. Note that Tsukumo Kettle is located below on the left, which you must destroy first, and only then engage in battle with the other enemies that will appear here. After winning, go through the large cogwheel gate with neon pink lighting.
Ahead, you will see a chest. Run to it and open it. Here you will receive Life Elixir. Immediately after that, be ready to repel the attack of several creatures. It is best to use fire ninpo here to neutralize everyone with one shot.
Incencse of Rebirth (chest 11)
After that, climb the stairs and immediately turn left. Here you will see a long corridor on the right, at the end of which there is a very important chest. Inside the chest you will find Incense of Rebirth. This elixir is very expensive and useful in difficult battles.
Kongou Iron Brew (chest 12)
Now go out onto the road that leads along the main storyline and move forward. You will see Tsukumo Kettle in front of you. This is your landmark for the right path. He guards the passage ahead. You need to defeat him or simply run past him to climb up the narrow corridor using the Flying Bird Flip. Next, you will see a chest on the left containing Kongou Iron Brew.
-
- Divine Life Elixir (chest 9) in Downpour
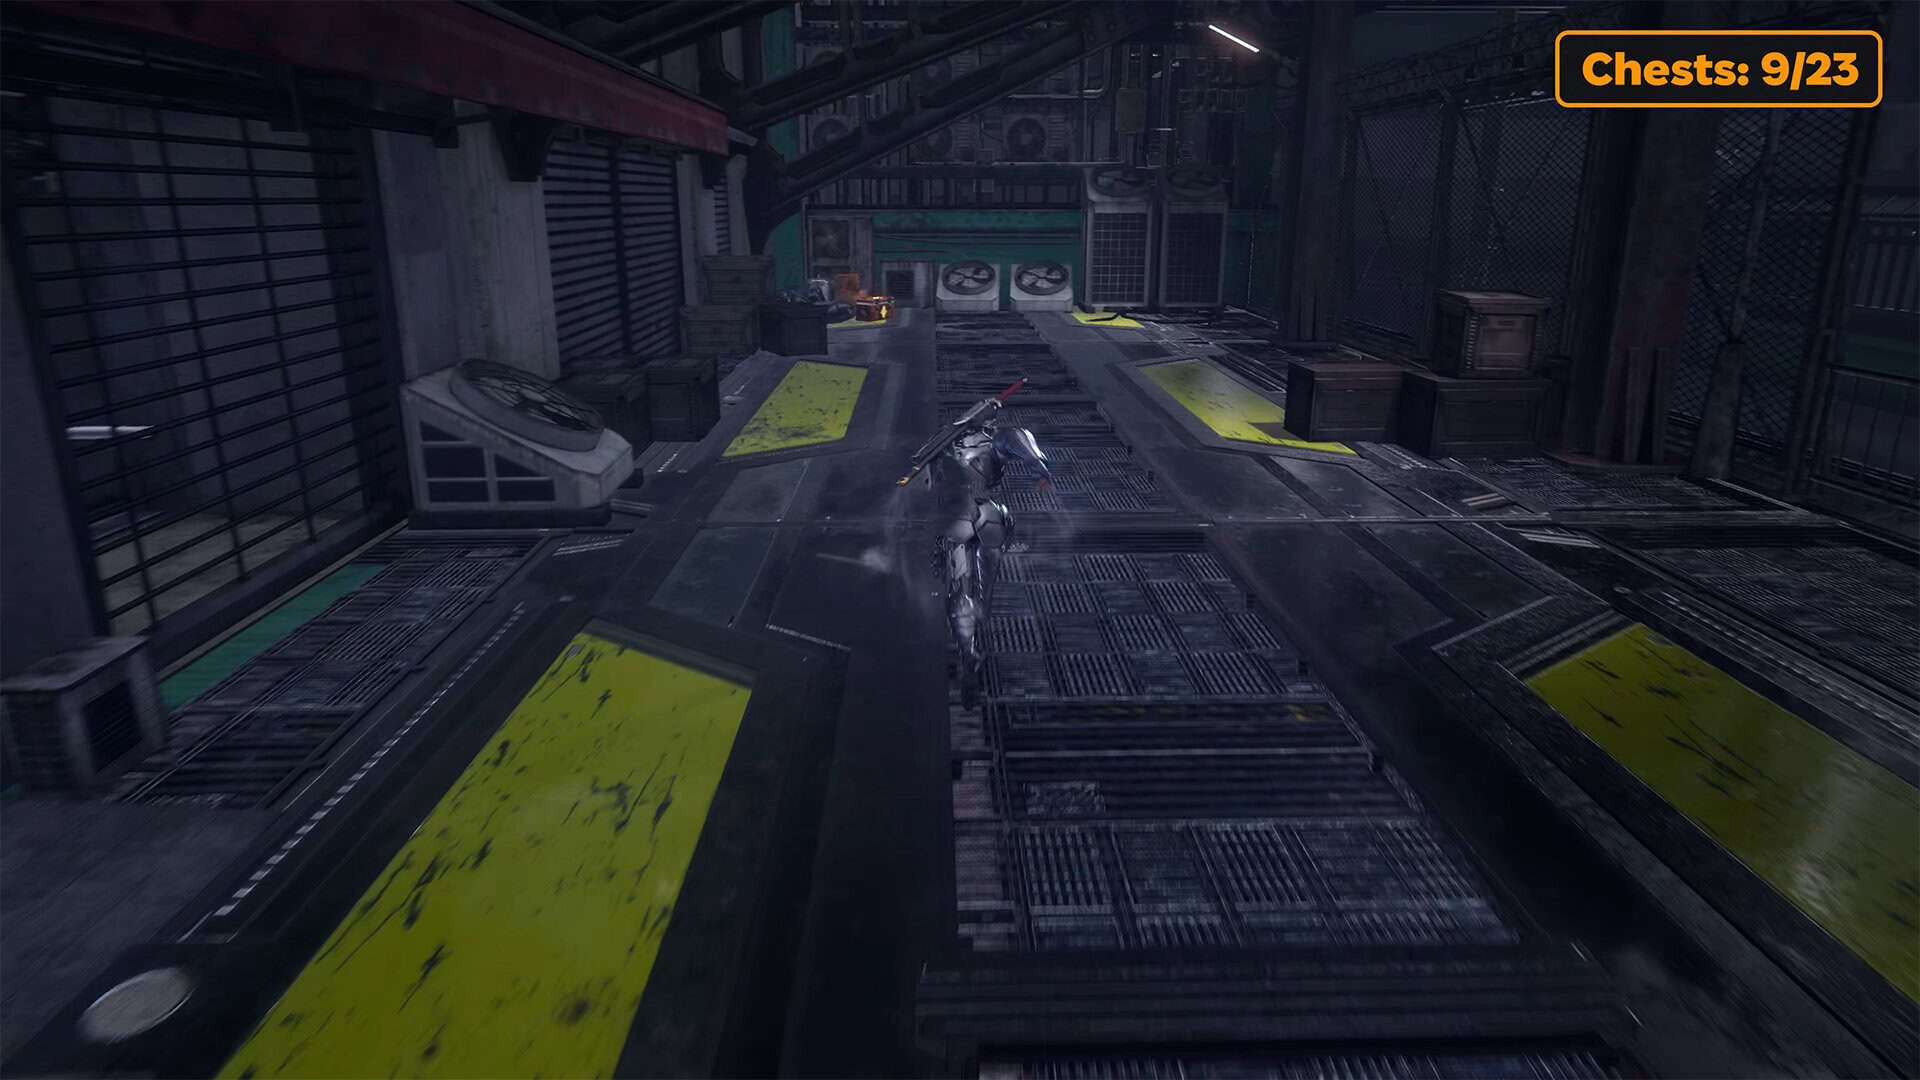
-
- Life Elixir (chest 10) in Downpour
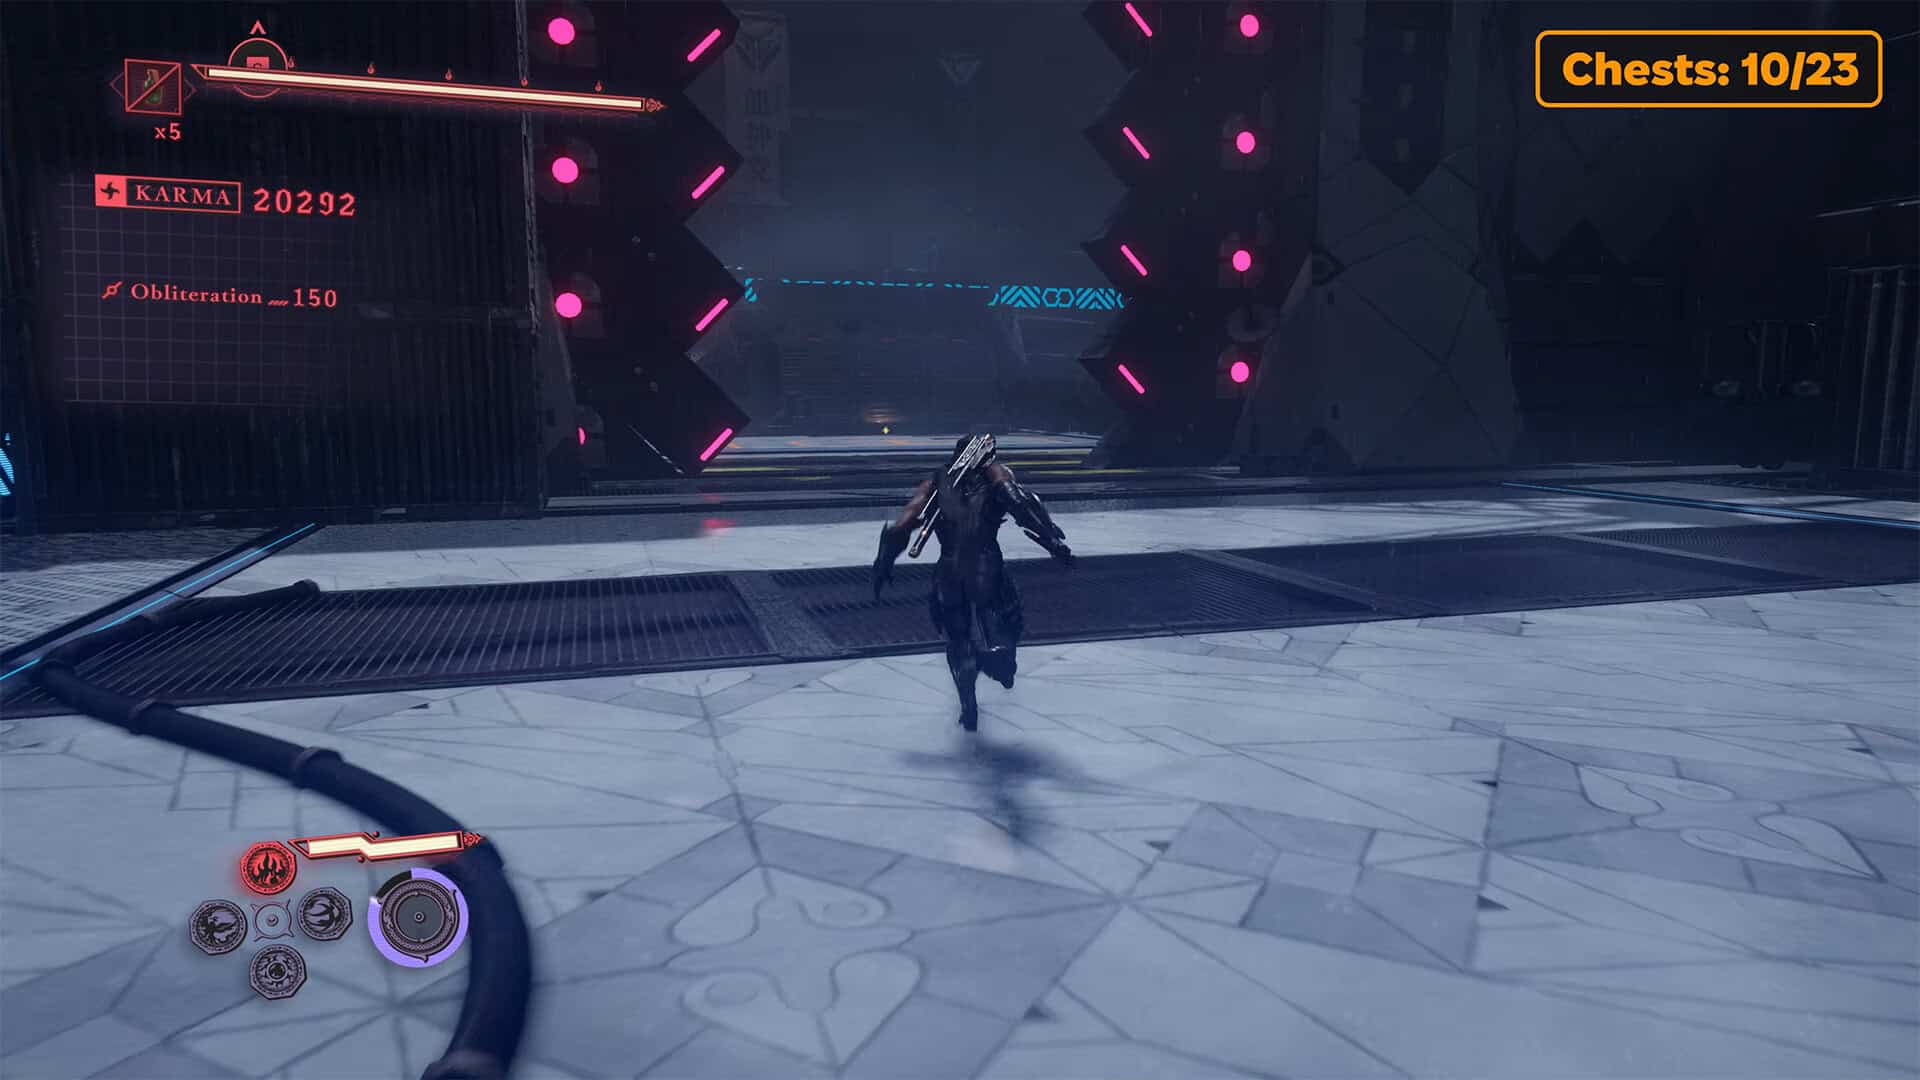
-
- Incencse of Rebirth (chest 11) in Downpour
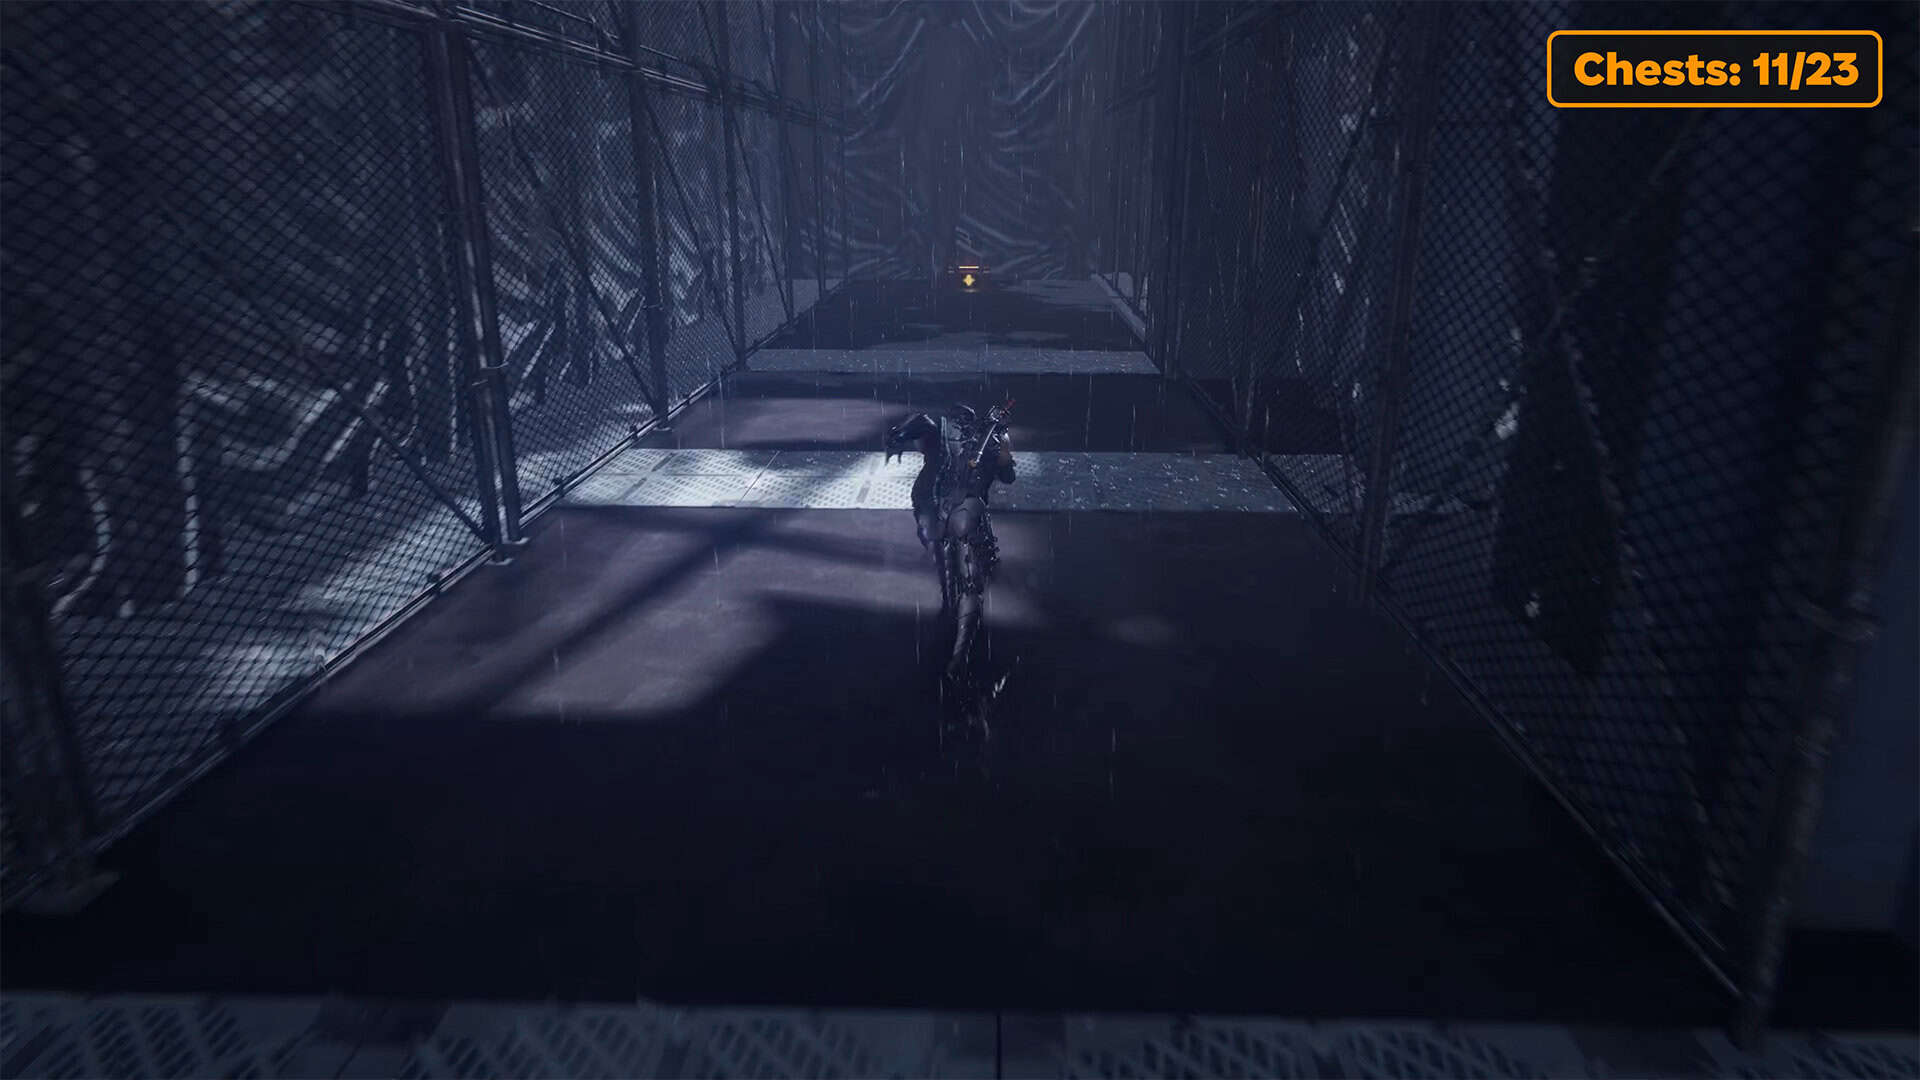
-
- Kongou Iron Brew (chest 12) in Downpour
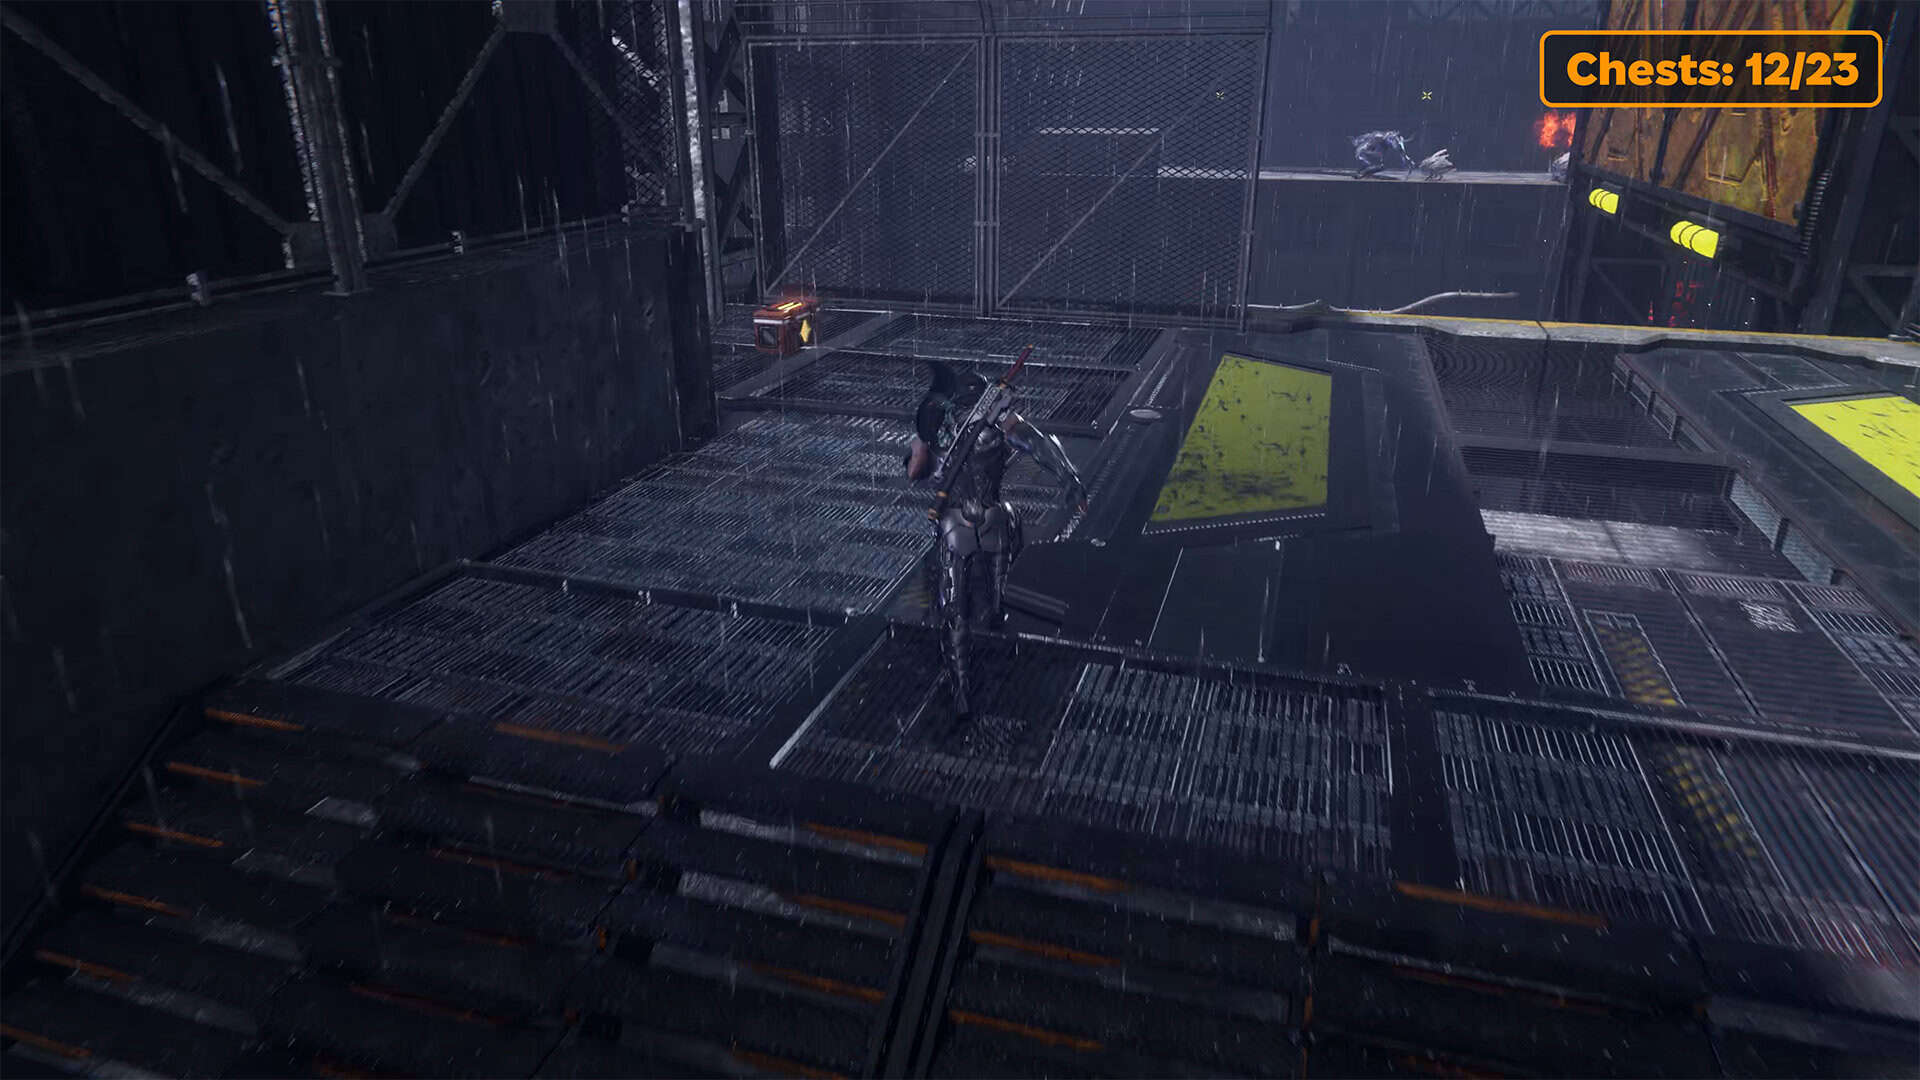
Incencse of Rebirth (chest 13)
The rest is also not difficult. You have to run along the wall and defeat your enemies. After that, you will again encounter various obstacles on your way. This section of your path will be devoted to parkour on the walls, which are located on the right and left. Then you will see the next chest on your way. Open it to get Incense of Rebirth.
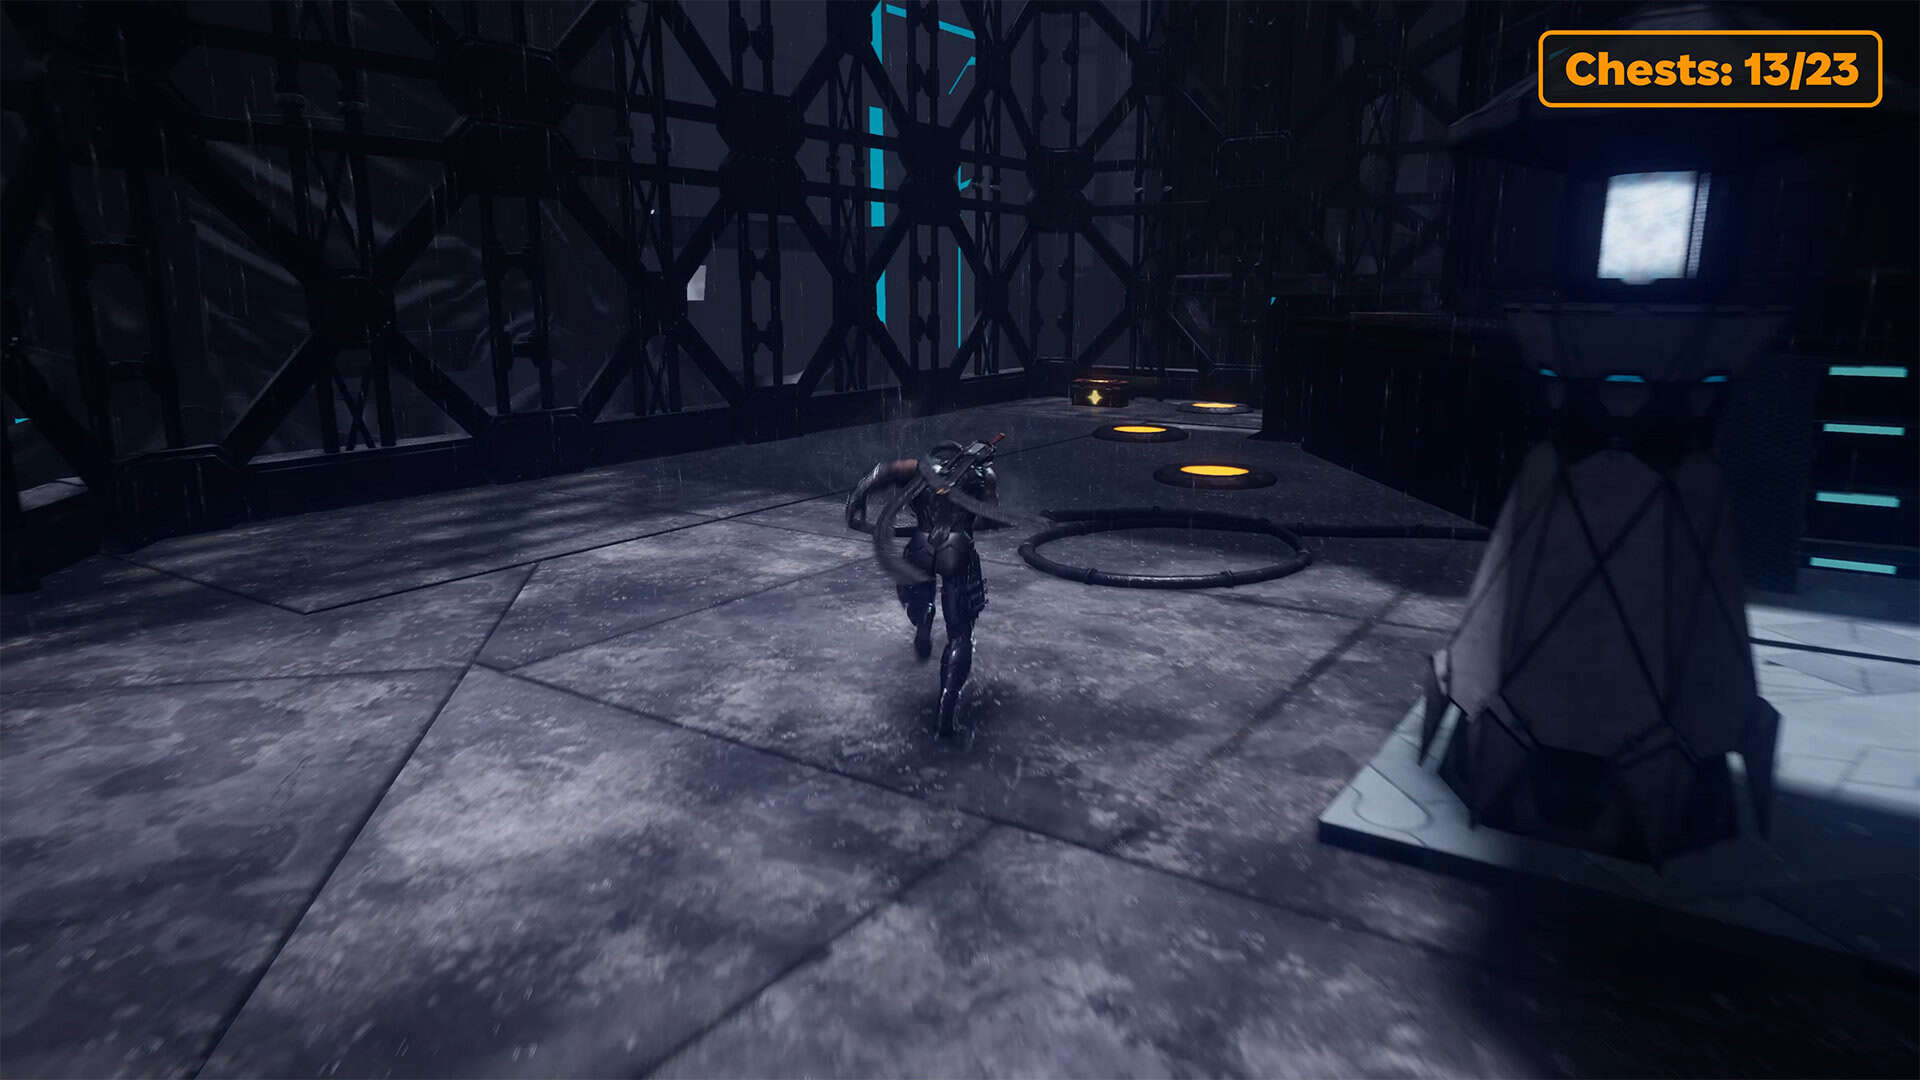
Second Muramasa’s shrin in Downpour
Next, you will see an elevator in front of you. It is a small platform that will lift you up. Enter the elevator and move upward. When the elevator stops, you will need to use the Flying Bird Flip skill again to climb even higher. You will arrive at a platform where the third Muramasa’s shrine is located. Use it to replenish your supplies if necessary and heal your health.
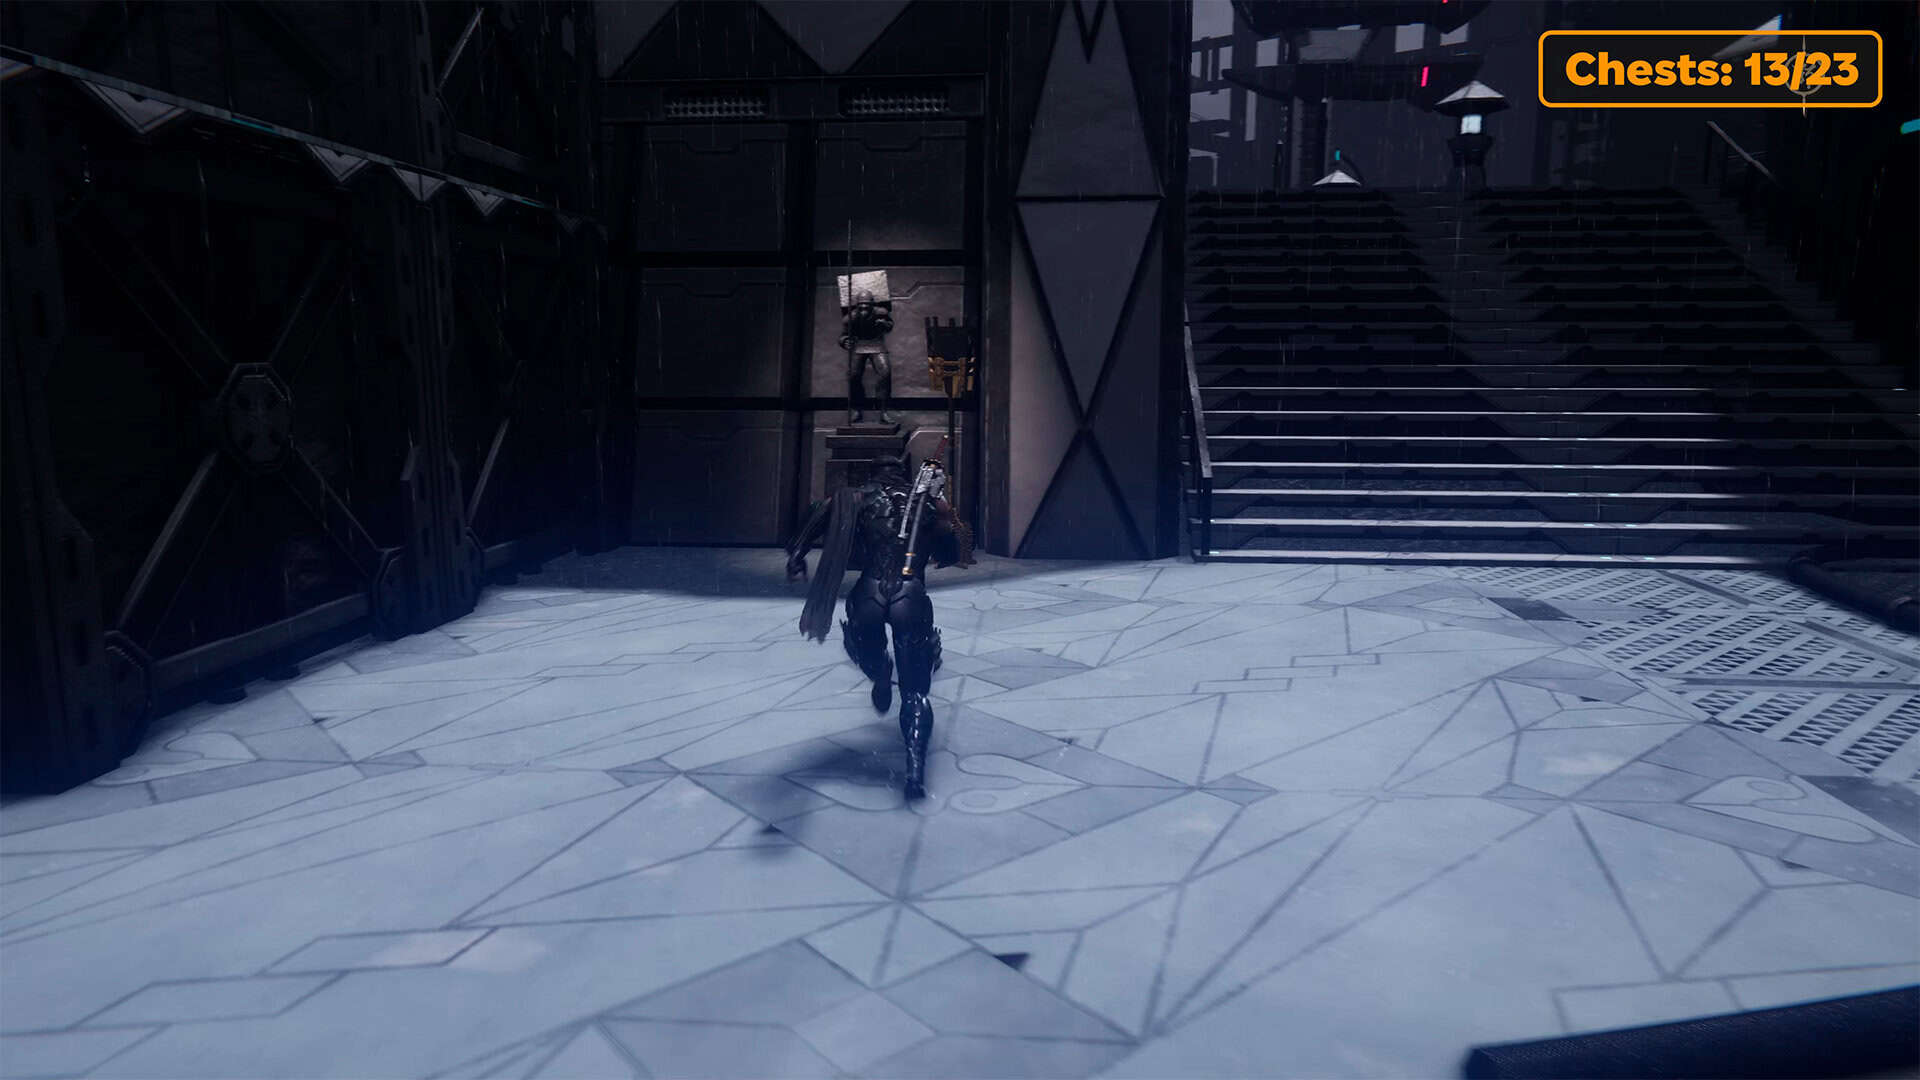
Senjin War Brew (chest 14)
Once you have completed all your tasks at Muramasa’s shrine, proceed up the stairs. As you ascend the stairs, immediately look to your left. There you will find a chest containing Senjin War Brew.
-
- Incencse of Rebirth (chest 13) in Downpour
-
- Second Muramasa’s shrin in Downpour
-
- Senjin War Brew (chest 14) in Downpour
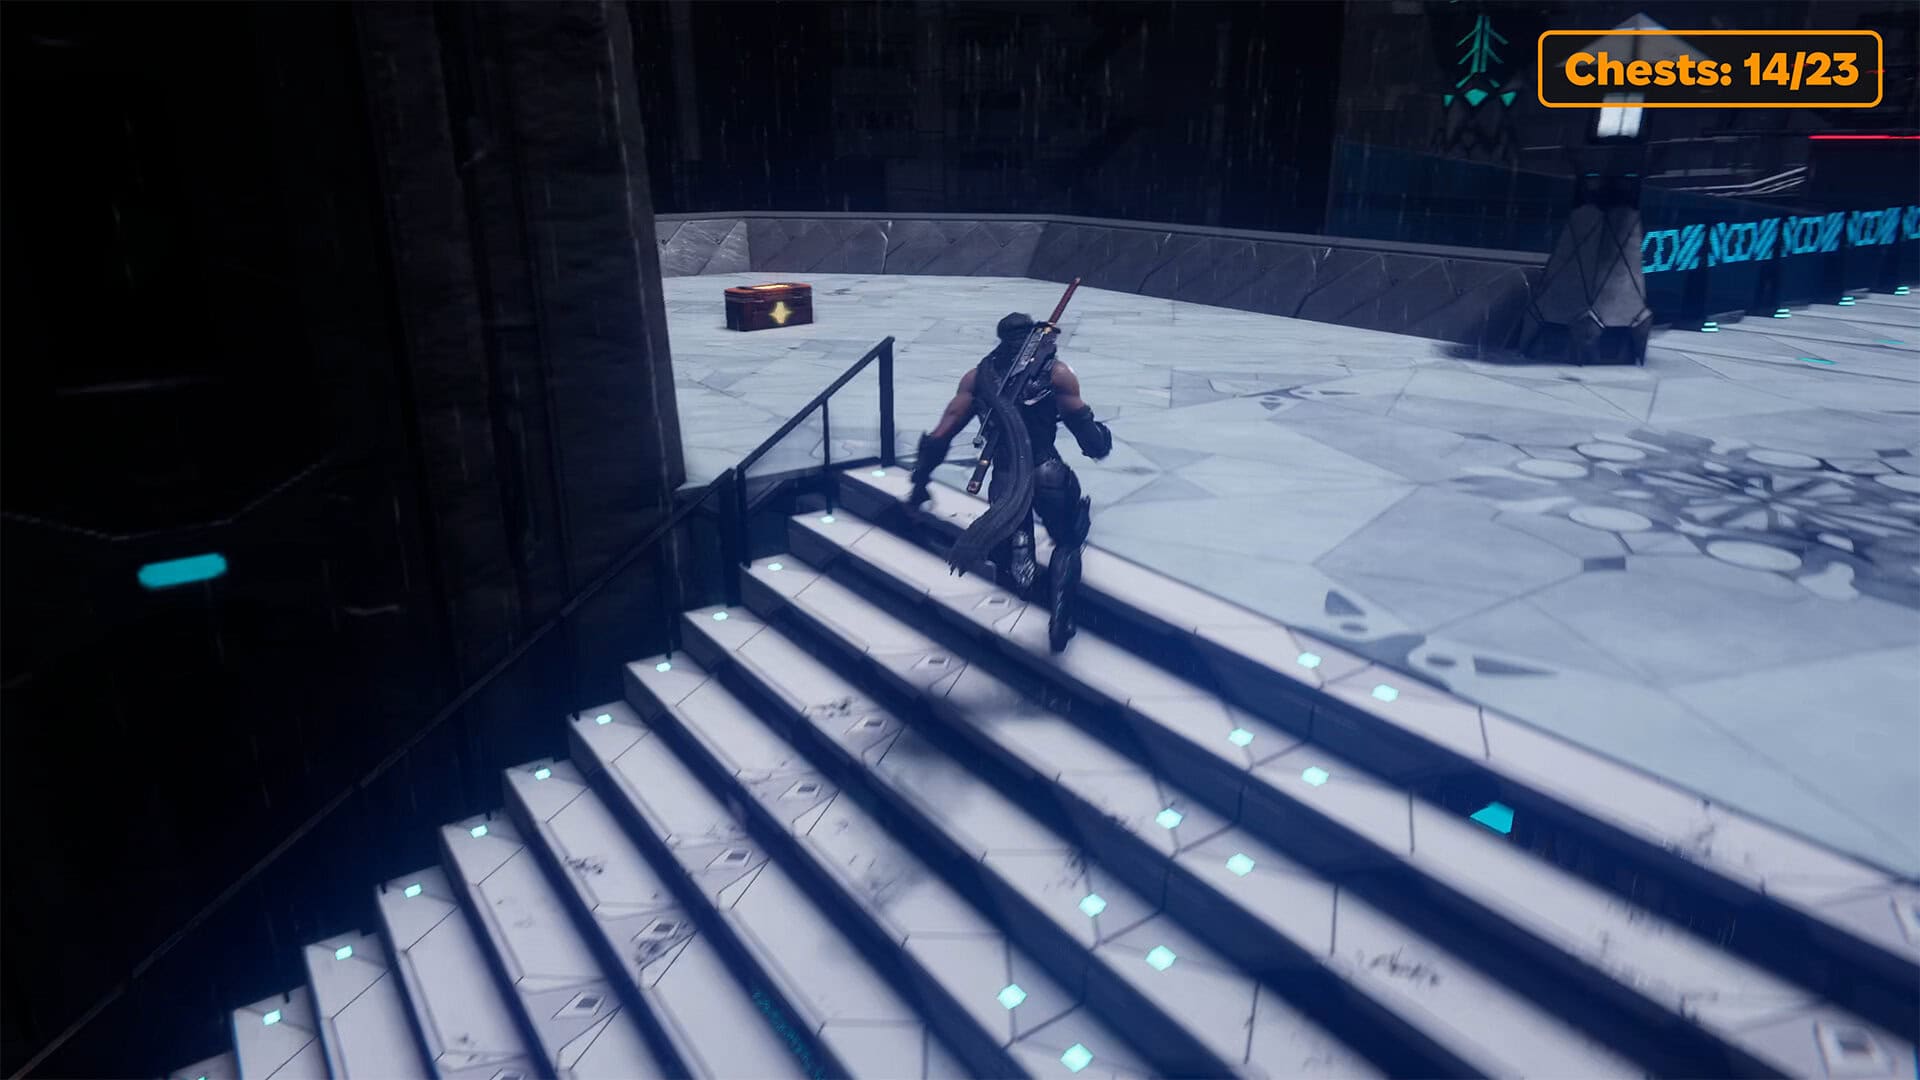
Divine Life Elixir + Life Elixir (chests 15-16)
Then you will enter a platform where there are many enemies. It’s hard to call this the final battle of this section, but it is one of the key ones. You need to be careful and nimble to easily defeat all enemies. After that, you will see a cut scene where Yakumo jumps onto a moving platform and you will move on to the next location.
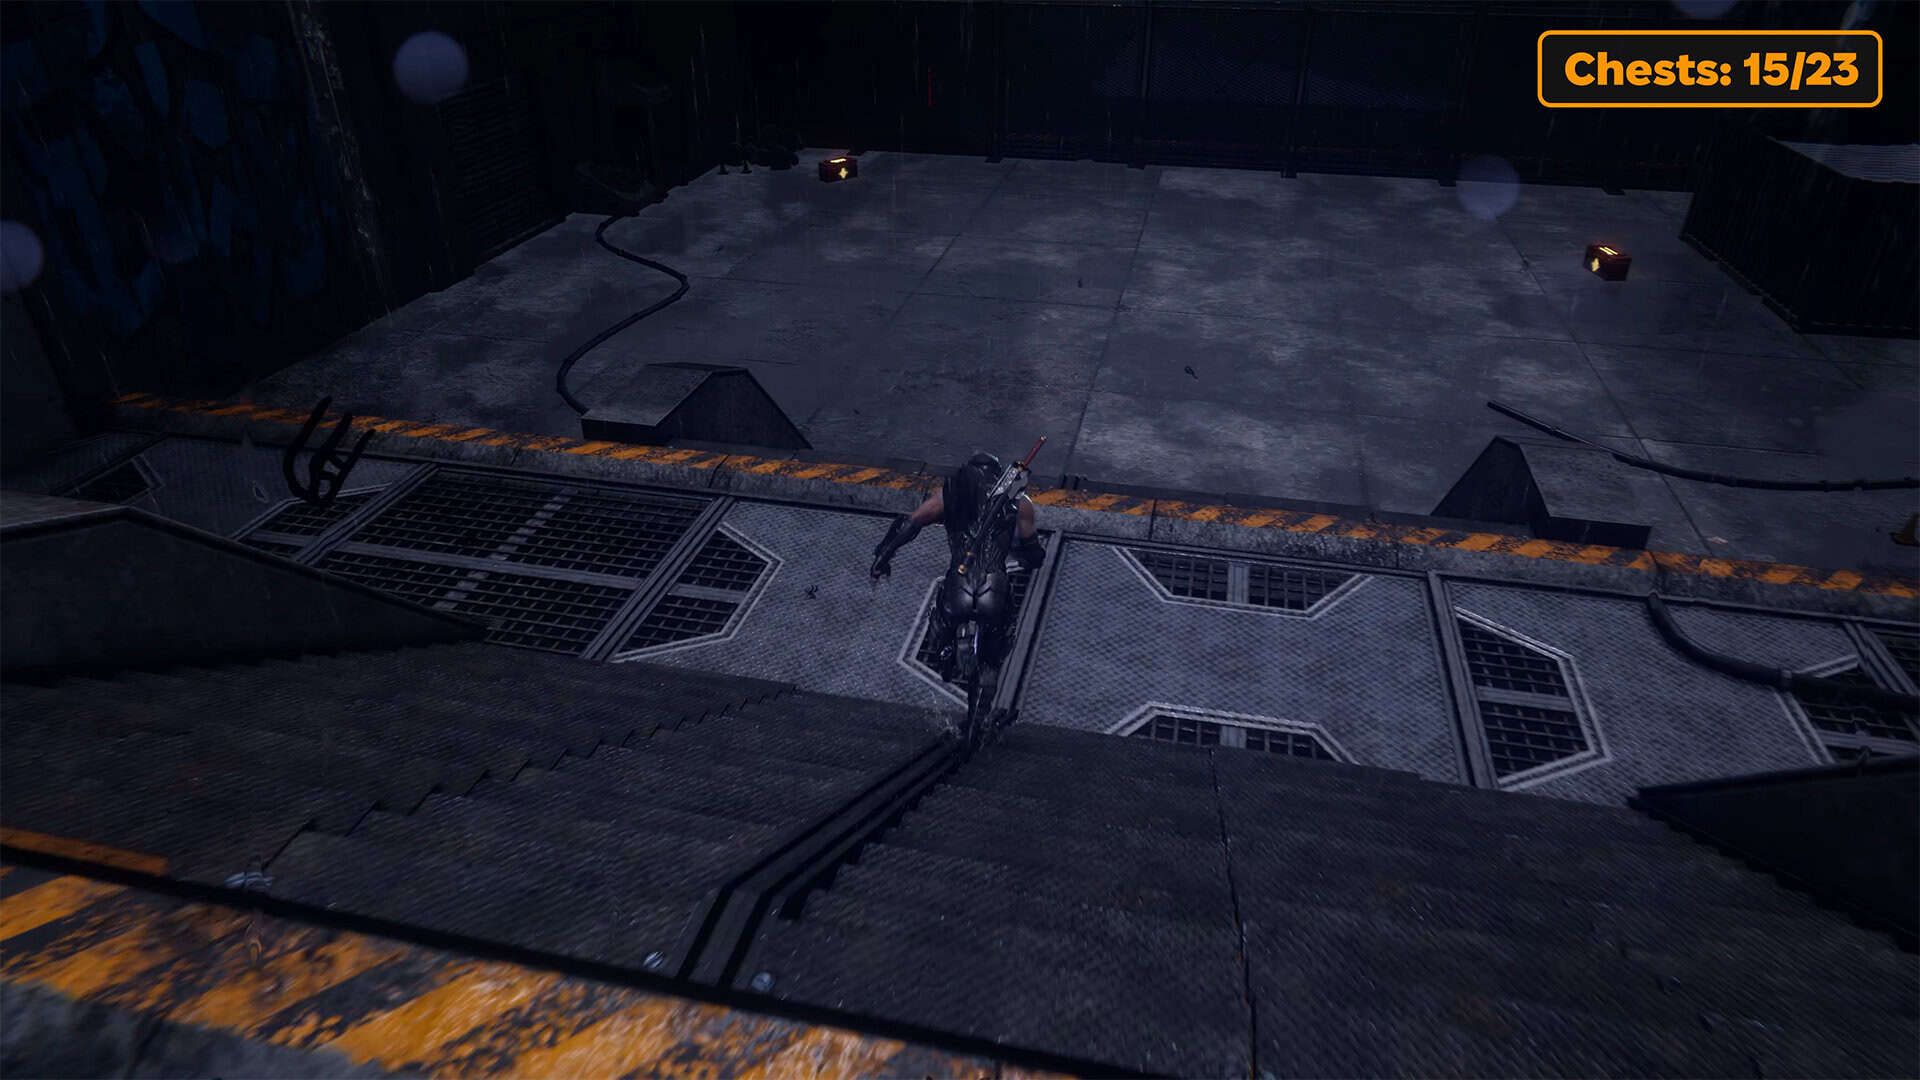
In the new location, you need to turn left immediately. Here you will find two chests standing side by side. They are not guarded. You just need to walk up to them and open them. In the first chest, you will find the Divine Life Elixir. Then walk up to the second chest and open it. Inside, you will find the Life Elixir.
Crimson Blood Pellets (chest 17)
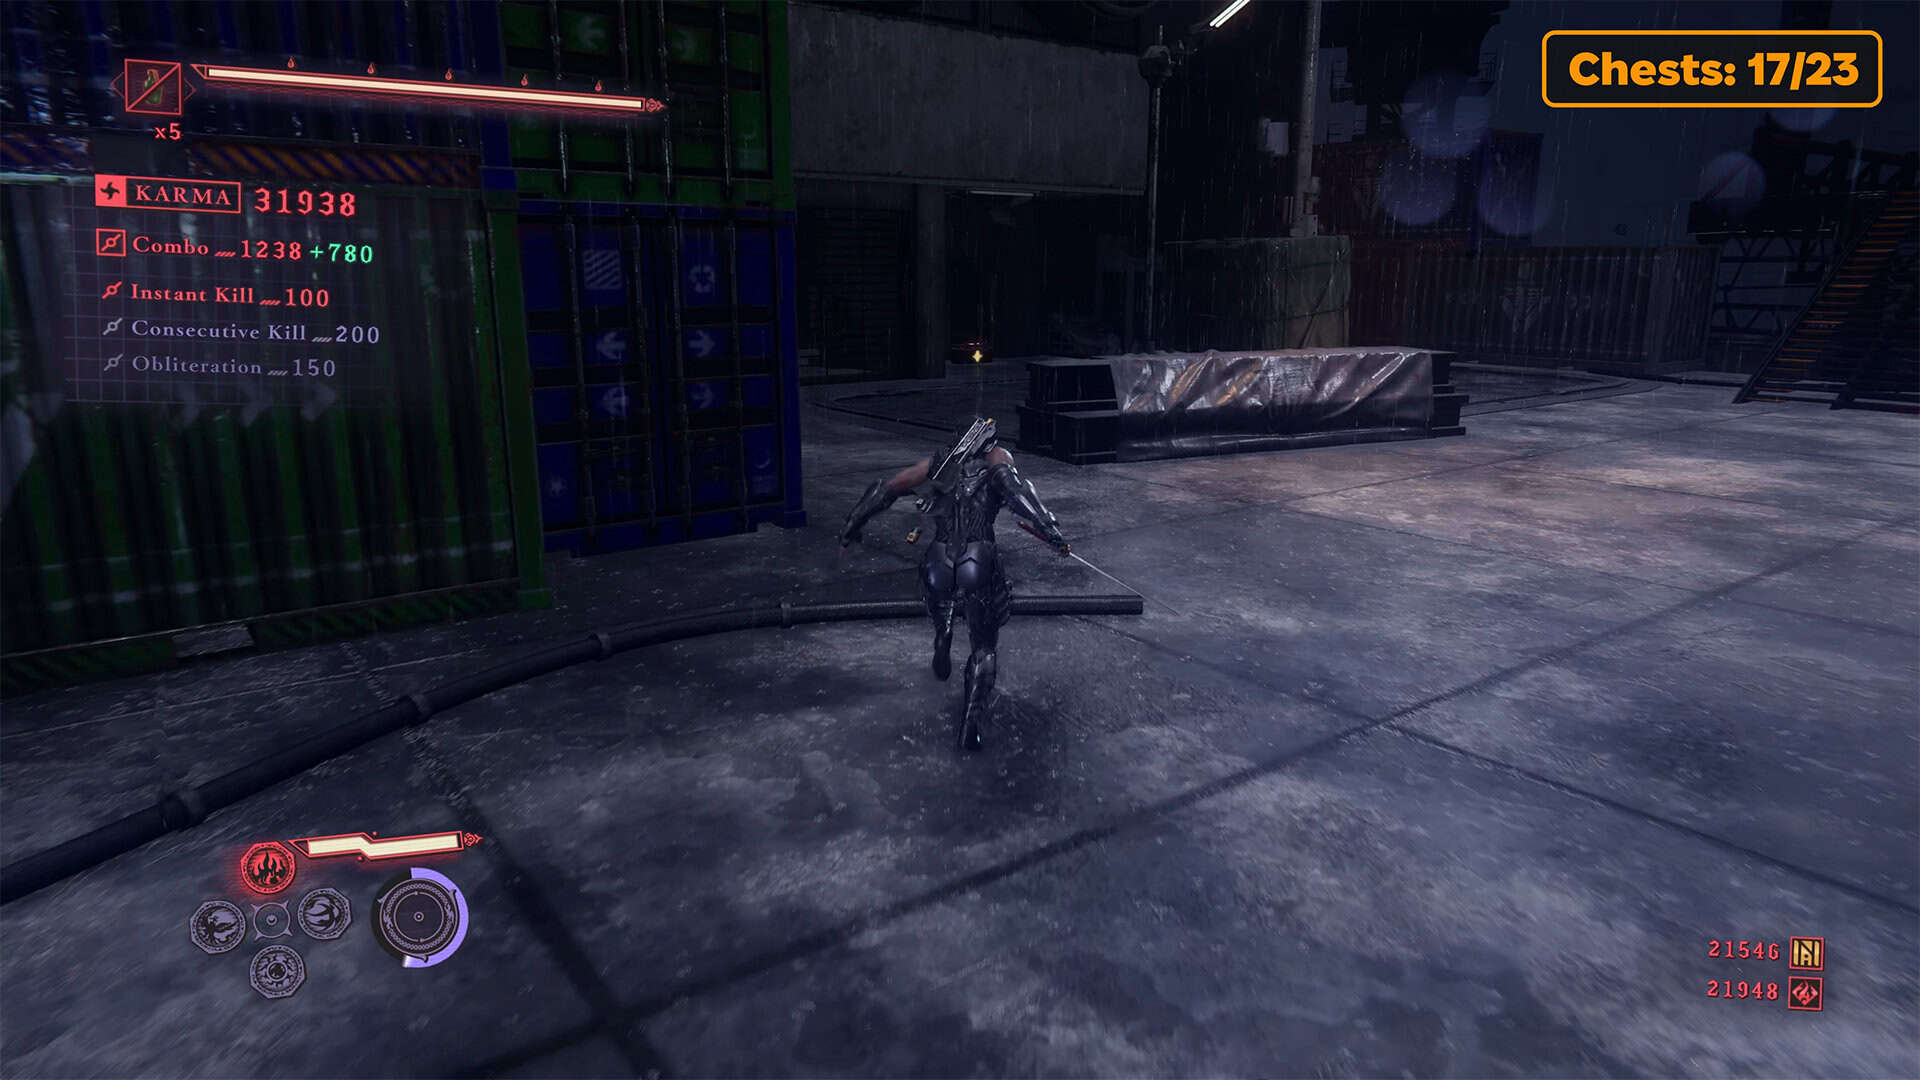
Now run towards the enemies ahead. They are guarding the route forward, but I’m sure you can negotiate with them to let you pass. Before jumping the long way forward, find the chest on the left. Open the chest to get Crimson Blood Pellets.
Life Elixir (chest 18)
You’ve had déjà vu several times in the last few chapters, because Ryu Hayabusa is now moving through the places where you recently played as Yakumo. Now you’re facing the familiar passage to the abandoned temple. The boss Kitsune Courtesan awaits you ahead. But before you get to her, you can collect many interesting and useful items in this temple.
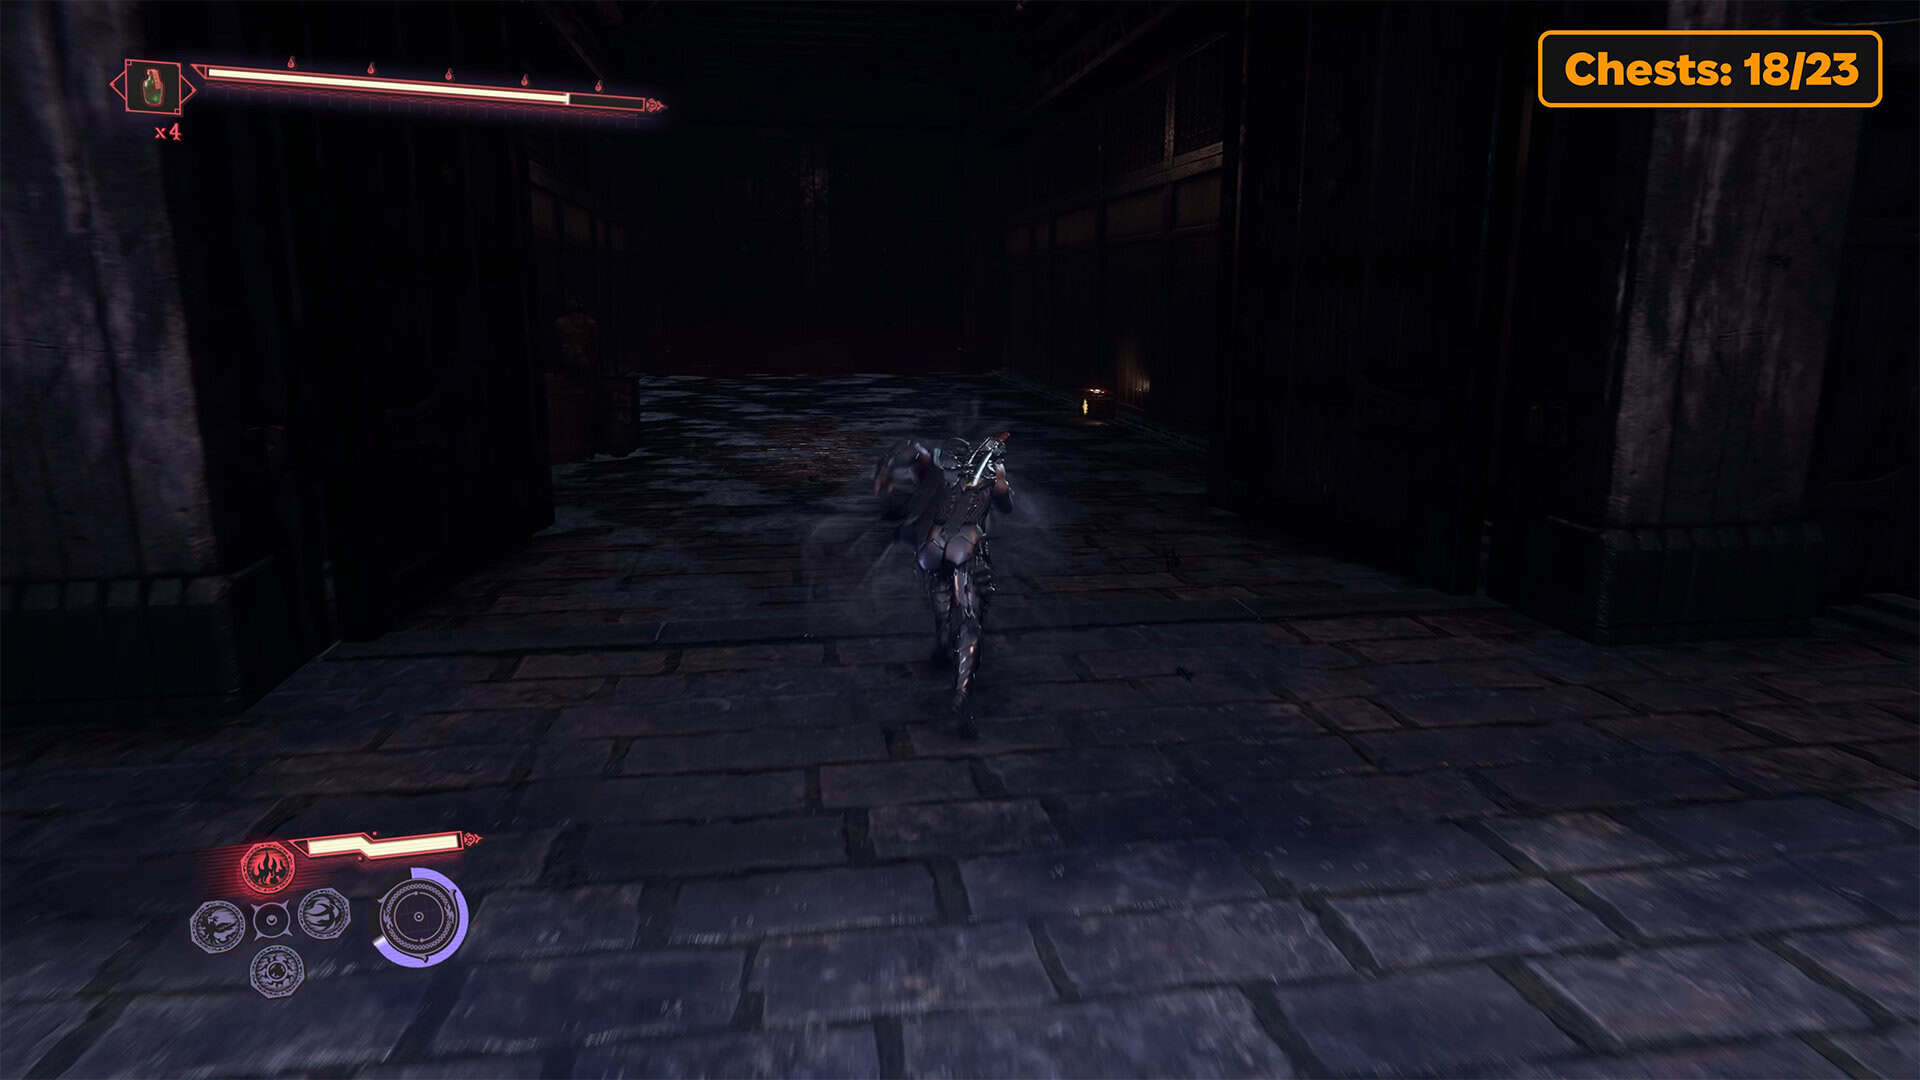
So, once you reach the temple, you will have to fight a large number of enemies. Here you will encounter Onis, Burabura Lantern Demons, and Armored Sickles. After defeating them, move forward and you will see a chest on your right. Inside the chest, you will find a Life Elixir.
Crimson Blood Balm (chest 19)
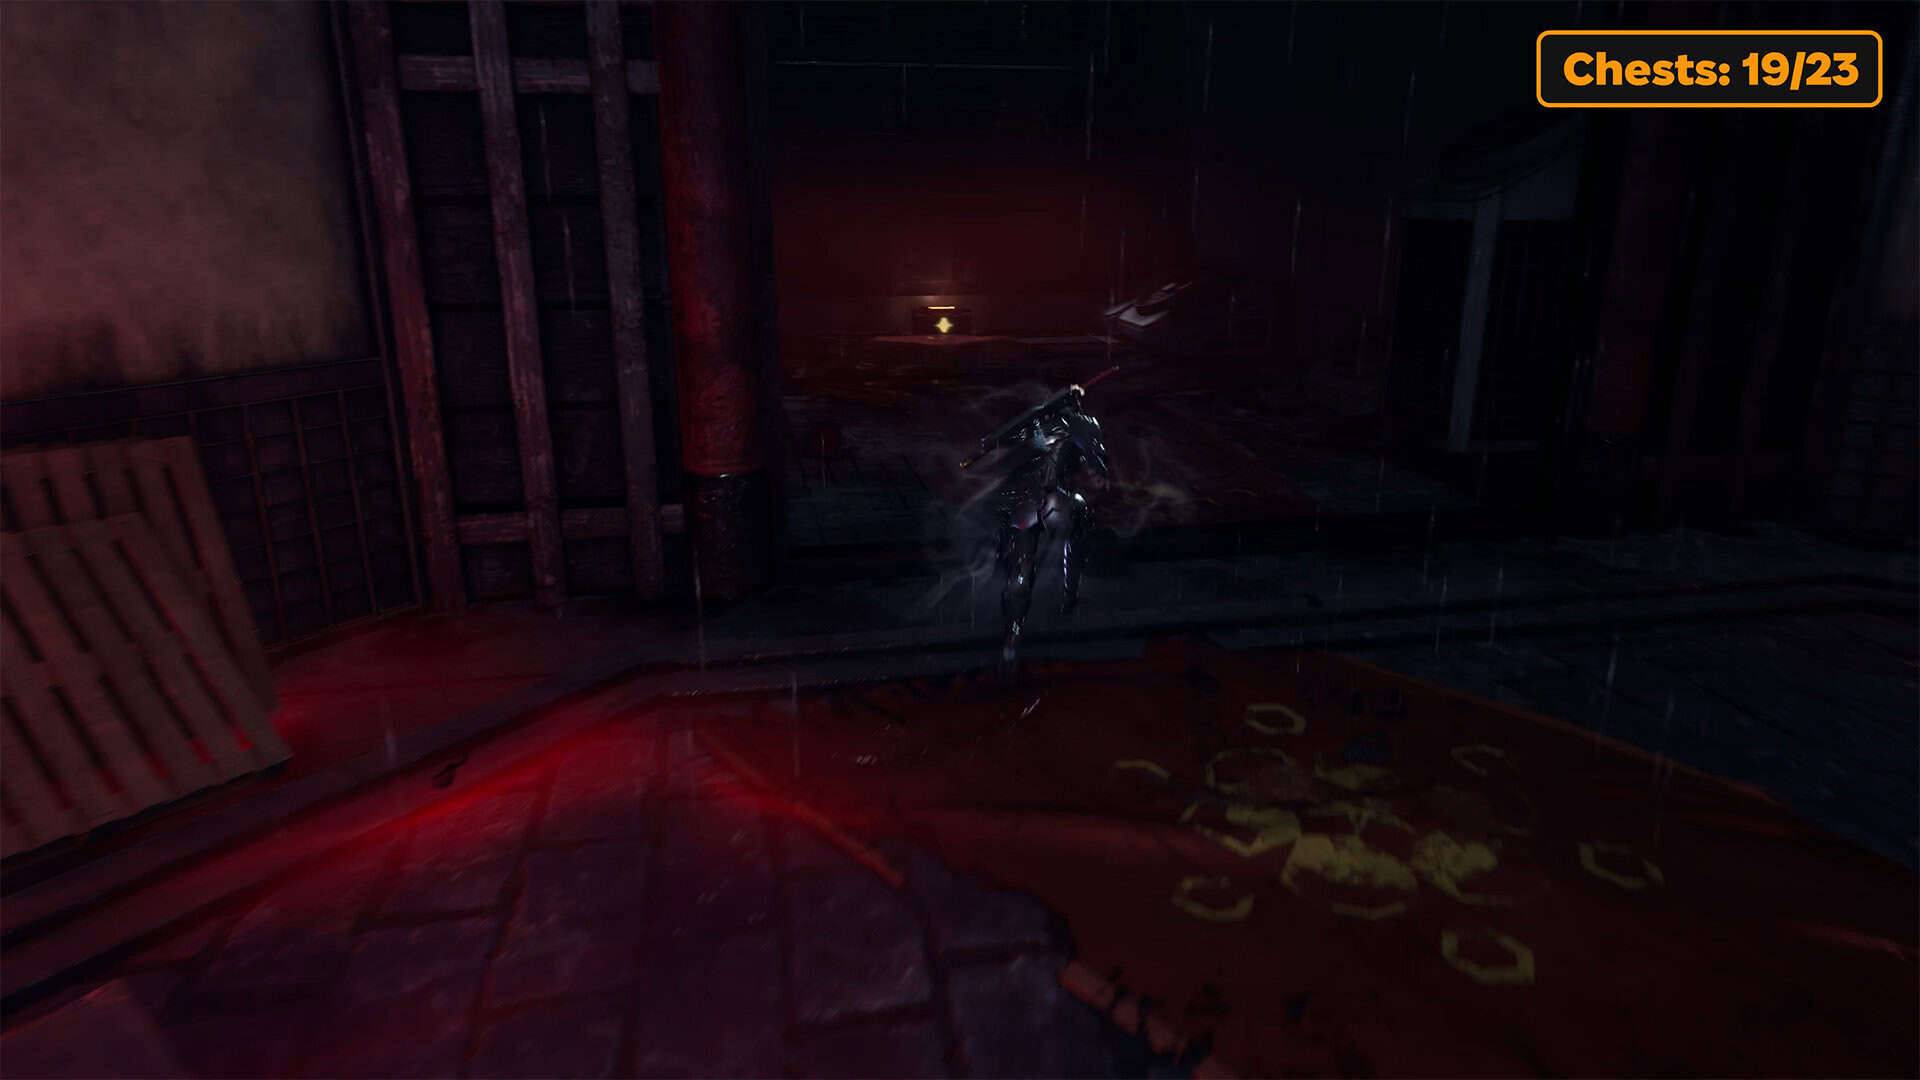
Move forward along the corridor. Go through the empty room and turn left after it. There is a small niche here where you will see a chest. Inside the chest is Crimson Blood Balm.
-
- Divine Life Elixir + Life Elixir (chests 15-16)
-
- Crimson Blood Pellets (chest 17) in Downpour
-
- Life Elixir (chest 18) in Downpour
-
- Crimson Blood Balm (chest 19) in Downpour
Reflect (chest 20)
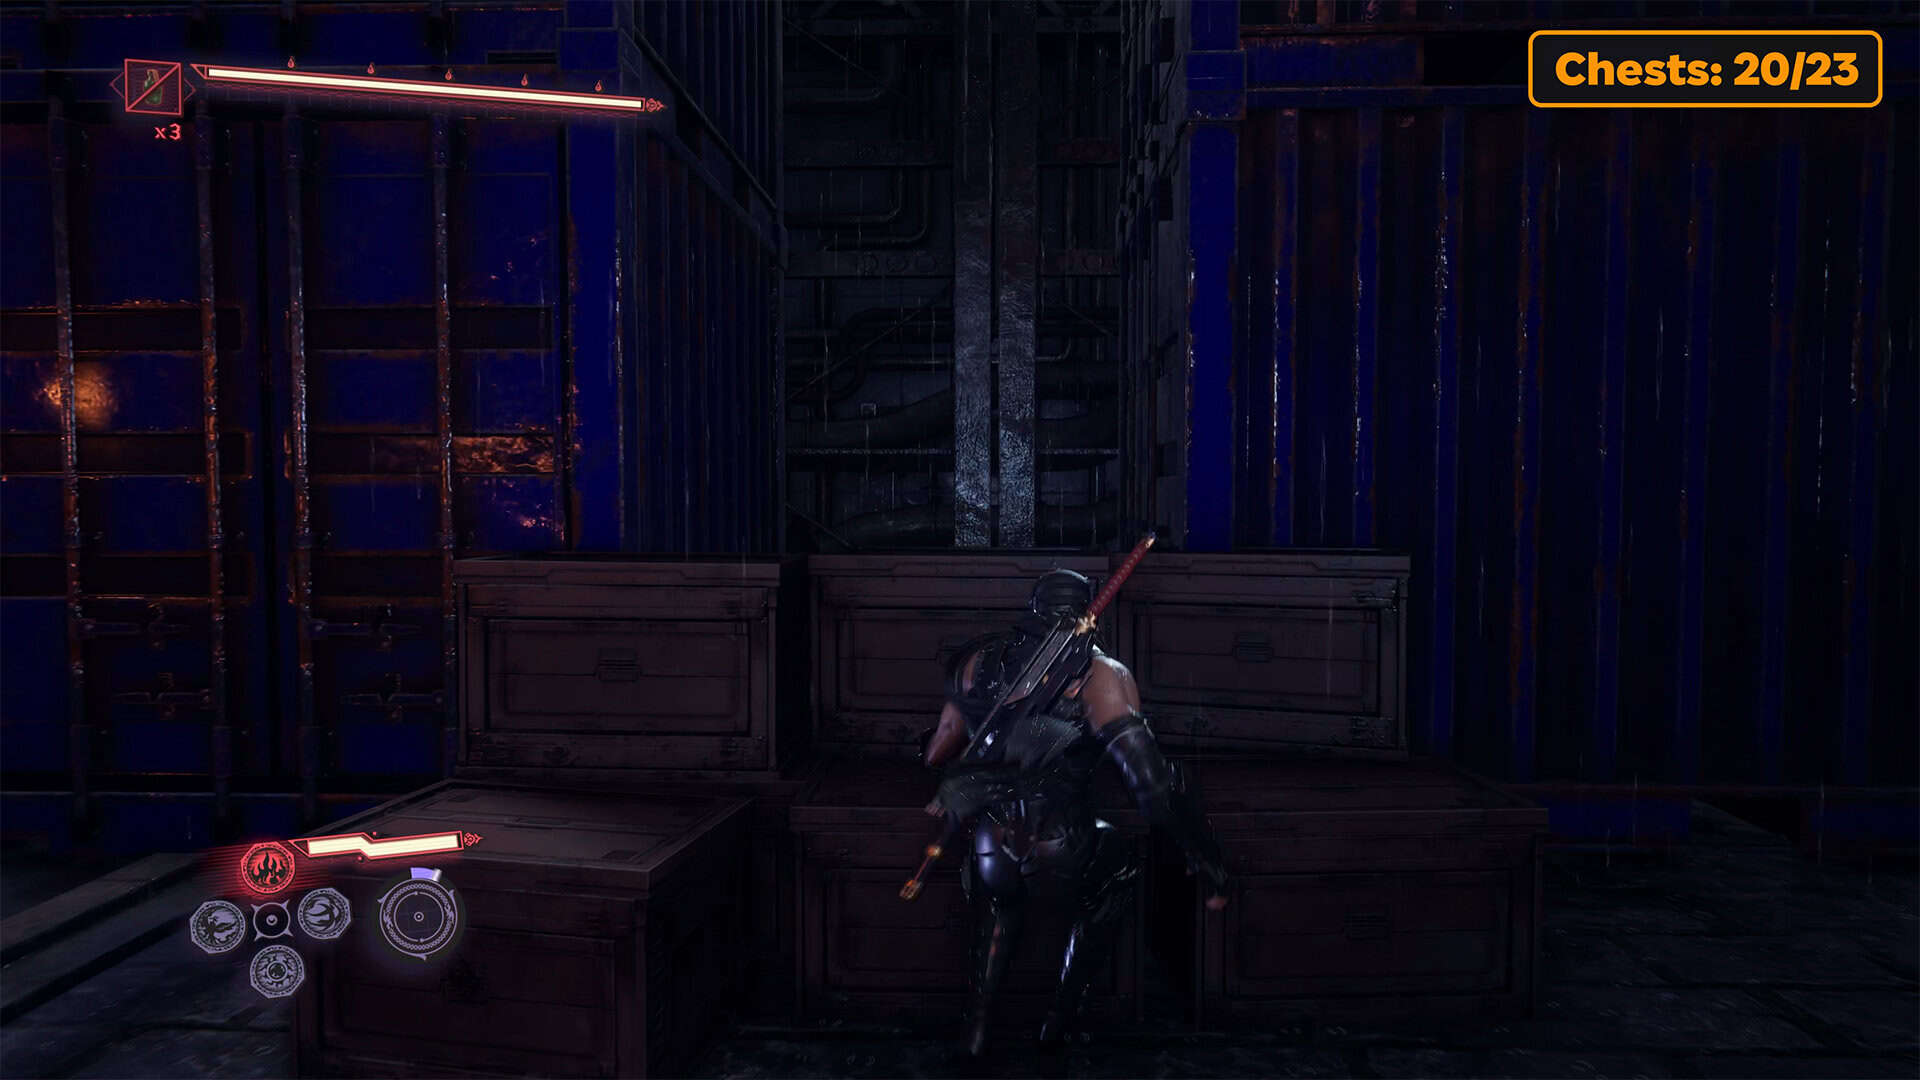
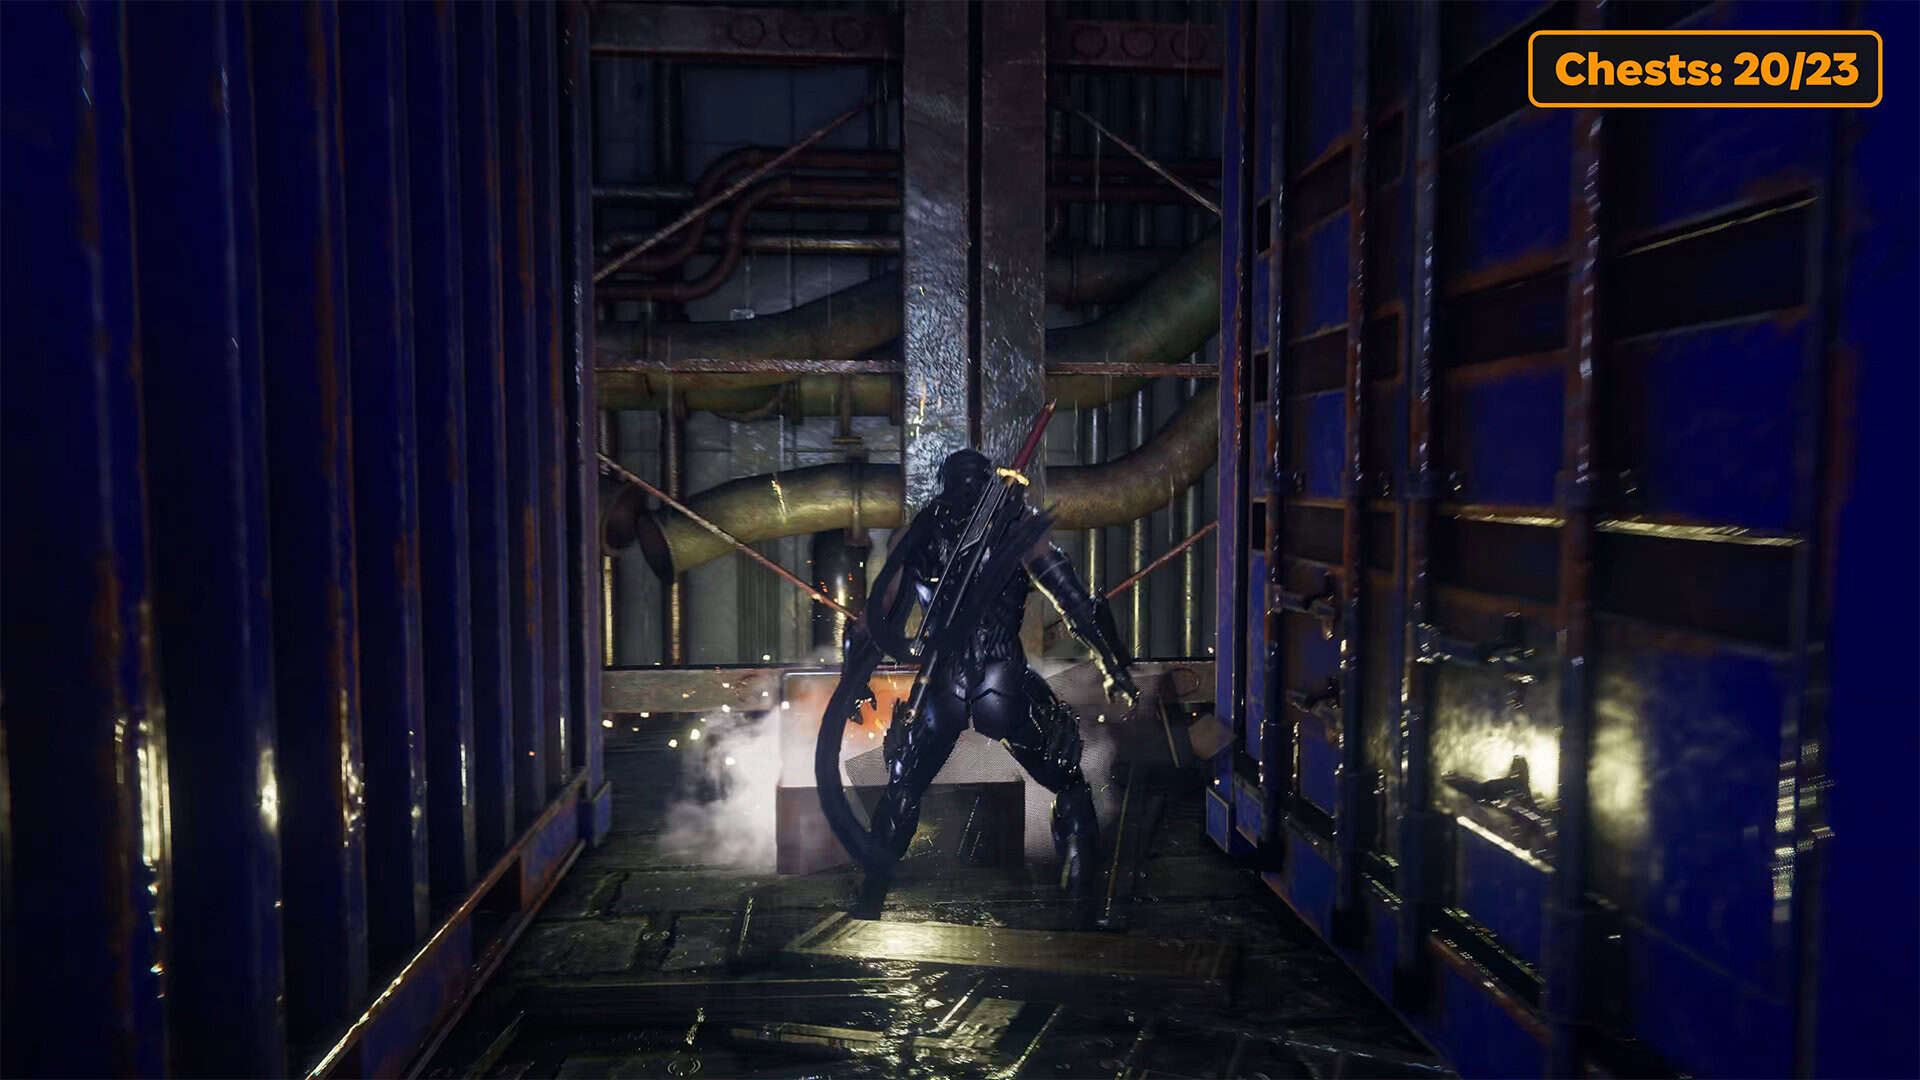
Now turn around and you will see another room in front of you, and a little further away, many wooden boxes. These boxes are hiding a chest from you. You need to break the boxes to get to the chest and open it. After that, you will receive a new skill, Reflect.
Execute the Rampant Monstrosities + Chain Link (chest 21)
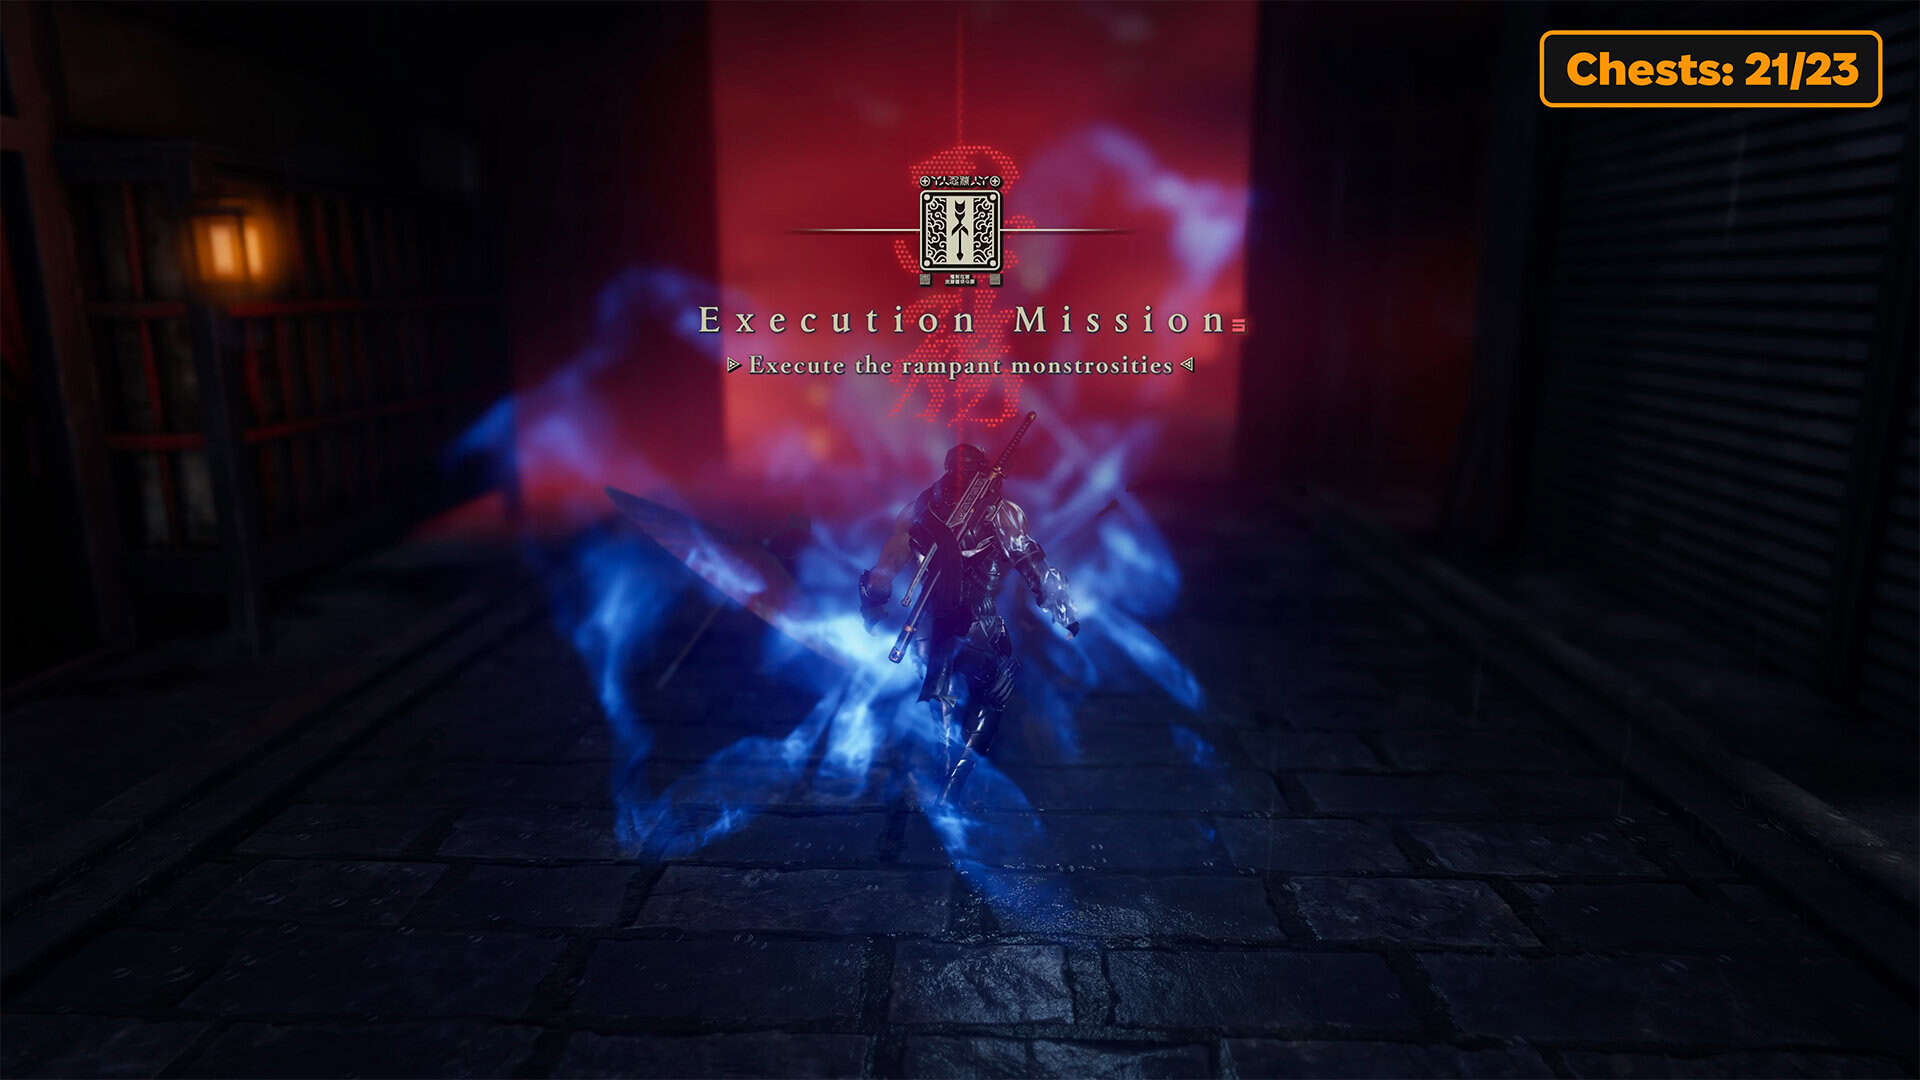
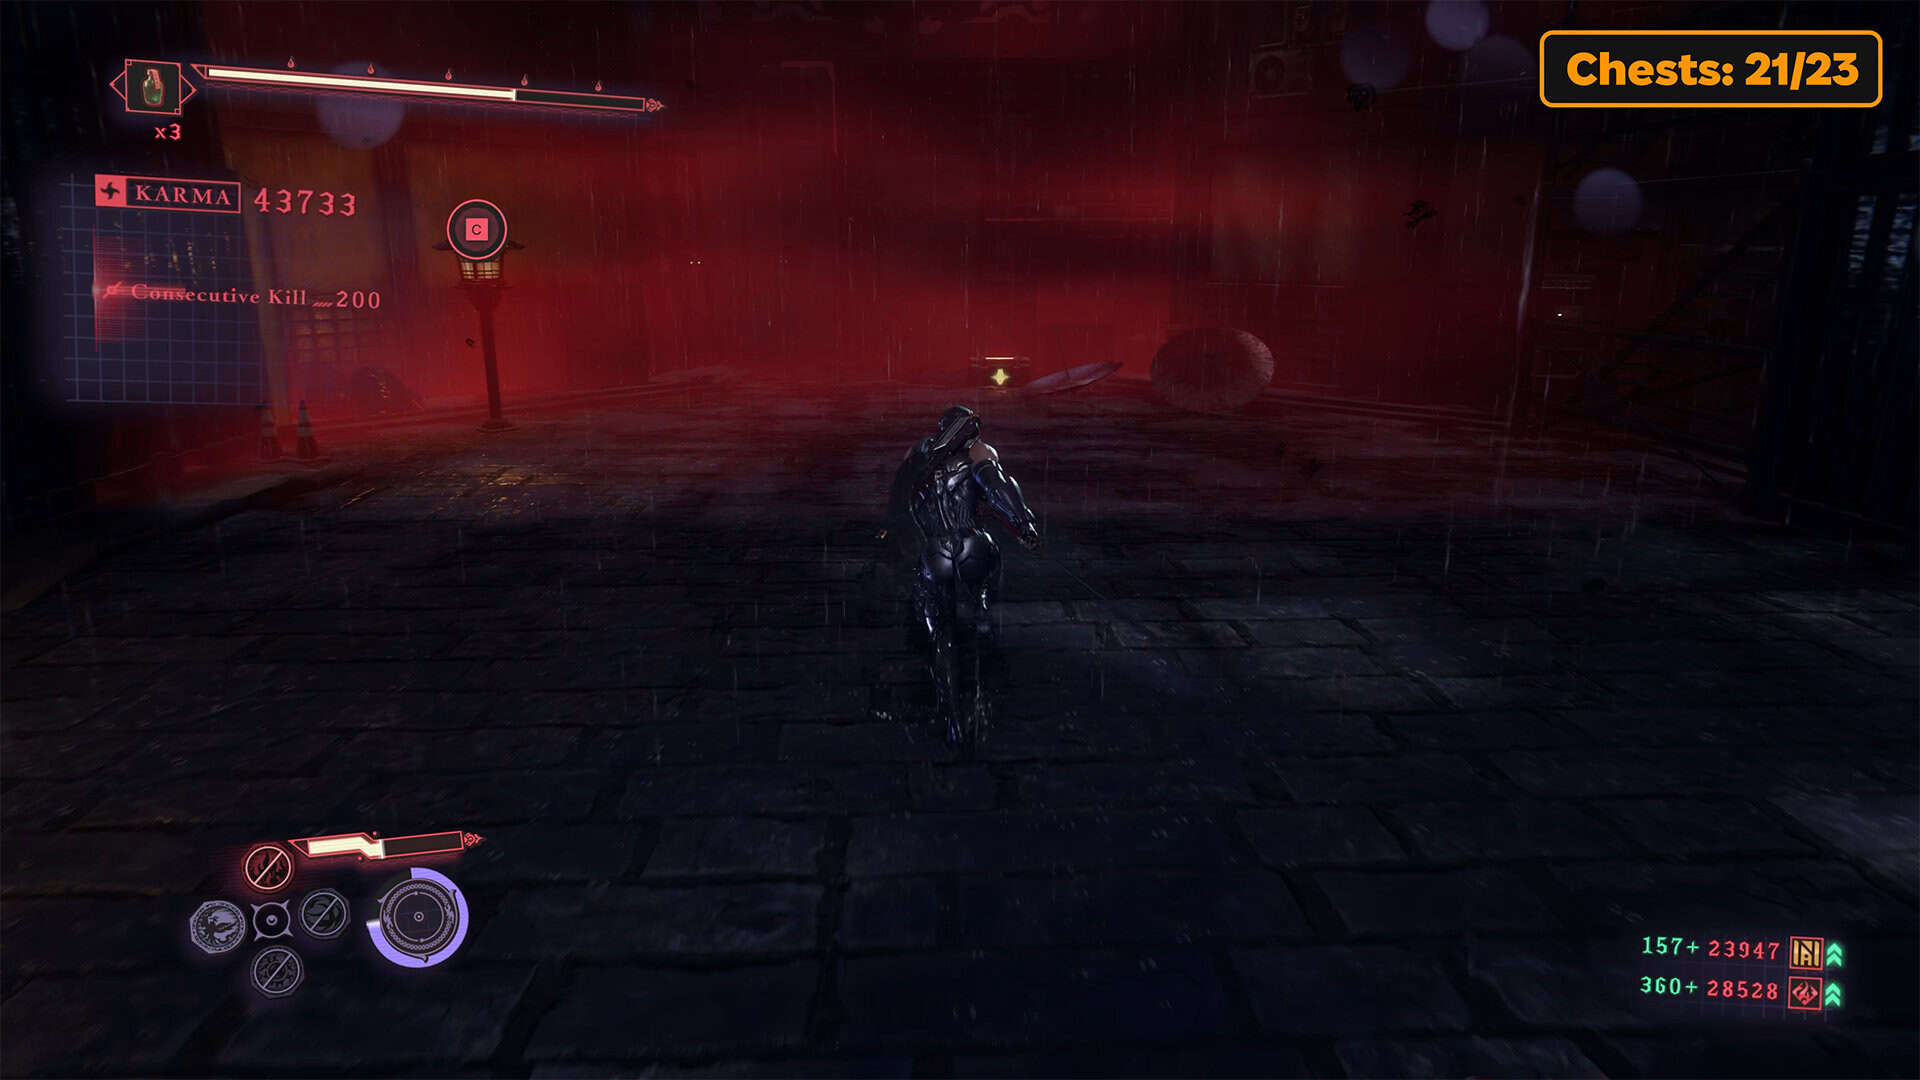
Head for the exit. You will recognize this place. There will be a yellow wall on the right, and that is the way forward. Before going there, jump down. Here is a room where you need to defeat several enemies to complete the additional quest Execute the Rampant Monstrosities. Probably the most difficult enemy here is Tsukumo Fish. You can easily deal with the others. After completing the quest, find the chest before going upstairs. It is nearby. Opening it will give you the new Chain Link skill.
-
- Break the boxes to see the chest
-
- Reflect (chest 20) in Downpour
-
- Execute the Rampant Monstrosities
-
- Chain Link (chest 21) in Downpour
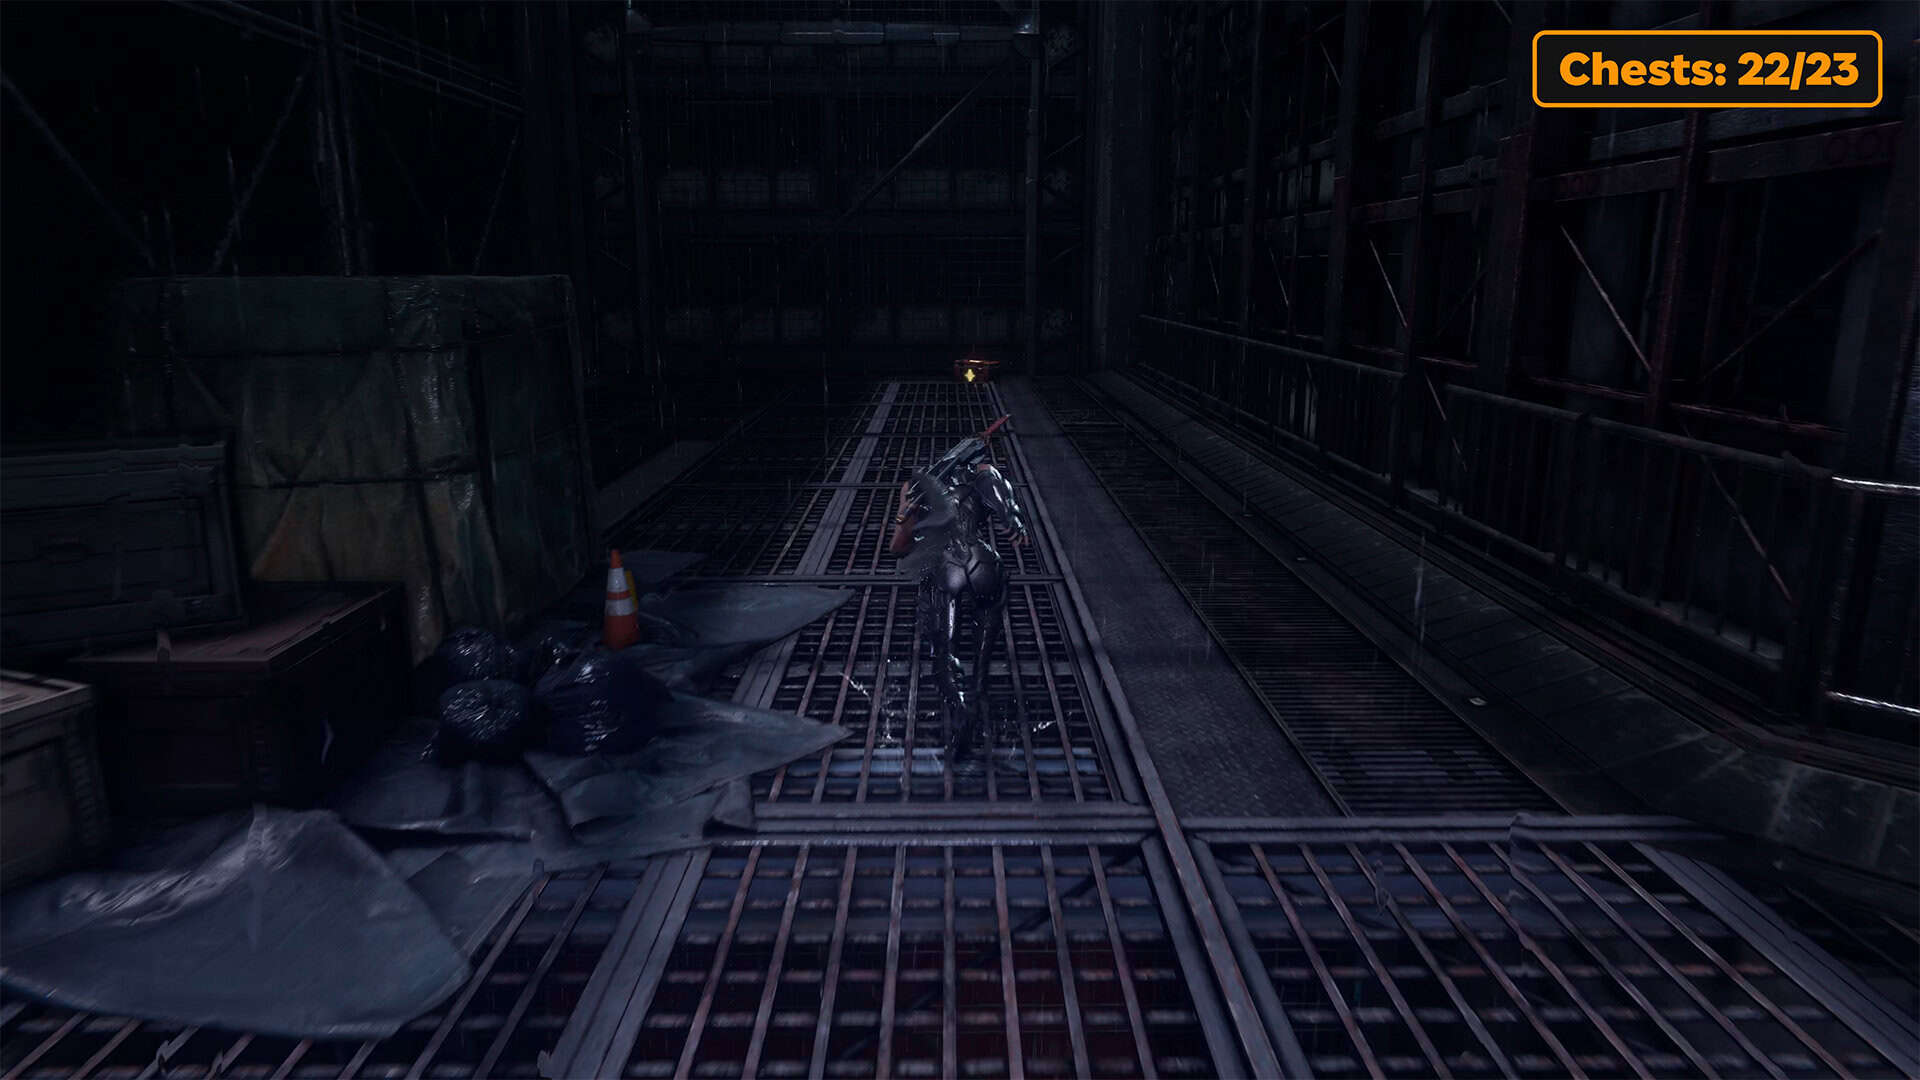
Reflect Fatal Flesh Gleam Form (chest 22)
Now you can climb up the yellow ladder from this spot and use the yellow wall on the right to run further. You will find yourself on a metal platform. Just run straight ahead and you will see a chest in front of you. Open it to get the new Reflect Fatal Flesh skill for Gleam Form. After that, you can move on. There is very little left until the end of the chapter.
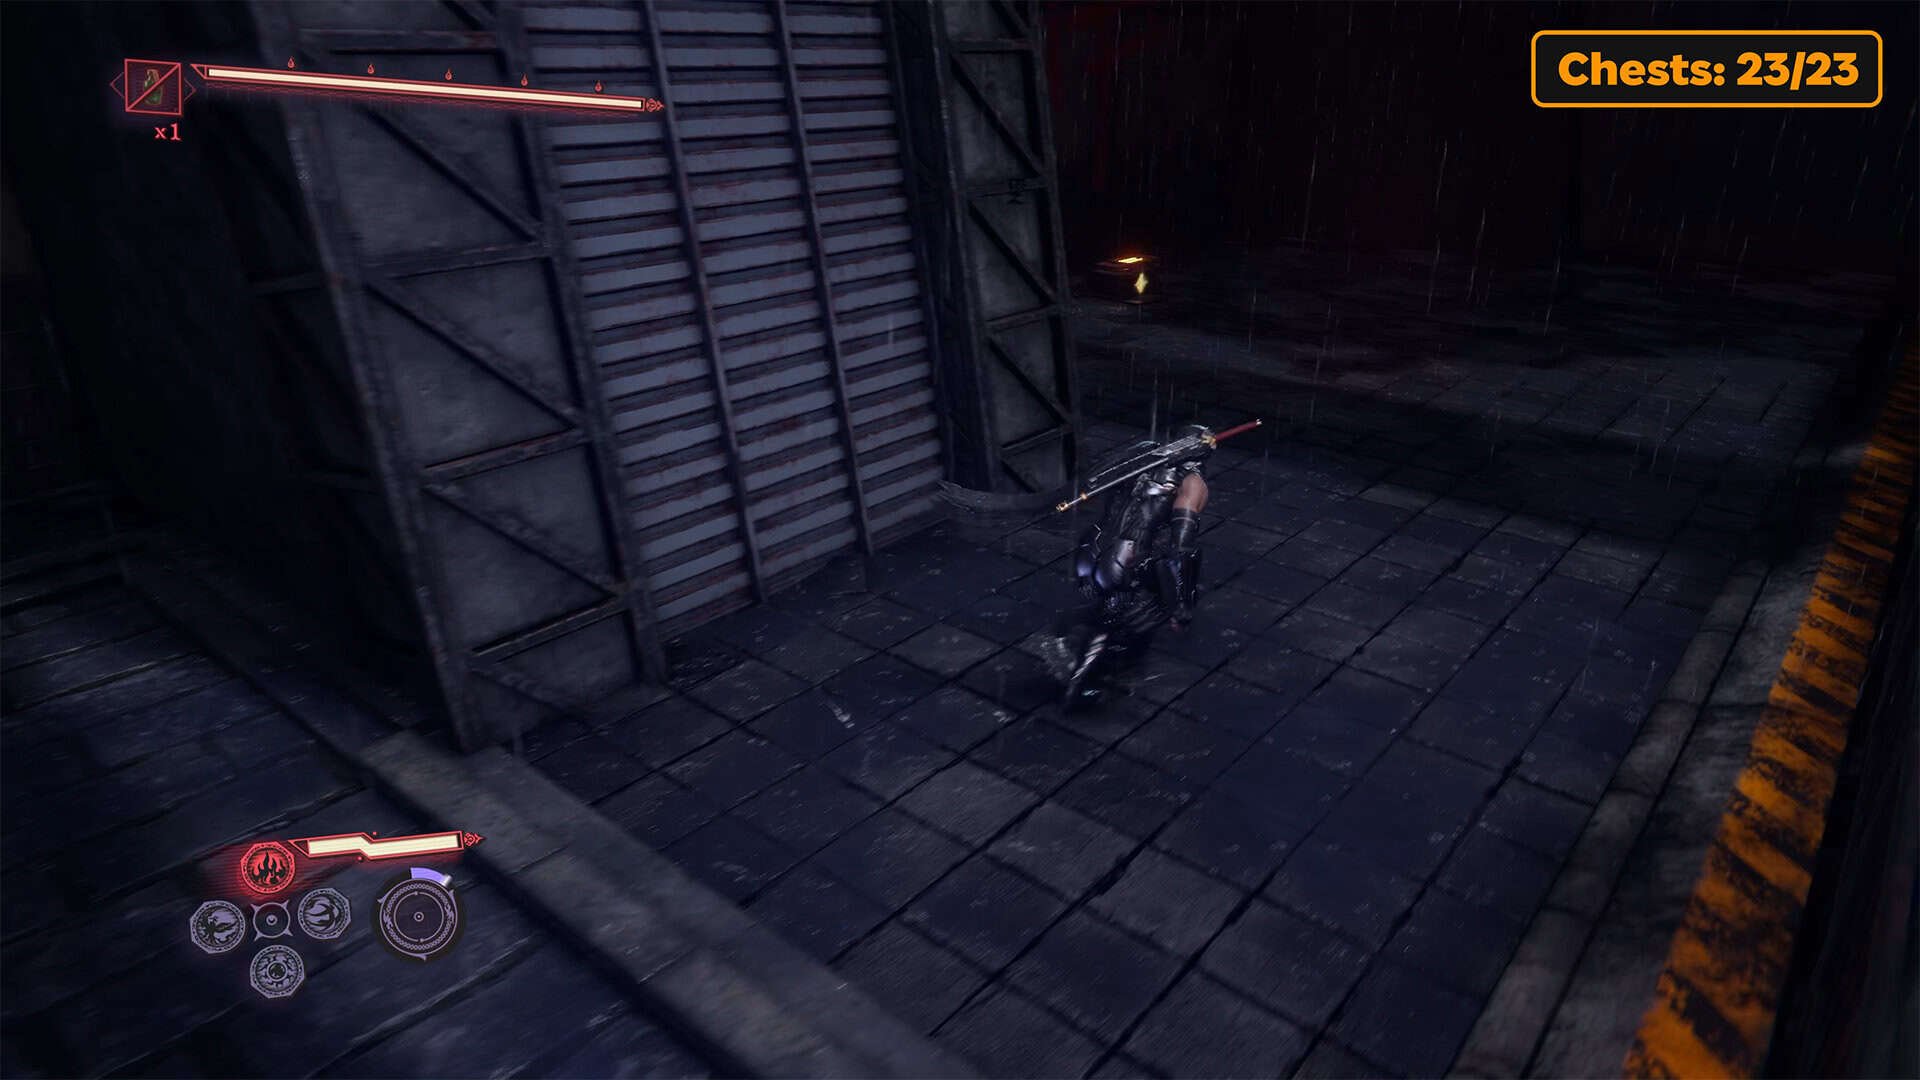
Incencse of Rebirth (chest 23)
You will see the place where you need to jump down. On the right, you will see a door that you can destroy to move on. In general, you have already explored this abandoned temple completely, and now you need to move on to the final battle. Therefore, head in the direction that leads you to the exit of the location. On the way, you will encounter another group of enemies. It will be several Onis. After defeating them, you will see a long corridor. This is the path to the boss, but before you go there, open the chest on the right. Here you will receive Incense of Rebirth.
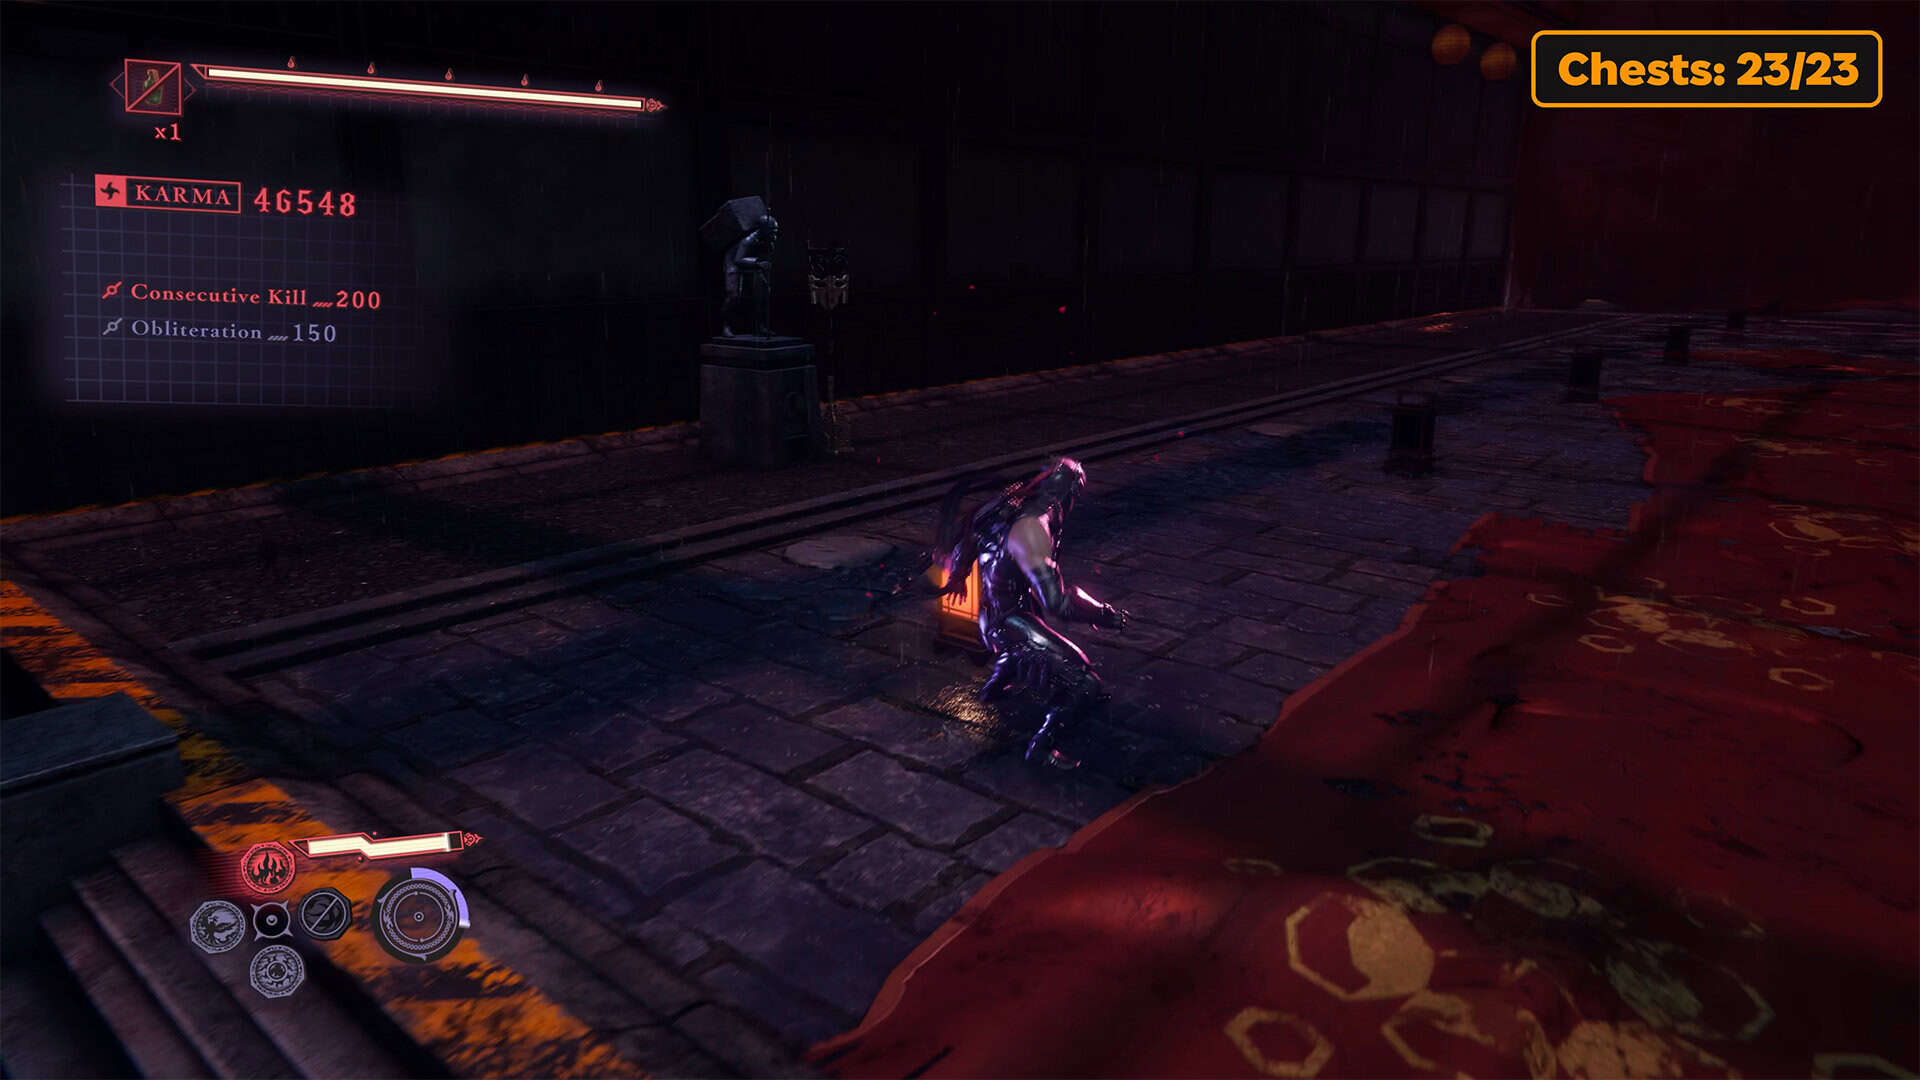
Last Muramasa’s shrine
Walk down the long corridor and you will see the last group of enemies. Here there is one Oni and two Burabura Lantern Demons. This is a symbolic obstacle that you can easily overcome. After the battle, find the last Muramasa’s shrine. Here you need to receive a reward for one quest and prepare for the final battle of this chapter with Kitsune Courtesan.
-
- Reflect Fatal Flesh Gleam Form (chest 22)
-
- Incencse of Rebirth (chest 23) in Downpour
-
- Last Muramasa’s shrine
-
- Complete the completed quest
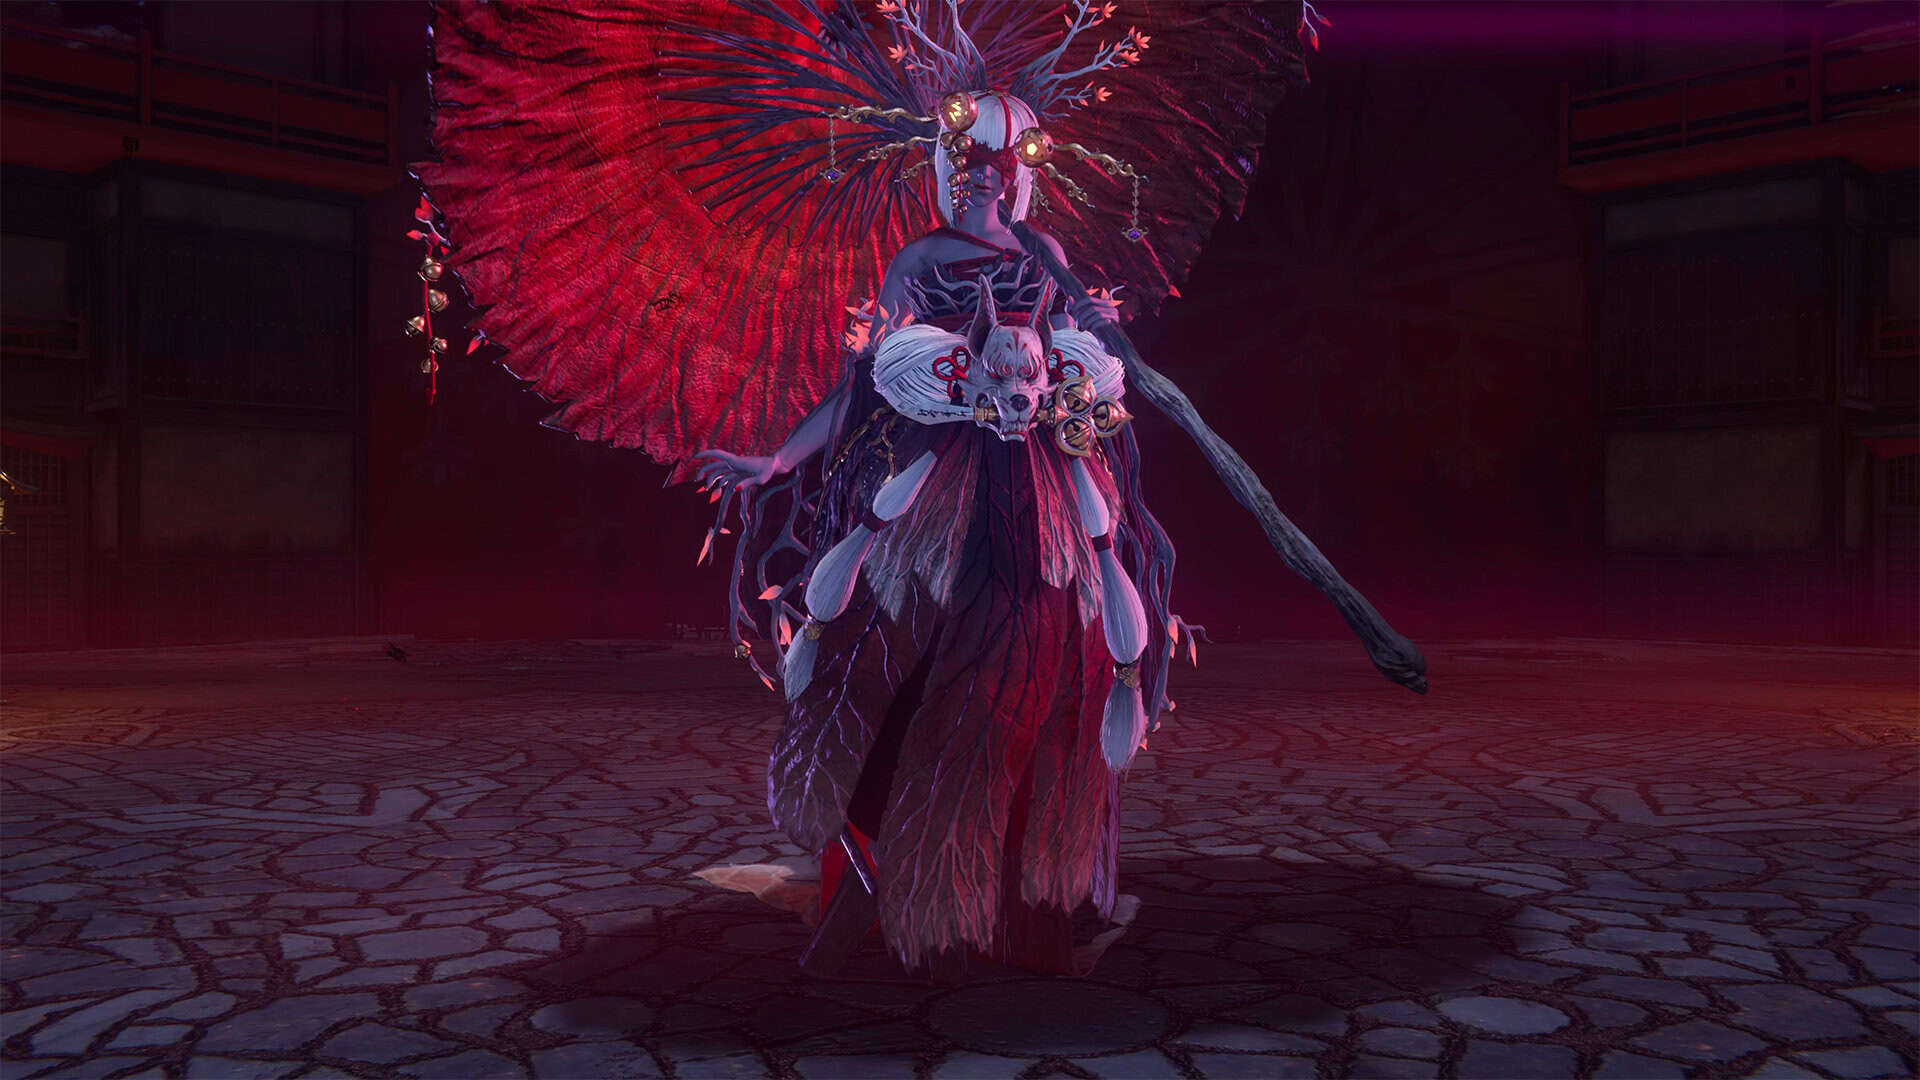
Ninja Gaiden 4 Downpour boss guide – Kitsune Courtesan
Finally, the final battle with Kitsune Courtesan. You already know this boss, and he hasn’t changed at all since your previous encounter. Kitsune delivers many blows, but they are all relatively weak, so they won’t cause you much damage if you don’t manage to block or dodge them. Many of the boss’s attacks are continuous combos. You can block or dodge most of these attacks. In between Kitsune’s combos, you need to deal as much damage as possible.
When Kitsune scatters her umbrellas around the location, prepare for a prolonged defense. Your opponent has two health bars. The second phase is considered more difficult because the boss gains a few more combinations and offensive abilities, but the nature of the fight and your actions remain the same. Your task is to look for pauses in your opponent’s attack and strike, gradually reducing the boss’s health.
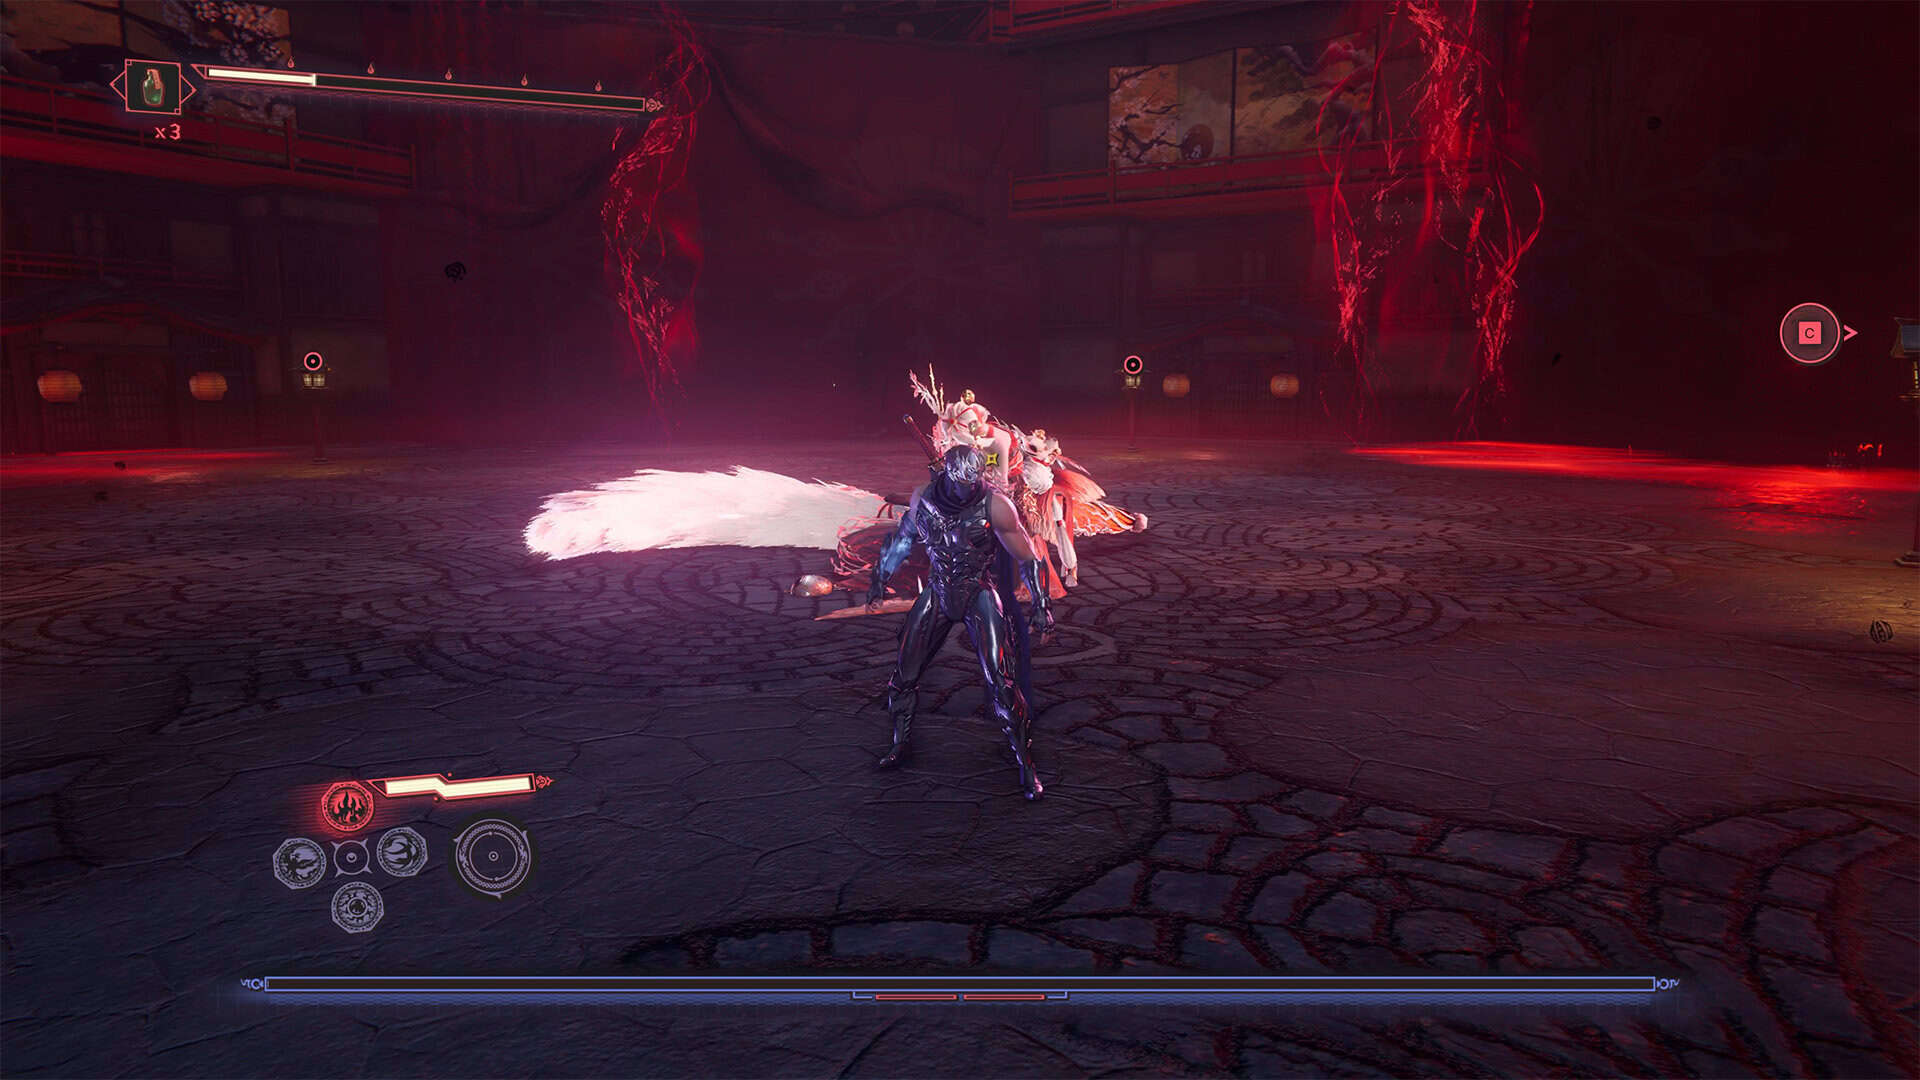
I am more than confident that you will defeat Kitsune Courtesan on your first try. Compared to all the previous battles, this boss really seems too easy and predictable. Just alternate between defense and attack correctly, and you will quickly succeed.
Ninja Gaiden 4 Downpour cutscene
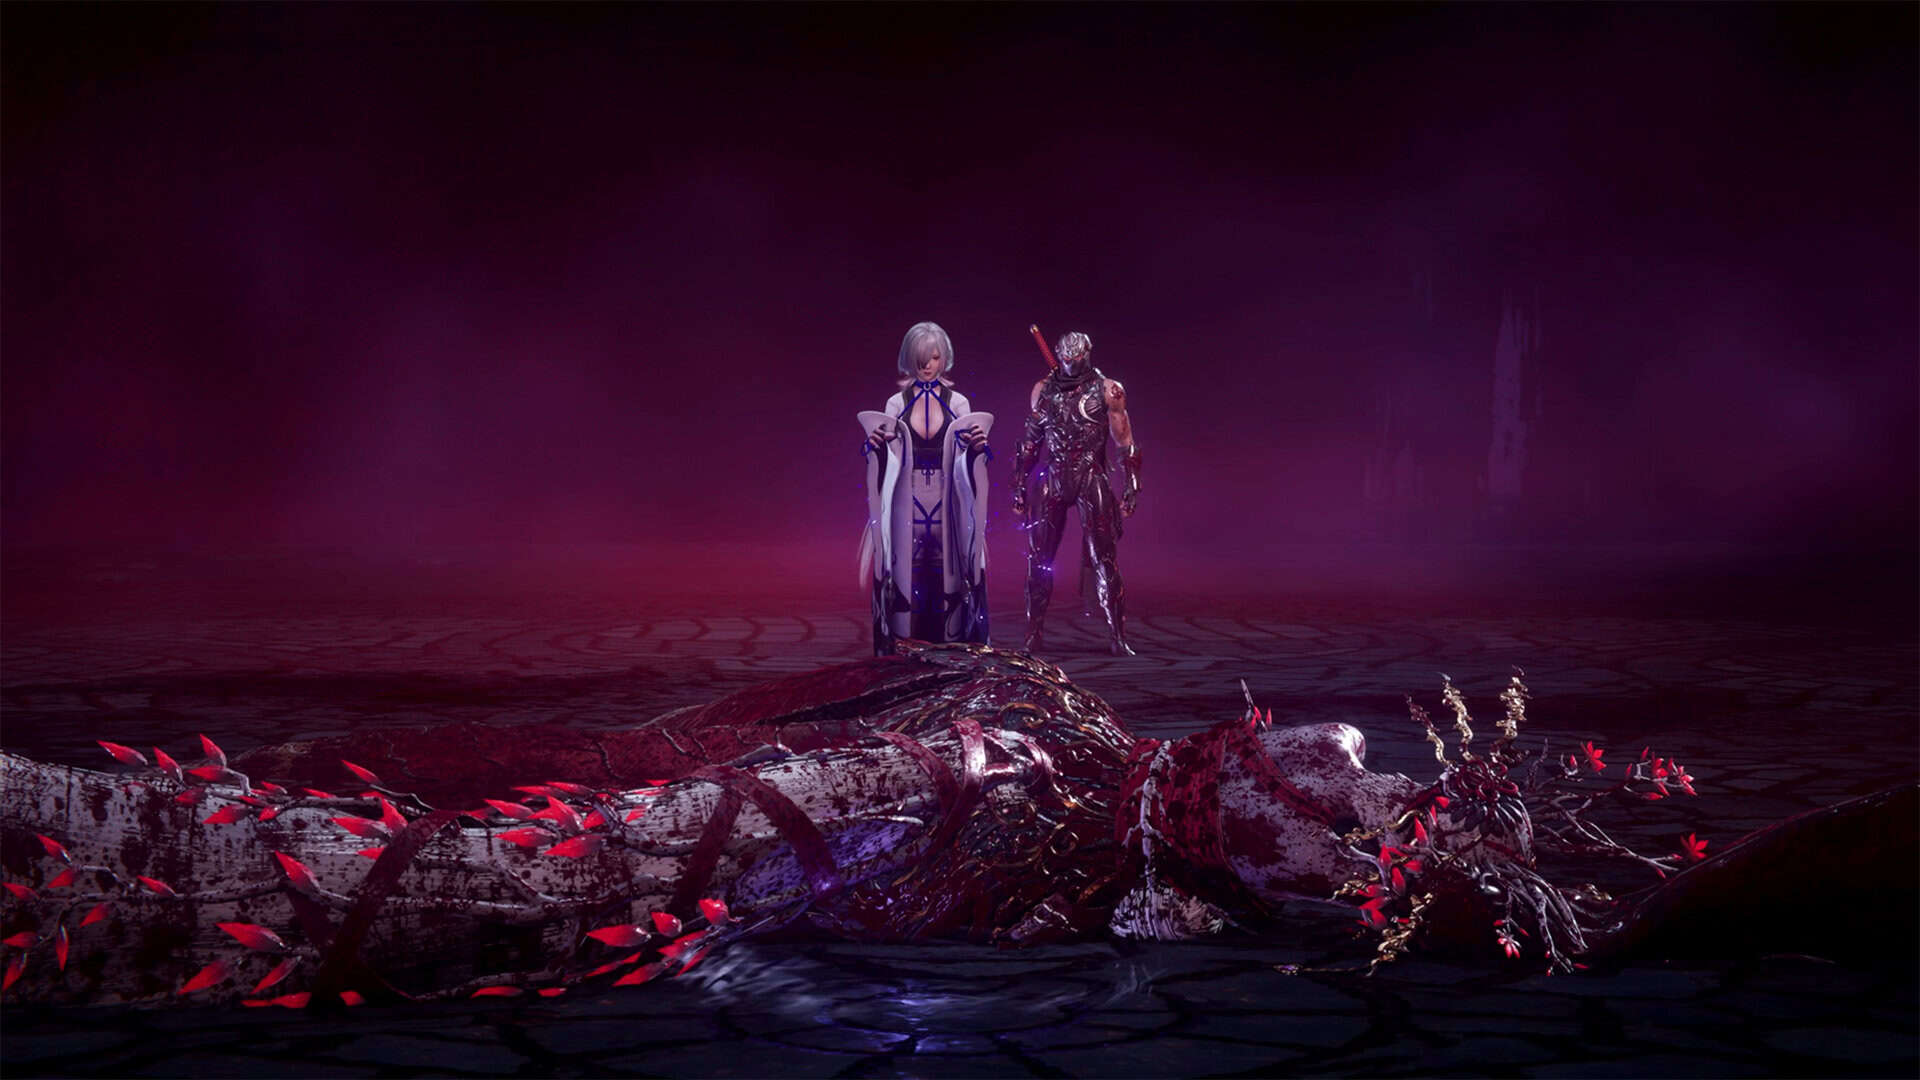
The final cut scene, which you will see next, shows you again how Ryu Hayabusa and Seori sealed the boss to imprison the dark dragon. You will see how the drama of the scene and the relationship between these two characters develops. This will be interesting for a general understanding of the situation. And that’s all the useful tips I can give you in this chapter.
-
- Final boss – Kitsune Courtesan
-
- Ninpo – an effective weapon against the boss
-
- Kitsune Courtesan defeated
-
- Ninja Gaiden 4 Downpour cutscene