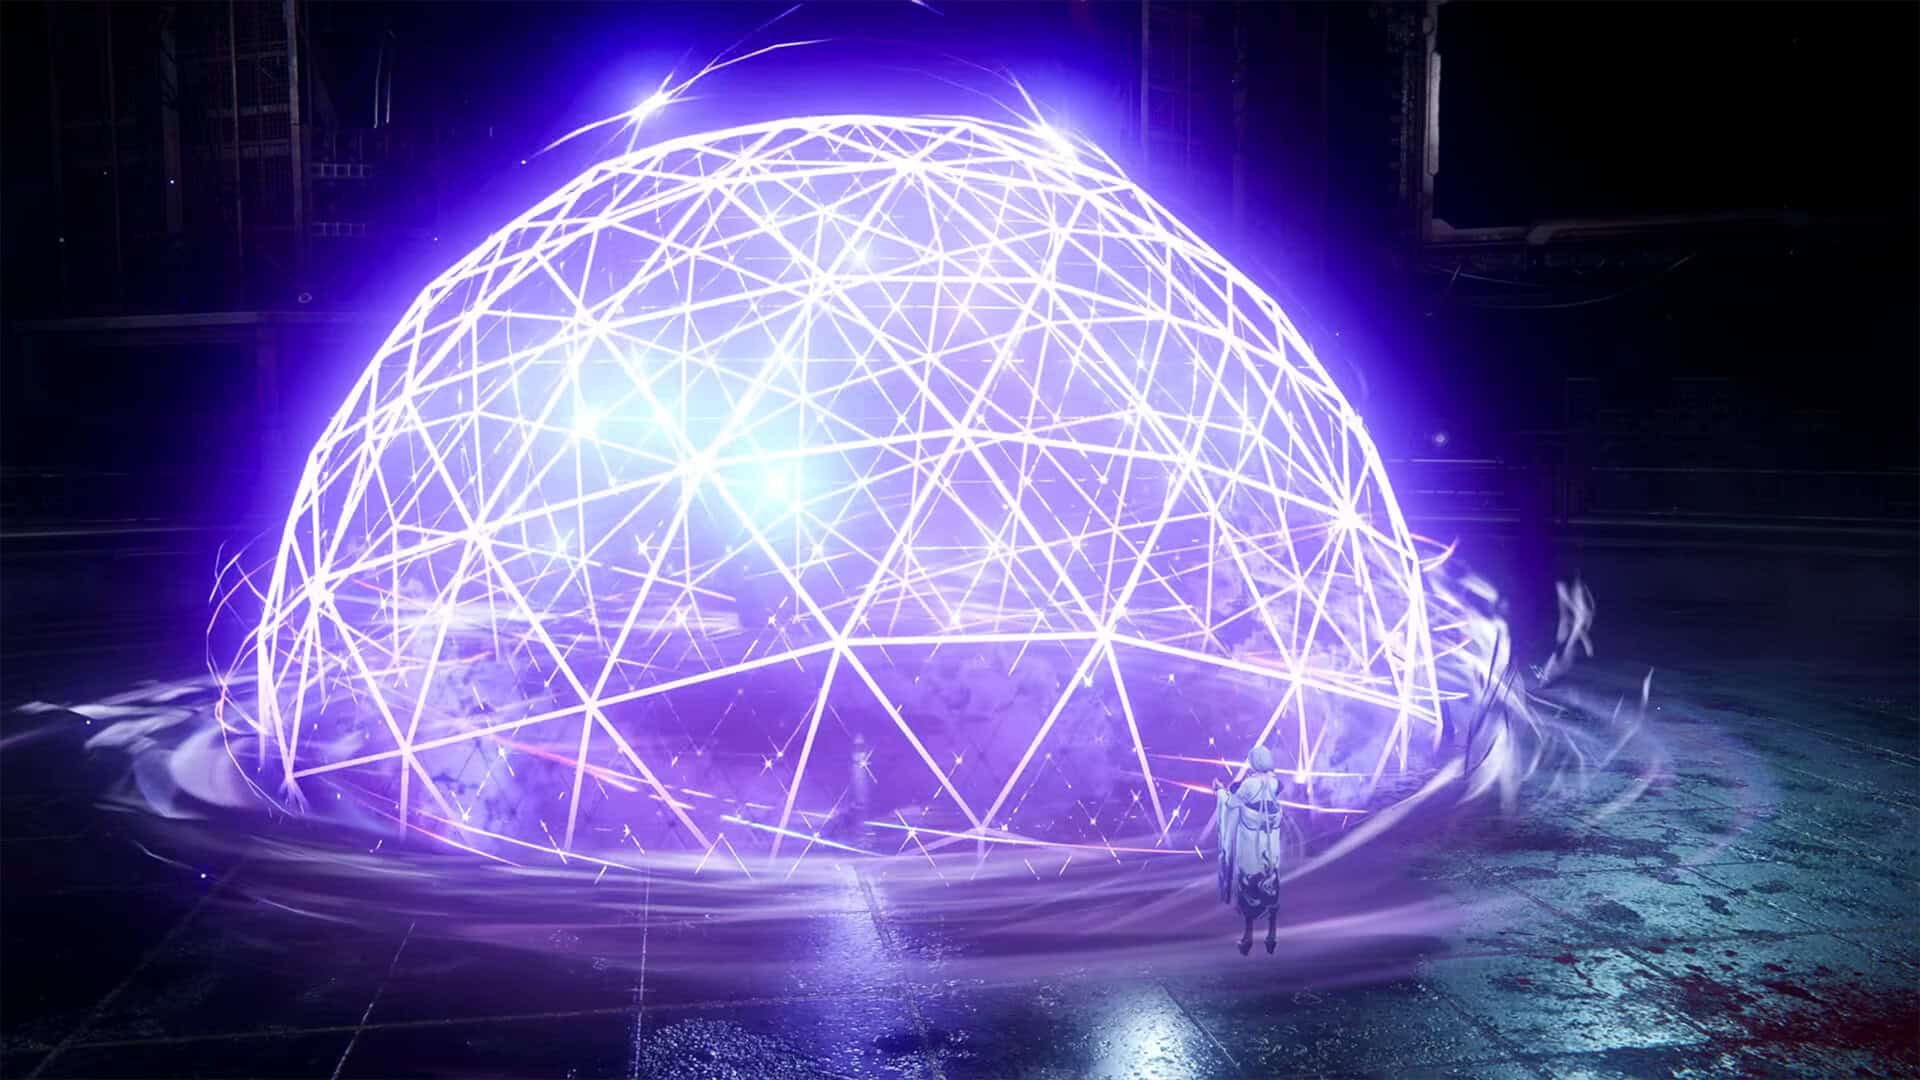
Fanged Gate is Chapter 15 in Ninja Gaiden 4. I will show you all the key points in this chapter that you need to find, visit, and collect. First, you will see that this is a chapter in which you play as Ryu Hayabusa. In addition to the combat mechanics, the special feature is that Ryu learns new skills when he finds chests. I remind you that the previous chapter, Unholy Descent, has also been analyzed in detail.
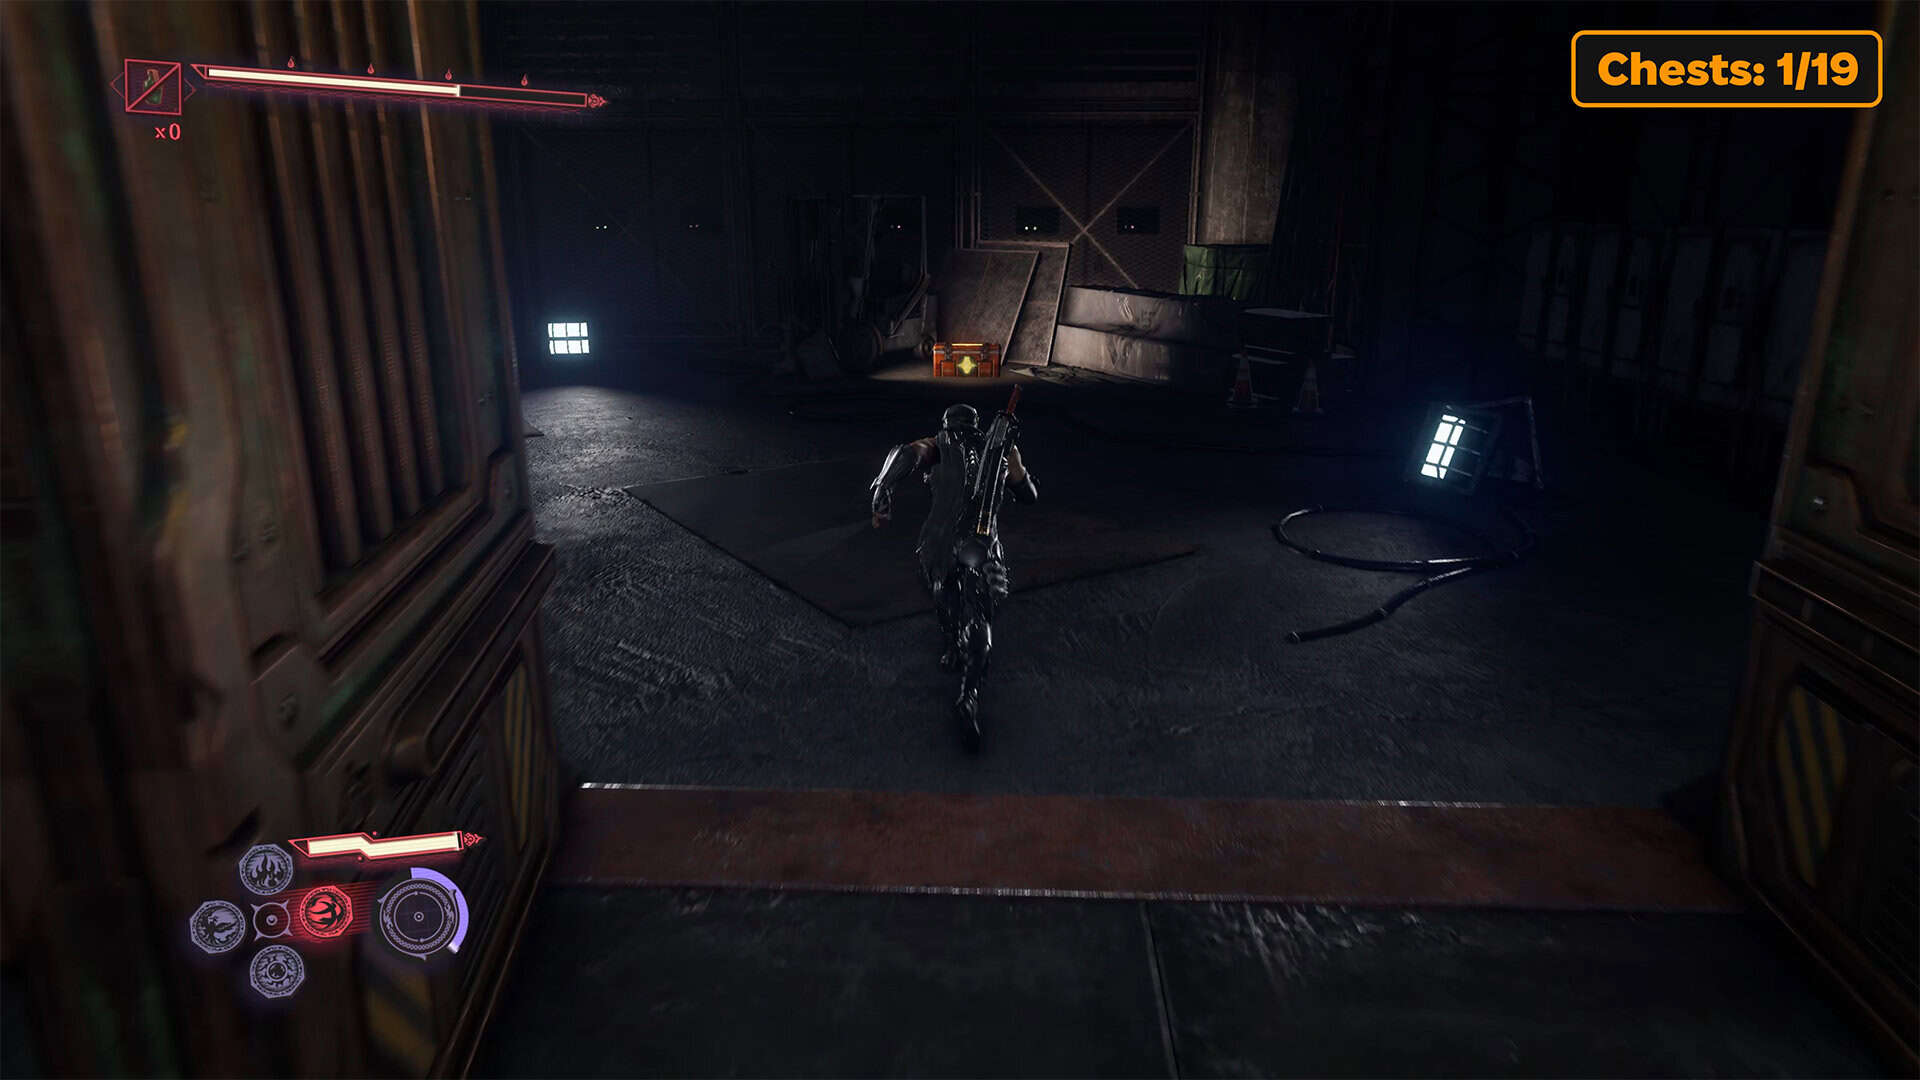
Fatal Flash (chest 1)
First chest is nearby. By opening it, you will gain the Fatal Flash skill.
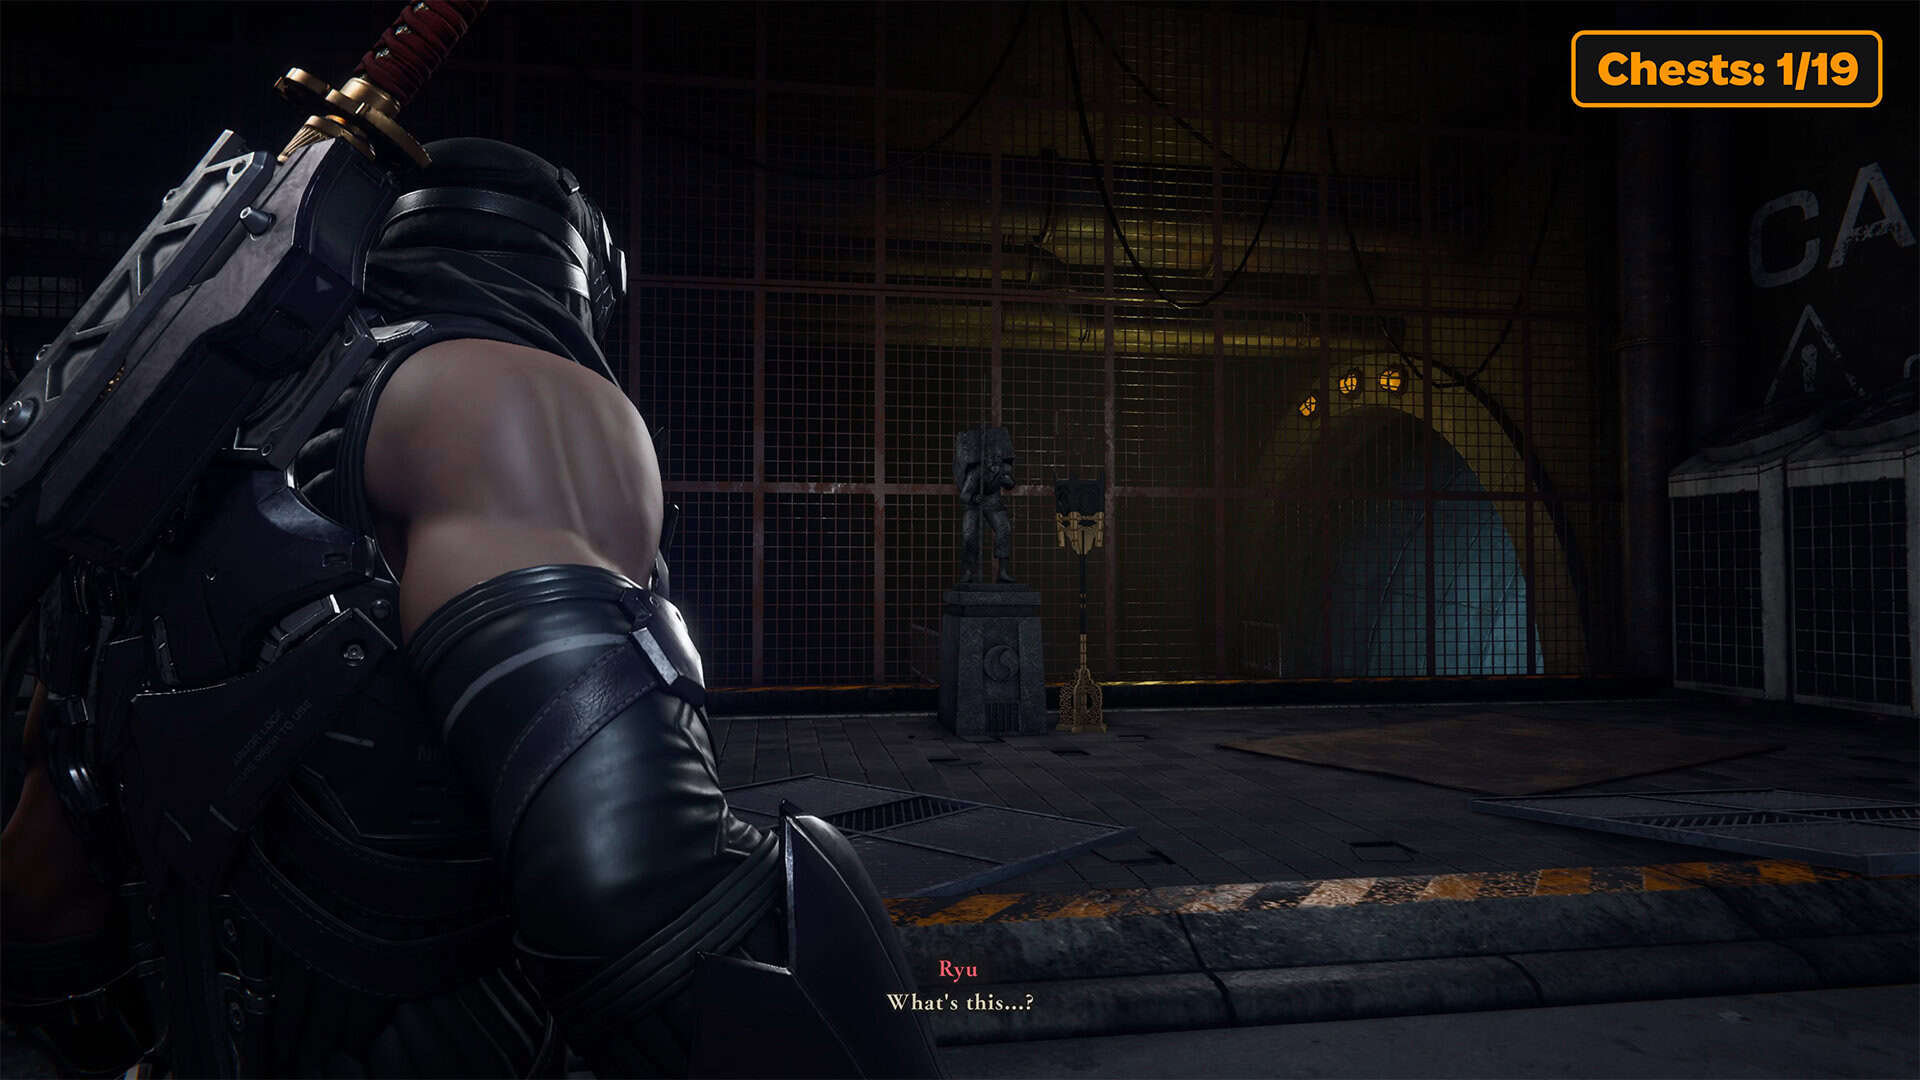
Muramasa’s shrine
Next, jump down into the vertical tunnel. After walking through the corridors for a while, you will find the first Muramasa’s shrine. It is similar to the DarkNest Terminal used by Yakumo. Here you need to replenish your records if you have enough NinjaCoins, as well as accept a side quest, which we will complete in this chapter and receive a reward for. Therefore, don’t skip it.
-

- Fatal Flash (chest 1)
-
- Muramasa’s shrine
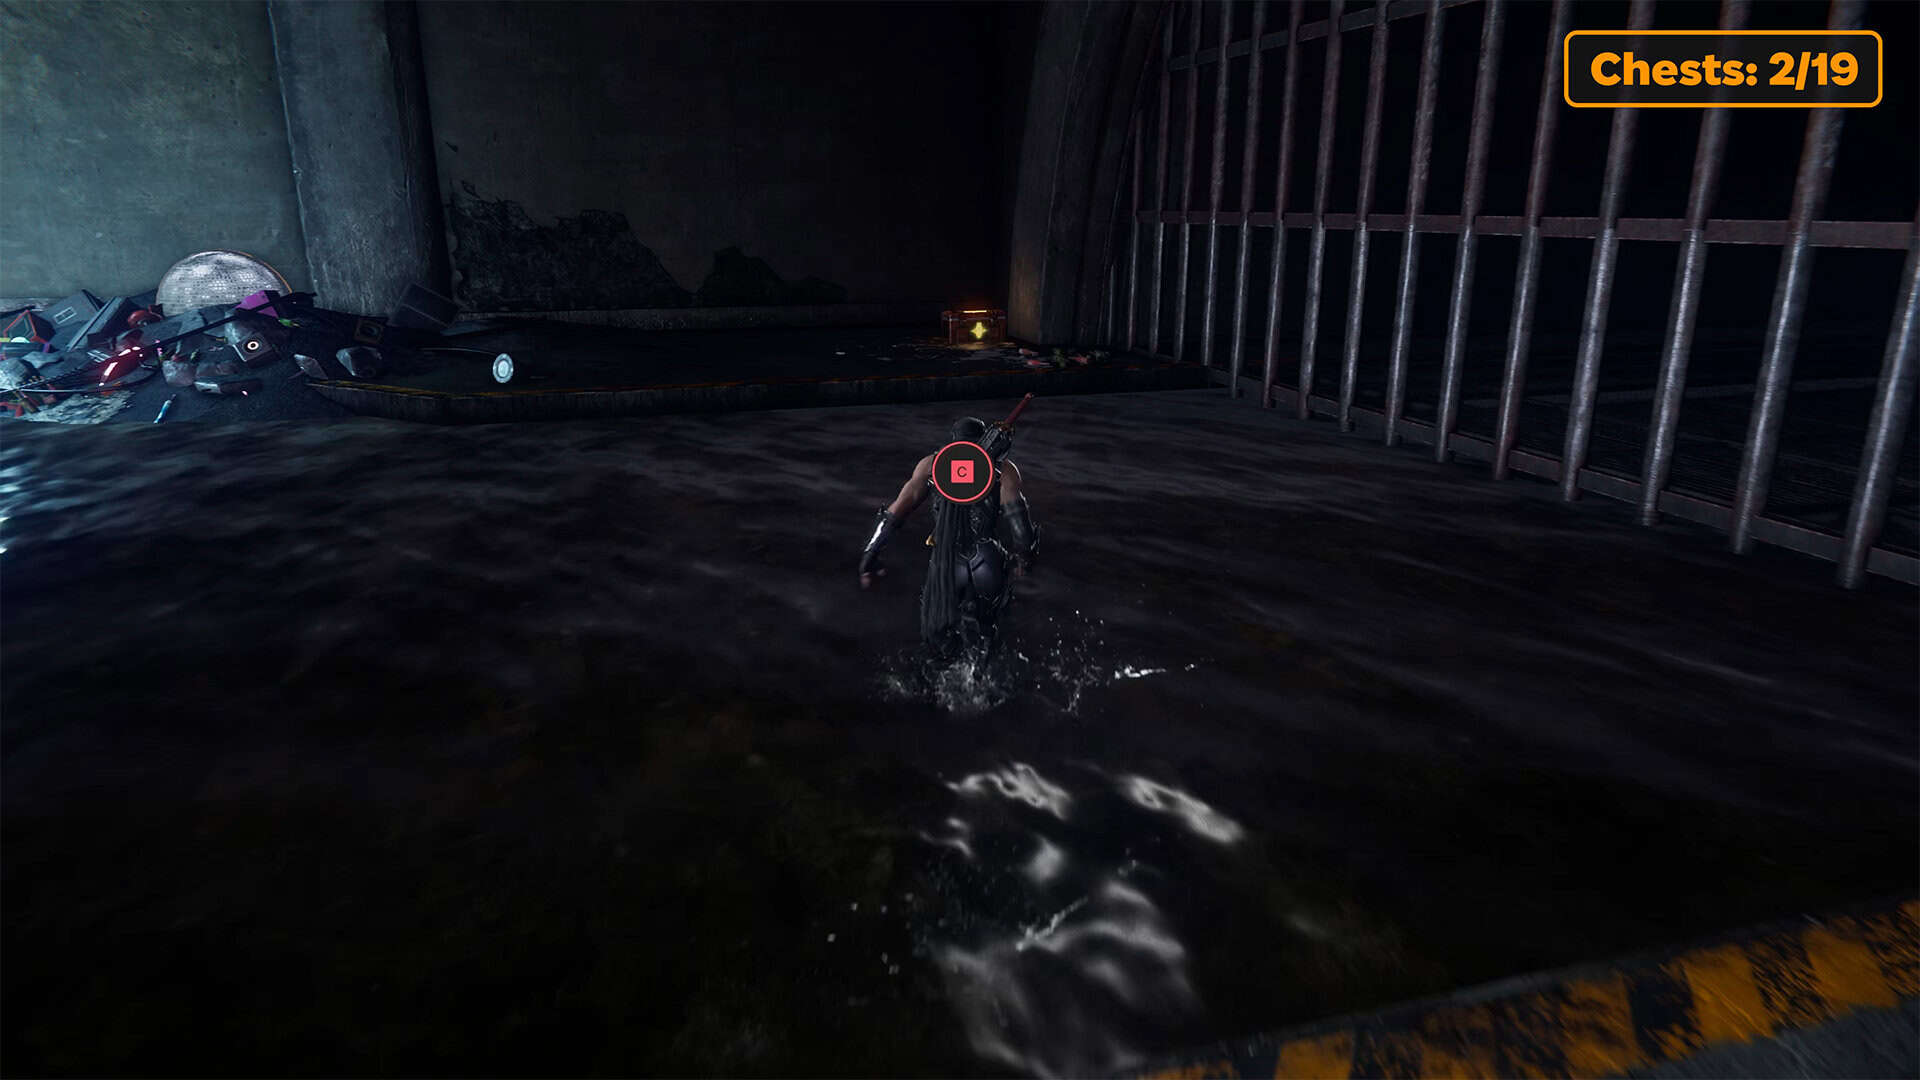
Perfect Block, Mirage, Life Elixir (chests 2-4)
Now proceed through the underground tunnel you are familiar with. Here you will find several chests. The first one is on the right, immediately after you enter the large space. From this chest, you will obtain the Perfect Block skill. In the other corner of the room, you will find the second chest. There are no enemies here yet, so you can open it without any issues to obtain the Mirage skill. Continue on until you are attacked by small fish. After defeating them, open the next chest to obtain the Life Elixir. Remember that chests contain a mix of skills and regular potions. So don’t skip any chests on your way.
Life Elixir (chest 5)
Ahead, you will see a portal that will take you further into the story. But before you break through the portal and go inside, run ahead of it. Here you will find the next chest. Inside is the Life Elixir. Nothing special, really, but don’t miss out on the extra NinjaCoins, which Ryu Hayabusa doesn’t have that many of yet.
-
- Perfect Block (chest 2)
-
- Mirage skill (chest 3)
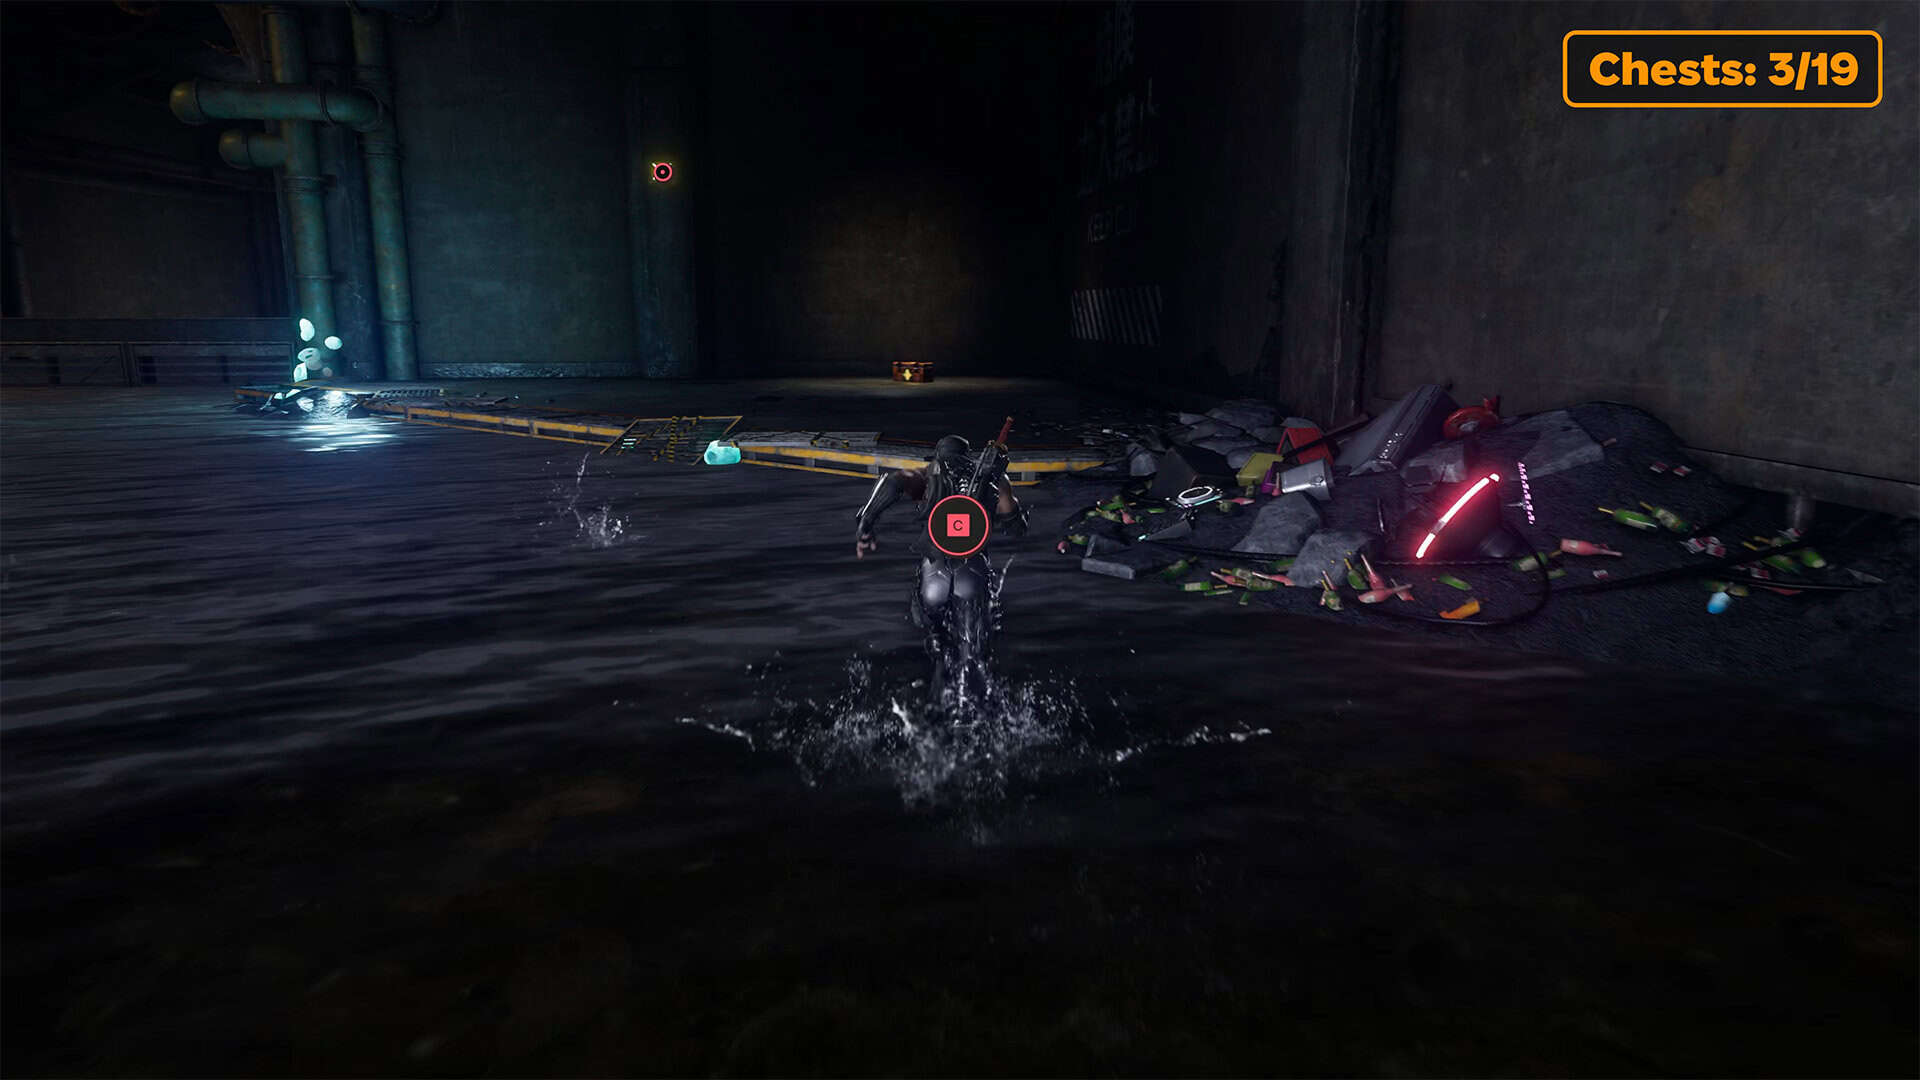
-
- Life Elixir (chest 4)
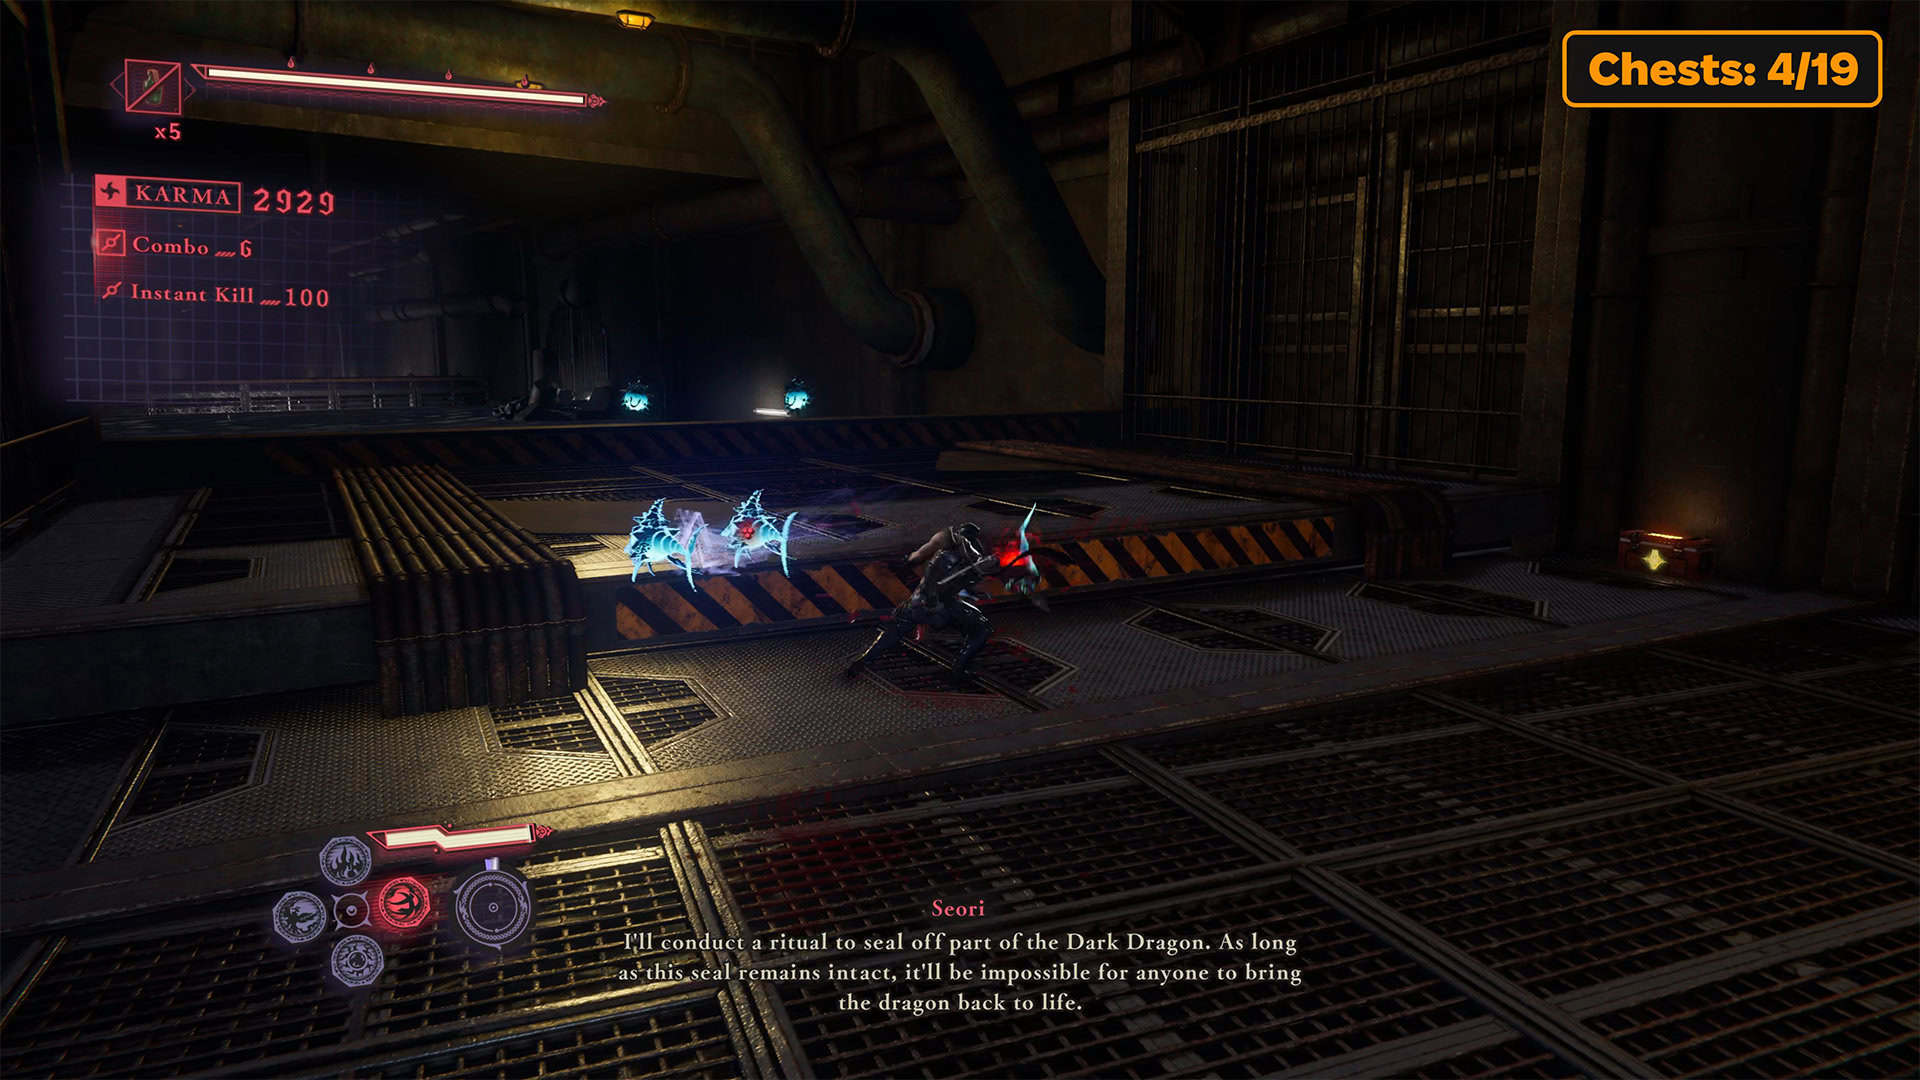
-
- Life Elixir (chest 5)
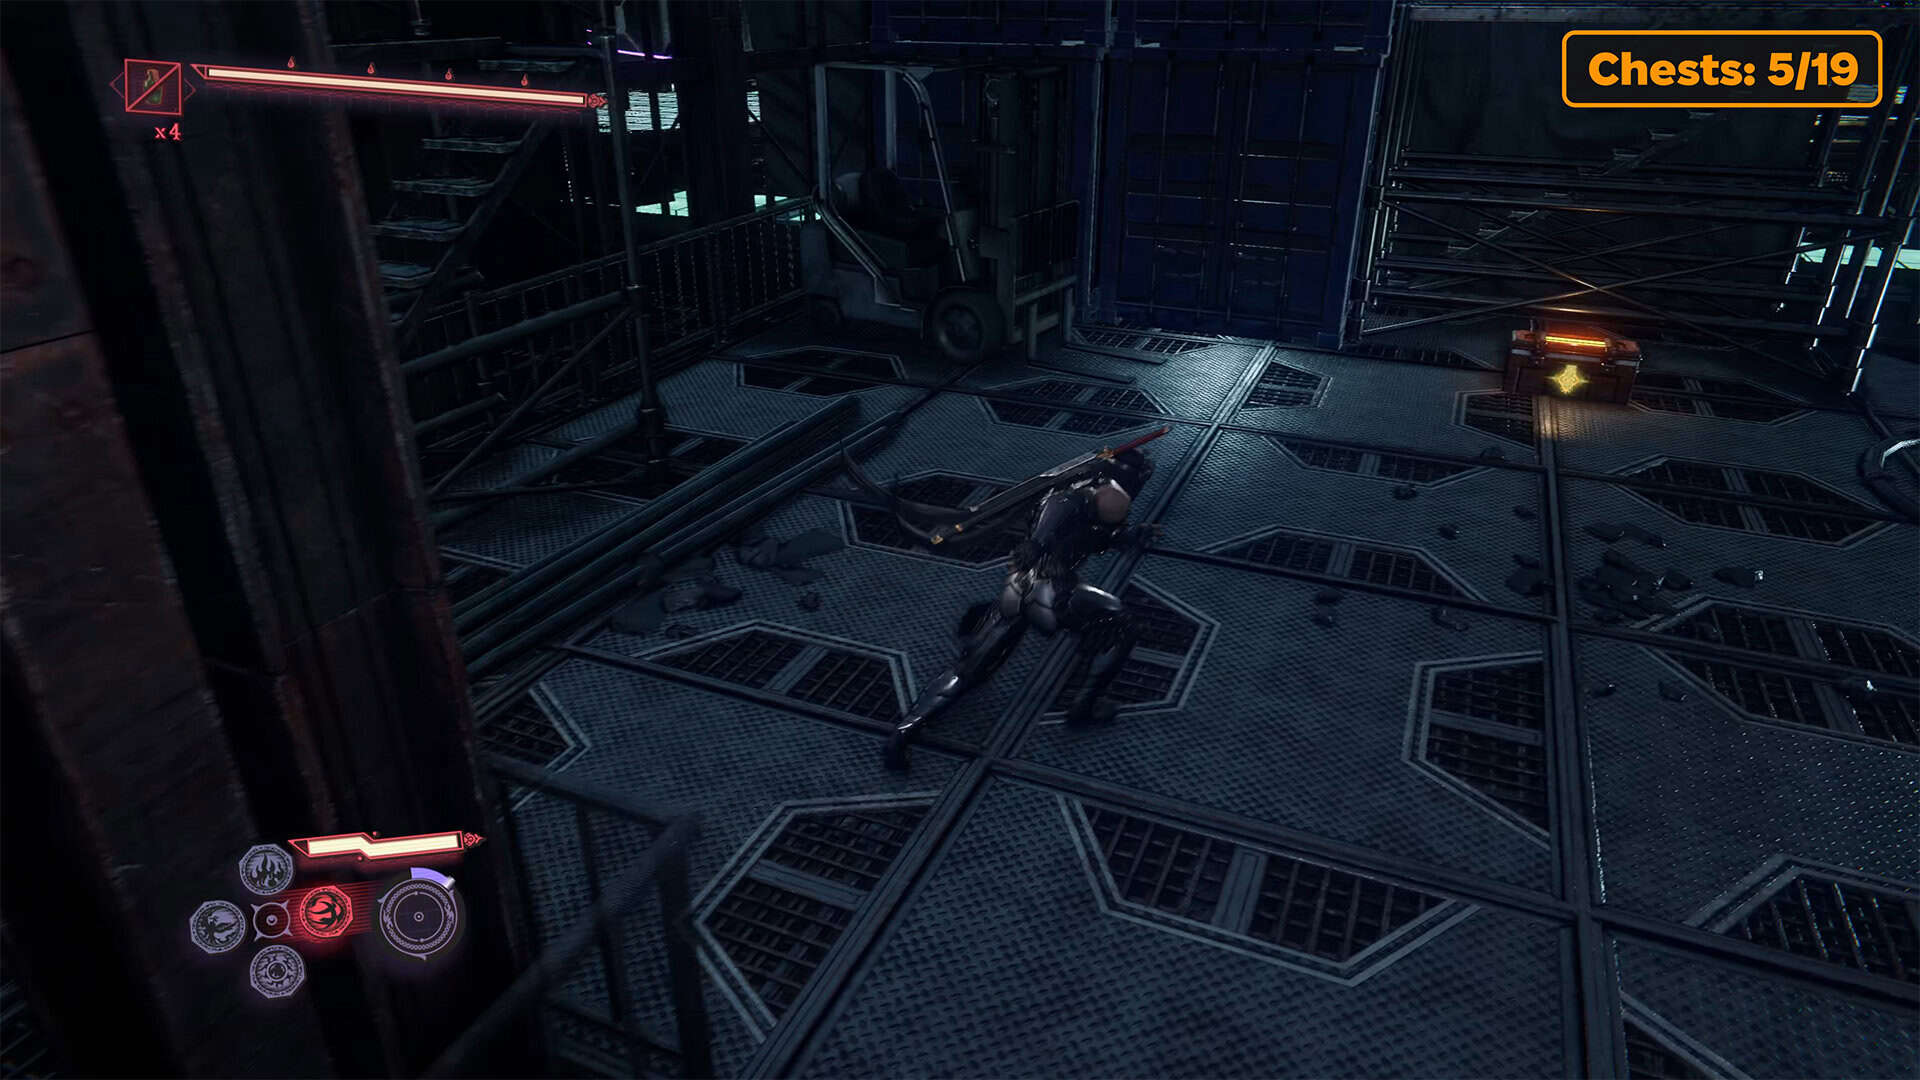
Second Muramasa’s shrine
Now it’s time to break through the portal and move forward. If you haven’t figured it out yet, you are walking through a familiar location, but in reverse order. Ahead of you is a strange blue lake. Move forward and you will see an enemy that you can assassinate. Behind him is the second Muramasa’s shrine, where you can replenish your supplies again.
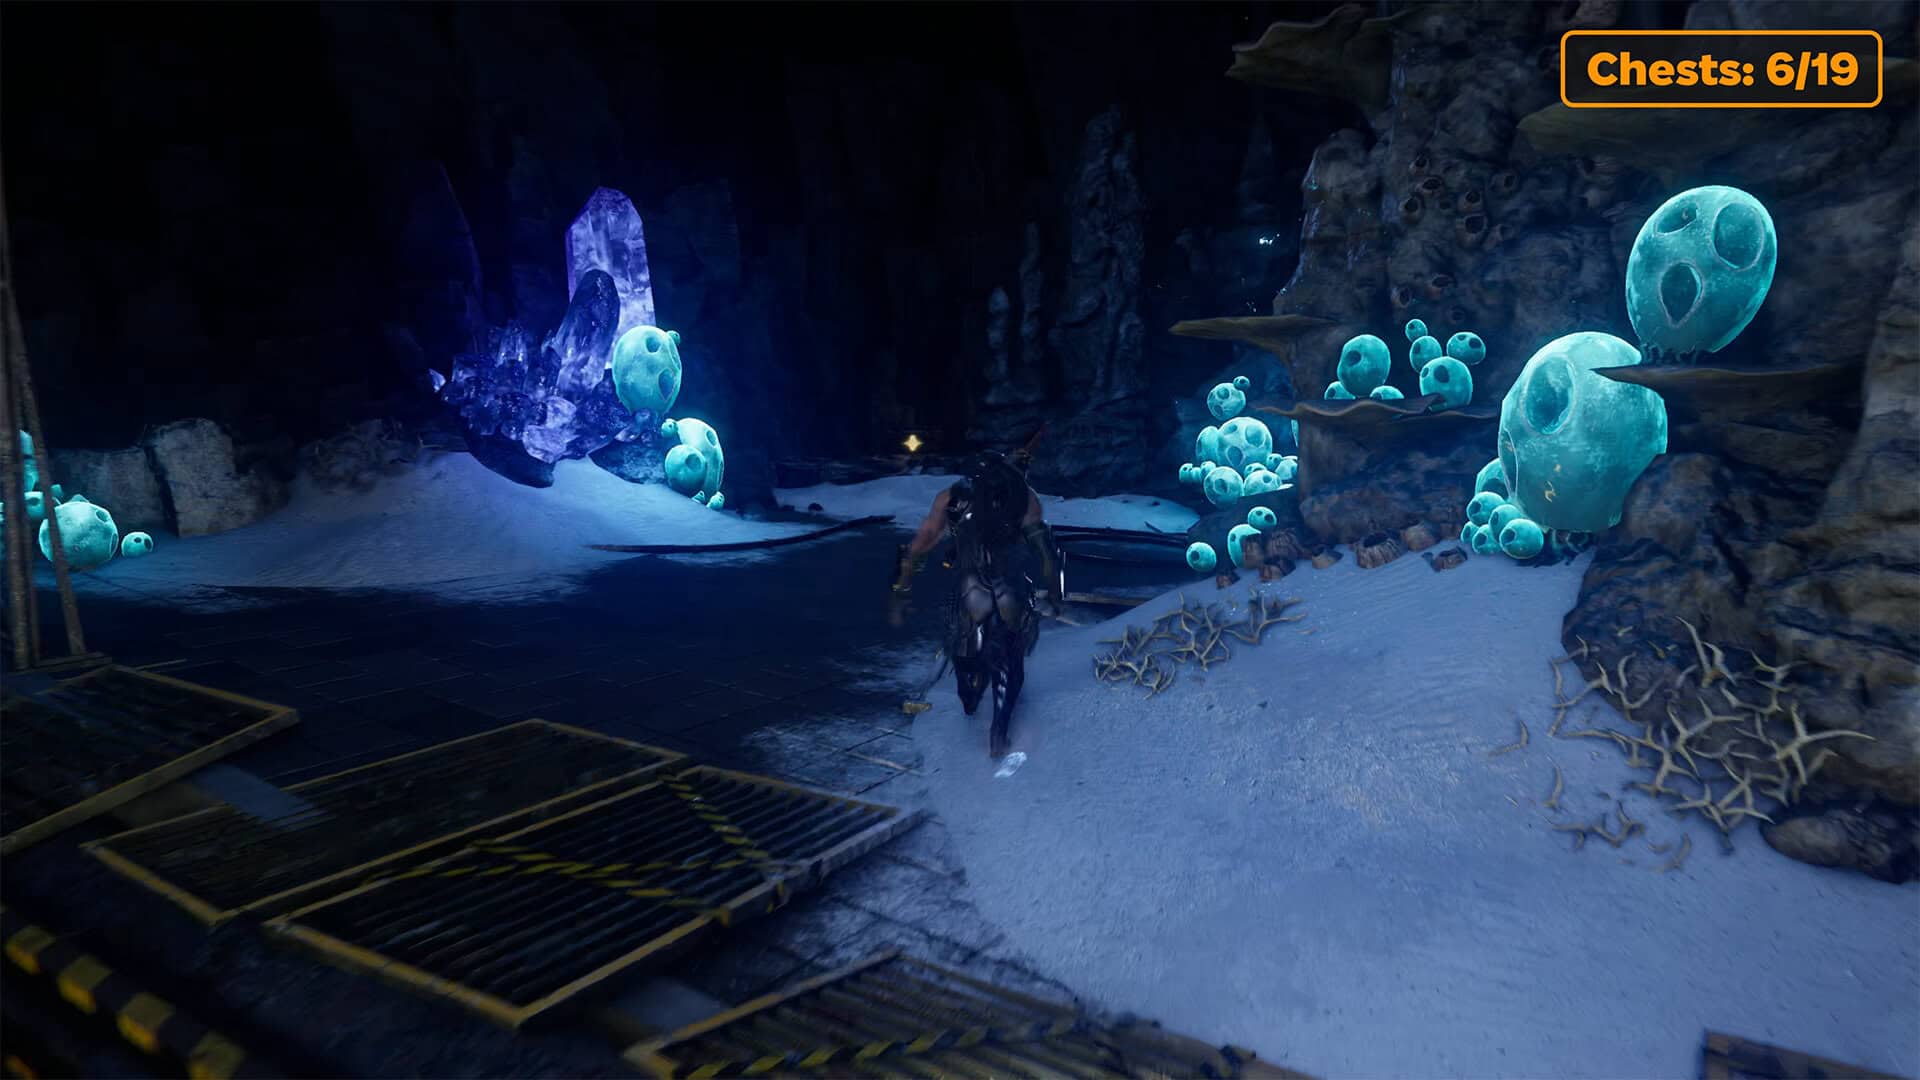
Life Elixir (chest 6)
Now you need to explore the shore before leaving this location. Move to the right and examine the perimeter. In fact, there are a lot of monotonous landscapes here. So don’t leave the location until you find everything I show you. First, let’s find a chest from which we will get Life Elixir.
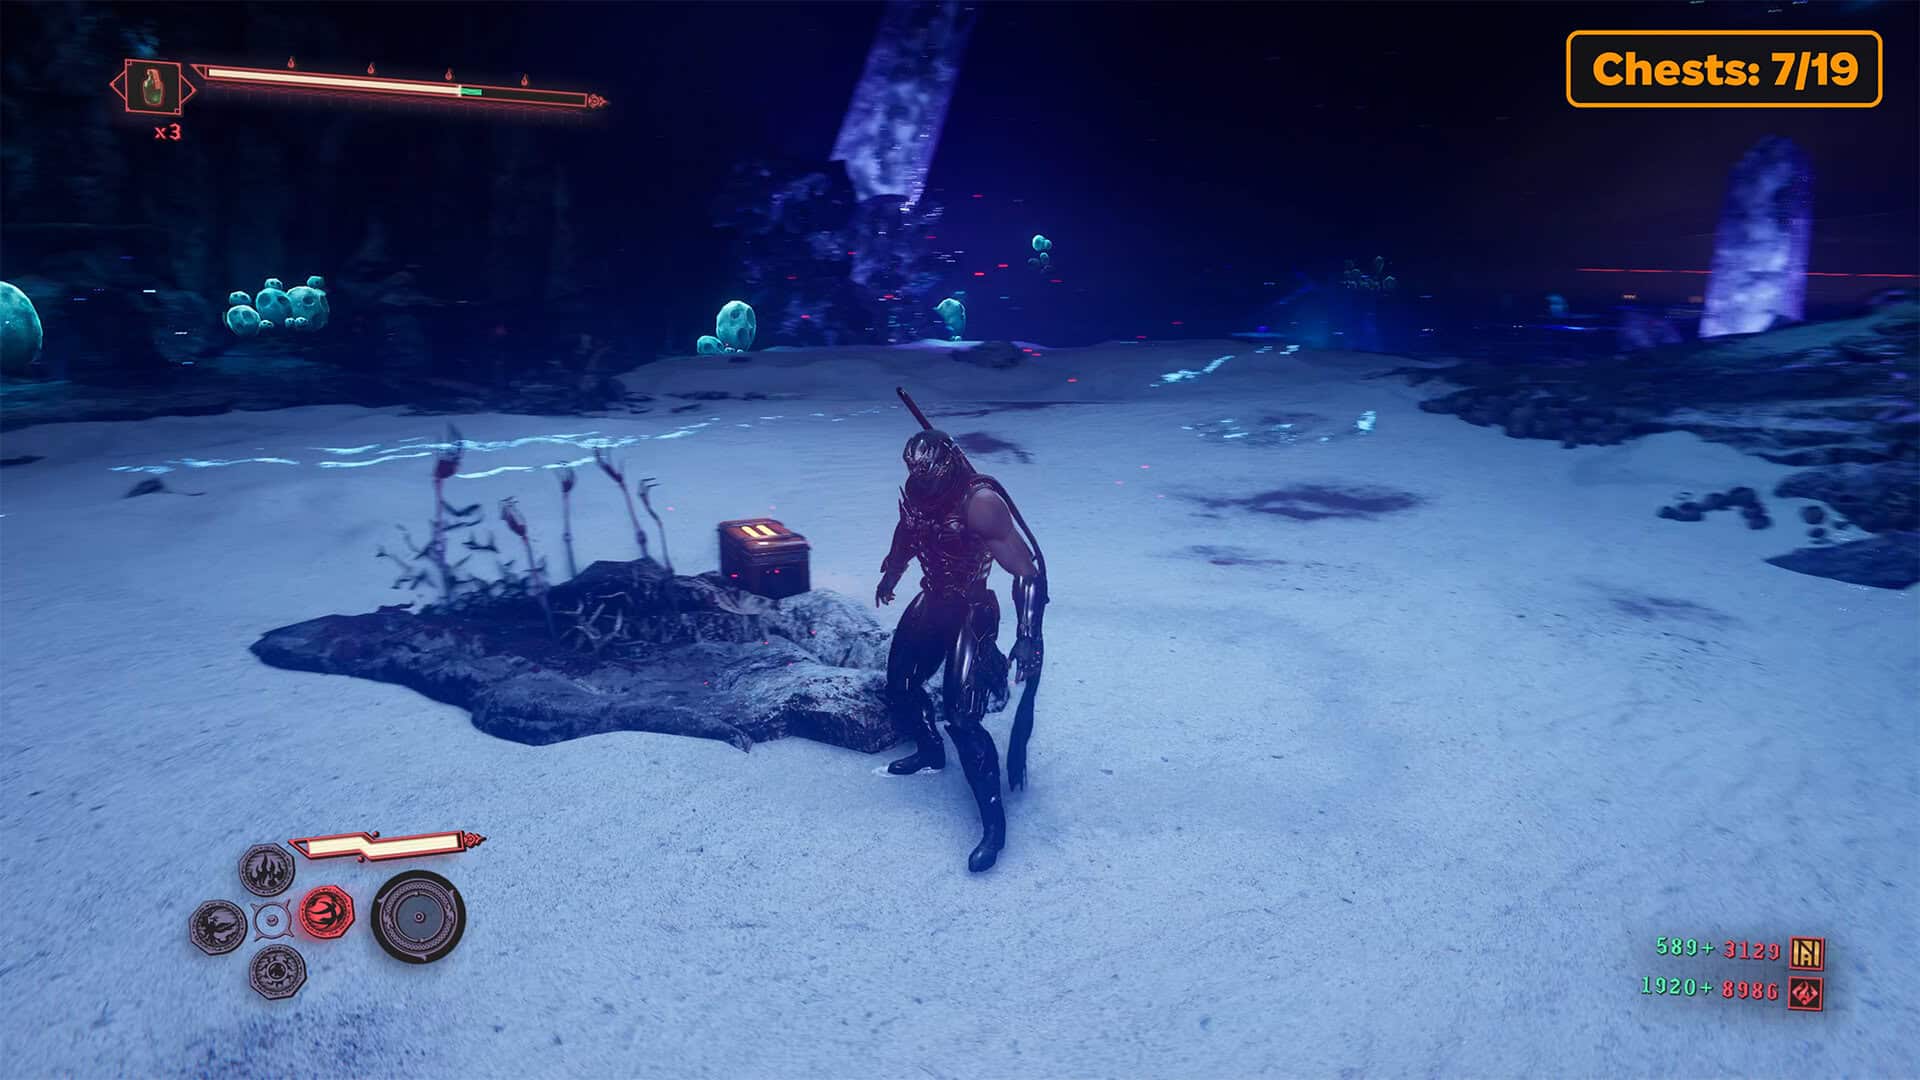
Perfect Fatal Flash (chest 7)
Further on, not far from the exit, there is an island. You will come across it when exploring the perimeter of the lake. There is one chest here and quite a few difficult enemies. A protracted battle with enemies awaits you here. You need to be careful, act quickly and efficiently. I’m sure you’ve already gotten used to the new character, so this battle won’t be an obstacle for you. After the victory, open the chest. You will receive a new skill, Perfect Fatal Flash.
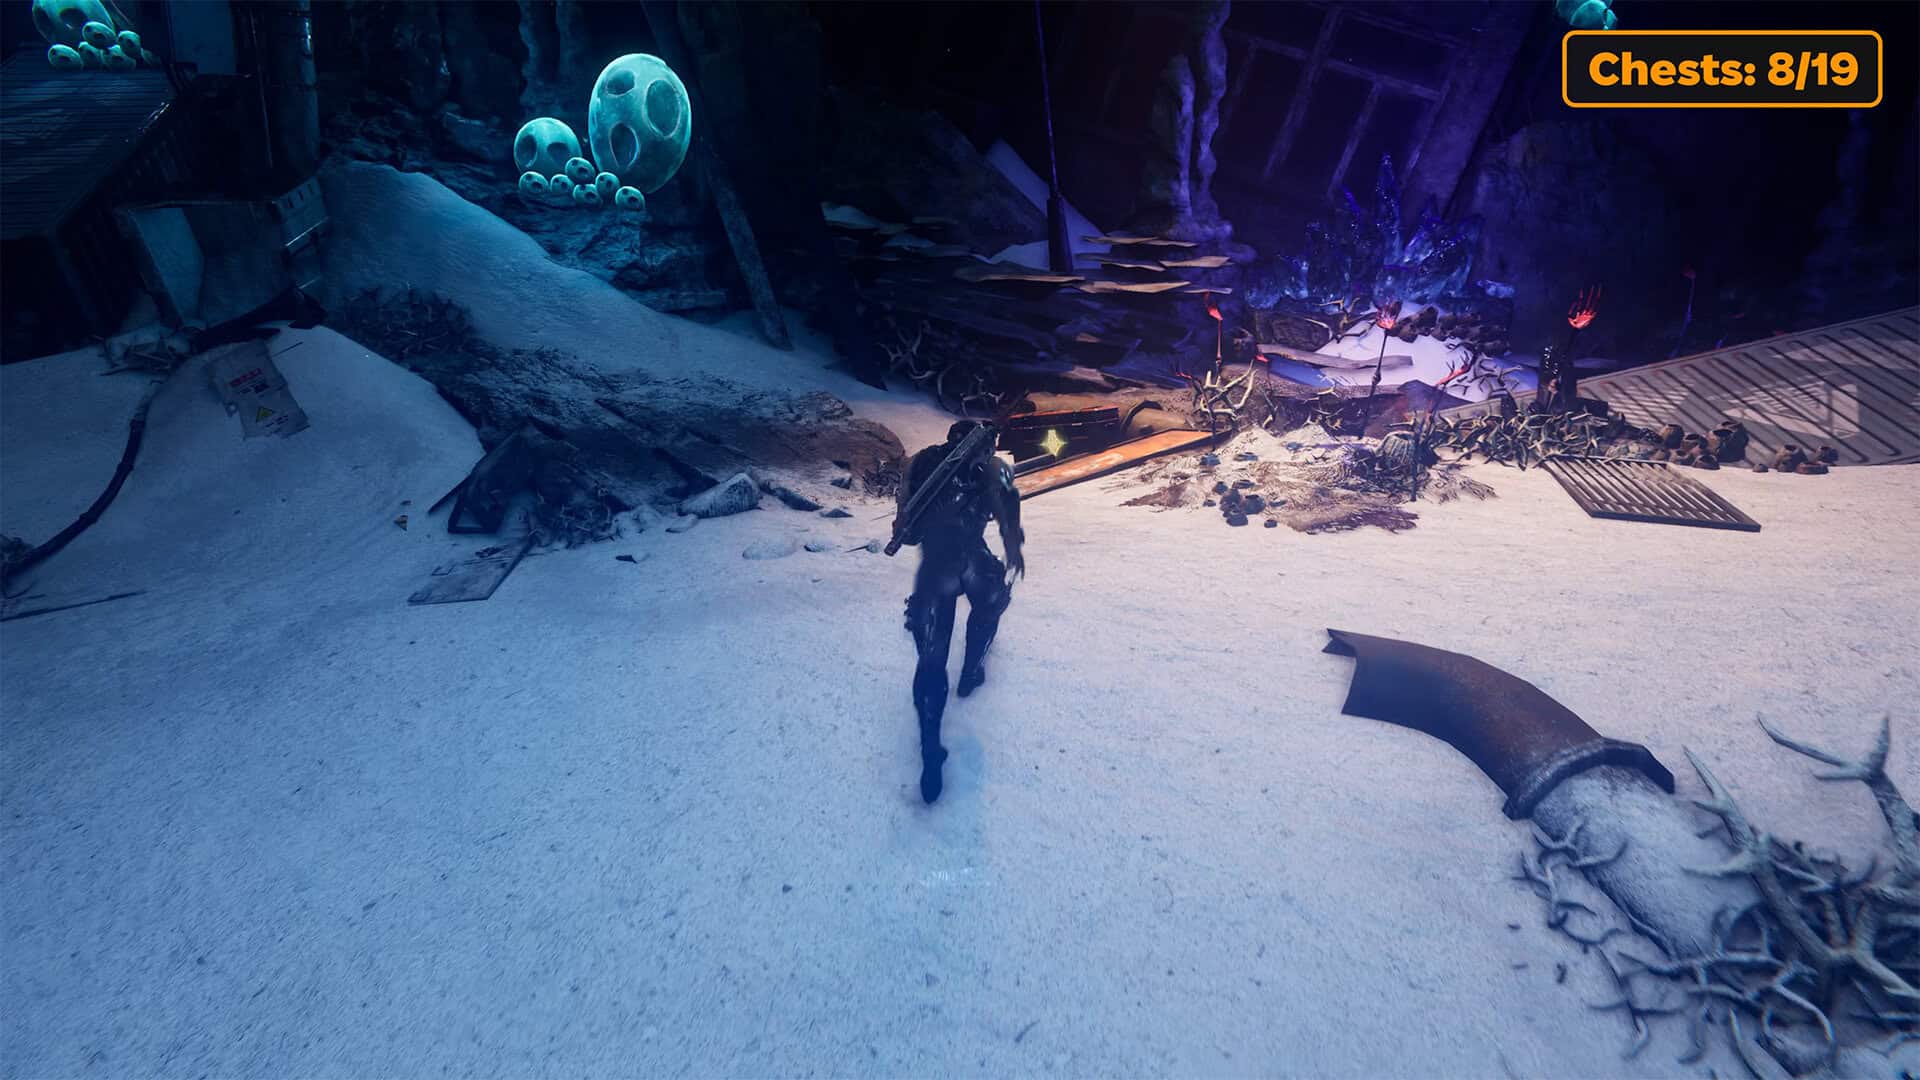
Art of Adornment Lv.4 (chest 8)
Next is another corner on the outer perimeter of the island. Here you will find a chest that is not guarded by enemies. The chest contains a very important skill. Open the chest to obtain the fourth level Art of Adornment, which will allow you to equip your character with even more useful accessories.
-
- Second Muramasa’s shrine
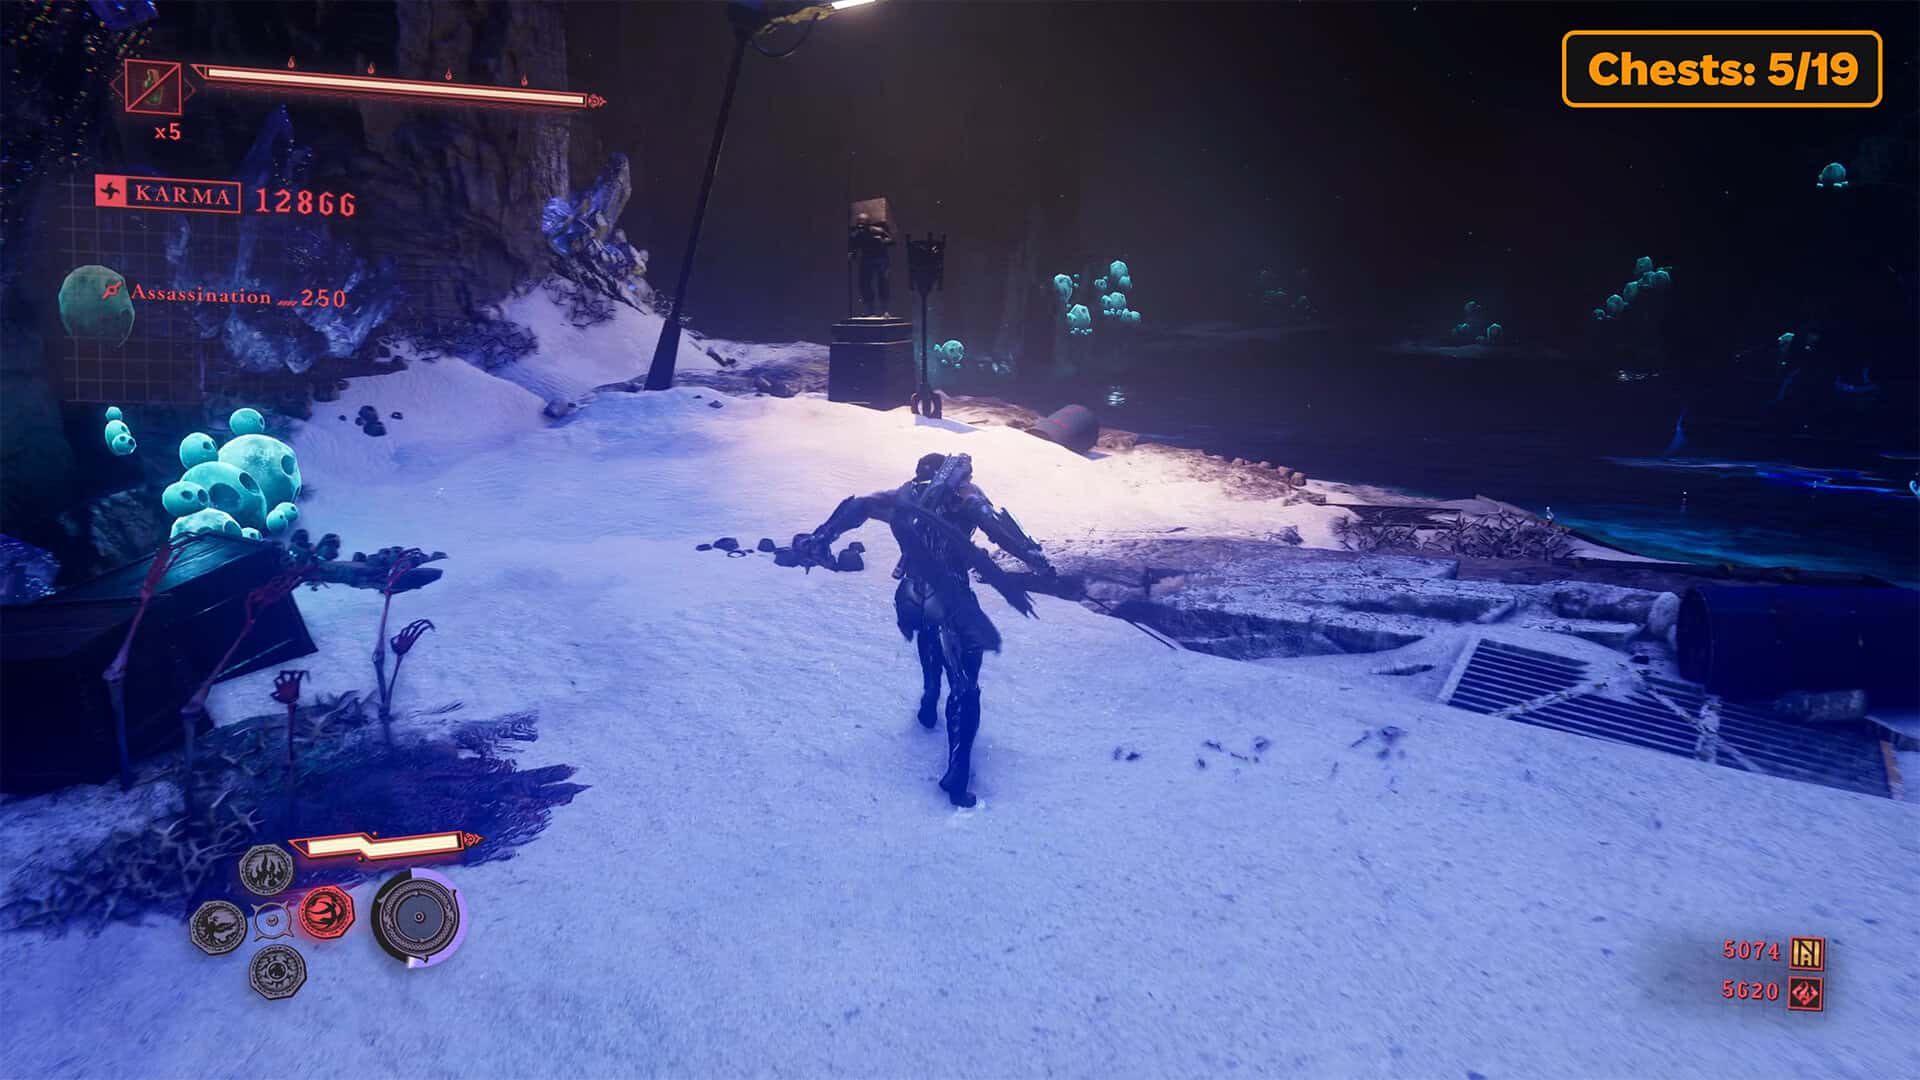
-
- Life Elixir (chest 6)
-
- Perfect Fatal Flash (chest 7)
-
- Art of Adornment Lv.4 (chest 8)
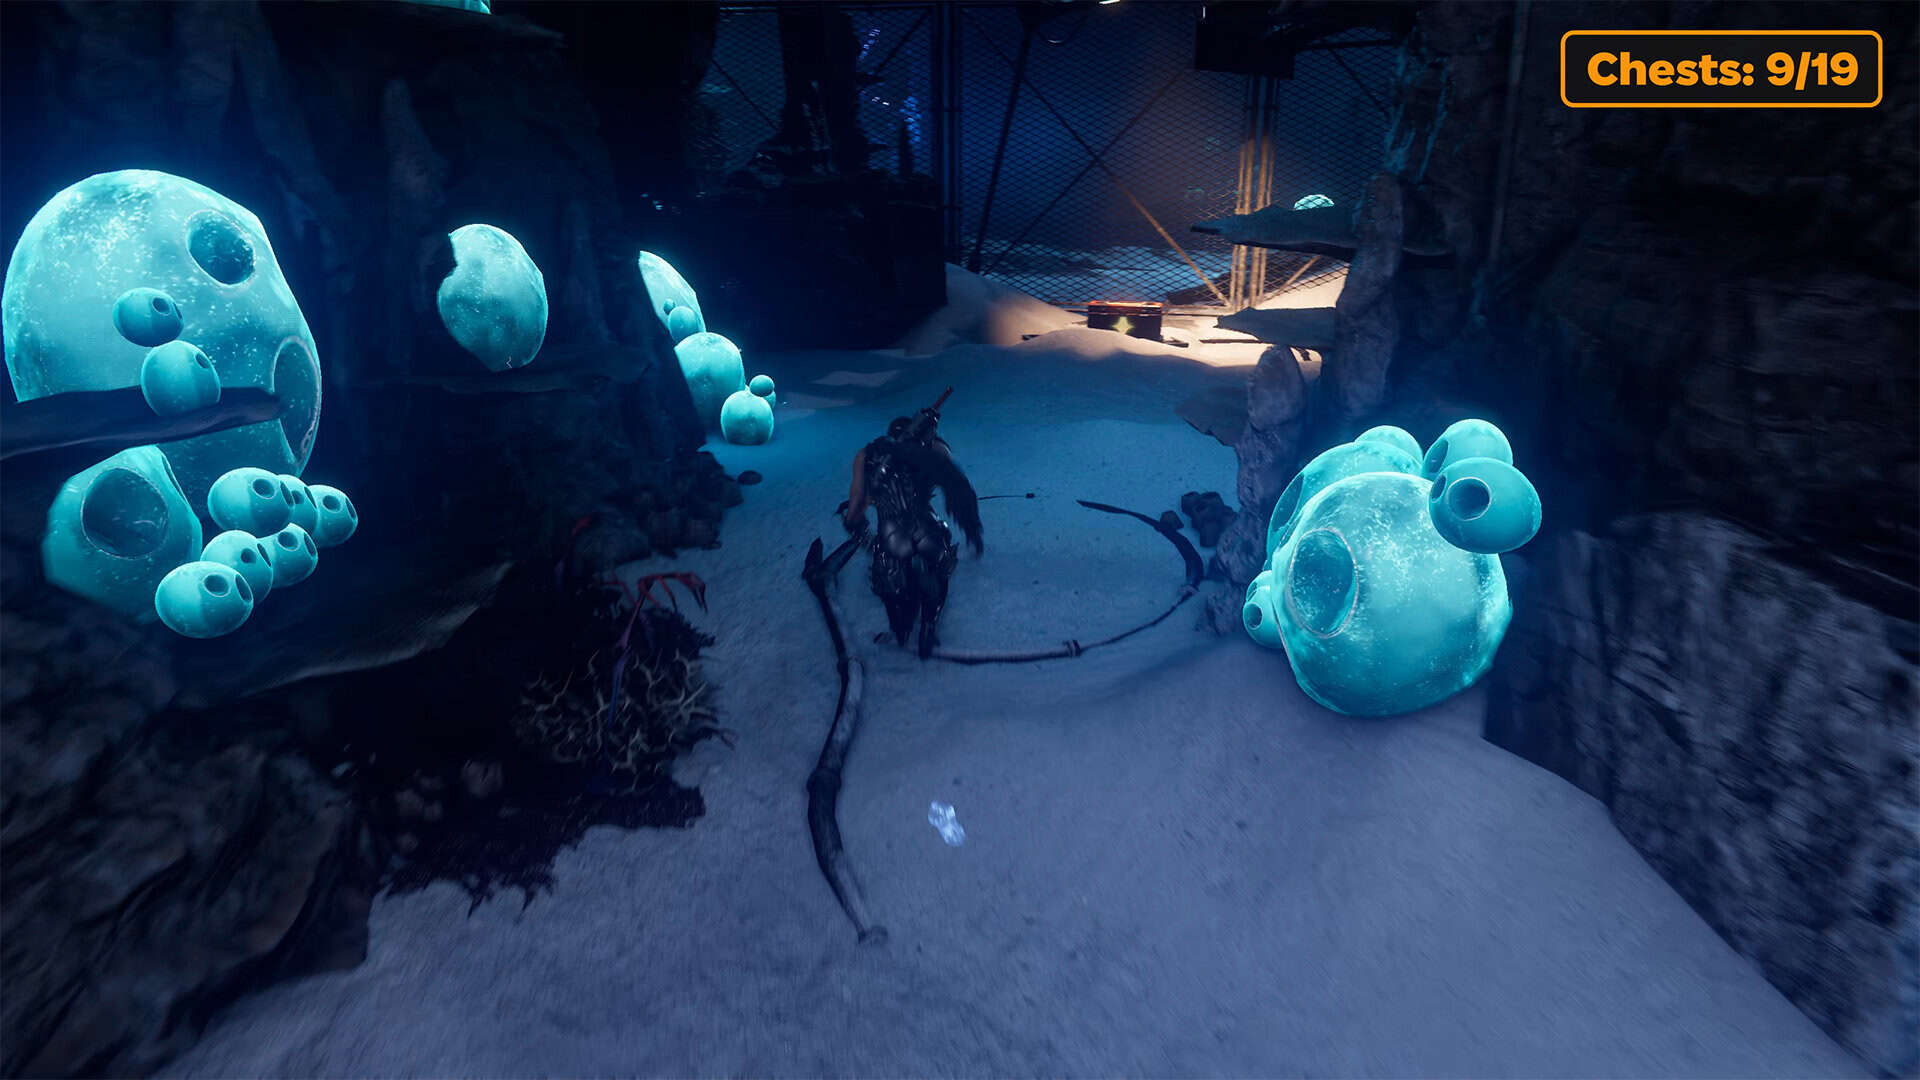
Divine Life Elixir (chest 9)
Now you can leave this area and move on to the next location. Find the exit. It is highlighted with a yellow bar, under which you need to slide underneath. The new location is similar to the previous one. It is a large blue lake with islands. First, go forward, jump up, and move on. When you jump down, turn around and head towards the chest. You won’t be able to open it without a fight. You will have to defeat many enemies on your way before you reach the chest. Inside the chest is the Divine Life Elixir.
Perfect Block Gleam Form (chest 10)
In this location, you also need to explore the perimeter of the island and go into all the nooks and crannies you see. In one of them, you will find a chest. It is quite a long way across the water to the shore. On the shore, you will see a chest. Open it to get the Perfect Block skill in Gleam Form mode.
Execute the Spreading Monstrosities
When you were in this place playing as Yakumo, Purgatory Gate was located on the left on the hill. This time, another challenge awaits you there. So don’t miss this place. Be sure to climb to the top to complete the additional quest Execute the Spreading Monstrosities. As soon as you approach, the quest will begin with simple enemies. Then more difficult ones will appear, and eventually you will have to finish the fight in a battle against two Malhercs. After the victory, you can return to the large central island of this location.
-
- Divine Life Elixir (chest 9)
-
- Perfect Block Gleam Form (chest 10)
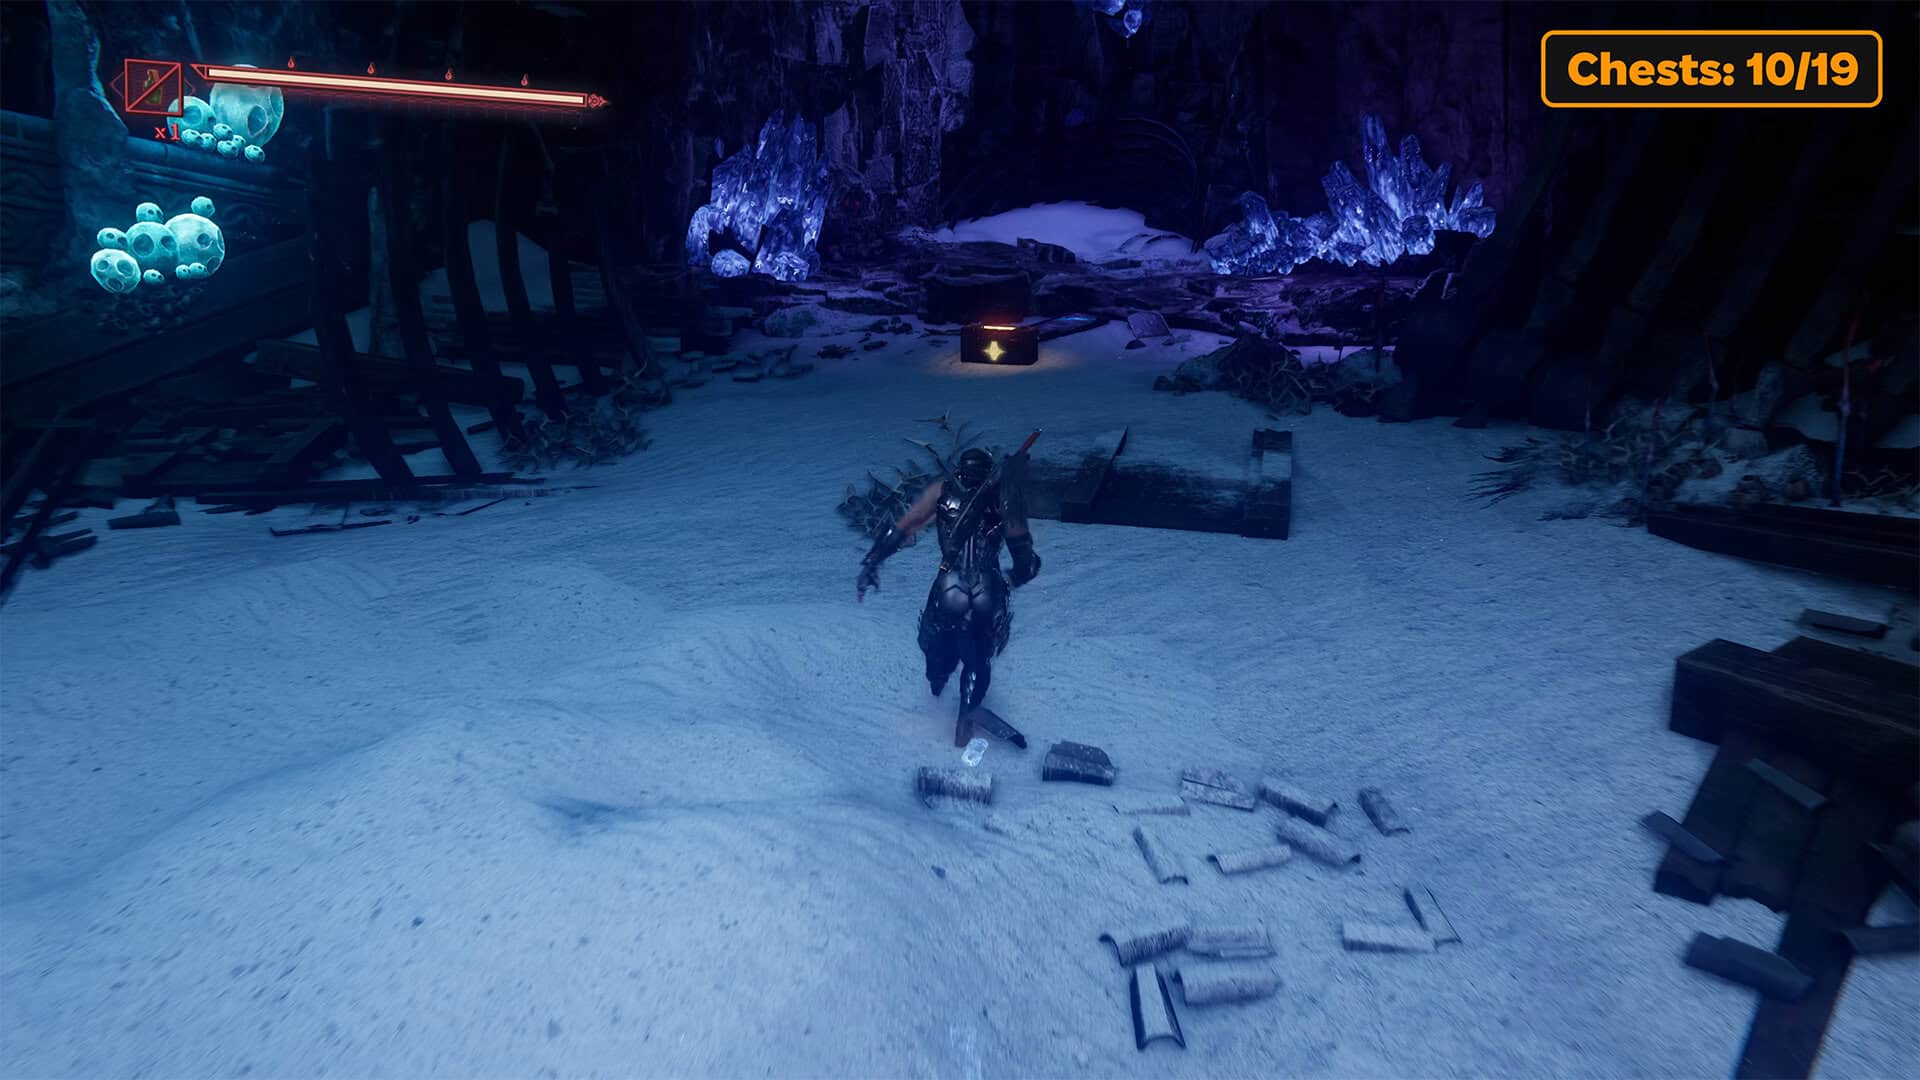
-
- Execute the Spreading Monstrosities
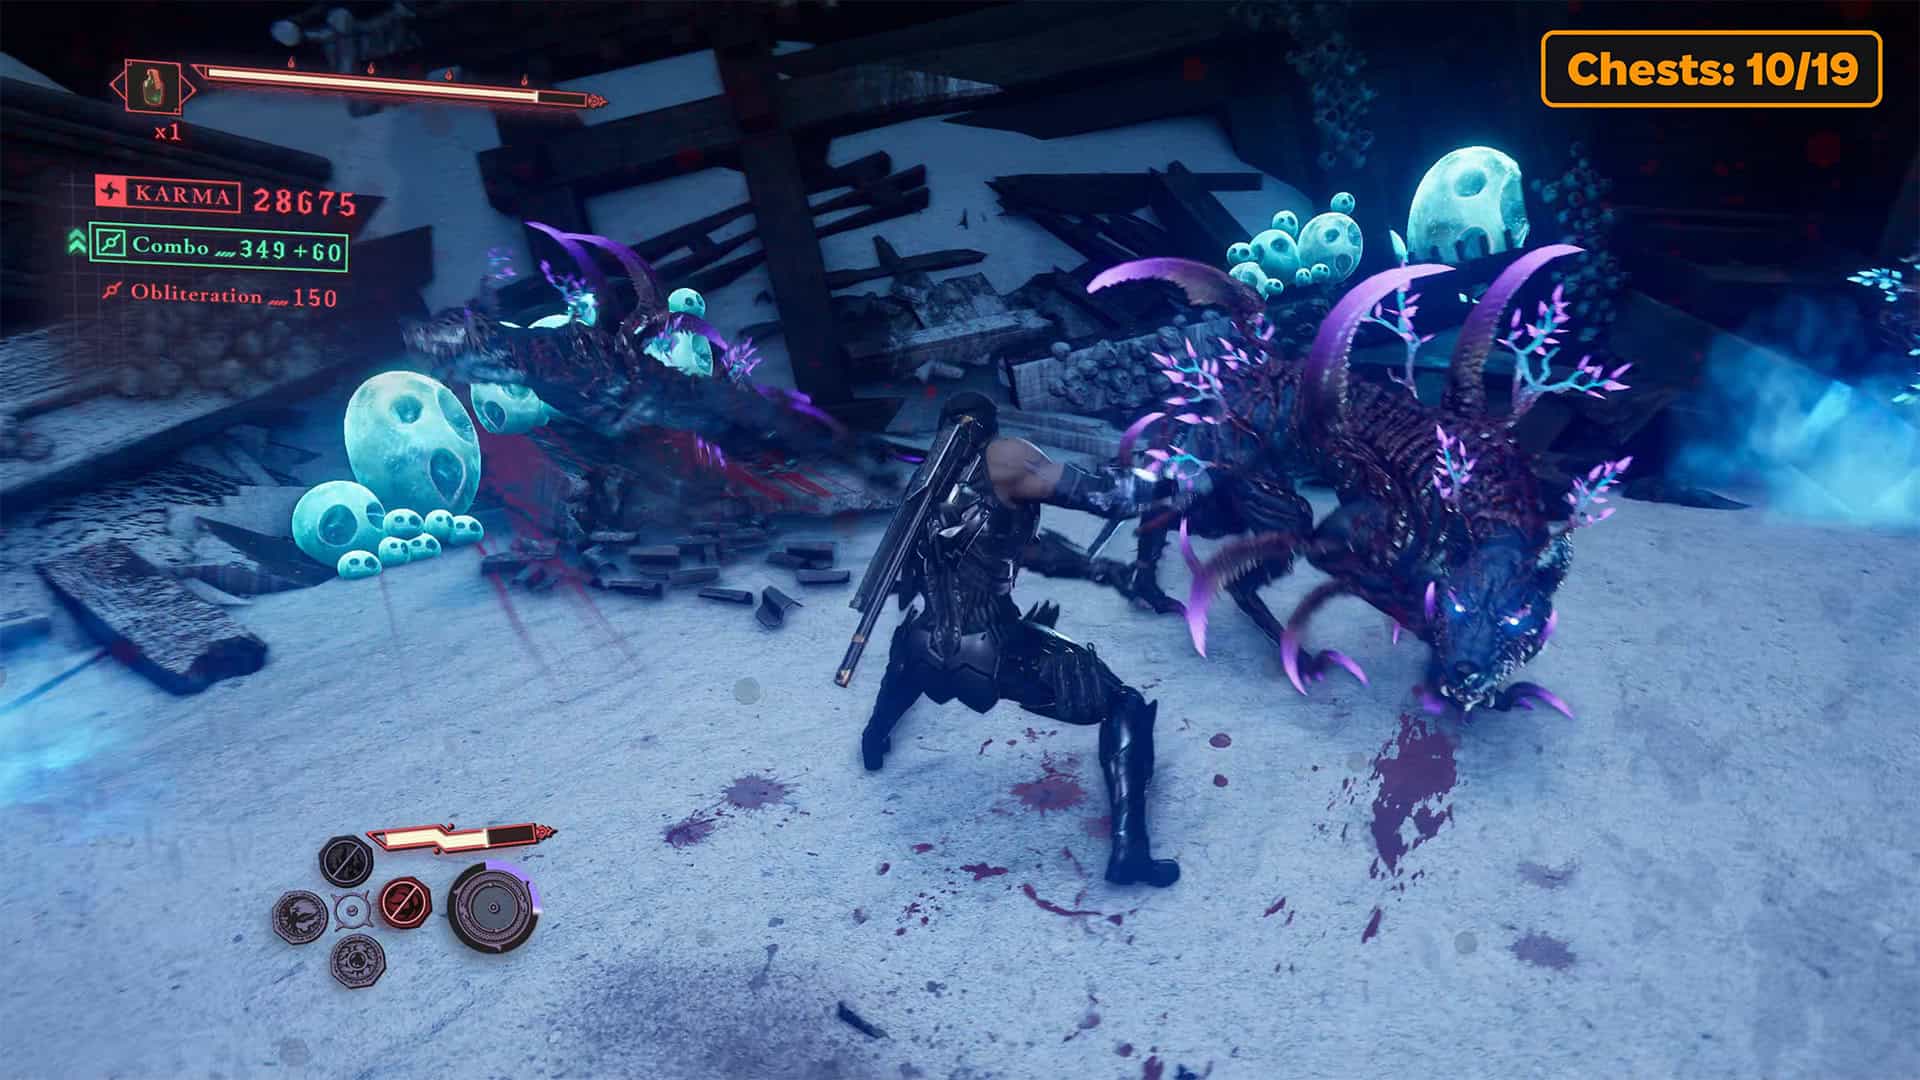
-
- Execute mission complete
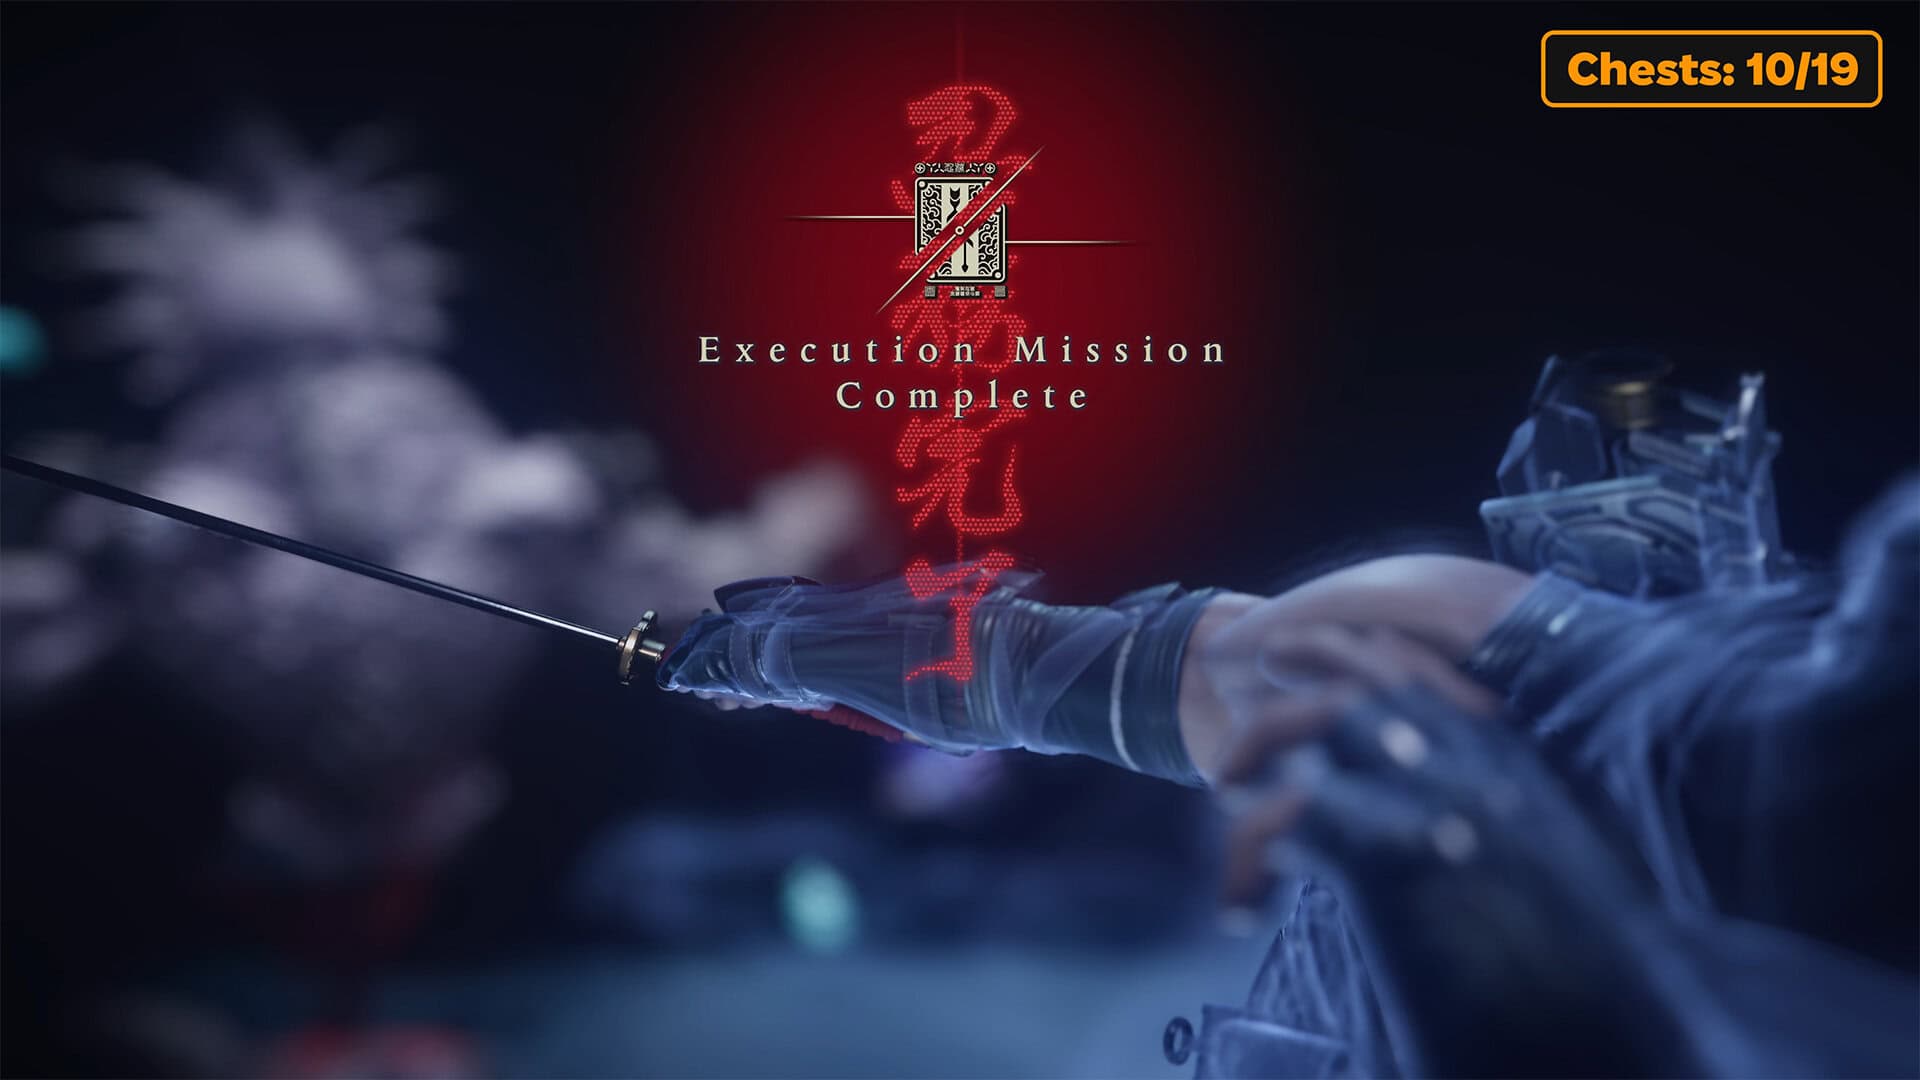
Life Elixir (chest 11)
But it’s too early to leave the location. Find another passage on the outer perimeter to the place where the next chest is located. There are no enemies here, so you can open the chest without any obstacles and get the Life Elixir.
Incense of Rebirth, Rejuvenation Elixir and Divine Life Elixir (chests 12-14)
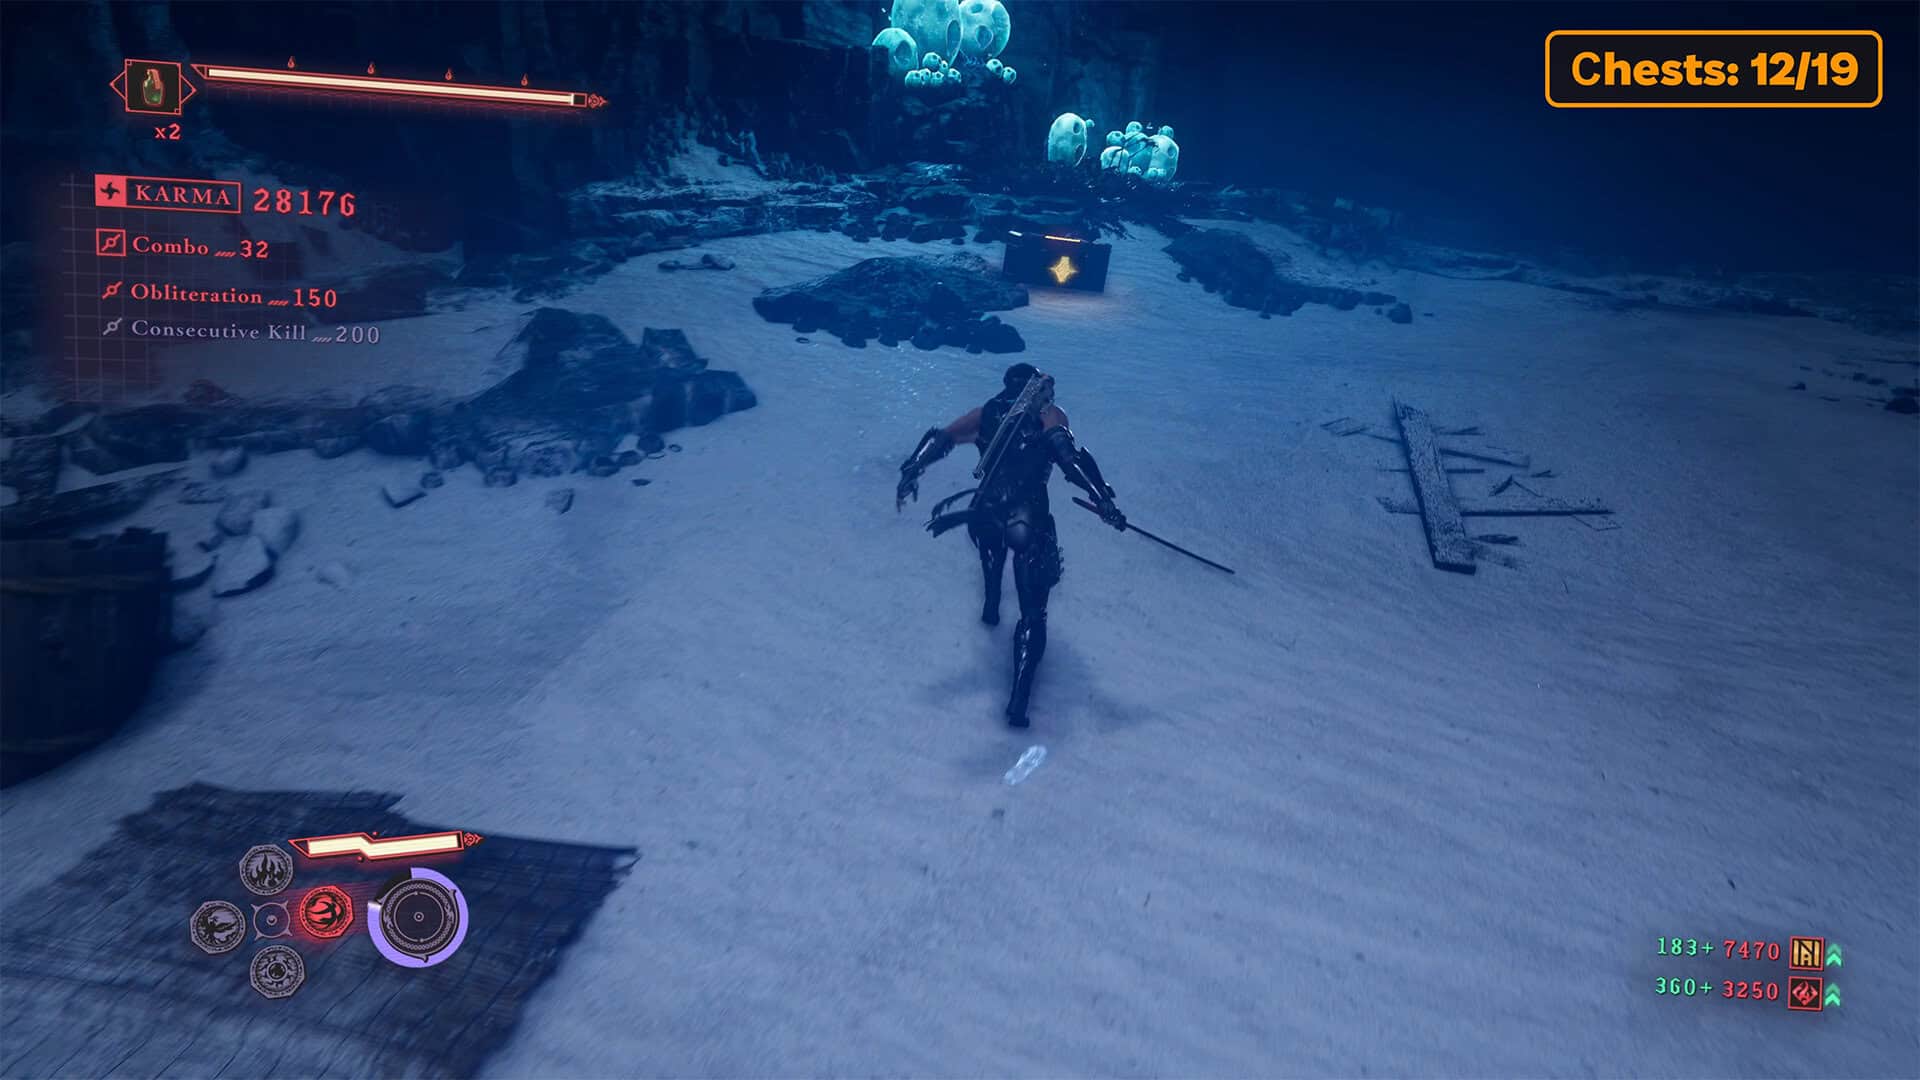
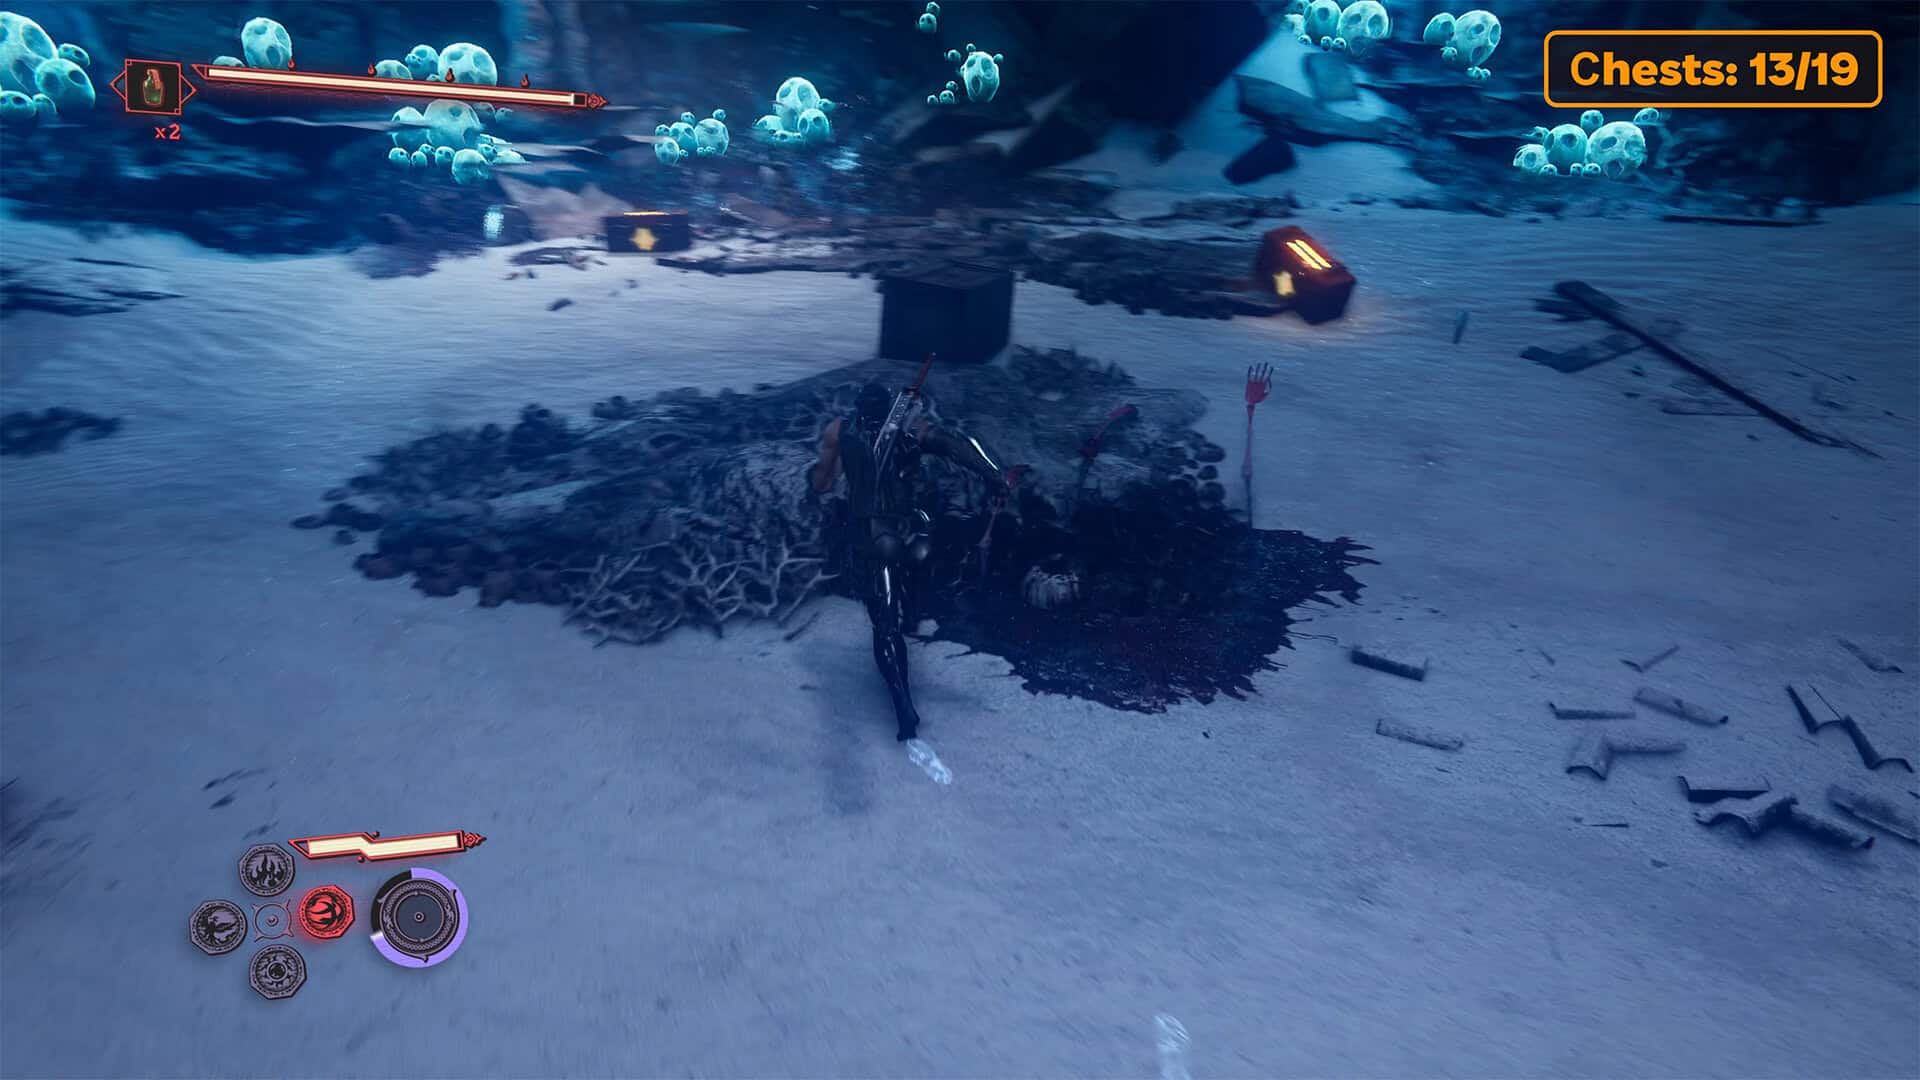
Finally, you can leave this location. To the right of the entrance to this location, there is a passage further on. You need to go there, run across the water, avoiding obstacles until you reach the shore. Here, after defeating several enemies, go further and climb up a small wall. You will see another crowd of enemies and three chests. You can only open the chests after winning. In fact, this is quite a lengthy battle with enemies.
Once you have defeated them all, open the first chest to get Incense of Rebirth. Next to it is the second chest, which contains Rejuvenation Elixir, and in the next chest you will find Divine Life Elixir.
-
- Life Elixir (chest 11)
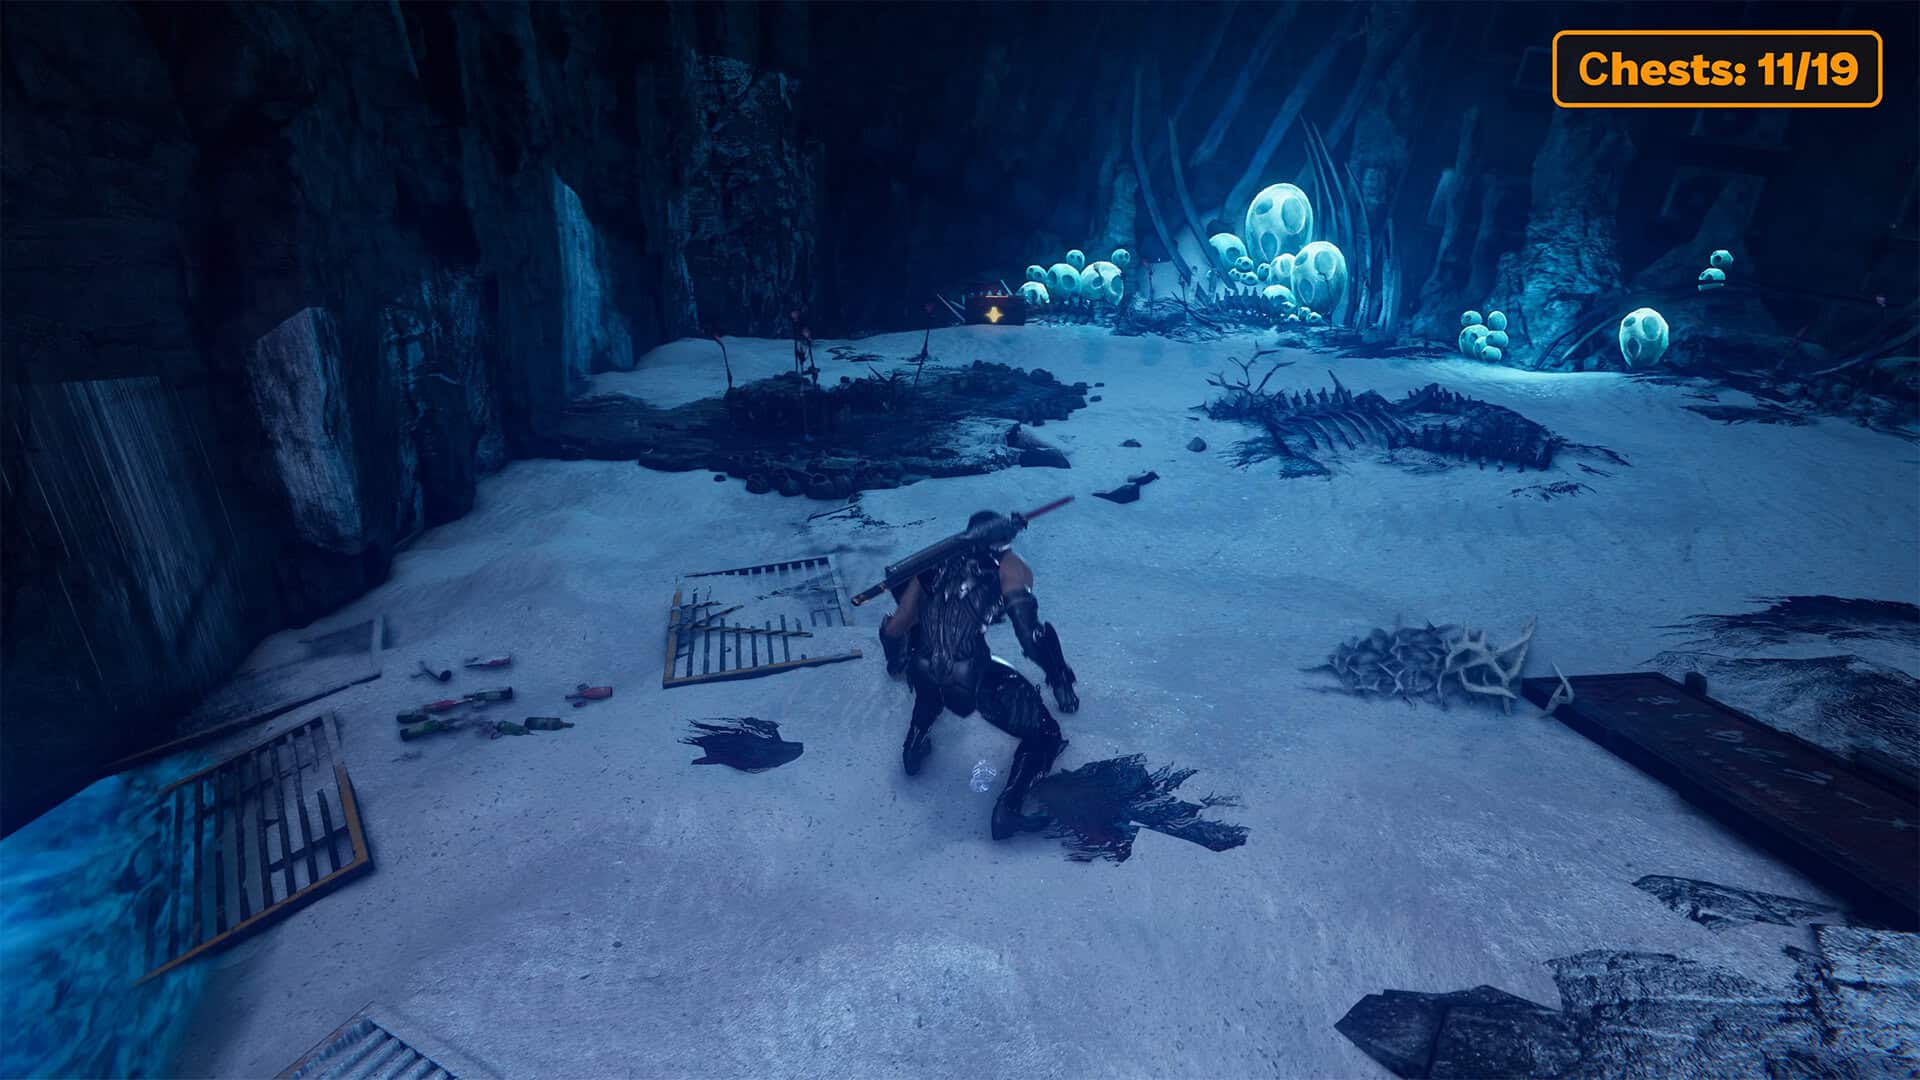
-
- Incense of Rebirth (chest 12)
-
- Rejuvenation Elixir and Divine Life Elixir (chests 13-14)
-
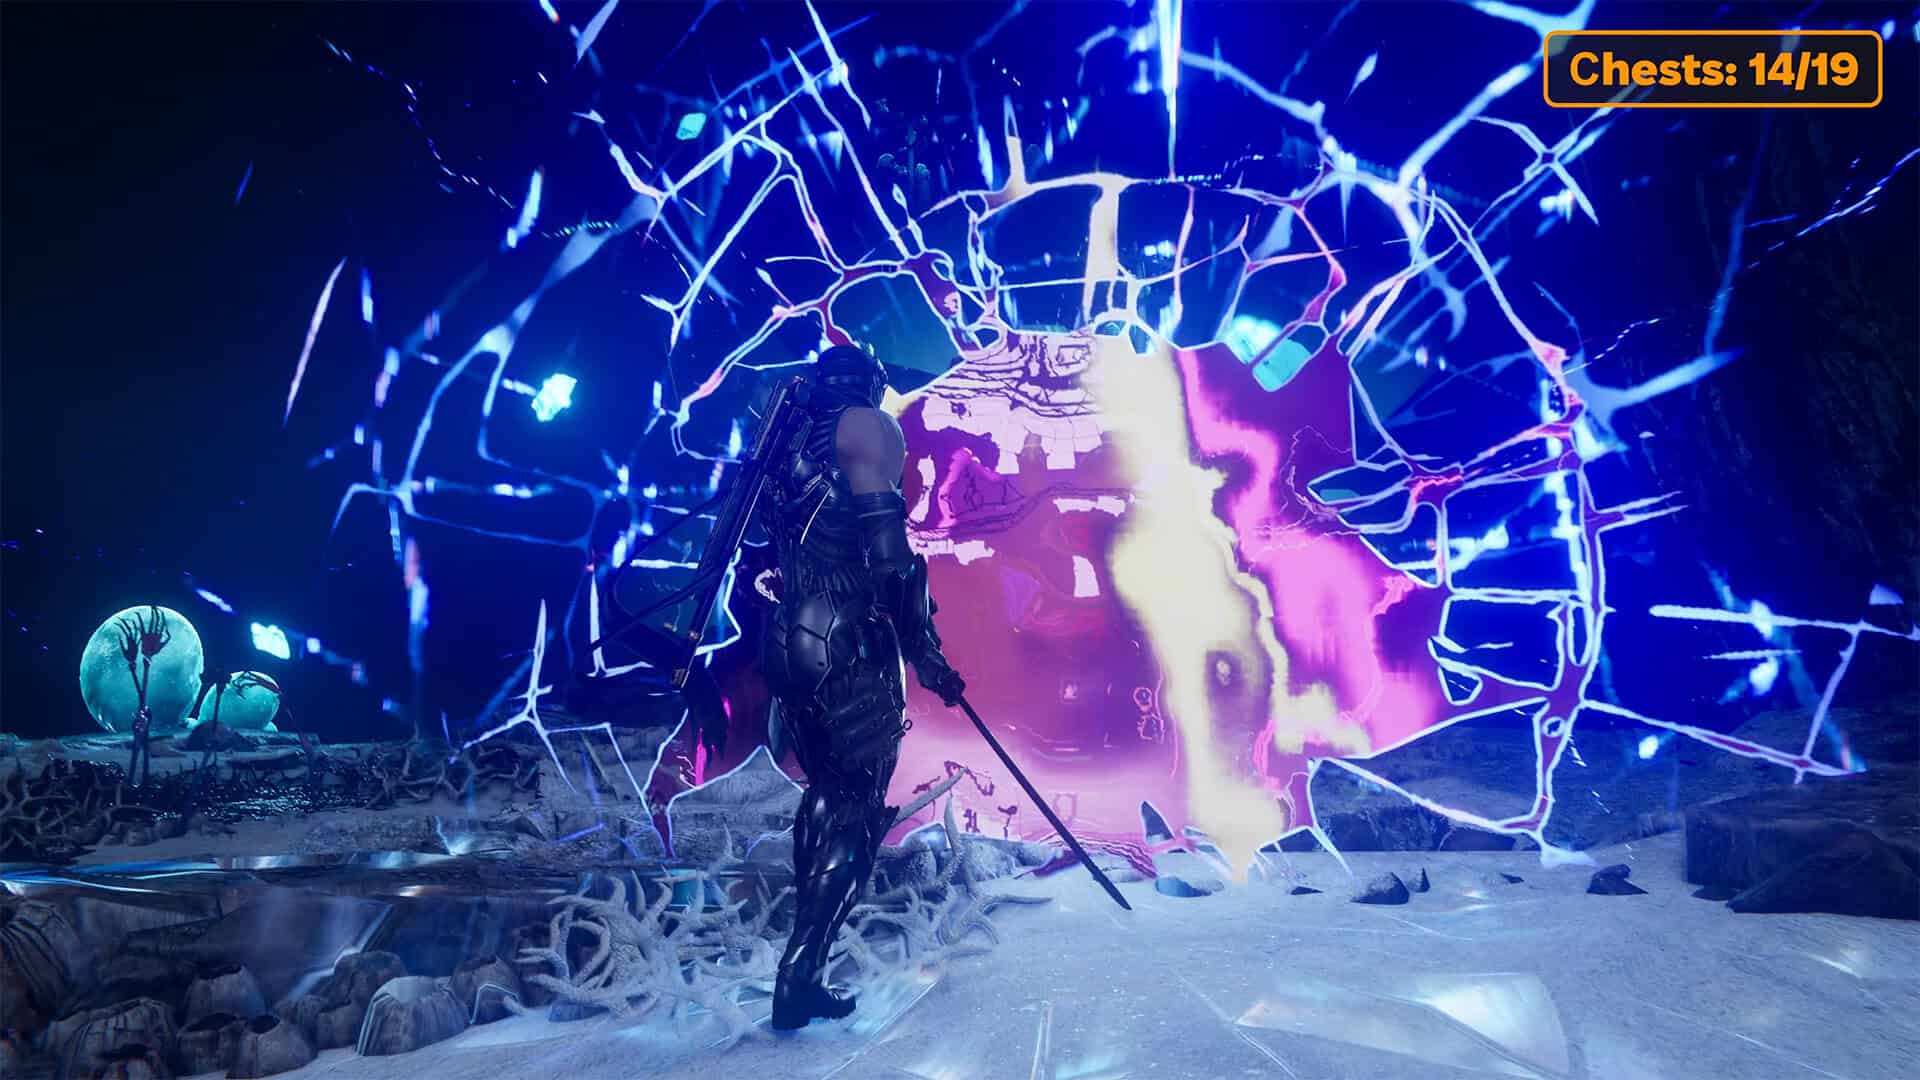
- Break the portal and go ahead
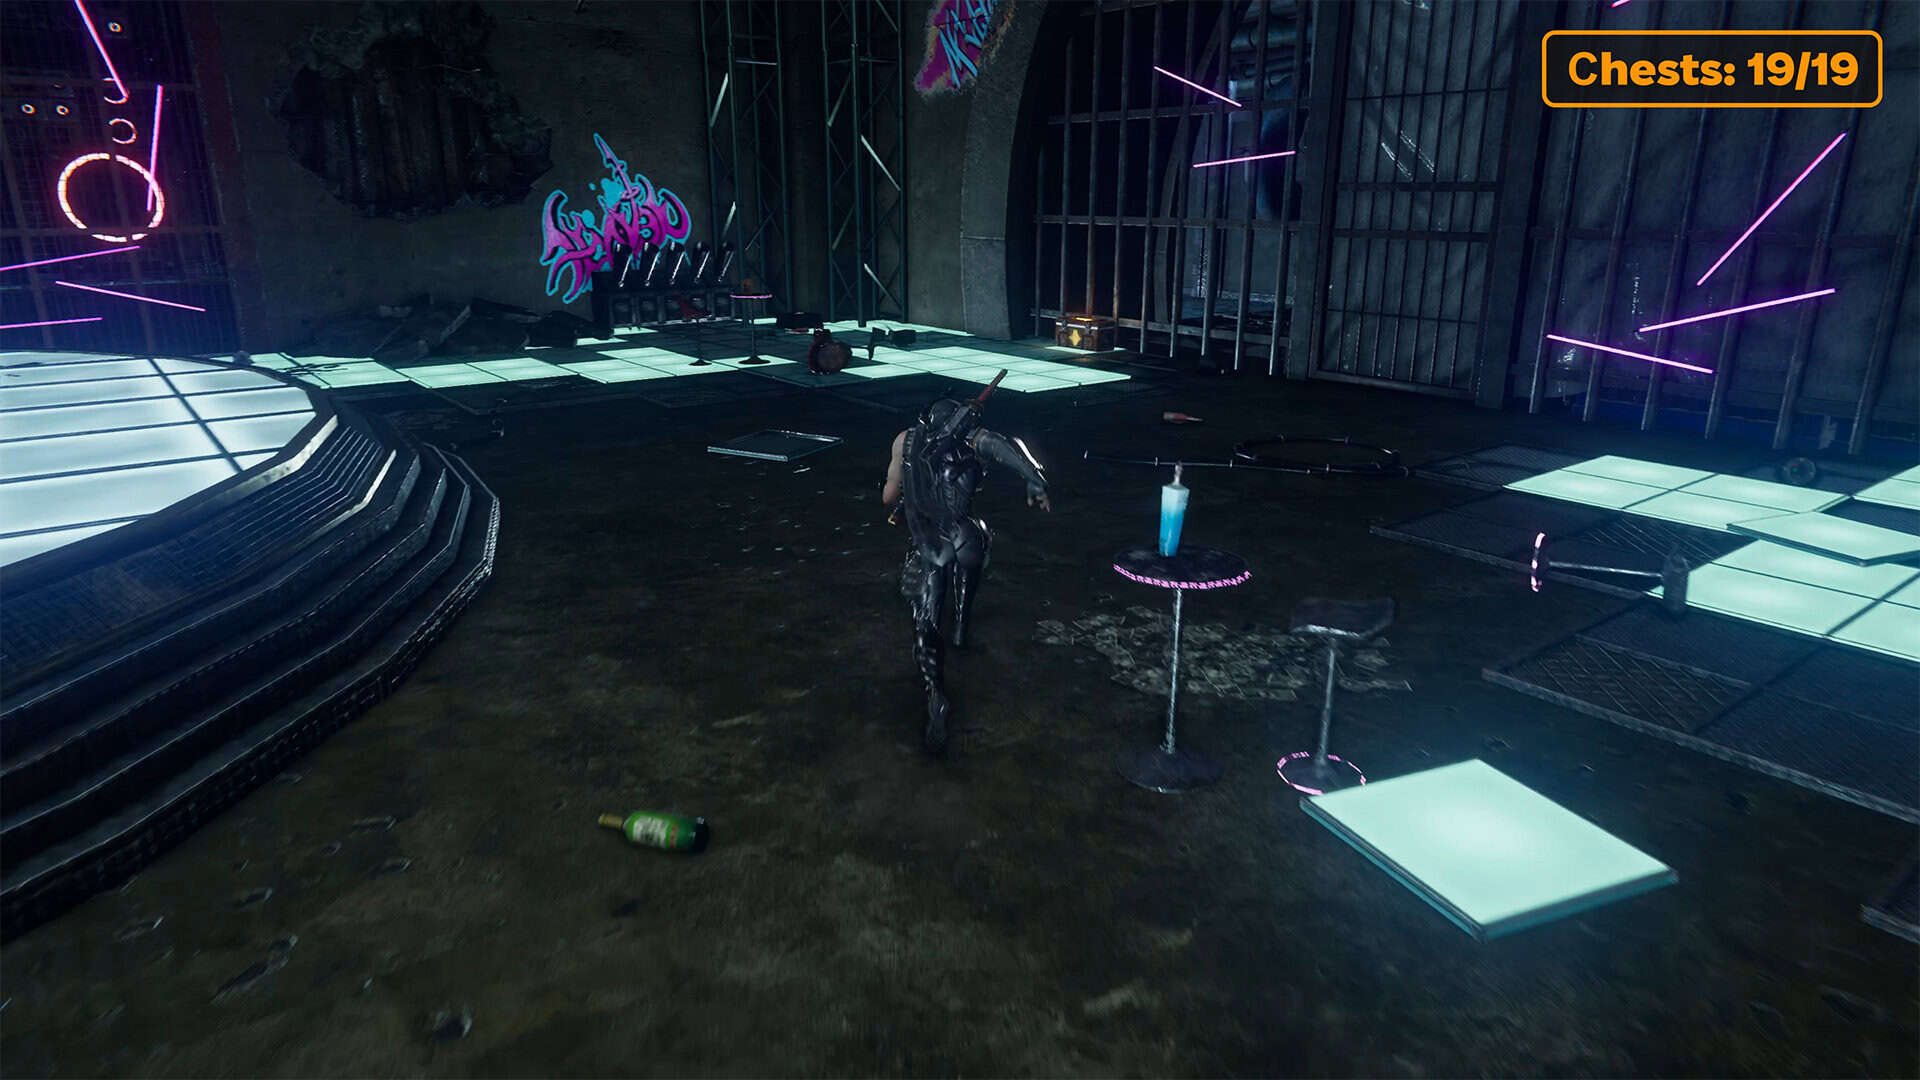
Battle at the underground disco
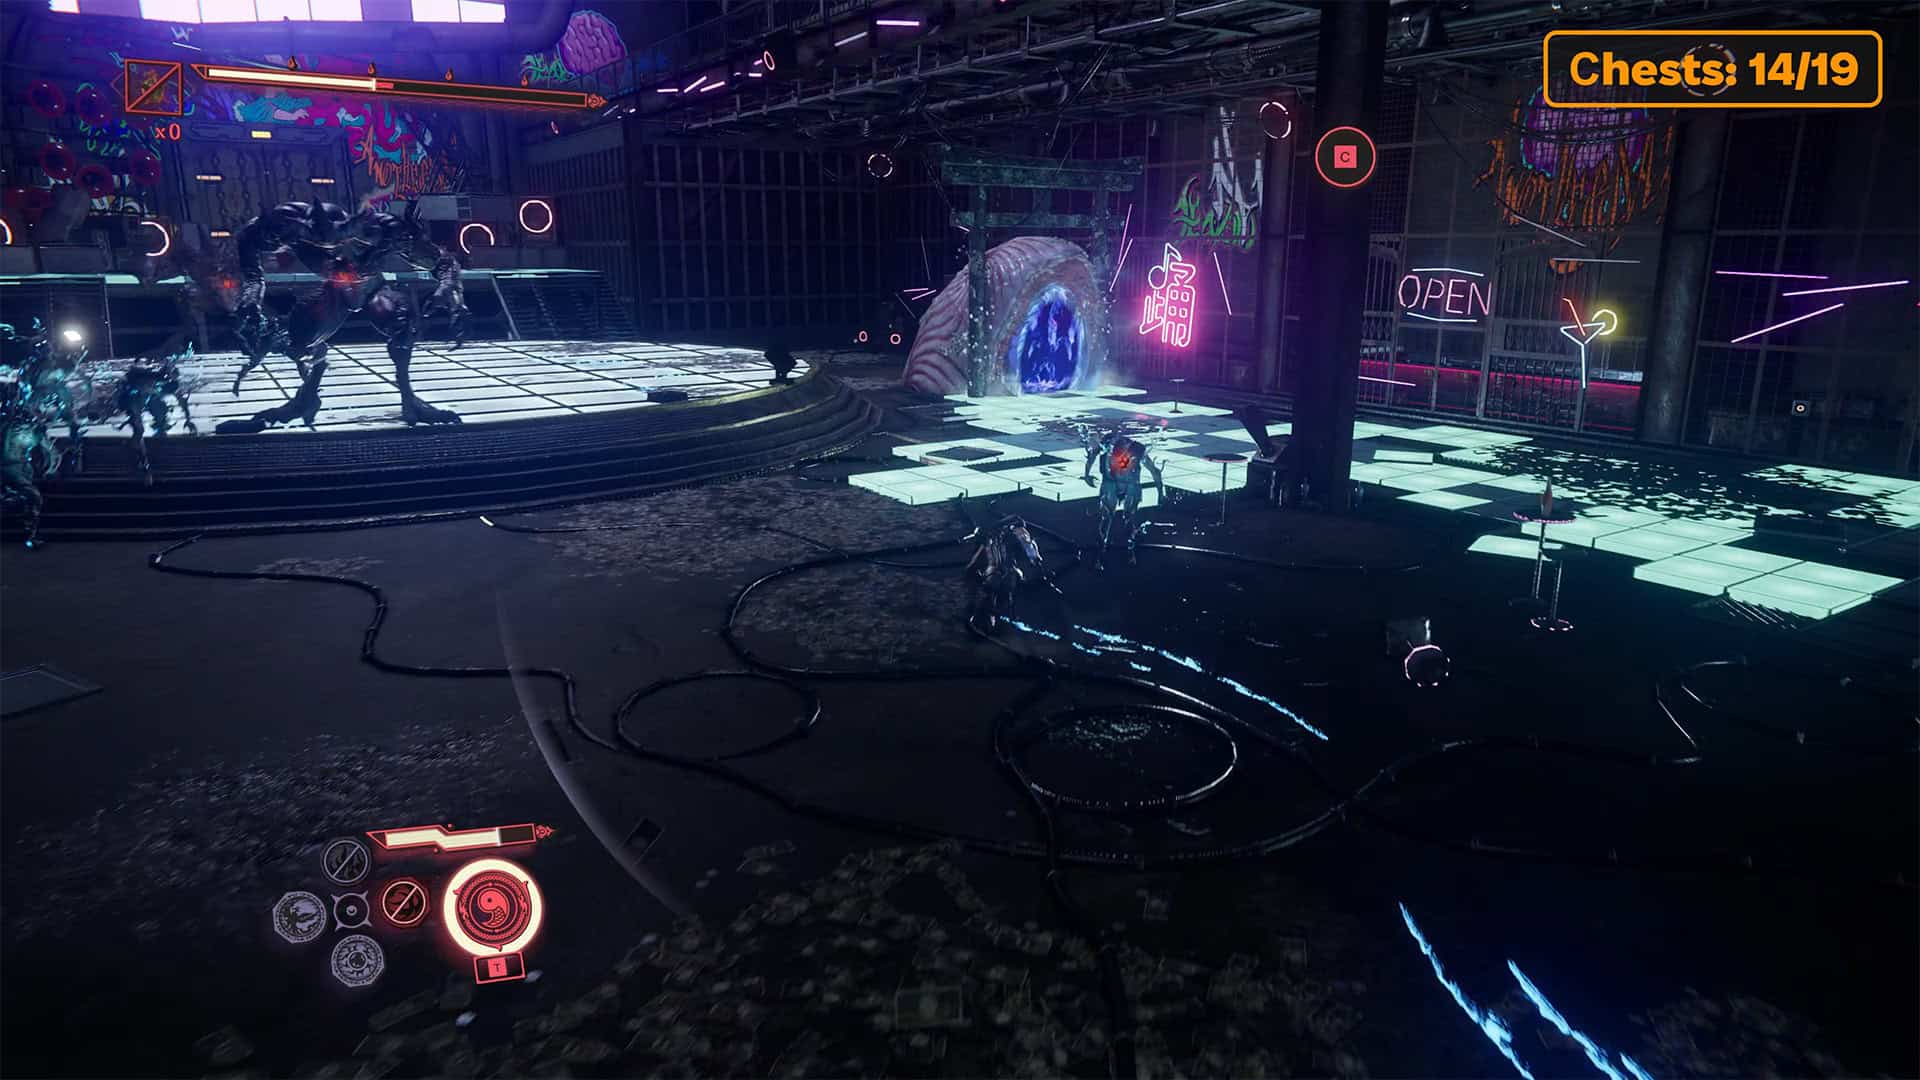
It’s time to leave this location. Break the nearby portal and you’ll find yourself in an underground disco. The first thing that catches your eye is the large number of enemies. Obviously, you’ll have to fight them all. First, try to defeat the Burabura Lantern Demons. Then it’s the turn of the Oni and Malherc. You need to be careful here. Somewhere in the middle of the battle, a portal will appear to your right, which will start adding enemies to the fight.
So, as soon as you notice it, go straight to it to destroy it and make the whole fight easier for yourself. After that, you need to deal with all the remaining enemies. The disco is over for them as soon as you appear in underground Tokyo.
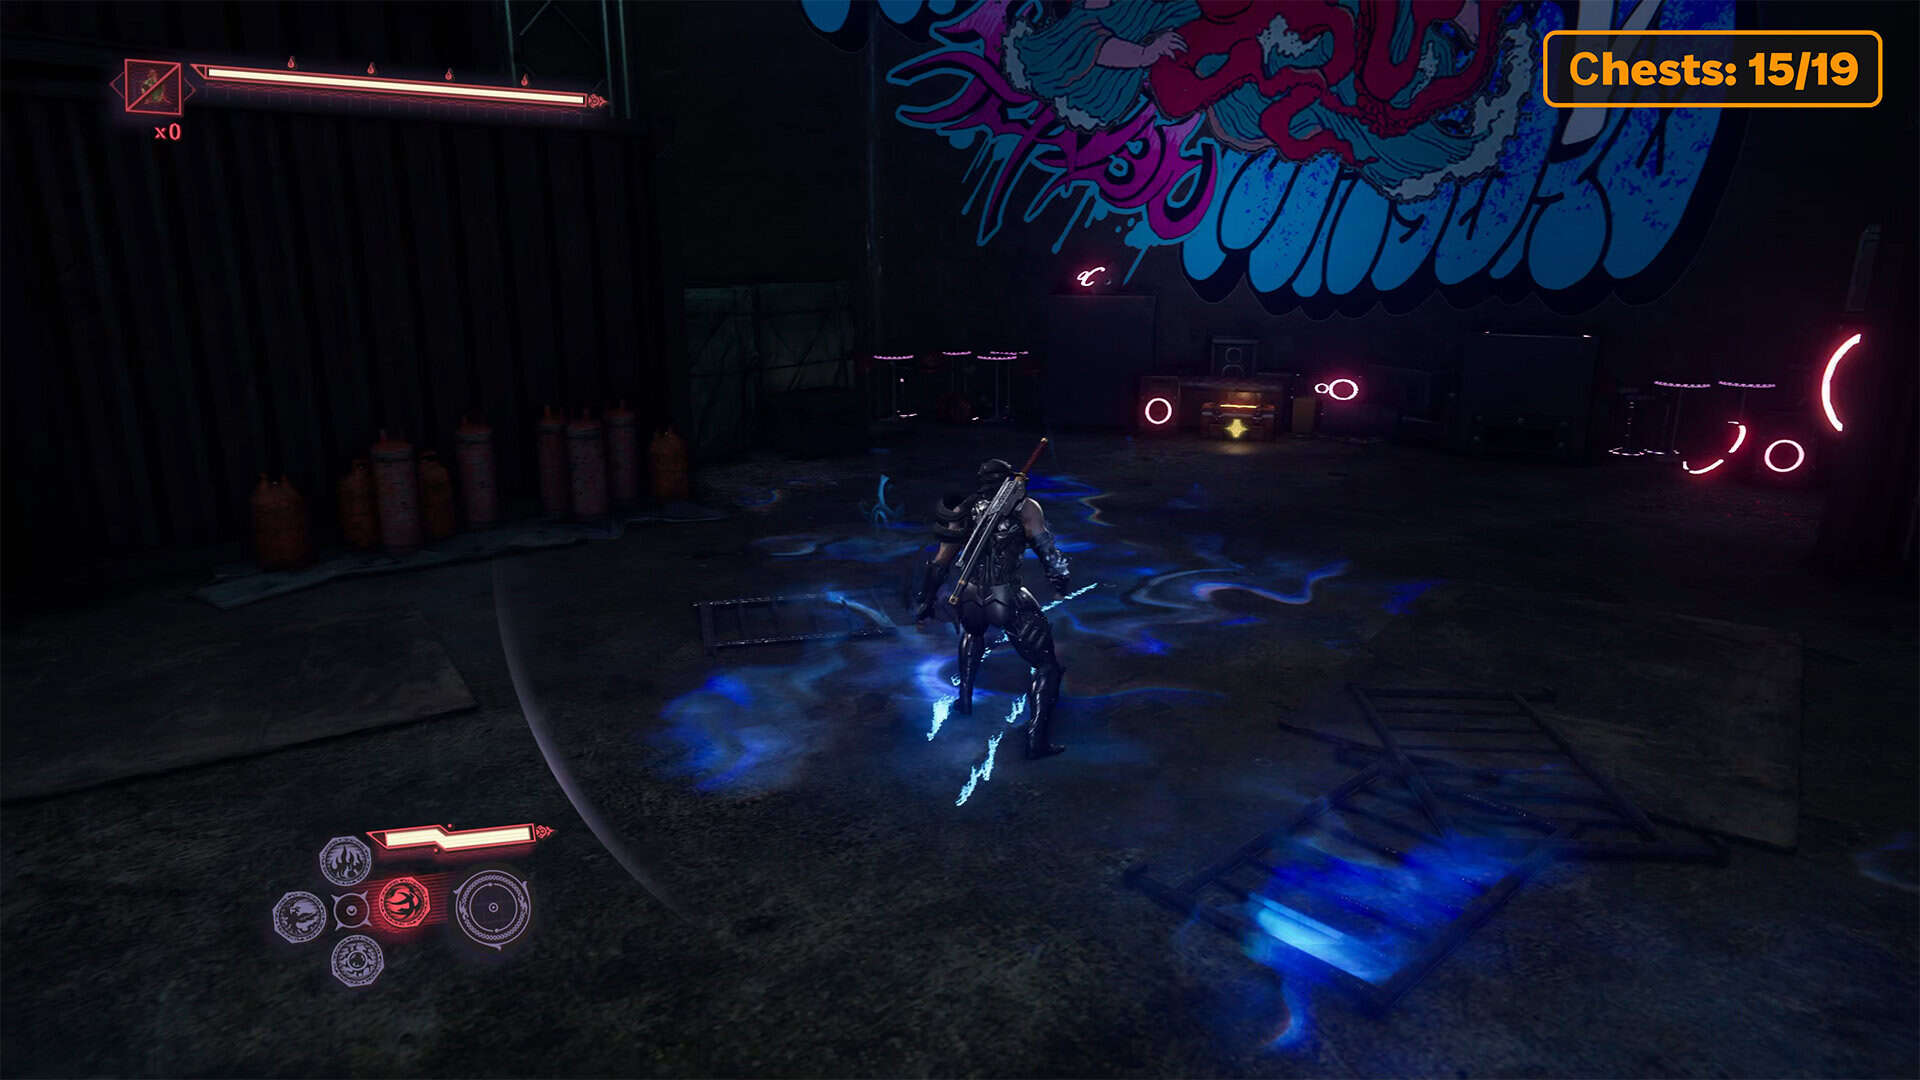
Lives of the Thousand Gods (chest 15)
There is nothing else of interest here. It is time to leave the disco and move on. Go through the double gates, jump down, and immediately turn around. You will see a chest. To open it, you must defeat Malherc, who is guarding it. After defeating him, open the chest and your health will increase because you will receive Lives of the Thousand Gods. This is a very important chest, so don’t miss this place. Moreover, you don’t need to put in a lot of effort to get this upgrade. There is only one enemy, and you can easily defeat him.
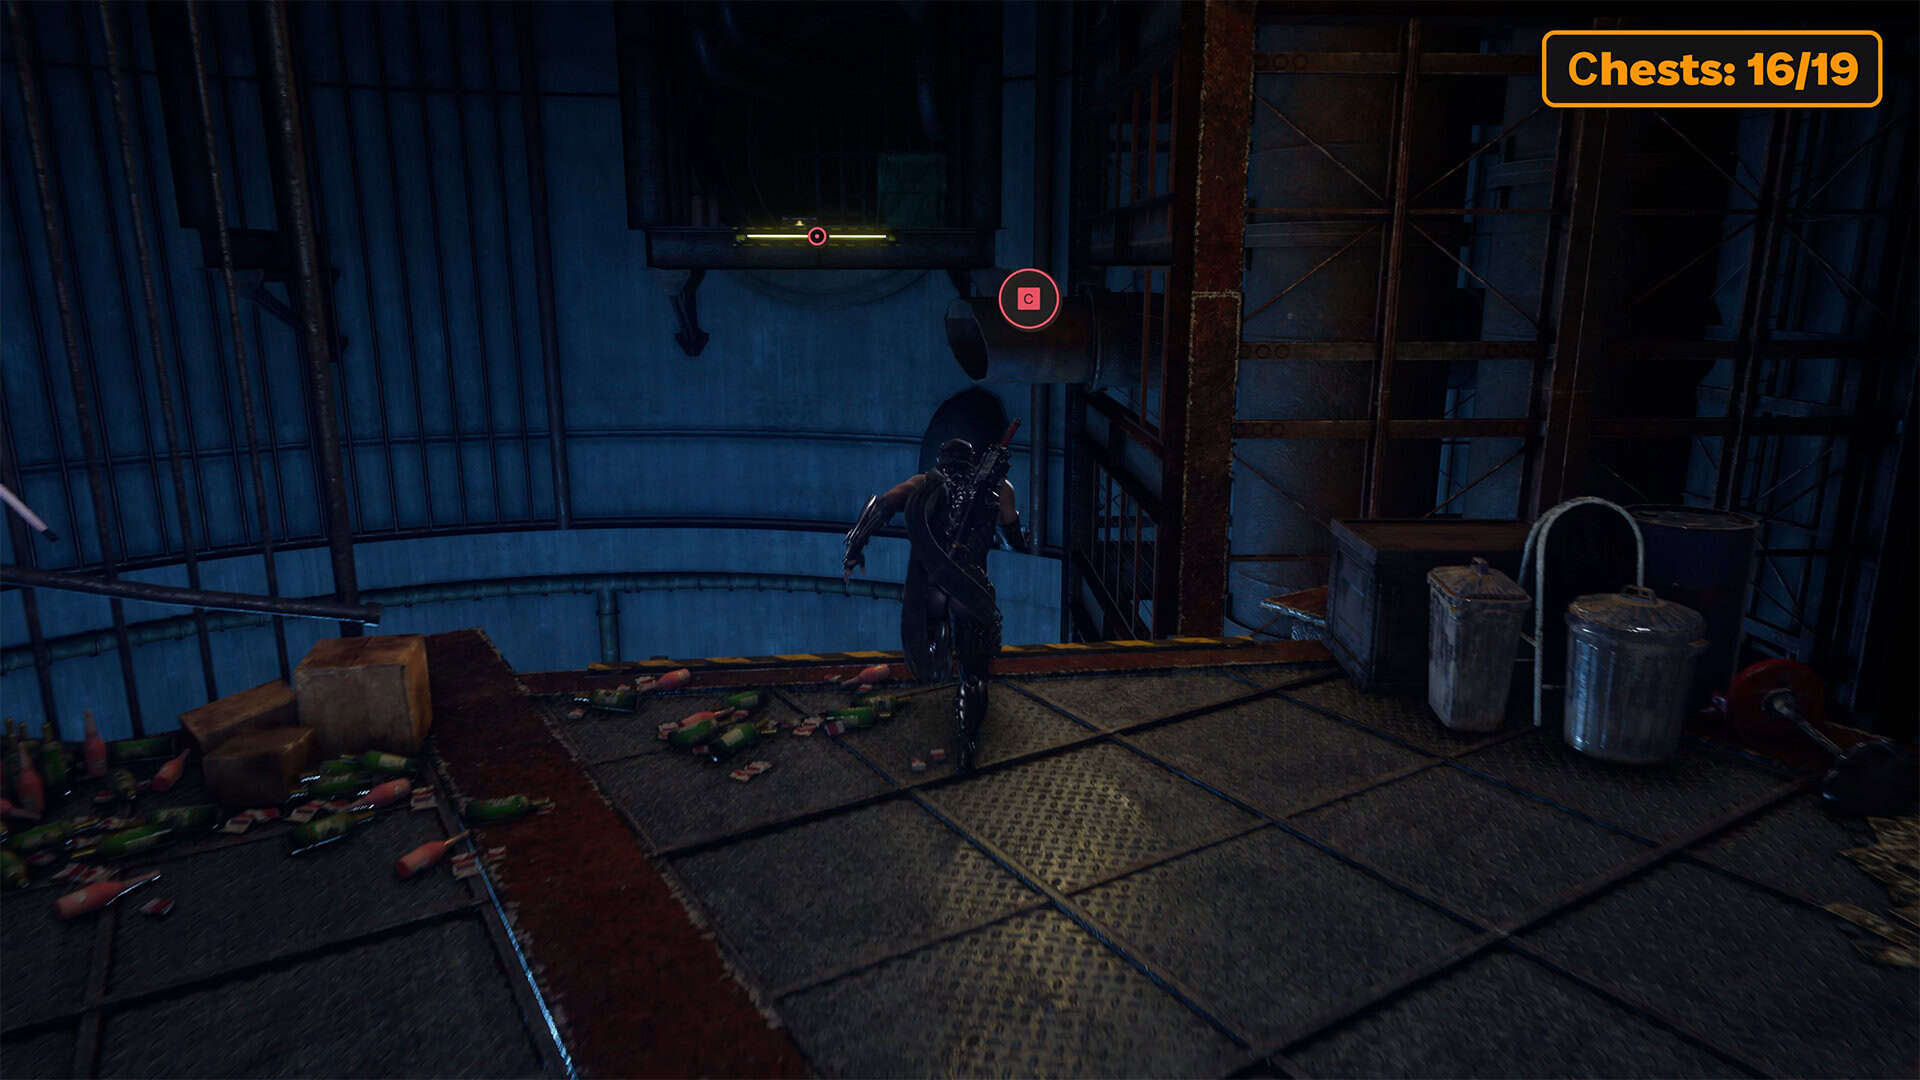
Divine Life Elixir (chest 16)
Proceed with caution. There is a spot ahead that is very easy to miss. You will come to a metal platform and see a portal below. This is the exit to the end of the chapter. Therefore, before jumping there, you need to complete a few useful tasks. First, jump to the left onto the platform and go down the spiral staircase. At the bottom, jump onto the pipe above the pit, and then further forward to the place where the chest is located. Inside the chest, you will find the Divine Life Elixir.
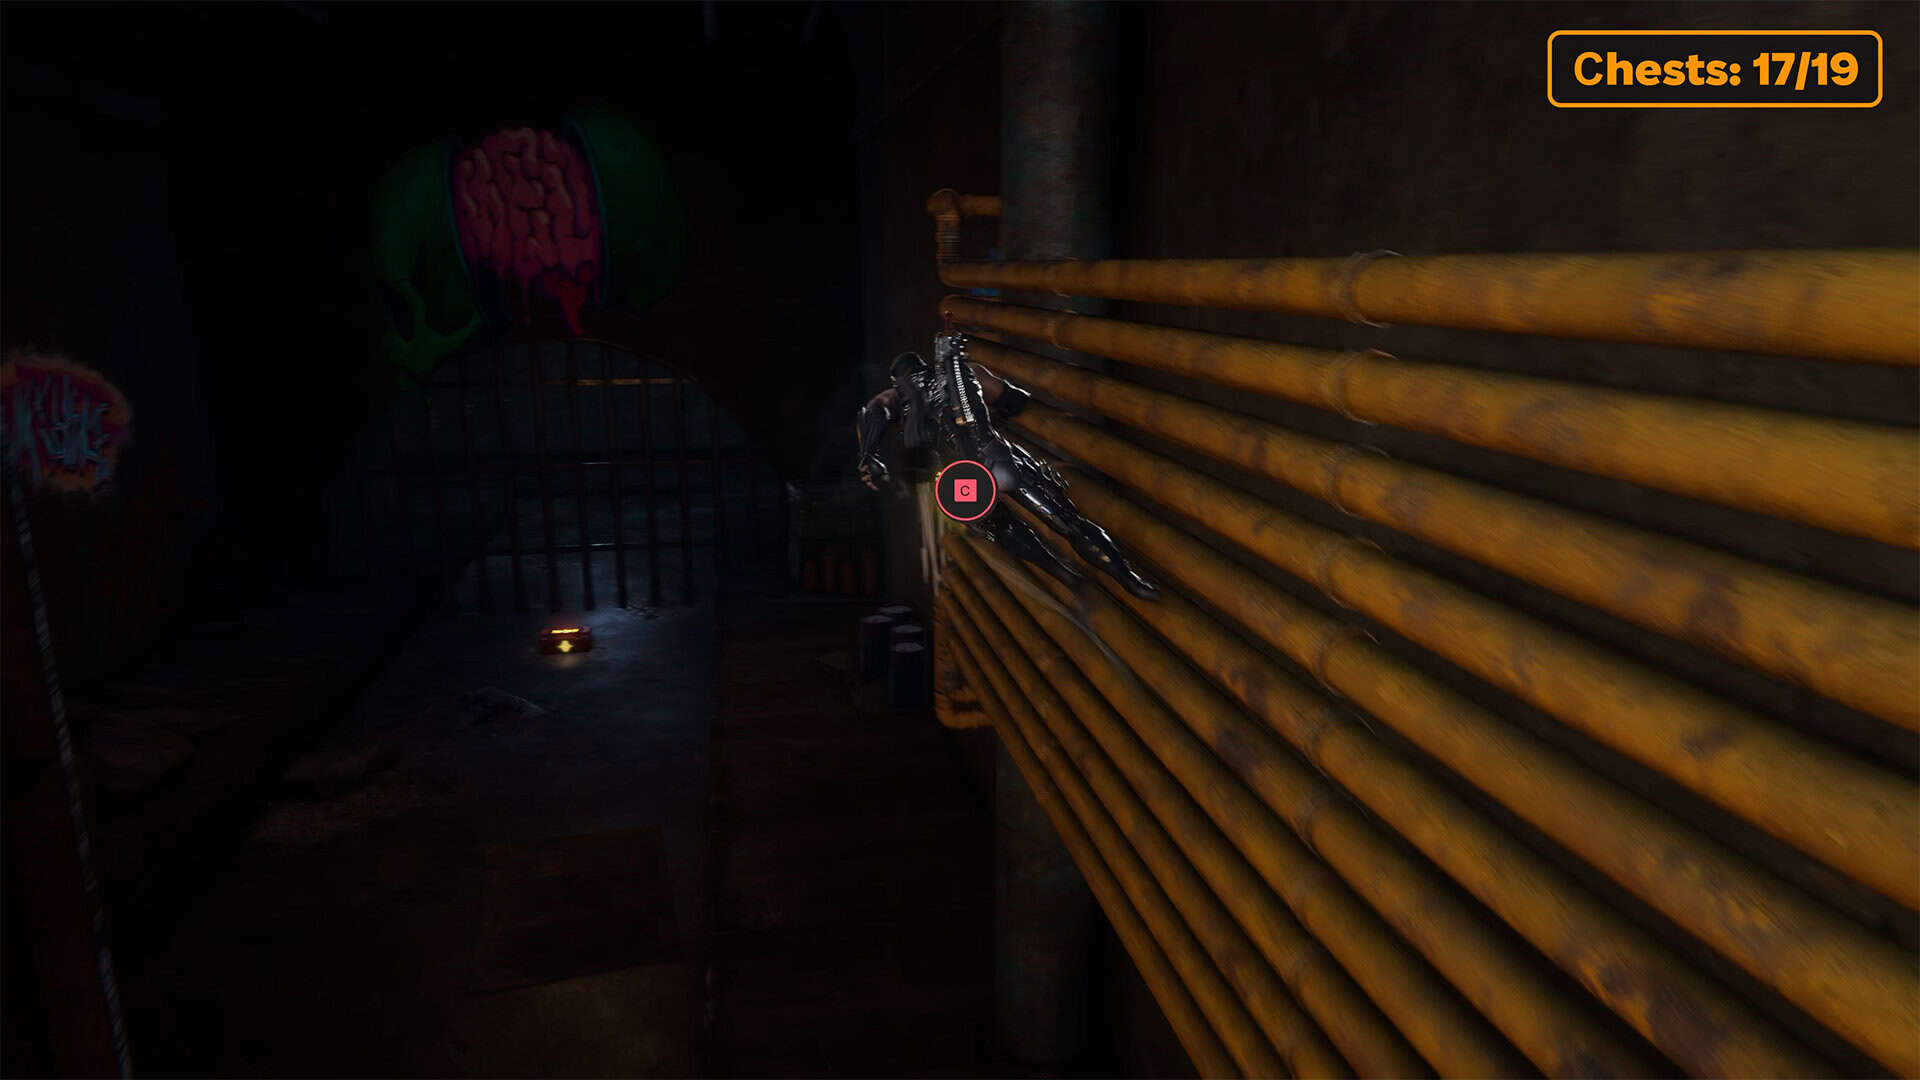
Divine Life Elixir (chest 17)
Now go back the same way, jump over the gap below that leads to the portal, and go straight ahead. Run forward and turn left. Here you will have to overcome several obstacles, and you will find another chest. It is not guarded by enemies. So just open the chest and you will receive another Divine Life Elixir.
-
- Battle at the underground disco
-
- Lives of the Thousand Gods (chest 15)
-
- Divine Life Elixir (chest 16)
-
- Divine Life Elixir (chest 17)
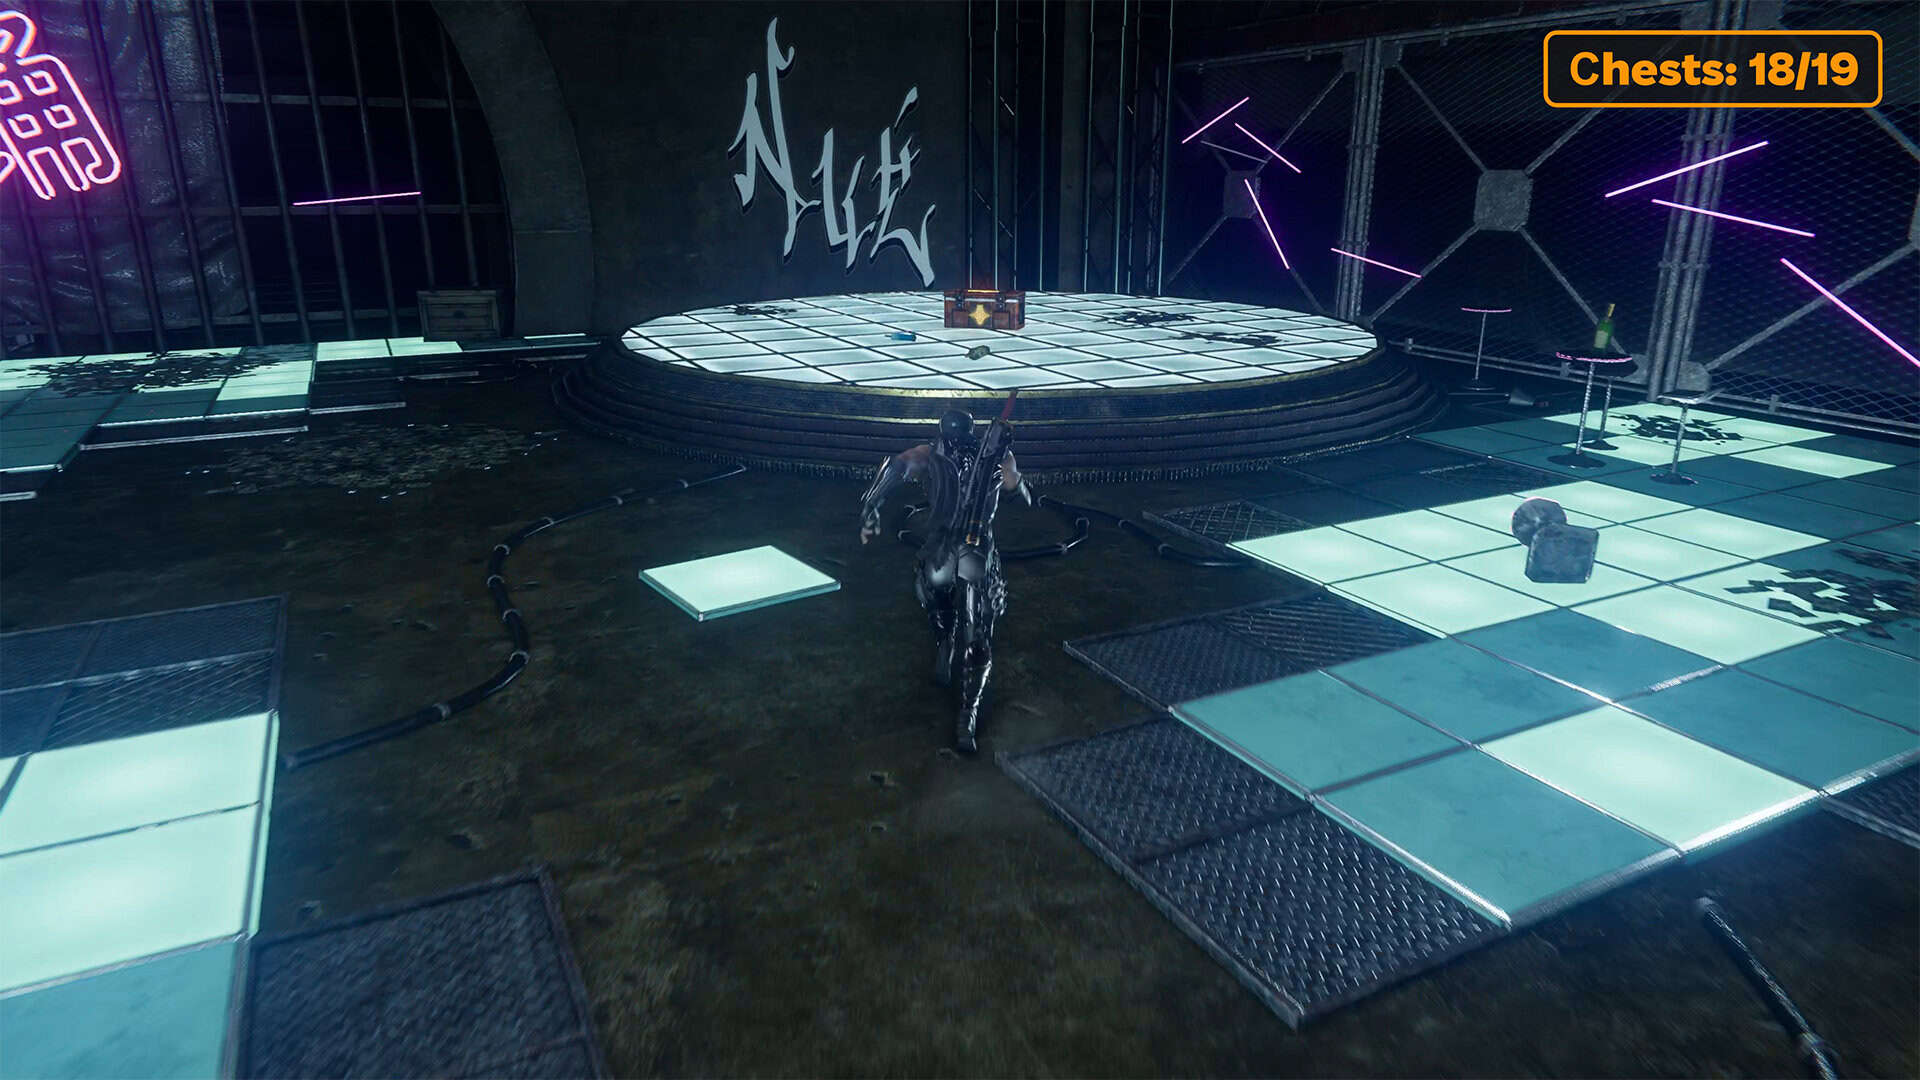
Mirage skill Gleam Form and Incense of Rebirth (chests 18-19)
After that, move forward again. Ahead, you will see another disco area, which is closed. Open the door to get inside. Here you will immediately see the Purgatory Gate, but there are also two chests. Therefore, I suggest opening the chests first and then passing the test. There are no enemies here at all. The chests are standing there unguarded. Your task is simply to approach and open them. The first chest hides the Mirage skill in Gleam Form mode. In the second chest, you will find the useful and very expensive Incense of Rebirth. This chest is easy to miss, so be careful and don’t repeat the mistakes that other players make.
Purgatory Gate in Fanged Gate
It’s time to take on the challenge that comes with each chapter. But this time, Ryu Hayabusa will carry out the Purgatory Gate mission. This is a great opportunity to improve your skills and abilities in practice in a difficult and long-lasting battle. First of all, you need to understand that in Purgatory Gate, you don’t get NinjaCoins for defeating each enemy, so if it was previously advisable to use Fortune Omamori and Cultivation Omamori, now it’s better to replace them with Ashen Pipe or other useful trinkets.
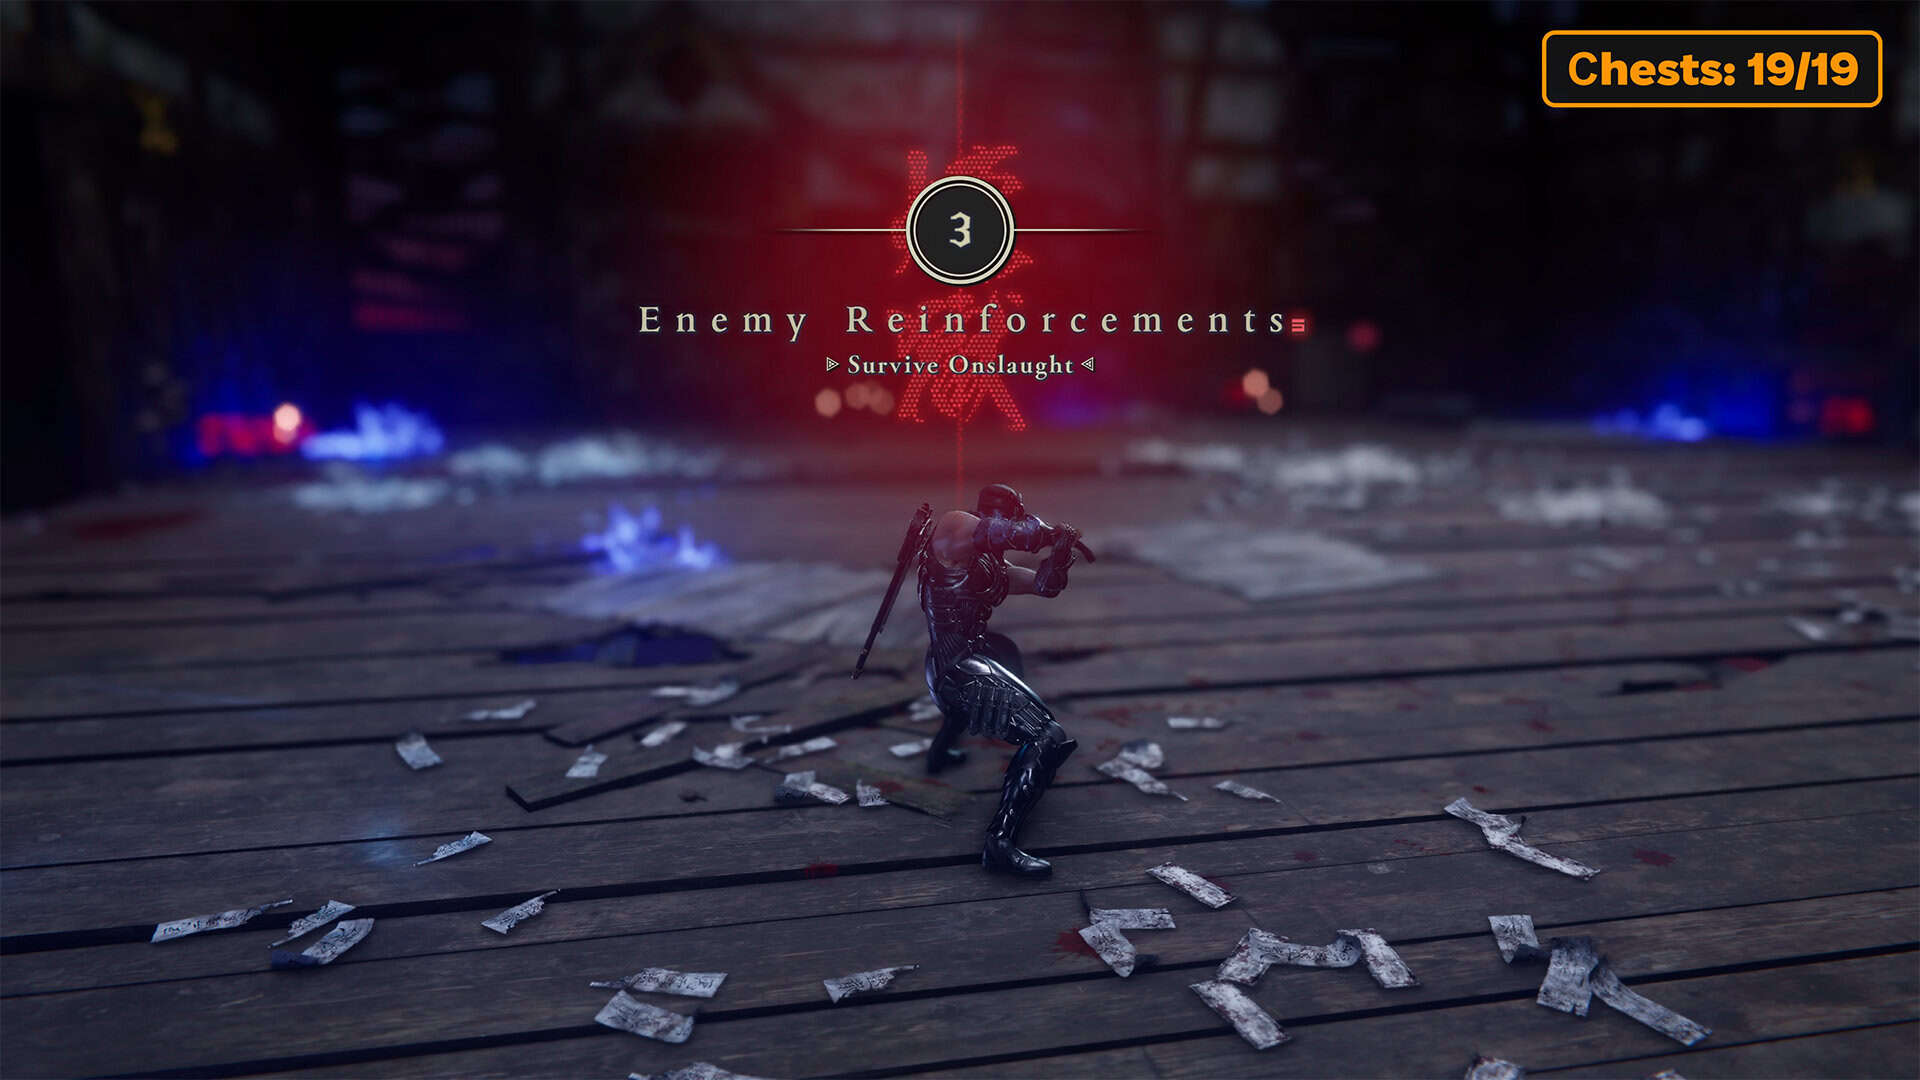
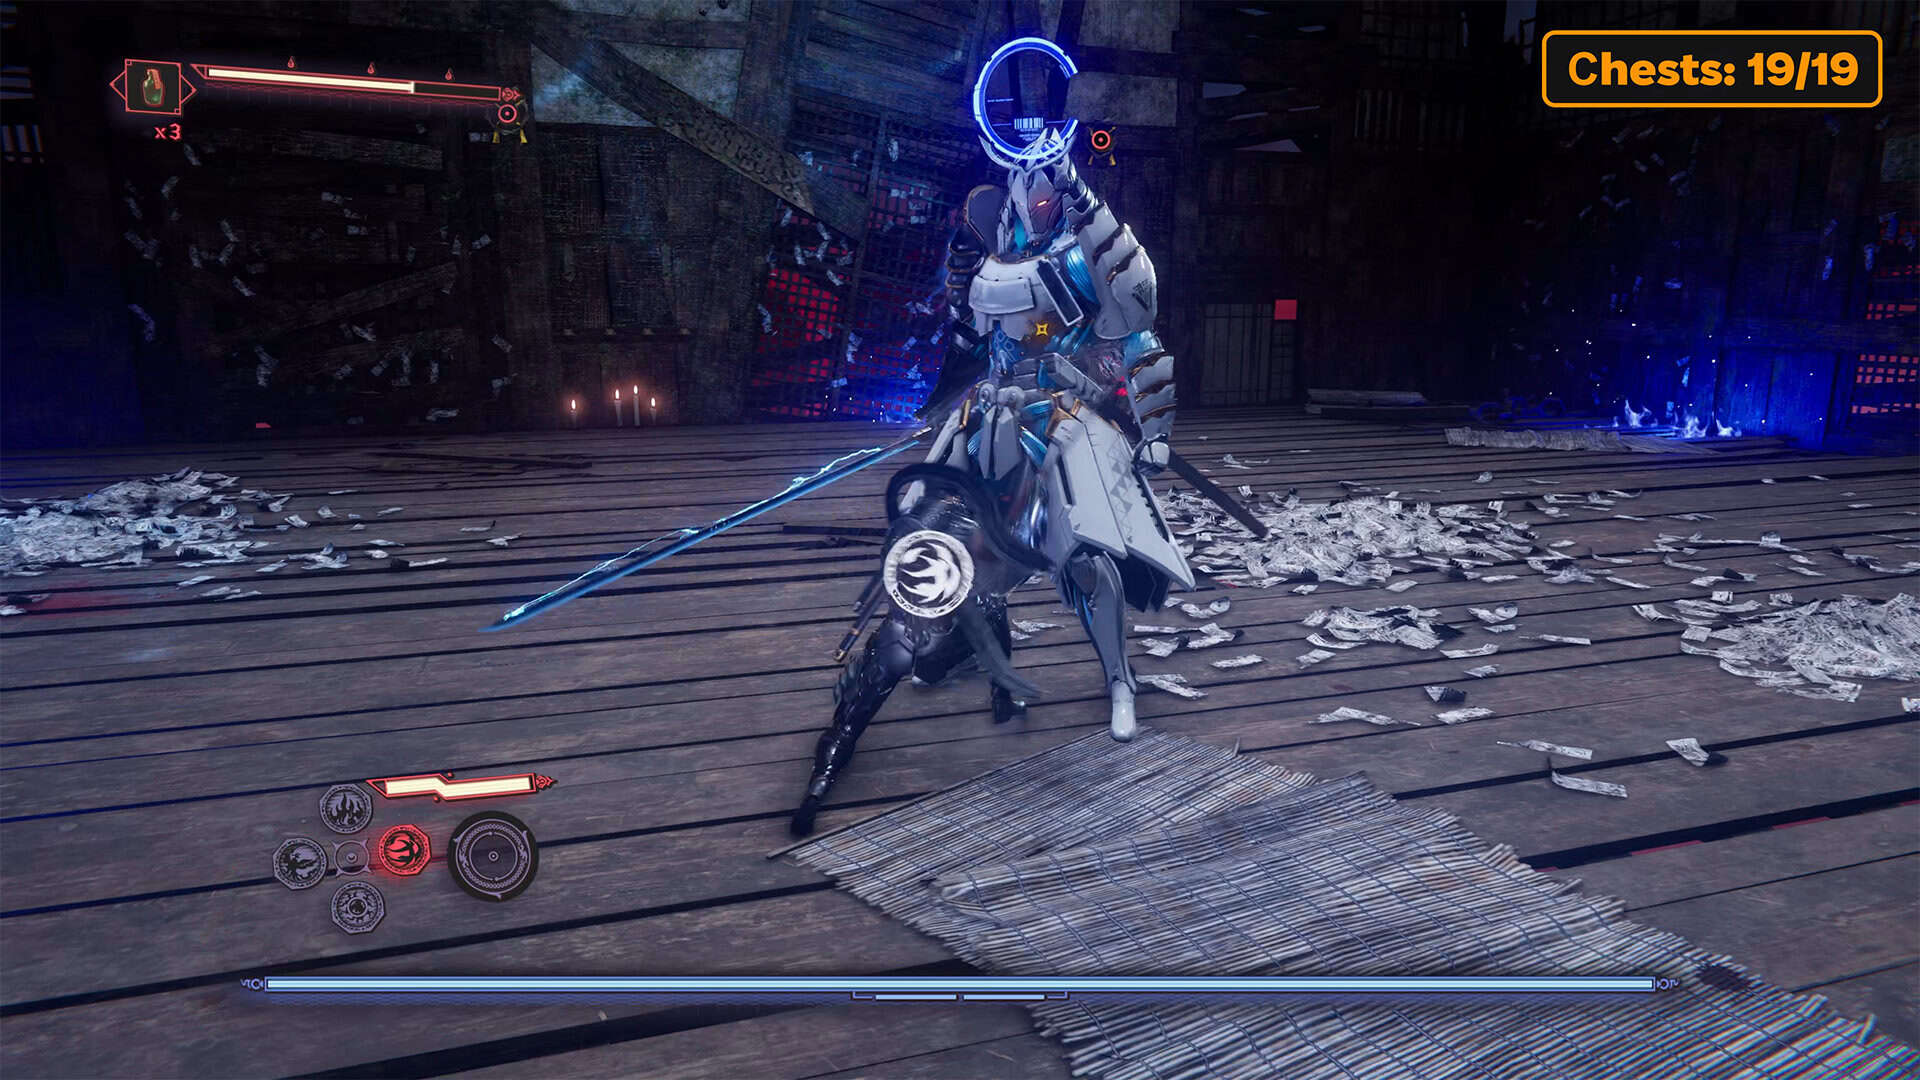
From the first enemy, you realize that the battle will not be easy. In addition to the usual enemies, you will encounter complications that move quickly and attack powerfully. To defeat everyone with minimal losses, you need to move as quickly and diversely as possible. At the same time, use your entire arsenal of skills, including nippo. The second wave of enemies will be even more difficult. Malhercs will join the others, and at this stage, you will have to use life elixirs or other supplies to increase your chances of survival. The third wave is a duel with one enemy, who is the boss of this trial. You must defeat the DDO Commander. He has two health bars, but despite this, he was not a difficult opponent for me.
You know all of his attacks well, and they are easy to predict. Fight aggressively. While you need to focus more on dodging and defending during the first two waves, here you should concentrate on inflicting as much damage as possible. Use your skills and you will see how quickly your opponent is defeated, allowing you to receive your well-deserved reward for completing this mission.
-
- Mirage skill Gleam Form (chest 18)
-
- Incense of Rebirth (chest 19)
-
- Three waves of enemies in Purgatory Gate
-
- DDO Commander, the final enemy in Purgatory Gate
Final boss Cetus
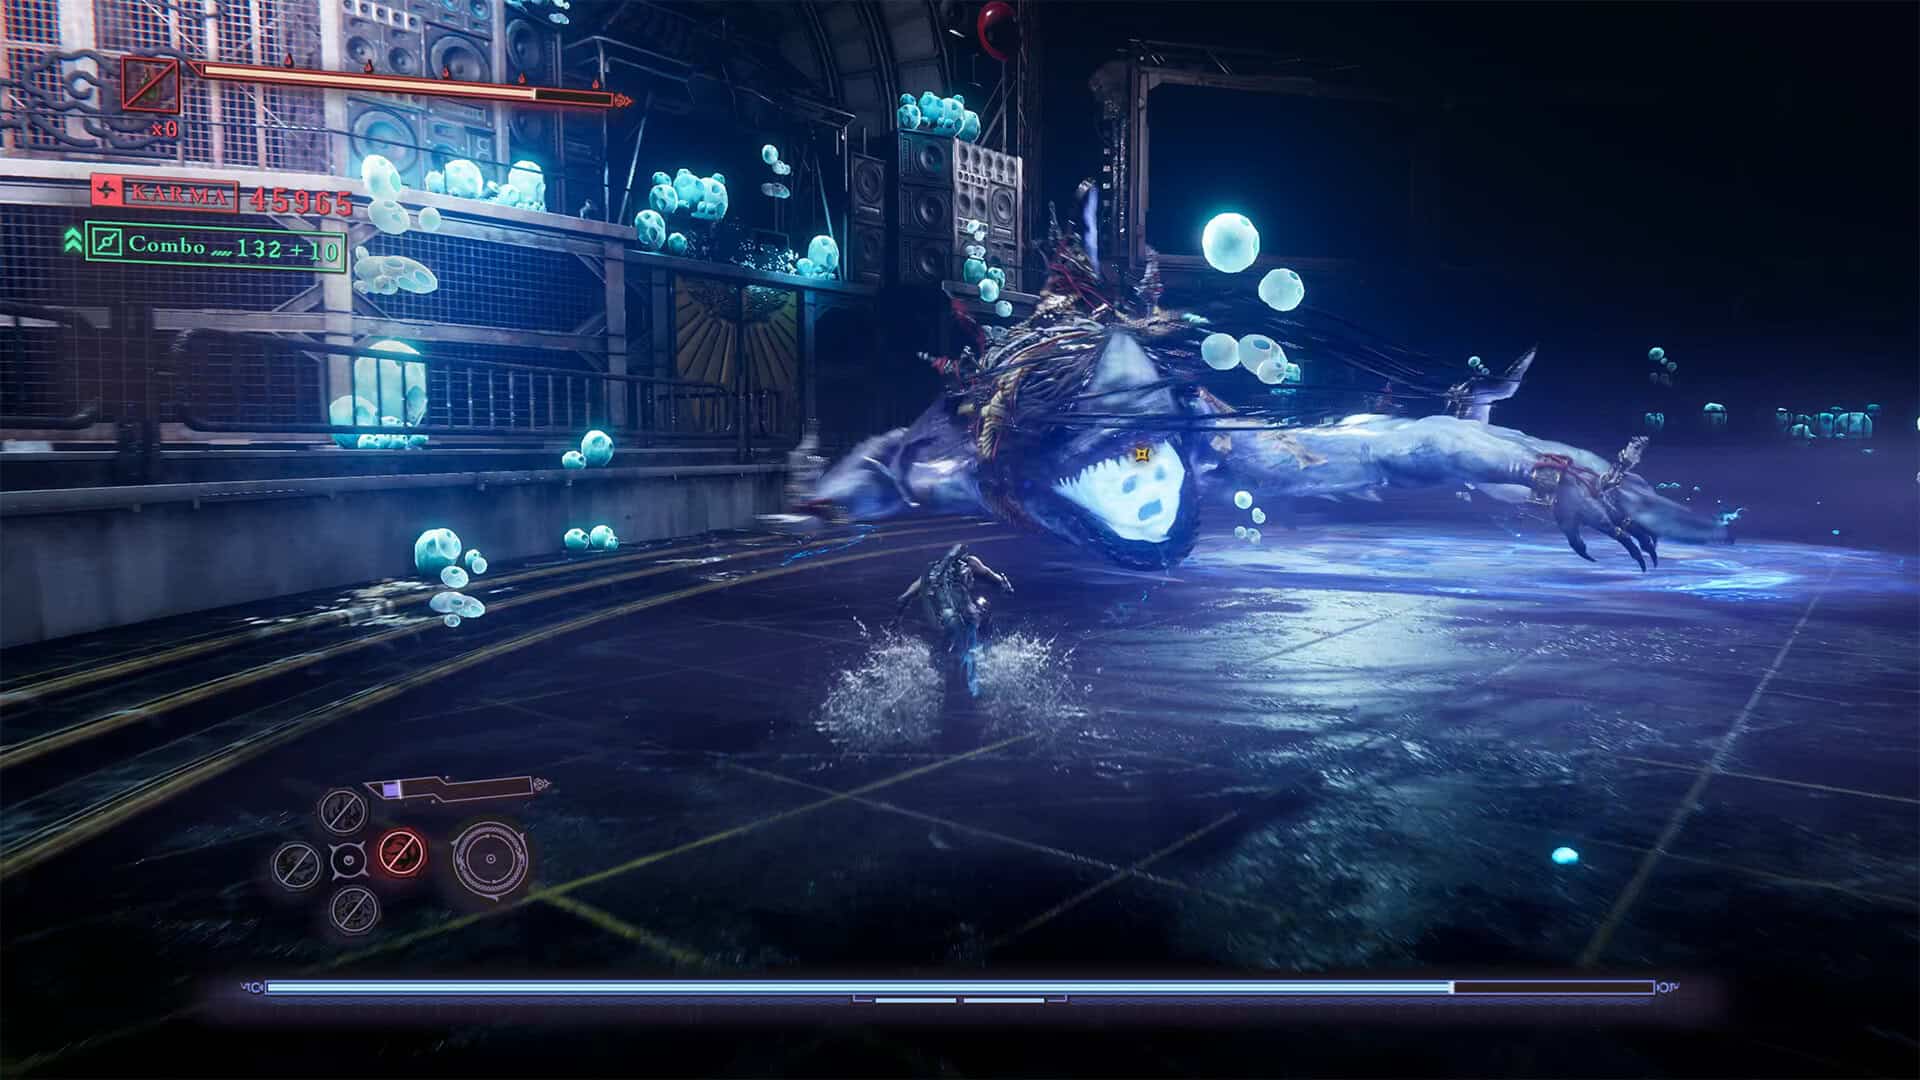
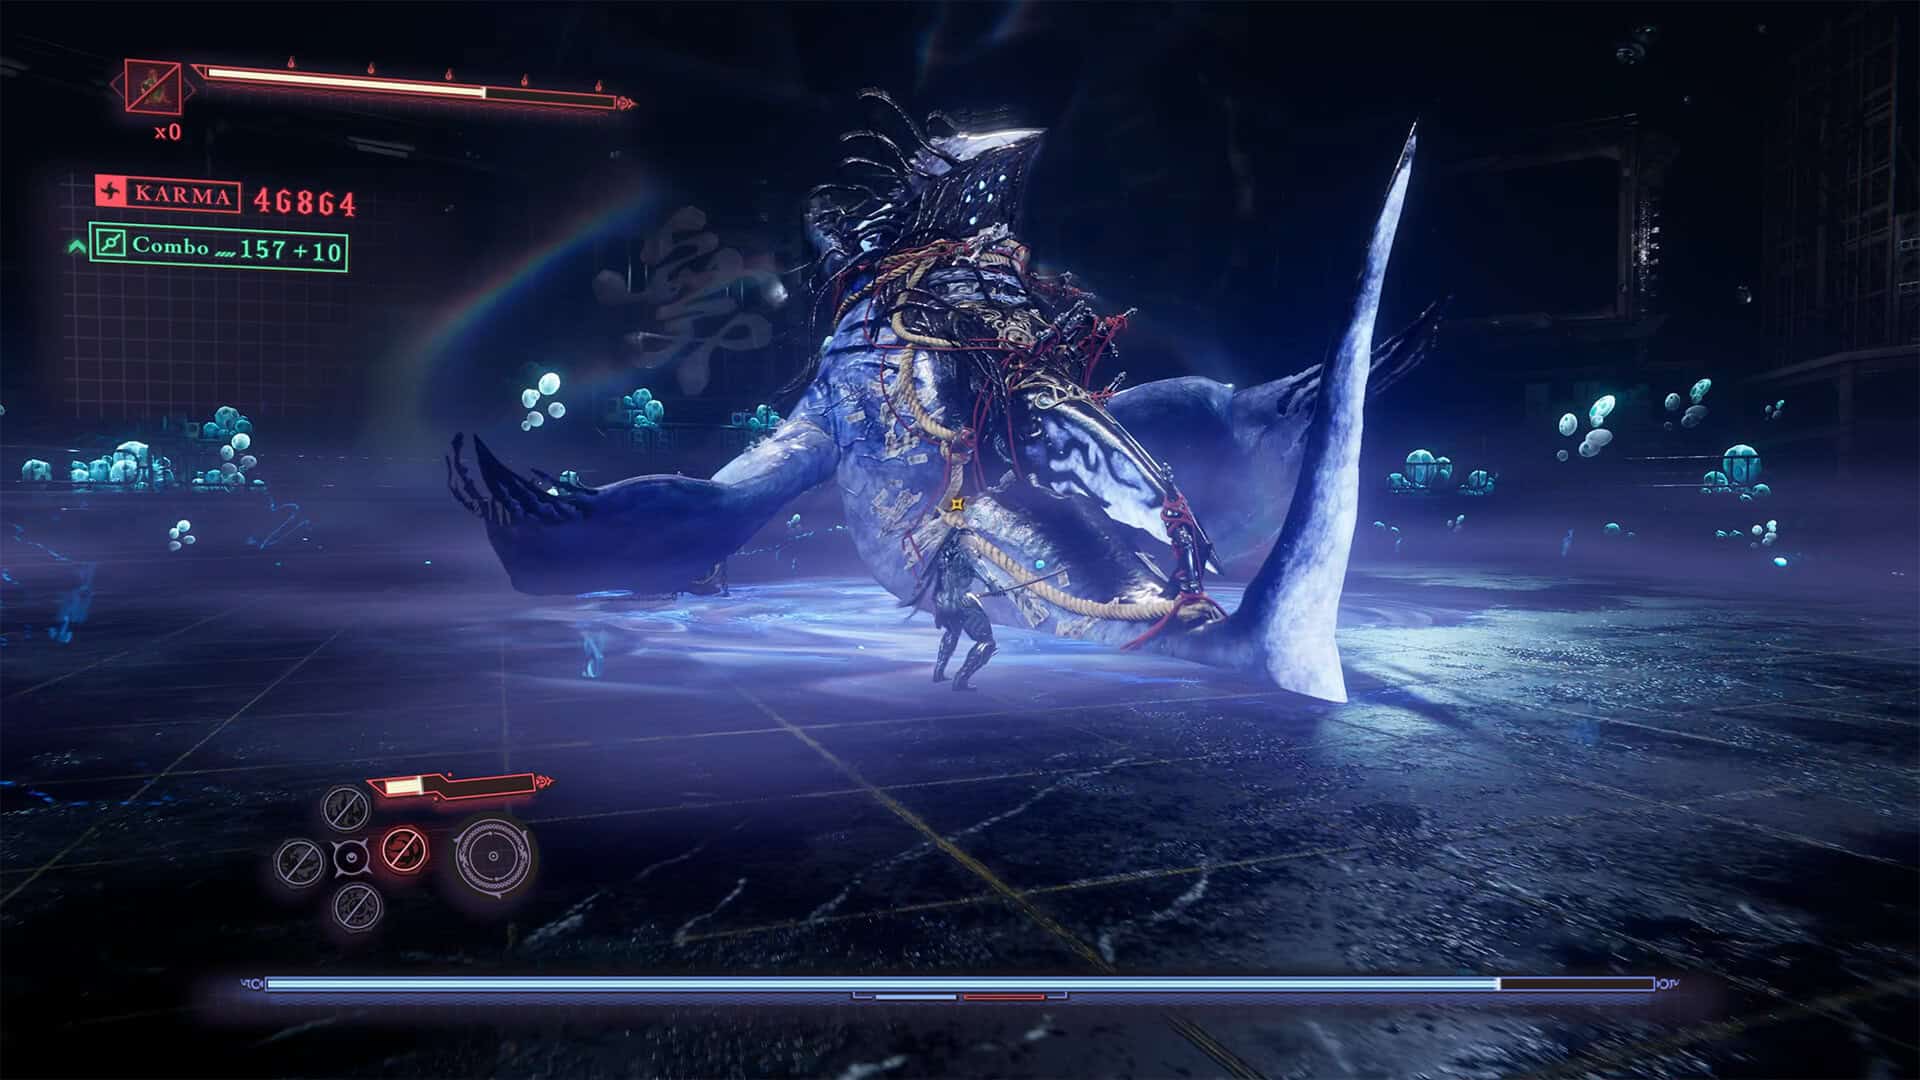
You have completed all the additional tasks and collected all the chests, now it’s time to return to the final enemy of this chapter. Go back to the nearby portal and jump into it. After passing through the portal, you will find yourself in an arena where Cetus will appear. You need to defeat him, and we will talk about how to do this later.
If you remember this enemy from when you fought him playing as Yakumo, nothing has changed in this battle. The boss has exactly the same behavior pattern. Given your gaming experience, you should be able to handle this enemy with ease. Especially since Ryu Hayabusa is more powerful thanks to his ninpo. The Art of the Inferno or Art of Piercing Void are very effective against the boss.
Although Cetus moves around a lot, his movements create more commotion than problems for you. Try to always stay to the side of the enemy so you don’t get hit by his frontal attacks. If you are in front of his head, always be ready to jump back or parry the boss’s attacks. By the way, almost all of the enemy’s attacks are easy to parry, and he doesn’t have any long attack sequences in his arsenal that can break through your defense. I found the fight to be monotonous and uncomplicated.
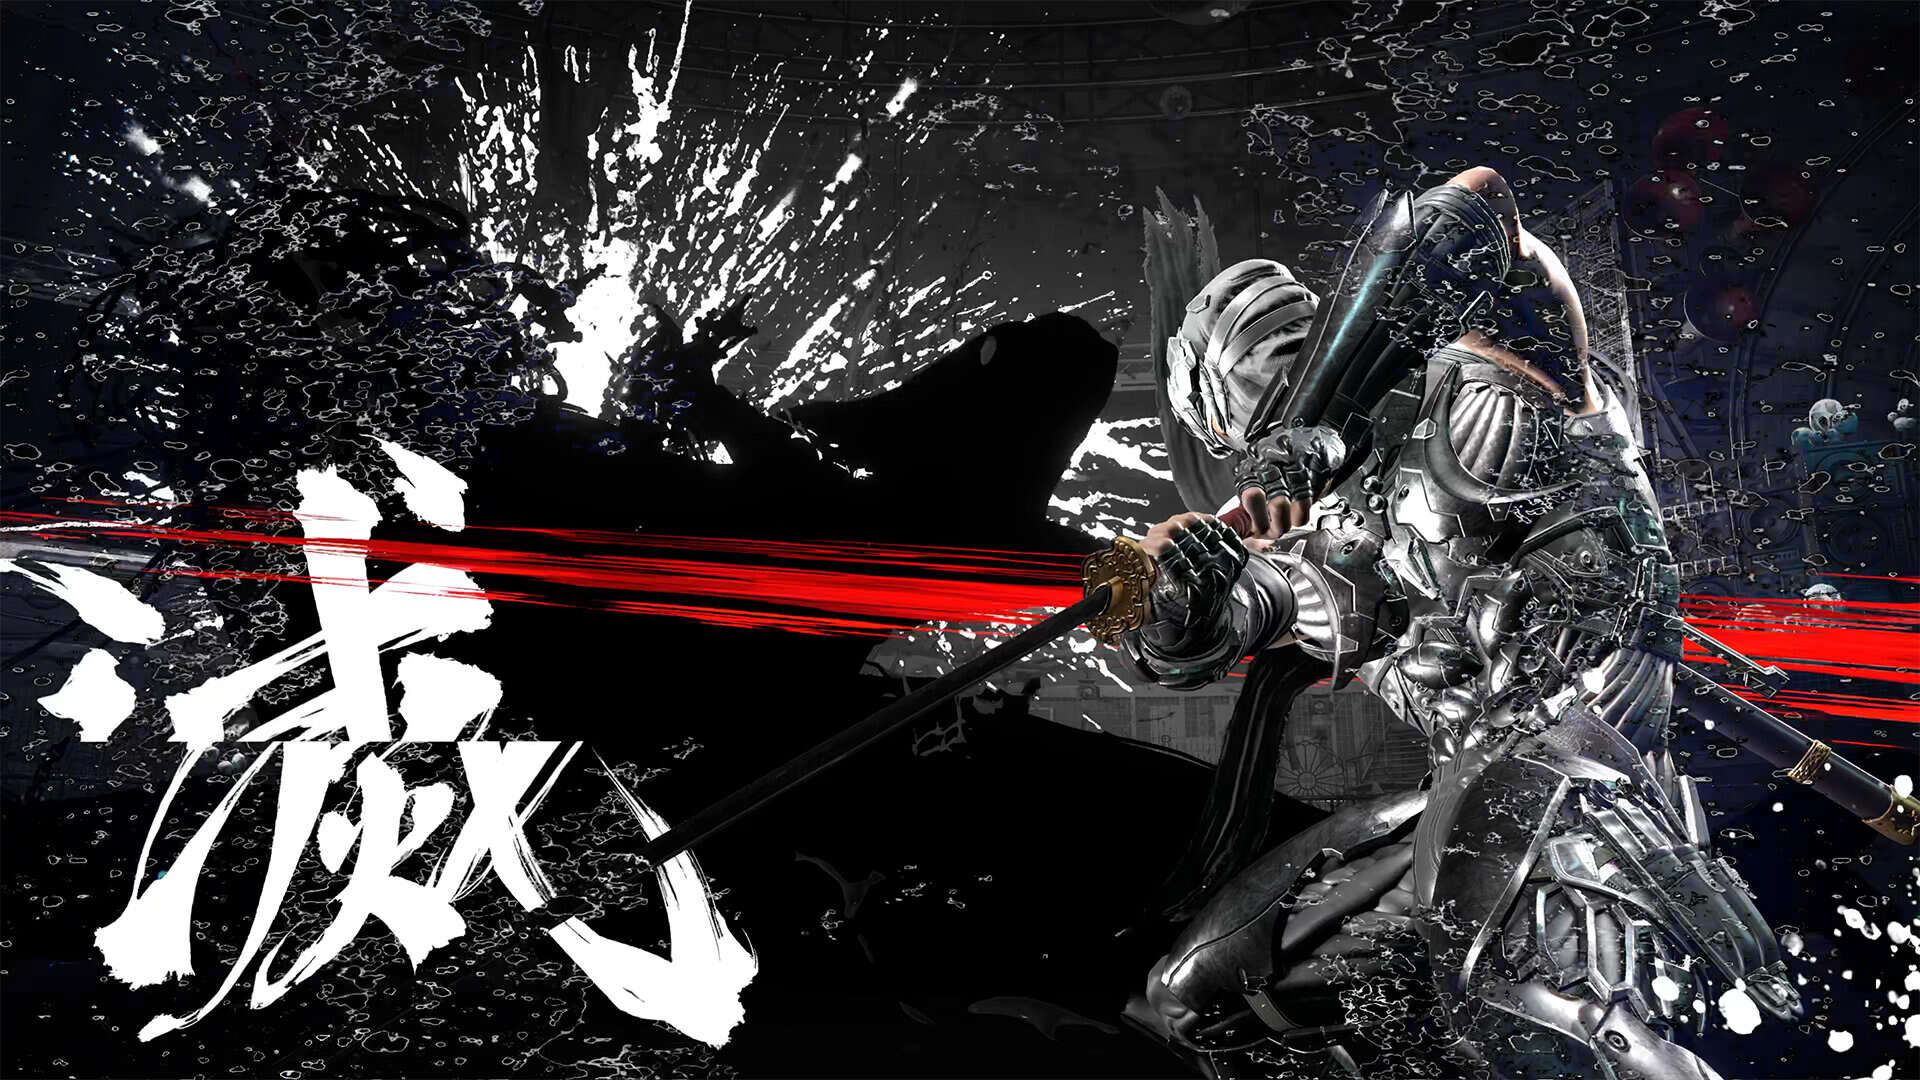
Art of the Inferno really does a lot of damage to the boss and recovers very quickly. Normal attacks deal constant damage to the boss, which generally translates into victory. You just need to be careful and dodge in time. The boss gives you a lot of opportunities to attack, so you can handle him without any problems. After the victory, it’s interesting to see how Ryu Hayabusa deals with the enemy and compare this cut scene with how it happened in Yakumo.
Next, Seori will come and create her spell, which will seal the essence of the evil dragon they are trying to imprison for life.
-
- Final boss Cetus
-
- The battle with Cetus
-
- Ryu Hayabusa defeats Cetus
-
- Seori seals the boss