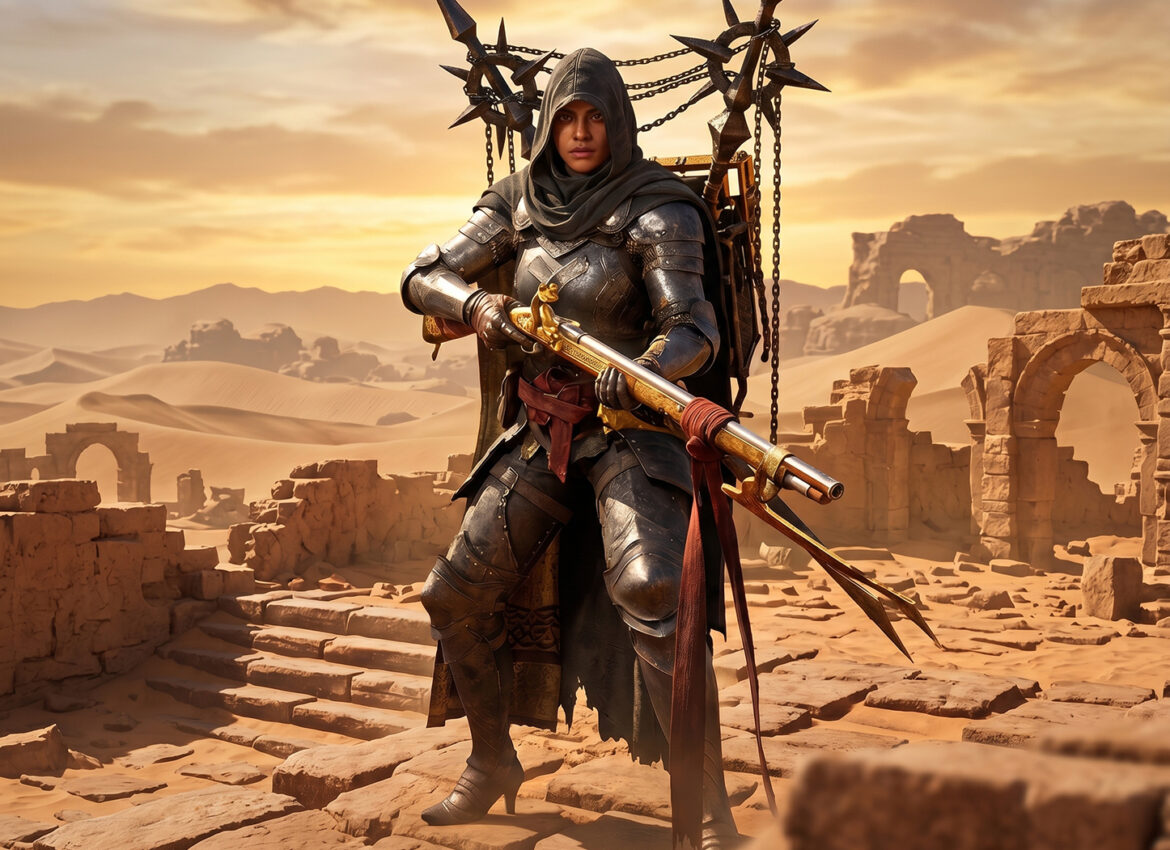
If you’re looking for how to beat Samara the Sandwatcher, you’ve probably already pushed into Izvatu Fortress and gotten torn apart by her rifle from somewhere up on the walls. Samara is the sharpshooter captain of the Dusksongs, a band of bandits she put together after deserting her own post as a soldier, and she’s holding the fortress as part of the push to liberate it. This fight feels unconventional compared to most boss battles in Crimson Desert, and honestly, it’s one of the more interesting fights in the game.
I’ll walk you through the exact strategy that gets you through this fight, starting with where to find her, then moving into the Focus mode and Force Palm loop that carries the whole battle. You’ll need a decent amount of Spirit for this one, so if you’ve been putting off the green branch of that stat, now’s the time to fix that. Patience matters more than damage output here, and once you settle into the rhythm, this fight stops feeling unfair.
Bookmark this guide before you head into the fortress, because Samara likes to drag fights out and you’ll want to come back to the dodge timing more than once. And if you’ve already worked through some of our other Crimson Desert boss guides, a lot of the same Force Palm fundamentals carry over here too.
Samara the Sandwatcher Location in Crimson Desert
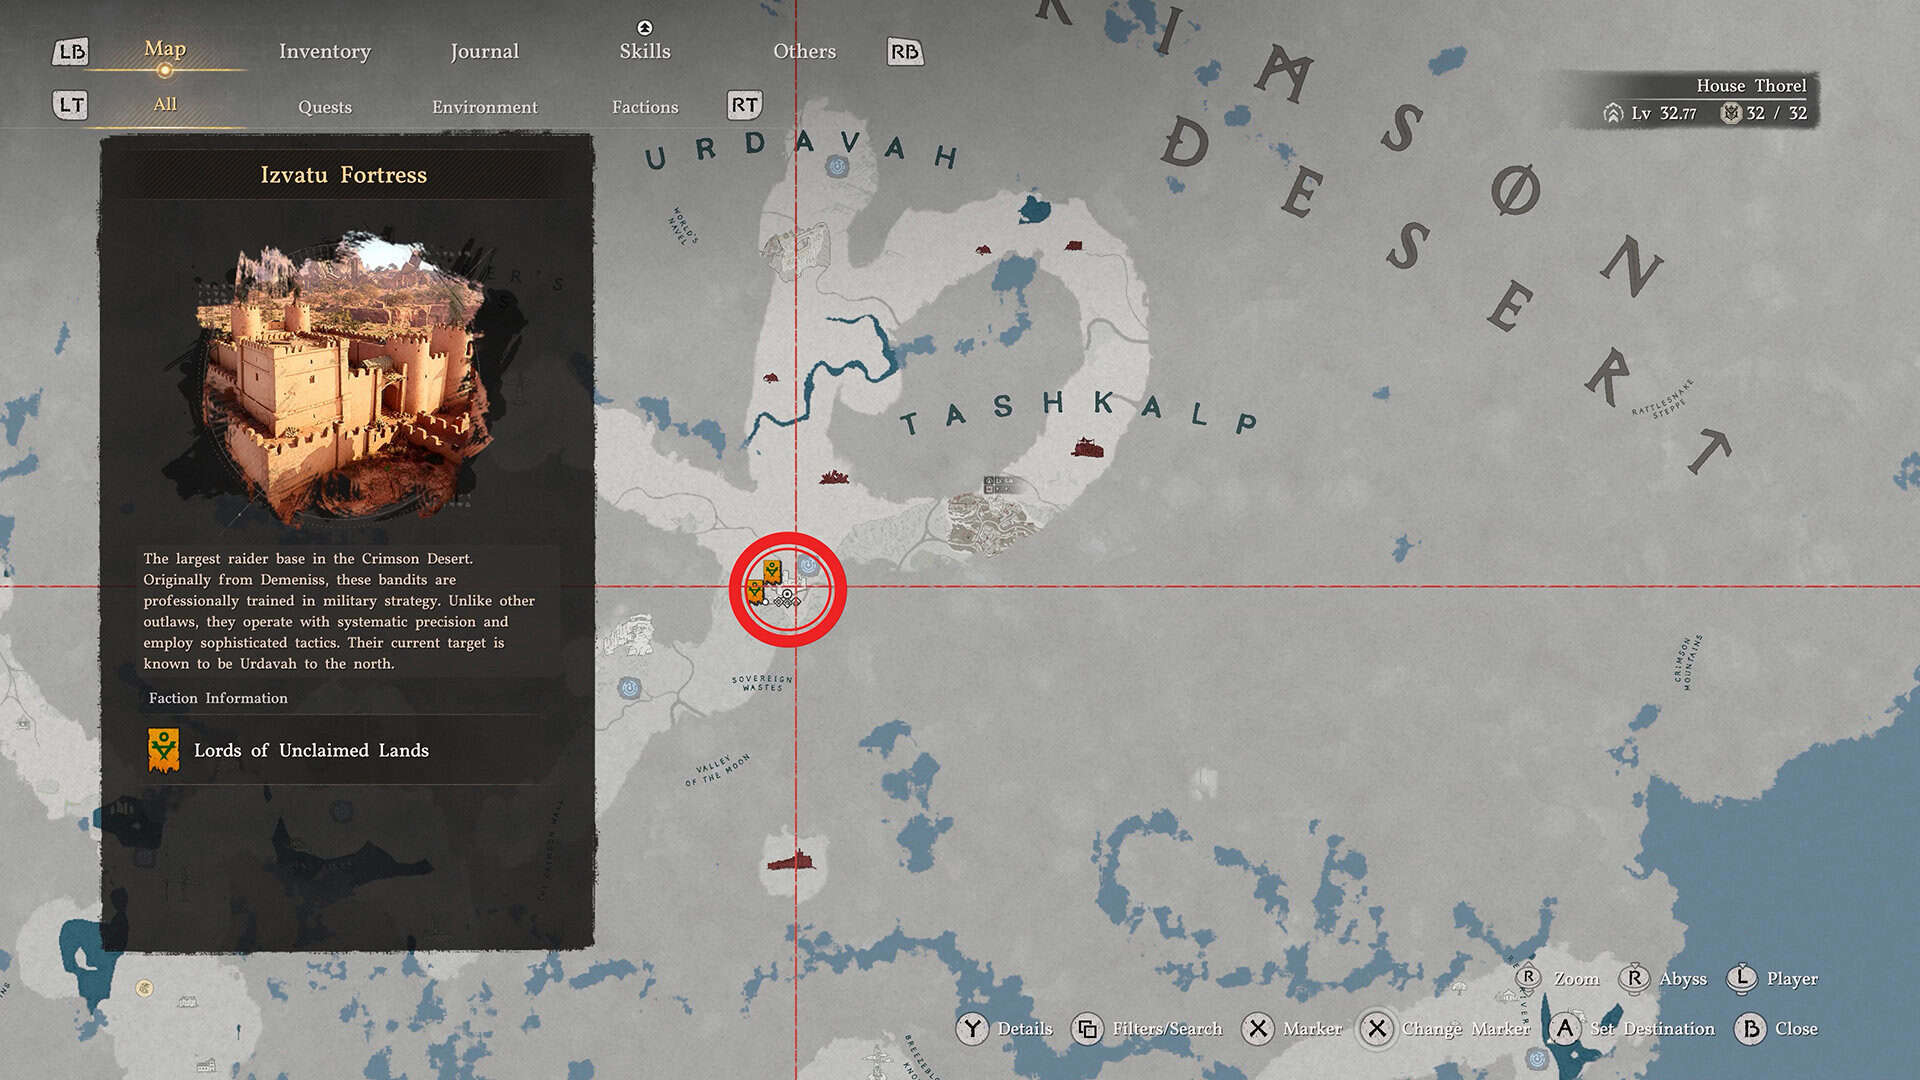
Samara the Sandwatcher is found at the heart of Izvatu Fortress, out in the Sovereign Wastes, east of Tommaso in the Tashkalp region. I’ve marked the fortress on the map, and getting there is straightforward, but reaching Samara herself takes a little more work. From the entrance, follow the winding stairs up toward the center of the fortress. You’ll hit a sealed gate near the top, and this is where Nature’s Grasp comes in. Use it to pry the gate open, and you’ll step into a wide arena packed with pots and crates scattered across the floor.
Don’t ignore those pots. A few of them have supplies tucked inside, and since this fight can run long, every extra bit of food helps. Take a second to look up before you commit to anything, because Samara is usually already perched somewhere on the walls or towers surrounding the arena, and she’ll start shooting the moment she spots you.
The layout of this arena is part of what makes the Samara the Sandwatcher boss location tricky. It’s open enough that her shots have a clear line to you from almost any angle on the walls, but it’s also small enough that you’re never too far from cover if you need a second to breathe. Keep that in mind as you fight, because positioning matters just as much as timing here.
How to Beat Samara the Sandwatcher: Focus Mode and Force Palm Basics
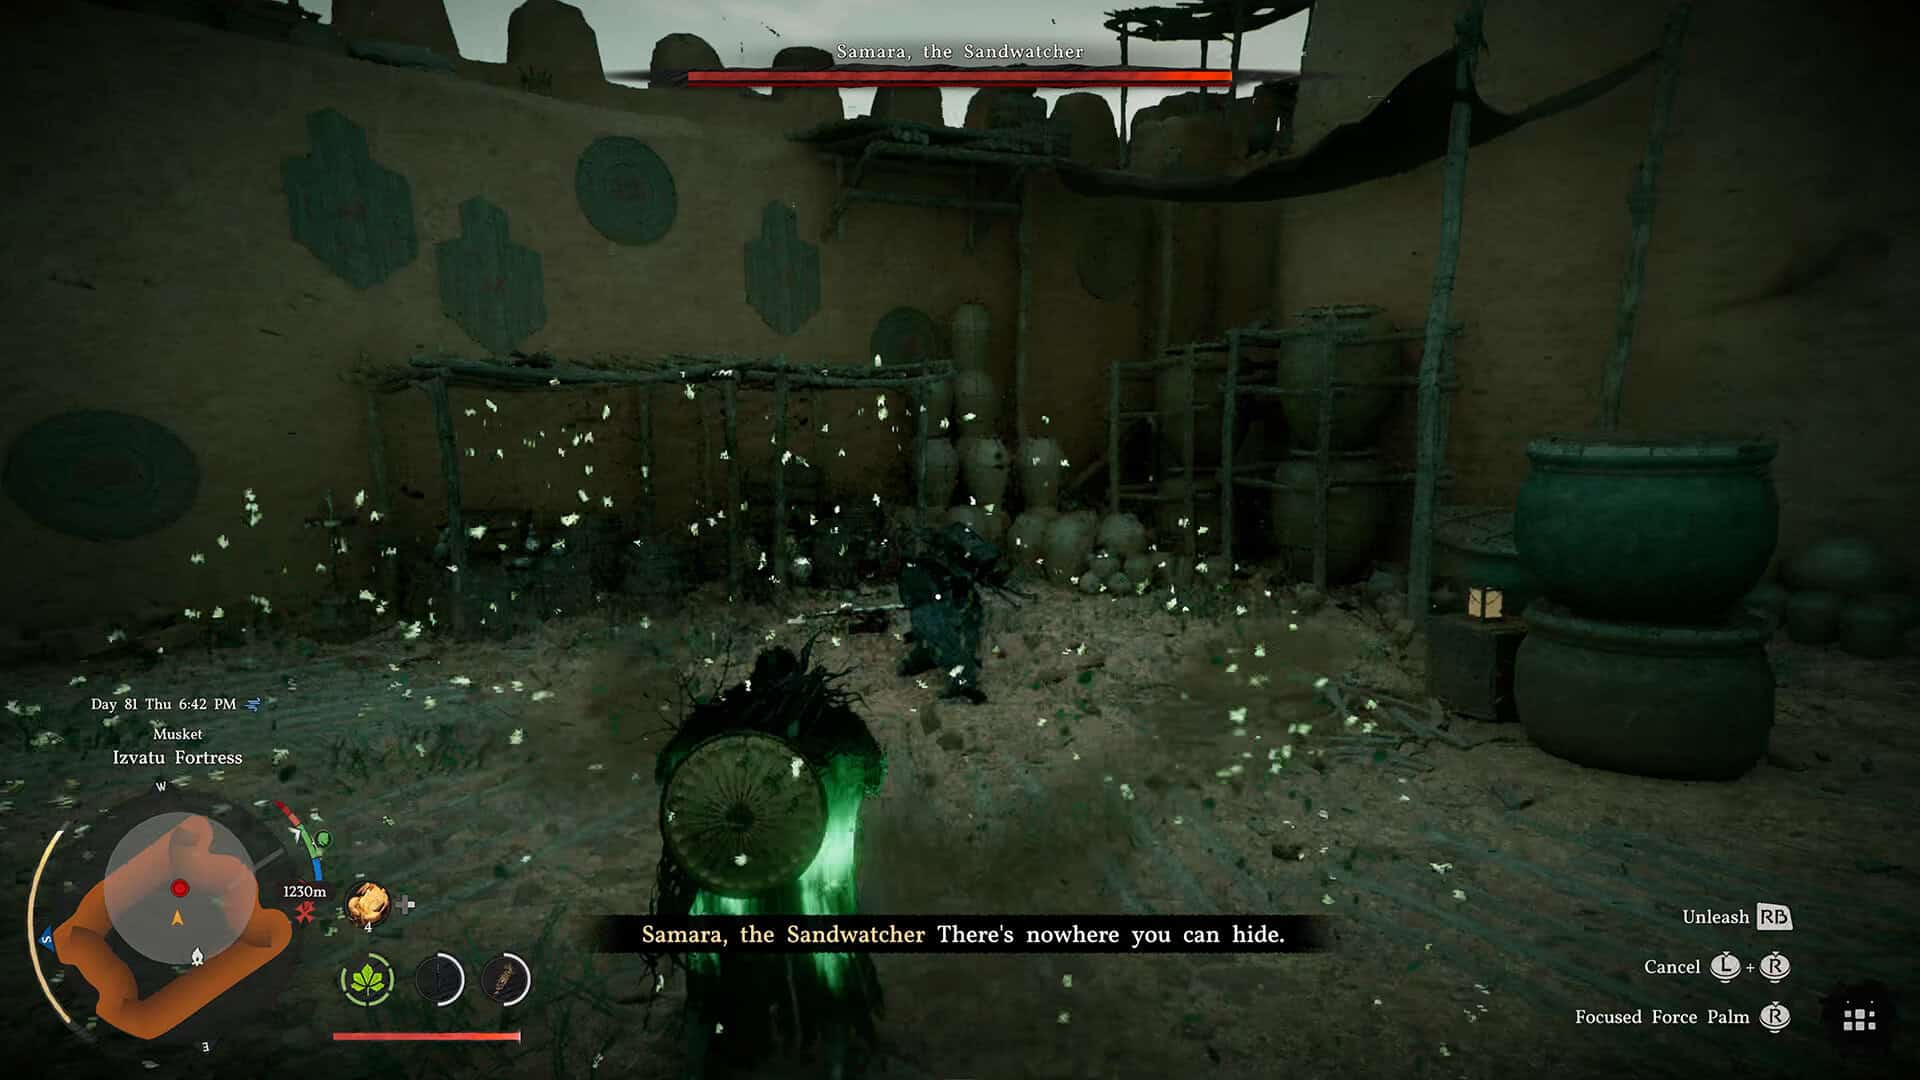
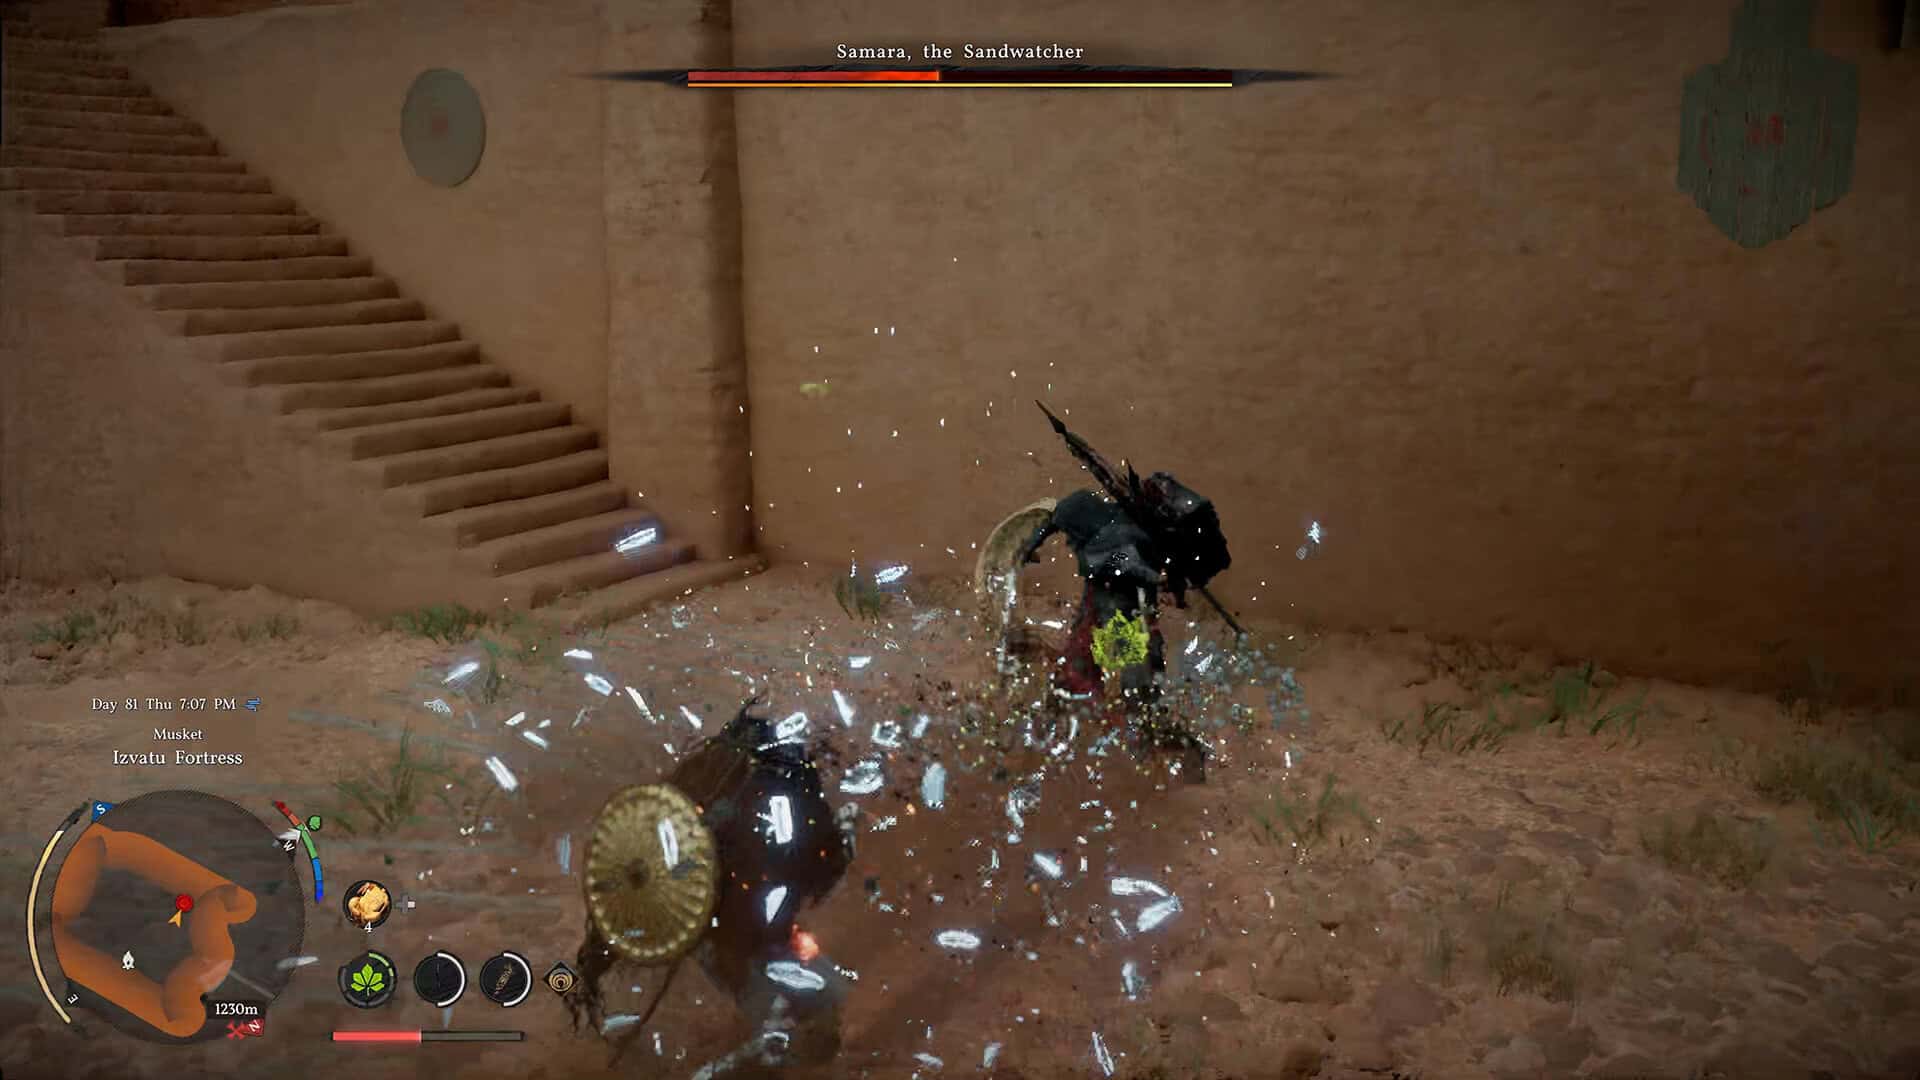
The core of how to beat Samara the Sandwatcher comes down to two things working together, Focus mode and Force Palm. As soon as the fight starts, switch into Focus mode. Time slows down around you, your Spirit regenerates while you’re in it, and Samara’s attacks become a lot easier to read and dodge. This alone takes a huge amount of pressure off you right from the opening exchange.
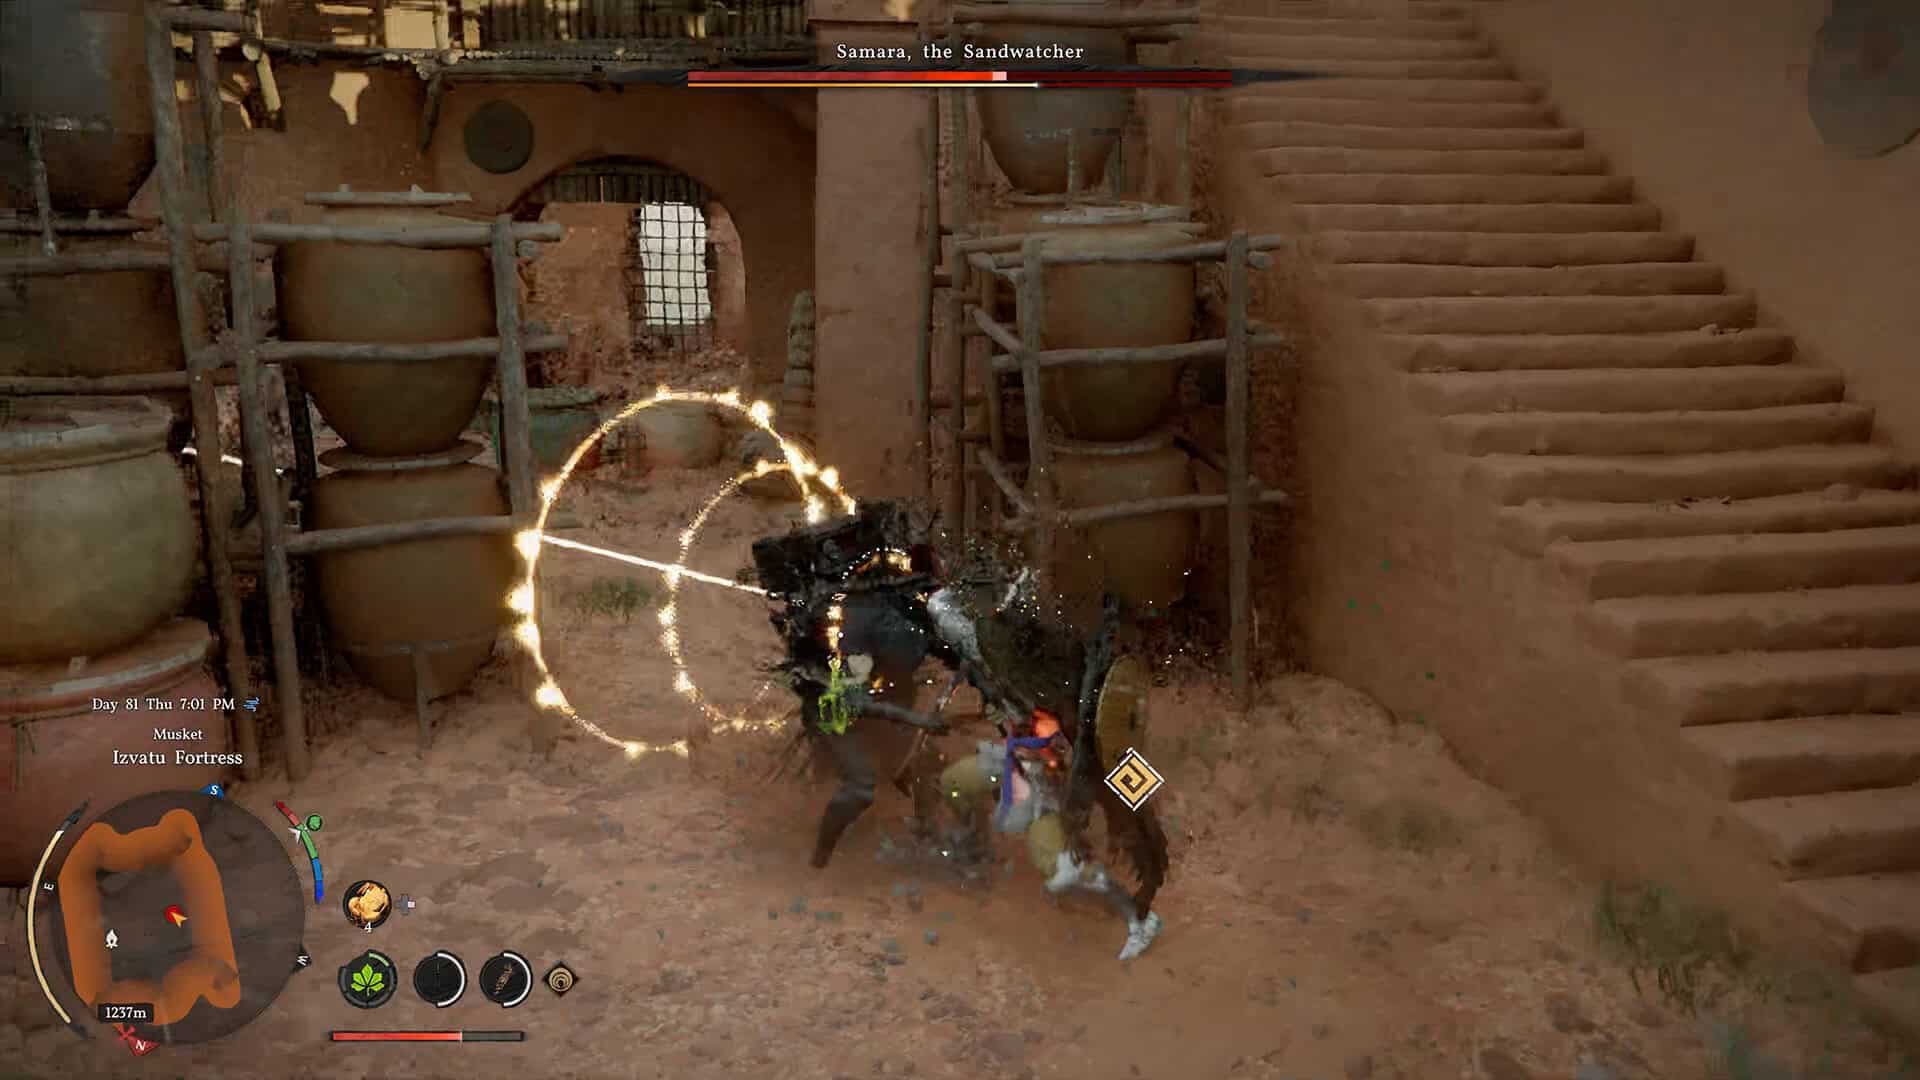
Samara doesn’t throw out many basic melee strikes, but when she does, Focus mode makes them easy to parry. Once you’ve parried, follow up immediately with Force Palm. Make sure you’ve leveled Force Palm all the way to its third mark before this fight, because at full level it chains into a triple strike, and that final hit does double duty: it fills a chunk of Samara’s yellow stamina bar and chips away at her actual health at the same time.
Whenever you’ve got a healthy amount of Spirit and Samara is close enough to reach, keep cycling Force Palm until your Spirit runs dry. While you’re doing this, she basically can’t fight back, her stamina bar climbs, and her health drops along with it. The moment your Spirit empties, create some distance and drop back into Focus mode to let it refill. This loop, parry into Force Palm, drain your Spirit, retreat and recover, is the backbone of the entire fight, and it’s the same parry into Force Palm rhythm that also works wonders against Gregor, the Halberd of Carnage, if you’ve fought him already.
-

- Samara the Sandwatcher Location
-
- Samara the Sandwatcher: Focus Mode
Samara the Sandwatcher Boss Fight Tips for Dodging Rifle Attacks
Once Samara’s yellow stamina bar fills all the way up, she drops to one knee to catch her breath, and that’s your cue to go all in with heavy attacks. This window doesn’t last forever, so don’t waste it lining up the perfect angle, just start swinging.
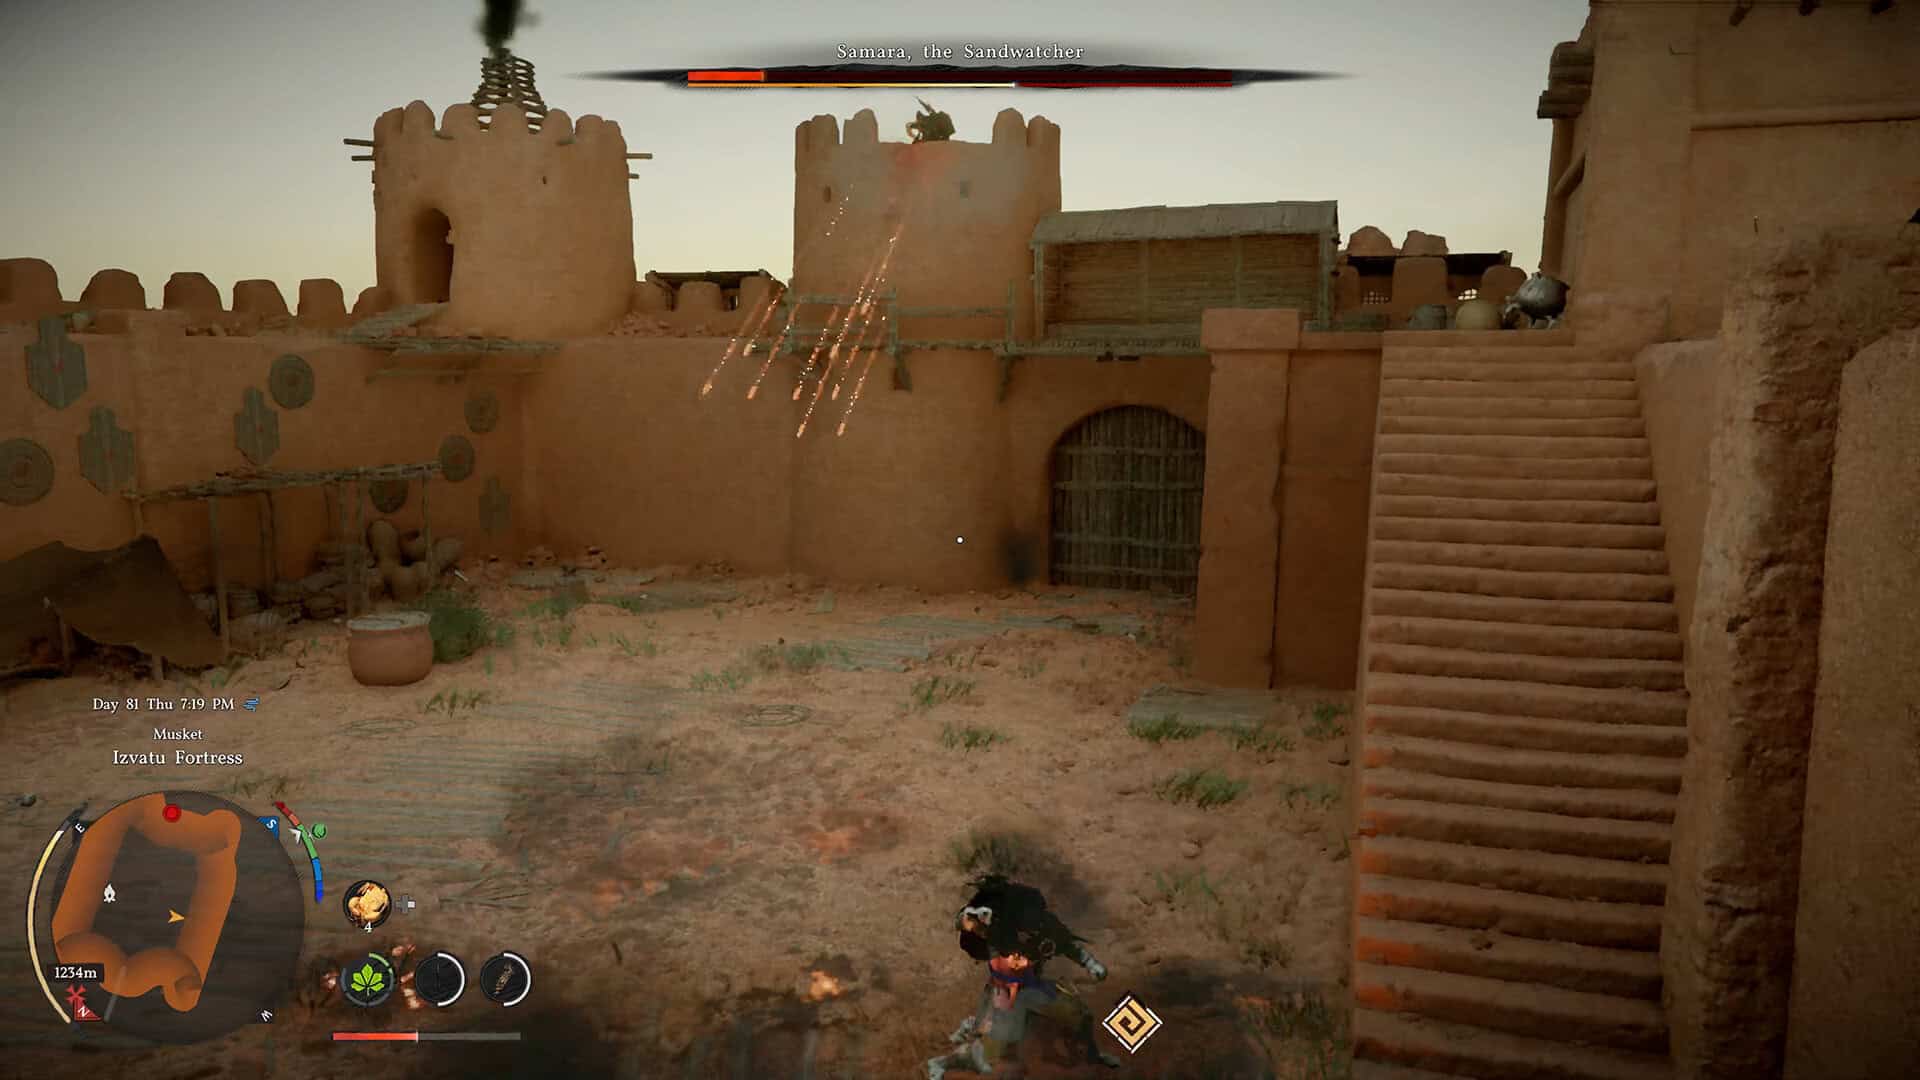
The trickiest part of this fight is her ranged barrage, and here’s where Focus mode earns its keep again. While Samara’s perched up on the walls or towers, watch the ground around your feet. In Focus mode, you’ll see a red light flash beneath you a split second before a powerful shot lands on that exact spot. The fix is simple: dodge twice to the side. Two quick lateral dodges in Focus mode are more than enough to clear the blast radius, and because time is slowed, you’ve got plenty of room to react.
Here’s a little tip: don’t try to outrun the shot by sprinting away. Lateral dodges are faster and keep you in position to punish her the moment she comes back down. Of course, if Samara jumps up onto the walls or a tower after this, there’s no point chasing her up there. You’ll just lose track of the fight and waste time climbing stairs while she keeps shooting from a new angle. Stay below, stay in Focus mode, and wait for your next opening instead.
How to Defeat Samara the Sandwatcher’s Wall Attacks and Triple Shots
Learning how to defeat Samara the Sandwatcher’s attacks from the walls really comes down to recognizing two specific patterns. The first is the triple shot from above. When you see her start winding up this attack, move to one side and dodge three times in a row without stopping. All three dodges need to happen back to back, but once you’ve got the timing down, this attack becomes almost a non issue. After she fires off all three shots, Samara comes back down to ground level, and that’s your signal to move in with Force Palm again.
The second pattern is the aimed rifle shot, and it’s the scariest looking one in Focus mode. You’ll see Samara raise her rifle, and a red beam with a crosshair will lock onto your character. This means a heavy shot is coming. Don’t move at all until the very last possible moment, right as the shot actually fires, and only then dodge to the side. Moving too early can actually walk you back into the shot’s path if she adjusts her aim, so waiting it out and reacting late works better than reacting early.
After either of these attacks, check the situation before deciding what to do next. If Samara’s close and you’ve got Spirit, start your Force Palm combo. If she’s retreating back toward the walls, stay in Focus mode and keep tracking her instead of chasing.
-
- Samara the Sandwatcher Boss Fight
-
- How to Defeat Samara the Sandwatcher
Samara the Sandwatcher Strategy for the Final Phase
By the time Samara the Sandwatcher’s health starts running low, you’ll notice she spends even more time jumping between walls and attacking from range. None of this should catch you off guard at this point, because it’s the same handful of attacks repeating, just more often. The real skill being tested in the late fight is patience, not reflexes.
Even when Samara’s health bar is nearly empty, resist the urge to chase her down for the kill. Wait for the moment she comes back to ground level and you’ve got Spirit for Force Palm, then commit fully. Trying to force damage in while she’s still up on a tower usually just costs you health for nothing, and you should still have plenty of food in reserve if you’ve been managing your Spirit properly throughout the fight.
Her final attack from the tower is practically a non event by this point. The pattern is identical to everything you’ve already dodged a dozen times, so even if you’ve been struggling with timing earlier in the fight, this last stretch should feel manageable. The moment Samara lands back in the arena for good, close the distance and finish her off with Force Palm. This fight rewards whoever has more patience, and by this stage, that’s going to be you.
Samara the Sandwatcher Rewards: Gustav Musket and Shadow Contract
Samara the Sandwatcher carries 2,227 HP and hits for 410 attack power, which sounds intimidating on paper, but the Focus mode and Force Palm loop chips through that health bar a lot faster than the numbers suggest. The real challenge is surviving her ranged attacks long enough to land your hits, not the raw damage race.
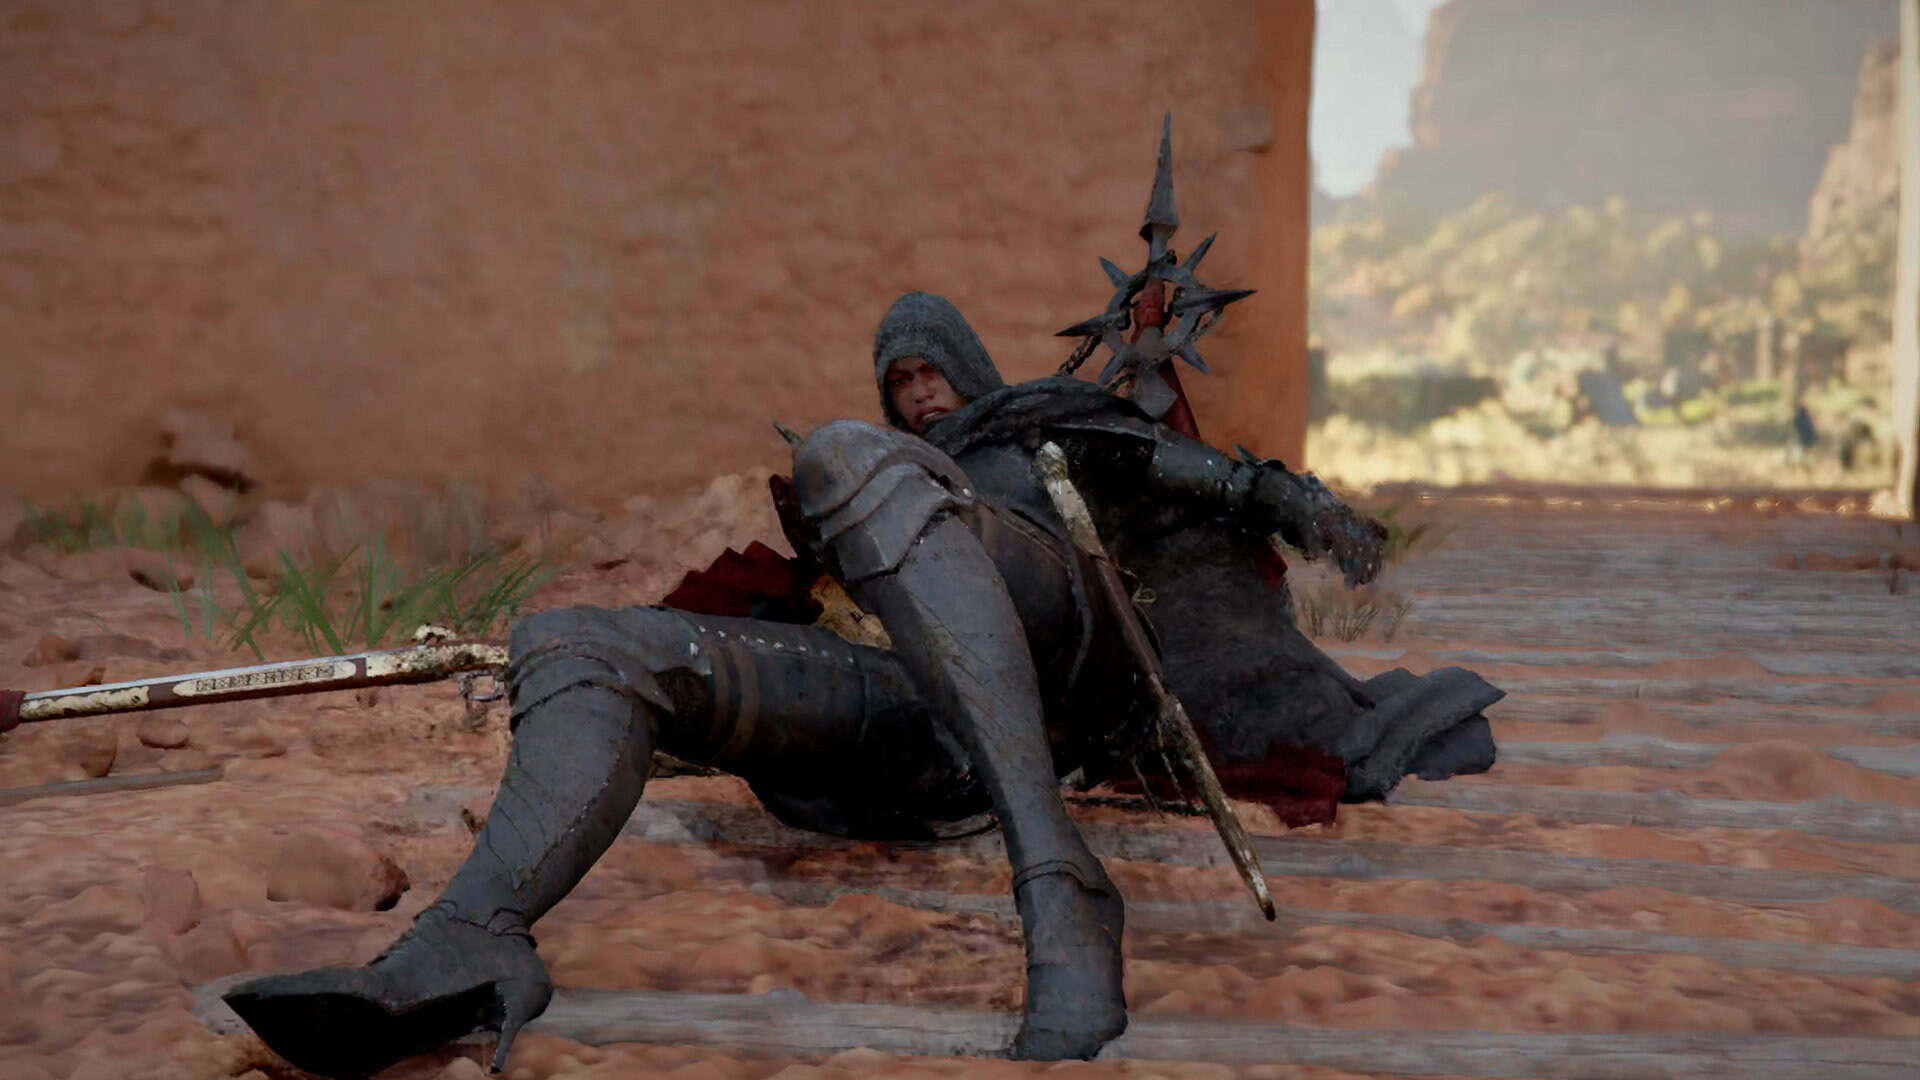
Beating her drops the Gustav Musket, a solid ranged weapon if you’re building toward a gunner playstyle, along with the Shadow Contract, a key item tied to liberating Izvatu Fortress from the Dusksongs. Defeating Samara effectively breaks the bandits’ hold on the fortress, which opens up the area for you going forward.
There’s a bit of backstory worth knowing too. Samara was a soldier before she deserted and formed the Dusksongs herself. Some rumors around the fortress claim she clashed with Caliburn or lost some kind of power struggle, but from what you’ll piece together during the fight, the simpler explanation is that she never liked taking orders and genuinely enjoyed the chaos of banditry. Either way, once she’s down, she’ll blame the loss on sand in her eyes, but we both know that’s not what decided this fight.
-
- Samara the Sandwatcher Strategy
-
- Samara the Sandwatcher defeated
Samara the Sandwatcher FAQ: Common Questions About This Crimson Desert Boss
Where is Samara the Sandwatcher located in Crimson Desert?
She’s at the center of Izvatu Fortress in the Sovereign Wastes, east of Tommaso in the Tashkalp region. Follow the winding stairs up and use Nature’s Grasp to open the gate into her arena.
Is Samara the Sandwatcher a hard boss?
She’s tougher than most mini bosses because of her ranged pressure, but the fight is fair once you settle into the Focus mode and Force Palm loop. Patience matters more than gear here.
What’s the best strategy against Samara the Sandwatcher?
Stay in Focus mode whenever you’re not attacking, dodge her rifle shots with two lateral dodges, and use Force Palm whenever she’s close and your Spirit is up. Wait for her below rather than chasing her onto the walls.
What does Samara the Sandwatcher drop?
Defeating her drops the Gustav Musket and the Shadow Contract key item, which is tied to liberating Izvatu Fortress.
Do I need to beat Samara the Sandwatcher to liberate Izvatu Fortress?
Yes. She’s the boss holding the fortress for the Dusksongs, and beating her is what breaks their control over the area.
That’s everything you need for how to beat Samara the Sandwatcher and clear Izvatu Fortress. Stick with the Focus mode and Force Palm loop, keep your distance when your Spirit runs low, and check out our other guides on ingametor.com for more Crimson Desert boss strategies.