The Clear Space, Clear Mind chance encounter in Onimusha: Way of the Sword opens up as soon as you start the “A Strength in Refuge” main quest in Eastern Kyoto, and it’s one of the quickest side objectives in the whole game. This Onimusha Clear Space, Clear Mind walkthrough covers exactly where the monk is standing, where to run afterward, what’s waiting for you in the courtyard, and every bit of loot you can grab before you report back.
Bookmark this guide if you’re working through Eastern Kyoto’s side content, and while you’re at it, check our Daidara boss fight guide for the area’s first real test of your gauntlet.
Onimusha Clear Space, Clear Mind Walkthrough: Where the Chance Encounter Begins
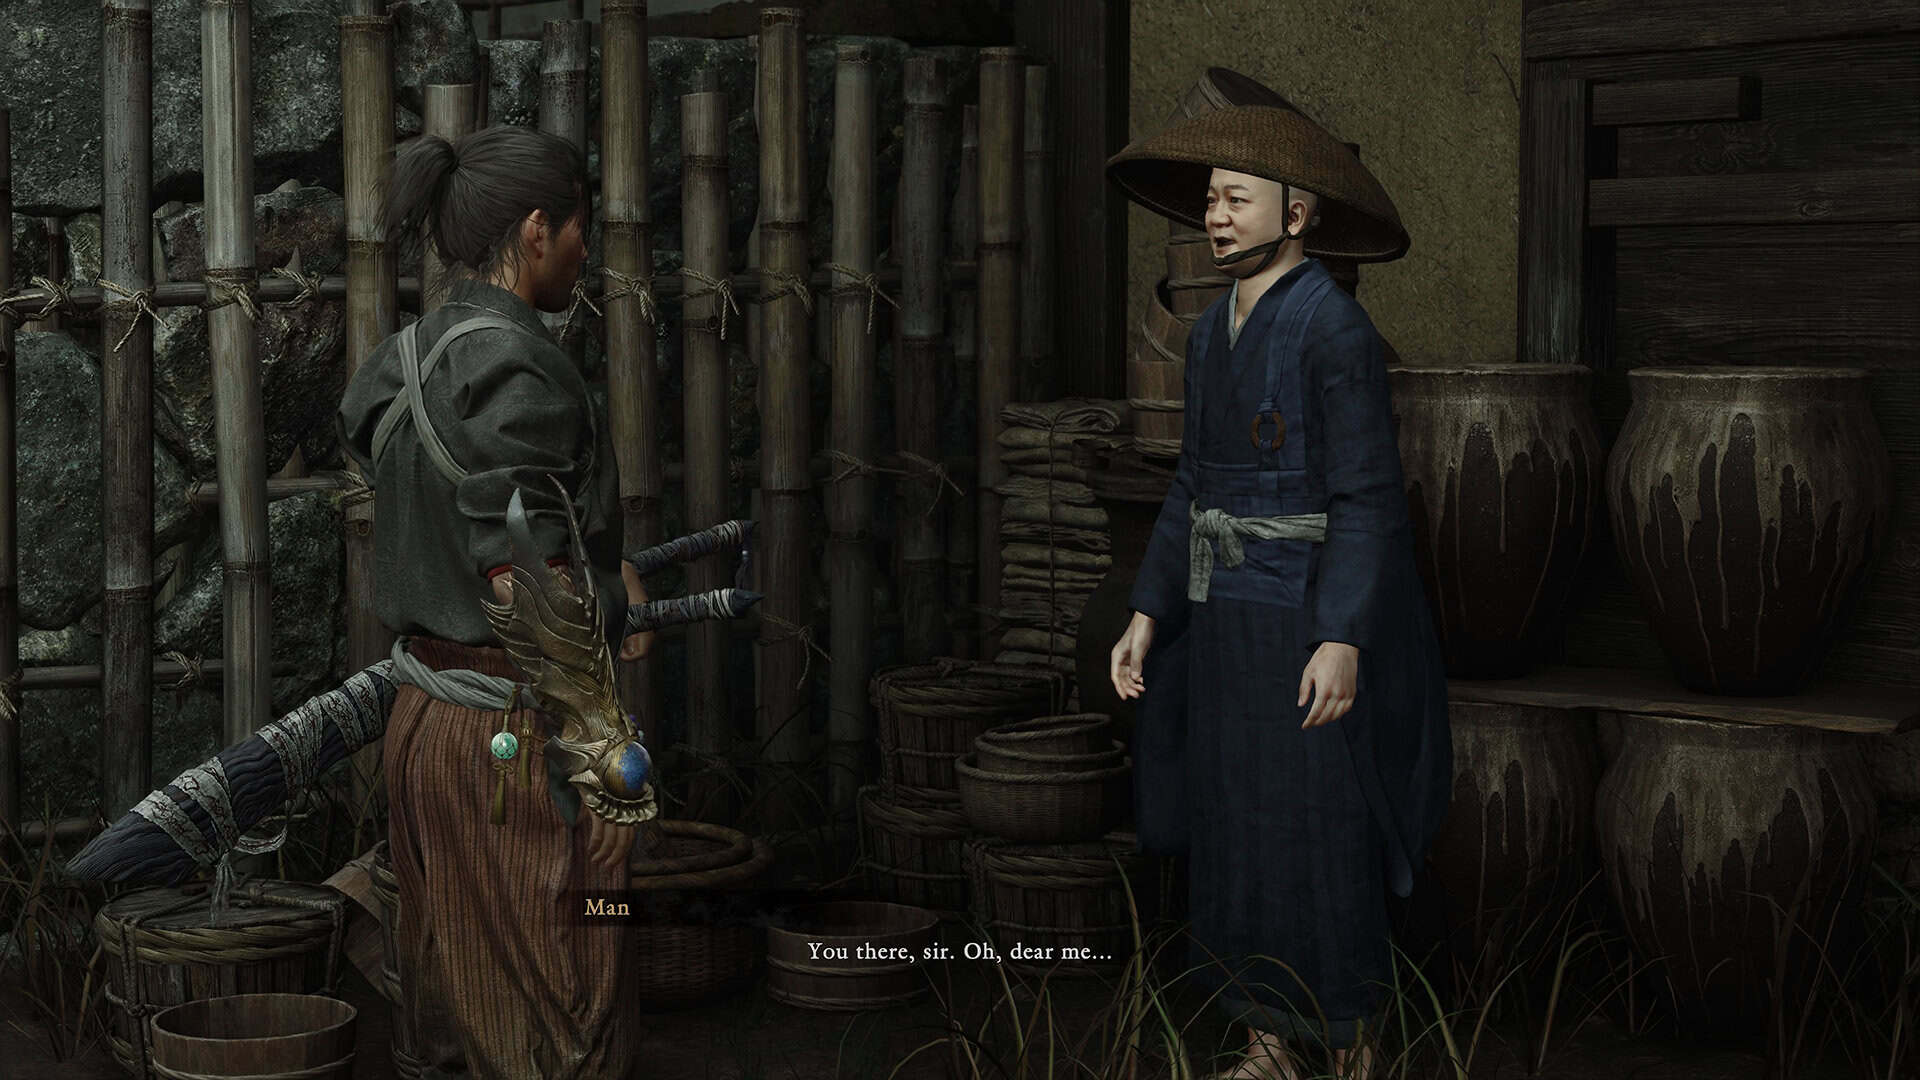
You’ll run into the monk who kicks this off once Eastern Kyoto opens up properly, right around the start of “A Strength in Refuge.” He’s blunt about it too. His actual line is something along the lines of Musashi being full of impurities and in a bad state, and the fix, according to him, is to go clean up a specific spot nearby. It’s a strange way to phrase a chore, but that’s the flavor of it, and it’s honestly a fun bit of writing for what amounts to a straightforward combat encounter.
Talk to him all the way through the conversation and the quest marker will pop up on your map. This is Chance Encounter number two out of eighteen total in the game, and yes, clearing every single one eventually unlocks the “No Job Too Small” trophy, so it’s worth getting into the habit of chasing these down as you explore.
Finding the Clear Space, Clear Mind Location at Kamo-River East
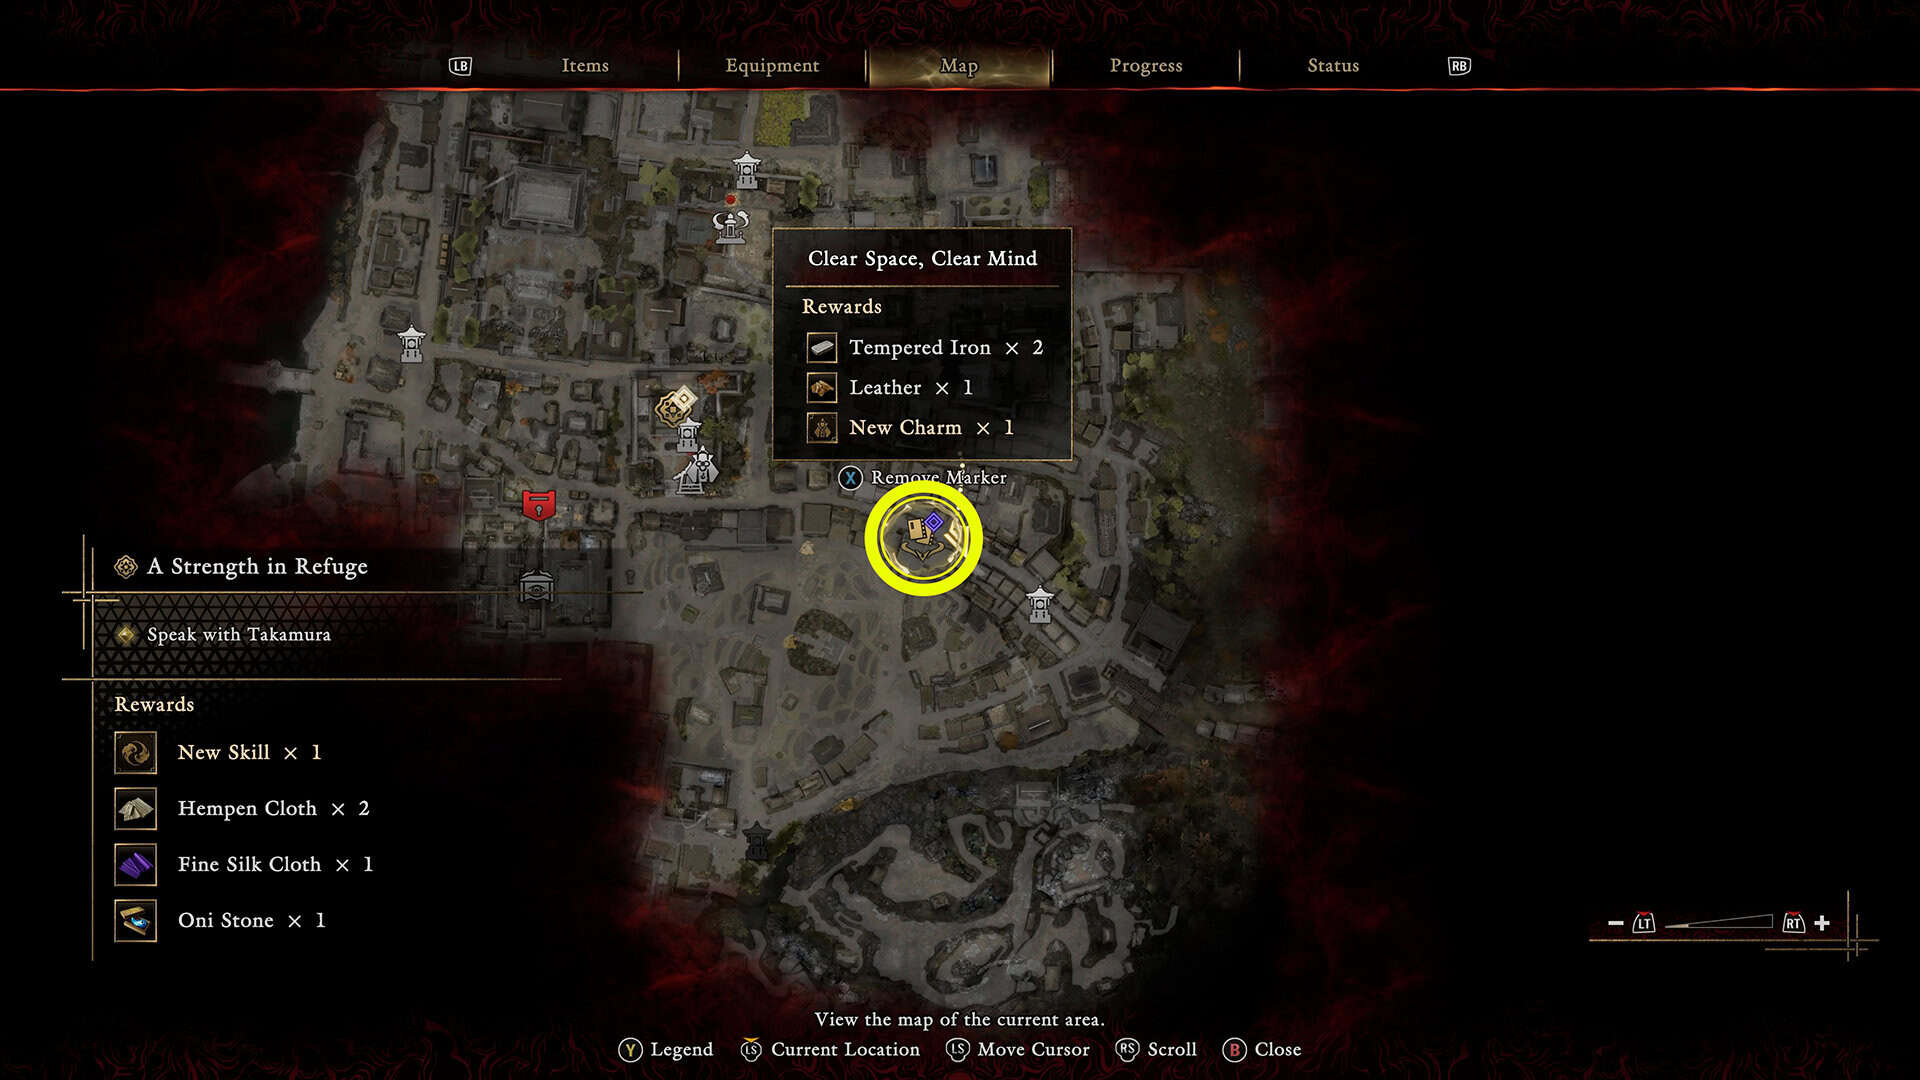
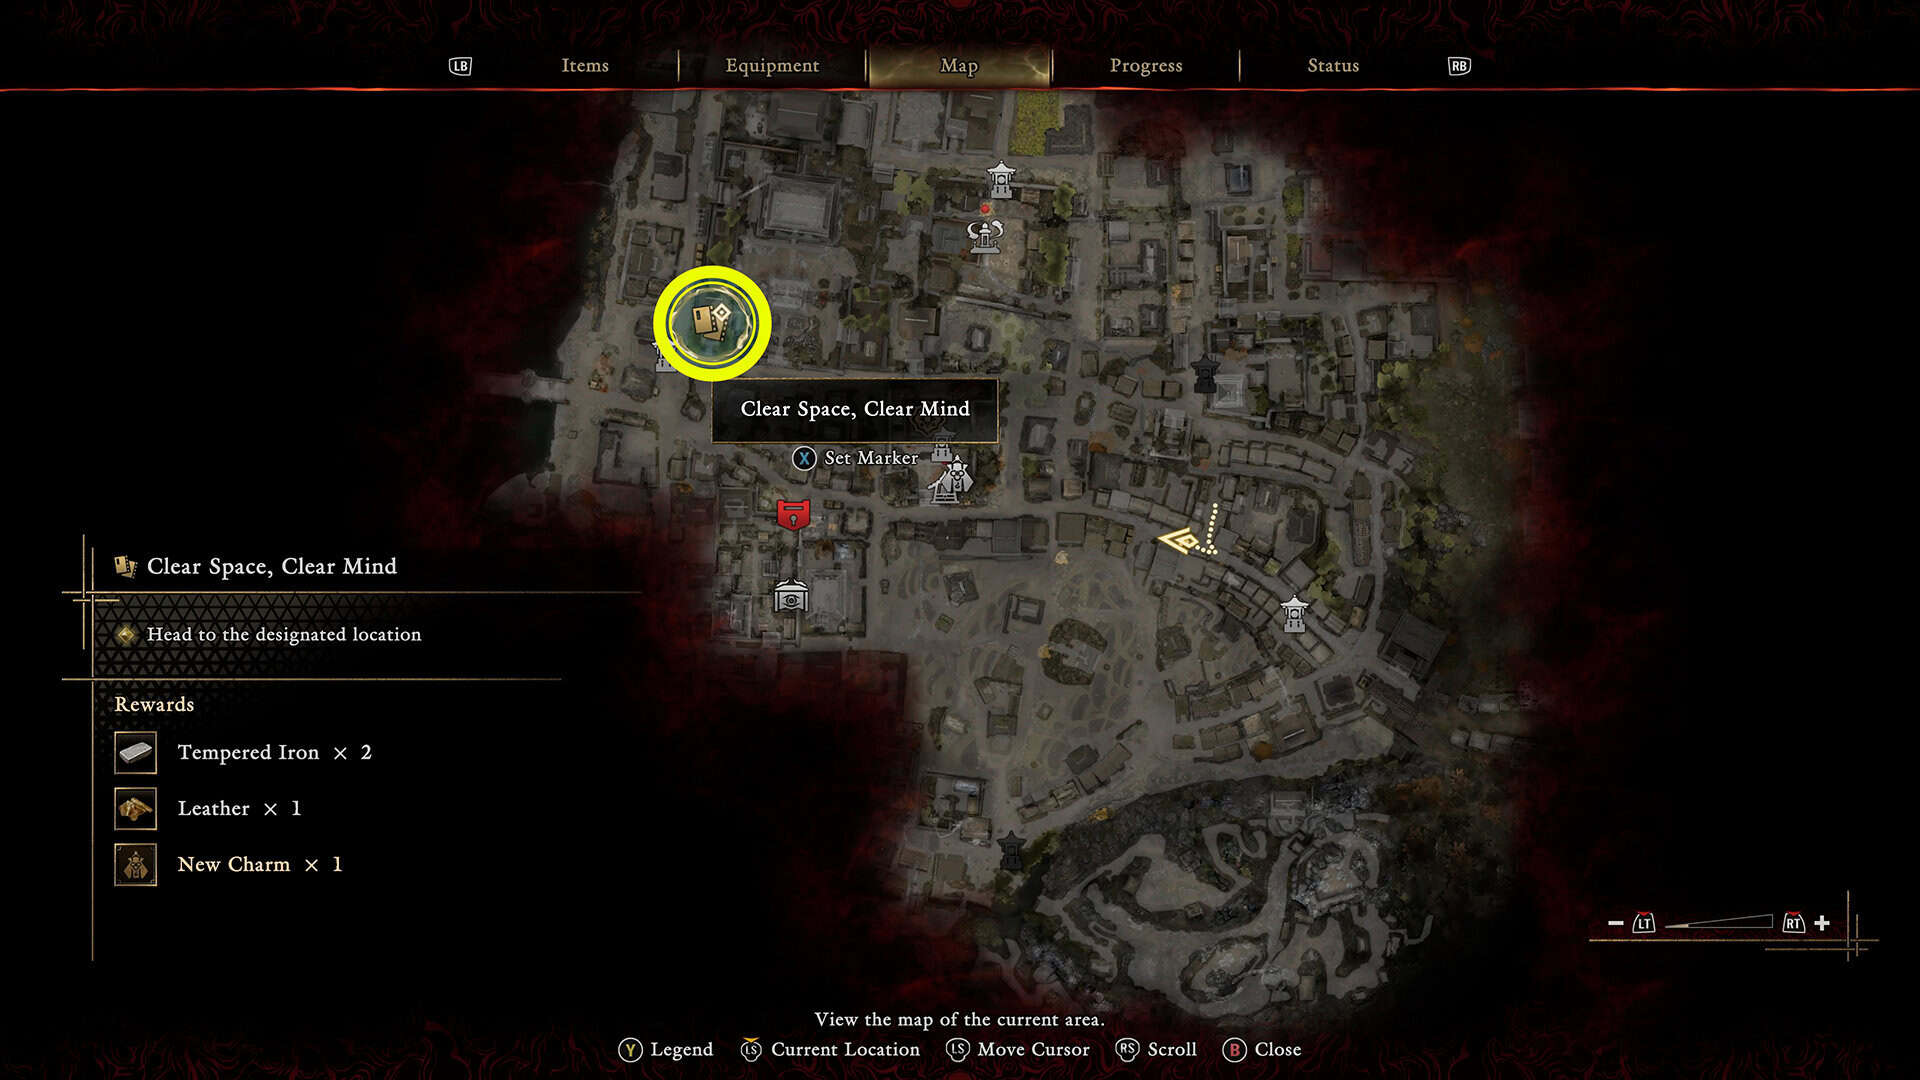
The spot you’re heading to is called Kamo-River East, and I’ve marked the location on the map so you don’t have to guess. You don’t need to walk the whole way either. Fast travel gets you close enough, and even running it from the quest start point only takes a minute or so since it’s not far at all. Once you’re near the marker, you’ll see an open gate leading into a courtyard, and that’s your cue that the real objective is just ahead.
Don’t rush through the gate without checking your gear first. There isn’t much open space once the fighting starts, so if you want to swap in anything that helps you deflect or dodge more reliably, now’s the moment. This isn’t a fight where you can just plant your feet and swing.
Kamo-River East itself is a small courtyard tucked just off the main path, easy to overlook if you’re not actively chasing chance encounters as you go. It’s not tied to a major story beat like the temple grounds around Kiyomizu-dera, it’s just a pocket of the map built specifically to house this one encounter, which is part of why it plays so tight and self-contained. You’re in, you’re fighting, you’re out, all in the span of a few minutes.
-

- Finding the Clear Space, Clear Mind Location
-
- A Conversation with a Monk
Surviving the Courtyard Ambush and the Archers
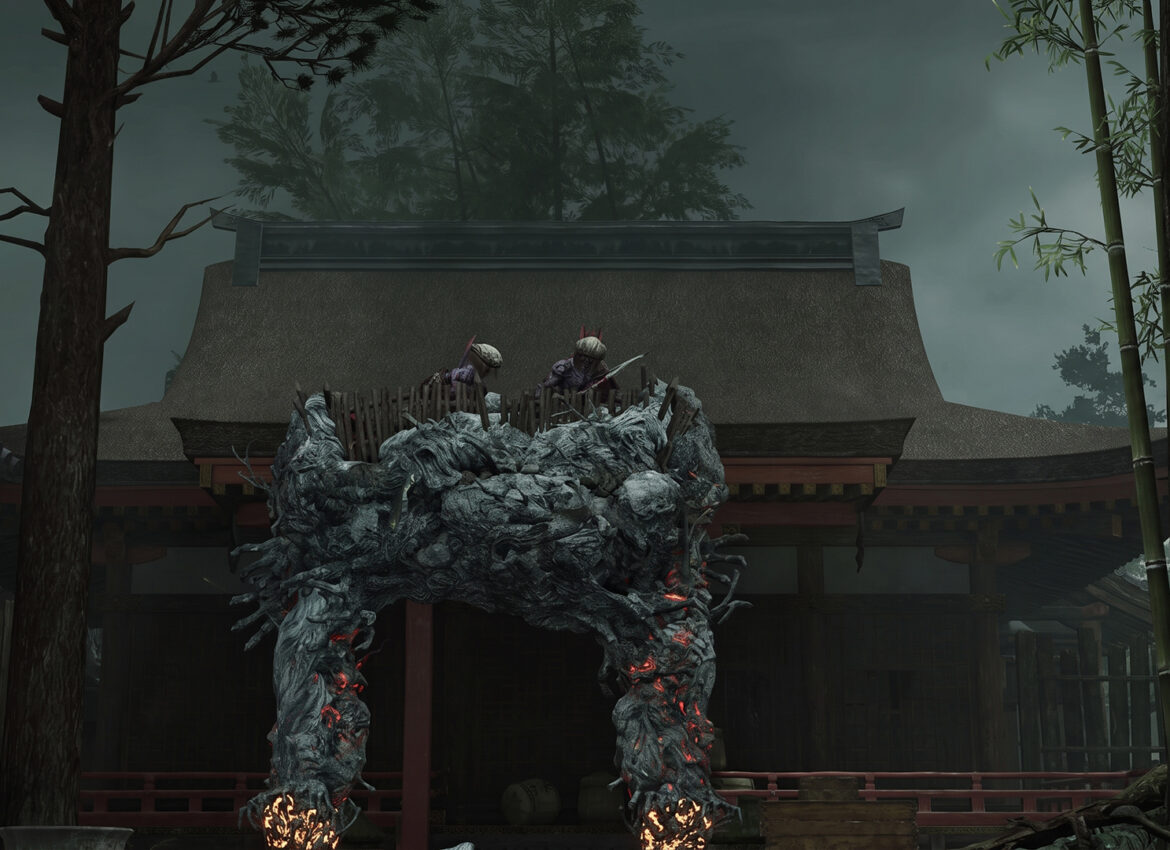
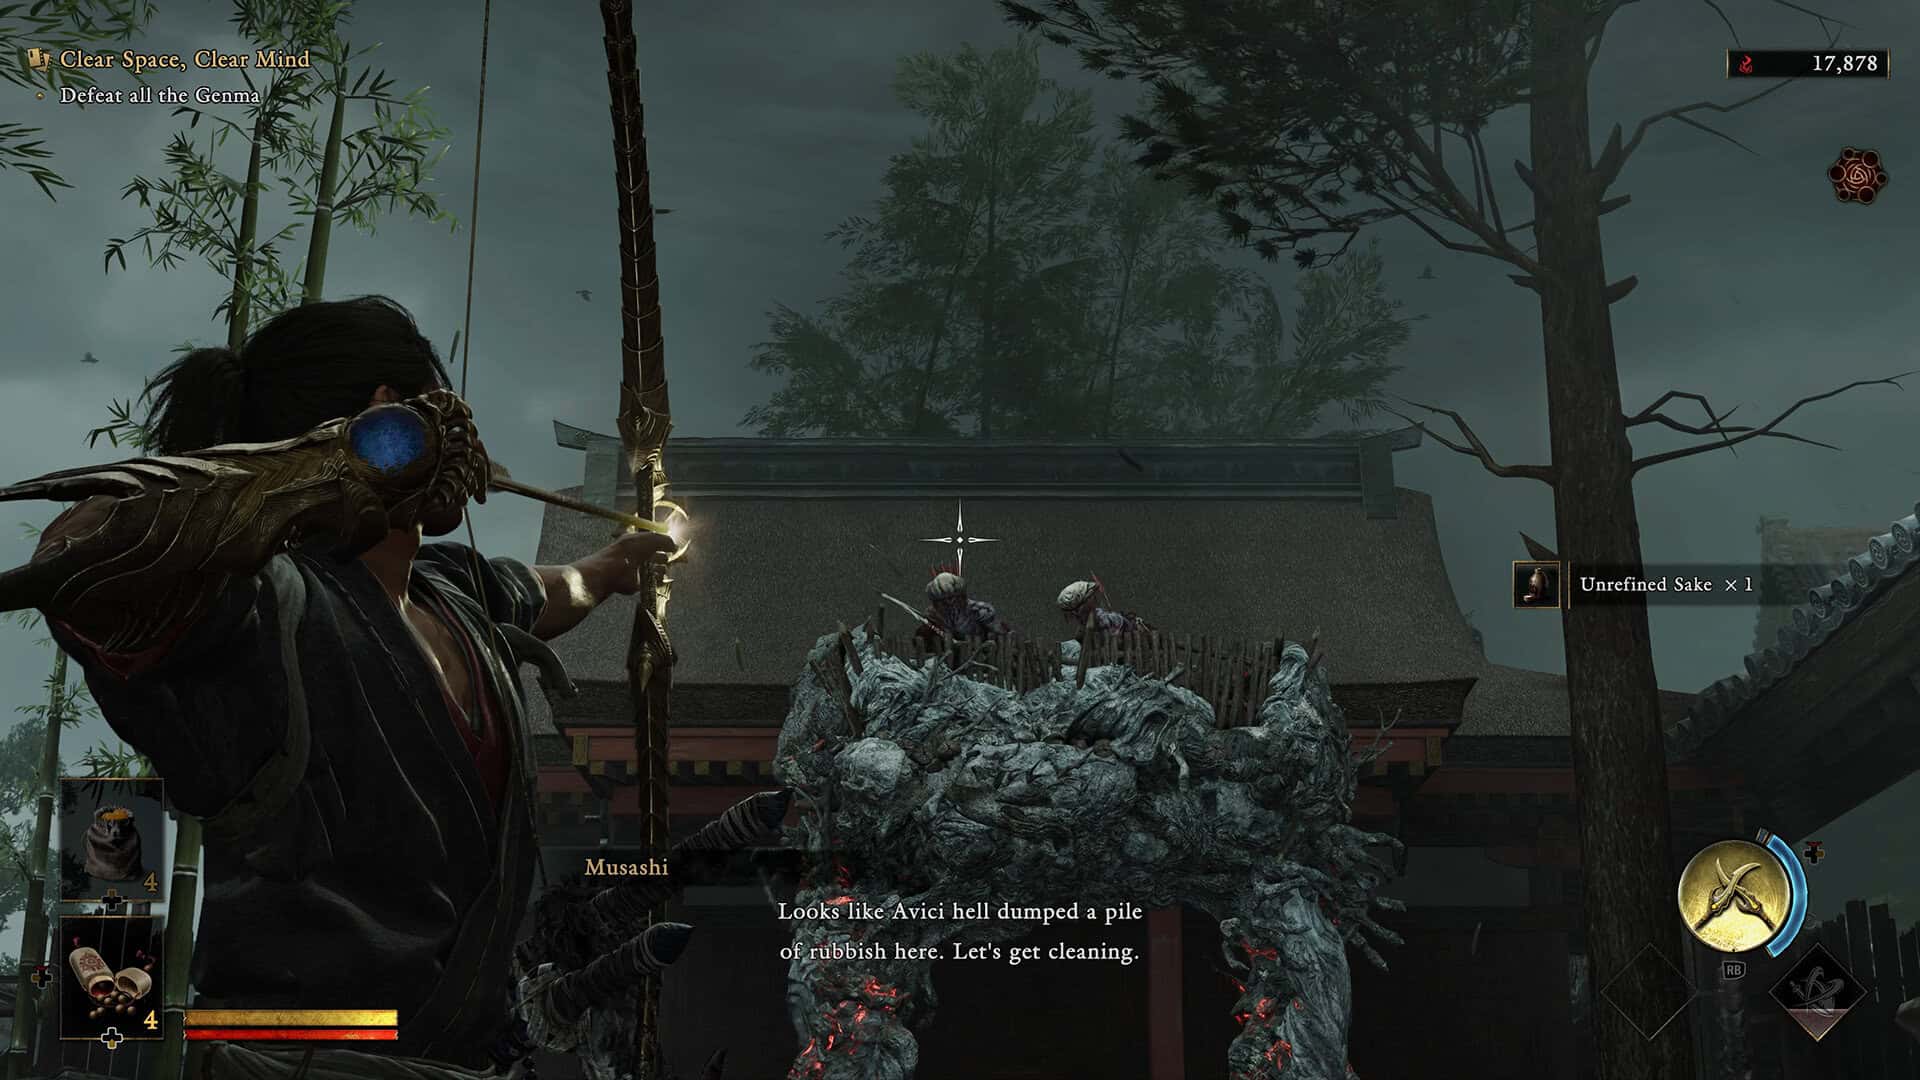
Walk through the gate and enemies engage almost immediately, so don’t wander in casually expecting a breather. The courtyard is tight, packed with obstacles, and you’ll need to maneuver quickly to avoid eating hits from more than one direction at once. The first thing worth noticing is the arch on the far side of the courtyard. Two archers are perched up there, and they’ll start peppering you the moment you’re spotted.
If you can manage it, prioritize the archers, or at least take out one of them early. It makes everything after noticeably easier since you’re no longer eating chip damage from range while you’re trying to focus on the melee enemies in front of you. In my run, I actually didn’t finish off the second archer until after the main courtyard fight was already over, and that’s fine too. There’s no penalty for leaving one alive a little longer, it just makes things a bit more chaotic in the meantime.
-
- Clearing all Genma enemies Location
-
- Kill all the archers
Beating All Enemy Waves in the Clear Space, Clear Mind Encounter
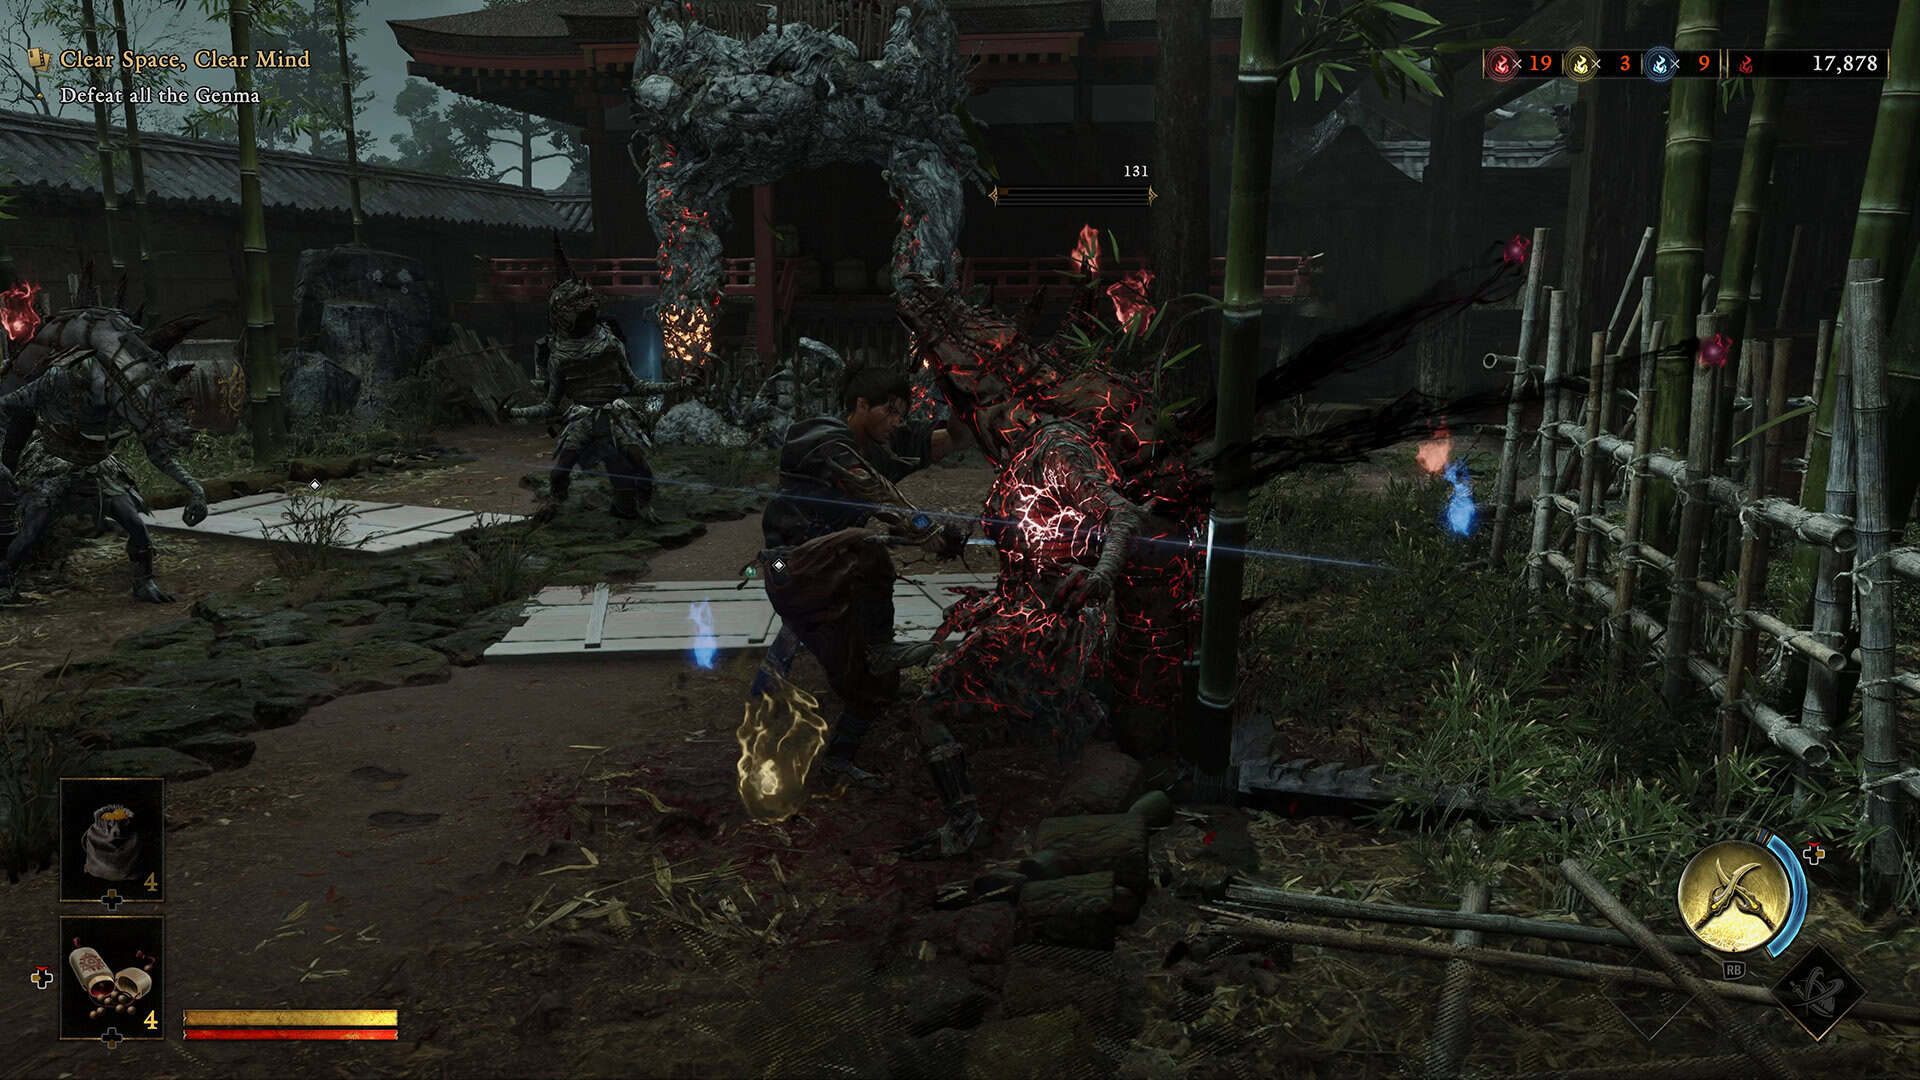
None of the enemies here are bosses or enhanced variants, so you won’t need anything special prepared going in. That said, they can still catch you off guard if you’re not used to their attack patterns, so pay attention. Watch for the moment they start spinning. That’s your tell to parry, and landing it consistently is what keeps this fight short instead of dragging on.
The waves come in a specific order. First you’ll face two enemies at once, then a second wave with another two, and the fight closes out with a final wave of four enemies together. That last wave is where the courtyard’s tight layout really matters, so keep circling and don’t let yourself get boxed in against a wall or a stack of crates. The same deflect-and-dodge rhythm that carried you through the Sasaki Ganryu duel works well here too, just spread across more opponents at once instead of one skilled swordsman.
By the way, don’t feel like you need to clear every wave with textbook precision. This isn’t a fight that punishes a mistimed dodge the way a boss encounter does. Taking a hit or two from the regular Genma here is nowhere near as costly as eating one from something like Daidara, so use it as a chance to actually practice your parry timing under a bit of pressure instead of playing overly cautious.
Collecting Soul Essences, the Bonus Item, and the Chest
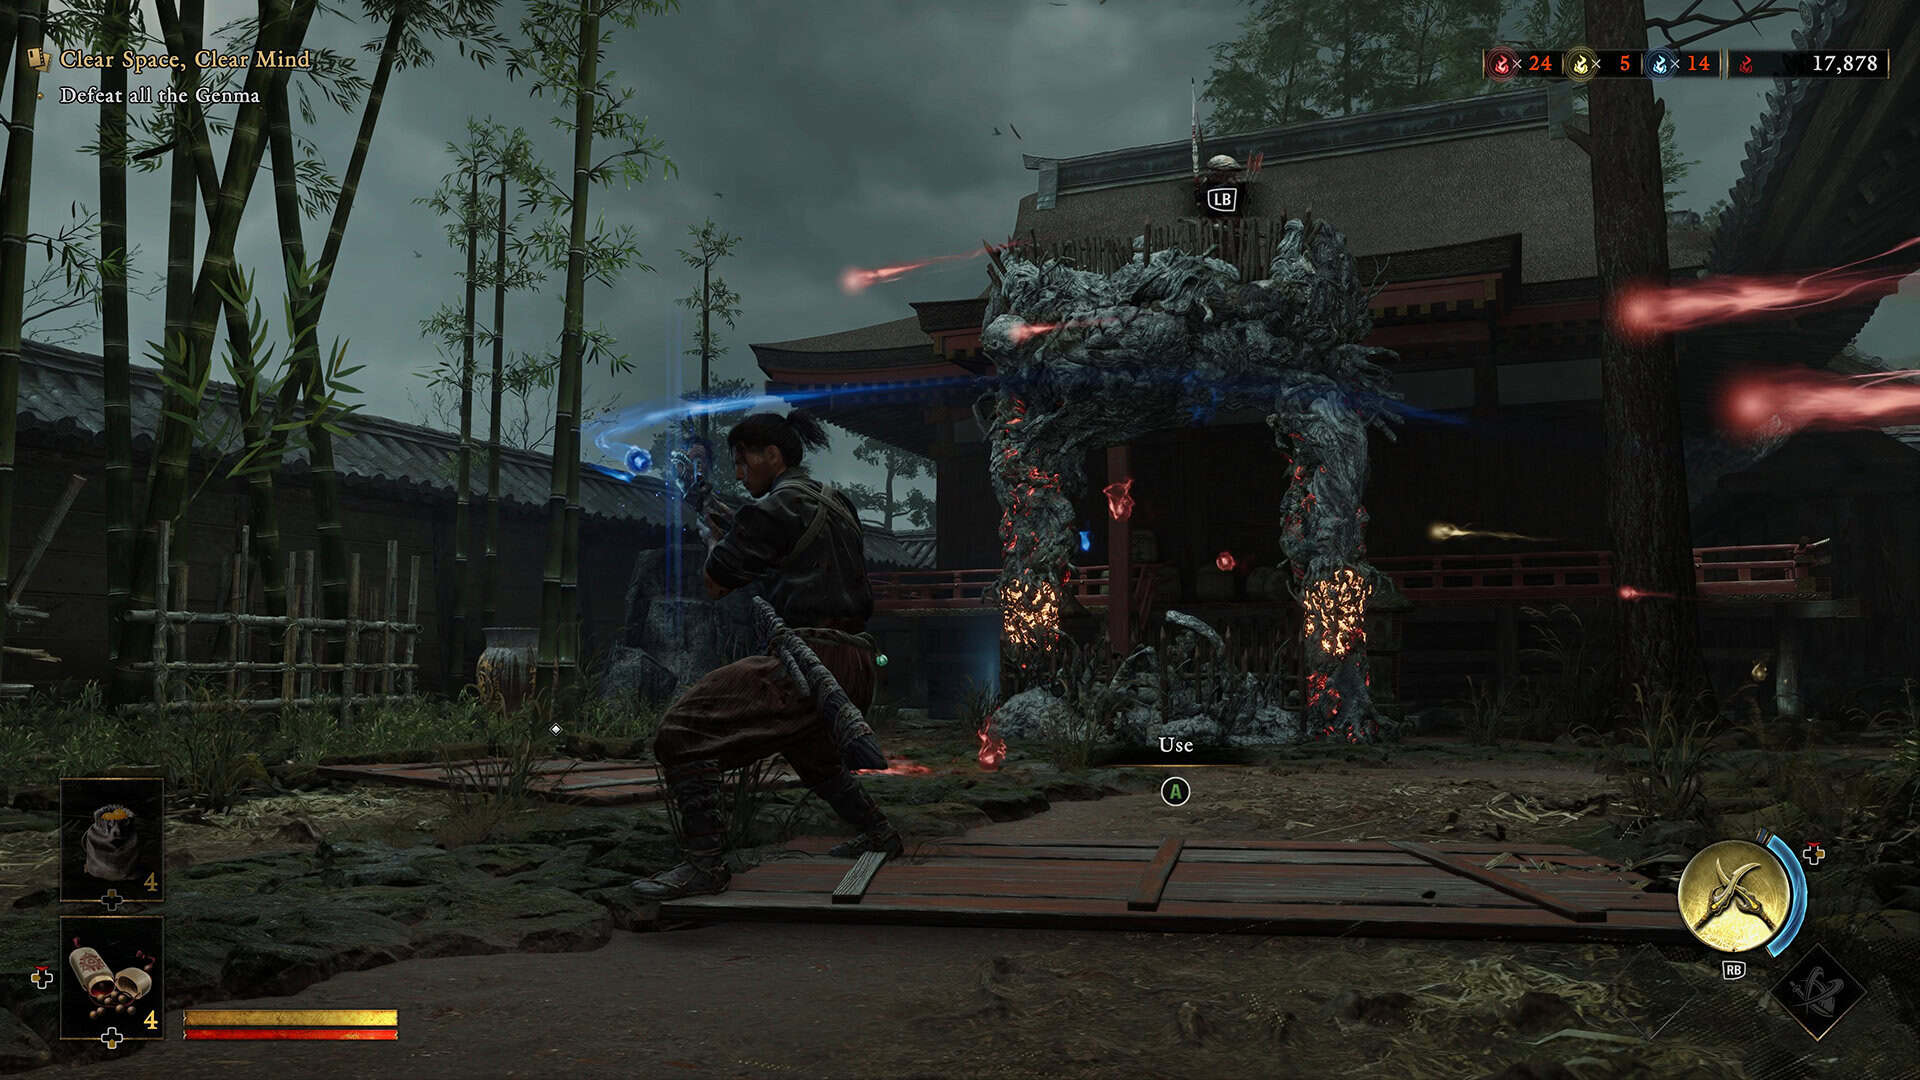
Once the courtyard is clear, don’t just walk off toward the monk. Take a lap first and collect every soul essence the enemies dropped, since they refill your healing and ultimate gauge for the next fight down the road. There’s also a small bonus tucked away on the left side of the courtyard, and a chest sitting on the right that’s easy to miss if you’re moving too fast toward the exit.
None of this is hidden behind a puzzle or a locked door, it’s just a matter of actually walking the space instead of beelining for the quest marker. Given how quick the fight itself is, spending an extra minute picking the courtyard clean is well worth it.
-
- Beating All Enemy Waves in the Clear Space, Clear Mind Encounter
-
- Collecting Soul Essences
Reporting Back to the Monk to Complete Clear Space, Clear Mind
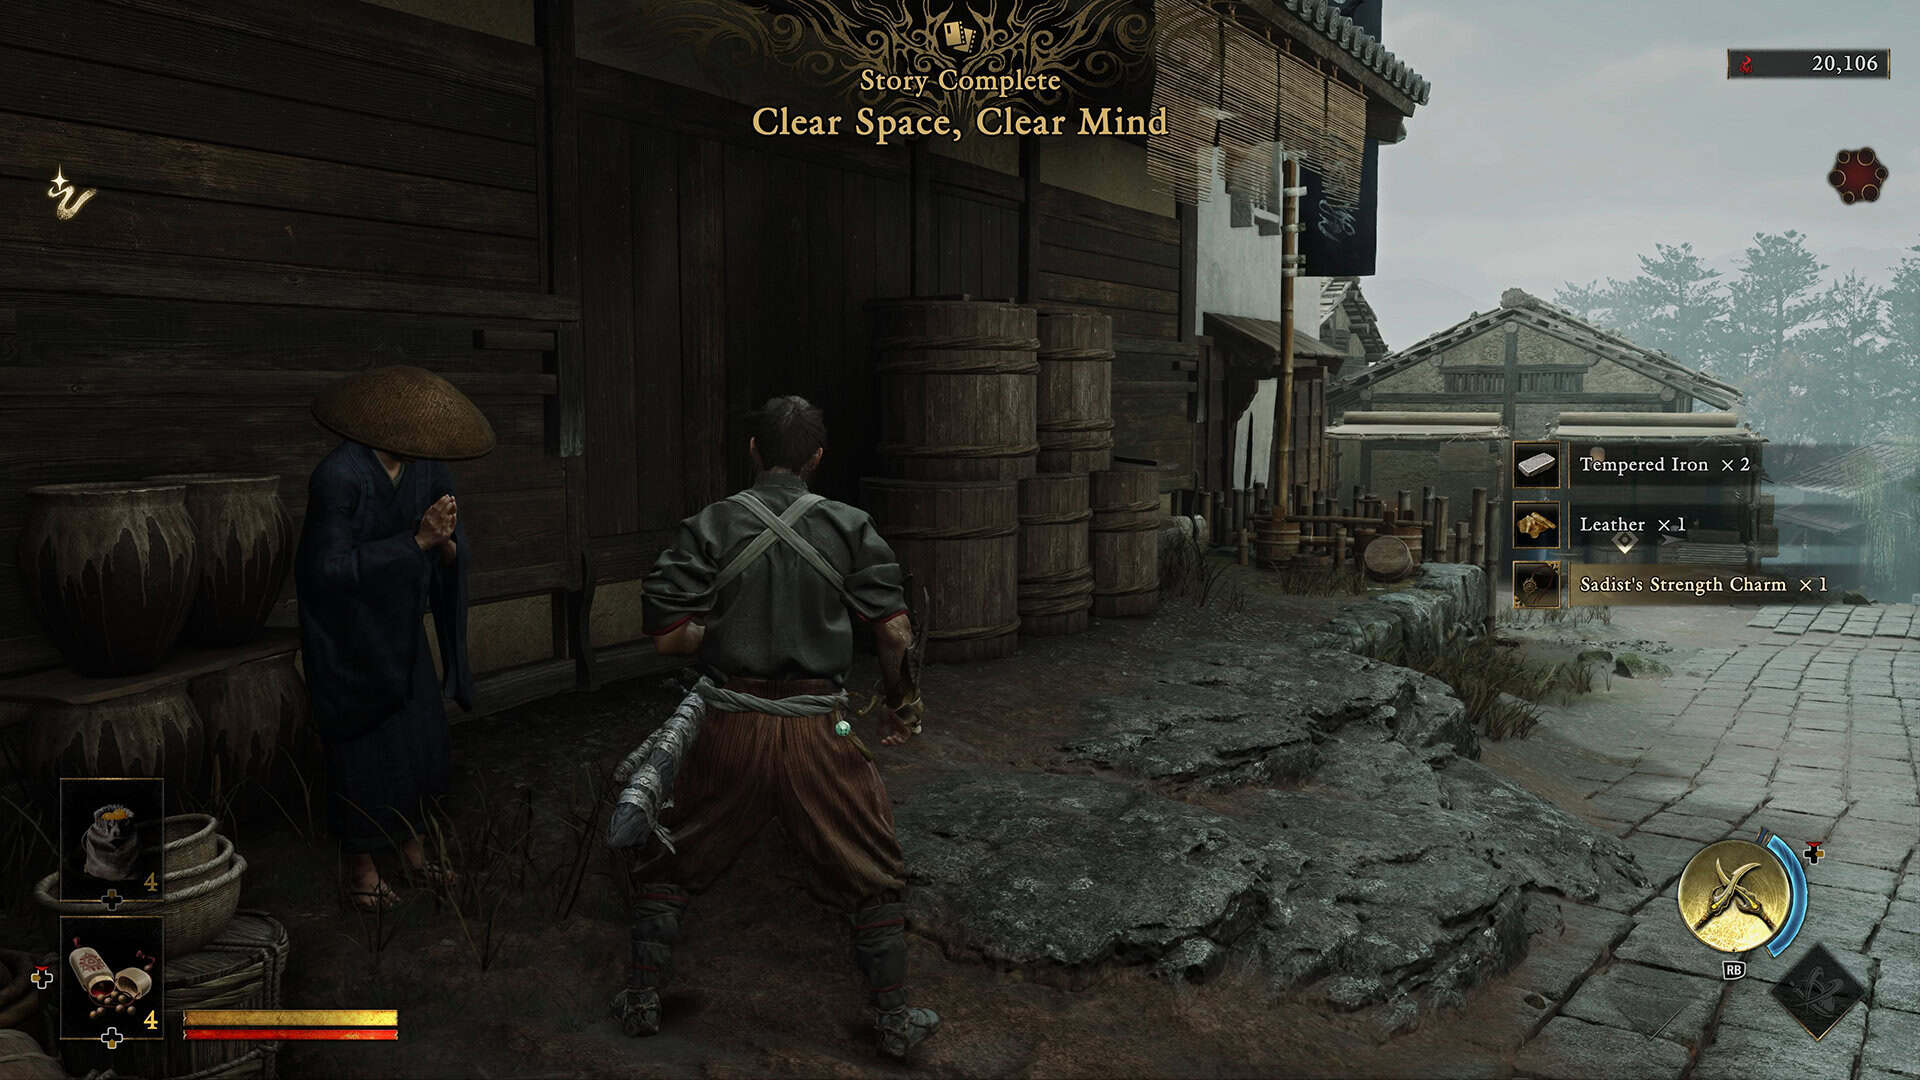
Once you’ve grabbed the essences, the bonus, and the chest, head back the way you came. The monk hasn’t moved, he’s standing in the exact same spot where you first met him, so you don’t need to track down a new marker. Talk to him to close out the encounter, and that’s the whole thing done.
It’s a light quest by design, more of a breather between the game’s tougher fights like Rasho-gan at the Yasui Konpiragu Shrine, but the rewards are still worth grabbing. Completing Clear Space, Clear Mind nets you two Tempered Iron, one Leather, and a Sadist’s Strength Charm, all useful if you’re keeping up with equipment upgrades as you push further into Eastern Kyoto.
Don’t skip past that charm just because it doesn’t sound flashy. Equip the Sadist’s Strength Charm and it boosts Musashi’s attack power by 8 percent, but only while he’s affected by a status ailment, so it’s really built around burning, ablaze, or oil-soaked enemies. It won’t do much on its own, but pair it with an Oni Armament that inflicts those effects and it turns into a genuinely strong pick for a status-focused build. I’d say hang onto it even if you’re not running that kind of setup yet, since Eastern Kyoto has plenty of Oni Armaments coming up that lean into elemental damage.
-
- Finding the Clear Space, Clear Mind Location
-
- Reporting Back to the Monk
Frequently Asked Questions
Where does the Clear Space, Clear Mind chance encounter start in Onimusha: Way of the Sword?
You’ll meet the monk who gives you this encounter in Eastern Kyoto once “A Strength in Refuge” begins. He tells you Musashi is full of impurities and needs to clean up a nearby location, which points you toward Kamo-River East.
What enemies do you fight during Clear Space, Clear Mind?
You’ll face two waves of two enemies each, followed by a final wave of four, plus a pair of archers firing from an arch above the courtyard. None are bosses or enhanced variants.
Should I kill the archers first in the Clear Space, Clear Mind courtyard?
Taking out at least one archer early makes the fight noticeably easier, since it removes the ranged damage you’d otherwise be eating while dealing with the melee waves below.
What rewards do you get for completing Clear Space, Clear Mind?
Finishing the encounter and reporting back to the monk gives you two Tempered Iron, one Leather, and a Sadist’s Strength Charm.
Is there a chest or bonus item in the Clear Space, Clear Mind courtyard?
Yes. There’s a small bonus on the left side of the courtyard and a chest on the right, both worth grabbing after the fight before you head back to the monk.
That covers this full Onimusha Clear Space, Clear Mind walkthrough from start to finish. It’s a short encounter, but between the archers, the wave order, and the loot tucked into the courtyard, it’s easy to miss something if you rush it. Check out our other guides on ingametor.com for more Onimusha: Way of the Sword boss fights and side content, including our breakdown of the Byakue Hundred Defilements fight if you’re heading toward Kiyomizu-dera Temple next.