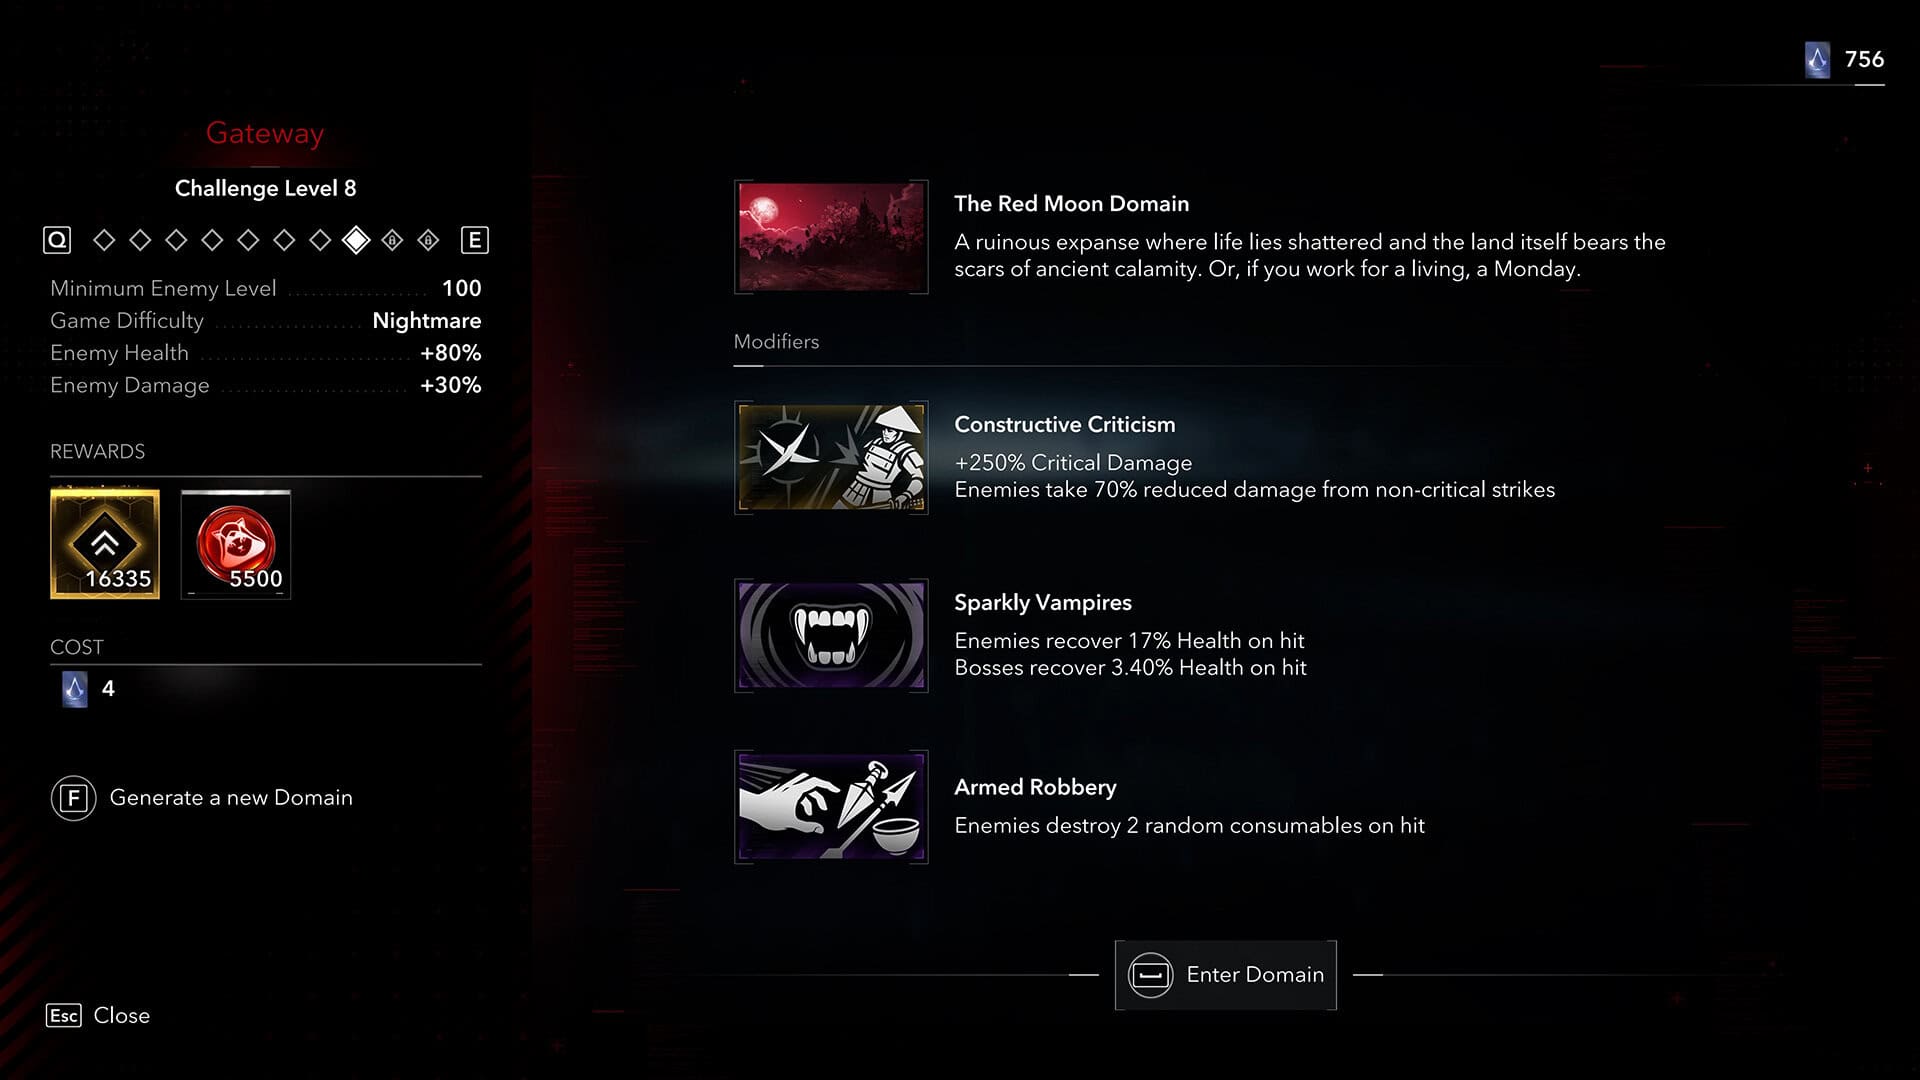
Domain #8 at the Red Moon location throws three modifiers at you at once, and together they make this one of the meanest Domains I have run into so far. Regular attacks do next to nothing, only critical hits count for real damage, enemies heal off every hit they land on you, and each hit also strips two random items out of your inventory. This AC Shadows Red Moon Domain Nightmare walkthrough covers how I got through the early stealth sections, how I handled every Daisho fight without wasting time in open combat, and how I finally beat Momochi Sandayu, including the Momochi Sandayu smoke bomb phase that nearly ended my run more than once.
This is not my first run at this location. I already covered my first trip to the Red Moon Domain, back when Eamon Hathaway was the boss waiting at the end, in my Red Moon Domain Naoe build guide, and it is worth keeping open in another tab if you want a refresher on the map layout, because the location itself has not changed even though the enemies and the modifiers stacked on top of it are completely different this time. Bookmark this page too. Between the item theft and the health drain from losing your food mid fight, you will probably want to check back on a specific section more than once.
Domain #8 Modifiers: Critical Hits Only, Enemy Lifesteal, and Item Theft in AC Shadows
The Red Moon Domain opens with a warning that every enemy inside is level 100, and that is not a suggestion. Your assassinate attempts simply fail if your own level falls short, so there is no shortcut around the grind here. Once you are inside, the three modifiers make themselves known fast. Normal attacks barely scratch enemy health bars, and only a landed critical hit moves the needle, which on Nightmare difficulty already asks a lot of a Naoe build that leans on speed over raw power. Enemies also regain health every time they connect with you, so a fight you are losing gets worse the longer it drags on, and each hit against you steals two random items, food included, which is exactly why running out of healing mid fight becomes a real threat instead of just an inconvenience.
Domains as a mode only unlocked with Title Update 1.1.11, the final content update Ubisoft shipped for the game in June 2026, and it generates five different simulation maps across ten rising challenge levels, so a stacked modifier list like this one is very much by design at the higher end. Spending MODcoins to reroll a Domain before you commit is worth doing if the modifier combination looks unwinnable for your current build, and I leaned on that option more than once before settling into this particular Red Moon run.
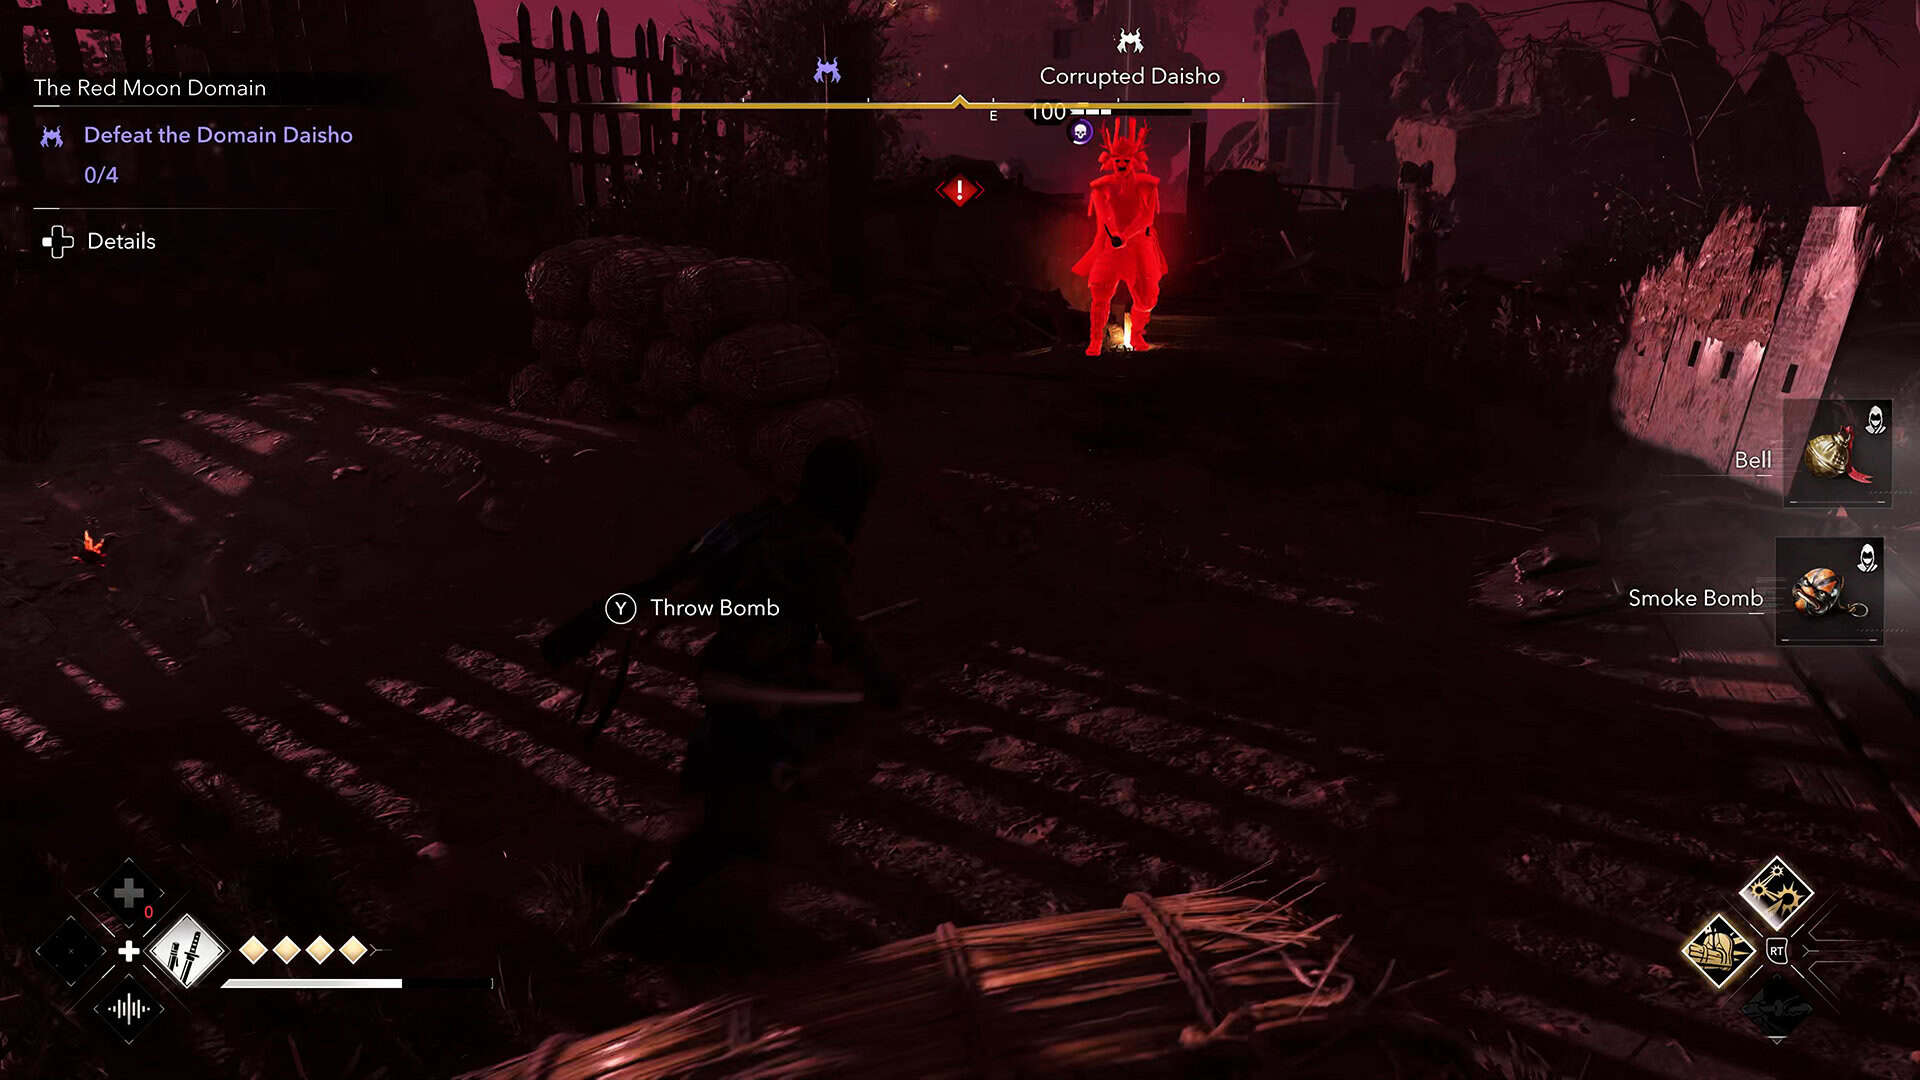
Clearing the Red Moon Domain Stealth Sections Before You Even Reach a Daisho
The opening stretch of the Red Moon Domain is genuinely manageable if you play it slow. There are plenty of hiding spots scattered through the area, and only projectile weapons show up on the first enemies you meet, which makes picking them off from cover straightforward. The moment I tried standing and trading blows directly, though, it became obvious there was no point. With damage gated behind critical hits that land rarely, stealth is not just the safer option here, it is close to the only option that works in any reasonable amount of time.
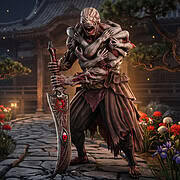
My first real test came against a Domain Daisho (some players spell it Dashio from the auto captions on guide videos, but Daisho is the correct in game term), and the fight showed me exactly how brutal the critical only restriction gets once multiple enemies close in at the same time. Parrying does not help either, since Nightmare enemies shrug off most parry windows here. I ended that particular fight by shoving the Daisho off a ledge, which is a trick I first leaned on heavily in my Shipbreaker Domain Nightmare walkthrough, and it works just as well here. After that fight, I changed my whole approach: assassinate one target, immediately retreat to a safe spot until every enemy loses track of me, then come back and repeat. Some Daisho took two full runs at this pattern before going down, but it is far safer than standing in the open swinging for a critical hit that might not come.
-

- Domain #8 Modifiers: Critical Hits Only
-
- Clearing the Red Moon Domain Stealth Sections
Momochi Sandayu Phase One: Tidal Wave Openers and Reading the Phantoms
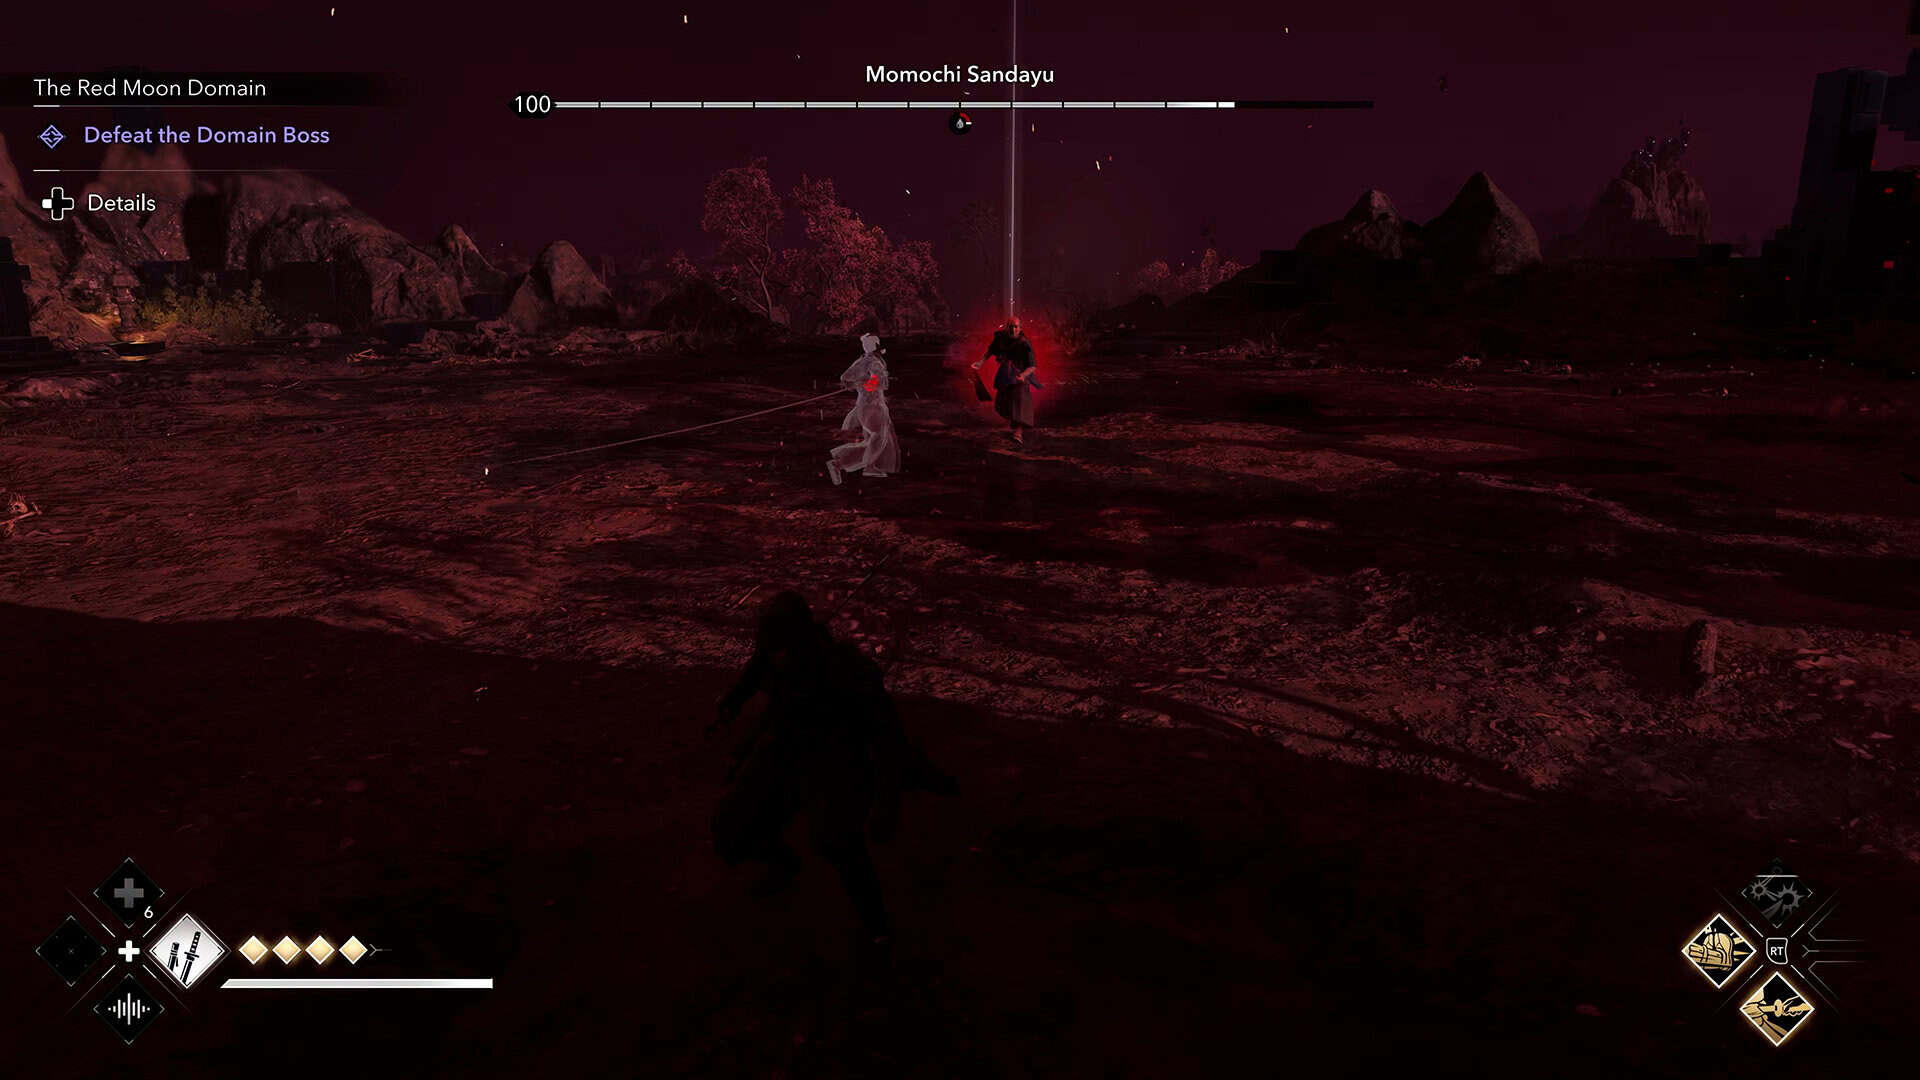
Momochi Sandayu waits at the very end of this Domain, and the first phase is the more forgiving half of the fight. Open with Tidal Wave, land a couple of basic attacks while he is Vulnerable, then retreat immediately and watch what kind of phantom shows up next, because that decides your next move completely. A single phantom carrying a kusarigama means you need to put real distance between yourself and it right away, since its swing covers more ground than it looks like it should. Three phantoms standing still, on the other hand, are winding up to throw poisoned kunai a moment later. I move away from them in a straight line first, then dodge sharply to the side only after they have actually thrown the kunai, which cuts down how often the poison actually connects.
This same kusarigama and smoke bomb kit shows up on Momochi Sandayu in other fights across the game, including the version I broke down in my Broken Sky Domain walkthrough, since Ubisoft reuses named bosses like him as scaled templates across different Domain runs rather than tying them to one single location. The historical Momochi Sandayu was an Iga ikki leader, which is a nice bit of texture behind why he moves like a shinobi built entirely around misdirection instead of brute force.
Momochi Sandayu Smoke Bomb Phase: Surviving the Translucent Cubes and Item Drain
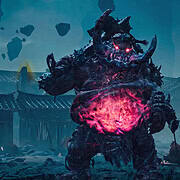
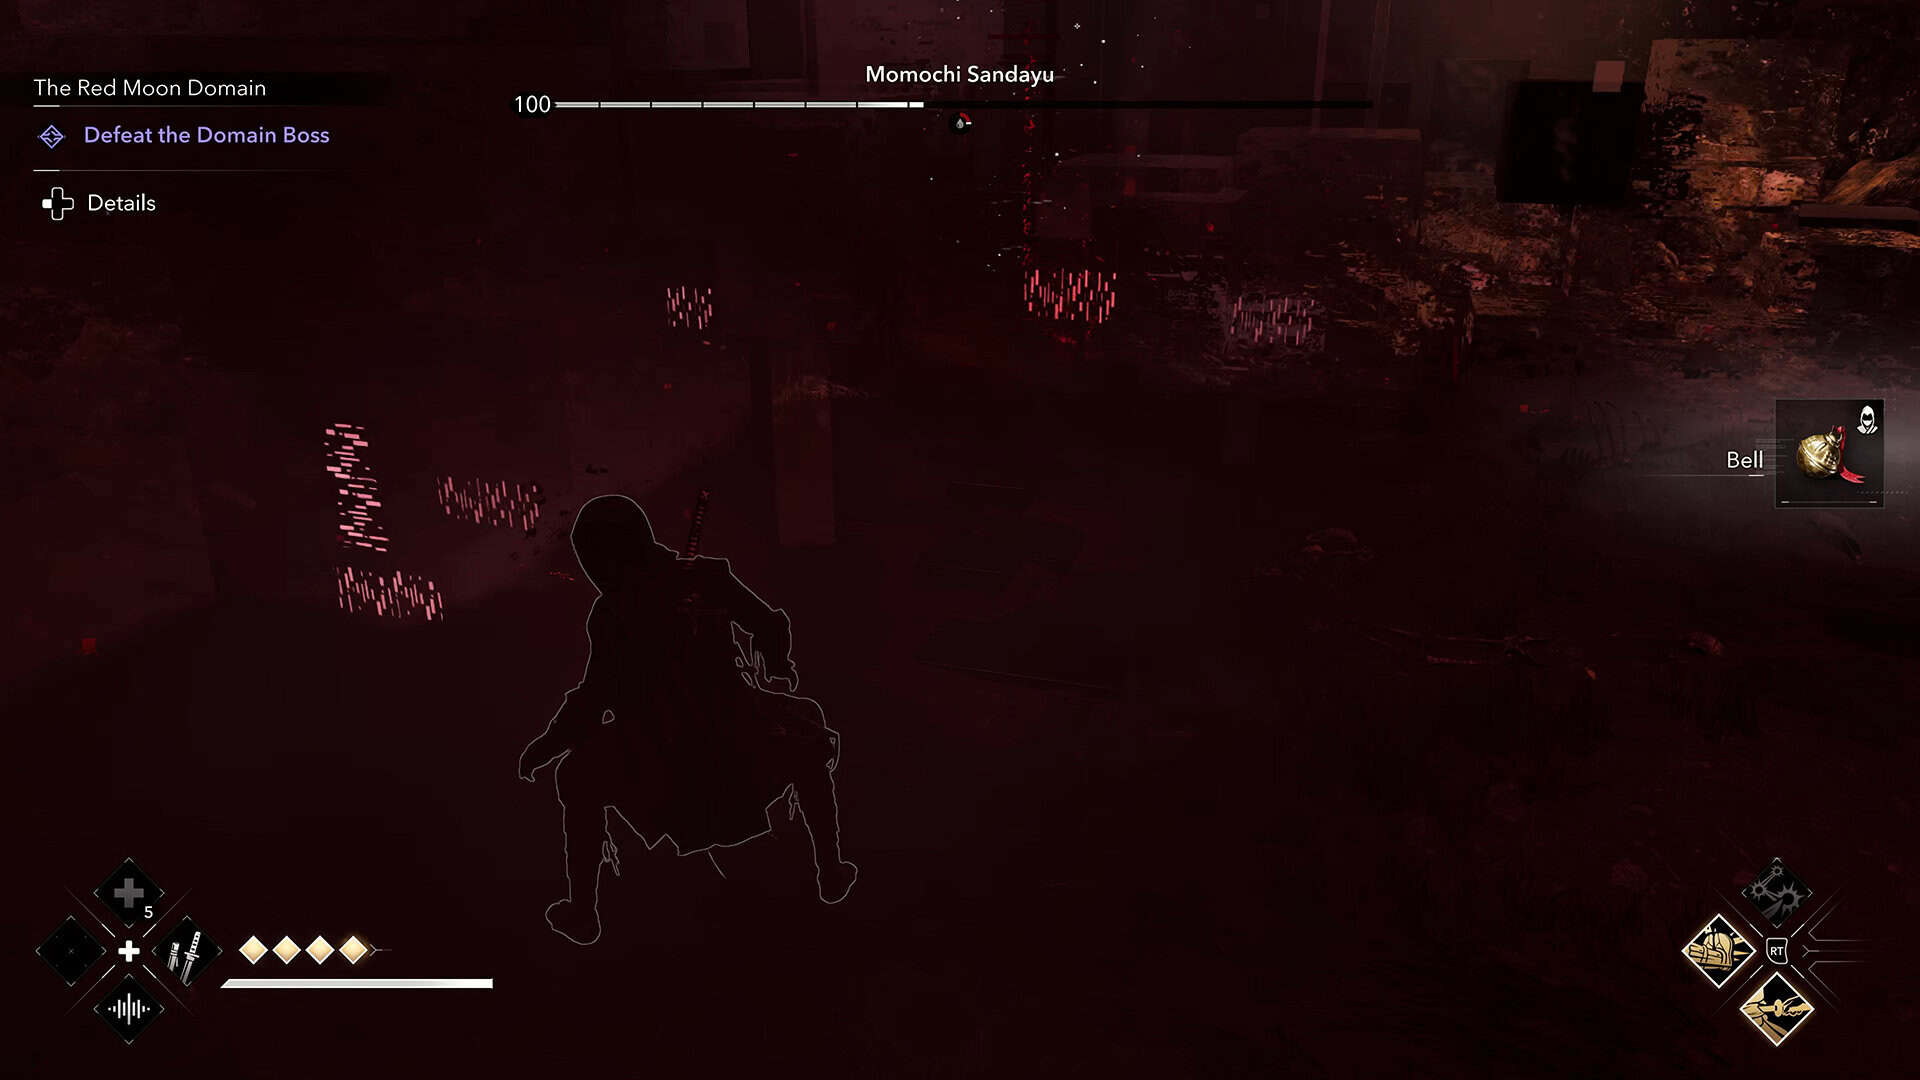
The Momochi Sandayu smoke bomb phase begins once his health drops to half, and it changes the entire fight. He throws his own smoke bomb and vanishes, and a set of semi transparent cubes appears around the arena. Step inside one and you take damage every single second, and in my run that also meant losing two items per second, food included, which makes lingering in the wrong spot far more costly than it sounds. Staying dead center in the safe zone is not optional, it is the only way to survive the transition.
Right as this Momochi Sandayu smoke bomb phase kicks in, I throw my own smoke bomb and use the cover to wait out Tidal Wave’s cooldown, since I want it ready the second he reappears. Once he shows up again, I get in one attack, then throw another smoke bomb and hide inside it until the translucent cubes clear out completely. Some runs took several smoke bombs back to back before the transition finished, so do not panic if the first one is not enough. Other Domain guides note this kind of phase shift can trigger as early as 30% health depending on which modifiers are active in a given run, so do not assume the timing will match exactly if your Domain rolled a different set of conditions than mine did.
-
- Momochi Sandayu Phase One
-
- Momochi Sandayu Smoke Bomb Phase
Dodging Momochi Sandayu’s Underground Strike and Kusarigama Shockwave
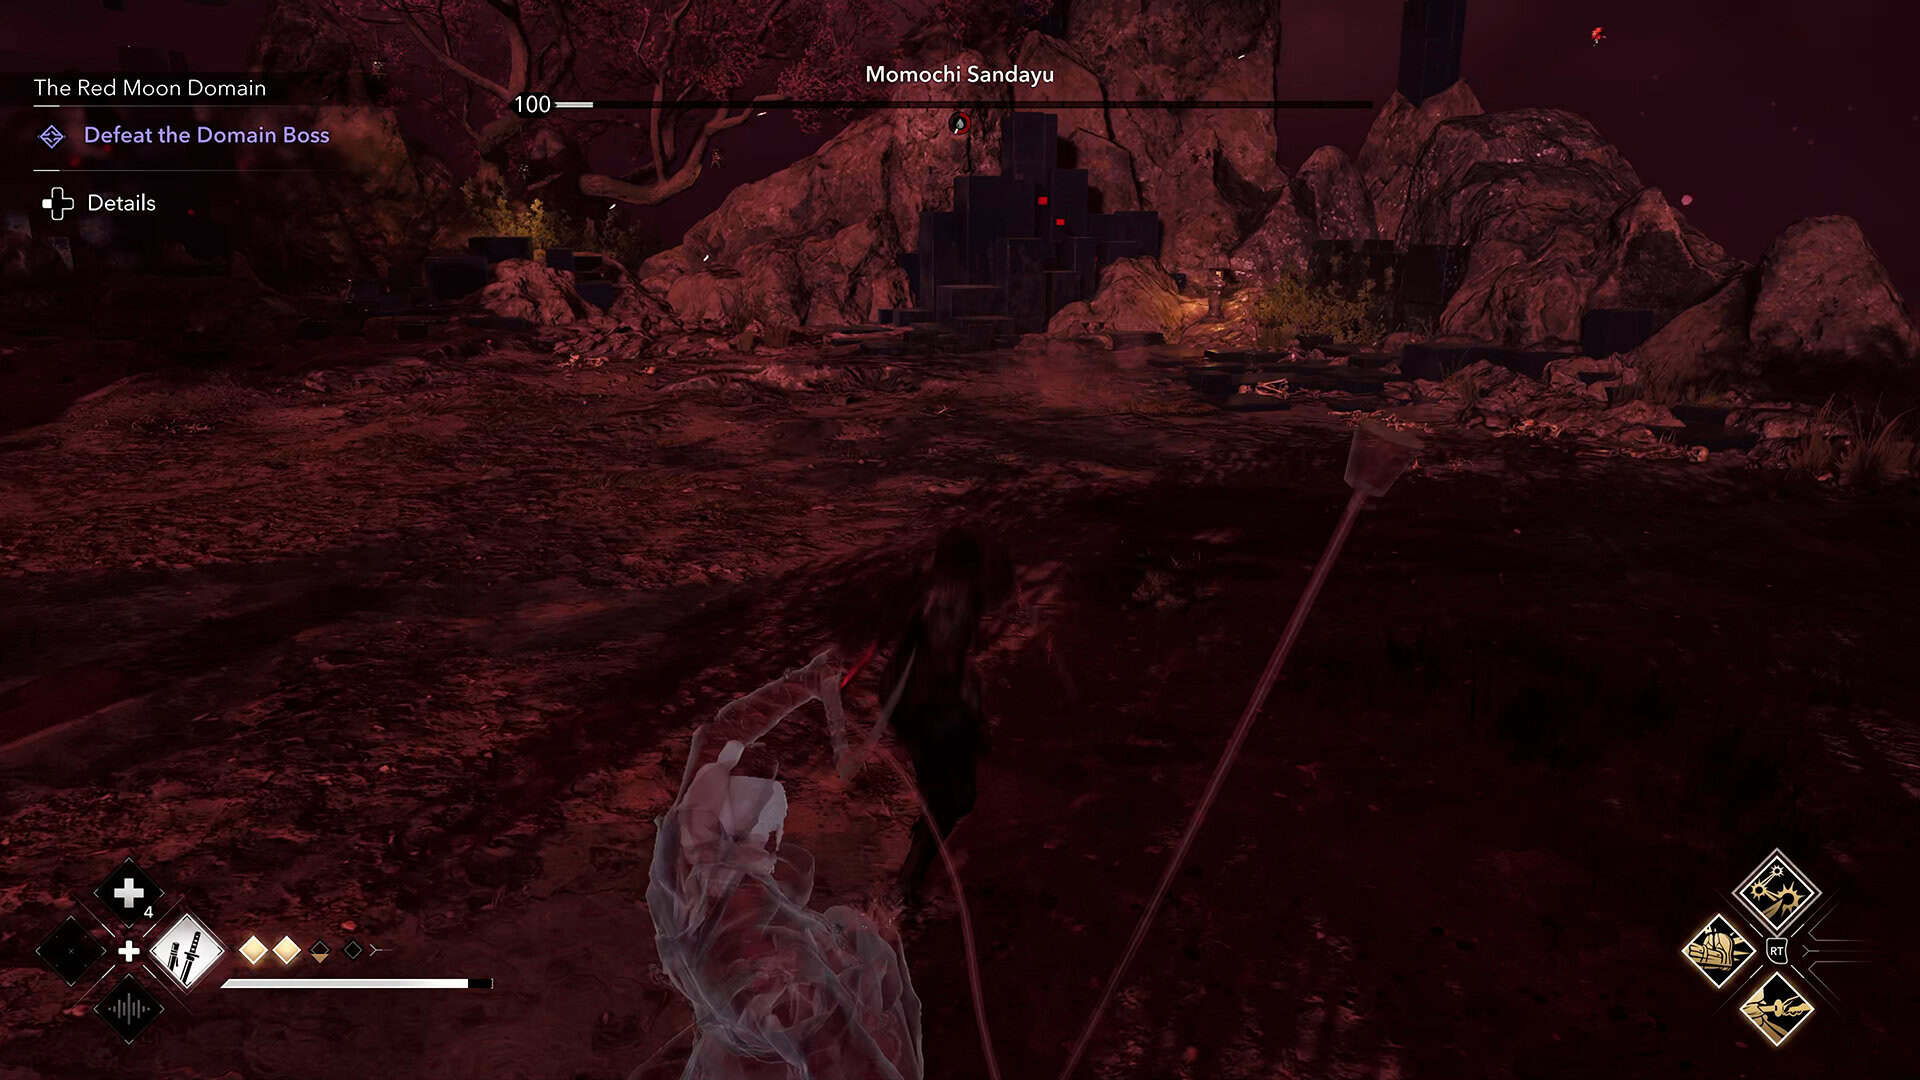
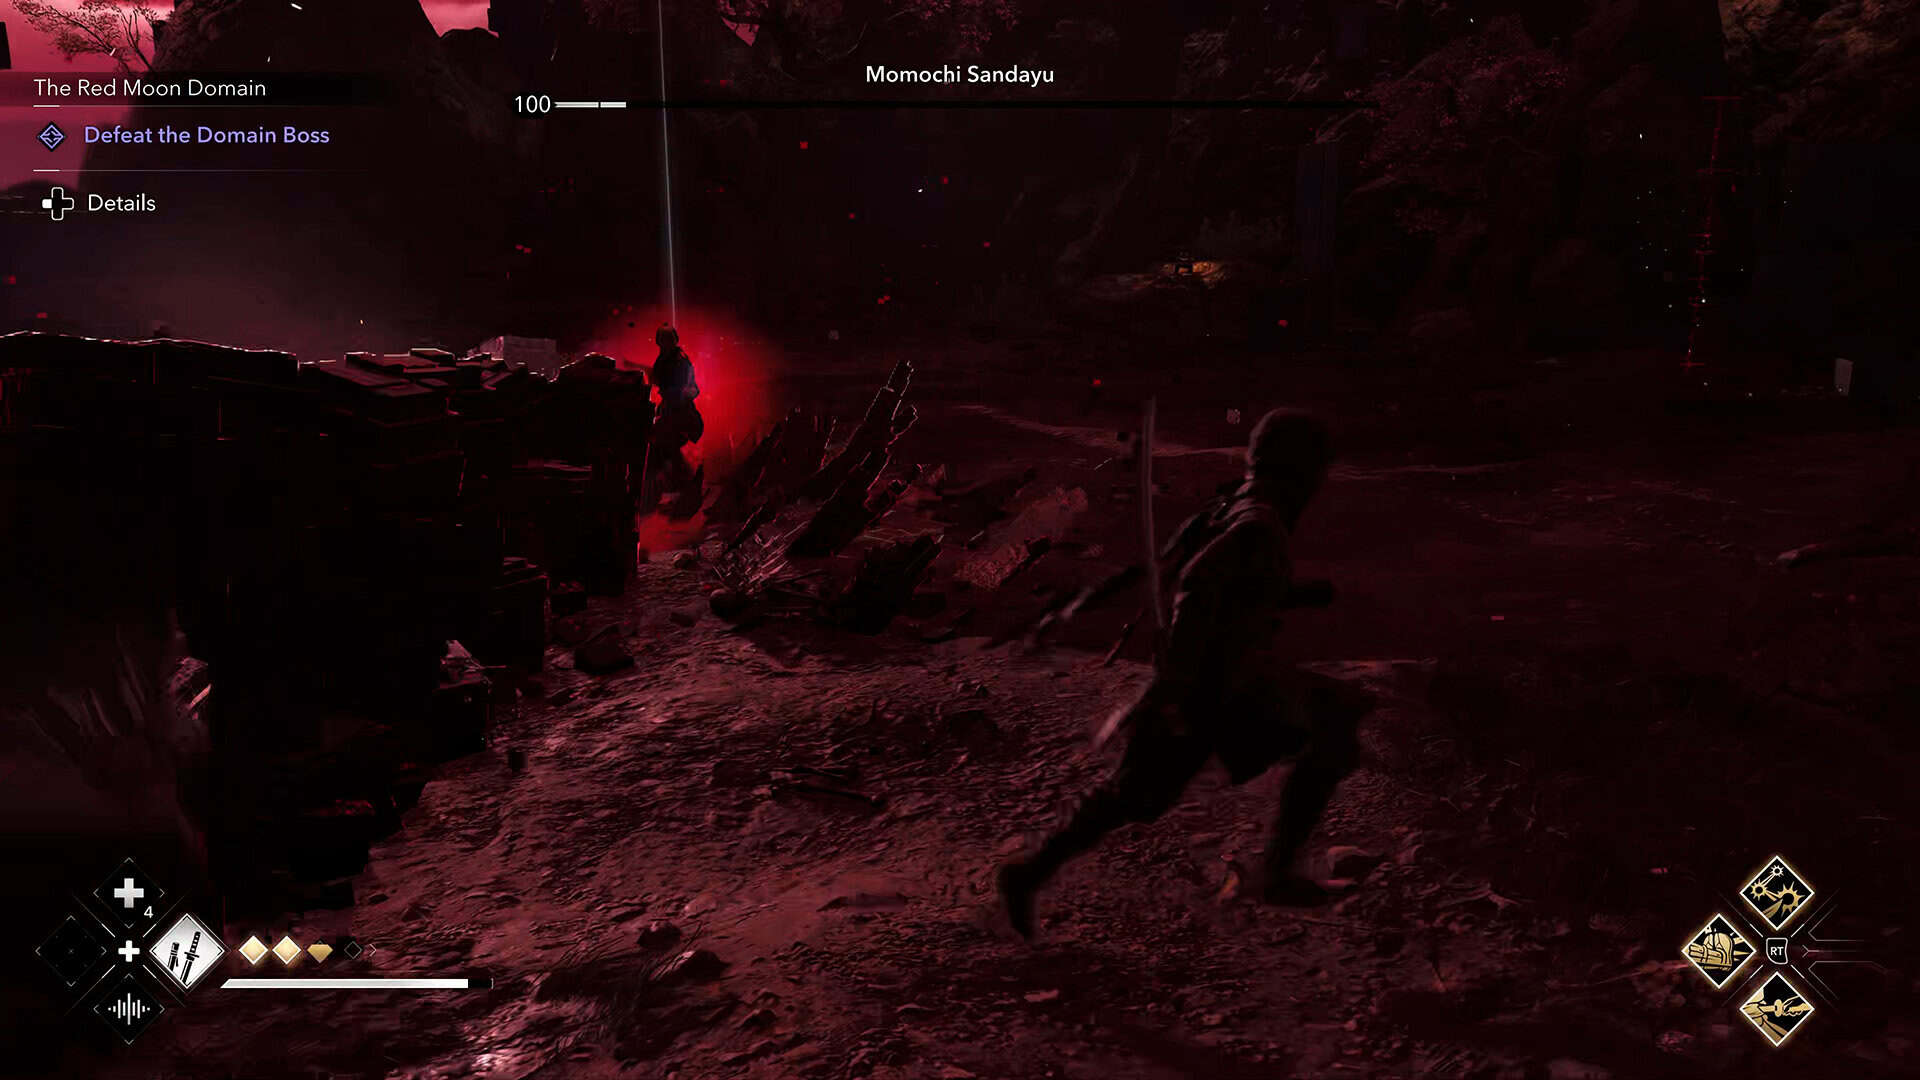
Once the cubes disappear, Momochi Sandayu starts teleporting to random spots around the arena, and if he lands close enough you can catch him with a Tidal Wave before he settles in. After a few of these teleports, he starts pulling out heavier attacks. When the ground around him starts glowing red, run immediately, since that attack comes up from underneath you rather than from him directly. Once it passes, you get a short window to land two or three hits before backing off again.
The next attack worth knowing is a kusarigama strike against the ground that sends a shockwave outward, and running in a circle around him is enough to dodge it cleanly every time. The attack that actually ended most of my early attempts, though, is the one where he throws a smoke bomb and sends out phantoms that appear almost directly on top of you with no real warning. There is very little room to react here beyond pure reflex, and a single hit from one of these phantoms can end the fight outright, so treat every smoke cloud in this final stretch as a cue to stay moving rather than stand still trying to spot him.
-
- Momochi Sandayu Phase two
-
- Dodging Momochi Sandayu’s Underground Strike
Frequently Asked Questions About the Red Moon Domain and Momochi Sandayu
What level do I need to be for Domain #8 in the Red Moon location?
Level 100. The Domain warns you before you start that every enemy inside is at least level 100, and assassinate attempts will not connect if your own level is lower than the enemies you are targeting.
Why does my damage do almost nothing against enemies in this Domain?
The critical hits only modifier means basic attacks deal negligible damage, and only a landed critical hit does real damage to enemy health bars. This is why leaning on stealth and assassinations matters so much more here than in a standard Domain run.
What is the Momochi Sandayu smoke bomb phase and how do I survive it?
It starts once his health drops to half, when he throws a smoke bomb, disappears, and surrounds the arena with damage cubes. Stay in the center safe zone, use your own smoke bombs to hide while you wait him out, and only attack when he actually reappears.
Is Daisho the correct spelling for the Domain mini bosses?
Yes. Daisho is the correct in game term, though it gets misheard as Dashio fairly often in auto generated captions on guide videos covering this content.
Should I fight the Domain Daisho enemies directly or avoid them?
Avoid direct fights whenever you can. Assassinate one target, retreat to a safe spot until enemies lose track of you, then come back and repeat. It takes longer than open combat, but it is far safer under the critical hits only and lifesteal modifiers.
That covers this Red Moon Domain Nightmare run and the fight against Momochi Sandayu from start to finish. If you are working through the rest of the endgame content, take a look at our Domain build guide for handling groups of enemies, and check out our other Assassin’s Creed Shadows Domain guides on ingametor.com for more boss breakdowns and build tips.