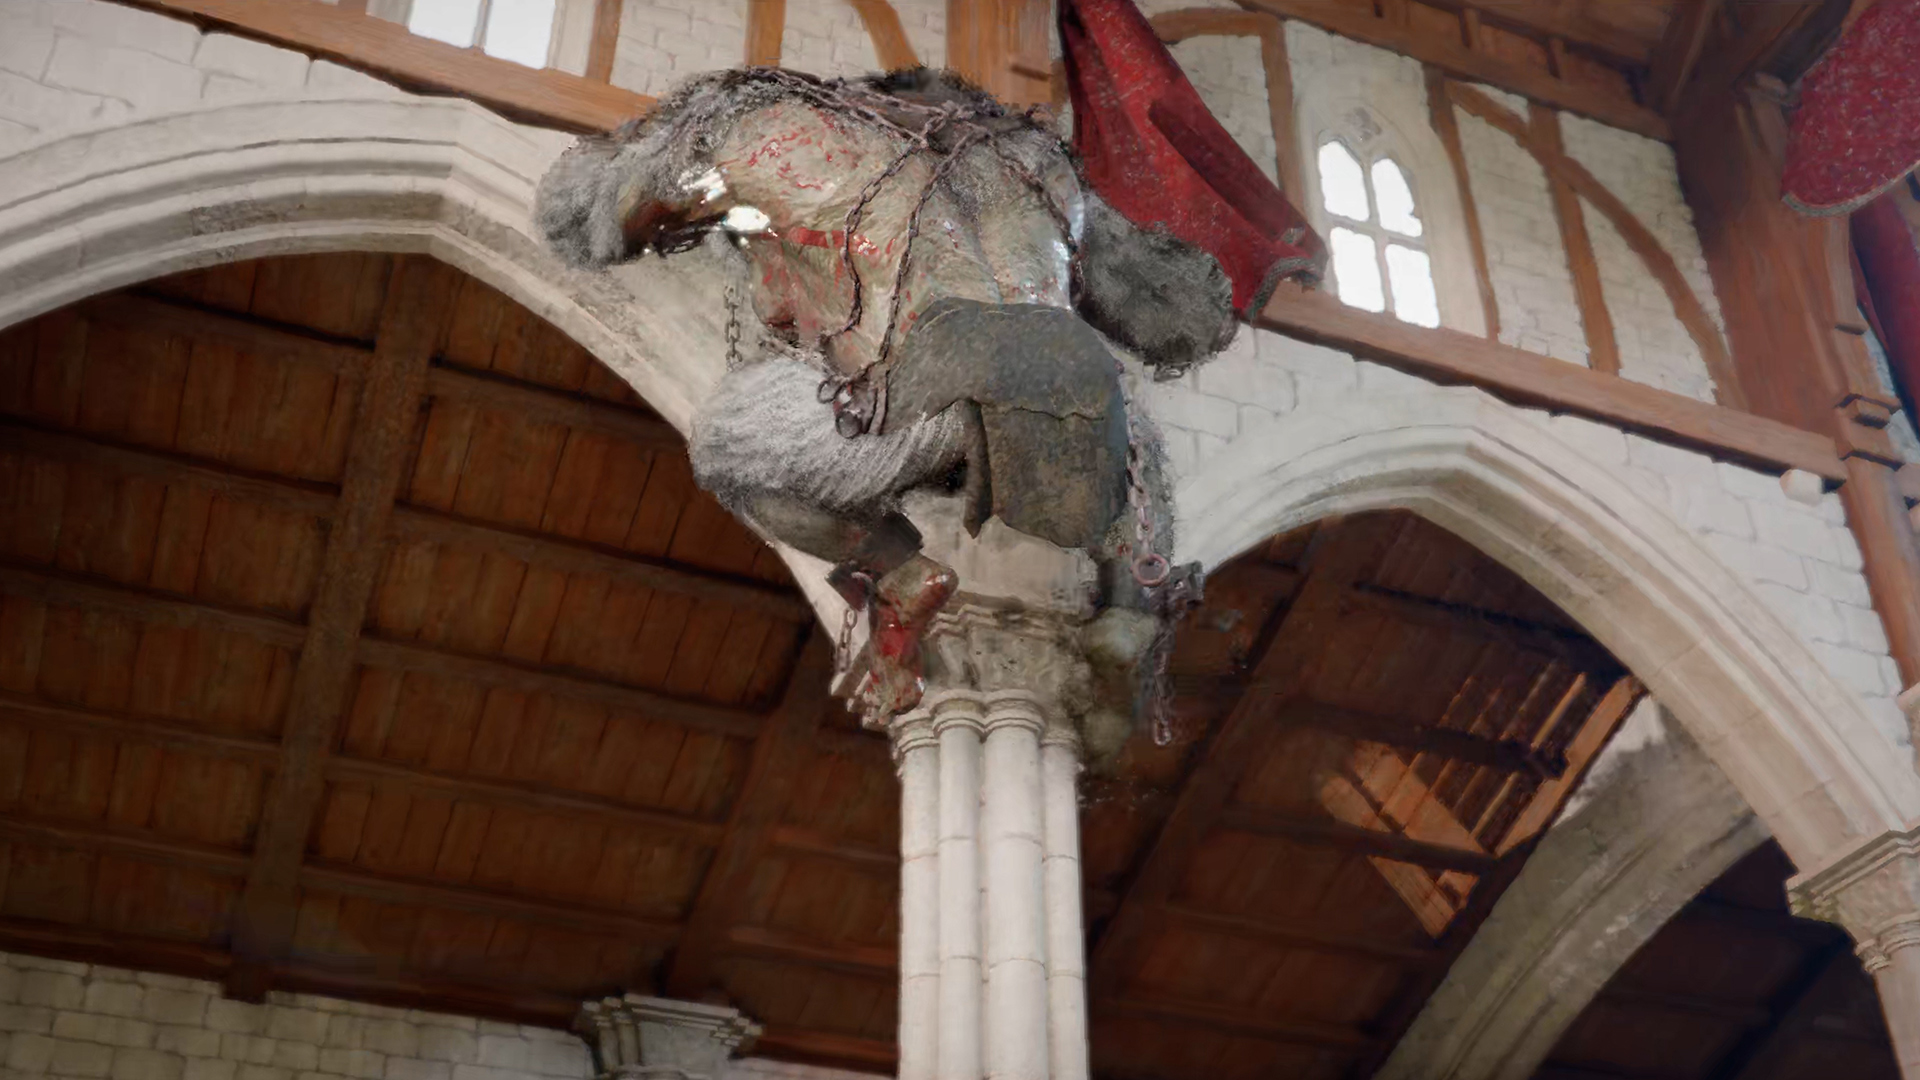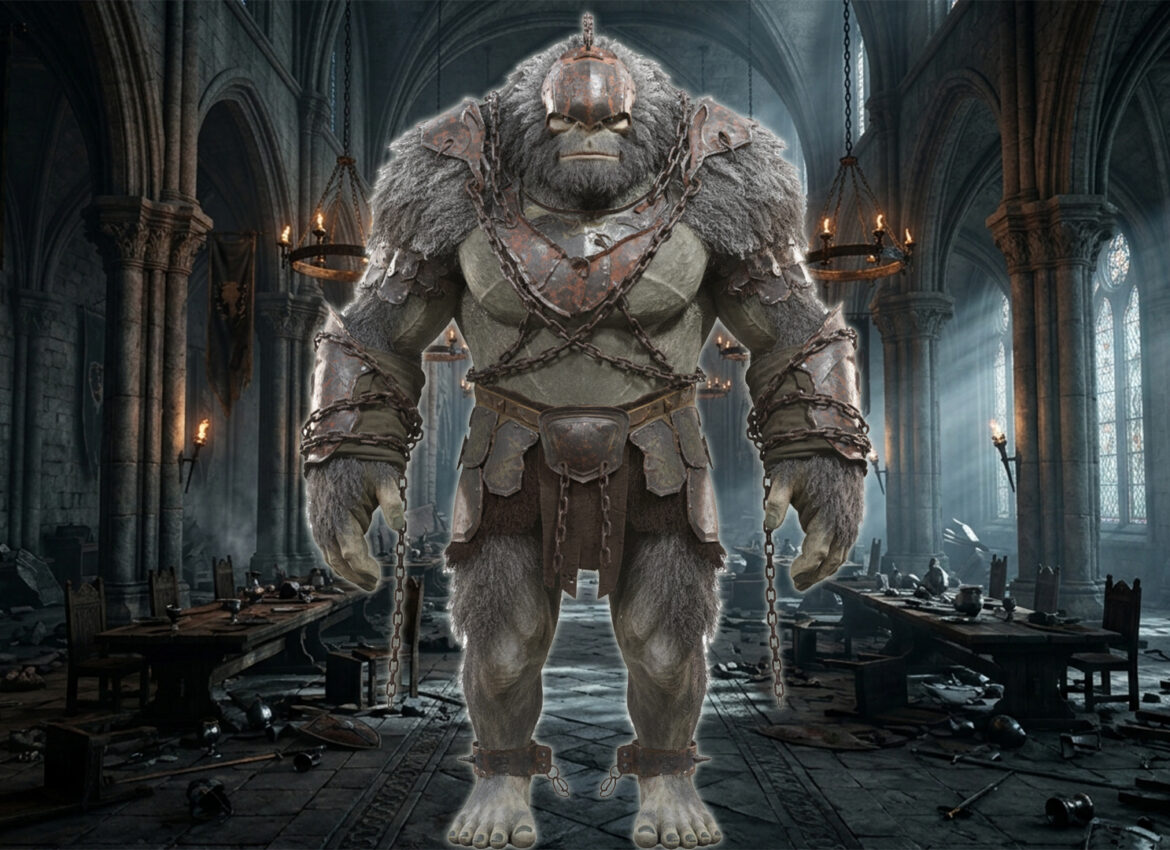
Kearush the Slayer is a mandatory boss in Crimson Desert. He isn’t difficult, but there are a few nuances to this fight that you should be aware of before you start. Next, I’ll walk you through all three phases of the battle against this boss and explain my build.
Kearush the Slayer 1st phase – Crimson Desert
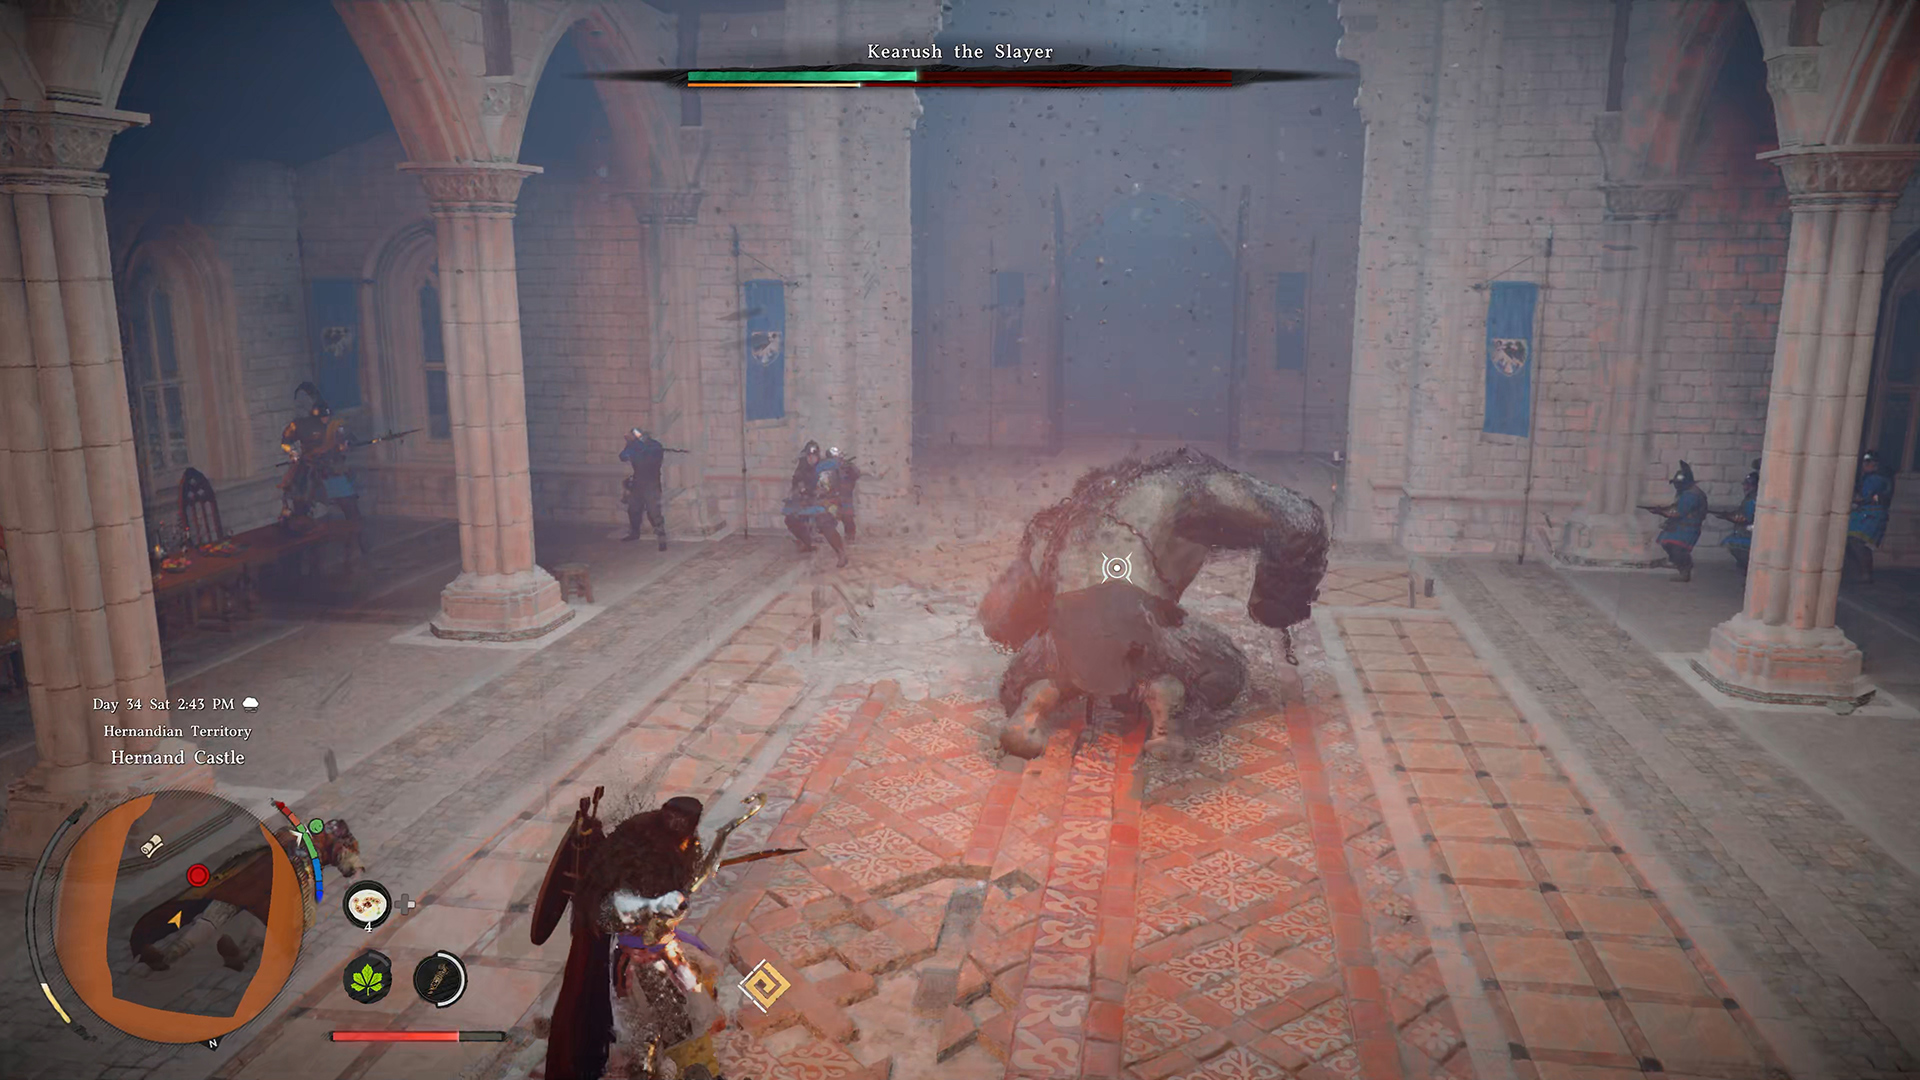
I don’t use a shield when fighting Kearush the Slayer. You won’t be able to block most of the boss’s attacks, so a shield is unnecessary here. It’s better to use two one-handed weapons to deal more damage. The first phase is the easiest. There’s a bit of an issue with aiming in the game. The boss is very mobile, so I recommend focusing the camera so you’re fighting the boss, not the camera. The tactic is simple. You need to dodge the boss’s attacks and launch a counterattack.
Kearush the Slayer 2nd phase – Crimson Desert
In the second phase, the boss starts jumping down from the ceiling. Every time the camera loses focus, I try to refocus it. On PC, this is the Caps Lock key; on a gamepad, it’s the D-pad pressing the cross button. This will make it easier for you to dodge and attack Kearush the Slayer.
Kearush the Slayer 3rd phase – Crimson Desert
In the third phase, it seemed to me that the boss’s attacks were covering a larger area, since dodging them became much harder. Maybe I was just unlucky. But here you’ll need food to restore your health. So the strategy is the same for all three phases. The boss unleashes a series of attacks; dodge 3-4 times in a row, then attack. That way, you’ll defeat Kearush the Slayer quickly and without any trouble.
-

- Battle against Kearush the Slayer in the Crimson Desert
-
- Kearush the Slayer flees the battlefield