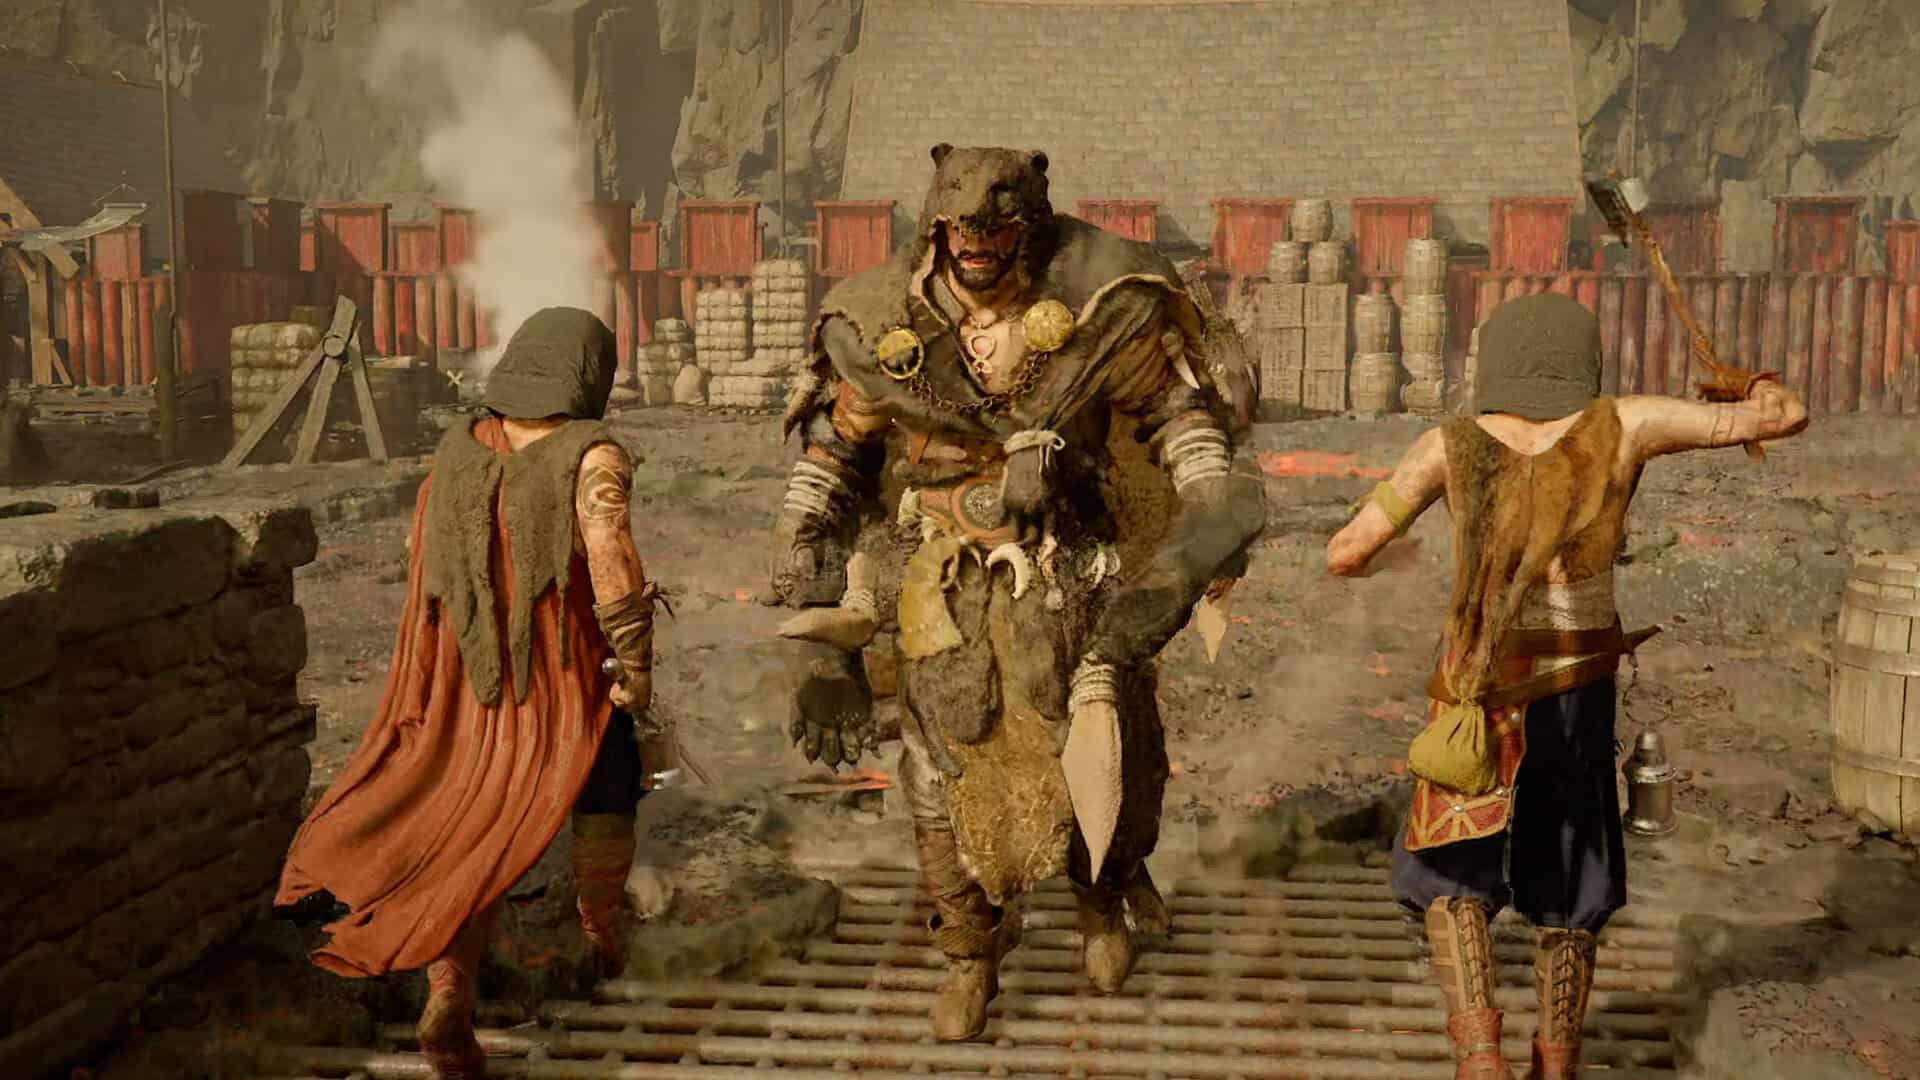
Myurdin is one of the main antagonists in Crimson Desert, and while you technically meet him at the very start of the game, that early encounter barely counts as a fight. This is the real one. The good news is that if you are already comfortable with the Force Palm and Focus mode approach, you can carry those exact same tactics straight into this battle and it will not give you much trouble. This guide walks you through both phases, including how to handle the transformation that catches a lot of people off guard.
Myurdin Phase 1: How to Use Focus Mode and Perfect Parry Without a Shield
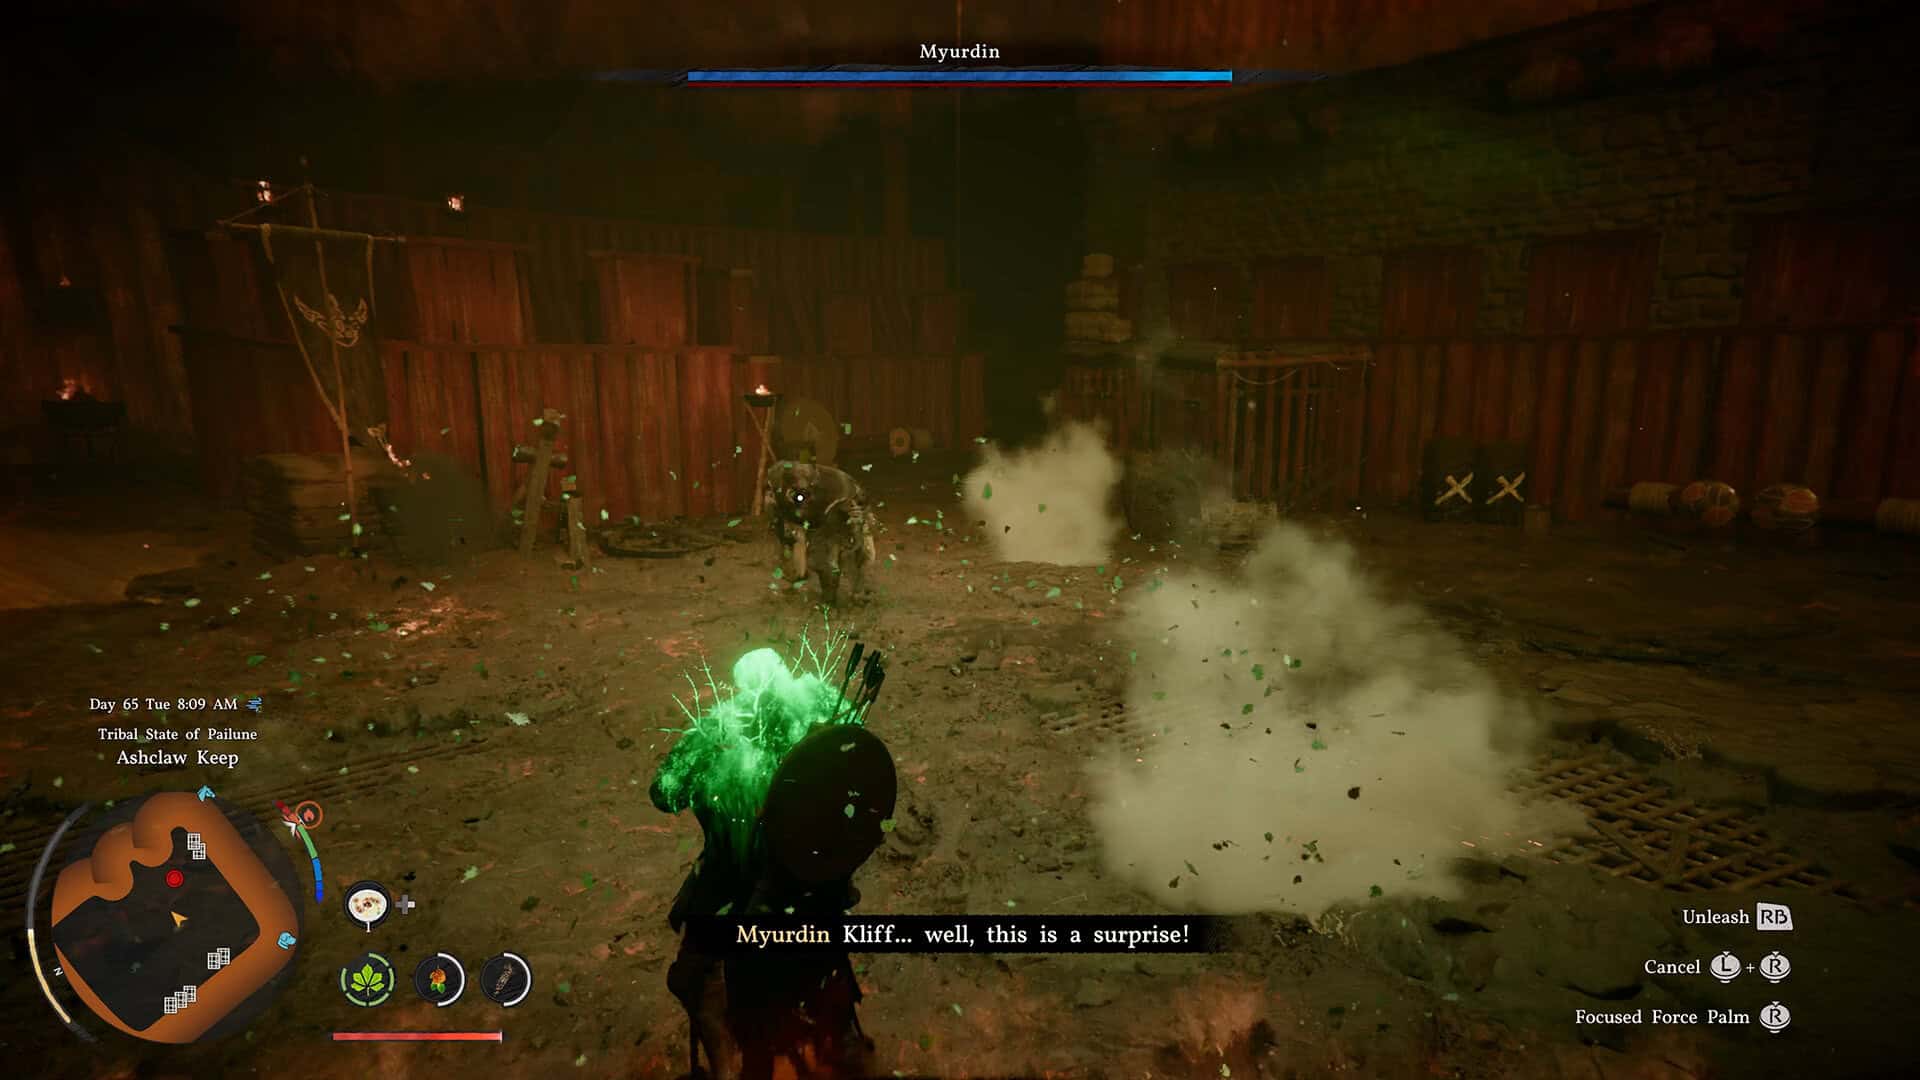
The first phase of the Myurdin boss fight in Crimson Desert goes by quickly, and that is actually the biggest surprise. You will barely settle into the rhythm before a cutscene plays and he goes down. The tactics here are essentially identical to those that work against the Antumbra boss, and if you have already read our Crimson Desert Antumbra’s Staff boss guide, you already know everything you need for Phase 1.
The core approach is straightforward. Activate Focus mode by pressing L3 and R3 together, which slows Myurdin down and gives you time to read his attacks clearly. Wait for his basic attack and block it with a perfect parry. After the parry, follow up immediately with a triple Force Palm to build his yellow stagger gauge. Force Palm hits hard and fills that gauge faster than anything else, so you want to land all three strikes before he recovers.
Once the stagger gauge is full, he is open for a heavy punish. Repeat that cycle and Phase 1 is over before it feels like it has really started. When I first played through this fight, I genuinely thought the battle was finished when the cutscene played. I was wrong.
Myurdin Phase 2: The Lava Transformation and What Changes
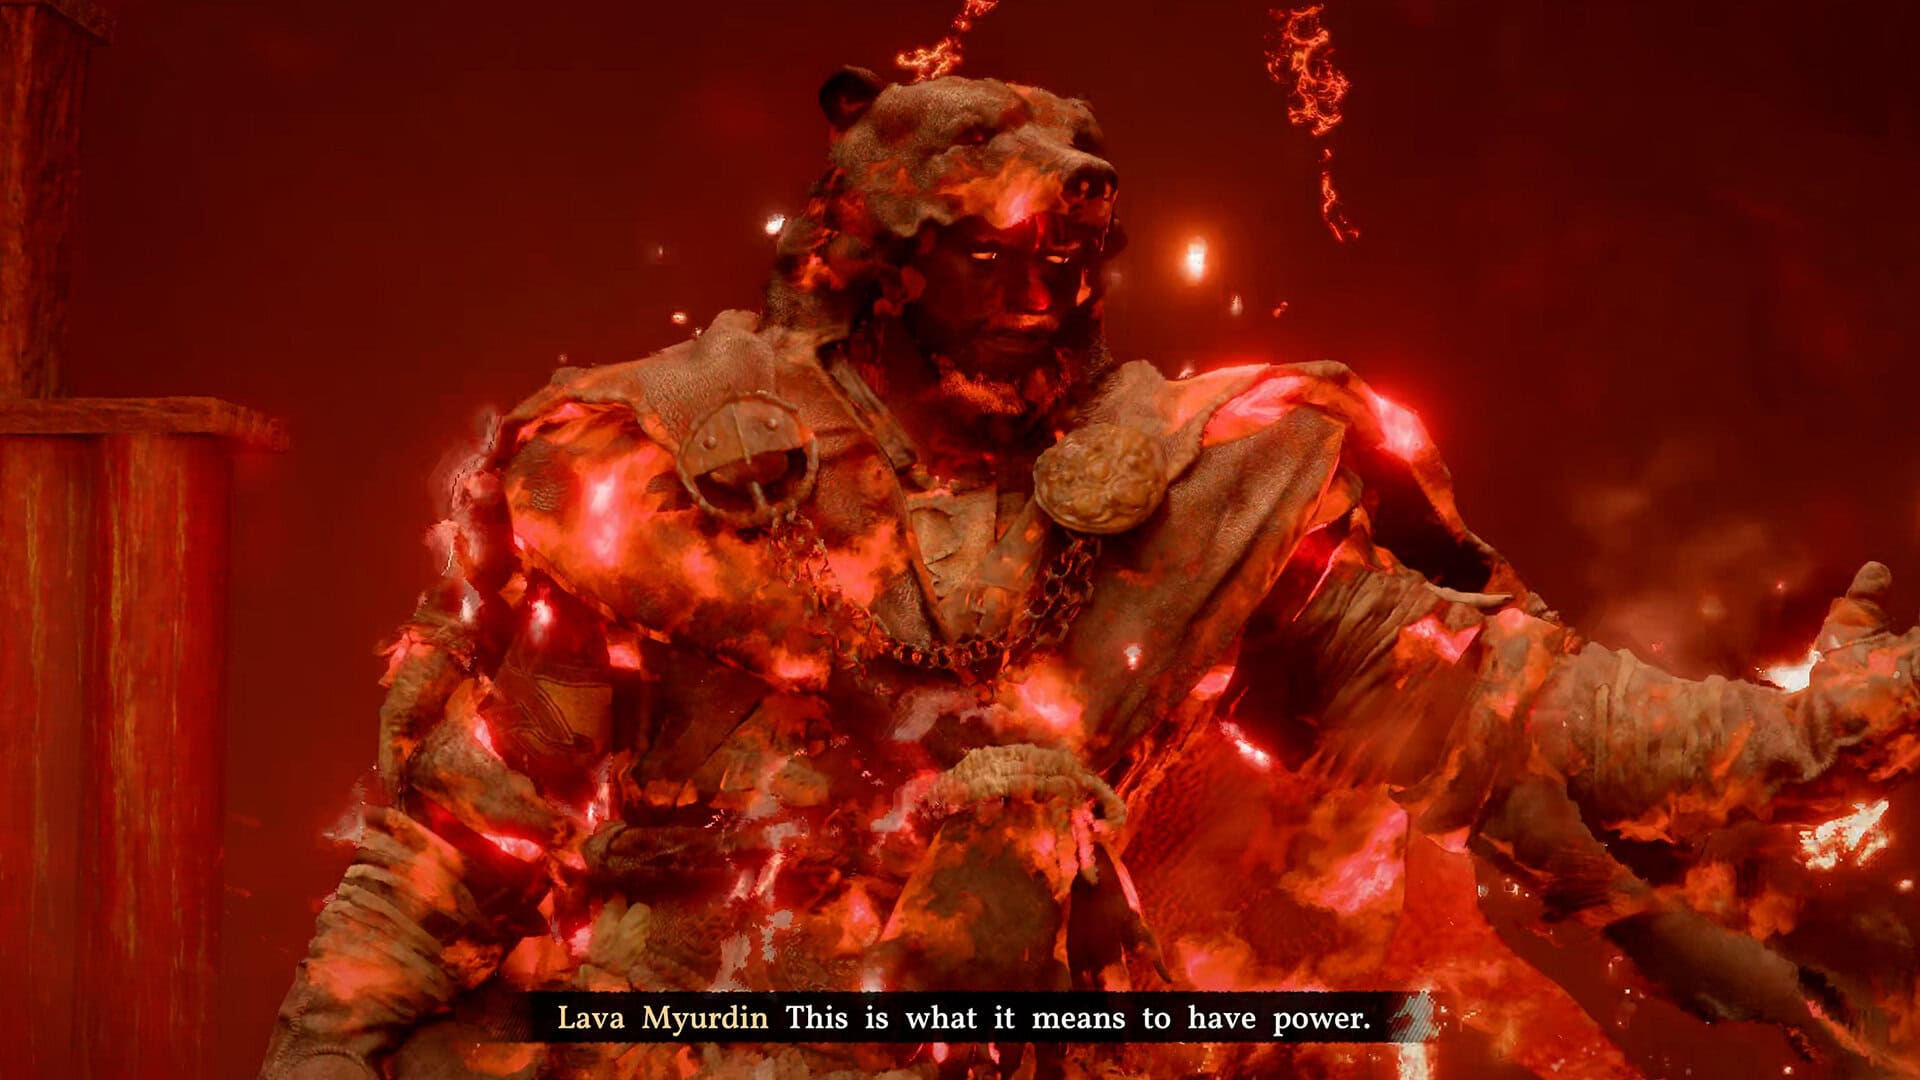
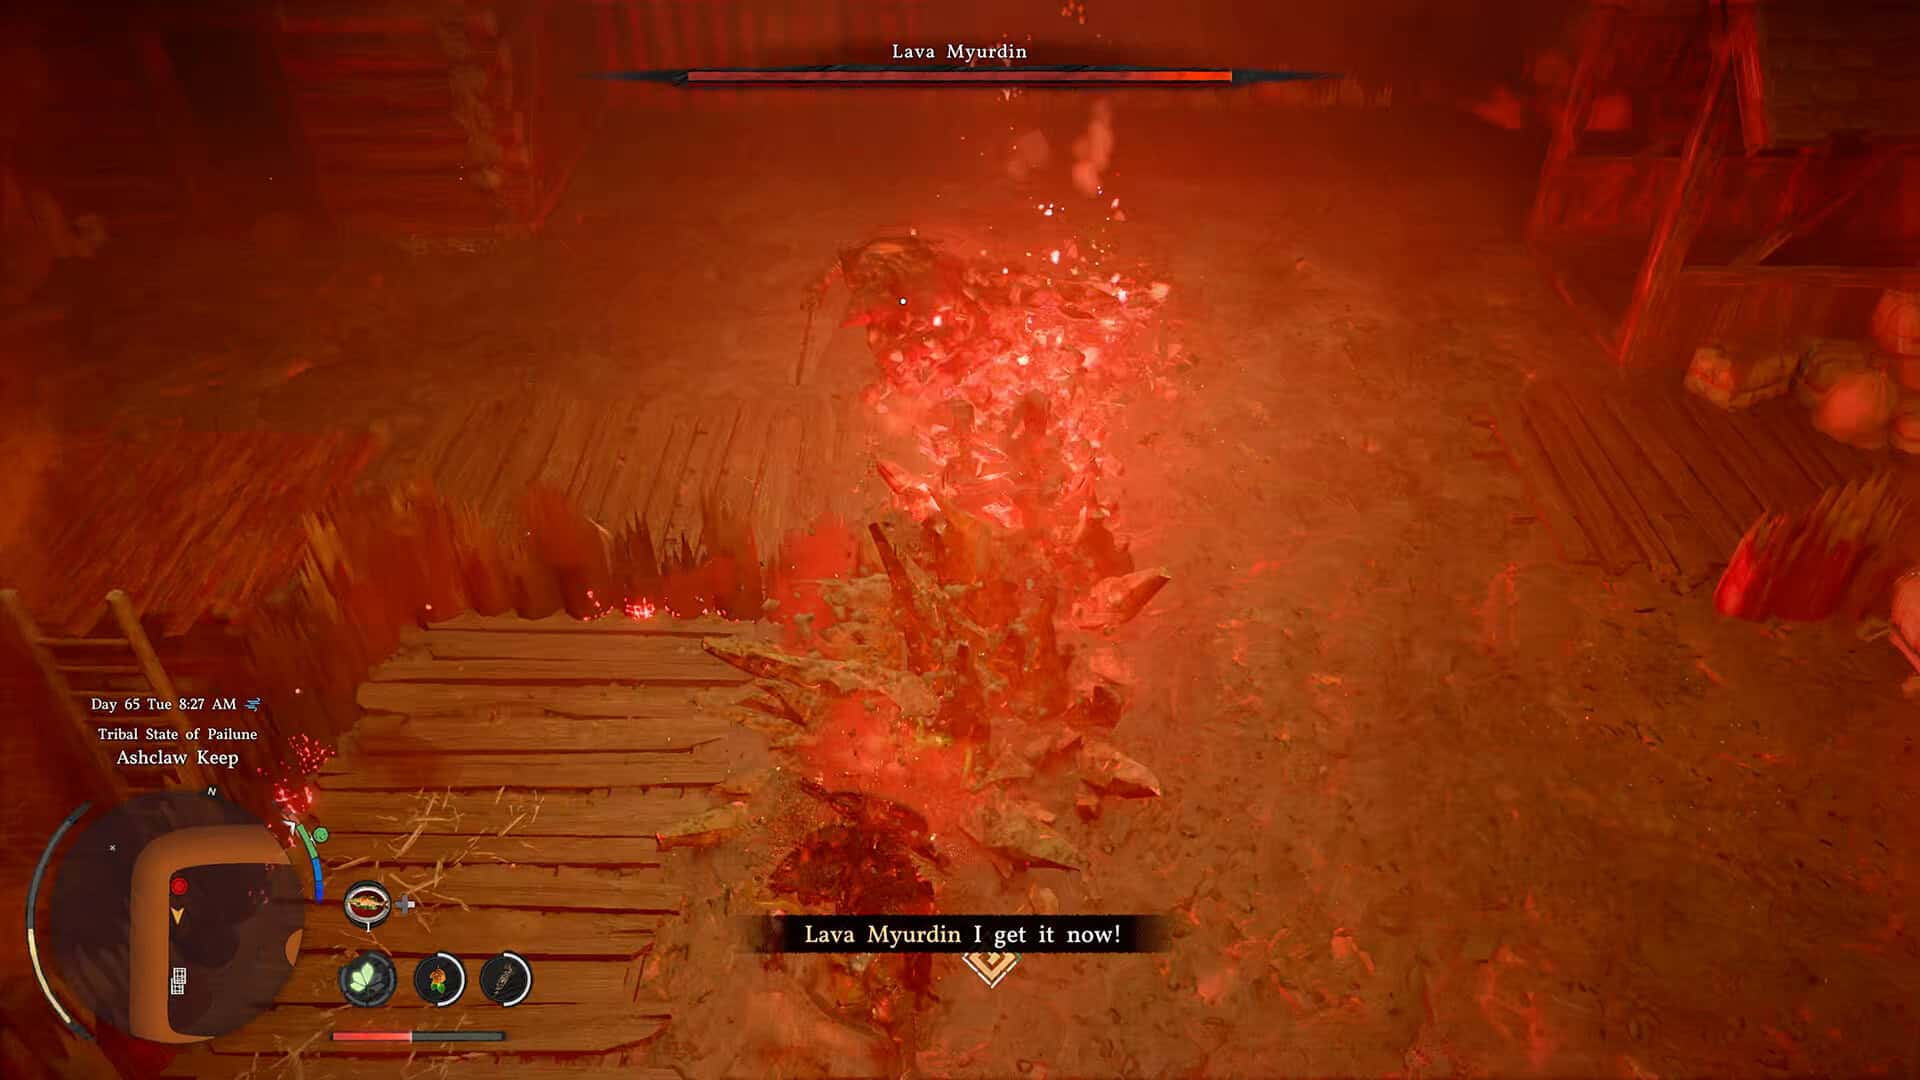
After that first cutscene, Myurdin transforms into Lava Myurdin, a version of him that is literally a massive bear made of molten rock, and the difficulty jumps up noticeably. The core strategy stays the same, Focus mode into perfect parry into triple Force Palm, but the arena and his attack patterns both become significantly more dangerous.
The most important thing to know about Phase 2 is the arena itself. In this phase, the edges of the arena are covered in lava, and falling in is an instant kill. Myurdin will actively try to knock you toward those edges, so keep yourself near the center of the arena at all times.
On top of that, there are explosive barrels around the edges of the arena. In Phase 1 they are dangerous. In Phase 2, his slam attacks have a wide enough area of effect that a single hit can detonate a nearby barrel, and that combination is essentially a one-shot. Stay away from the walls and stay away from those barrels.
-

- Myurdin Phase 1: Use Focus Mode
-
- Myurdin Phase 2: The Lava Transformation
How to Handle Myurdin’s Most Dangerous Phase 2 Attacks
In Focus mode during Phase 2, pay close attention to your bracelet. When it starts pulsing with red circles, that is your signal to exit Focus mode immediately and dodge to the side. This is his heavy red attack, and while you can block it, it hits hard enough that dodging out cleanly is the safer play. Once you have evaded it, re-enter Focus mode and get back into your parry and Force Palm cycle.
There is also a dark screen moment in Phase 2 that works differently from everything else. When the screen darkens and Myurdin begins jumping and slamming the ground repeatedly, he is invincible during this sequence and you cannot damage him at all.
Do not try. Instead, use Force Palm to stay airborne for as long as possible and avoid the slam attacks until the sequence ends. This is the same instinct you need for the bear volley attack in Phase 1, where bears charge across the arena and the best counter is to get off the ground and ride it out.
Once Myurdin slows down again after any of these sequences, that is your window. Dodge in, land your perfect parry on the first basic attack he throws, chain into the triple Force Palm, and fill his yellow gauge again. After a full stagger, you can deal massive damage while he recovers.
His movements become more aggressive as the phase goes on, so baiting a Flame Charge or a Lava Slam Combo and punishing the pause at the end of the sequence is a reliable way to find those openings when he is not giving you clean parry opportunities.
Finishing Myurdin and What Happens Next
Once the stagger gauge fills one final time and you are close to the end of his health bar, the Blinding Flash Finisher is your ticket to closing the fight out. Activate Blinding Flash with L1 and R1 together, then trigger the Finisher with R2. In my run, I was just barely short of finishing him without it, and the Finisher took care of the rest. After that, a cutscene plays showing how the story moves forward from here.
One thing worth knowing before you go in: this is not a permanent victory. Myurdin escapes after this battle, and you will face him again later. But this fight is genuinely one of the more satisfying encounters in Crimson Desert when it comes together cleanly, and now you know exactly what to expect from both phases. See you in the next guide, and take care.
-
- Myurdin’s Most Dangerous Phase 2 Attacks
-
- Myurdin is avoiding the fight, which means there will be a rematch