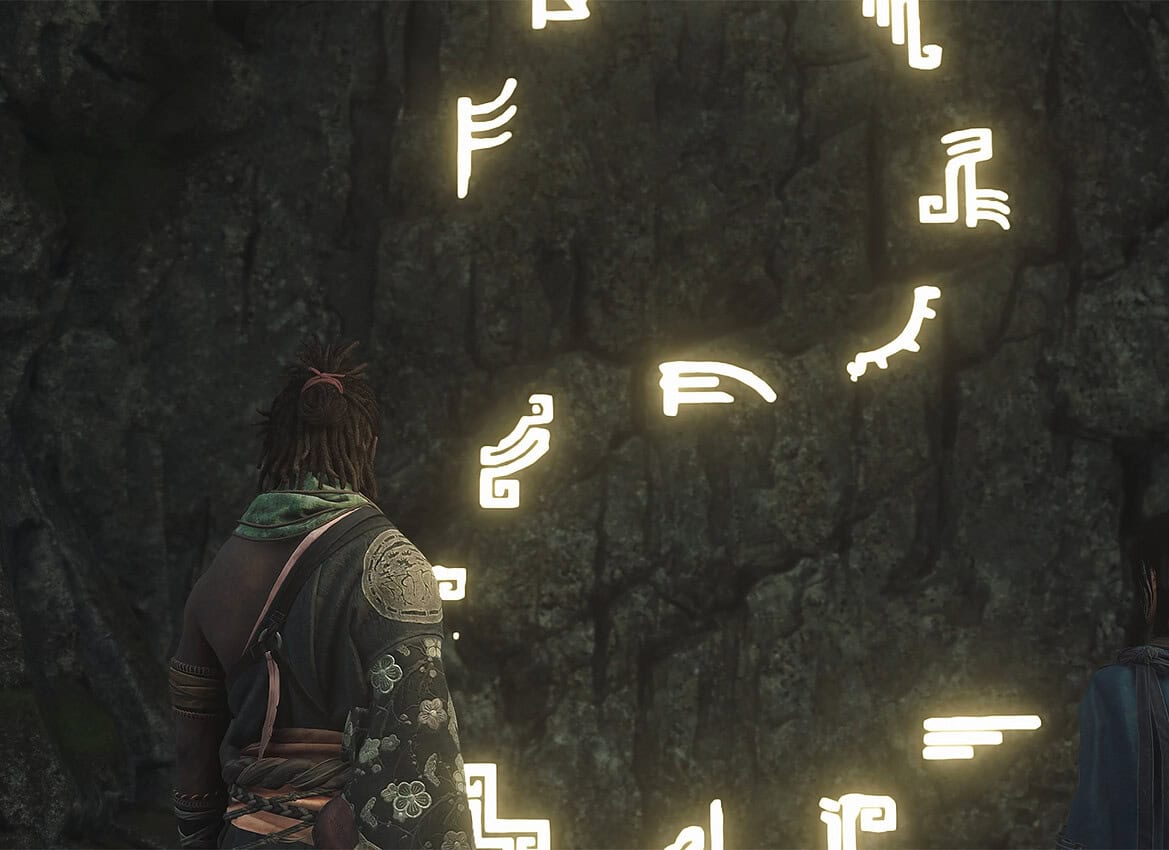
A new quest means new adventures. Today, we will take a detailed look at the Isu Door Puzzle. I will show you all the glyph locations, as well as three secret locations where you will find ancient chests. Only after that will you be able to obtain the hidden weapon in the strange cave. This is a part of the quest that often remains unsolved by players, so read carefully and you will complete the Isu Door Puzzle quest 100%.
First, I’ll show you a video that will answer all your questions about this feature in Assassin’s Creed Shadows.
A Puzzlement – Beginning
After talking to two funny characters, you should equip the trinket you receive. It is called the Riddle Scroll Beacon. Its main benefit for you is that it glows brightly on Naoe’s belt when you approach the location of a glyph. Immediately after that, you will receive a new quest, Investigate the strange glyphs, which will help you understand how to search for glyphs and what they look like. To do this, go to the location marked on the map and find the stone with the glowing glyph of the Vault. To activate the glyph, you need to research it.
-

- Conversation with two strange characters

-
- New trinket: Riddle Scroll Beacon

Glyph of the Lost
Next, let’s look at the locations of all the glyphs. The first one is the Glyph of the Lost, located in the Yamashiro region. You will find it on one of the stones. Look closely at the marker on the map in close-up view and you will find this glyph without any problems.
Glyph of the Sakura
Next is the Glyph of the Sakura. This glyph is located near Yamazaki Castle in the Yamashiro region. As you already know, the glyphs on the map are placed in the same way as they are on the closed doors to the secret cave. Look at where the glyph is located on my map, and you will find it very quickly in that place in the game.
Glyph of the Stone
Now it’s time to find the Glyph of the Stone. You can see on the map where it is located, near Kameyama in the Tamba region. This glyph is also on a rock in a mountainous area, so look carefully around you to find it. You should see distinctive golden rays near this sign.
Glyph of Silence
Also, in the Tamba region in the Tamba Highlands, you will find the next glyph, called the Glyph of Silence. You need to find the place on the map where the trial called Path of Silence starts. The task is to follow a certain path and find a chest with a reward at the end. Along the way, you will see the Glyph of Silence on one of the stones.
The route is not difficult and is intuitive. I don’t think you’ll have any problems. Additionally, your path is marked with yellow paint. Look for these marks on stones, pillars, and other objects, and you will always know where to go. The glyph will be on your path; you can’t miss it.
-
- Glyph of the Lost

-
- Glyph of the Sakura

-
- Glyph of the Stone

-
- Glyph of Silence

Glyph of the Ship
Next, we will open the Glyph of the Ship, located in the Wakasa region near the Shattered Coast. To get there, you need to mark it on your map and find a way to get there, as there is no road leading directly to this place. However, it is not a very difficult passage, and there are many options for getting to the glyph.
Glyph of the Sky
The Wakasa region also contains the next glyph, called Glyph of the Sky. This place is located on a mountain hill covered with trees. It is quite difficult to find this place. Look carefully at where my marker is on the map and run to that point. That way, you’ll definitely find the glyph. Personally, I spent the longest time looking for this glyph.
Glyph of the Vault
The next Glyph of the Vault should already be unlocked. It is the glyph located near the locked cave. We found it at the beginning of the quest when we were learning how to search for glyphs.
Glyph of the Watchtower
Next in line is Glyph of the Watchtower. It is located in the Omi region between Mount Hiei and Sakamoto. Like all other glyphs, this one is located among trees on one of the rocks. There is no clear marker around it to help you understand its location. The best way is to place a pin as close as possible on the map.
-
- Glyph of the Ship

-
- Glyph of the Sky

-
- Glyph of the Vault

-
- Glyph of the Watchtower

Glyph of the Mists
Now let’s find the Glyph of the Mists. This glyph is very easy to find. It is located on Okishima Island, which is in Lake Biwa. In theory, you should have an open space here for quick teleportation. When you arrive on the island, follow the marker I showed you on the map. There will be a small rock here, and you will find the glyph you need. It is easy to reach and easy to spot, so you won’t have any problems with it.
Glyph of the Tide
Next, you need to find the Glyph of the Tide. It is located in the Omi region. Finally, a glyph that is not located in a forest or on a mountain. You will easily find this place. The stone on which the glyph is located is on the shore of Lake Biwa, at the location I have marked on the map.
Glyph of the Waterfall
We are nearing the end of our search for all the glyphs. Next up is the Glyph of the Waterfall. It is located in the Wakasa region near Takashima Shores at the edge of a small lake. This place is also easy to reach, and you will find it without any problems.
-
- Glyph of the Mists

-
- Glyph of the Tide

-
- Glyph of the Waterfall

Glyph of the River
The penultimate glyph is called Glyph of the River. It is located in the Wakasa region north of Mount Uchinakao. It is a fairly distinctive place on the edge of a group of reservoirs, so you have a landmark to look for, and this glyph will not be able to hide from you for long. The last glyph remains.
Glyph of the Arch
It is called Glyph of the Arch. This is indeed the last glyph after which you will be able to enter the cave, but you will not be able to take all the treasures. Next, I will explain why and what to do to get the weapon from the hidden chest. To get this glyph, you need to swim to the stone island. Examine the glyph and run away from there, because this is enemy territory and you may be spotted by enemies.
-
- Glyph of the River

-
- Glyph of the Arch

Open Isu Door
Finally, all the glyphs have been collected and you can enter the secret cave that was closed by a door. When you approach the cave, a cut scene will start, where you will see the gate open. It is very interesting to see what is inside. The most important item here is the magical statue of Kassandra, which stands in the center of the room on a raised platform.
Climb the stairs to it to get the outdoor cosmetic statue of Kassandra. Next, you need to explore the room. At the beginning of the stairs, you will be able to read a letter. Then move to the left and you will find the quest item Beware Seeker. Next, you can pick up a wonderful weapon for Yasuke. It will be the Isu-Forged Spear Legendary Naginata, which looks incredible and also has good characteristics.
A little further on, you will receive the Isu-Forged Blade Legendary Tanto for Naoe. It is also an extremely beautiful weapon. Next, you will see an ancient chest containing a clue for you. This clue reveals the location of the next chest. In total, you need to leave this cave and find three similar chests. Only then will you be able to return and open the item that currently says Parts are missing.
-
- Cassandra in the open cave

-
- Isu-Forged Spear Legendary Naginata

-
- Isu-Forged Blade Legendary Tanto

-
- Blade of Yumminess Clue

Chest with the first clue
The first chest you need to find is on Mount Akaiwa. I have marked the location on the map for you. You should have a quick teleport point open there. If not, you’ll have to get there some other way. Once you’re on the tree, don’t take a leap of faith. Go back up the tree trunk and jump down somewhere in the middle. There you’ll find the chest and a clue about where the next chest is.
-
- The first clue location

-
- Guard of Yumminness Clue

Chest with the second clue
The next chest was quite difficult to find. I showed you the location of the fast travel point you need to get to. Once you’re there, don’t take a leap of faith, but turn around and go back. You will see a small wooden building in front of you. Go behind it to a stone platform. A few jumps and we’re there. There is another platform below.
Go down there, then turn around and jump down. The second chest is hidden here, containing an important clue to finding the third chest. Without these chests and clues, we won’t be able to get the secret item from the cave.
-
- The second clue location

-
- Handle of Yumminness Clue

Chest with the third clue
This time, you need to get to Onyu Pass Overlook. I have marked its location on the map. If you haven’t unlocked the teleport yet, you’ll have to run there from another location. Here, you’ll need to take a leap of faith. You’ll fly down and dive into the water. At the bottom of this reservoir is the third secret chest. Open it, and now you have all the necessary parts to access the secret chest in the cave.
-
- The third clue location

-
- Saya of Yumminness Clue

Legendary Long Katana
Now you can return to the cave and open the secret chest. Yasuke should enter the cave, So, when you open the chest, you will receive the Blade of Yumminess Legendary Long Katana.
-
- Now Yasuke can open this secret chest

-
- Blade of Yumminess Legendary Long Katana





