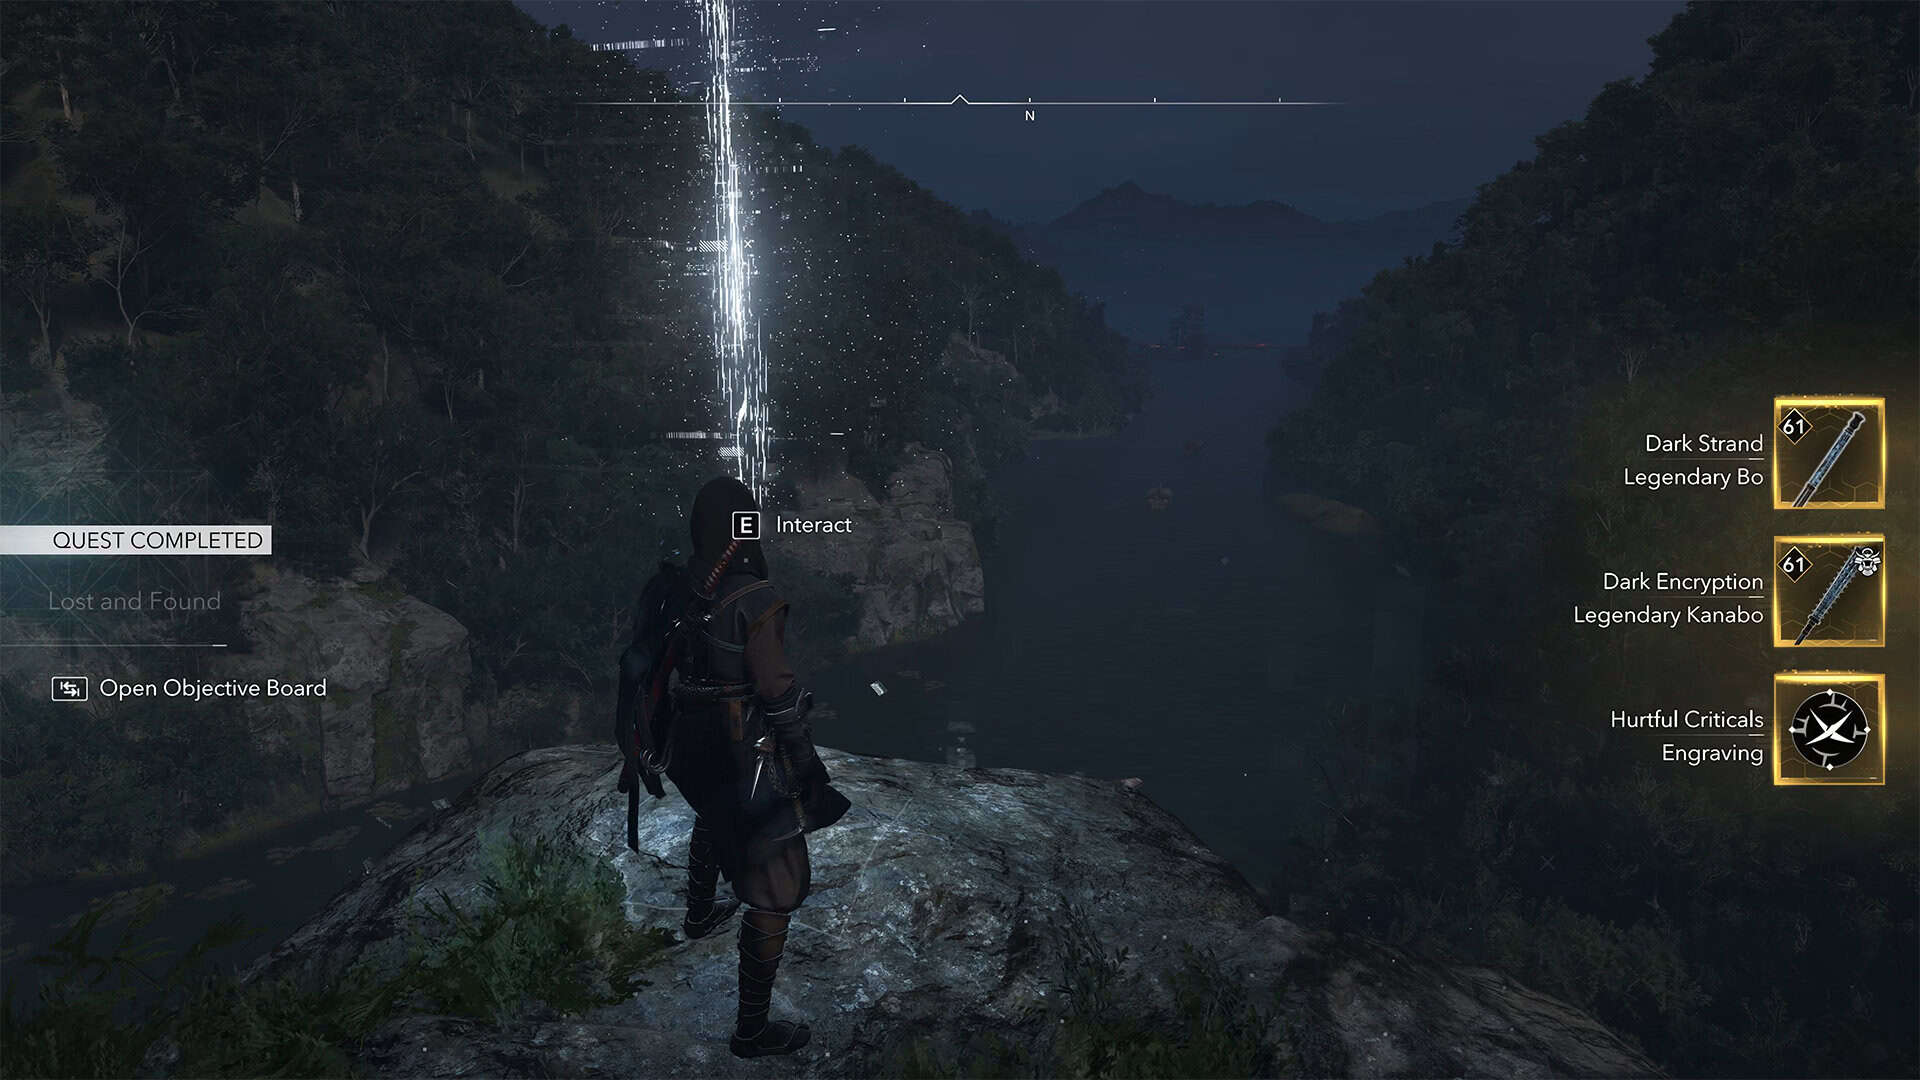
The Assassin’s Creed Shadows update on December 16, 2025 brought us a new quest, namely a new rift, which I will show you in detail today how to complete. So, let’s go inside. I also recommend watching the video, which fully explains what you need to do in this rift.
First infected area
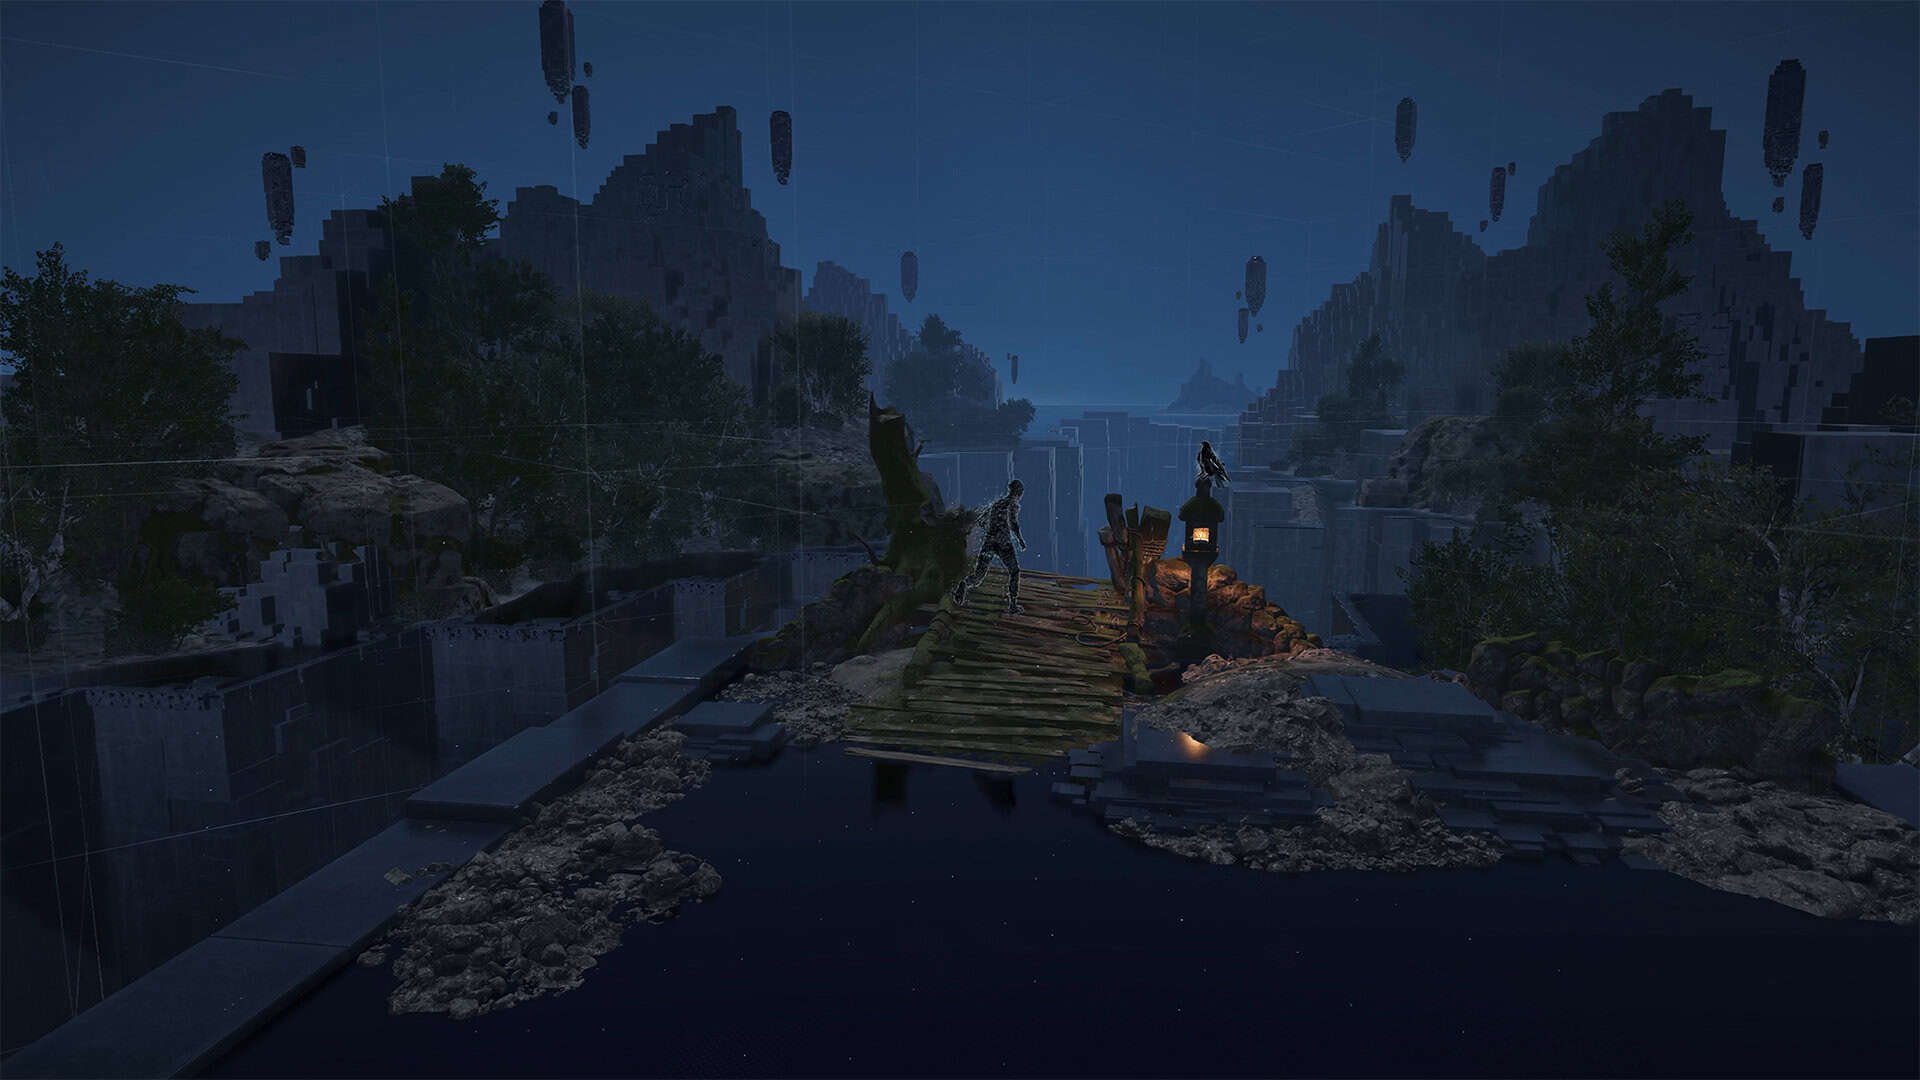
At first, you don’t have any options, just move forward and after listening to the voice, jump down. It’s quite a long leap of faith, in which the unidentified character will change to Yasuke and then to Naoe. Thus, the rift makes it clear that we will be using these two characters alternately.
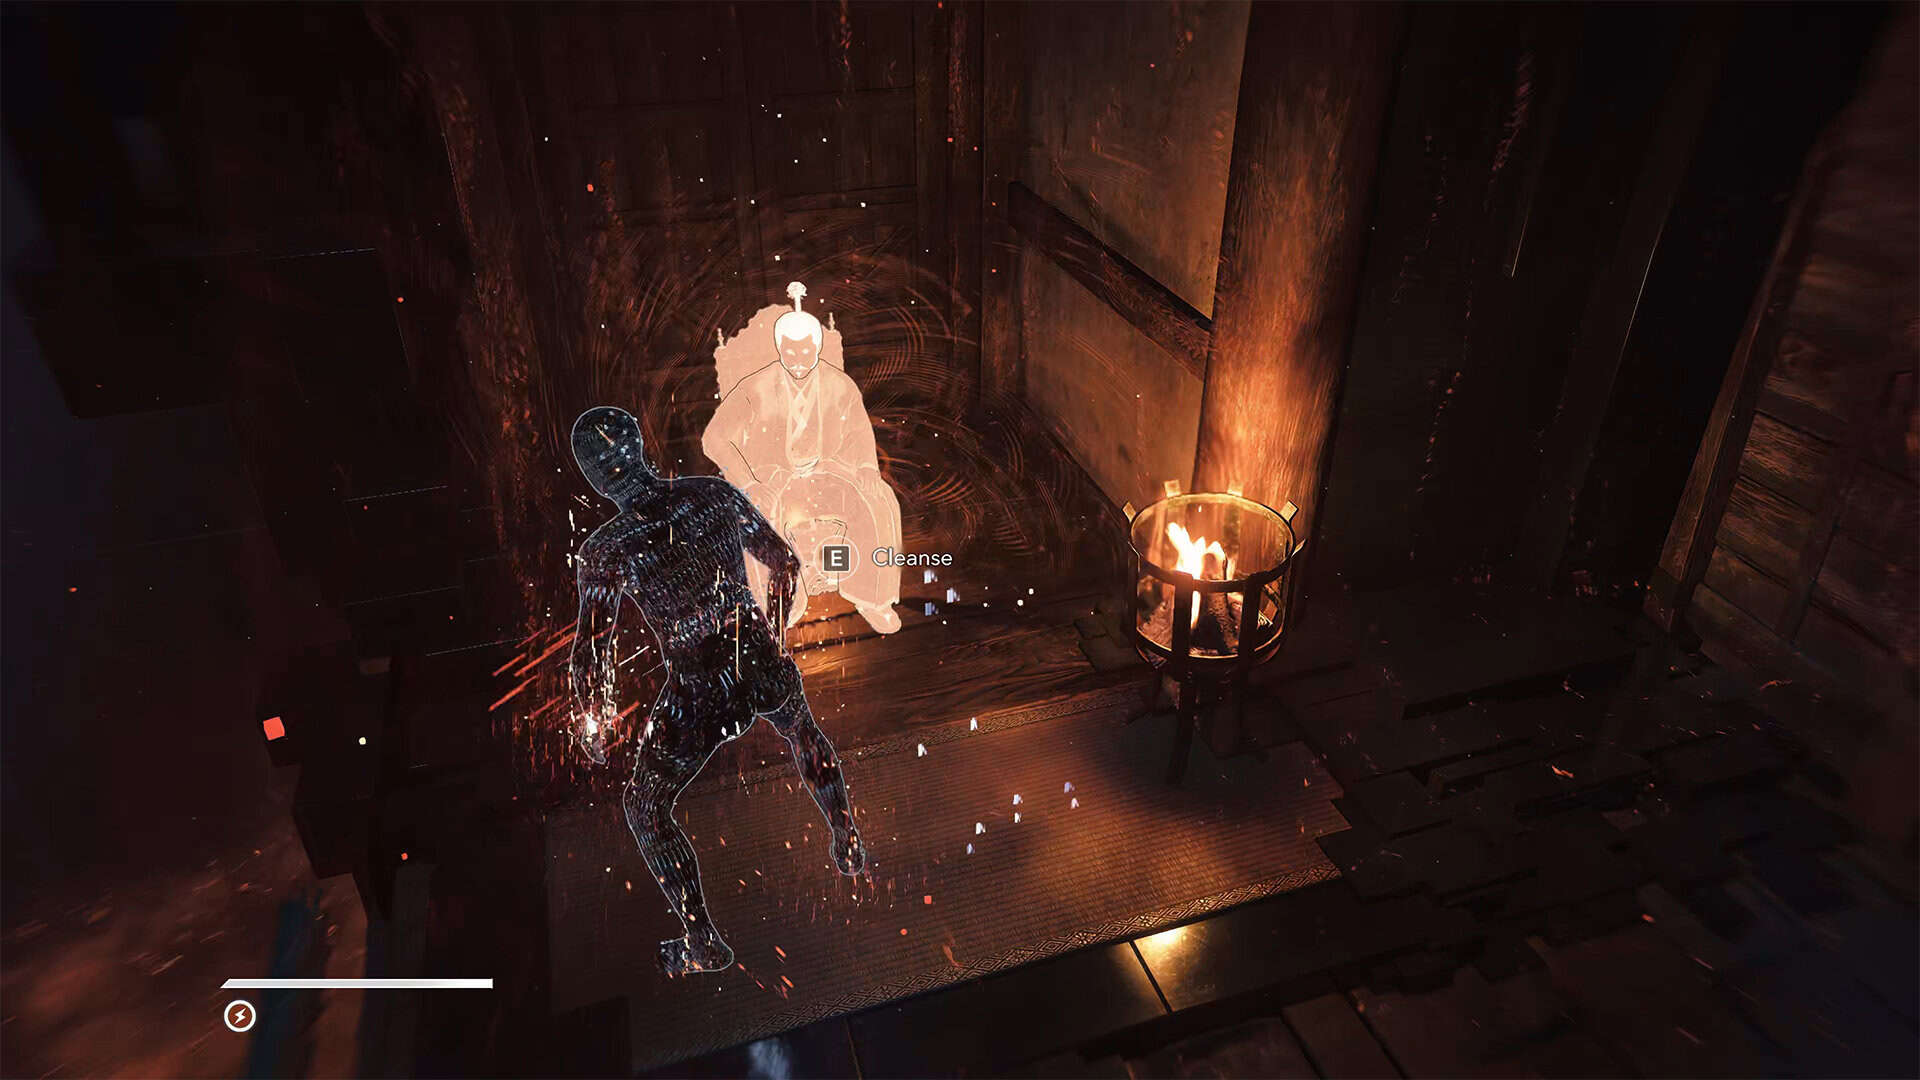
First, the rift gives you an opportunity to understand what you need to do here. When you enter an infected area, you cannot be Yasuke or Naoe until you clear that area. To clear an infected area, you need to find a stationary statue and interact with it. Everything is clear here, so let’s go through the narrow passage and go in search of adventure.
-

- Start of the Lost and Found rift
-
- Initial explanation of rift mechanics
Second infected area
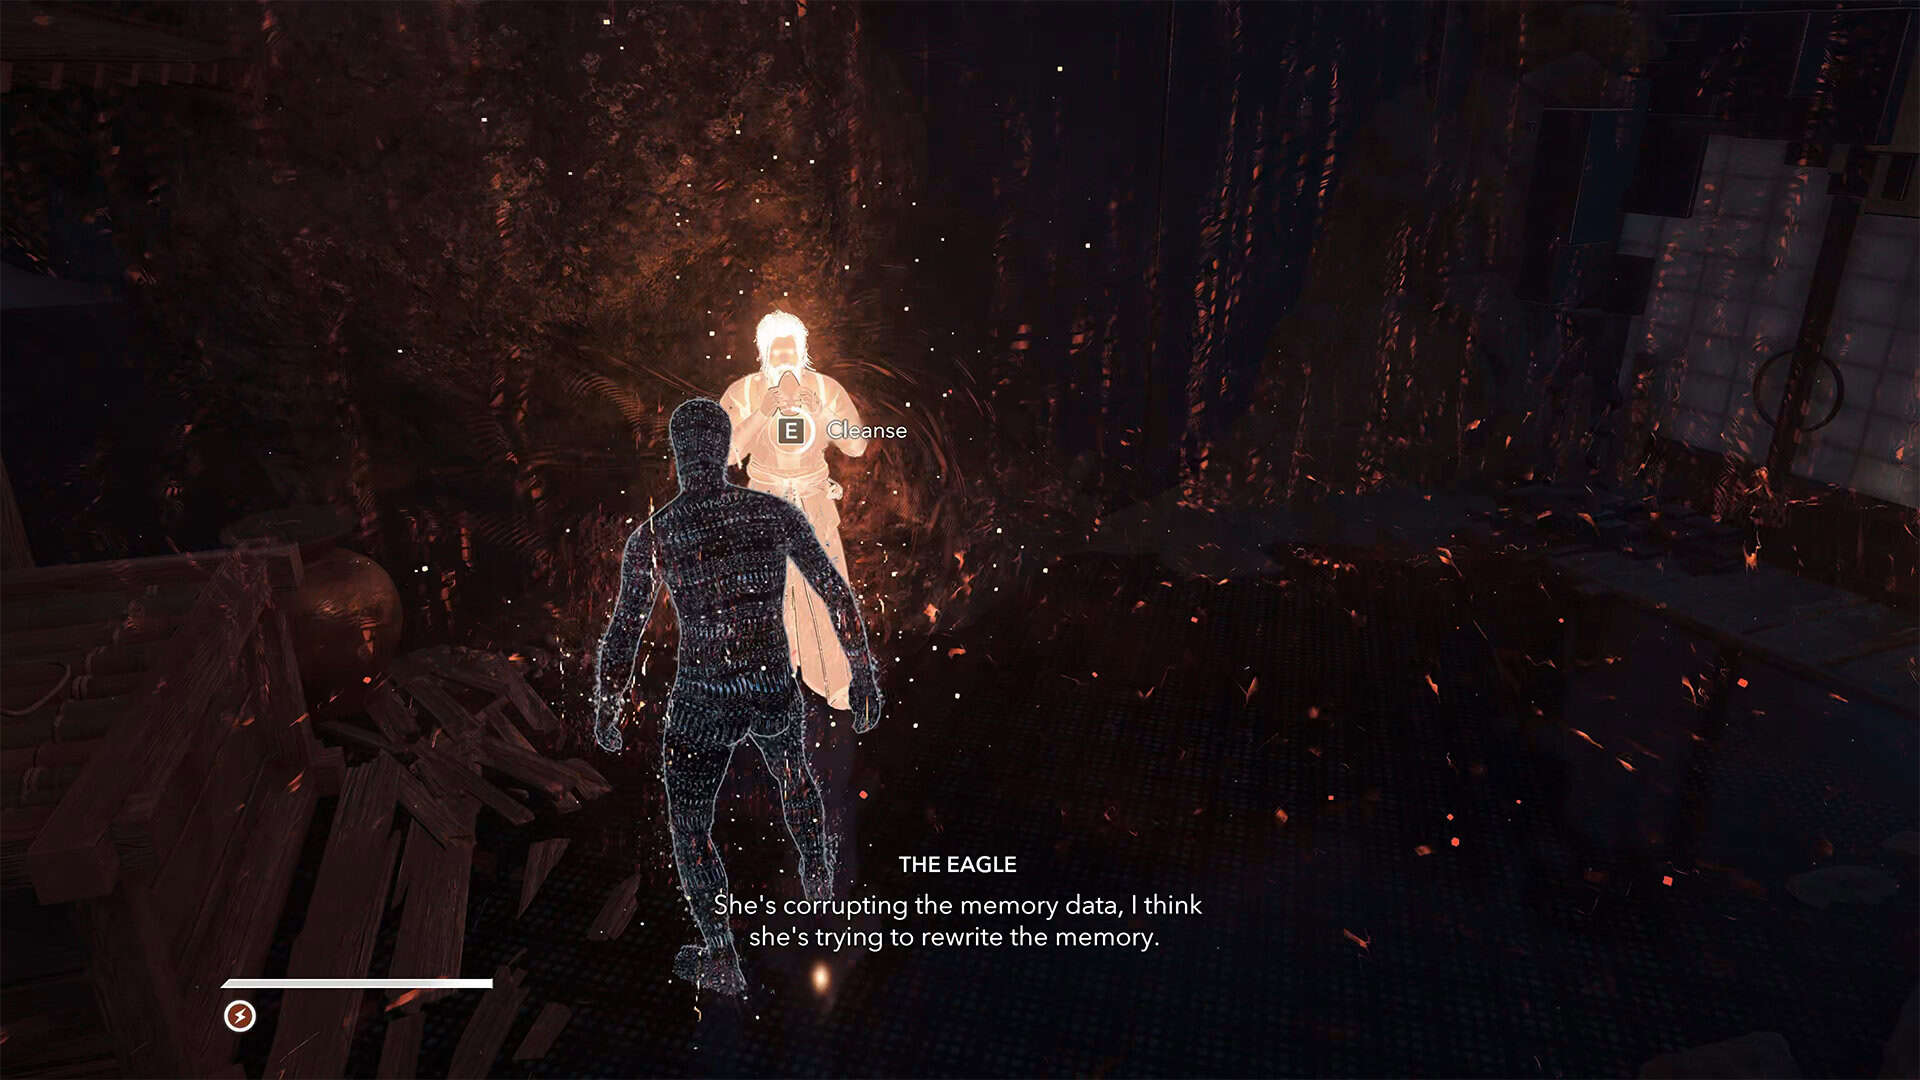
You will walk along a small ledge and find yourself in an open space. The infected area is on the left and has a distinctive color. The immovable statue you need to interact with is ahead. But first, you need to destroy the enemies that will prevent you from passing this way. Only Yasuke can fight enemies. Naoe, on the other hand, can only attack from invisibility mode. There will be many cubes on your way that allow you to change characters. It is important to note that you need to accumulate as many Ability Charges as possible before the end of the rift, as you will need them in a rather difficult battle with the final boss.
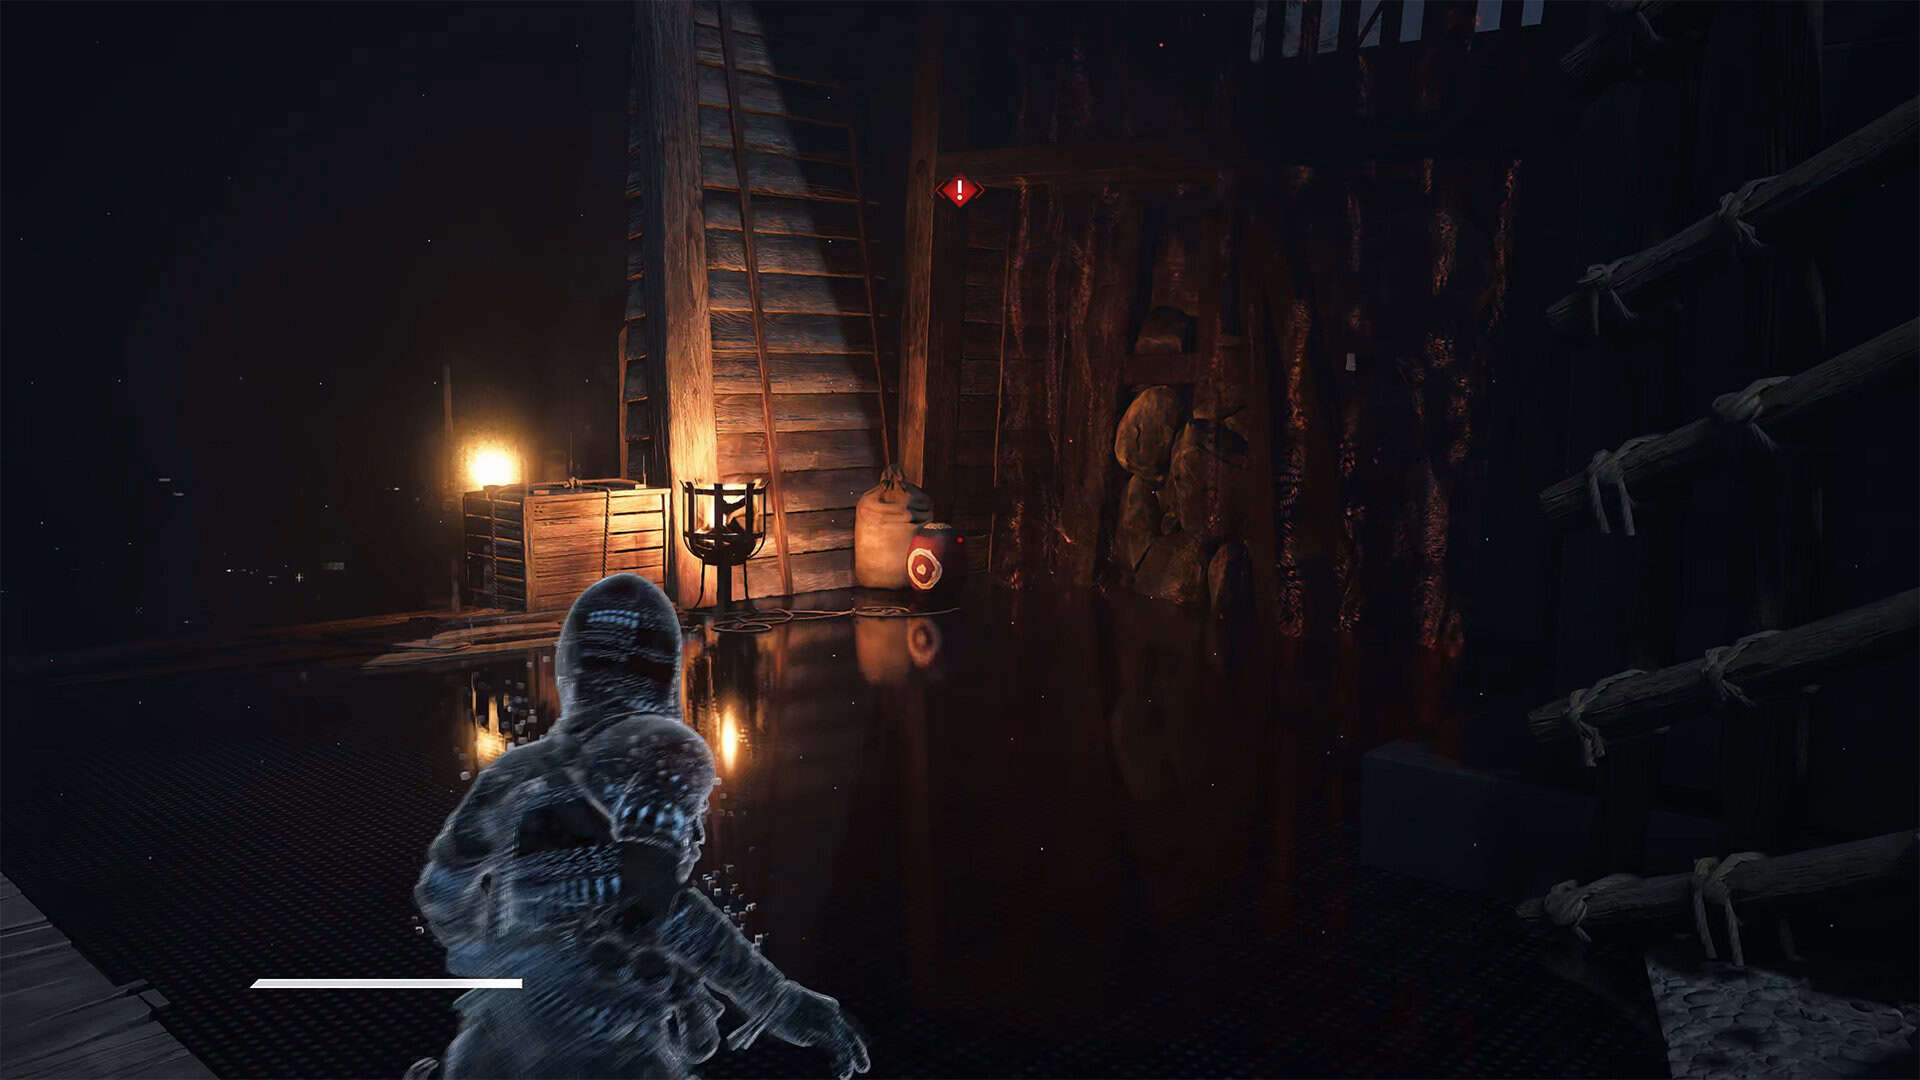
After defeating the enemies, it is best to switch to Naoe and reach the immobile silhouette. Naoe will also be able to deal with several enemies along the way. To clear the passage, you need to throw a kunai into a barrel of gunpowder. When it explodes, you will be able to reach the silhouette and clear the infected area.
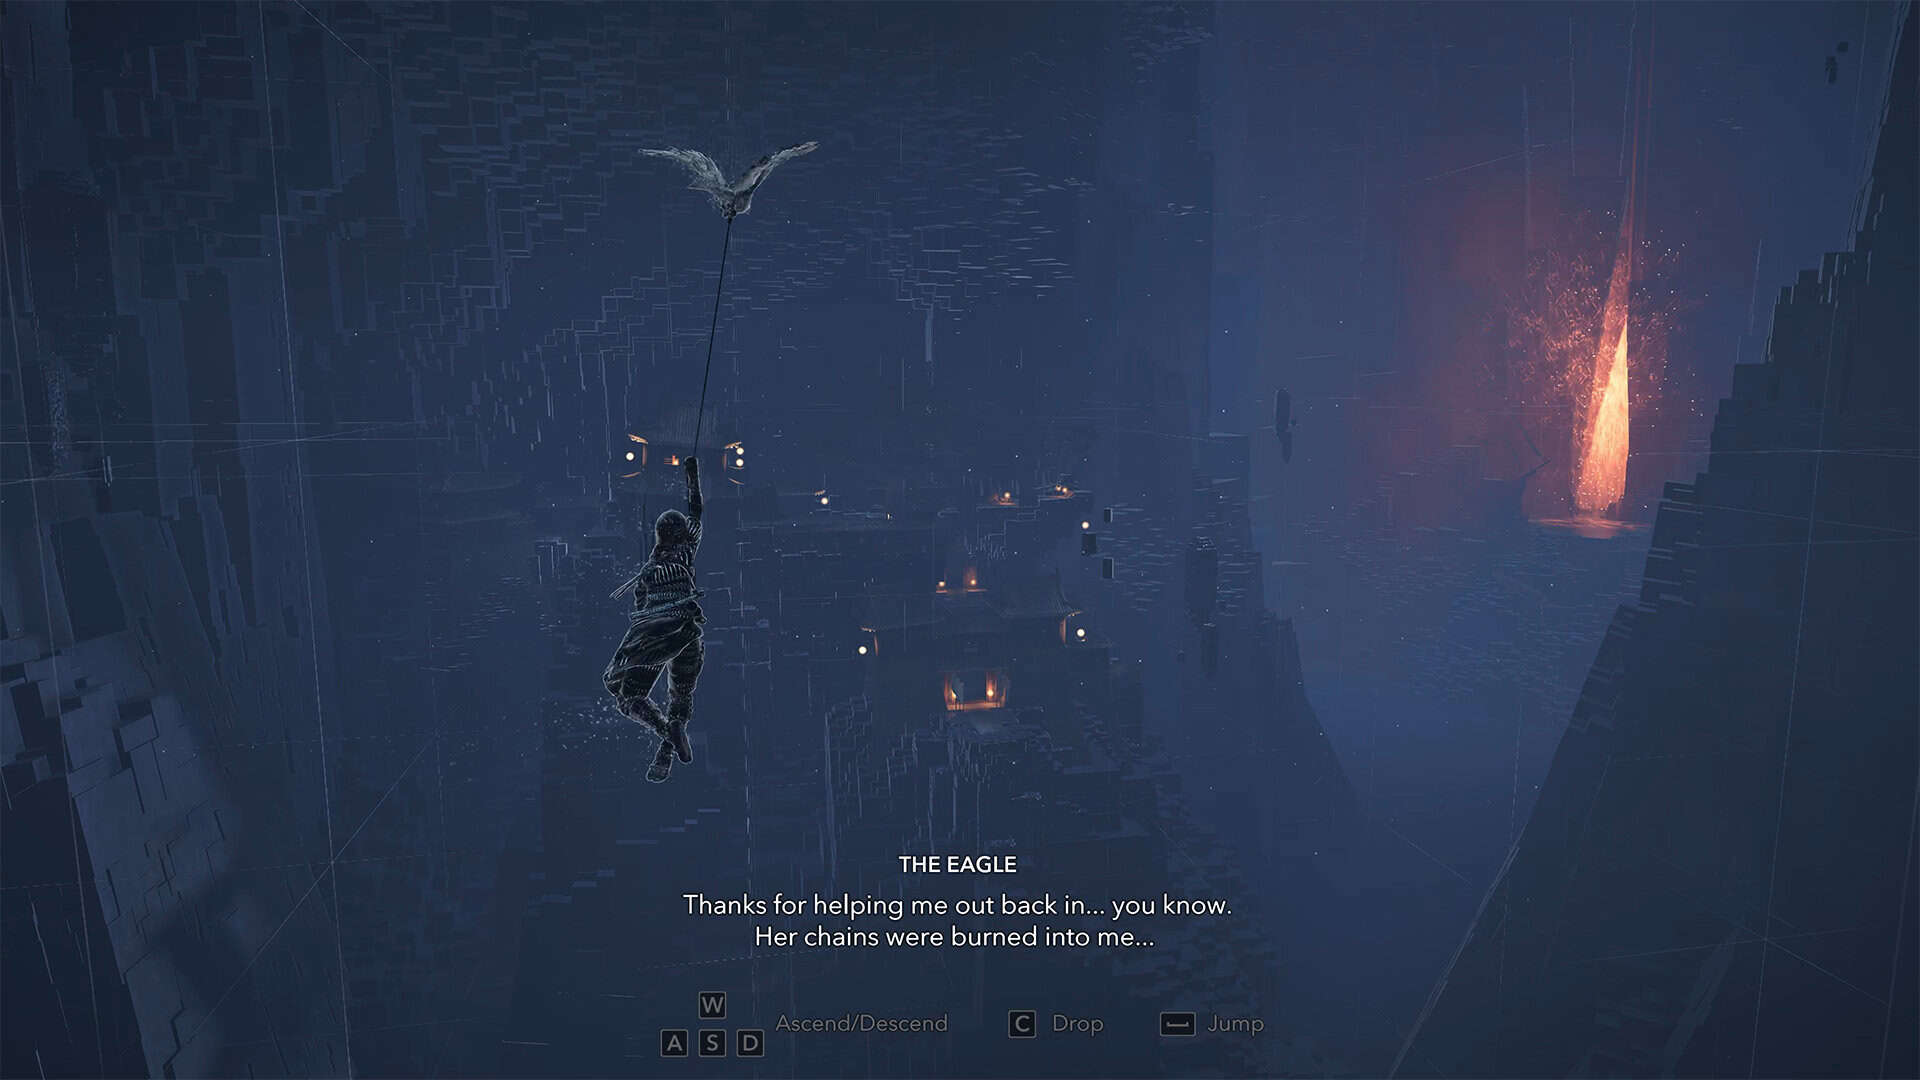
The infected area has been cleared and you can now pass through it, but enemies will be waiting for you here, so it’s best to choose Yasuke and deal with them. After that, you need to switch back to Naoe to pass through the narrow passage that leads you further. An eagle is waiting for you on the other side of the narrow passage. Only Naoe is able to grab onto it so that the eagle can carry her across the huge chasm.
-
- Throw a kunai to clear the passage
-
- First statue to find in order to clear the rift
Third infected area
In the new location, you can use a kunai throw to destroy several nearby enemies. This will make it easier for Yasuke, who needs to clear the way ahead. Switch to Yasuke and go into battle. Don’t forget that you need to accumulate Ability Charges, so don’t use them unless absolutely necessary. The enemy in the infected area will shoot at you from a distance.
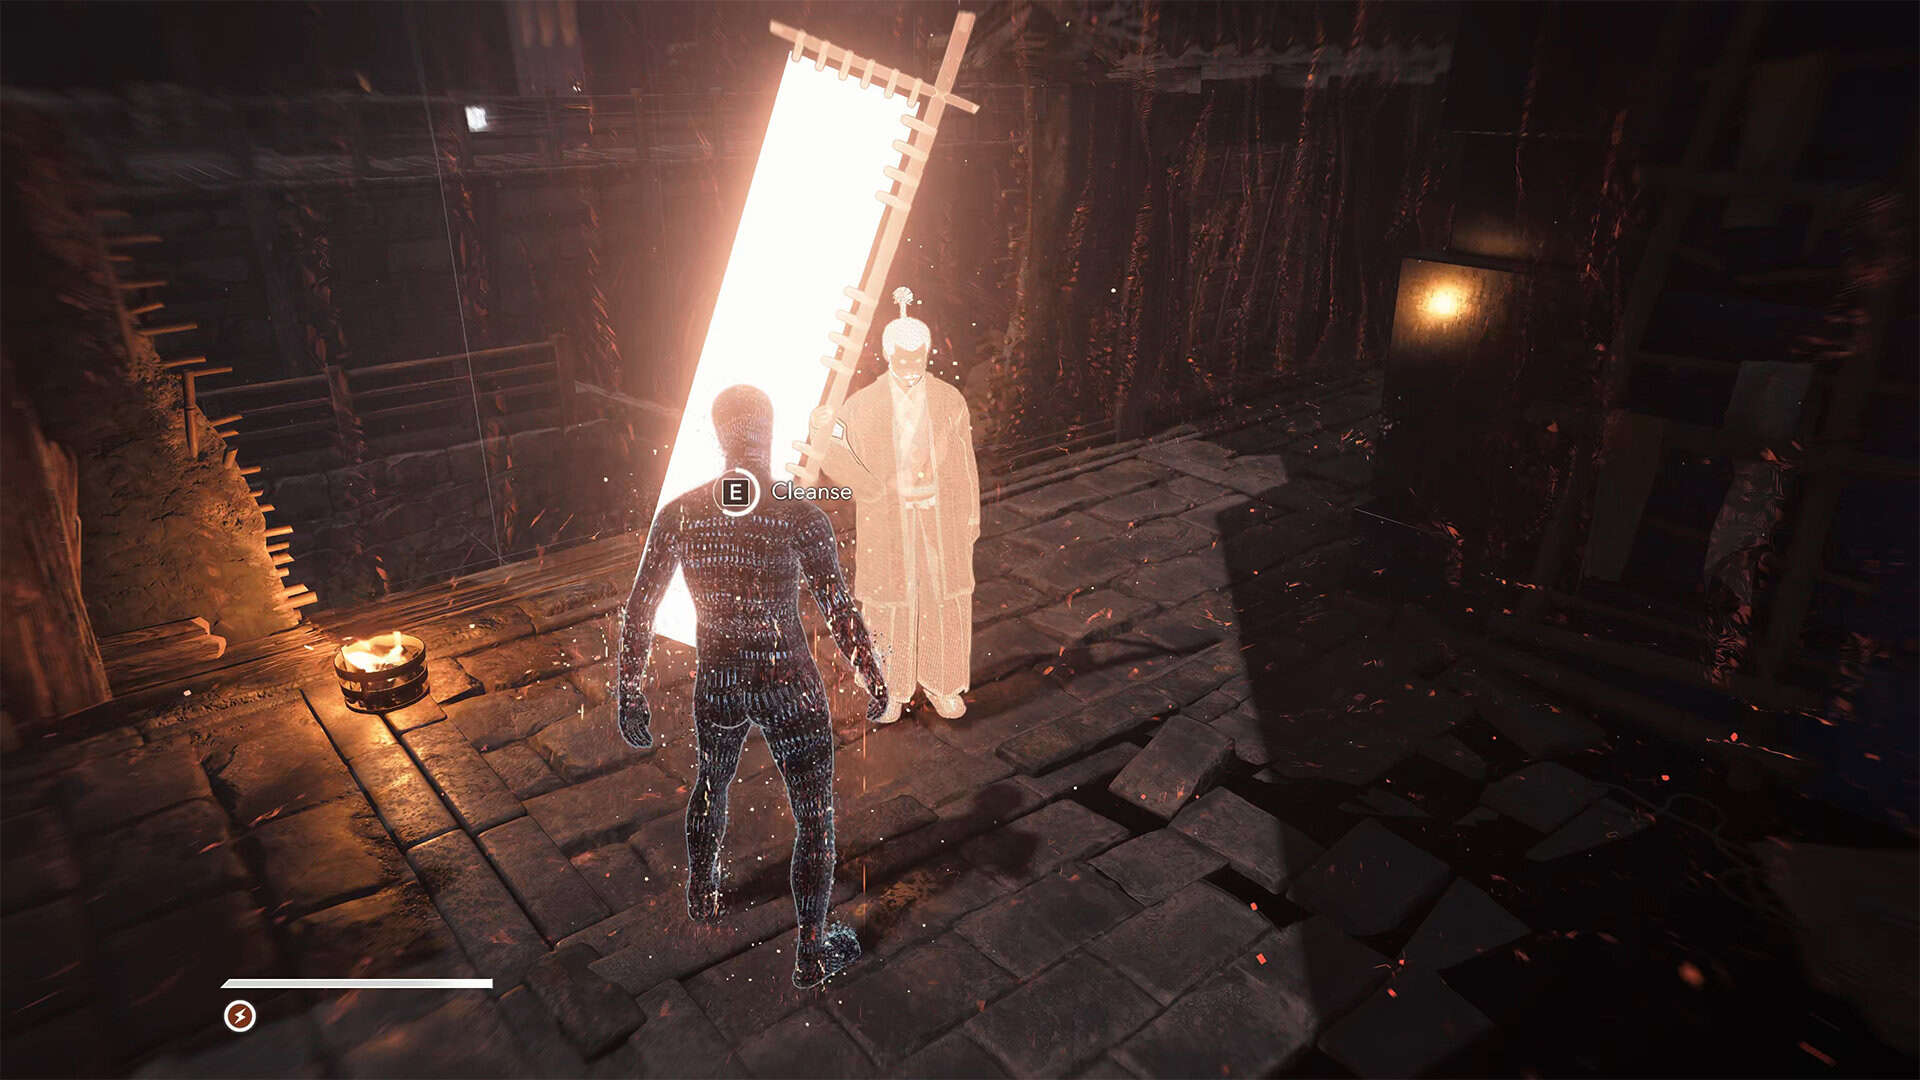
To lure him out, you need to hide from him, and then he will come running to look for you. After the victory, approach the motionless silhouette to clear the area. Next, I switched to Naoe, but you don’t have to do that. Climb up the wall and use Yasuke’s ability to break everything in his path to open the closed gate.
-
- Let’s fly to the next location
-
- The second figure that will clear the area
Fourth infected area
Continue along the path I am showing you. This is the correct way to bypass the next infected area. You will see a rope in front of you that only Naoe can easily cross. Therefore, you must change characters here. Walk along the rope, climb the wall, and turn left. Here you can replenish your supplies, and then you will need to go through a narrow passage again.
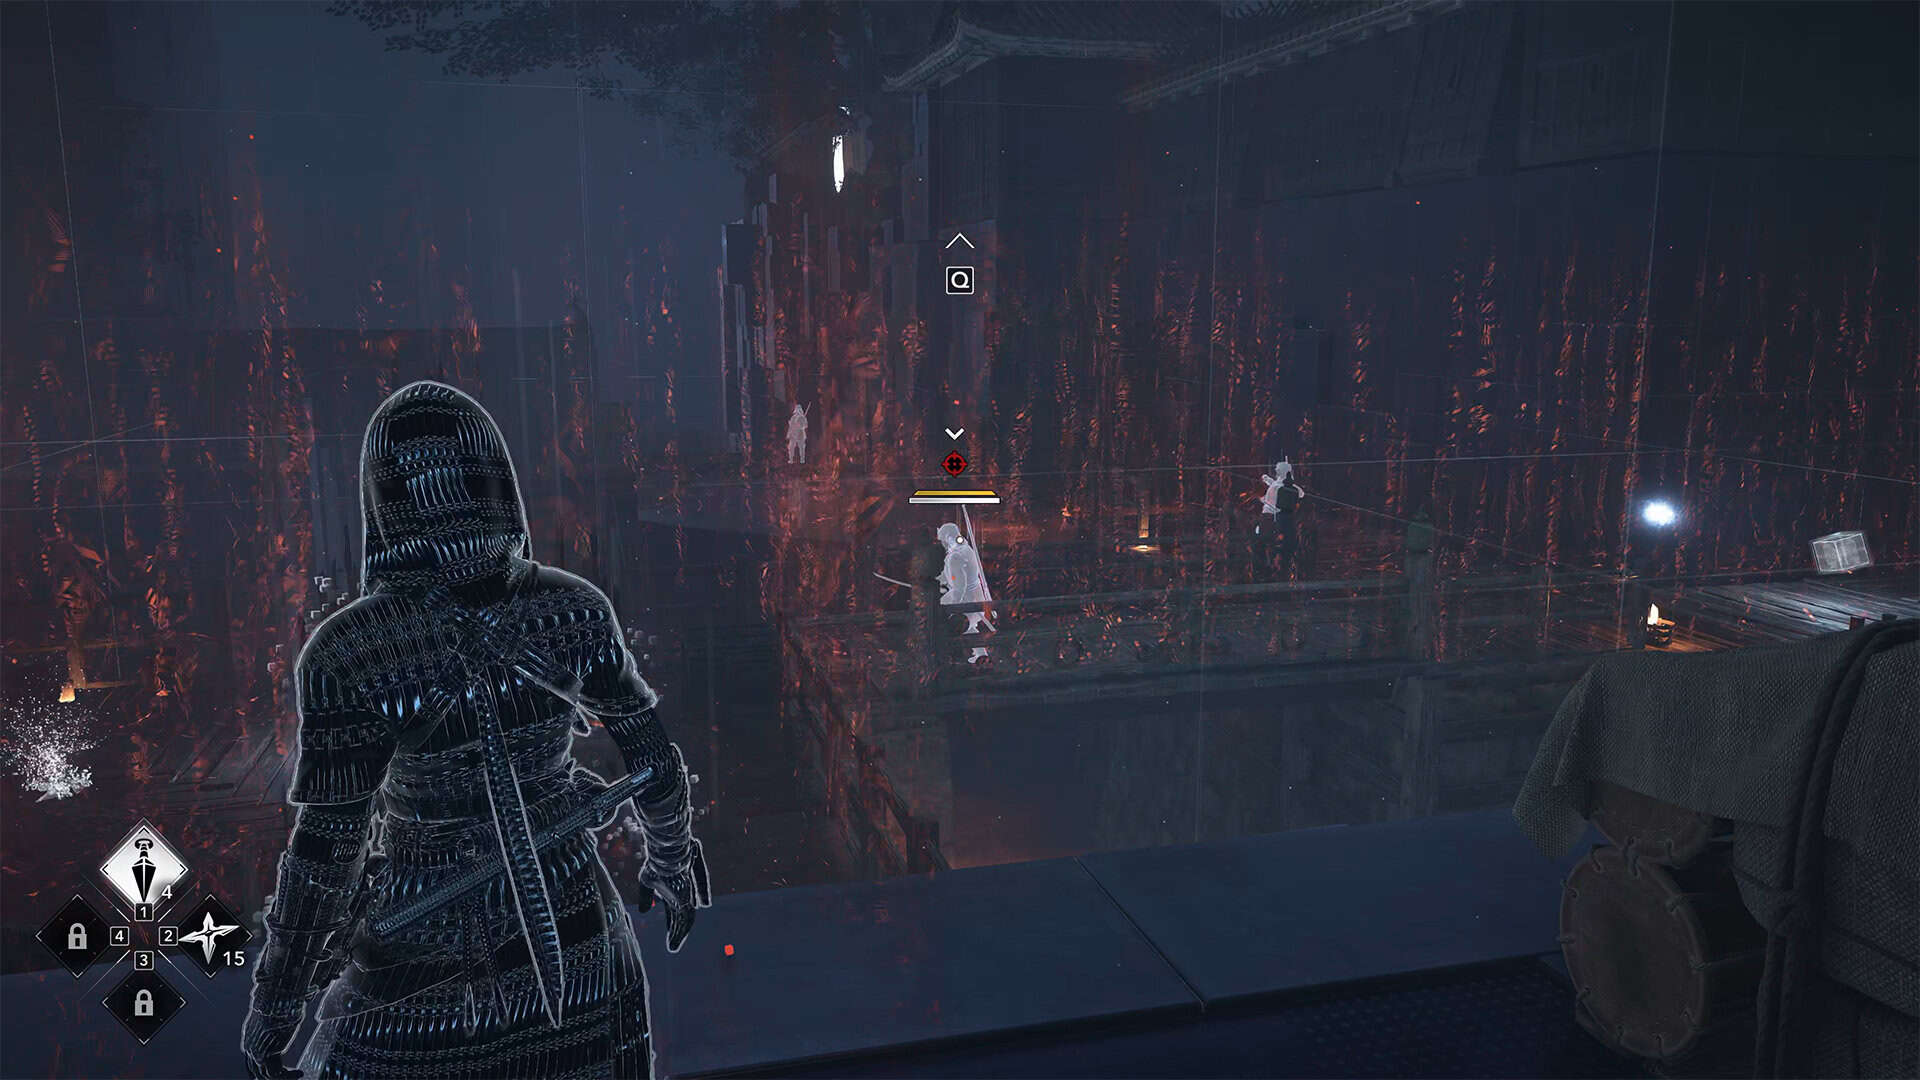
You will find yourself in front of an infected area with many enemies. Follow the tried and tested plan. First, use the kunai to destroy the nearest enemies from invisibility mode. And when the enemies spot you, switch to Yasuke. The cube to do this is nearby. I advise you to immediately hide behind the wall and wait for the enemies so that they don’t shoot at you from a distance. You cannot enter the infected area in Yasuke form. Therefore, this is the best place for battle. Next, you will see a motionless silhouette that will help you clear the area.
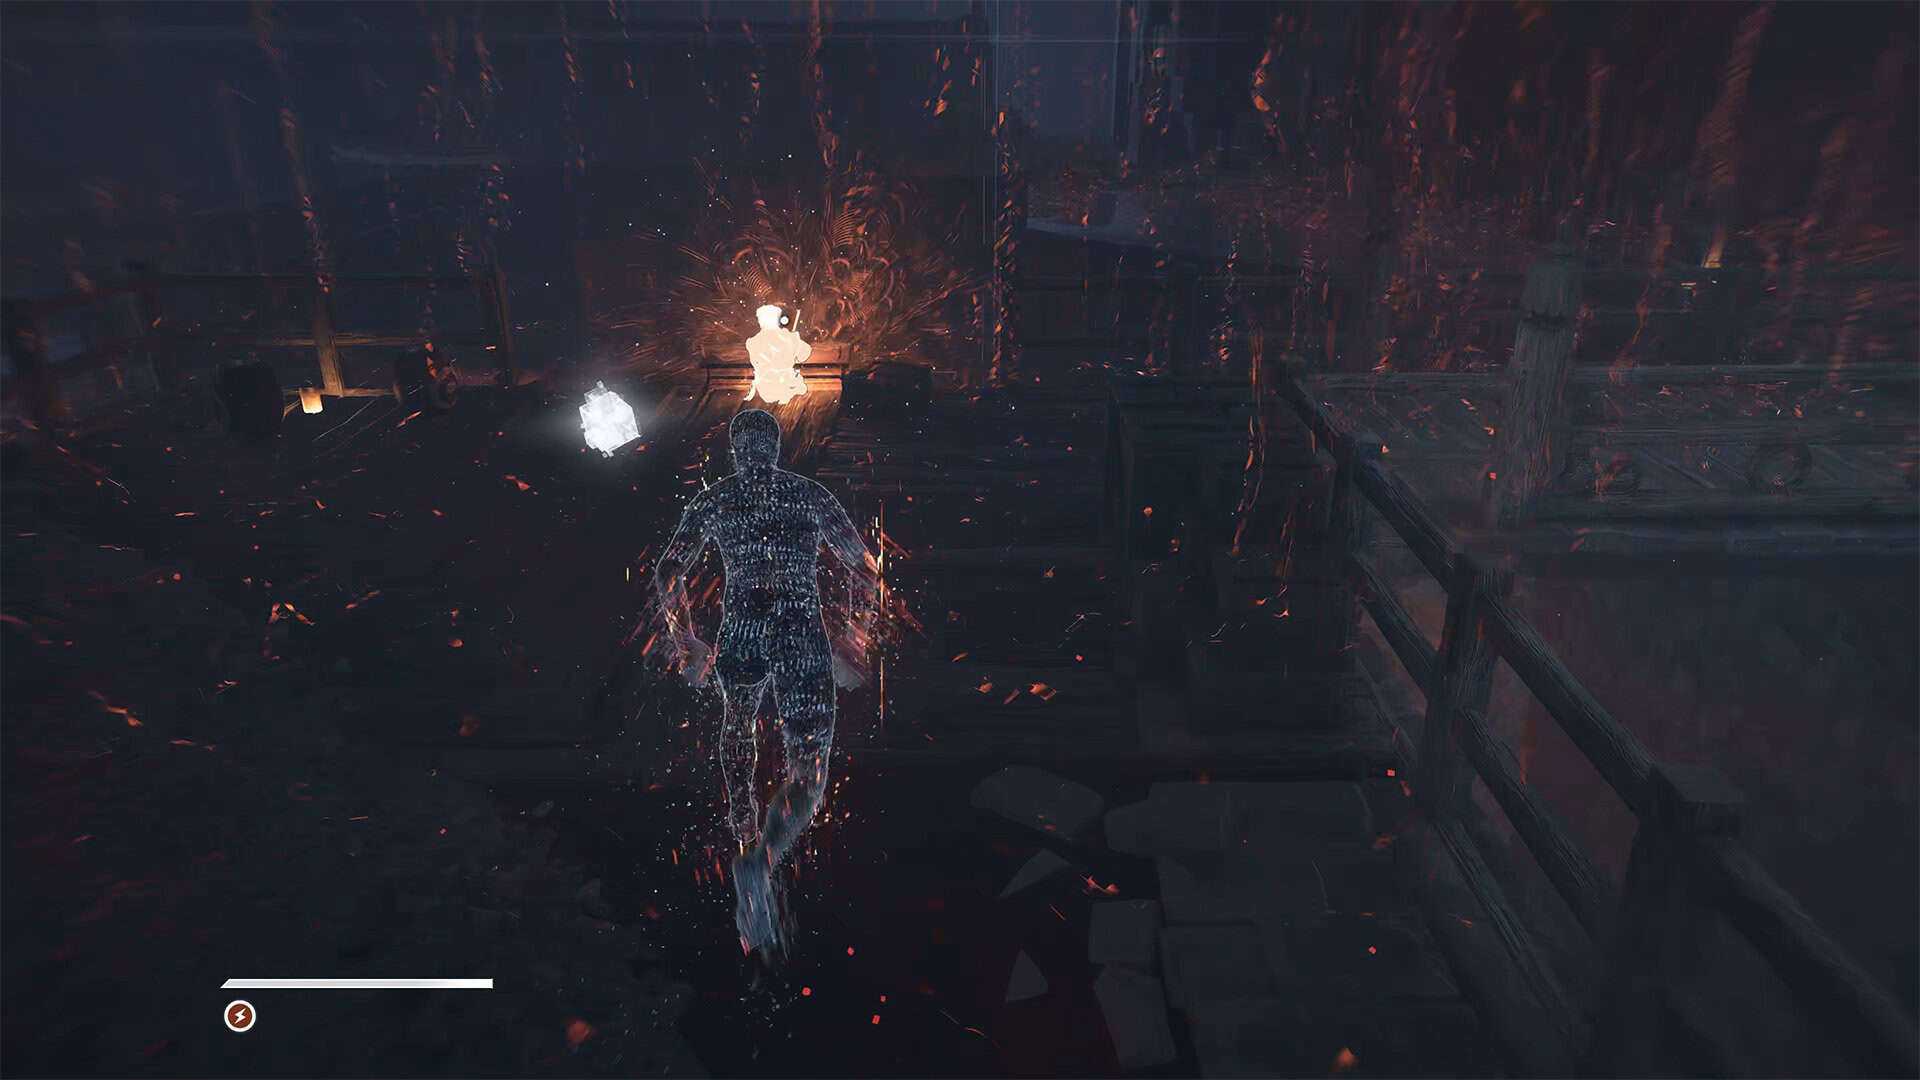
After that, turn right and break through the passage with Yasuke. There is also a barrel of gunpowder here. If you want, you can shoot it to clear the passage. In the new room on the left, find the ladder and climb to the second floor. Next, you have to deal with the enemies again. This is your last battle with regular opponents. Therefore, I remind you again of the need to accumulate the maximum Ability Charges. After the victory, activate Naoe. Next, it’s her turn to work.
-
- Infected area that needs to be cleaned up
-
- Fourth silhouette that will clean up the area
The final battle
The familiar eagle is waiting for you so that you can fly to the location where the final battle with the boss of this rift will take place. Once you land, you will automatically switch to Yasuke form, as only he can fight the boss. Your opponent most likely has Portuguese roots, judging by his silhouette.
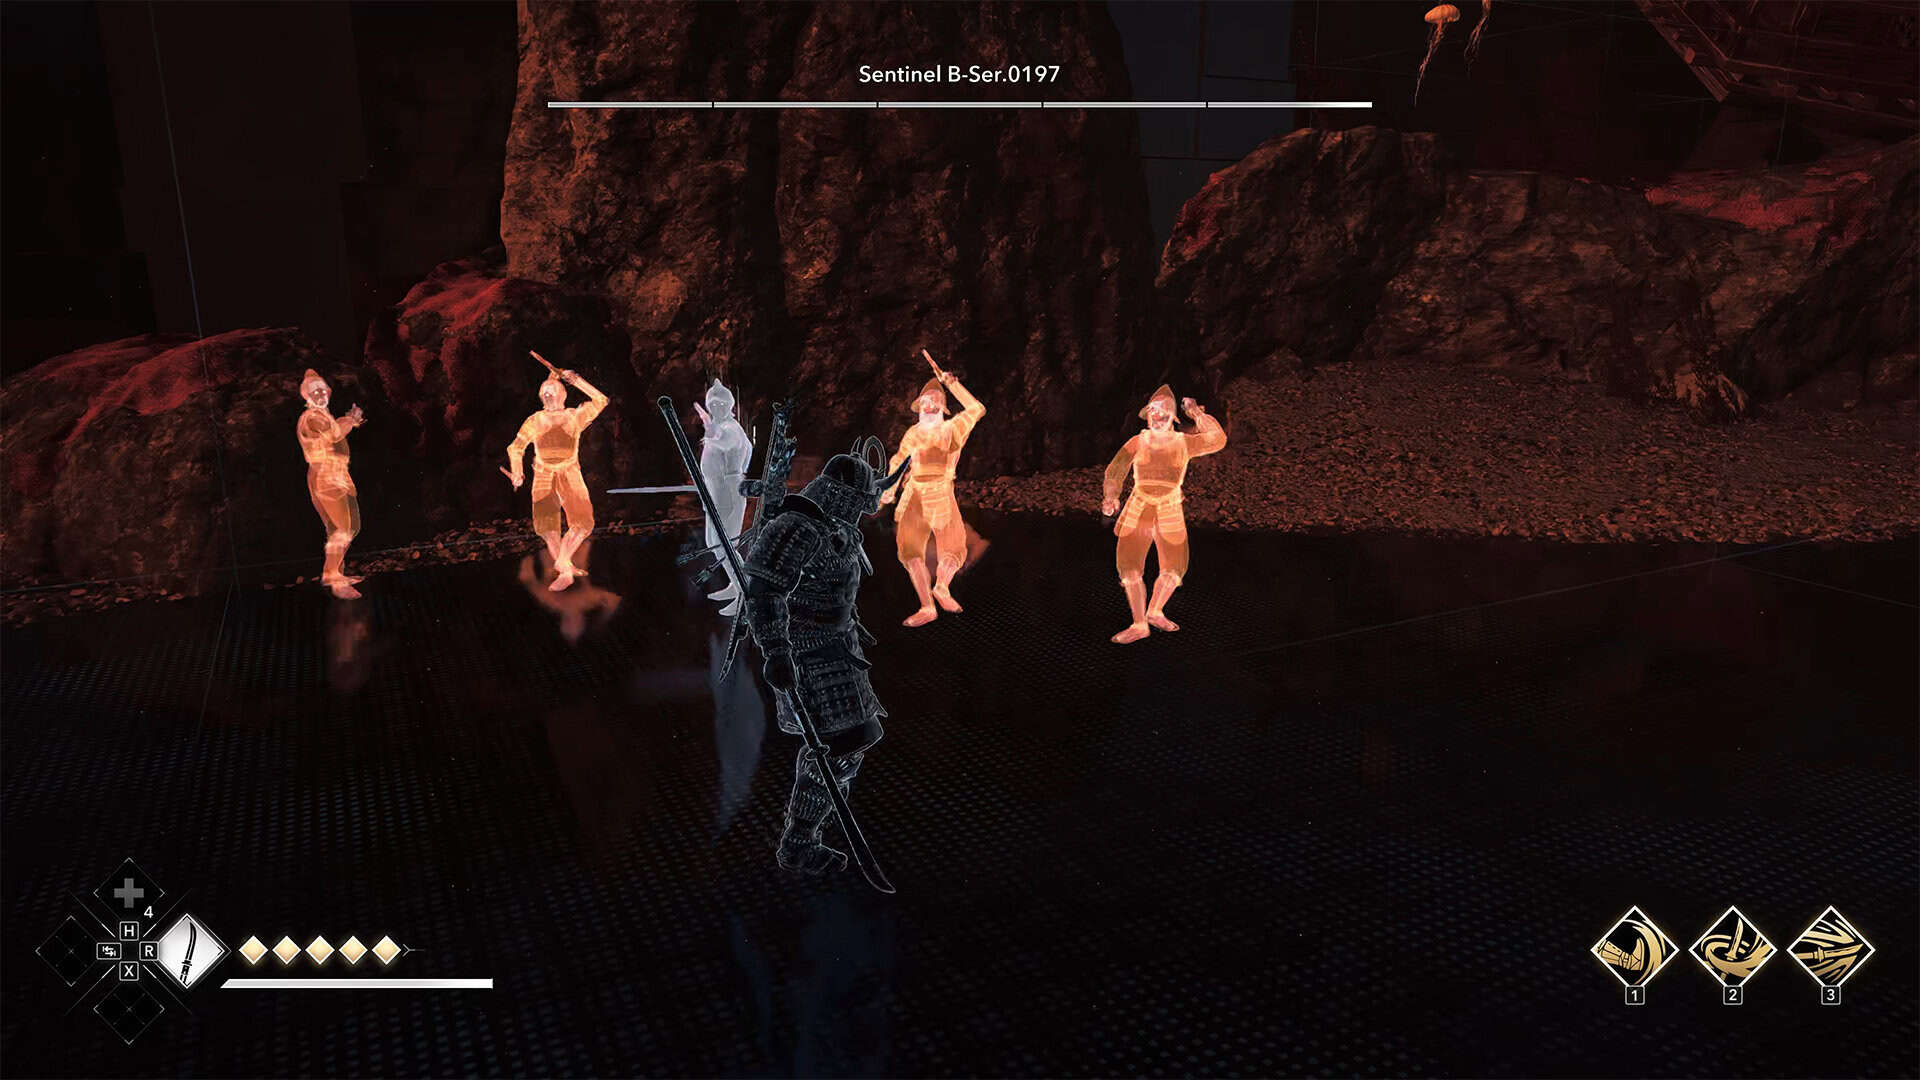
He can do some pretty complex and amazing things, so be careful in this battle. Your opponent often clones himself and summons copies, which glow red. Your opponent always remains gray. Only attack the main opponent. Simply dodge the attacks of the others, as they quickly disappear on their own.
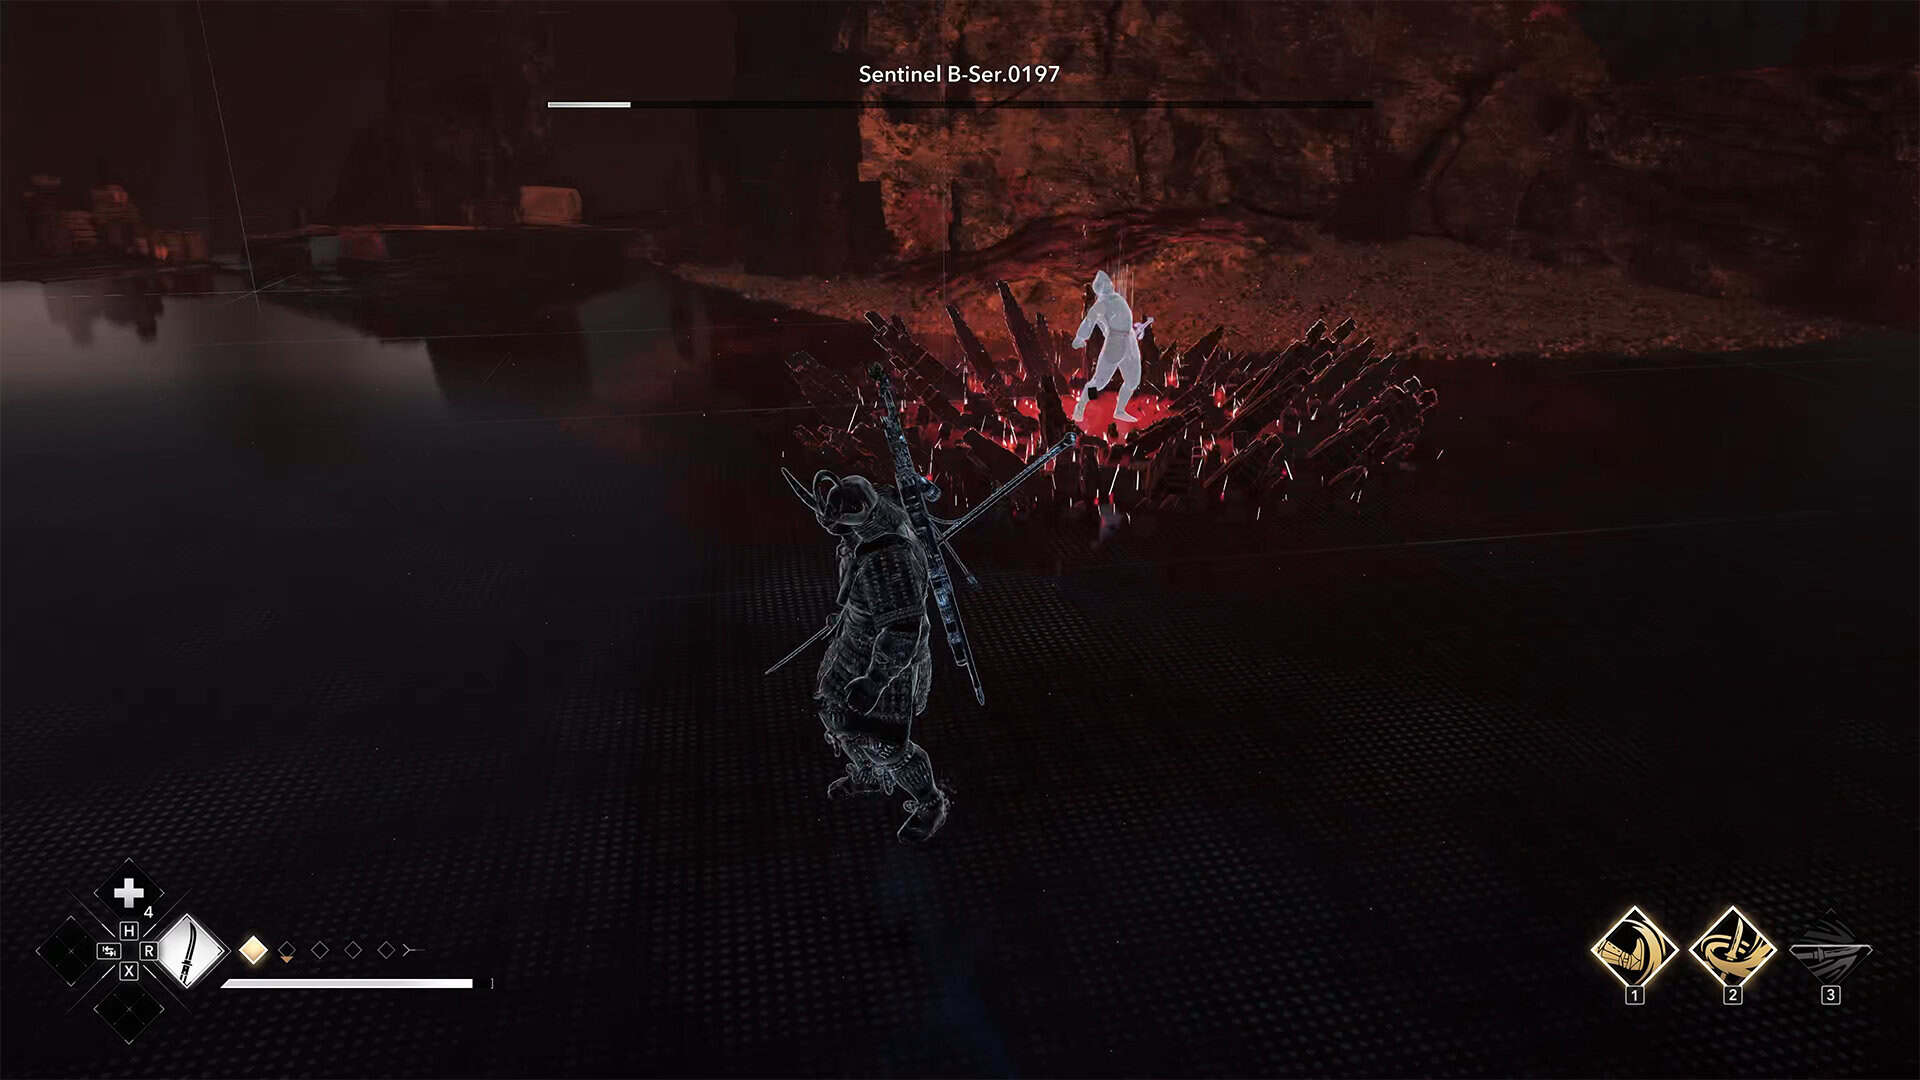
In this battle, you will need your active skills as much as possible. My Yasuke uses Crescent Strike, after which the enemy falls and you need to quickly perform a ground attack, which deals a lot of damage. After that, immediately activate the Onslaught skill, which will deal even more damage to enemies. Of course, these skills must be maxed out. This way, you will take away almost half of the enemy’s health in one attack.
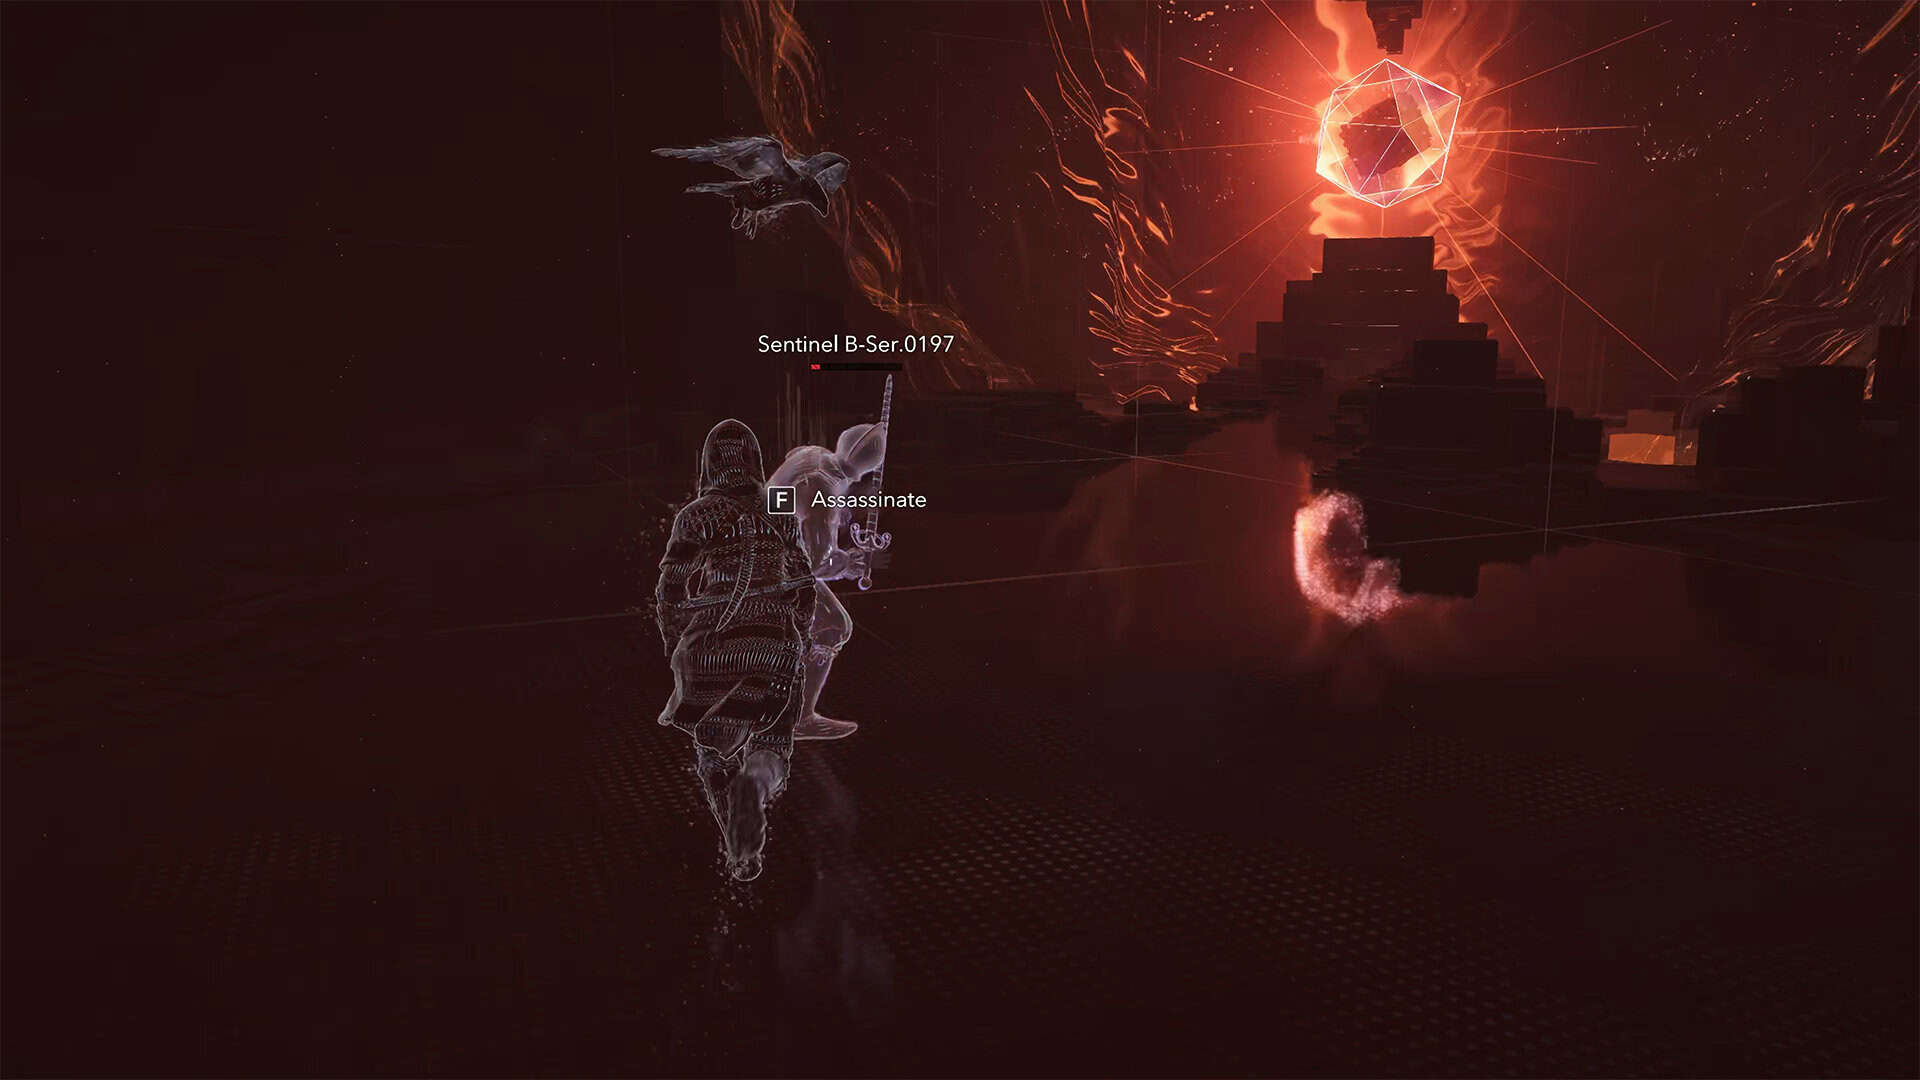
After two series of such attacks, the enemy will flee, and you will automatically switch to Naoe to catch up with him. You will see the eagle fighting the enemy, and your task is to quickly approach the enemy and assassinate him. Next, there will be a short cut scene, and the rift will be considered complete. When you exit the rift, you will receive a reward.
-
- Final enemy and its clones
-
- Dangerous enemy attack around you
-
- Naoe delivers the final blow
-
- Quest completion and reward