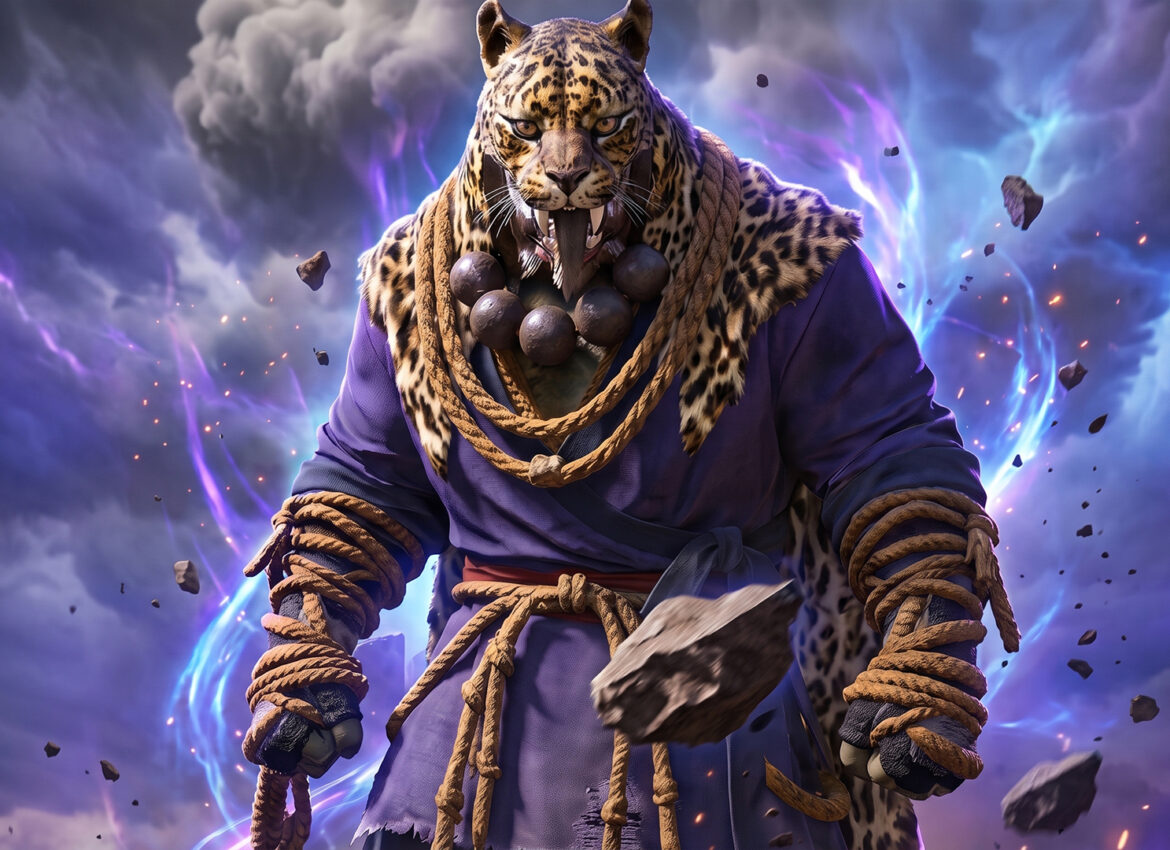
Walk into T’rukan the Ascended without a plan and Chapter 9 of Crimson Desert grinds to a halt right there. This shirtless monk shows up during the True Strength trial in the Six Pensive Statues questline, and you cannot skip past him, he’s a mandatory wall between you and the rest of the Sage of the Desert story. The good news is that the T’rukan the Ascended easy strategy in Crimson Desert really does come down to one repeatable move: Force Palm. Hit him with it early and often, drain his yellow spirit bar, then back off into Focus mode to dodge and recover while he swings at you. Repeat that loop and he goes down without much fuss. I’ll walk you through exactly how I do it, including the health and gear you actually need, what his tells look like, and one riskier shortcut some players swear by instead.
Bookmark this guide before you head in, because Chapter 9 doesn’t let up once T’rukan shows up. If you’ve already worked through the pagoda abyss puzzle over at Jijeong Temple in the Face the Inner Self quest, you already know this stretch of the Sage of the Desert story asks a lot more of you than the earlier chapters did.
Why T’rukan the Ascended Is a Mandatory Crimson Desert Boss
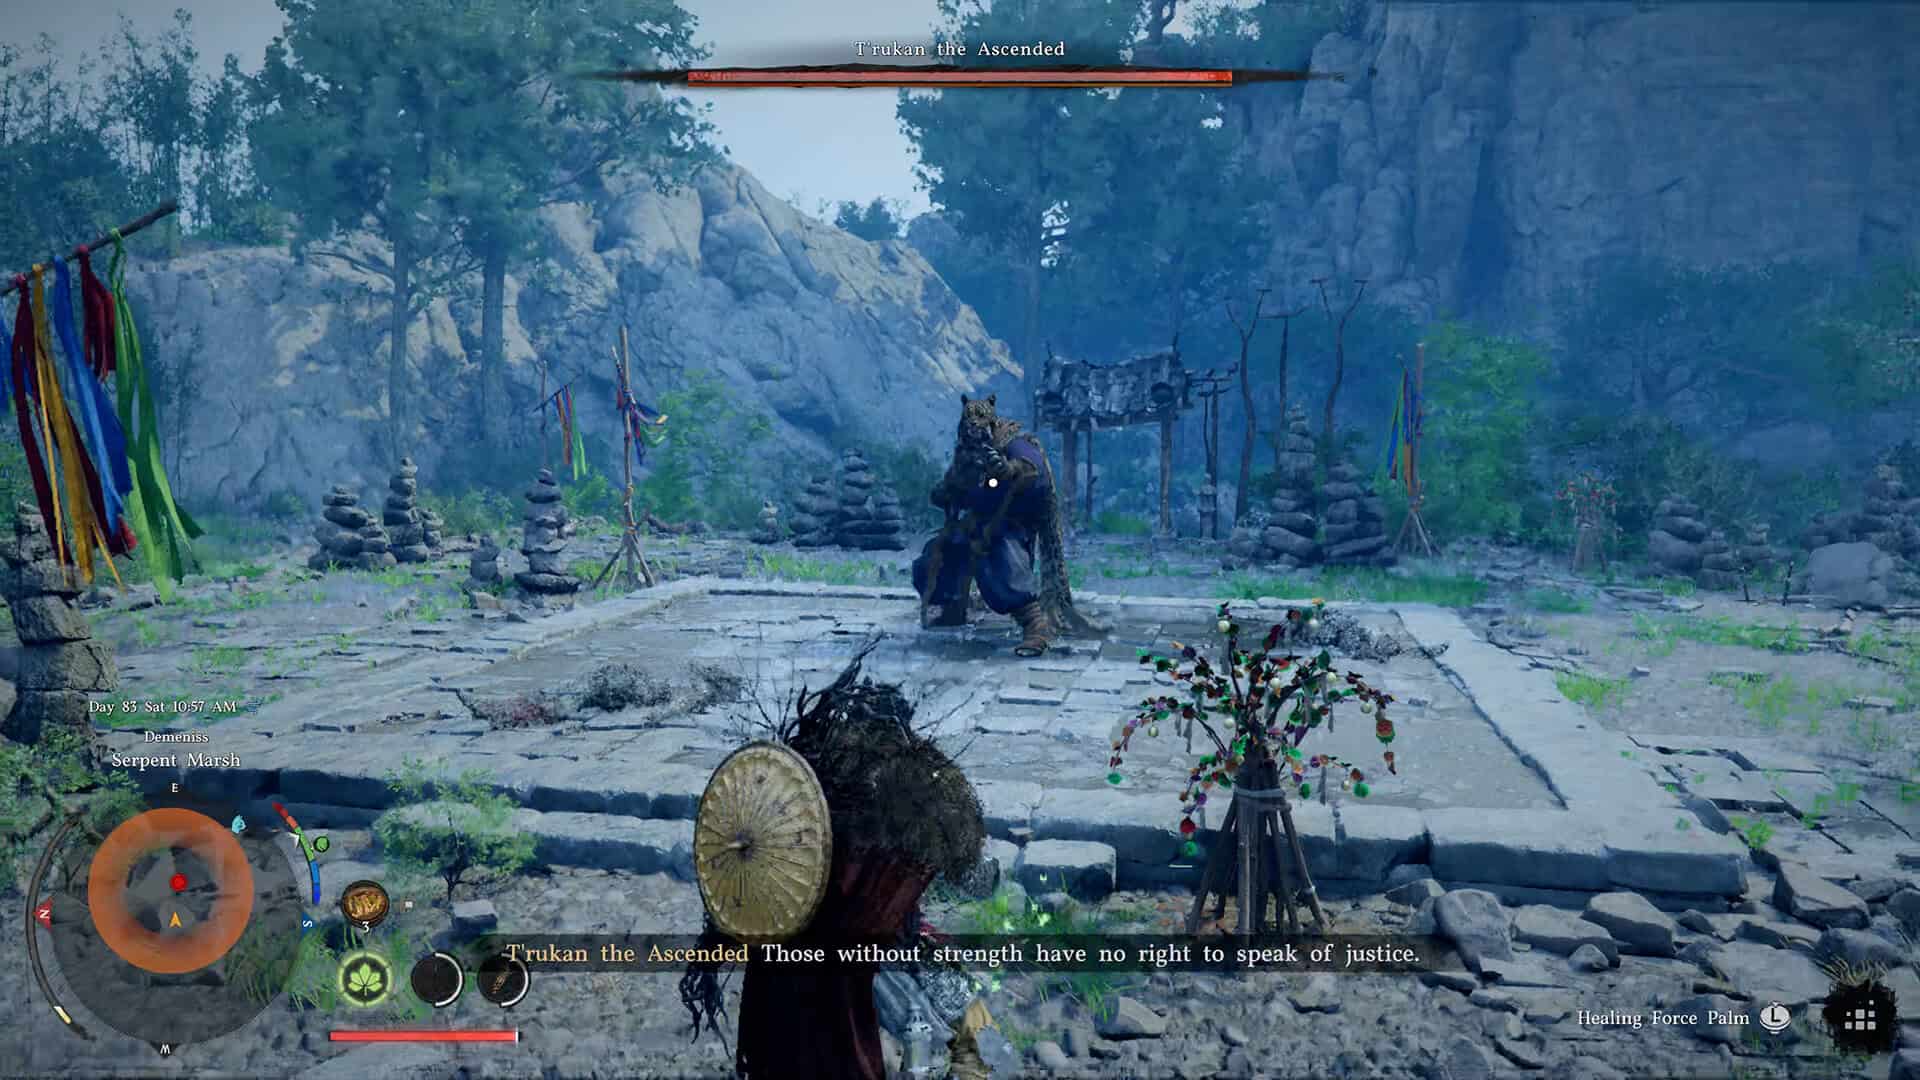
True Strength is the third and final trial in the Six Pensive Statues sub-chapter, and it plays out on a remote mountain peak in the Serpent Marsh. The whole point of the trial is that Kliff has to find strength through understanding instead of brute force, which is a nice bit of writing, except the fight itself doesn’t feel gentle at all. T’rukan only has one health bar, but he hits fast, hits hard, and punishes any button-mashing instantly. Before you even load into the trial, I’d suggest getting your passive Health Skill up to at least level 6, which puts you around 750 HP. That’s not a hard requirement, but going in with less than that turns a manageable fight into a string of one-shot deaths.
Gear-wise, lean on Damage Reduction over raw offense. Bring Palmar Pills and whatever healing food you’ve stocked up, because you will get hit during this fight, that’s just part of how it plays out. T’rukan the Ascended is built as a mandatory checkpoint, not an optional side boss, so there’s no walking away and coming back stronger later. You fight him now, on his mountain, with whatever build you’ve brought with you.
It also helps to know what you’re looking at before the fists start flying. T’rukan wears a Leopard Mask and fights entirely unarmed, no weapon swaps, no ranged tricks, just fast hands and feet at close range. That single-minded moveset is actually part of why the Force Palm loop works so well against him, he doesn’t have a second phase or a gimmick that changes the rules partway through. Learn his rhythm once and it stays consistent for the rest of the encounter.
The T’rukan the Ascended Easy Strategy in Crimson Desert: Force Palm From the Opening Bell
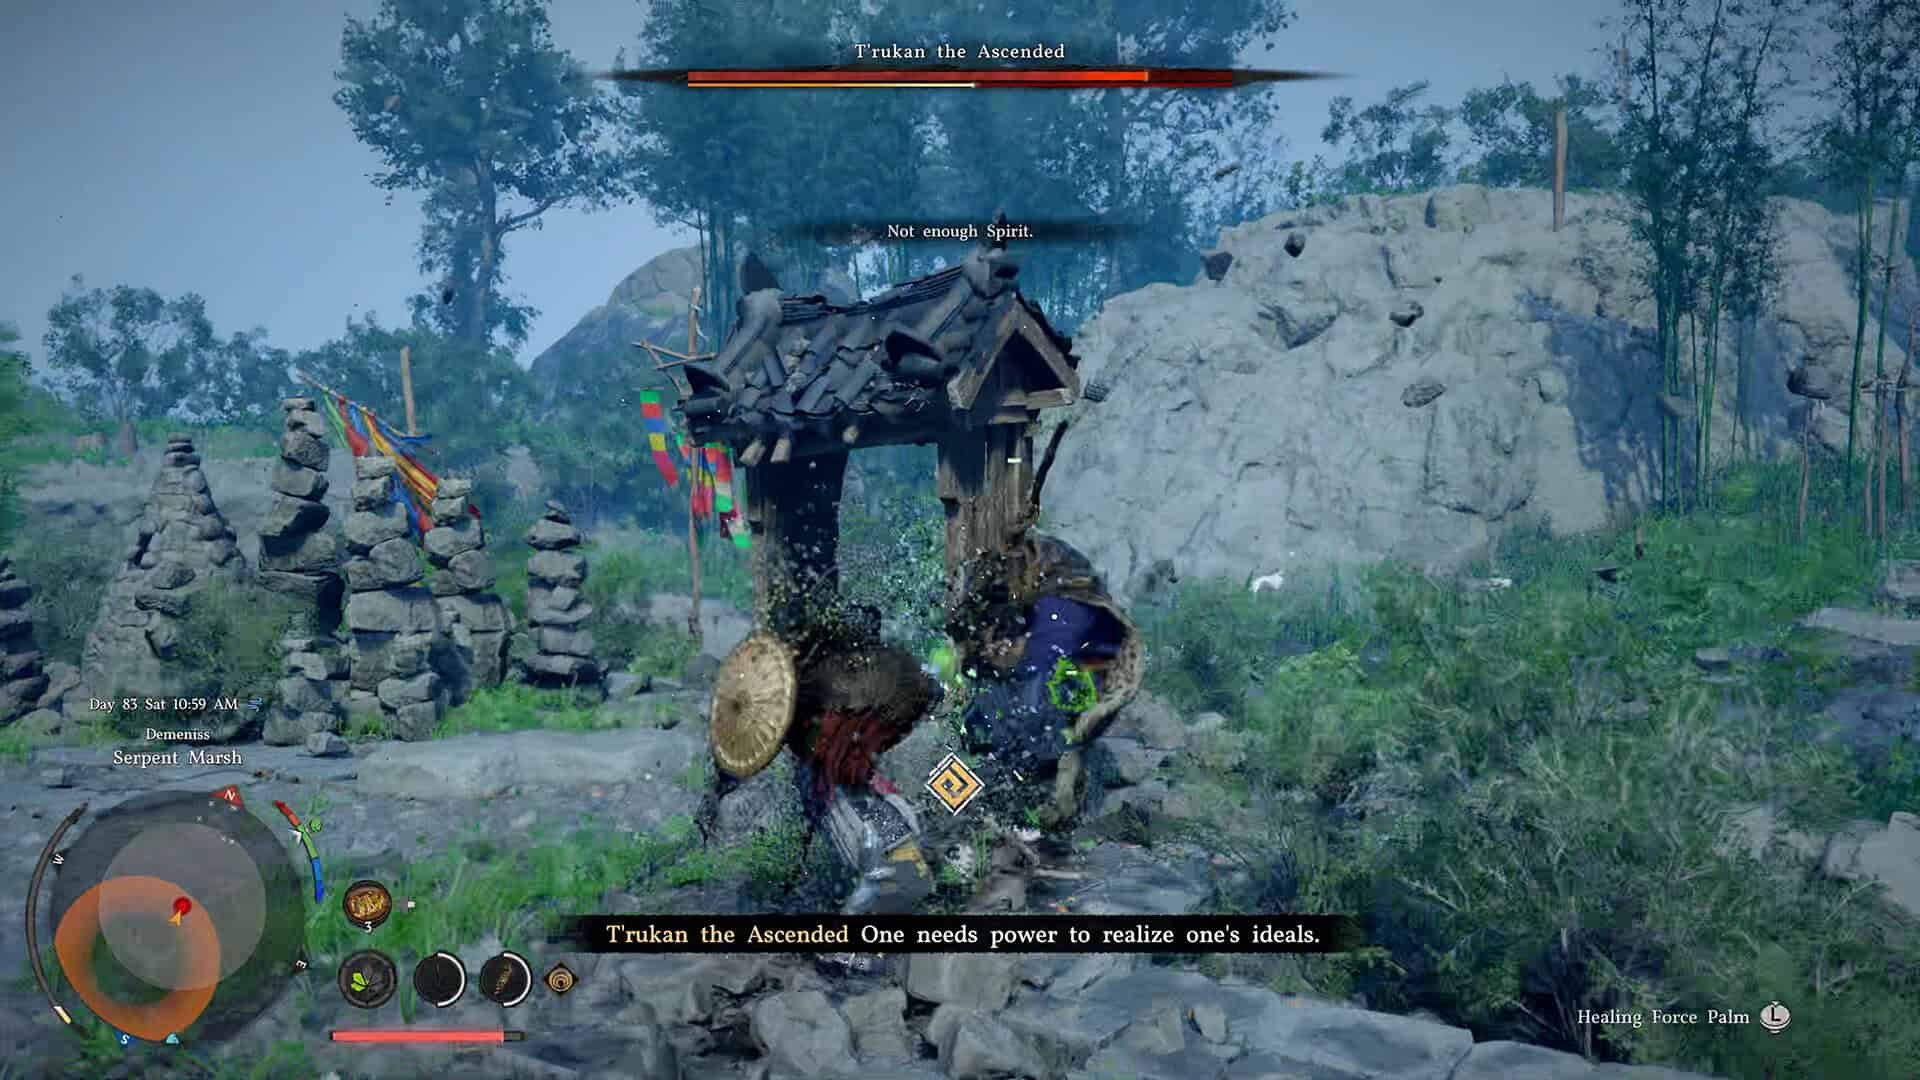
Right from the start of the fight, I lean on Force Palm as much as I possibly can. It’s quick, it chips away at T’rukan’s yellow stamina bar, and it deals real damage on top of that, so every hit is doing double duty. Keep throwing it at him while you still have spirit to spend. His yellow bar is the whole key to this strategy, because once it’s fully drained he can’t keep up his usual pace, and that’s your window to really start punishing him.
Once your own spirit runs low, don’t force it, just create distance. T’rukan closes gaps fast, but you only need a couple of steps of separation to safely transition into the next part of the loop. This is the part players skip when they first try the fight, they keep trading blows up close because it feels more aggressive, but backing off at the right moment is what makes the whole T’rukan the Ascended strategy work as smoothly as it does.
-

- T’rukan the Ascended Is a Mandatory Crimson Desert Boss
-
- T’rukan the Ascended Easy Strategy: Force Palm
Crimson Desert Focus Mode Strategy for Dodging T’rukan’s Attacks
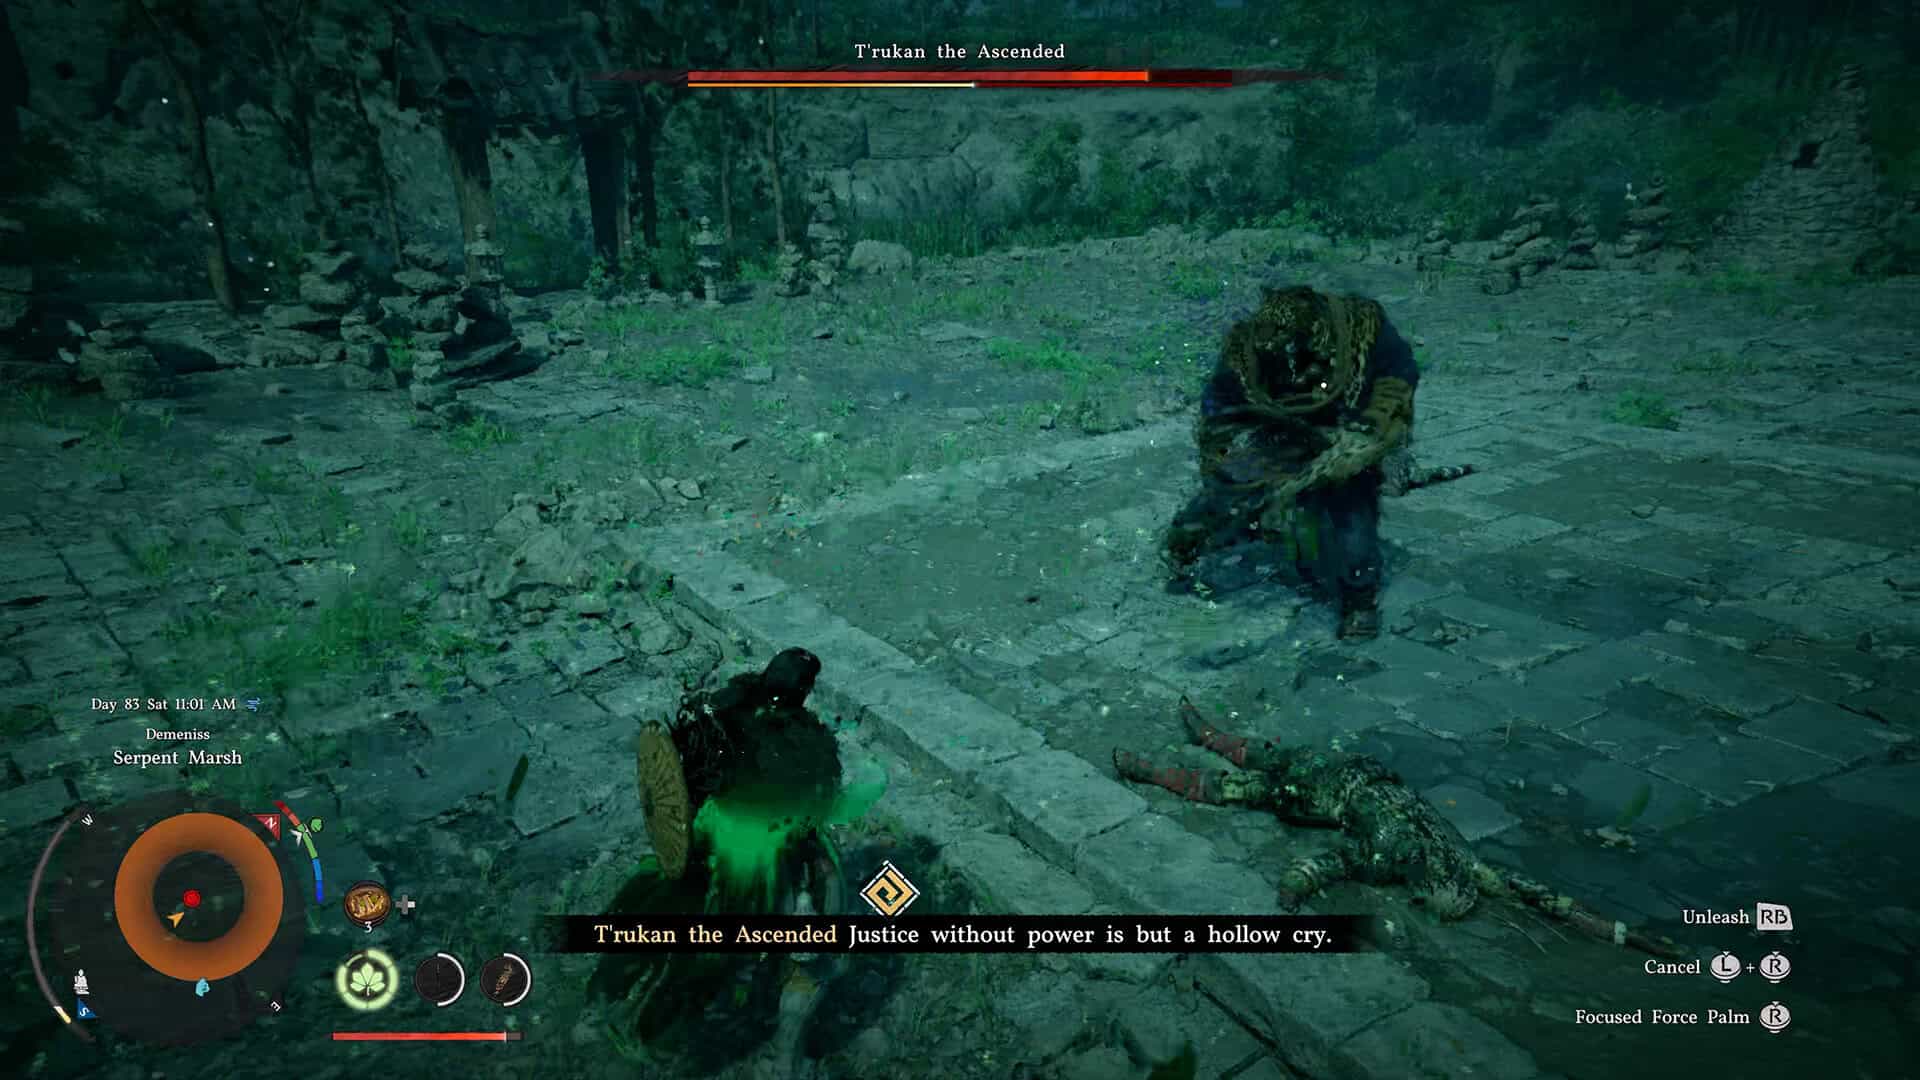
Once you’ve backed away, activate Focus mode. Everything slows down, your spirit starts regenerating, and you get a much clearer read on what T’rukan is about to do next. When he’s just winding up or repositioning, you can basically ignore him and keep regenerating spirit in peace. The moment he actually commits to an attack, though, that’s your cue to dodge, not block. Most of his strikes in this state aren’t blockable in any reliable way, so trying to guard through them just gets you hurt.
One tell worth watching for is a large spectral shape flickering behind him mid-fight. When that shows up, his next attack is going to land in a burst of three hits rather than one, and it hits noticeably harder than his usual combo. Dodge through the full sequence rather than bailing after the first hit, or you’ll eat the second and third strikes anyway. After he finishes a string of attacks, you’ll get an opening to close the distance again and land another Force Palm. That’s the whole cycle: Force Palm, retreat, Focus mode, dodge, repeat. It sounds almost too simple, but it holds up for the entire fight.
Even when you time a dodge wrong and take a hit, don’t panic and abandon the plan. A stray hit or two won’t drain your health bar nearly as fast as standing in front of him and trading blows would. Stay patient, keep resetting to a safe distance, and let Focus mode do the work of topping your spirit back up before you commit to the next Force Palm.
How to Punish T’rukan the Ascended When He Drops to One Knee
Once you’ve chipped his yellow bar all the way down, T’rukan drops to one knee, completely exhausted. This is the moment to stop being careful and start swinging. Heavy attacks do serious damage here, and since he can’t retaliate while he’s staggered, it’s the safest damage window in the entire fight. Don’t waste it on light pokes, go for your hardest-hitting combo instead.
Eventually he recovers, and when he does, don’t try to trade another hit in before backing off, just retreat immediately and slip back into Focus mode. It’s tempting to squeeze in one more attack after he gets up, but that’s usually how players eat an unnecessary hit late in the fight. Restore your spirit, watch for his tells again, and get back into the Force Palm rhythm. Honestly, this same push-and-retreat pattern carries over to a lot of other Crimson Desert encounters too, and if you enjoyed the tighter margins here, the boss fight against Goyen at the Spire of the Sun asks for a similar kind of patience.
-
- Crimson Desert Focus Mode Strategy
-
- Punish T’rukan the Ascended When He Drops to One Knee
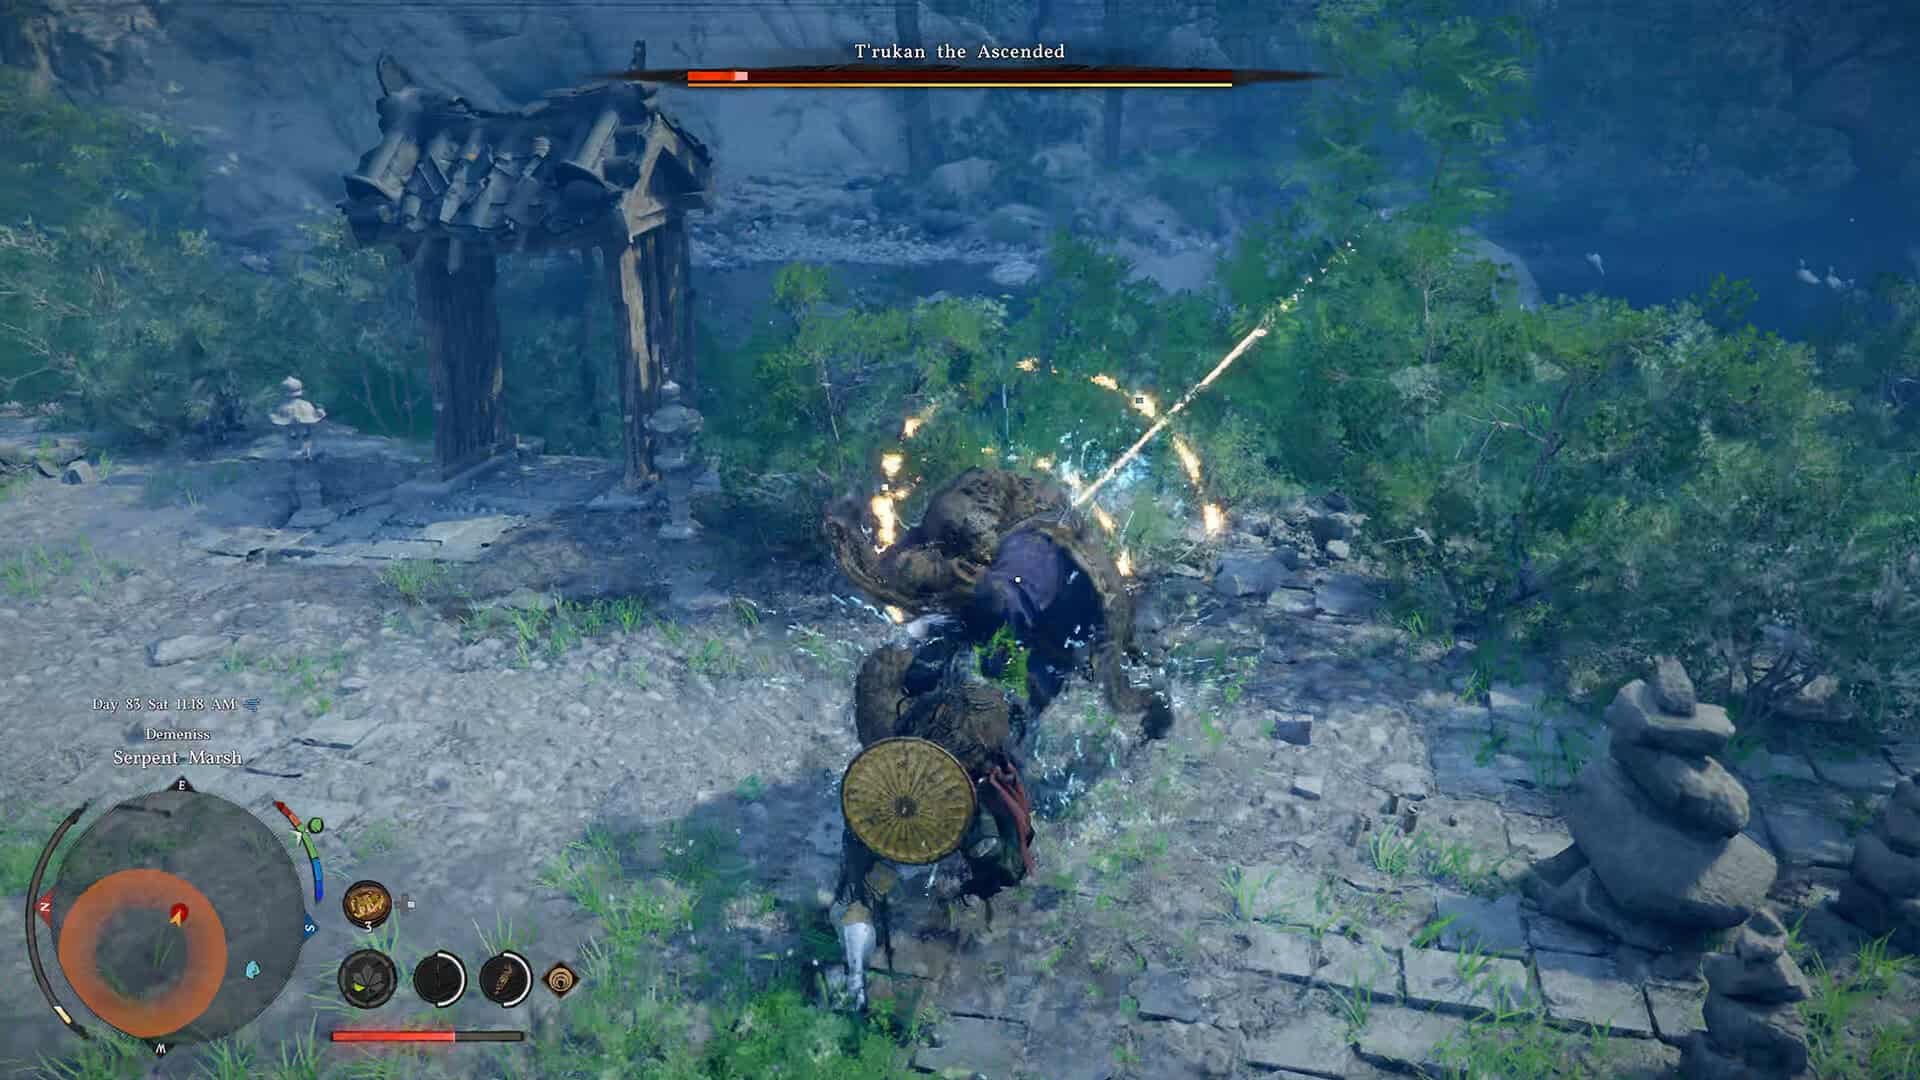
An Easier Way to Beat T’rukan the Ascended: The Sleep Arrow Shortcut
If the Force Palm loop still feels too risky, there’s a shortcut worth knowing about. T’rukan is unusually vulnerable to Sleep Arrows. Land one on him and he collapses to the ground immediately, wide open for free damage. Some players have managed to land two well-placed Sleep Arrows and end the entire fight that way, without ever going through a proper exchange of blows. It’s a completely legitimate option if you’d rather not deal with his combos at all.
I still think it’s worth learning the Force Palm and Focus mode rhythm even if you use the arrows to shorten the fight, because that same dodge-and-punish pattern shows up again later against other mandatory, no-skip bosses. It’s a similar feeling to a lot of story-critical final fights across other games, including the last stretch against Red Kappa and Kyokotsu in Nioh 3’s Nobunaga’s Blade finale, where learning the enemy’s rhythm matters more than raw stats.
T’rukan the Ascended Crimson Desert FAQ
Is T’rukan the Ascended a mandatory boss in Crimson Desert?
Yes. He’s the final trial of the True Strength quest in the Six Pensive Statues sub-chapter of Chapter 9, and you have to beat him to continue the main story.
What level or HP should I have before fighting T’rukan the Ascended?
Aim for your passive Health Skill at level 6 or higher, which lands you around 750 HP. It’s not a strict wall, but going in lower makes his hits far more punishing.
What is the easiest strategy for T’rukan the Ascended?
Spam Force Palm early to drain his yellow spirit bar, retreat into Focus mode to dodge and recover spirit, then punish him again once he finishes attacking. Repeat until his bar is empty and he staggers.
Can you cheese T’rukan the Ascended with Sleep Arrows?
Yes. One Sleep Arrow drops him to the ground for free hits, and two well-placed arrows can end the fight almost entirely without a real exchange of blows.
Why does T’rukan the Ascended hit so hard?
His unarmed combos are built around burst damage, especially the three-hit strings that come after a spectral shape flickers behind him. Damage Reduction gear makes a real difference here.
That’s the whole T’rukan the Ascended easy strategy in Crimson Desert once you settle into the rhythm. One Force Palm, a retreat into Focus mode, careful dodges, repeat, and this mandatory boss stops being a wall and turns into just another fight you know how to handle. Check out our other guides on ingametor.com for more Crimson Desert walkthroughs and boss strategies.




