
The Dreadnought is a mandatory story boss you’ll run into inside Marni’s Laboratorium while chasing down the keys to his device, and it’s a fight that punishes button mashing far more than it rewards raw damage. Here’s how to beat the Dreadnought in Crimson Desert cleanly, including the one enemy type that trips up more players than the boss itself does.
Bookmark this guide before you head in, since the Dreadnought only has one combat phase, so once you understand its rhythm the whole fight gets a lot shorter.
Where to Find the Dreadnought in Crimson Desert
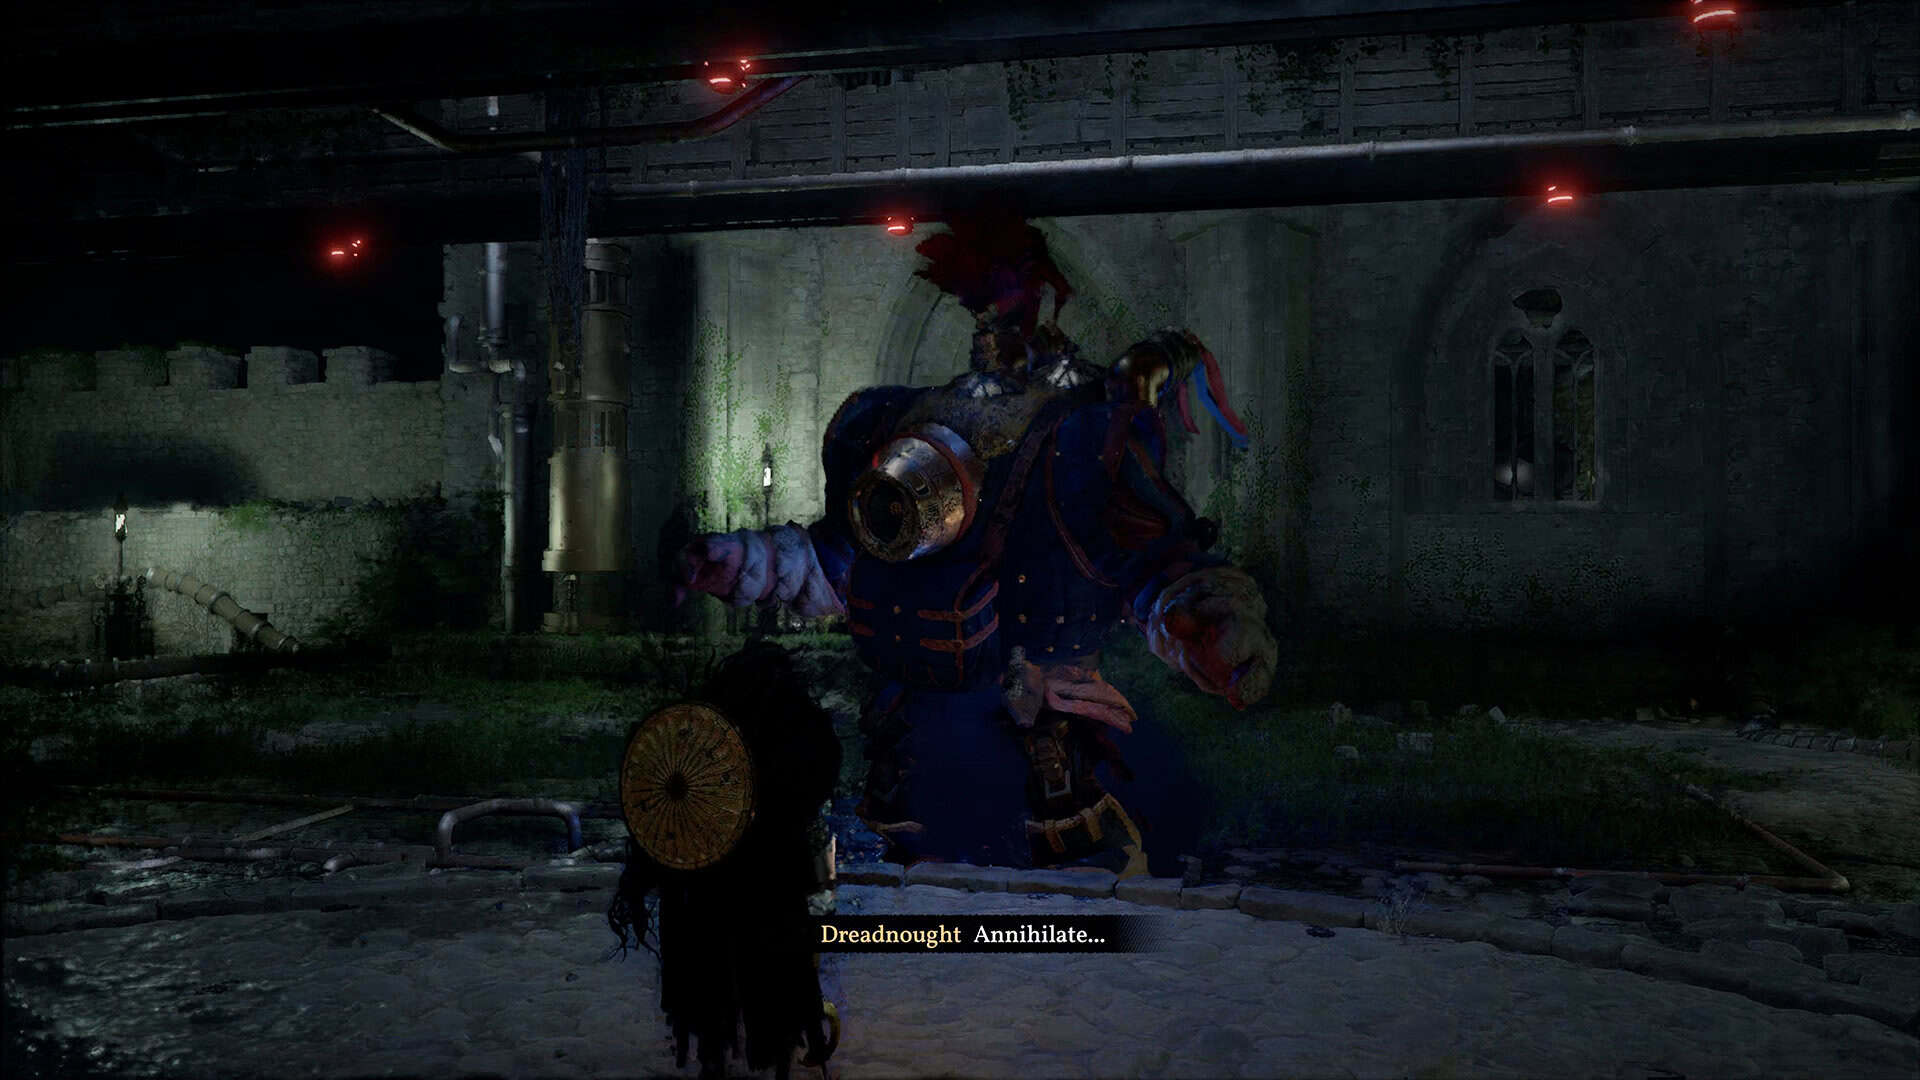
You’ll meet the Dreadnought inside Marni’s Laboratorium in Delesyia, as part of the “Forbidden Gatekeeper” quest tied to the fortress keys questline. It’s a towering mechanical war suit with a single glowing eye, built along similar lines to the smaller A.T.A.G. units you’ve likely already fought, just with heavier armor and far more dangerous tech packed in. If you’ve already cleared the other fortress bosses on the way here, our guide on beating Storm Crusher without exploits covers the fight most players tackle around the same stretch of the story, and a lot of the spacing habits from that fight carry over directly.
Dreadnought Attack Patterns You Need to Know in Crimson Desert
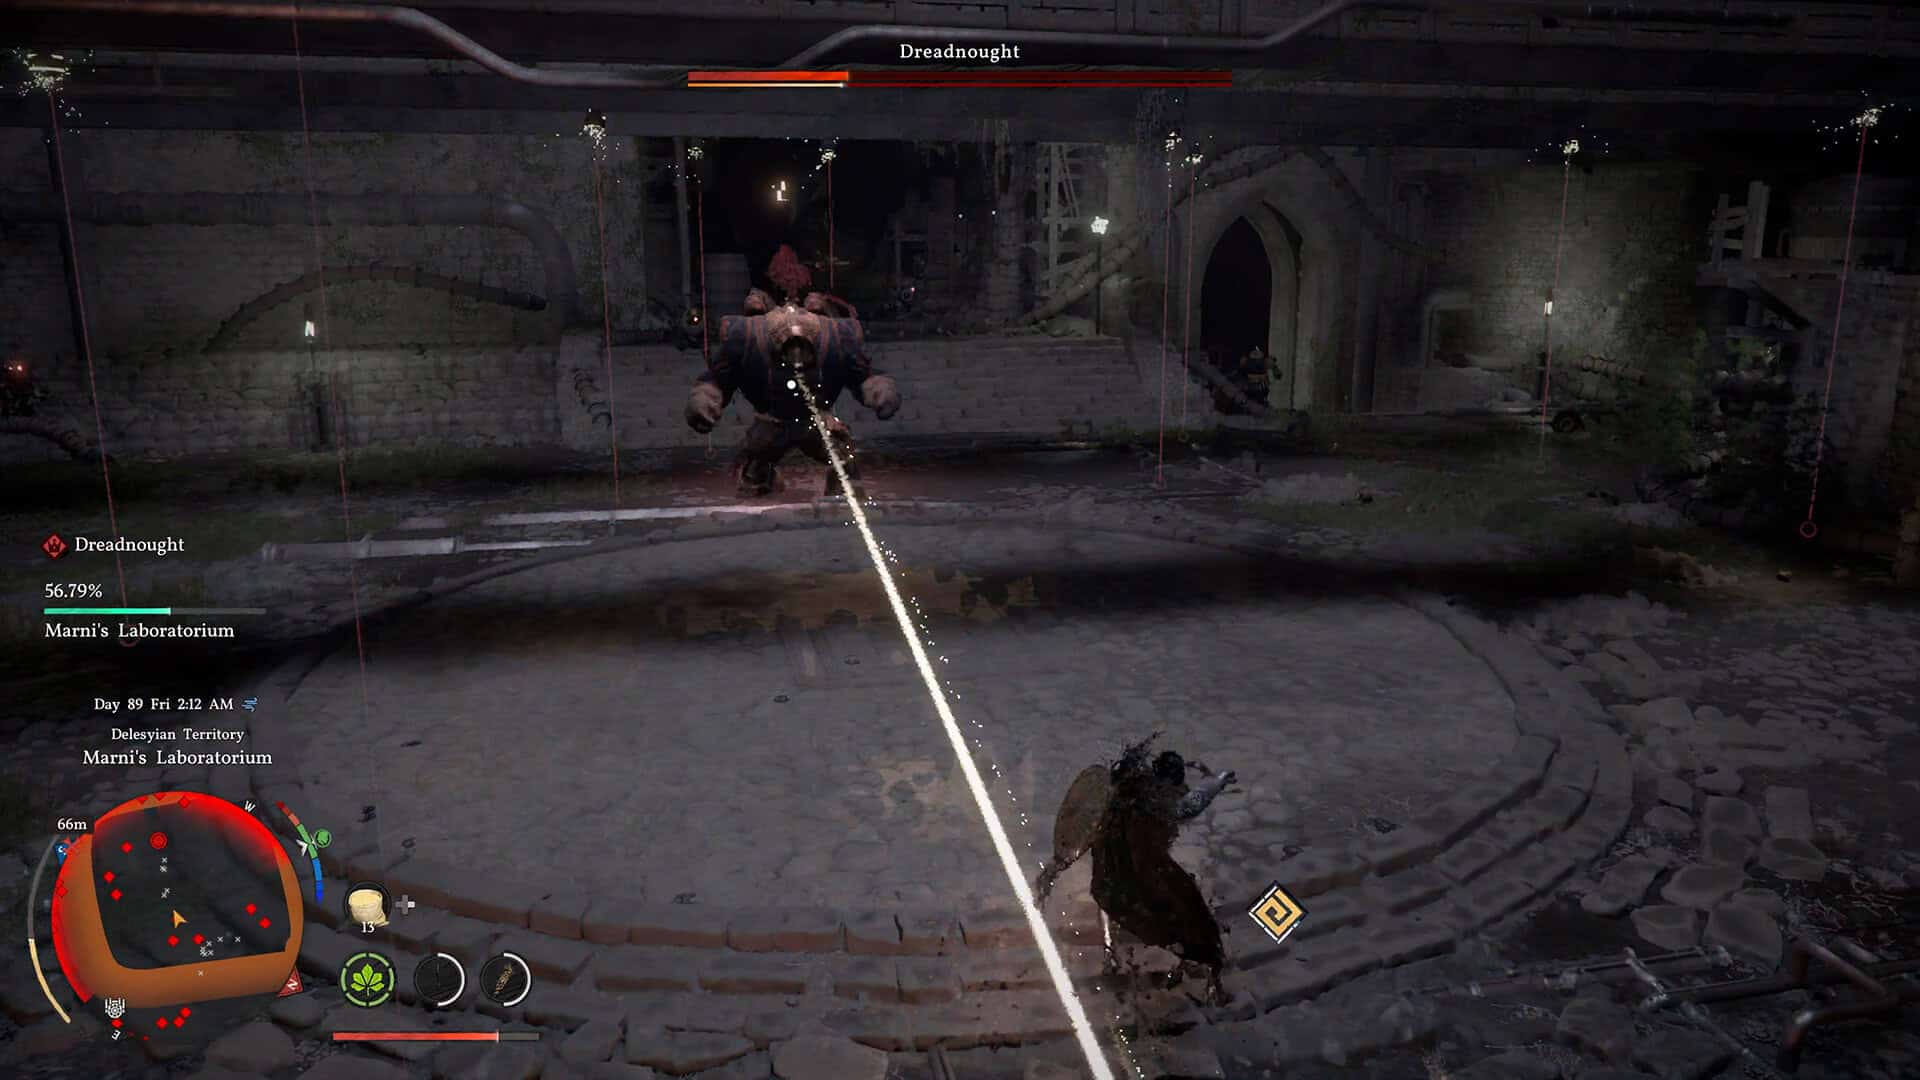
Beyond the leap and the laser fire, the Dreadnought carries a few heavier attacks worth recognizing on sight. Its three-hit arm swing is a slow but unblockable combo, so don’t waste stamina trying to block it, dodge instead. It also has a ground slam that sends a shockwave out across a wide area, which is unblockable as well and needs the same treatment. Occasionally it charges forward with a burst of steam propulsion behind it, which can knock you down if it connects, so treat any forward-leaning wind-up as a cue to get out of its path rather than guess which specific attack is coming.
One quirk worth using against it: the Dreadnought turns slowly, taking two to three full seconds to swing around a full 180 degrees. If you get to its back or side after dodging any of its bigger attacks, you’ll usually have a clean second or two to land extra hits before it can face you again.
Dealing with the Mechanical Enemies During the Dreadnought Boss Fight
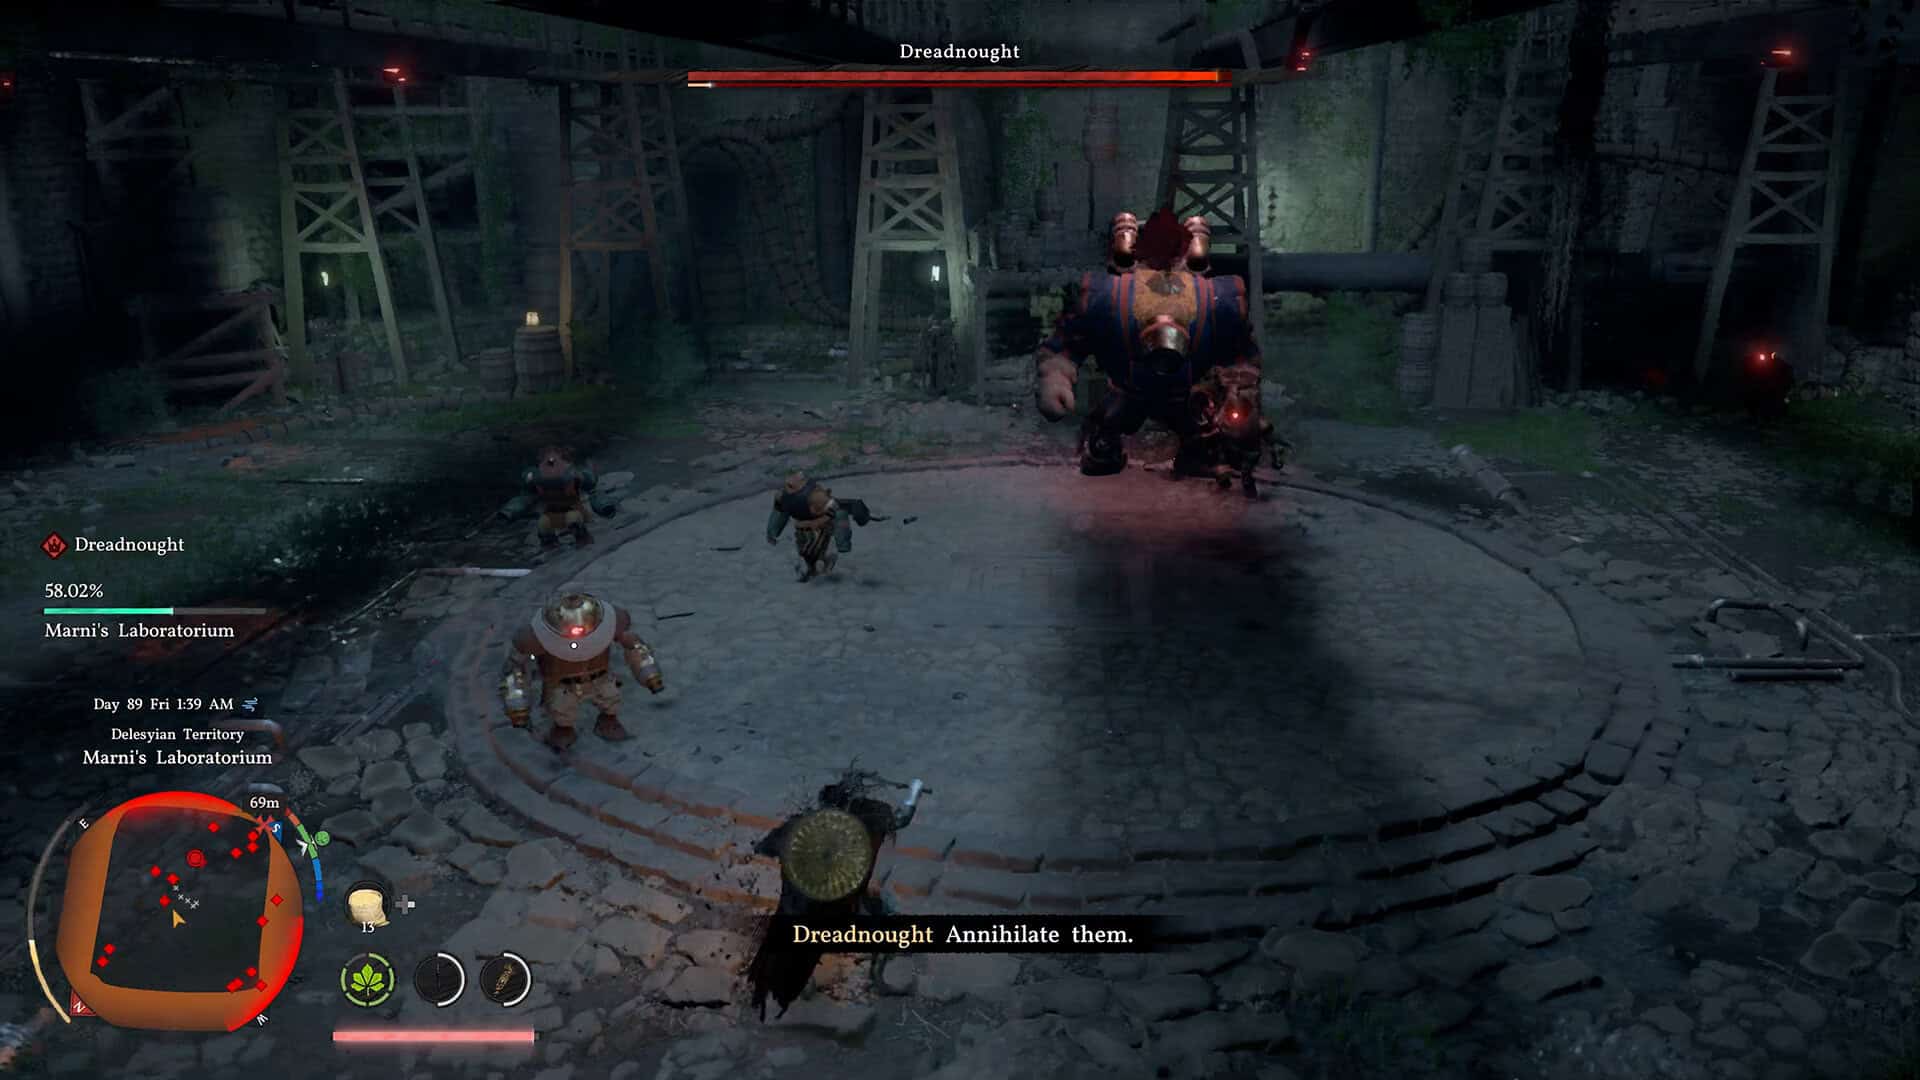
What trips people up more than the boss itself are the smaller mechanical enemies scattered around the arena. They’ll actively block your attacks the moment you’re not focused directly on the Dreadnought, which makes it tempting to clear them first. Don’t get pulled into that trade. Every second spent chipping down an add is a second the Dreadnought isn’t taking damage, so treat the smaller enemies as an obstacle to dodge around rather than a threat worth stopping for.
Keep your positioning centered on the boss and let the adds miss you rather than committing to killing them outright. If one of them gets between you and the Dreadnought right as you’re about to swing, it’s almost always better to reposition around it than to redirect your attack into it, since interrupting your own combo against the boss costs you more than the add itself is worth.
-

- Dreadnought Attack Patterns You Need to Know
-
- Dealing with the Mechanical Enemies
How to Dodge the Dreadnought’s Leap and Electric Field Attacks
Force Palm is your main damage tool here, and using it whenever you get a safe opening steadily fills the Dreadnought’s yellow stamina bar, which is the real win condition for this fight. Watch the ground under its feet while you’re attacking, though, since an electric field sometimes appears there, and standing in it while you’re mid-combo is an easy way to eat damage you didn’t need to take. Step back the moment you see it and wait it out.
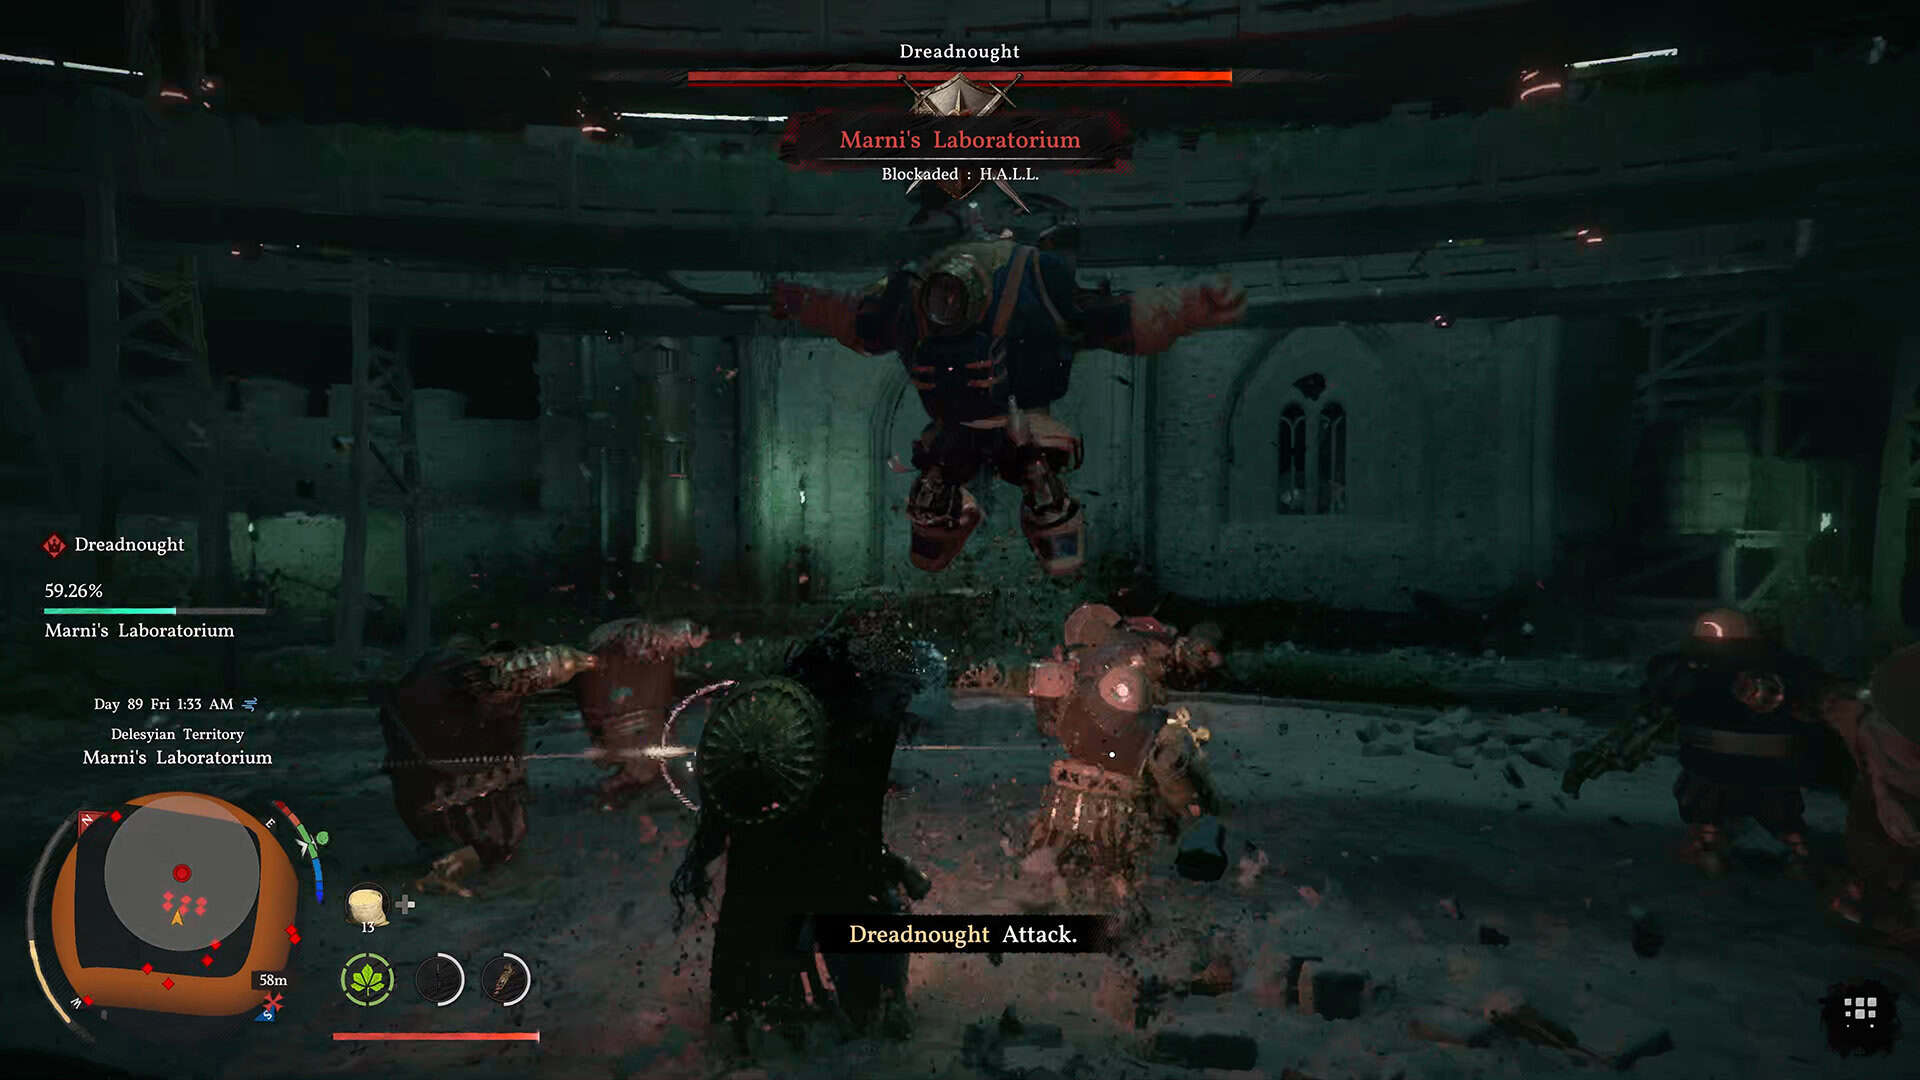
The Dreadnought’s most frequent attack is a telegraphed leap. It crouches and raises its arms behind its head, then a moment later straightens up and lunges forward trying to crush you. The tell is generous enough that a simple side step clears it completely and lets the boss sail past you, usually leaving it open for a free hit right after. When the Dreadnought is out of melee range, that’s also your best window to drop into Focus mode and top off your spirit before it closes the distance again.
Beating the Dreadnought’s Laser Attacks with Nature’s Snare
Once you’ve landed enough Force Palm strikes, the yellow stamina bar fills and the Dreadnought drops to one knee to recover, and that’s the moment to unload heavy attacks for serious damage. Outside of that window, the Dreadnought is slow enough that it won’t immediately punish you for landing a hit or two with heavy attacks either, since it often just stands there absorbing damage for a moment before it reacts. Learn to recognize when it’s about to start moving again so you can land your attack and step back cleanly instead of getting caught mid-swing.
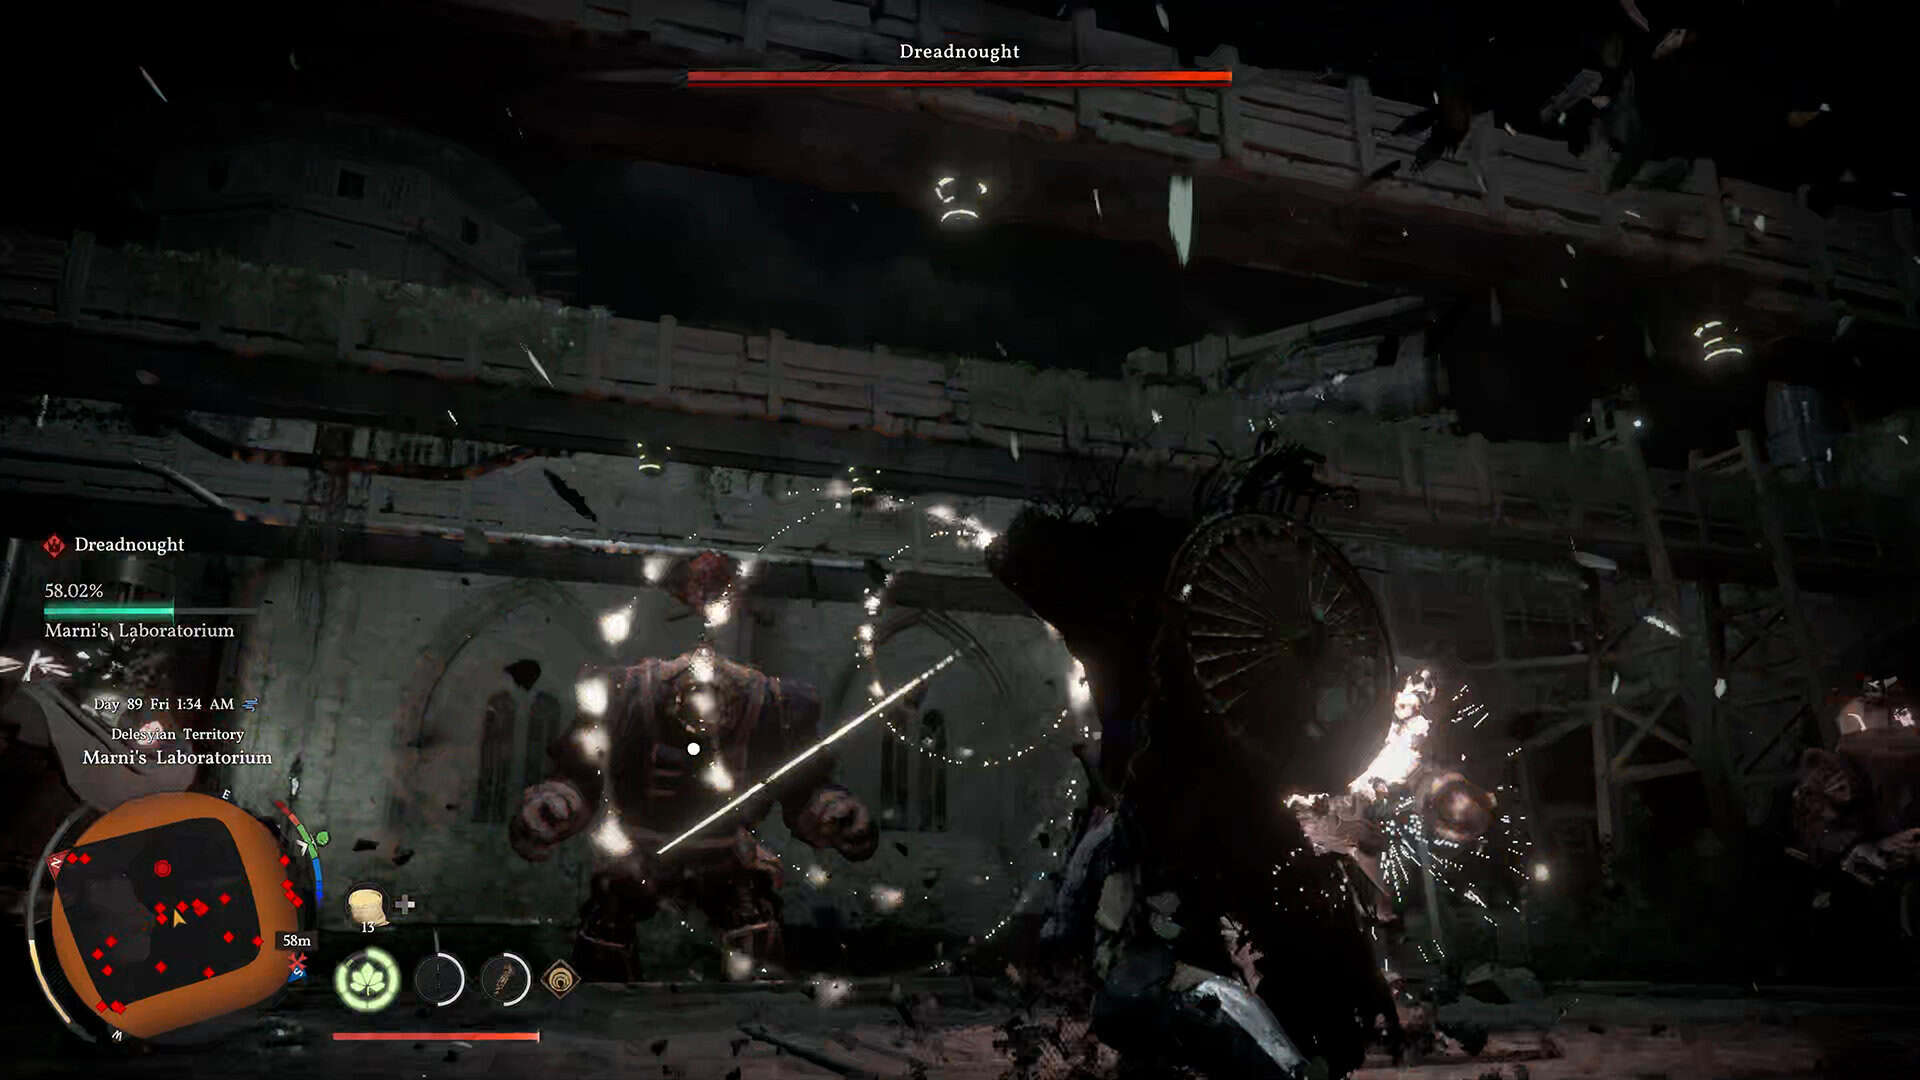
The attack most players struggle with is its yellow laser fire. Dodging to the side consistently makes the Dreadnought miss outright, so there’s no need to overthink your spacing against it. If you’d rather turn the attack into free damage instead of just avoiding it, switch to Focus mode and catch the lasers with Nature’s Snare, the same ability that makes deflecting projectiles manageable in other fortress fights like the one covered in our Clockwork Mantis Force Palm guide.
The Dreadnought actually fires this beam in a few different ways, and it helps to tell them apart rather than reacting to all of them the same way. A single Cyclops Ray comes out fast from a distance with almost no warning, while the Triple Cyclops Ray charges up first and then fires three beams back to back, so you need to keep dodging through the whole sequence instead of just once. There’s also a roof-mounted Laser Beam Rain that gives you roughly a two-second warning indicator before it drops, which is plenty of time to walk clear of it if you’re paying attention to the ground markers instead of only watching the boss itself.
-
- How to Dodge the Dreadnought’s Leap
-
- Dreadnought’s Laser Attacks with Nature’s Snare
Dreadnought Rewards and Tips for a Clean Crimson Desert Boss Fight
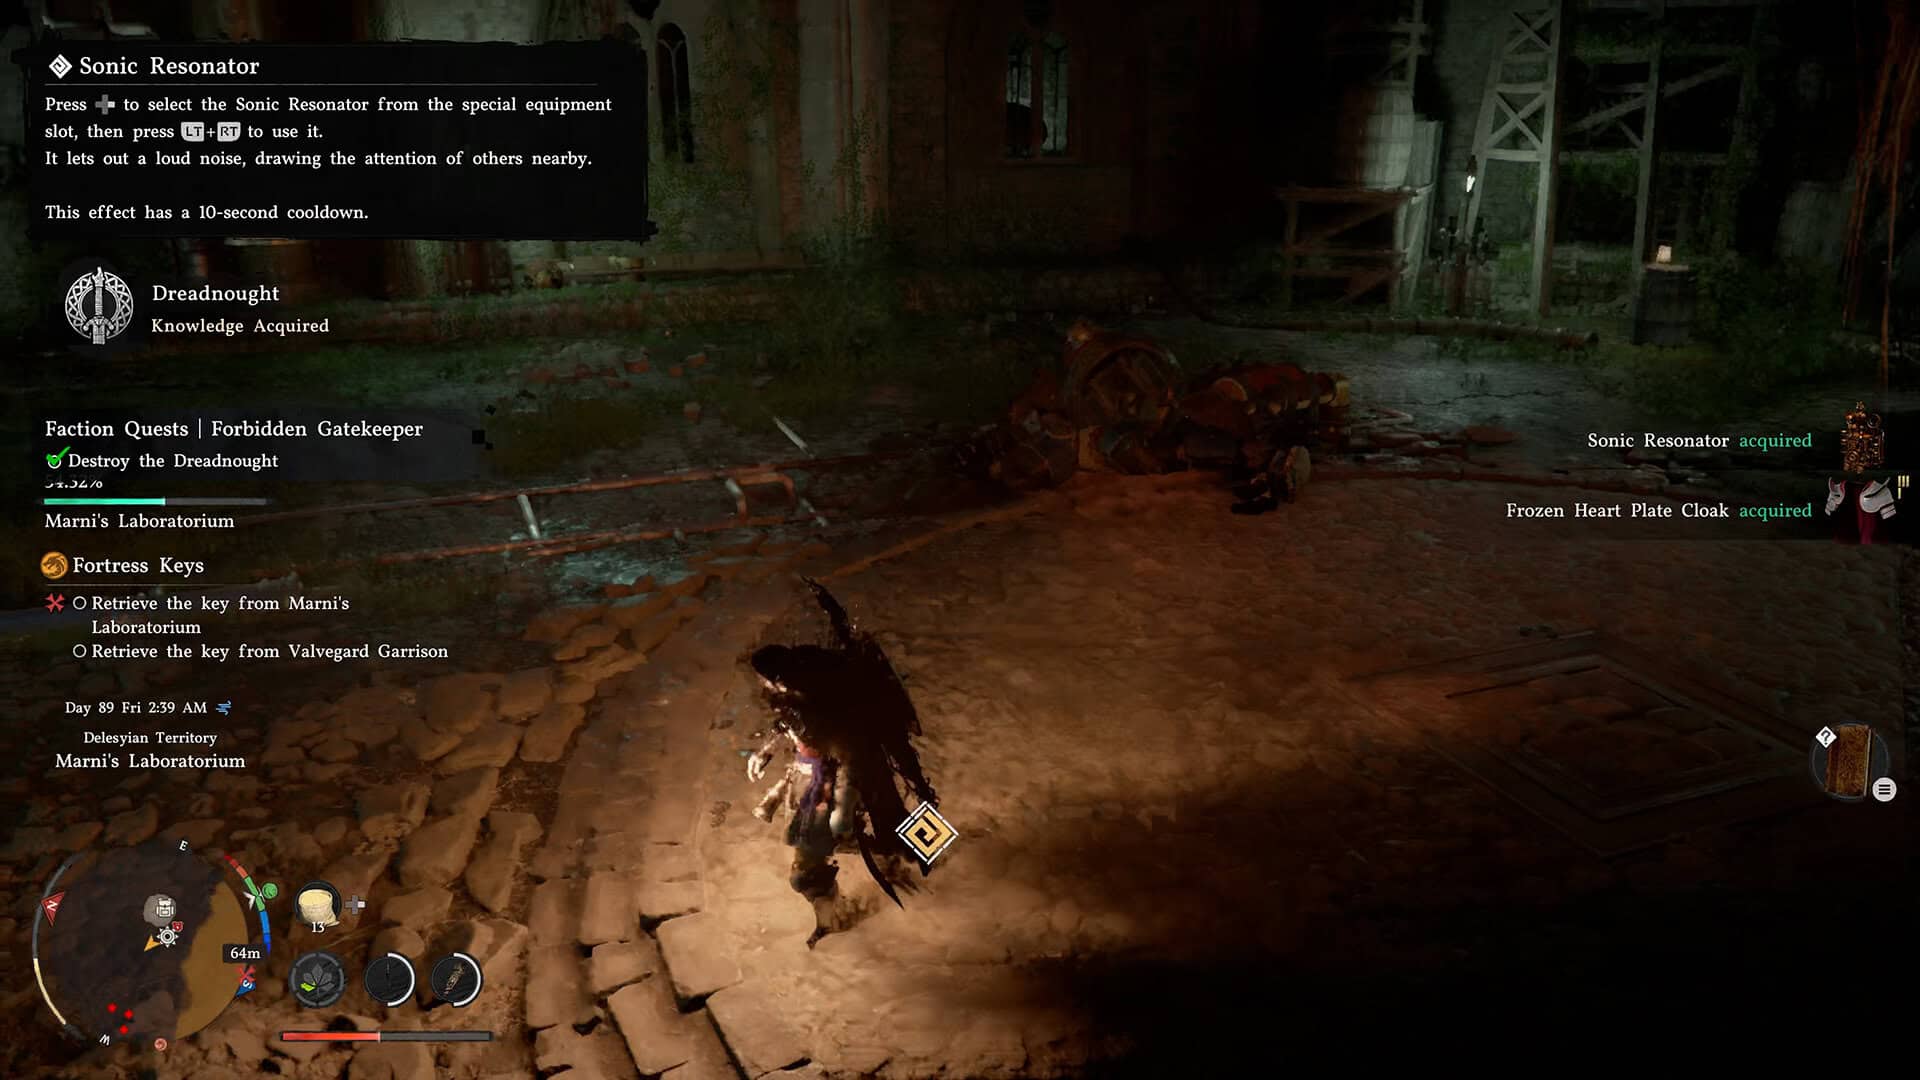
Defeating the Dreadnought drops the Sonic Resonator, the Frozen Heart Plate Cloak, and an Abyss Artifact, so it’s worth clearing on a full stock of healing items rather than rushing in half prepared. Cook or buy food before you head into Marni’s Laboratorium, and swing by an anvil and grindstone to reinforce your gear beforehand too, since the fight goes a lot smoother when you’re not also worried about your weapon falling behind in damage.
None of the Dreadnought’s individual attacks are hard to read once you’ve seen them, and that’s really the whole trick to this fight. It hits like a truck if you get greedy, but every single thing it does gives you a clear tell first.
Since this is a single-phase fight with no surprise second stage, the whole encounter really does come down to repeating the same loop: Force Palm and heavy attacks when it’s safe, dodges and distance when it isn’t, and Nature’s Snare whenever the lasers start flying. If you’re still working through the rest of Marni’s strongholds, our guide on beating Marni’s Excavatron is a good next stop, since it rewards a similarly patient, positioning-first approach.
-
- Dreadnought Defeated – Final Scene
-
- Dreadnought Rewards
Frequently Asked Questions About the Dreadnought in Crimson Desert
Where do I find the Dreadnought in Crimson Desert?
Inside Marni’s Laboratorium in Delesyia, during the “Forbidden Gatekeeper” quest that’s part of the fortress keys storyline.
What’s the best strategy to beat the Dreadnought in Crimson Desert?
Use Force Palm to fill its yellow stamina bar, dodge its telegraphed leap and electric field, deflect its laser fire with Nature’s Snare, and unload heavy attacks the moment it kneels to recover.
Should I fight the smaller mechanical enemies first?
No, they mainly exist to block your attacks and pull your focus away from the boss. Dodge around them and keep your attention on the Dreadnought instead.
Does the Dreadnought have multiple phases?
No, it only has one combat phase, so the same attack loop repeats until it’s defeated.
What does the Dreadnought drop in Crimson Desert?
The Sonic Resonator, the Frozen Heart Plate Cloak, and an Abyss Artifact.
That covers everything you need to beat the Dreadnought in Crimson Desert without wasting time on the wrong enemies. Check out our other guides on ingametor.com for the rest of Marni’s fortress bosses.